10. E-Textiles and Wearables II
This week I decided to work on the textile speaker.
Inspiration
We saw some example of Claire Williams work during the classes. I found out that she is living in Brussels, so I contacted her to meet her but she was having an exhibition in France at the moment. Here are some examples of her work, super interesting.

Arduino
First test
I started working with the Arduino starter kit. In the kit there is an exemple of light theremin. I plugged the different components to make the light theremin example. It's very easy and fast and it's working well.
Fabric textile speaker
I started by making the circuit for the textile speaker. I plugged the circuit as shown in the classes presentation, and tried it with an old computer speaker. It was working pretty well.
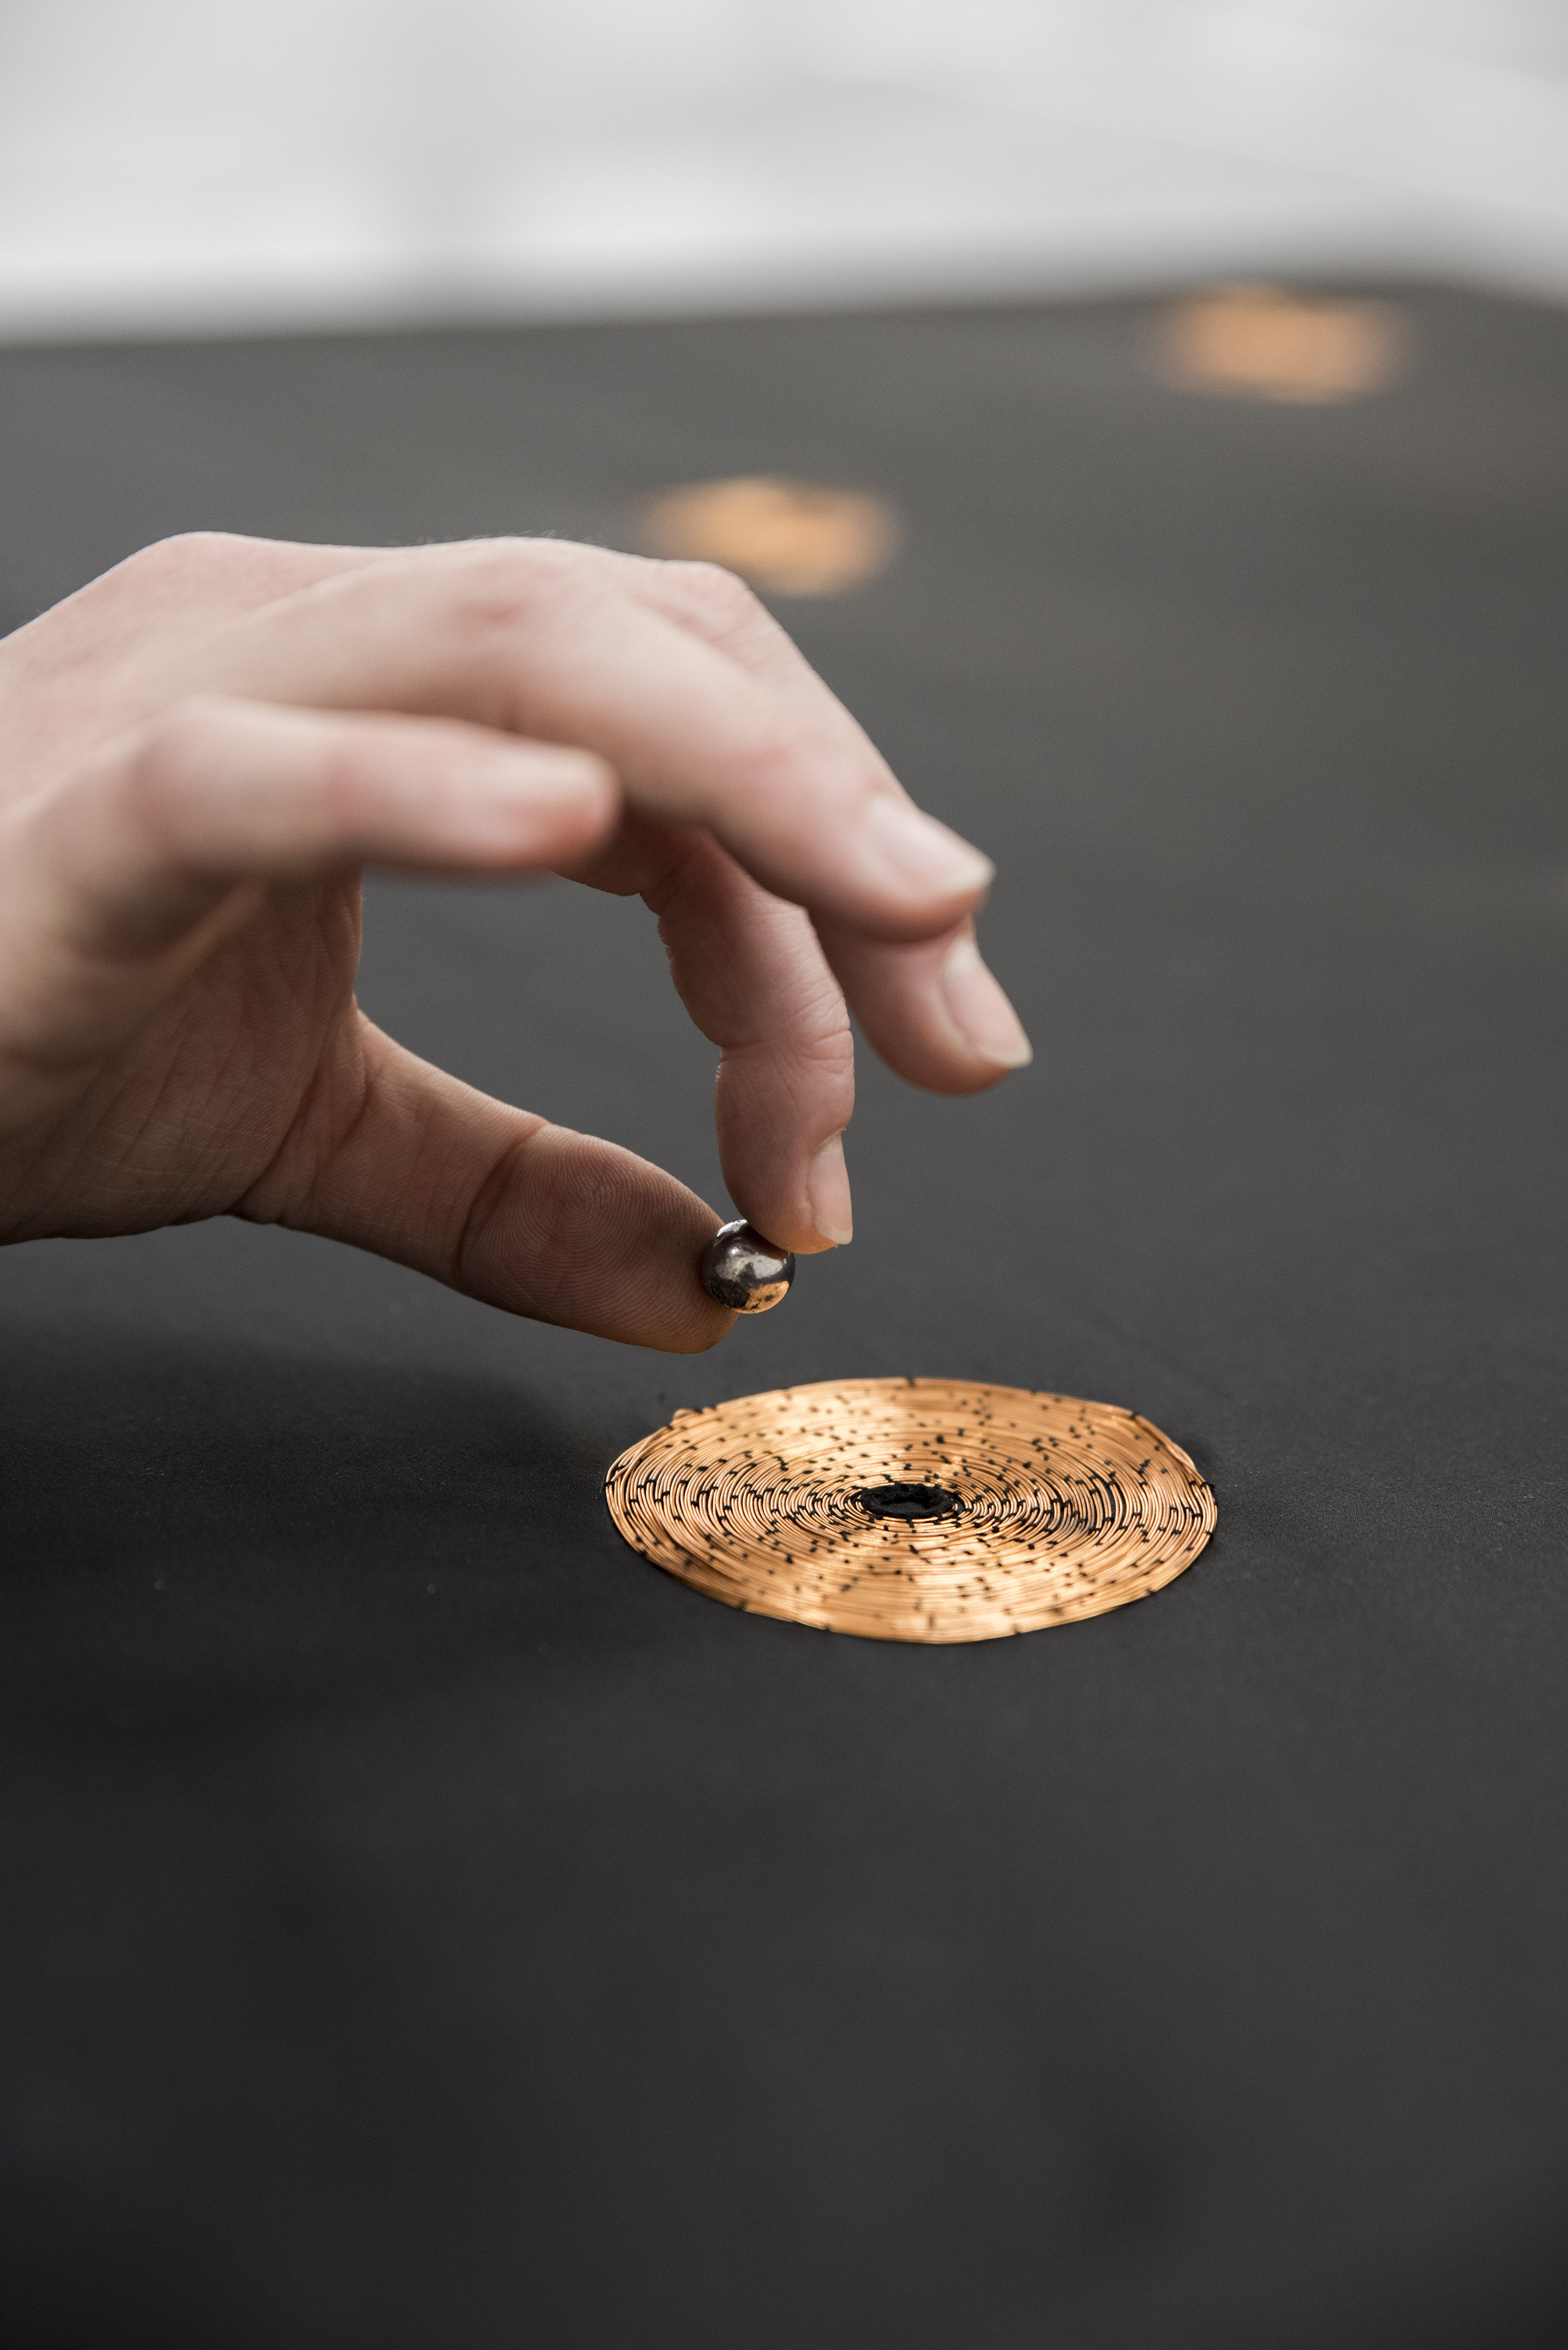
I then made the first textile speaker. I used the embroidery machine to make a spiral with conventionnal fabric and then sew cupper thread between the spirals.
After that I tried to plug the textile speaker to the circuit but it was not working.
I tested the speaker and it was only 0.8 Ohms so the power was not sufficient to make it work.
I tried the speaker alone with a music player connecting the speaker output to the textile speaker, it was working with very high volume.
I then found out that the current was not high enough for the textile speaker, so I plugged a 12V alimentation and it worked.
 7)
7)
I tested it with an Tone code example. I downloaded the Tone Library and test the RTTTL exemple. In this exemple you can choose between different songs. I chose the Simpson's theme :).
After that I wanted to try a more powerful textile speaker so I tried to embroider conductive thread with the machine, but the embroidery got stuck and I wasn't able to make it.
I made a second try, only with cupper thread glue on a plastic fabric. This one worked pretty well but it was not aesthetic...
Crochet textile speaker
I then made other trials but hooking some yarn and passing the cupper thread between the stitches.
This one was working but not as well as the previous one. Only got 0.8 Ohms.
ATtiny
To work with the ATtiny I started by downloading the ATtiny library on Arduino.
I then uploaded the Arduino ISP in order to be able to work with the ATtiny following thesesteps on the high low tech website
and upload the library how to program ATtiny with Arduino.

To test the ATtiny I started with the Blink code example, this was working.
I then uploaded the RTTTL example to the ATtiny in order to work with the textile speaker but this didn't work.
I didn't find a code that was working to make sound with the ATtiny. The only thing I was able to make work was the piezo.
//
/* TinyTone for ATtiny85 */

// Notes
const int Note_C  = 239;
const int Note_CS = 225;
const int Note_D  = 213;
const int Note_DS = 201;
const int Note_E  = 190;
const int Note_F  = 179;
const int Note_FS = 169;
const int Note_G  = 159;
const int Note_GS = 150;
const int Note_A  = 142;
const int Note_AS = 134;
const int Note_B  = 127;

int Speaker = 1;

void setup()
{
  pinMode(Speaker, OUTPUT);
}

void loop()
{
  playTune();
  delay(10000);
}

void TinyTone(unsigned char divisor, unsigned char octave, unsigned long duration)
{
  //TCCR1 = 0x90 | (8-octave); // for 1MHz clock
  TCCR1 = 0x90 | (11-octave); // for 8MHz clock
  OCR1C = divisor-1;         // set the OCR
  delay(duration);
  TCCR1 = 0x90;              // stop the counter
}

// Play a scale
void playTune(void)
{
 TinyTone(Note_C, 4, 500);
 TinyTone(Note_D, 4, 500);
 TinyTone(Note_E, 4, 500);
 TinyTone(Note_F, 4, 500);
 TinyTone(Note_G, 4, 500);
 TinyTone(Note_A, 4, 500);
 TinyTone(Note_B, 4, 500);
 TinyTone(Note_C, 5, 500);
}
///
links
Fritzine software to make arduino circuits schemas


