13. Skin Electronics
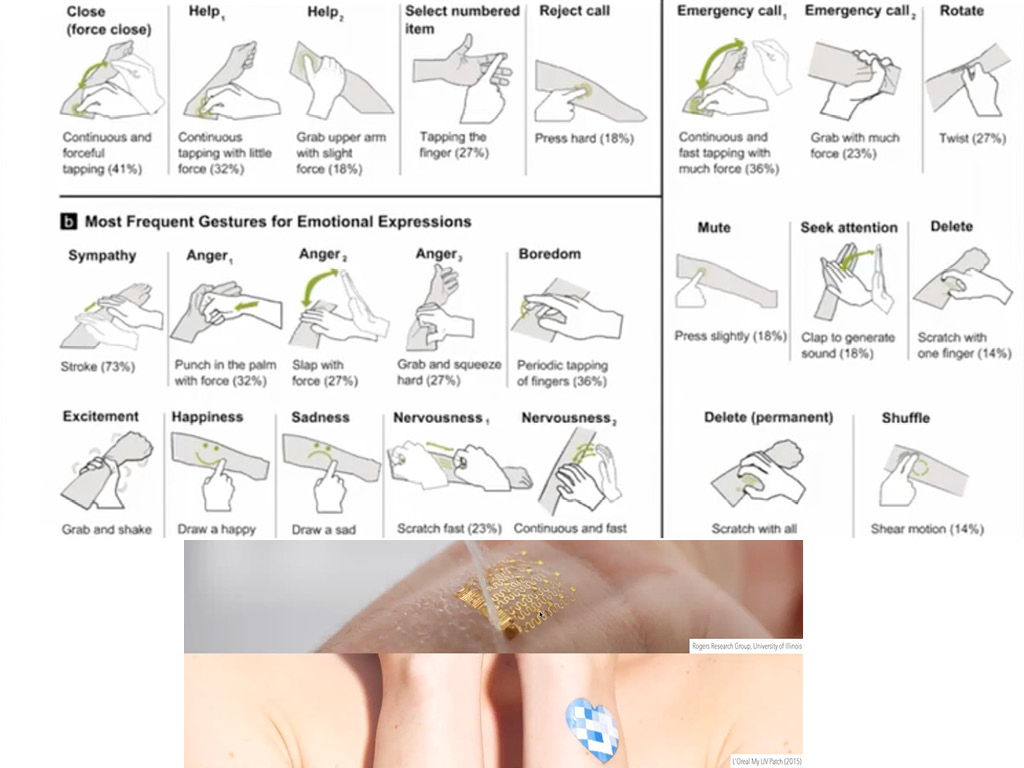
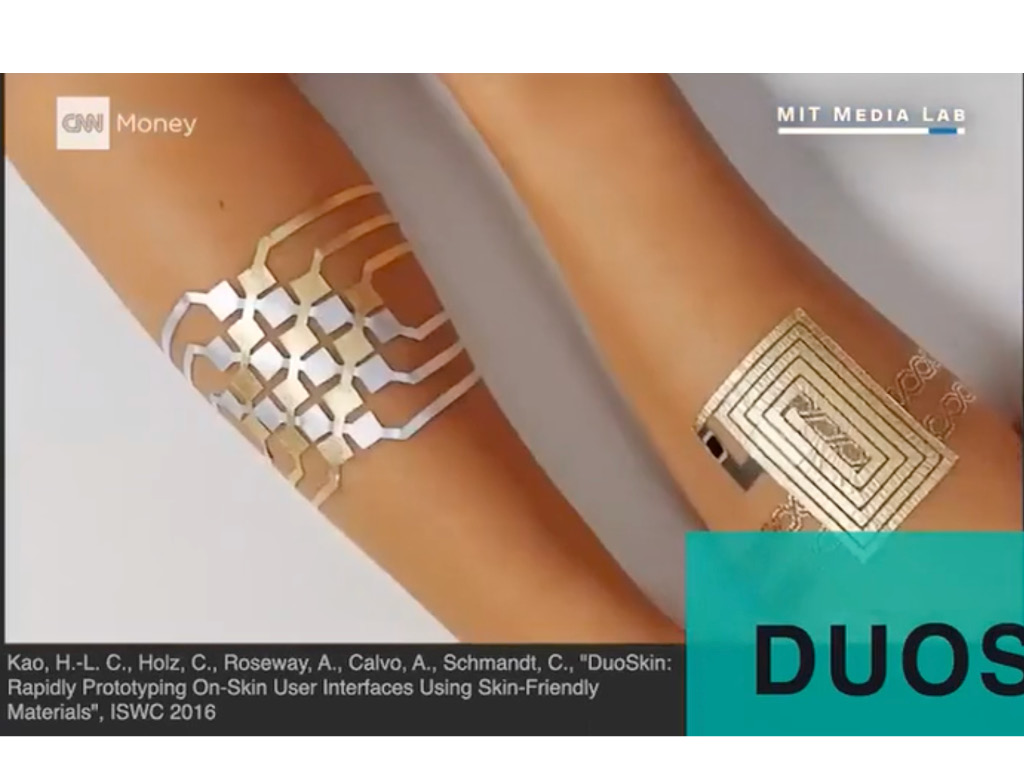
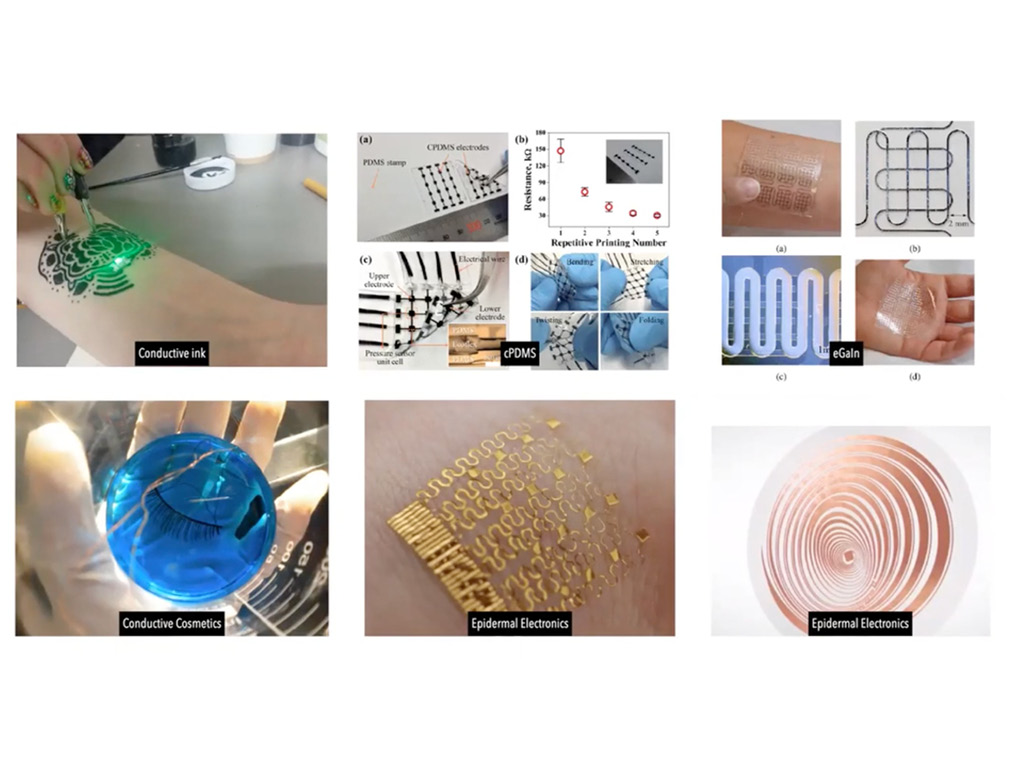
Inspirations

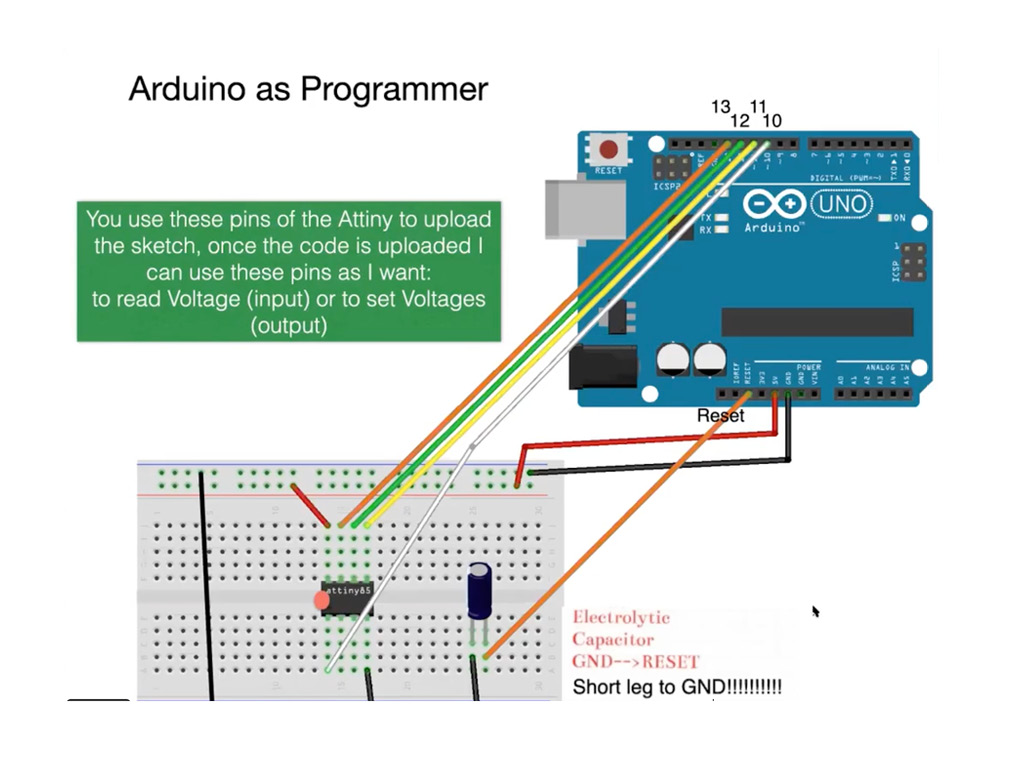
programming an Attiny
First load the sketch ArduinoISP to the arduino and how to see the attiny on the board: go to TOOLS>Board>BoardManager>Type Attiny, and select it
following the sketch and steps:
Steps
-
Connect the Attiny to your Programmer:
-
AVR programmer
-
Arduino UNO (make sure that the Arduino is uploaded with the ARduinoISP sketch)
-
In Arduino IDE: Select board (attiny85 (internal 8MHz)) and port
-
In Arduino IDE: Select programmer, Arduino as ISP or FabISP
-
In Arduino IDE: If it is the first time YOU use the Attiny => Burn the bootloader
-
On Breadboard: connect the Attiny to your input/output devices
-
In Arduino IDE: Upload the code to the Attiny
Quick Fast prototype
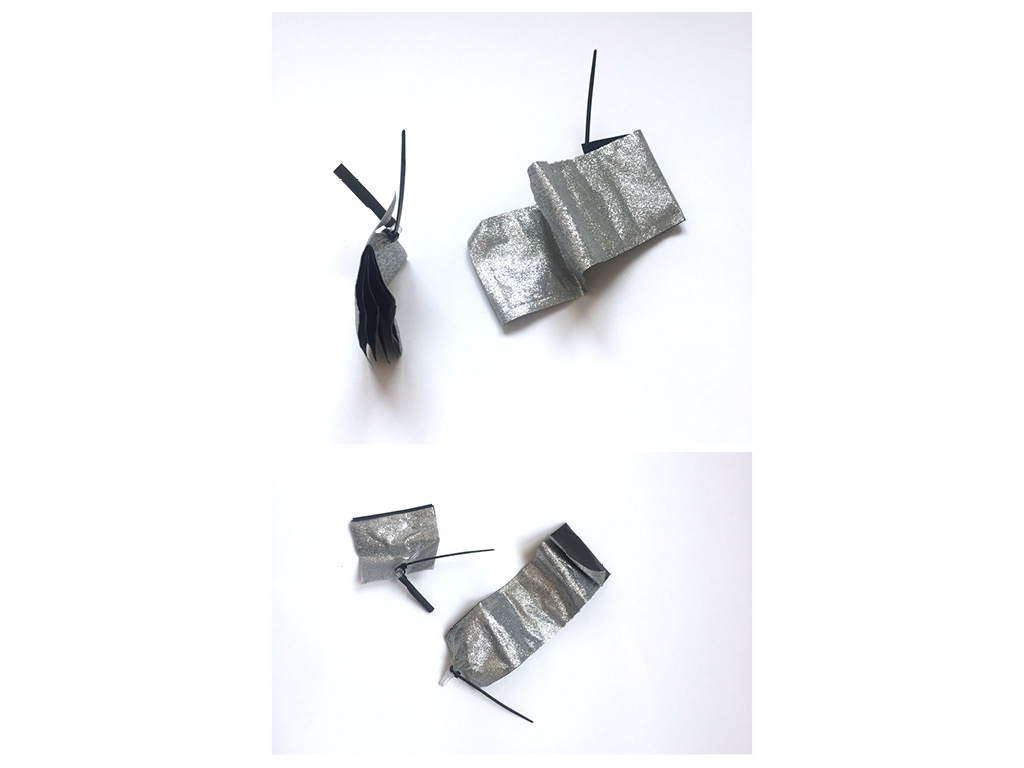
For this week I decided to create a skin electronic that could be activated by the hand.
For that I thought of creating on circuit on a glove and placing a "switch" between the two fingers. So that when the fingers touches the light gets on.
It was quite labourious to make it work as I did'dn't have conductive thread or soldering with me during the last days and the connection of the led to the circuit was not perfect. I fanally find a way.
So the circuit starts from a battery (+) to the thumb the circuit start again in the other finger and go through a led then to the Battery(-)
Material I have used: - a fabric glove - conductive thread - conductive copper tape - a 3V battery - a Led with it's resistor integarated
IMAGES
Useful links
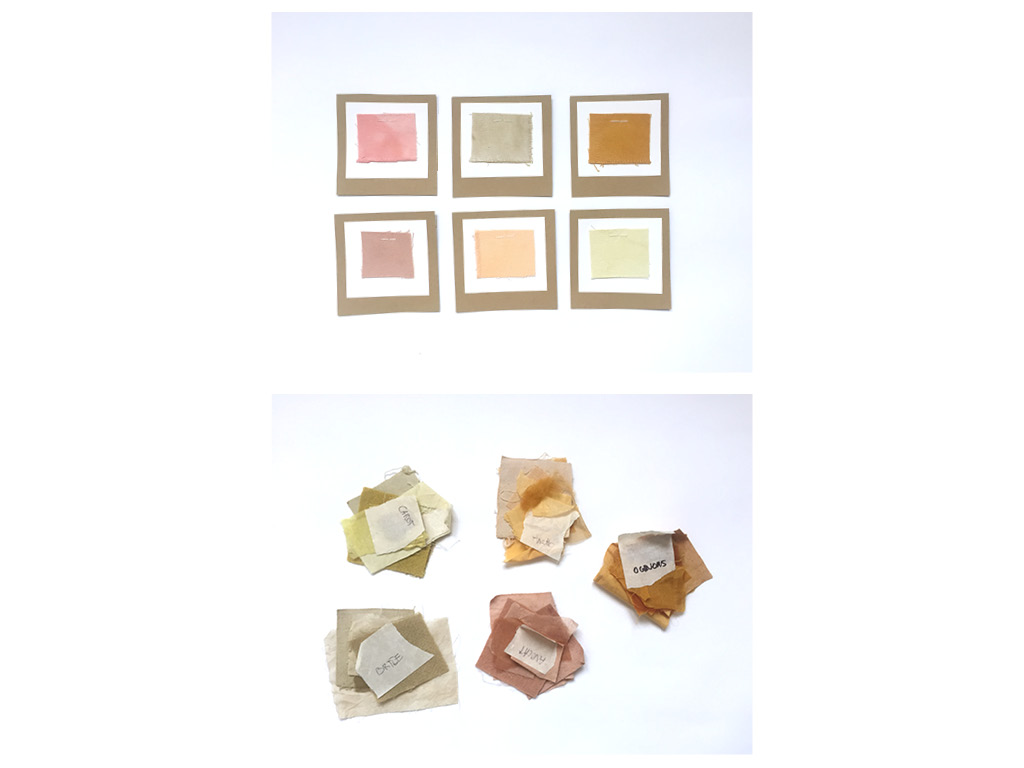
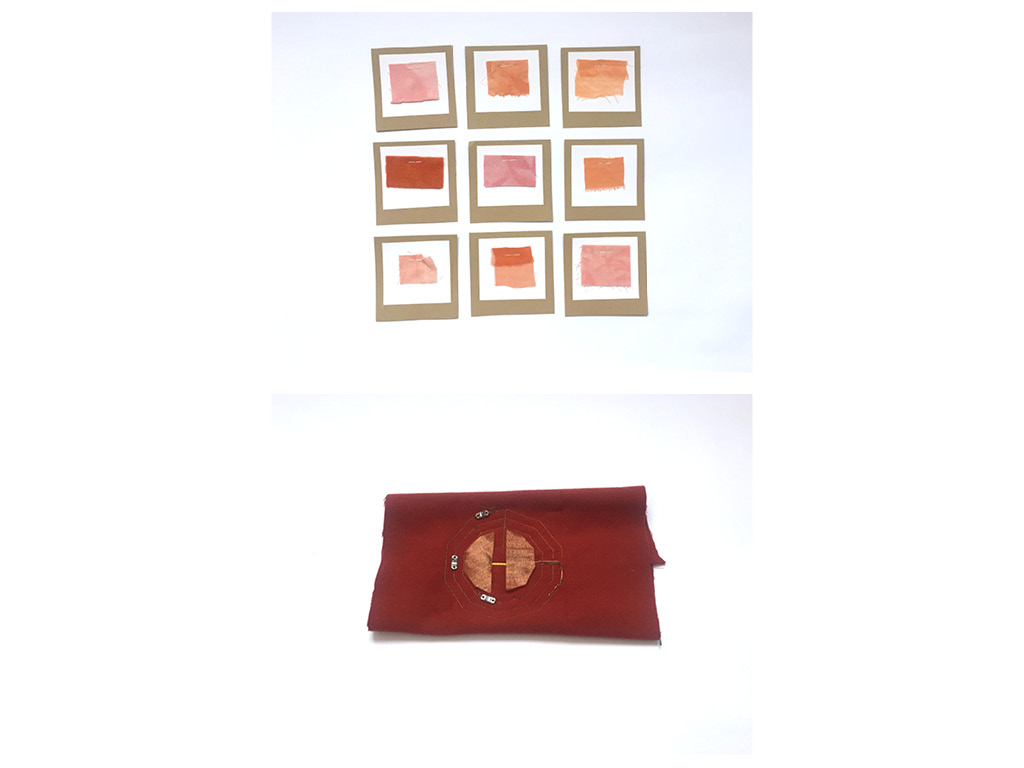
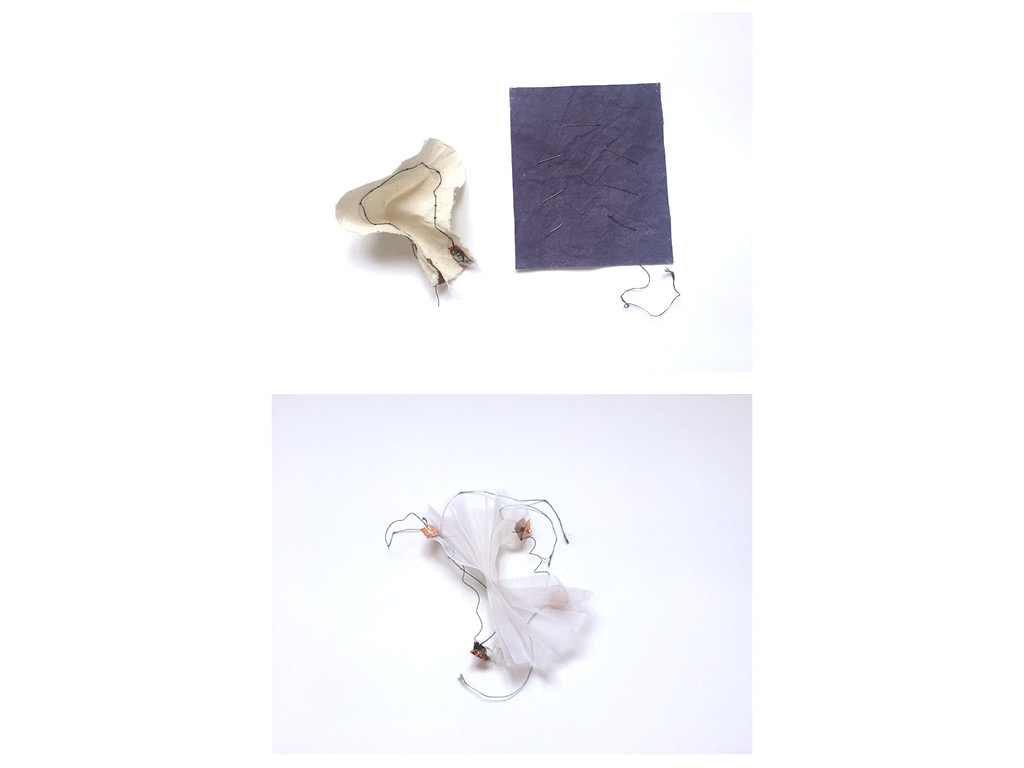
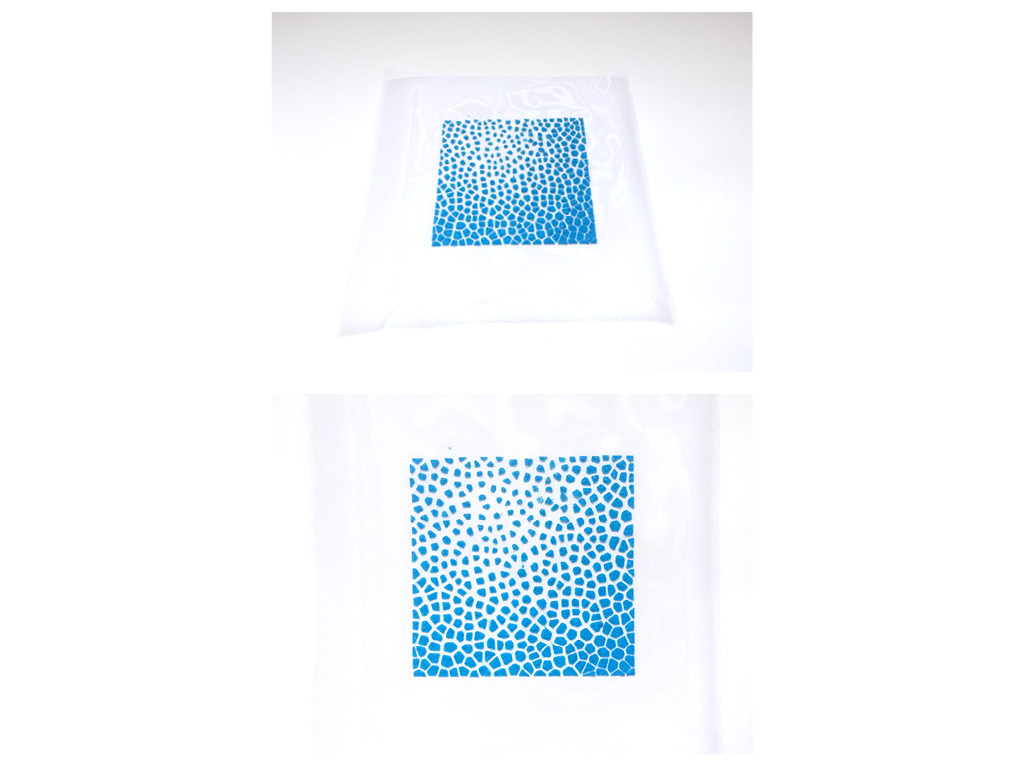
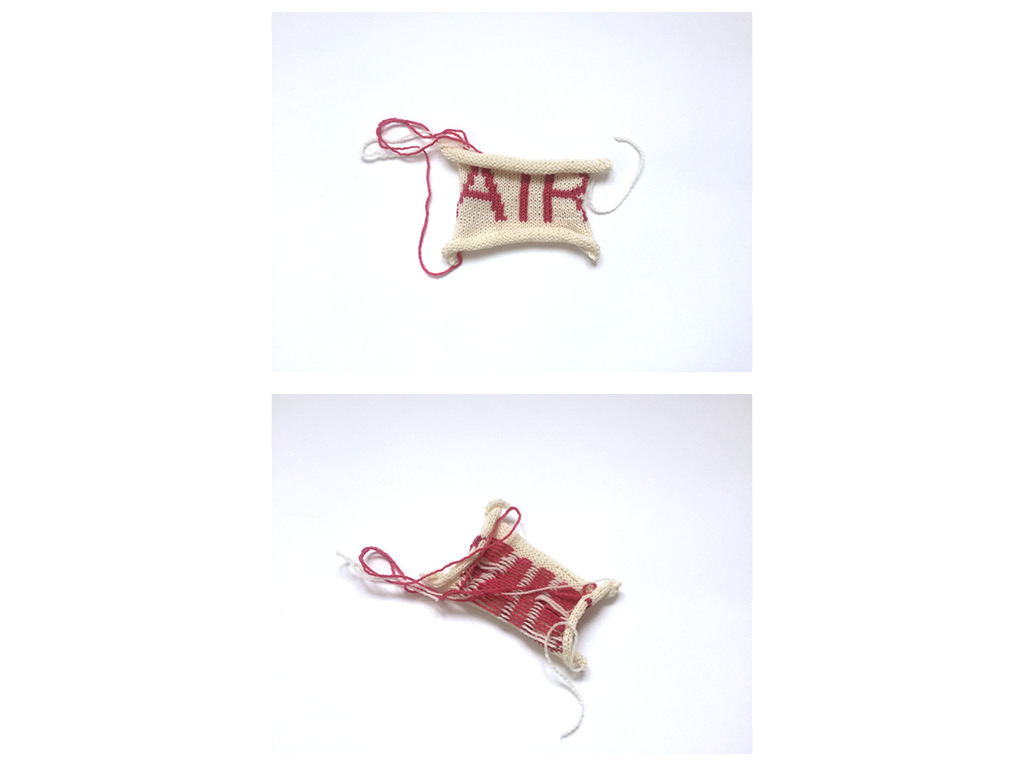
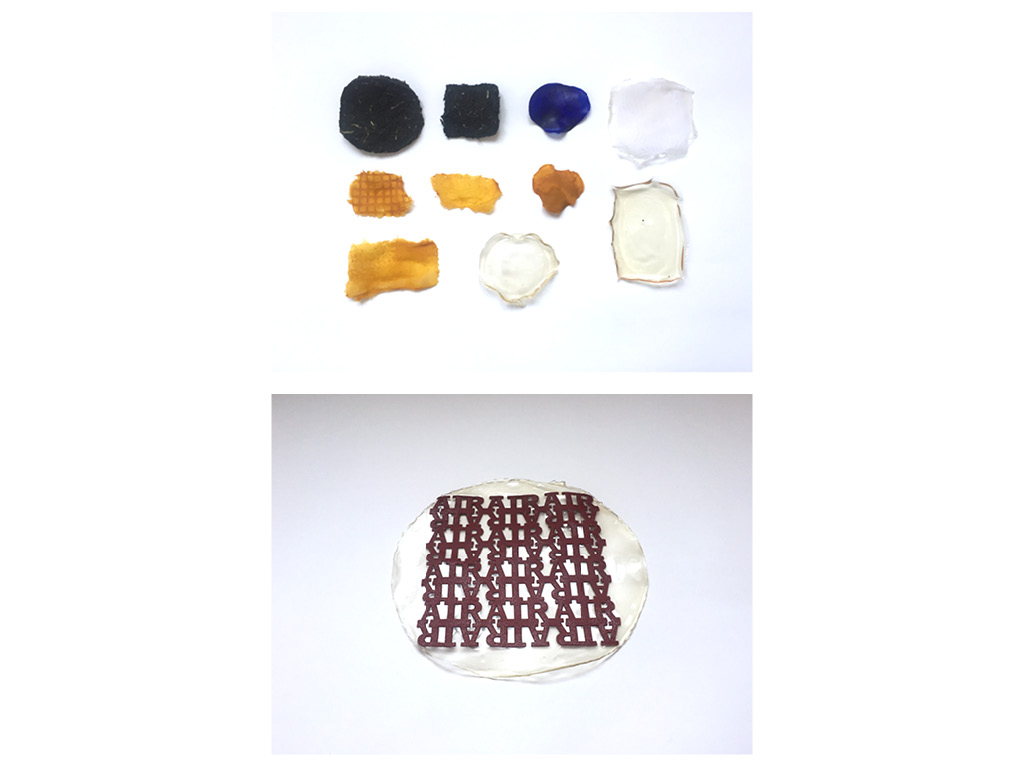
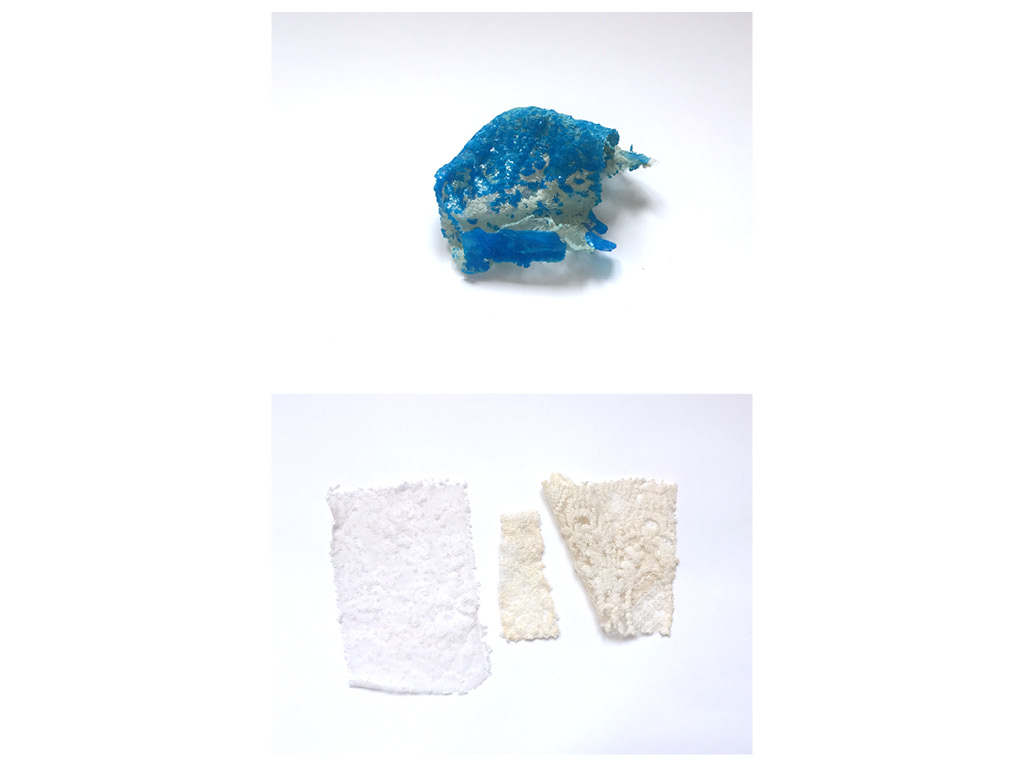
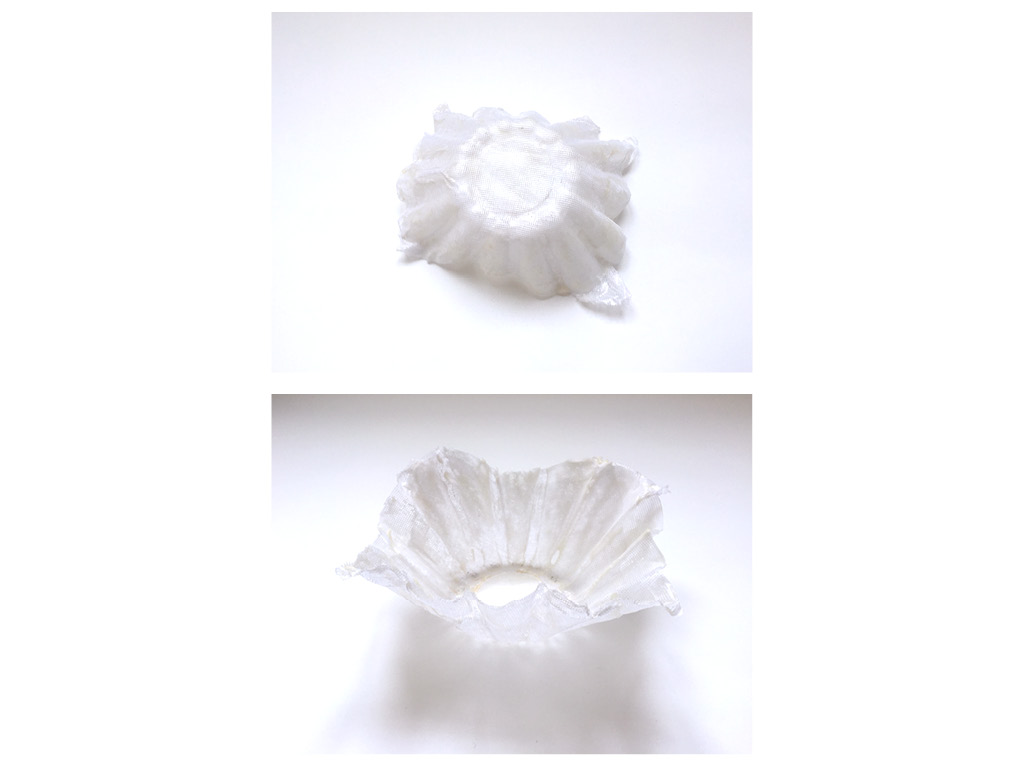
Fabricademy Box Samples
I made a small recap of my travel through the fabricademy journey - of all the samples I have collected into a specific box: