7. Computational Couture
Concepts
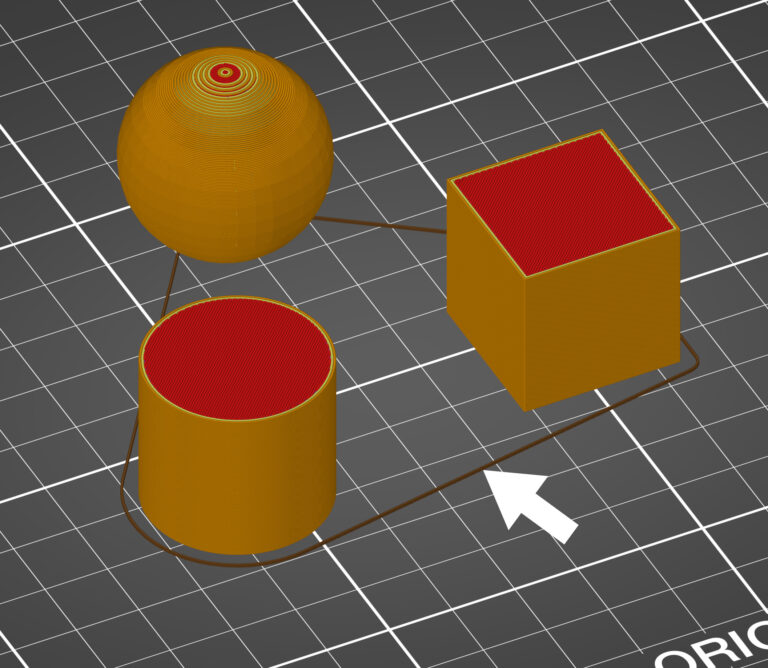
3D printing basics
graph LR
  A[design] --> B[export .stl];
  B --> C{slicer};
  C --> D[export G-code];
D --> E[3D printing];.stl: a file that stores information about your 3D model
slicer: a program that converts digital 3D models into printing instructions for a given 3D printer to build an object
G-code: the primary programming language of CNC machines. It relates to the geographical coordinates of the machine arm so that it knows how and where to move. Each line of code tells the machine to perform one discrete action, including position, speed, rotation, etc
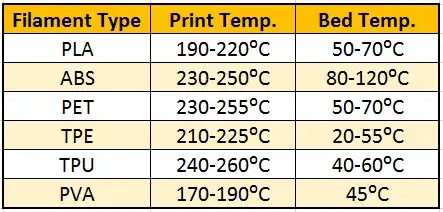
Filaments
There are many different types of filaments, each requiring different nozzle and bed tempretures to be printed. At Waag, we experiented with PLA (for rigid objects) and TPE/TPU (for flexible prints). It's worth noting that in terms of environmental concern, PLA is a bio-based plastic but not necessarily biodegradable or bio-compostable. (Read more in this article.) TPE and TPU are synthetic plastic/rubber and are not biodegradable/compostable. TPE/TPU can be recycled. (Interesting fact: TPE is a common material of yoga mats.)
3D printing on fabric

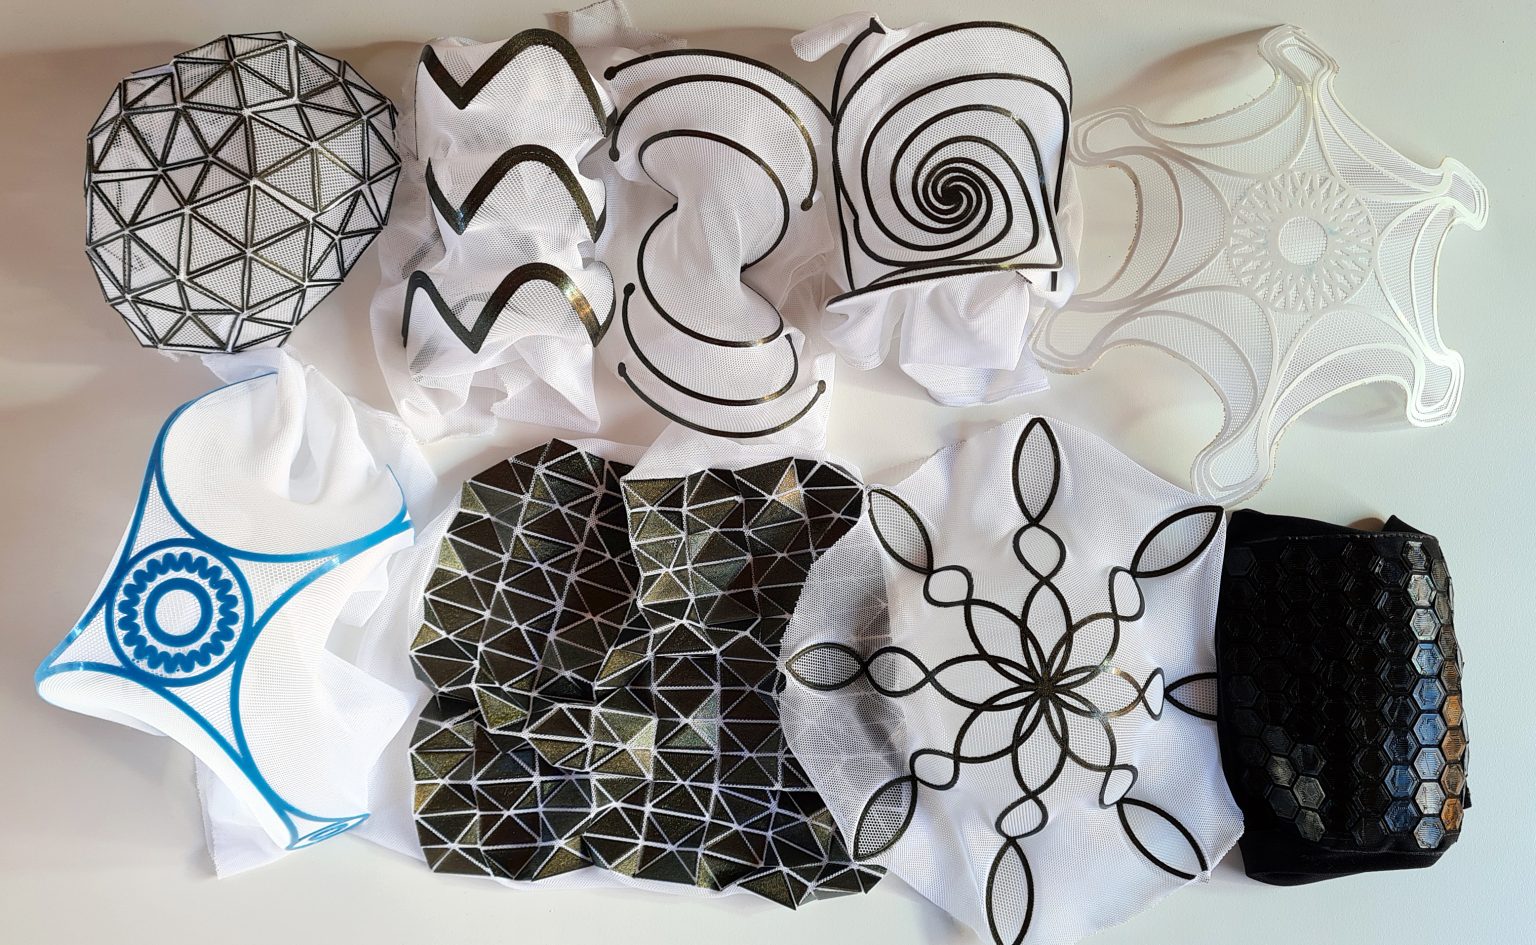
3D printed textile

Parametric design
Parametric design is a design method where features (such as building elements and engineering components) are shaped according to algorithmic processes, in contrast to being designed directly. In this method, parameters and rules determine the relationship between design intent and design response. The term parametric refers to input parameters fed into the algorithms. - definition from wikipedia

Inspirations
Caress of the gaze by Behnaz Farahi
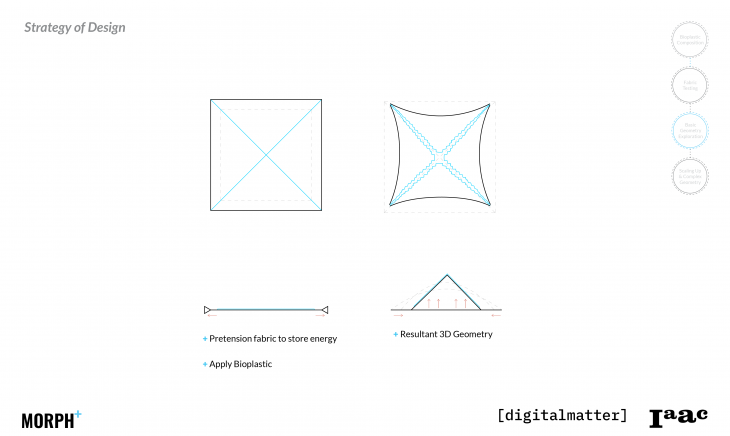
Morph+ Form Active Structures by IAAC

Cellulose dried on flat 3d-printed pattern, forming 3D surface pg. 105, Chemarts cookbook
Tools
3D printer and slicing software
At the Waag lab, we have three 3D printers: Ultimaker, Prusa and Ender.
For slicer, we downloaded both PrusaSlicer and Ultimaker Cura.
Grasshopper (GH)
What is Grasshopper? Grasshopper is a visual programming environment built on top of Rhino. It allows you to create visual scripts or definitions that describe a design through a series of relationships between operations, geometries, and other data.

Process and workflow
Slicing 101
To learn this step, we downloaded a 3D model from Thingiverse. There were lots of settings to adjust. The main ones we used were:
layer height: determines the resolution of the printed object
spiral vase: creates a continuous single outline container, gradually increasing the Z height
fill pattern: different patterns lead to different structural strength
spiral vase: creates a continuous single outline container, gradually increasing the Z height.
skirt: the skirt is a printed outline of all of the models on the print bed. It's printed before any of the models and its purpose is mainly to stabilize the flow of the filament through the nozzle.

brim: using the Brim option in PrusaSlicer which increases the surface area of the first layer
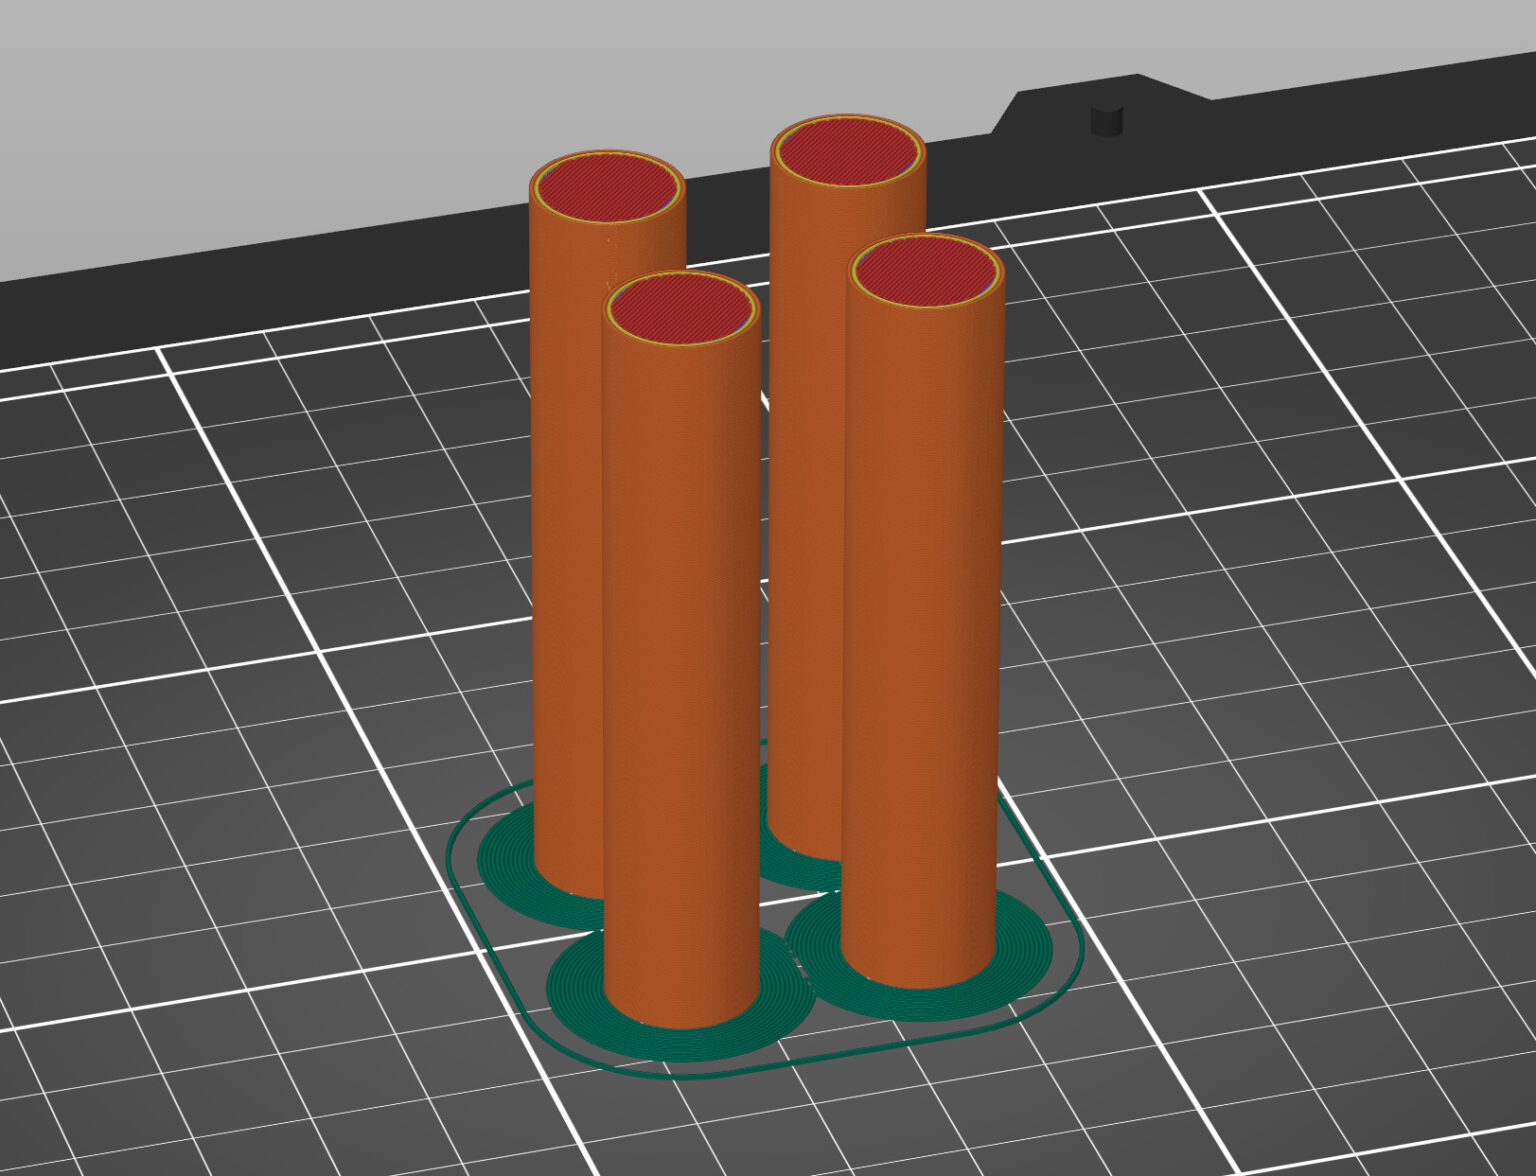
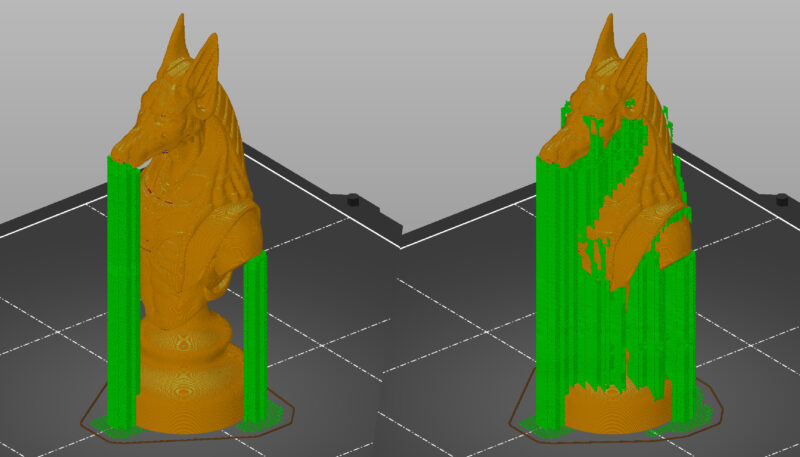
support: if part of your model starts in mid-air and is not supported by anything below, you need to add an additional support structure to ensure a successful print.
retraction: When the extruder has finished printing one section/object of your g-code, the filament is pulled back into the nozzle. Once the extruder moves to the next location the printing process continues – the filament is pushed back out and it starts extruding from the nozzle again. (See this help article)
Operating a 3D printer
flowchart TB
    subgraph ide1 [main workflow]
    a1[turn on power & insert SD card]-->a2[unload/load filament];
    a2-->a3[calibration printing bed position];
    a3-->a4[select media for printing];
    a4-->a5[print starts];
    a5-->a6[print continues];
    a6-->a7[print done];
    end
    b1([prepare filament])-->a2;
    c1([wait for nozzle heating up & filament purge])-->a3;
    d1([wait for nozzle/bed heating up])-->a5;
    e1([tune speed, material flow, z axis, etc.])-->a6;
    style ide1 fill:#fffeee;
Prepare filament

Printing in action
| Printer | Notes |
|---|---|
 Ender |
Printing cat object |
 Ultimaker |
Printing a container (Linette's test). For this "spiral vase" option is turned on |
Calibration

There are a few steps one can take to calibrate the printers. Calibration is extra necessary if a printer is used for both printing objects and printing on fabrics. The bed calibration in Ultimaker is built into the UX before the print job starts. For Ender, there is no reminder to calibrate, so one needs to calibrate it before or even during printing.

To check whether a printer is well tuned, you can use a "first layer" file. Do a search on Thingiverse. I used this hexagon.This essentially print out one layer of a shape, from which you can see where the bed need to change again. (The breakage in this shape is a result from a change of speed and material flow during the print process.)
Results from 3 printers at Waag


A cute mistake
This cat, printed on the Ultimaker, had some filament extrusion problem and is thus "broken" on a few layers.
Printing on fabric
graph TB
  A[prepare file]--disable retraction & choose correct filament profile-->D;
  C[secure fabric on printing bed]--prevent fabric drag-->D[turn on power];
D --> E[load filament, calibrate, etc.];Printing on fabric requires wrapping fabric around the print bed before starting the print process. All fabric needs to be taut (meaning not easy to move once secured).


Prevent fabric drag
One thing that kept happening during my expriments was fabric drag, meaning the fabric moved as the nozzle moved. There are two causes:
- the fabric is not secured enough on the bed, and/or
- the nozzle is too close to the fabric
Fabric drag is damaging for the nozzle :( Also, in combination with the high nozzle temprature, the fabric melts. Here's an example of fabric drag:

So, how to solve this?
-
Secure the fabric more: make sure the fabric is taped and clipped to the bed properly. Try to move the fabric by hand; it should not move easily.
-
Calibrate the bed: [This applies to Ender since it was the machine where I did most of my experiments.] When the filament has finished loading, the nozzle will be right above the bed. At this moment you can tweak the bed height manually with the knobs under the printing plate. When the print has started, it's also possible use the knobs to carefully change the print bed height. However, only do it when you know where the nozzle will be throughout the pritn job, so that you don’t hurt yourself or get in the way of the printer. Finally, the Z axis can be fine tuned during printing by going to
tune-baby step z. -
Use the right print bed (i.e. printer): The material of the print bed matters. My experiments failed multiple times with the Ender, which uses a non-stick Prusa bed at Waag. When printing on stretchy nylon, fabric drag occurred every time (below left). When I tried it with white tulle, the print was partially succesful. The failed parts were due to an uneven bed (below right).


I had no trouble using the glass bed from the Ultimaker after going through the calibration as the machine prompted.


Understanding Grasshopper
Intro
Interface: Grasshopper is launched from Rhino. Type Grasshopper in the command. The algorithms created in GH corresponds to the geometry on the Rhino screen.
I followed video 01-04 by David Rutten to get a sense of the basic workflow. He recaps concepts in Grasshopper very well:
Algorithm consists of components.

Parameters are: input param, output param, floating param

Components remember stuff, parameters do stuff.

Wires share information between paramters.

There are speical objects: sliders. gradients, etc. THey make it easy to change data.
Useful tips
- Press
Cmd/Ctrl+Shiftand drag the wires to rewire part of the algorithm to a different param.

- Press
Alt+Cmd/Ctrland click on a component to get an idea what/where it's from.

- Click
Alt+space(orspace, depends on the computer setting) to show the show/hide/bake options (functions same as right click).

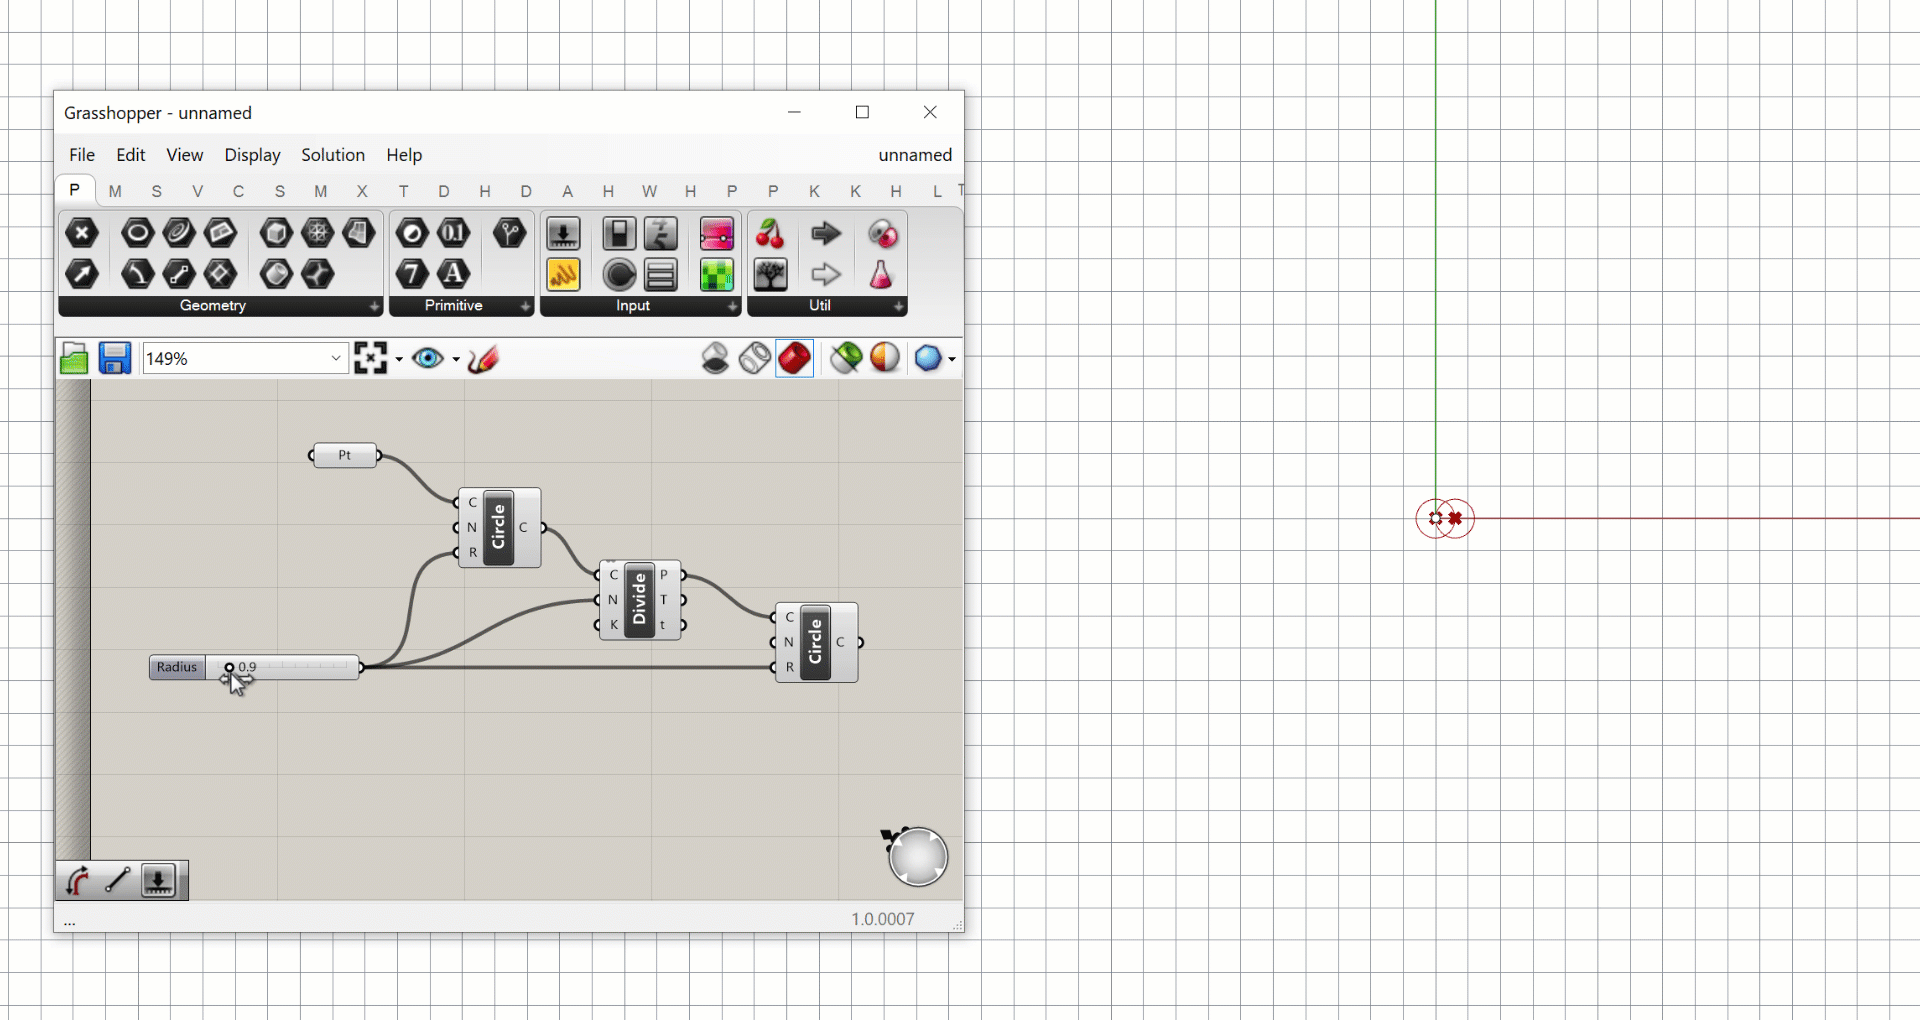
Make an attractor pattern
I followed this Youtube tutorial on attractor patterns based on hexegonal grids.

Panel is a great way to see what data a parameter contains (and way into understanding data tree and lists).

Then I followed another Youtube tutorial on parametric patterns. I learned how to created polysurfaces from the polylines and extrude them.

And I decided to use the same attractor algorithm for the z height of the objects. (Copy it, yay!)

The workflow from GH to 3D model:
graph LR
  A[design in Grasshopper]--> B[bake result into Rhino];
  B--select relevant parts/layer--> C[export .stl];
Final result:
Further learning
-
Tutorial series by Rhino Grasshopper. Particularly, this one on sound and animation is fascinating!
-
Tutorial series by Danil Nagy. I would like to have a better grasp on GH's data structure, which Nagy covers in a series.
-
Understanding different types of filaments by Cass Polzin ↩
-
Screenshot of week07 lecture ↩
-
Impresión 3D sobre textiles – Mecanismos dinámicos. Mentioned in the tutorial 3D printing on fabric by Ana Correa, 2022. ↩
-
Image from Morph+ Form Active Structures by IAAC ↩
-
Screenshot of paper "Designing with 3D Printed Textiles: A case study of Material Driven Design" by Lussenburg, K. et al ↩
-
Digital specimens by Ray Tiunn ↩