9. Textile as Scaffold

Concepts
When I read the phrase "textile as scaffold" for the first time, I was not totally sure what it meant. (The image I had in mind initially was scaffolding and safety net used in construction, which has been a major inspiration for me.) After attending this week's lecture by Anastasia Pistofido and carrying out several experiments, I came up with three ways of interpreting "textile as scaffold":
- Using a mold to create and/or form textile: such as objects molded with biocomposite/mycellium/leather. Here textile is a (shapeless) material; through processes, the material takes on different forms.
flowchart LR
  A((textile as **material**))---B((biocomposite));
  A---C((mycellium));
  A---D((leather));
  B-->E[mold];
  C-->E;
  D-->E;
  subgraph ide[method];
  E-->F[object];
end- Turning textile into a scaffolding: such as casting concrete using fabric framework and growing crystals on textile. Here textile is part of, or becomes, a supporting structure.
flowchart LR
  A{textile as **structure**}---B{fabric framework};
  A---C{wood on textile};
  A---D{crystal on textile};
  B-->E[cast concrete];
  C-->F[cut and bind with glue];
  D-->G[submerge and dry];
  subgraph ide[method];
  E-->H[object];
  F-->H;
  G-->H;
end- Textile as both material and structure: such as creating a "self-standing" fabric, or leaving the textile in the concrete after the fabric framework process.
flowchart LR
  A((material))---|textile|B{structure};
Definitions and examples:
Biocomposites: biopolymer matrix reinforced with natural fiber, e.g. the biocomposites from Organoid
Molding: in the lecture we learned specifics of compression moulding, vacuum forming and vaccum bag moulding; there are many other techniques
Fabric formwork: the use of structural membranes as the main facing materials for moulds
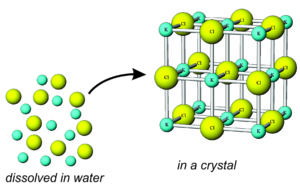
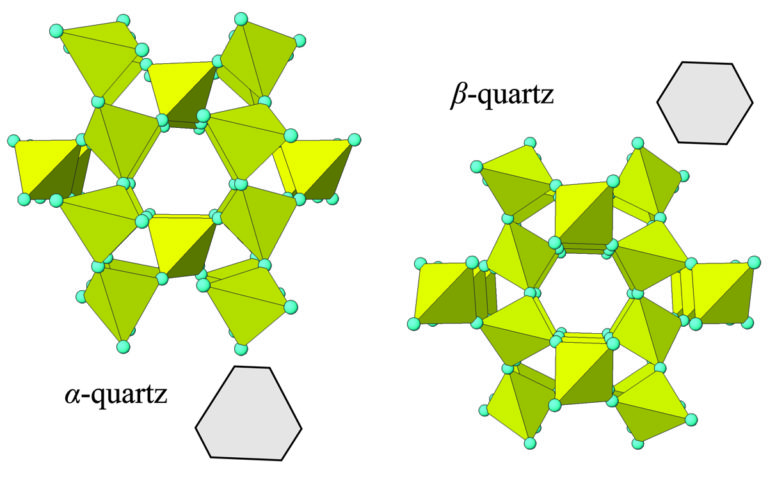
Crystallization: the process by which solid forms, where the atoms or molecules are highly organized into a structure known as a crystal. More on this process from Open Geology Mineralogy
References & Inspiration
The following are projects I find inspiring. In referencing them, I have also placed them in the typology I developed above (i.e. textile as material, structure or both).
- Textile as material 2:

- Textile as sturcture 3:
- Textile as both material and structure 1 4:


- Textile as both material and structure 5:


From the design studio Samira Boon:
HYBRID TEXTILE: The textile is designed considering the movements of dancers featuring parametrically designed patterns and laser cutting for special tactile and visual effects. The moldability and fluidity of the fabric are gradually changing throughout the fabric.

UNI TEXTILE: These textiles are strong, highly moldable and can generate self-supportive 3d structures. They are developed for continuous interaction and reused throughout a series of 100 performances. They can be sculpted and flattened again to create landscapes of movement and redefine spaces on stage.
- Crystallization6:


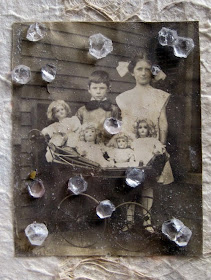
From the maker on using glue and then submerge into borax solution:
Then it occurred to me to experiment with collage. Turns out you can create a collage using a glue stick, immerse it in a super saturated Borax solution minutes later, and the crystals seal in the collage...
Tools
- 3D modeling software, e.g. Rhinoceros
- CNC milling machine + milling ends
- General workshop tools: saw, sanding paper, filer
- TBD
- measuring cups — liquids
- measuring cups - solids
- scale
- wide-mouth bottles and tubs
- electric kettle
Process and workflow
Mycellium
We used the kit from grown.bio.
Day 1: After sterilizing all surfaces and molds with alcohol, we mixed the mycellium substrate with flour and water. With the mix we filled the mold.


Day 3: Mycellium grows.

(Growth slowed a great degree between this period.)
Day 16: I unwrapped the mycellium and let it grow for 2 more days.
Day 18: Dried the mycellium in the oven at 70C for 2 hours (with mold). Took out the mold. Dried at 70C for 2 more hours (without mold).


Making a mold with CNC milling
graph LR
  A[design] --> B[export .stl];
  B --> C{VCarve};
  C --> D[set up material & create toolpaths];
  D --> E{Shopbot};
  E --> F[load VCarve file];
Design
A mold is made with a positive and negative component. We learned to model the mold in Rhino.
I wanted to create a mold that represents a hand pressing a surface. To do this I downloaded an hand .stl file from Thingiverse. However, after trying to work with it in Rhino, I realized that the operations I wanted to use in Rhino modeling do not work well with mesh objects.
I tried to use the offsetNormal command with mesh objects, but it did not work. From what I understood, mesh objects are made of many small triangles and have way too many vectors. So I tried to use the good ol' scale.

After some brutal force and lots of assistence from Asli (the amazing intern in the fab lab at the time), I was able to have a model. We had to clean up the model by explode polysurfaces and manually delete line artifacts. We used trim as a way to cut "holes" in rectangular base.
Operating CNC milling machine
Safety is the utmost thing when it comes to using a CNC milling machine. There is an emergency brake located in the front of the machine. If something goes wrong, hit the brake. Before evacuating the place, take the exhaust bag out to prevent fire.
We spent a whole day on setting up the machine and learning the workflow. Here are manuals from the offical waag site:
- shopbot
- VCarve
I am skipping the detailed documentation for this part since it's not a focus for my goal during these weeks. If I do the fabricademy or fabcademy in full, I will take the CNC course again.
Leather molding and Vacuum bag forming
See slide 72-82 from lecture.
I have not done any vacuum bag forming. For the experiments I consult the process documentation by Loes Bogers.
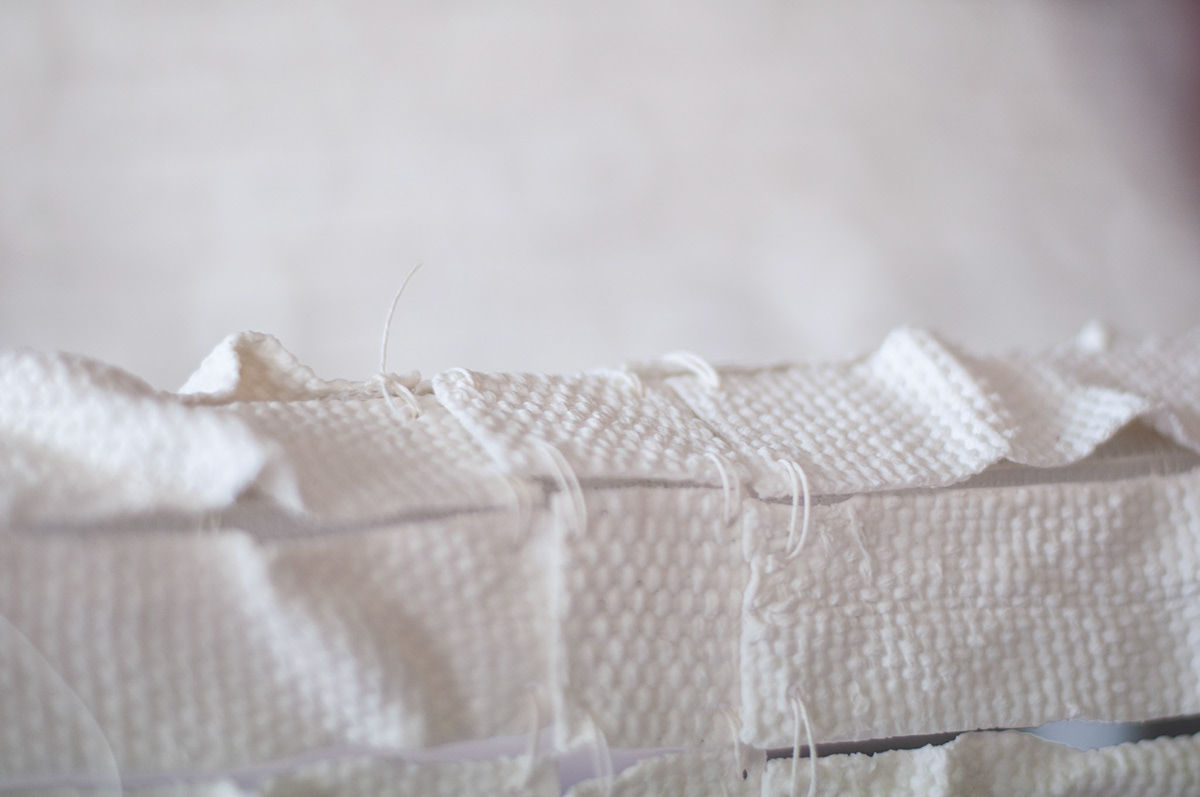
Crystallization
"Growing" crystals is a metaphor. The process involves preparing an oversaturated mineral solution and, as the solution cools, the minerals will become solids again. When placing an object/structure in the solution, crystals will form around it.
For the experiment, I used the aluminum recipe from the crystallization tutorial 7
- 240g alum powder
- 2000ml water (this is based on the ratio of every 60g alum per 500ml water)
- Prepare the structure onto which the crystals will form
- Boil the water. In a large beker (1L or 2L), mix the alum powder and water according to the ratio
- Pour the solution to the containers with the structure
- Wait 30min - 24h for crystal formation

I added tea to one container of the solution, resulting in the red color.


Other than fabric structure, I tried to grow on a piece of onion skin and a piece of lichen.


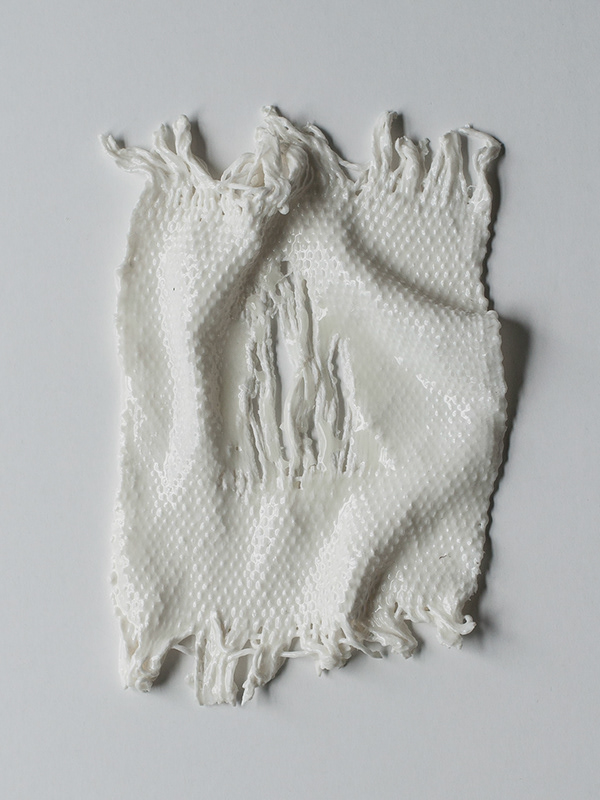
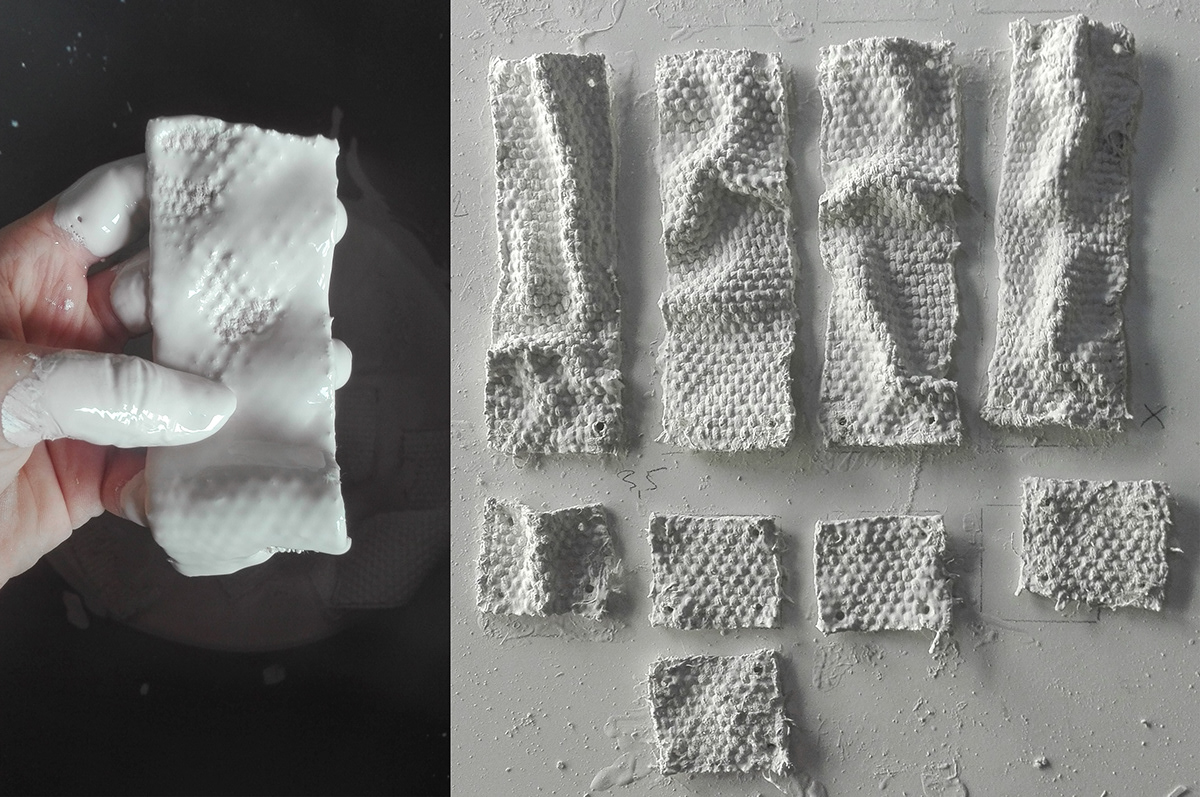
Result
-
Frederick Kieler "Endless House". https://art-being.blogspot.com/2012/08/frederick-kieslers-endless-house.html ↩
-
Leather collection by Kofta Studio ↩
-
Magdalena Wierzbicka's project Woven Space ↩
-
Svenja Keune's research On Textile Farming: 2018 (licentiate thesis) & 2019 (PhD thesis) ↩
-
Two of Catherine Mcever's crystallization experiments. link 1 & link 2 ↩
-
2022 crystallization presentation: https://docs.google.com/presentation/d/1MLqHsK8ZG_f_KSrC1RB7opqyKXy_MIwC76RS3ktF2Xs/edit ↩