2. Digital bodies
Possible Bodies
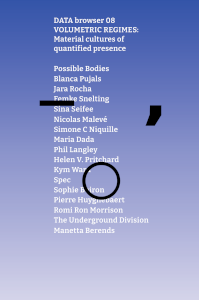
Thinking of bodies in relation to technology, I had no excuse to not look at VOLUMETRIC REGIMES — Material cultures of quantified presence which stands in my bookshelf. Volumetric Regimes is a book, edited by Possible Bodies (Jara Rocha and Femke Snelting which questions how bodies are captured/represented through/by technology/software and how those have an influence on us. The book is freely available as a PDF.
My mind went a bit everywhere, I'll document each mini-step of it, hope it's not too confusing… If you're looking for the project of this week, jump to Inside/Outside.
Make Human
Make Human is a software to make “humanoid“ 3D models by just manipulating sliders. While the easiness of the program is tempting, it underlies some political issues.

Measurements
One issue concerns the minimum and maximum values of each parameter. When you inspect the source code, you can read that they base their data on World Health Organization recommendations. Although this could be considered as a good and noble idea, it does not necessarily represent all human figures in the world. But as the software is open source, one can relatively easily change those numbers in the source code.
Racism
Another issue is about the 3 bottom sliders in the main tab: “Causasian“, “African”, “Asian”. It looks like you can define any human being by changing those 3 parameters. What's even more striking is that when you move one of the three sliders, the two other ones move consequently as they are correlated: they must make a total of 100%. And one could wonder what those parameters affect in the body produced.
MakeHuman does not address all aspects of what a body is: hair besides a haircut, wrinkles, muscle, grease, bones structure, disabilities… Which is probably too complex to 3D model, but maybe if the software makes “3-Dimensional humanoid characters” as they claim, maybe it should just be renamed into MakeHumanoids…
Genitals
In the main parameters, having a slider for the gender can sound optimistic: we expect that the software acknowledge the non-binarity of human beings. But when we go to the Gender tab (you might need to install the Genitalia add-on), it's a different story.
We go to the Gender tab, here we can define the genre even more. If it's a woman we can place breasts, and if it's a man we can put genitals. I do not recommend placing genitals, since they are not detailed in a game and can create bugs, unless the character is going to be naked.
According to this source, when you're making a woman character you add breasts for women (although a lot of men have bigger breasts than I do) and if you're making a male character you add genitals (meaning that female do not have genitals?). Just like in biology books to learn about the human body, the vagina is omitted. It's just a non-existing genital. And what about the in-between?
Going further
If you want to dig further into these questions, follow the research of Femke Snelting who have been working on that topic for quite some years now.
[…] the last slider proposes three racialized options for mixture. They appear as a matter of fact, right below other parameters, as if equal to the others, proposing racialization as a comparable and objective vector for body formation, represented as finite (and consequently factual) because they are named as a limited set. We want to signal two things: one, that the persistent technocultural production of race is evidenced by the discretization of design elements such as the proportion of concrete body parts, chromatic levels of so-called skin, and racializing labels; and two, that the modeling software itself actively contributes to the maintenance of racism by reproducing representational simplifications and by performing the exclusion of diversity by means of solutionist tool operations.
Parametric design promises infinite differentiations but renders them into a mere illusion: obviously, not all physical bodies resulting from that combination would look the same, but software can make it happen.
Random ideas
Shoes
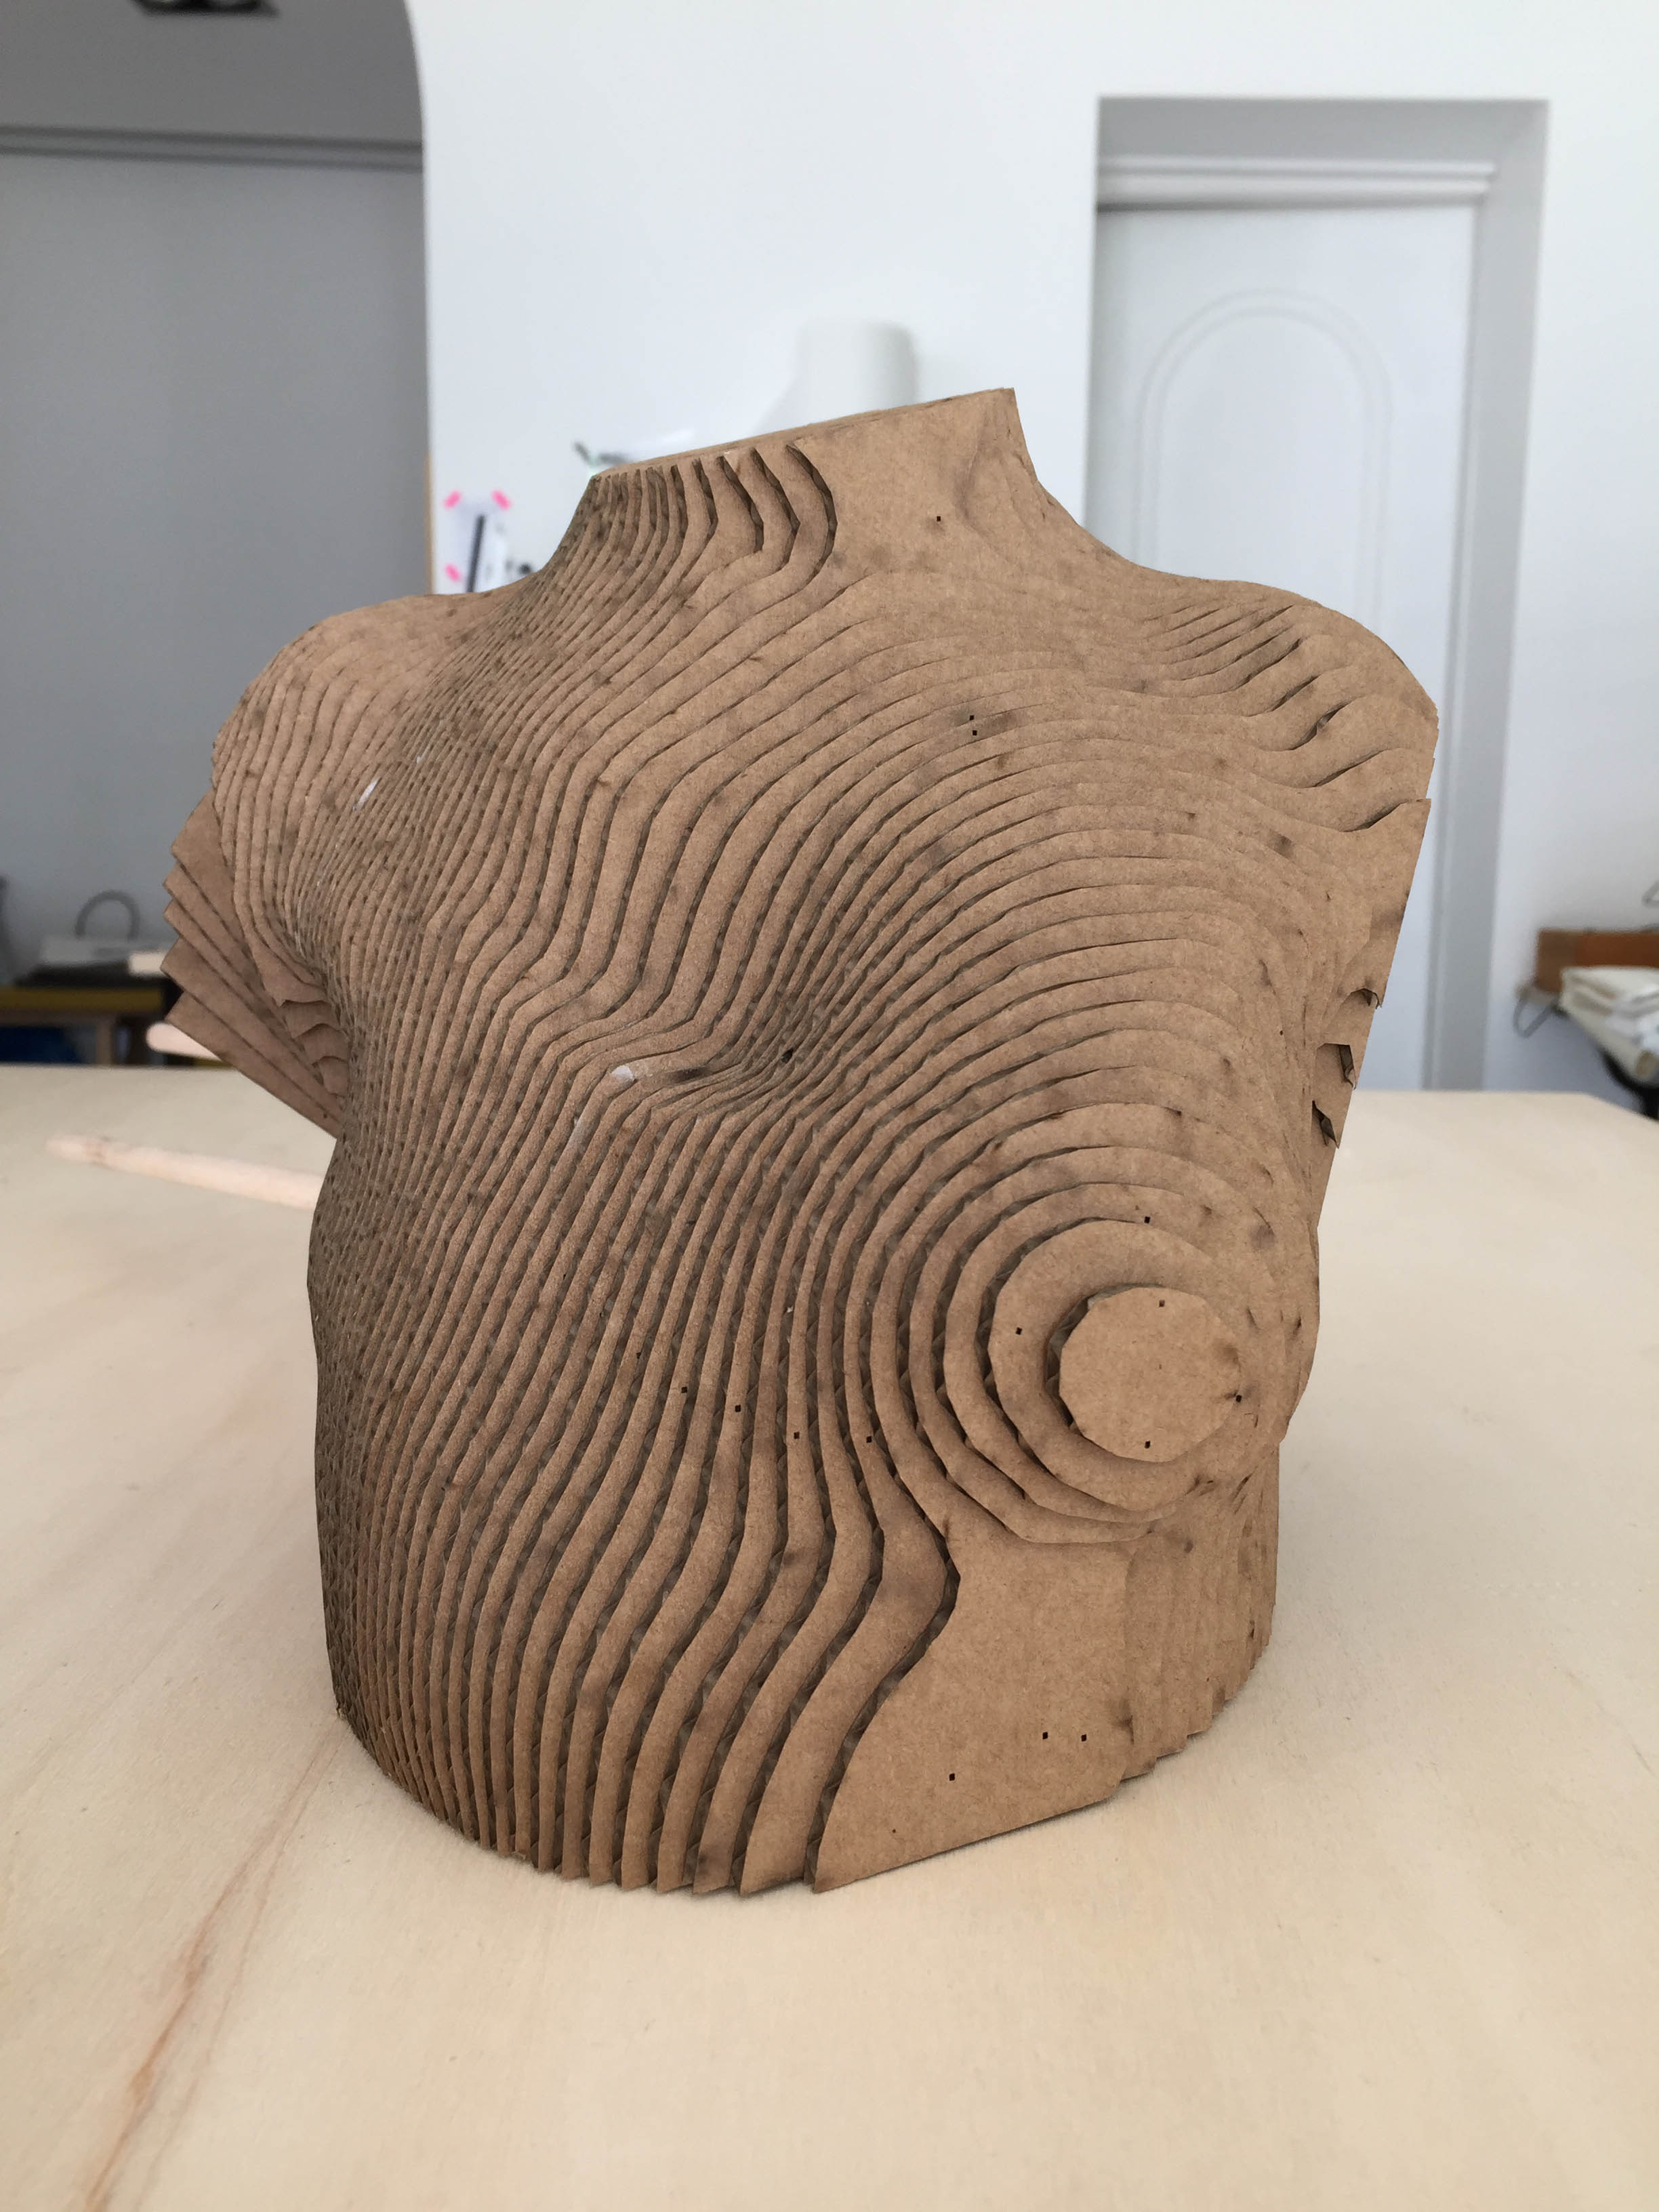
This is a very straight-forward will that I have had for a long time. To make tailored shoes/insoles. I have large feet compared to the ready-to-wear standard. Although for ready-to-wear clothes, if it doesn't fit you, you might not look so nice but it should not be a health issue. When it comes to shoes, when your feet don't fit (haha…) the pattern, you have pain. So more than ever, digital fabrication for tailored fashion is necessary. I will probably do a last of my foot later on with slices of carboards… Here are some tools to look into later.
Instructables
https://www.instructables.com/3D-Printing-Health-Custom-DIY-Orthotics/
This recipe asks you to make a mold of your foot, that you fill with some modeling clay to make a mockup insole. You take pictures of this insole for a photogrammetry process to digitize it for 3D printing.
Gensole
Asymmetries
I'm very much interested in asymmetries and imperfections to counter the slickness of computer generated shapes.

Can it scale to the universe?
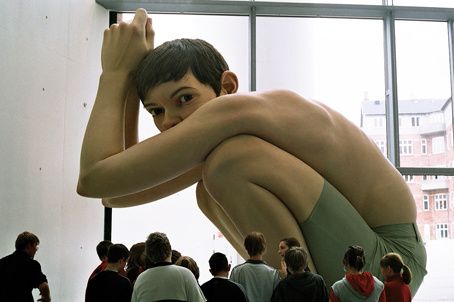
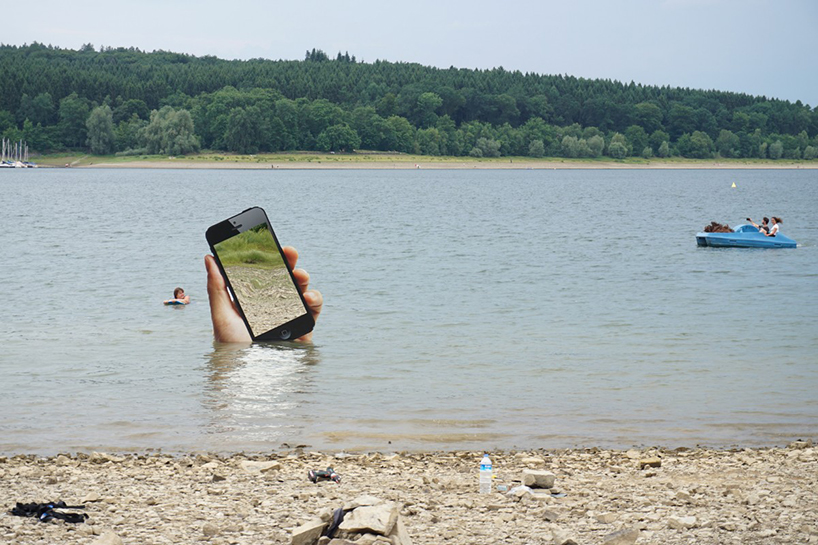
This is the title of a workshop that Open Source Publishing had made during Relearn 2013 to explore the change of scale. I'm interested in what's happening between two different scales, what is lost, what is revealed, how objects/bodies are simplified?

Idea
→ reproduce a model maker figurine for architecture into a human-size cardboard/plywood mannequin.
Inside/Outside
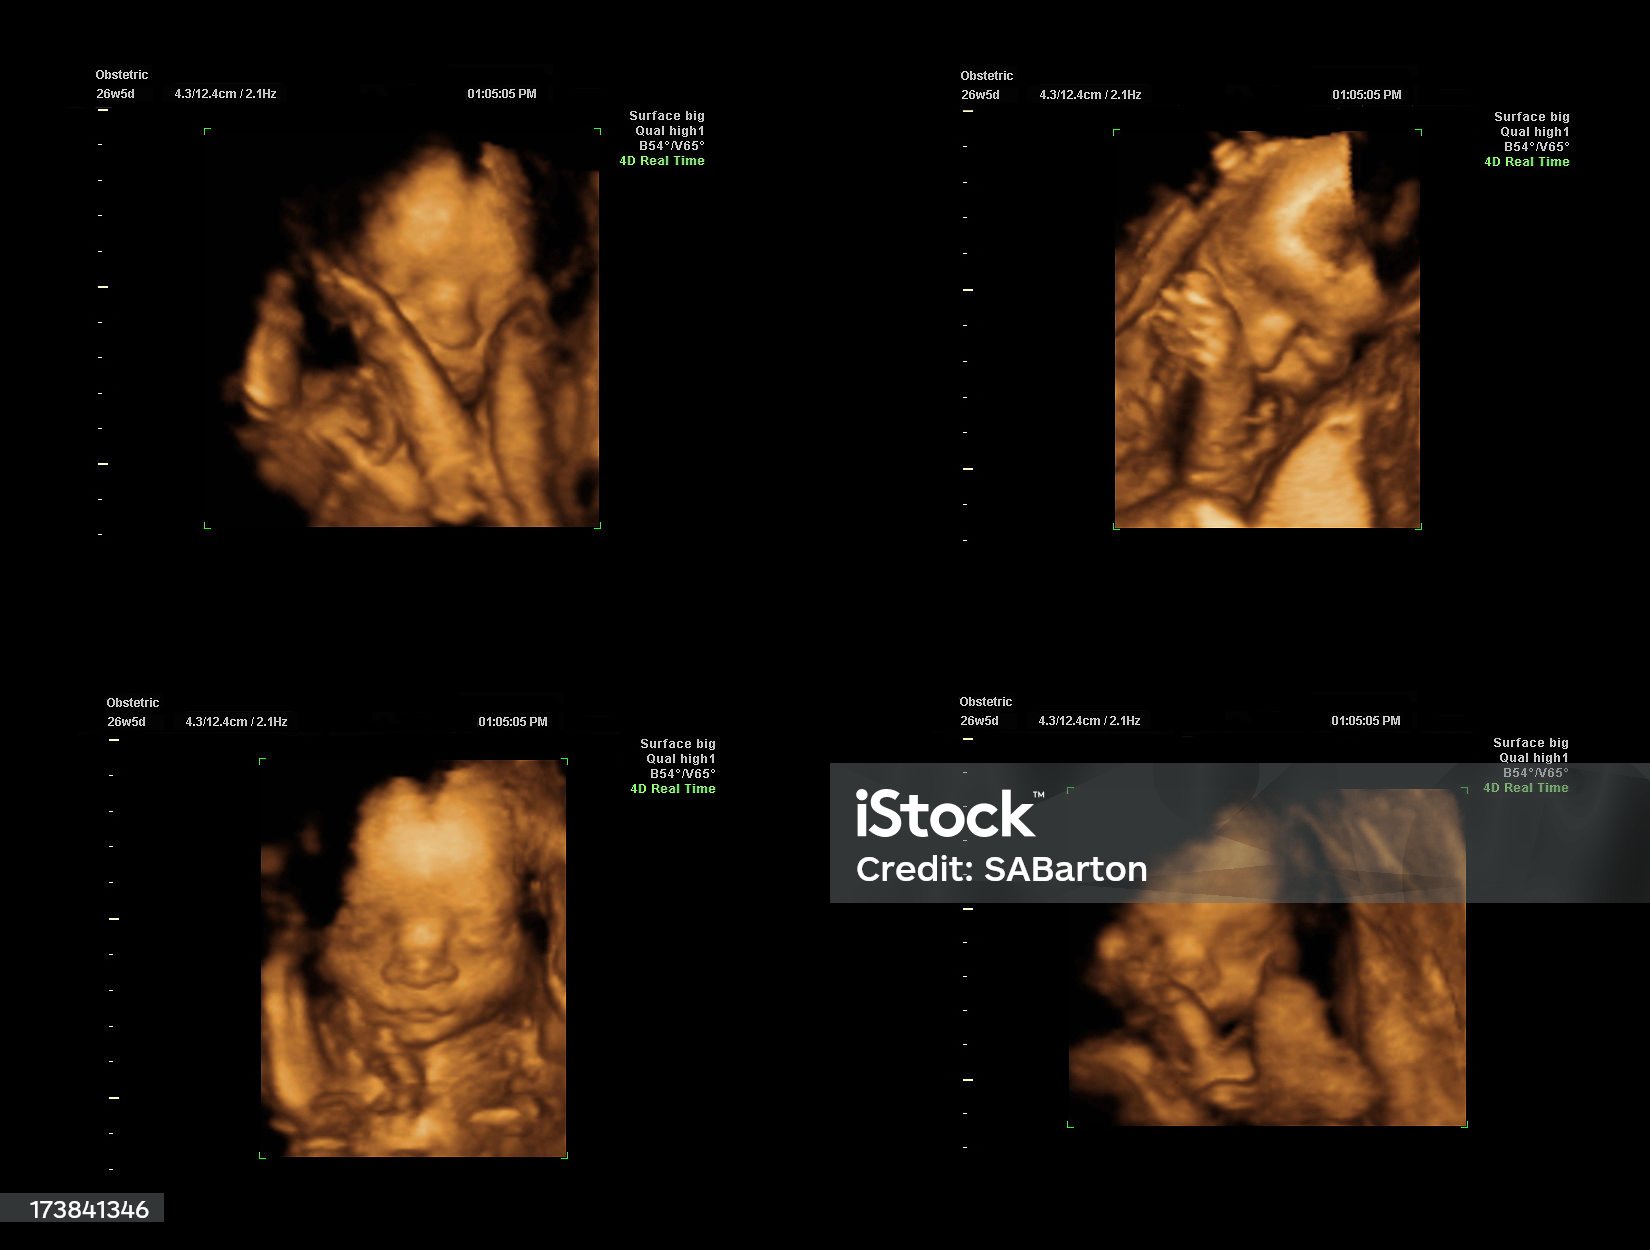
When I was pregnant, I was amazed by seeing 3D ultra-sound pictures of my babies. I had no idea 10 years ago that this existed. Now it's even 4D (real-time 3D video) and it's even super-marketed. But I still find amazing to have a 3D representation of something inside a container.
The sliced mannequins of the previous Fabricademy projects reminded me of the Visible Human Project: corpses which were physically sliced for scientific purposes.

Sources: MRI
For this week project, following this interest in inside imagery, I plan to engrave MRI imagery on acrylic transparent plates. I found the website Anatomy and Radiology resources which offers medical imageries for educational purposes. I used the MRI pictures, viewed from the top and took a screenshot of each of the slices.


Process
- Renaming pictures with a basename and increment (from
2023-09-29-131633_grim.pngwe getmri_1.png) i=0; for fi in *.png; do mv "$fi" mri_$i.png; i=$((i+1)); done- Cropping all pictures with imagemagick. Image Magick is like a Photoshop/Gimp in the command line, it's powerful to edit batches of bitmap pictures.
for FILE in *.png; do convert $FILE -crop 730x950+530+60 $FILE; done;- Inverting colors with imagemagick
for FILE in *.png; do convert $FILE -negate $FILE; done;- Resolution
- I found that the average length of an adult brain is 167mm and its average height 93mm. Since I will be using 3mm acrylic plates, I would need
93/3 = 31 plates. I had 132 images in total, so I kept a quarter of those. I don't have much acrylic plates available, so I decided to make a 0.5 scale: I then removed half of the pictures. - Preparing for the laser cutting in Inkscape
- As the files I have are bitmaps, I can't use an automatic nesting tool. I nested the shapes manually in Inkscape.
- I added 2mm holes to be able to slide a rod to maintain the plates in place.
- To cut the outline of the brain with the laser cutter, I need a path cutting out the white background of the images. I used the Fill tool (blue) on the white background and made a pathfinder with the whole surface (brown) to retrieve automagically the outline (red) of the brain.


- Laser cutting
- With the Beambox Pro, I used this parameters.
- Engraving: 21.5% — 150mm/s
- Cutting: 55% — 7mm/s
End results
In the end, putting all the slices on top of each other didn't offer the transparency I had in mind. I tried to put LEDs inbetween each slice, but they weren't strong enough. So I decided to just space them even more like the Visible Human Project.


Because I scaled it down, I should have chosen a thinner material. I'll try with rhodoids or polypropylene sheets.
Files
Other tools experimentation
Dust 3D
Dust 3D is a 3D-modelling tool but very different from what exists. You can import as reference a picture which shows an object/person in front view and in side view. Then you add circles that you place and grow/shrink based on the picture underneath. You can also generate 3D models with javascript, you can animate, add textures… It seems to be 3D-printing friendly. I still didn't have time to play with it, but here's an appealing demo to make you want to try it out:
Slicer for Fusion 360
This software from Autodesk is not supported anymore, and it didn't work on my Windows 10 (installed as a virtual machine on Linux).
Diane Wakim suggested to change the parameters of the software by right-clicking on it:

But is still didn't work out for me…
- Alternatives to Slicer for Fusion 360
- With Rhino (untested): https://materiability.com/portfolio/waffle/
- With Grasshopper (untested): https://www.food4rhino.com/en/app/slicer-pro-decor
- Laser Slicer is a command line python script which slices your 3D model into layers. It uses OpenSCAD on the background, so you would need to install it first. It outputs a series of SVG files that you would need to nest yourself.
Sense scanner
Within the Green Fabric node, we did not manage to make the 3D Sense scanner to work. We tried on 4 laptops (windows and macOS). Either the scanner was not detected, or it's the software which refused to open… We decided to fallback to photogrammetry apps.
Kiri engine
Kiri Engine is a mobile app for Android/IPhone. With the free version, you can take up to 70 pictures for one object, and you can download up to 3 objects per week.


Meshroom
Meshroom is a free, open-source 3D Reconstruction Software based on AliceVision, a photogrammetric computer vision framework. And it works on Linux, yay! A good tutorial on how it works here: https://meshroom-manual.readthedocs.io/en/latest/tutorials/sketchfab/sketchfab.html#step-3-basic-workflow

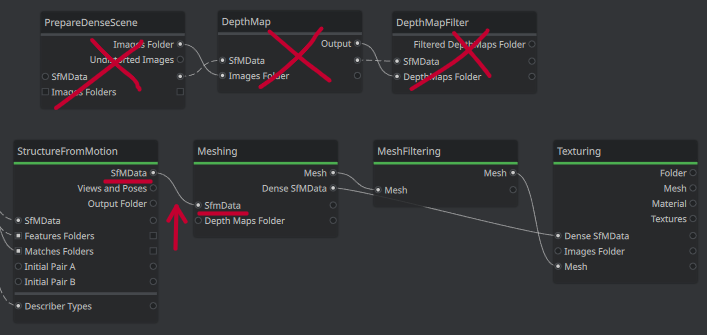
If you don't have an Nvidia graphic card (with CUDA installed), you will probably have an error during the DepthMap sequence. If this is the case, you would need to adapt the workflow like this:
