07. Final Design
Overview
The final placement of the rod and the layout of the modules is shown in the diagrams below.
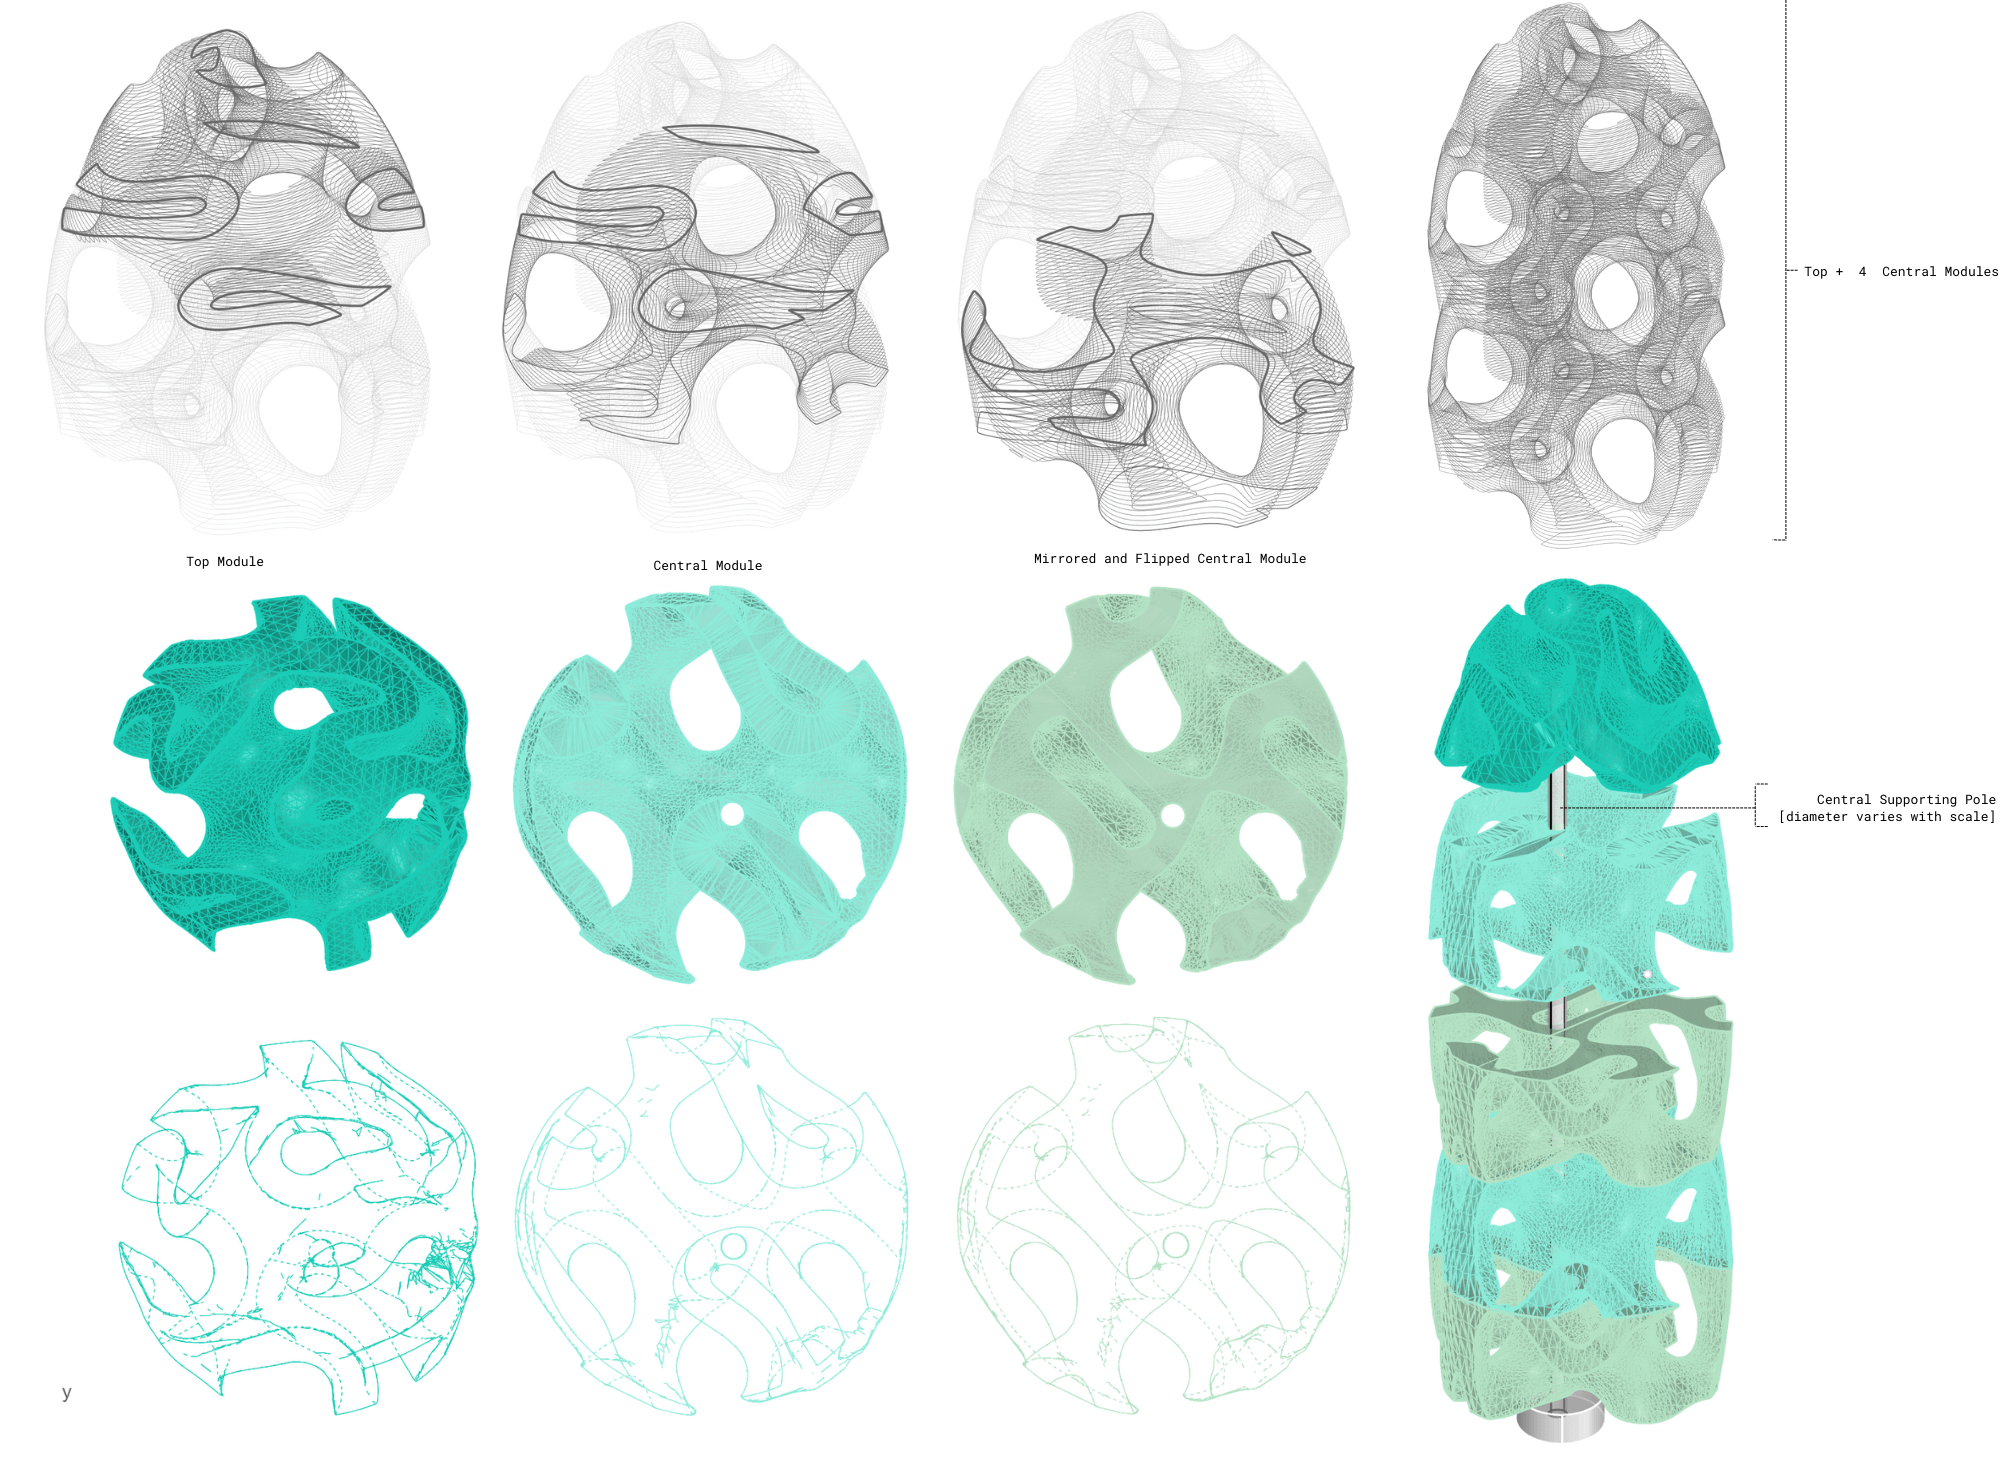
To produce the first mesh model above:
-
in Rhino, select the mesh and apply the 'contour' command - ensure the line resolution is as large or as small as you want it
-
export these files into Inkscape as .svg
-
select the model in inkscape and 'ungroup' the lines, you can now edit each contour individually
-
thicken the lines that you want noticeable and adjust the transparency of the lines that you don't want in focus
To produce the second and third models:
-
change each set of modules to a different layer in Rhino and set the colour accordingly
-
select 'Top' view
-
select a module and apply the 'make 2D' command
The rod diameter varies with the scale of the modules however with this placement it should always be viable when printing.
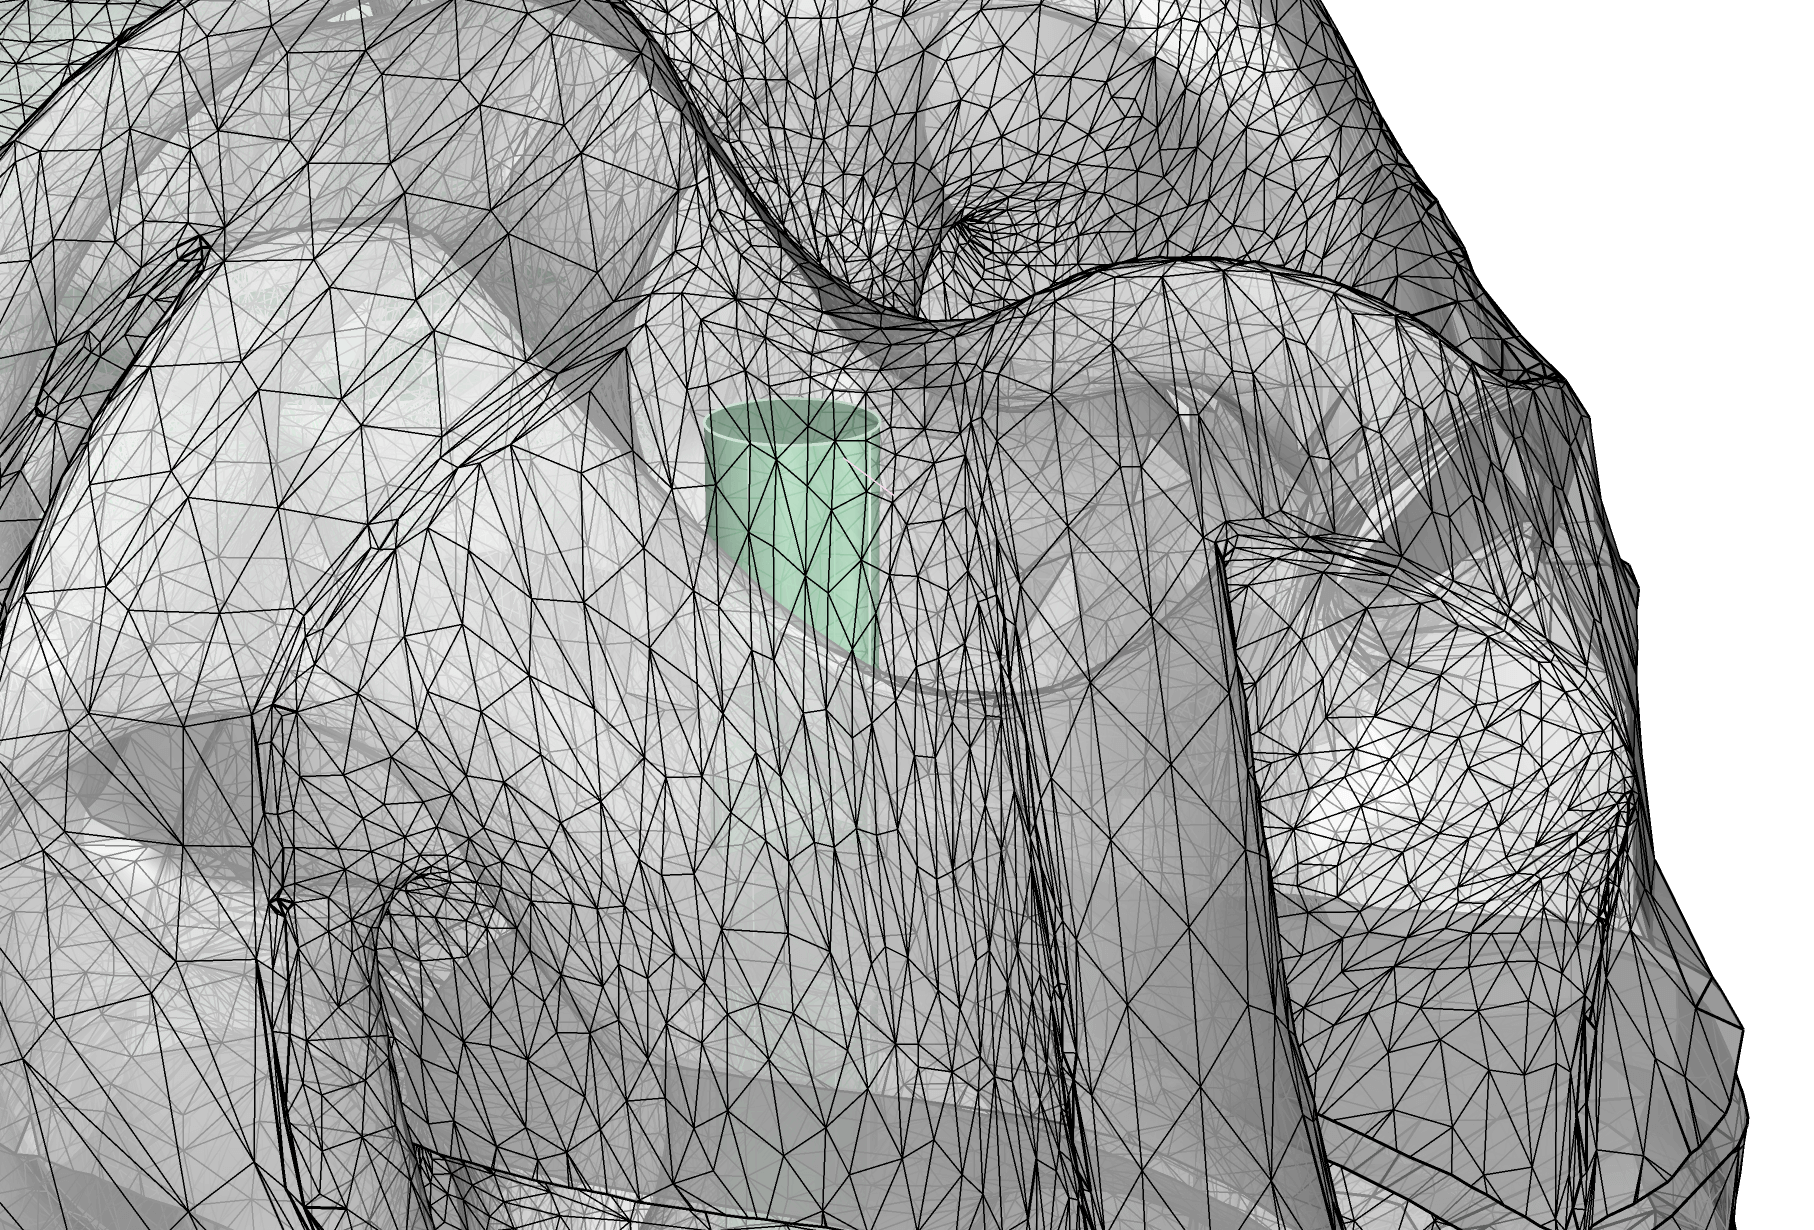
The above geometry is the one I have chosen to use for my final structure. An interactive 3D model of the tower is shown below.
• • •
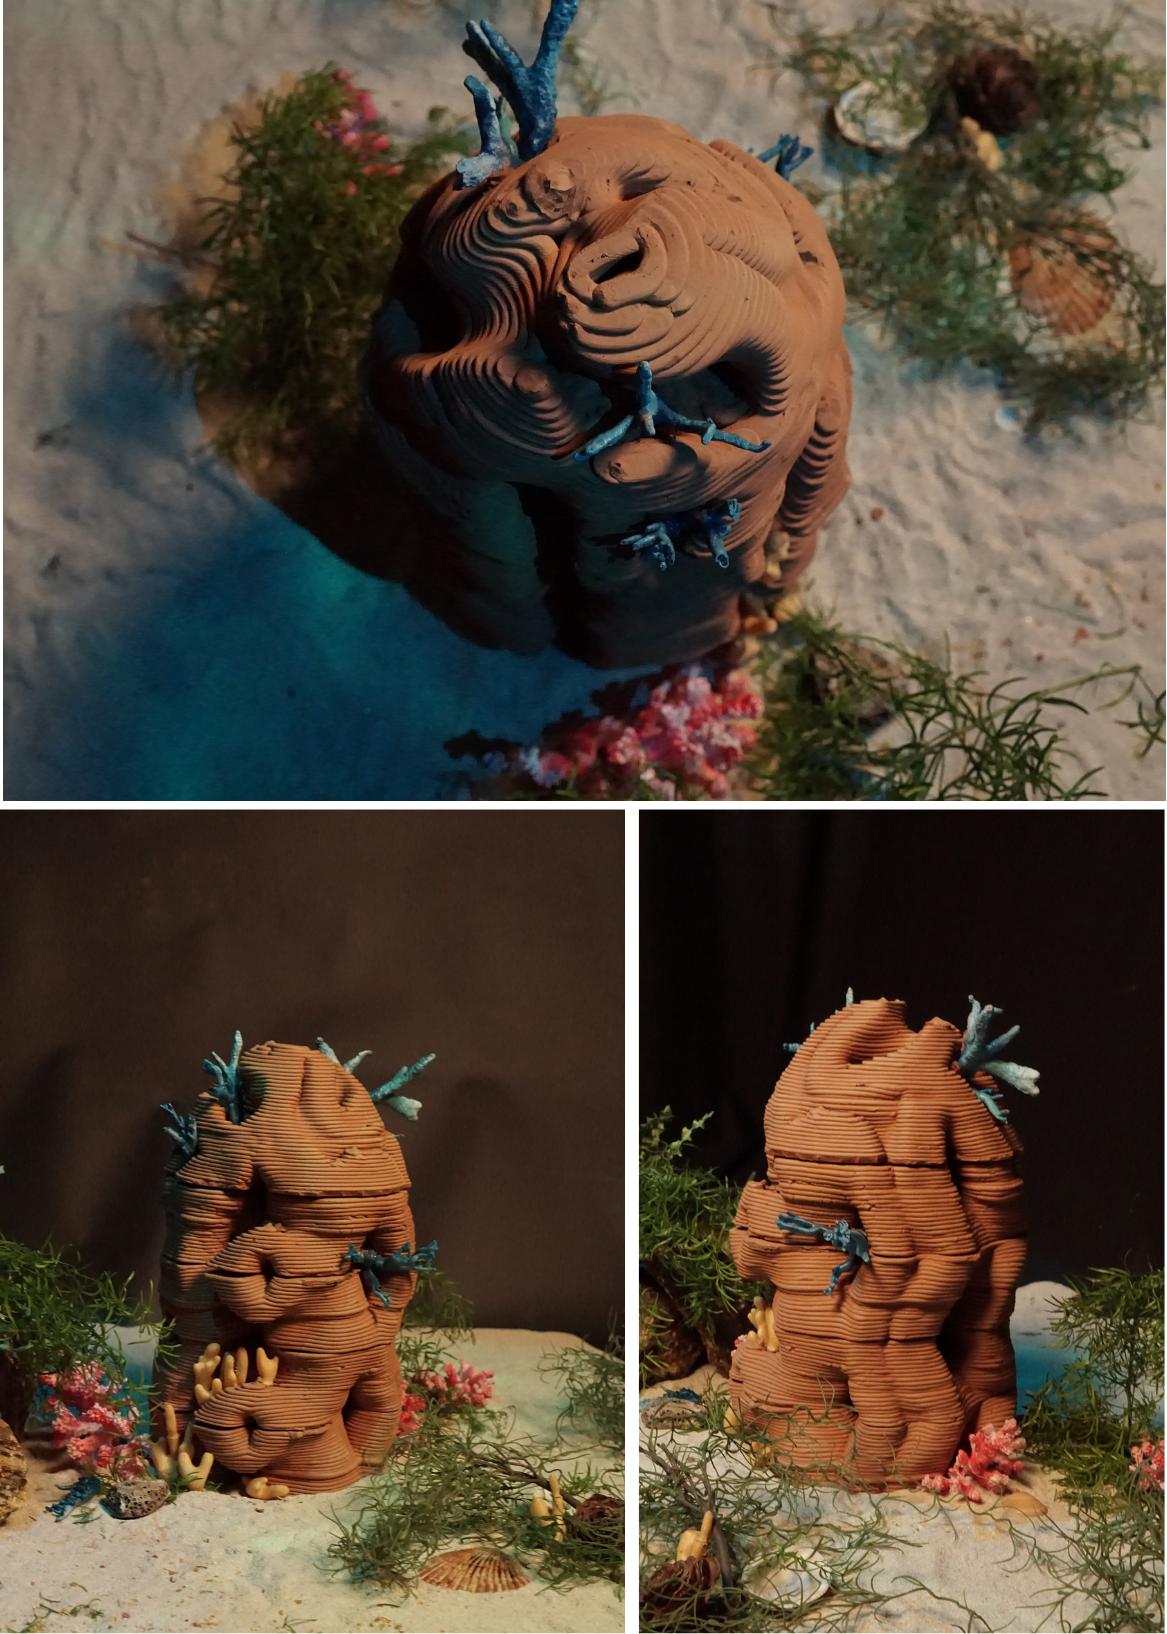
Miniature Test
Annoyingly the hacked paste printers kept playing up so Marce brought his clay printer in to help me produce some more prototypes. I finally got the consistency right which was about 7% water content. The structure used is the final version that I have detailed above, but without the central rod hole.
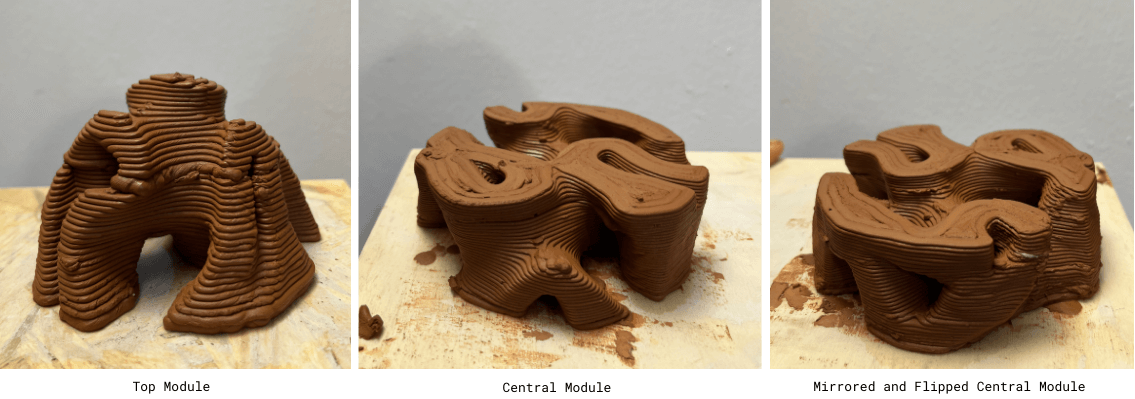
After a few days drying, the result came out amazing :)
• • •
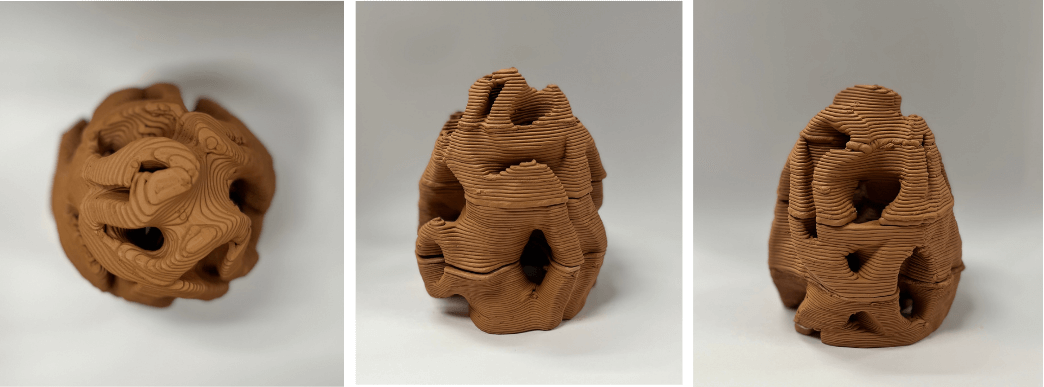
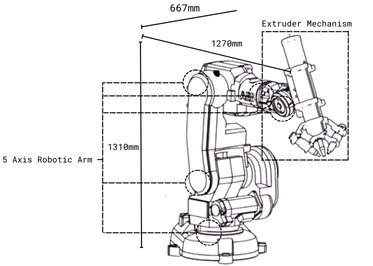
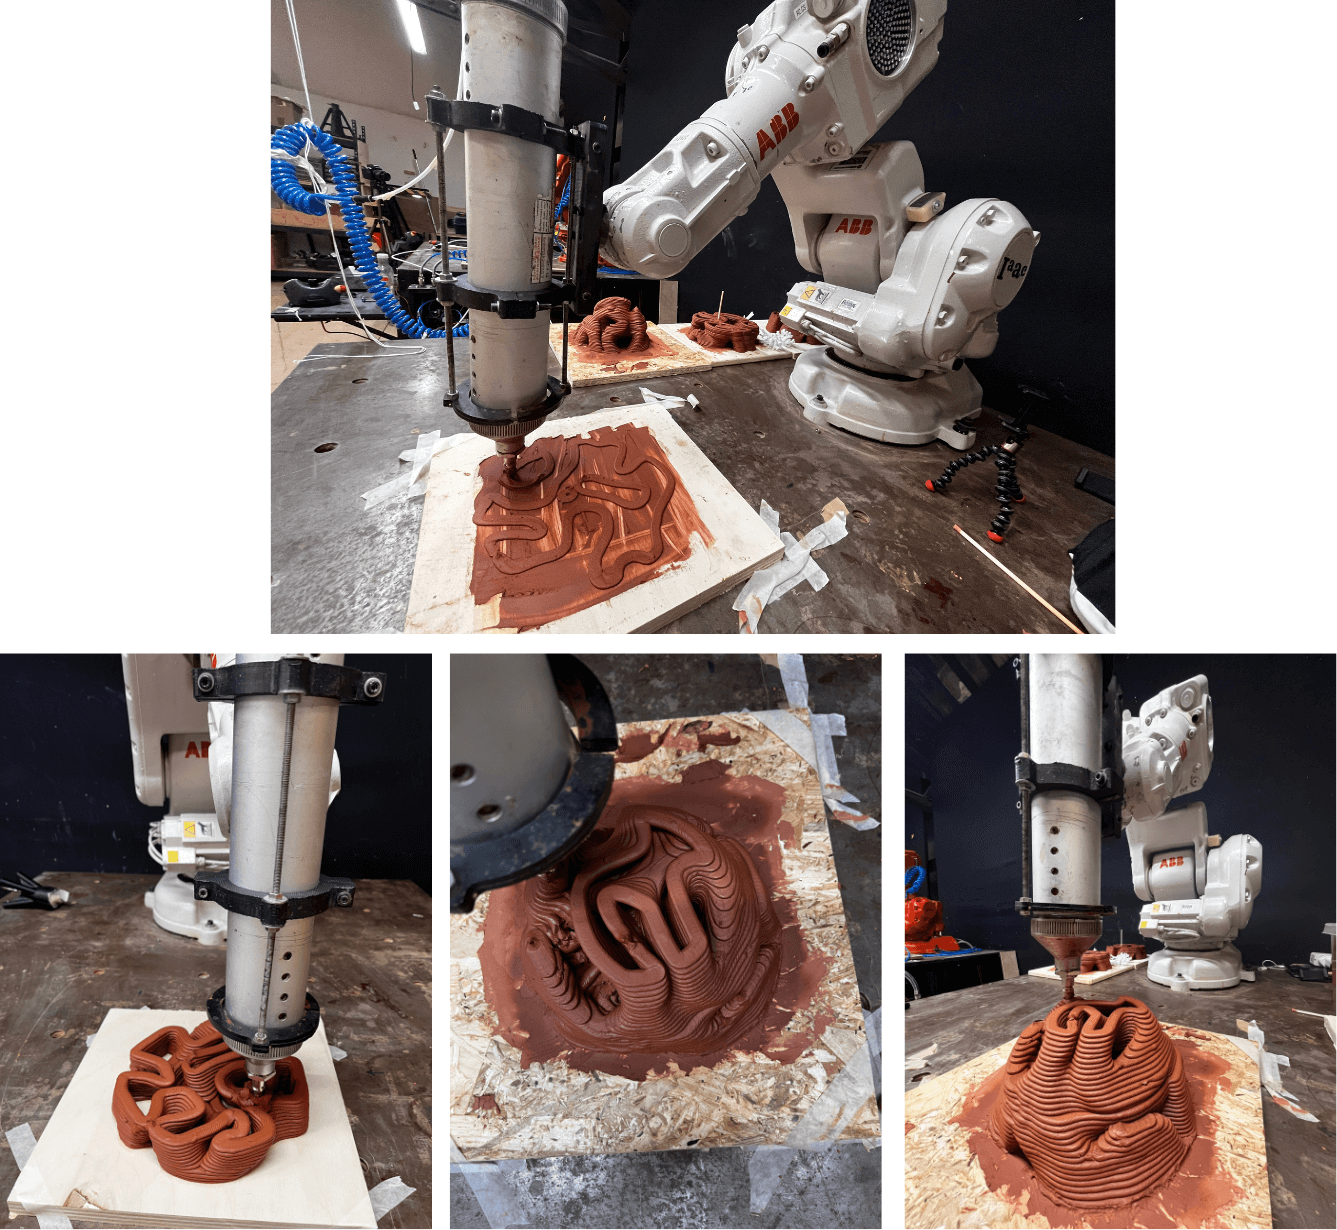
Robot Printing
Using the ABB robots in IAAC, I was able to print a slightly larger scale structure in time for the final presentations.
Each module:
-
8mm nozzle
-
~ 2.5kg of clay
-
~ 20 minute print
• • •
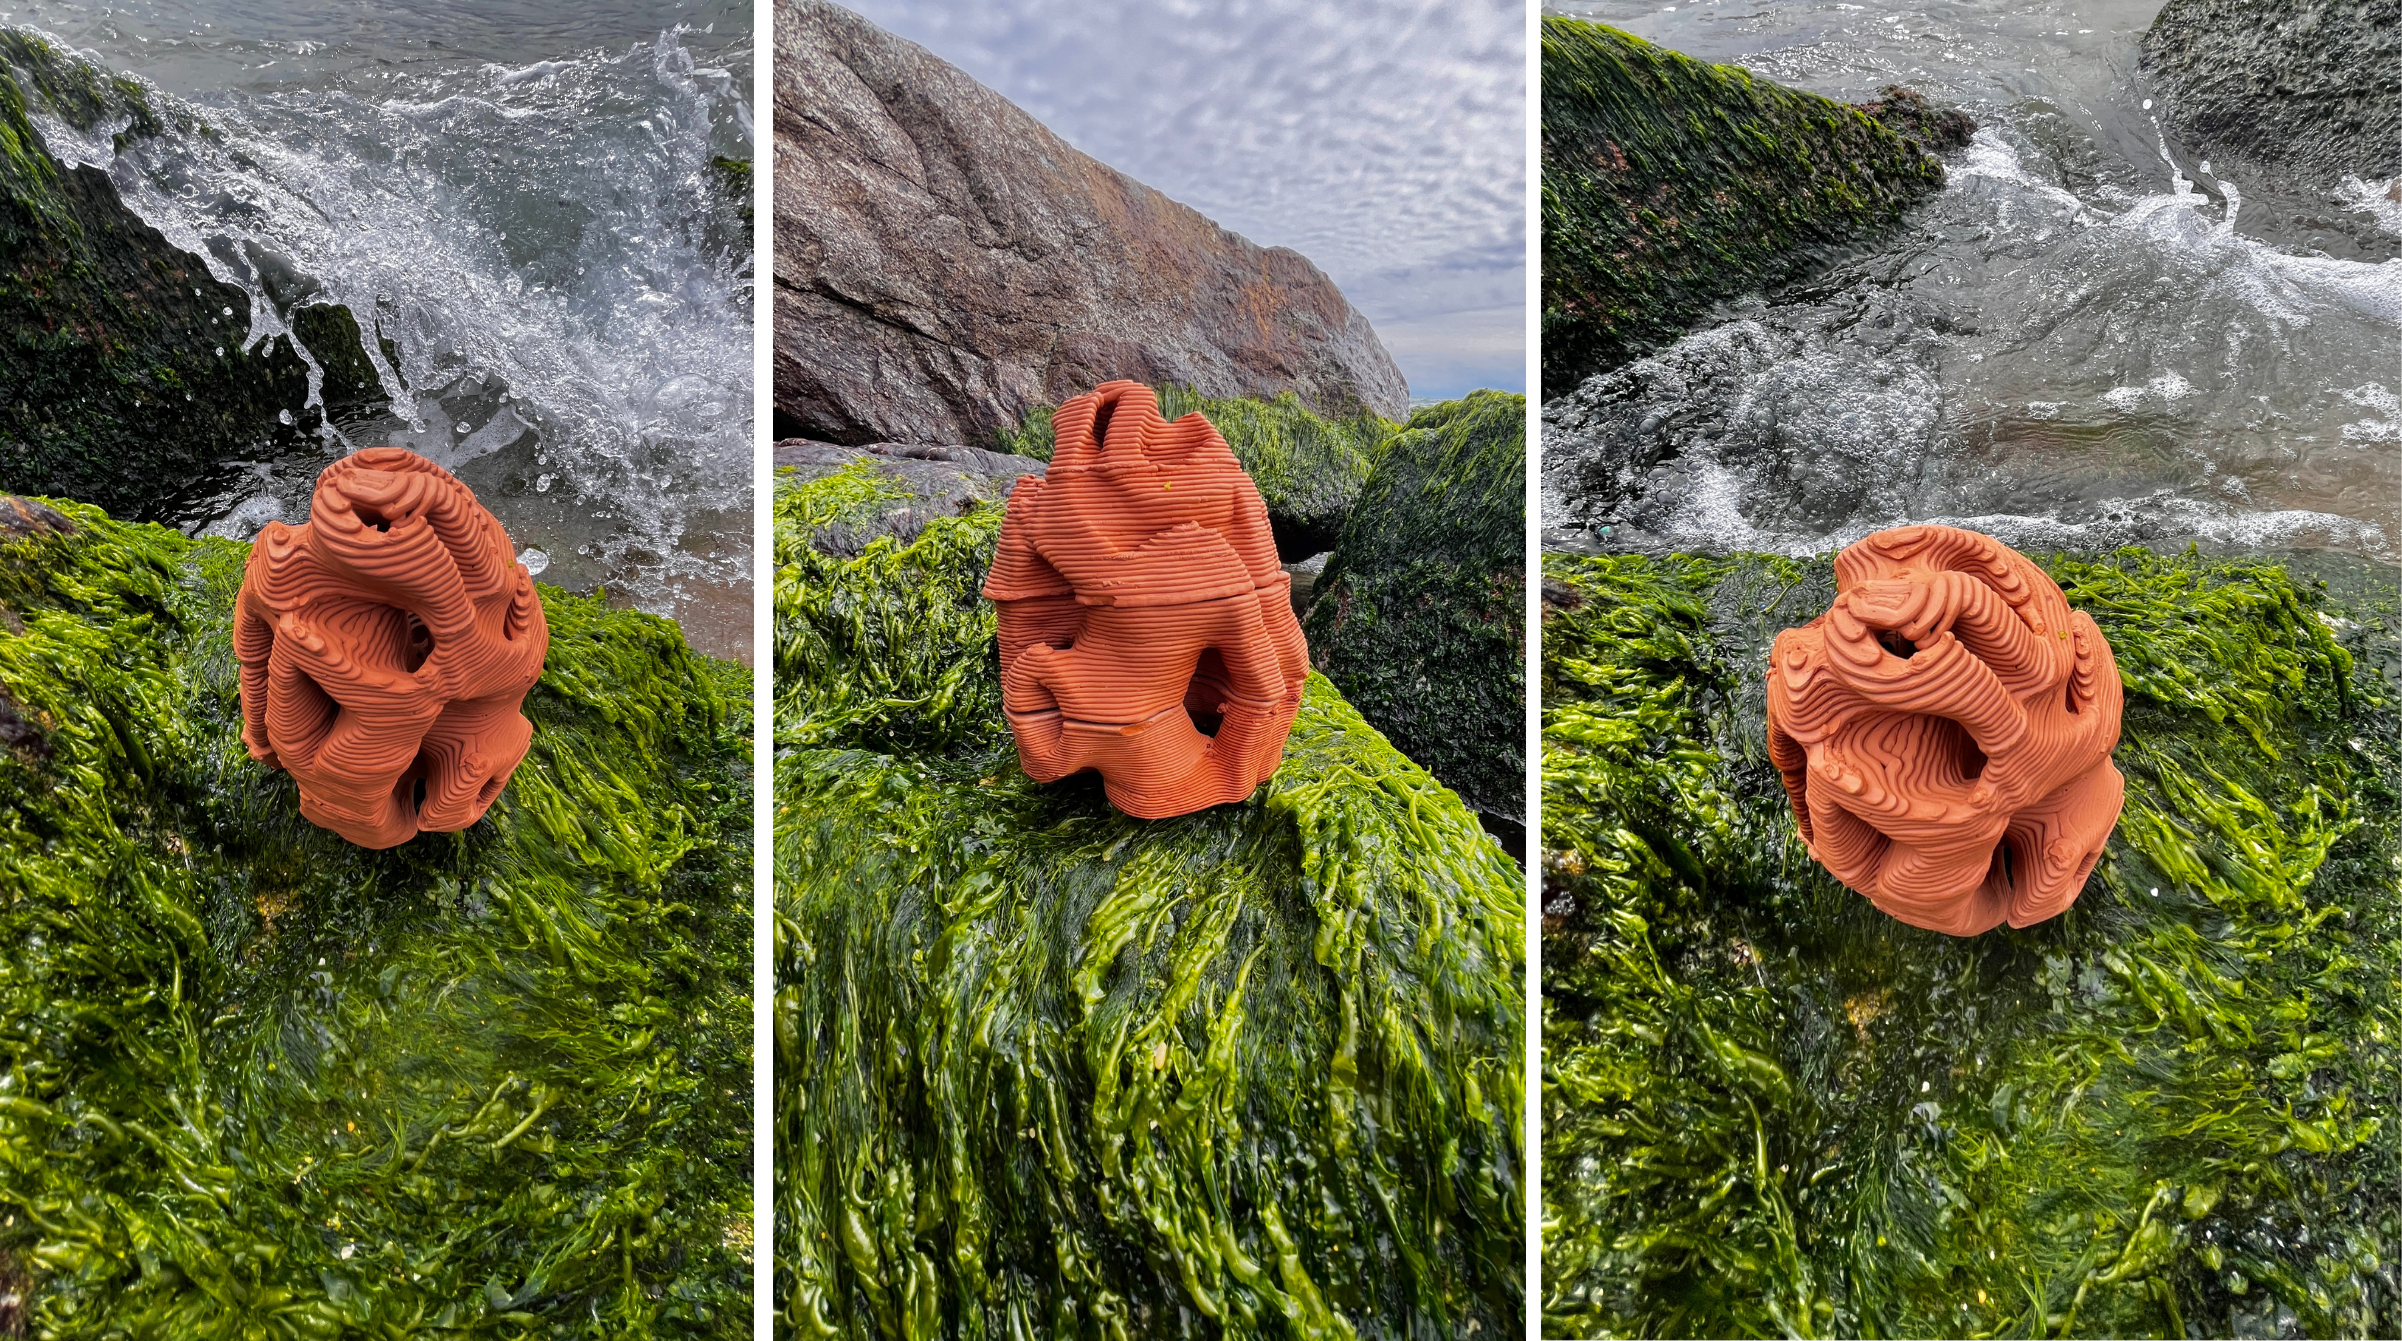
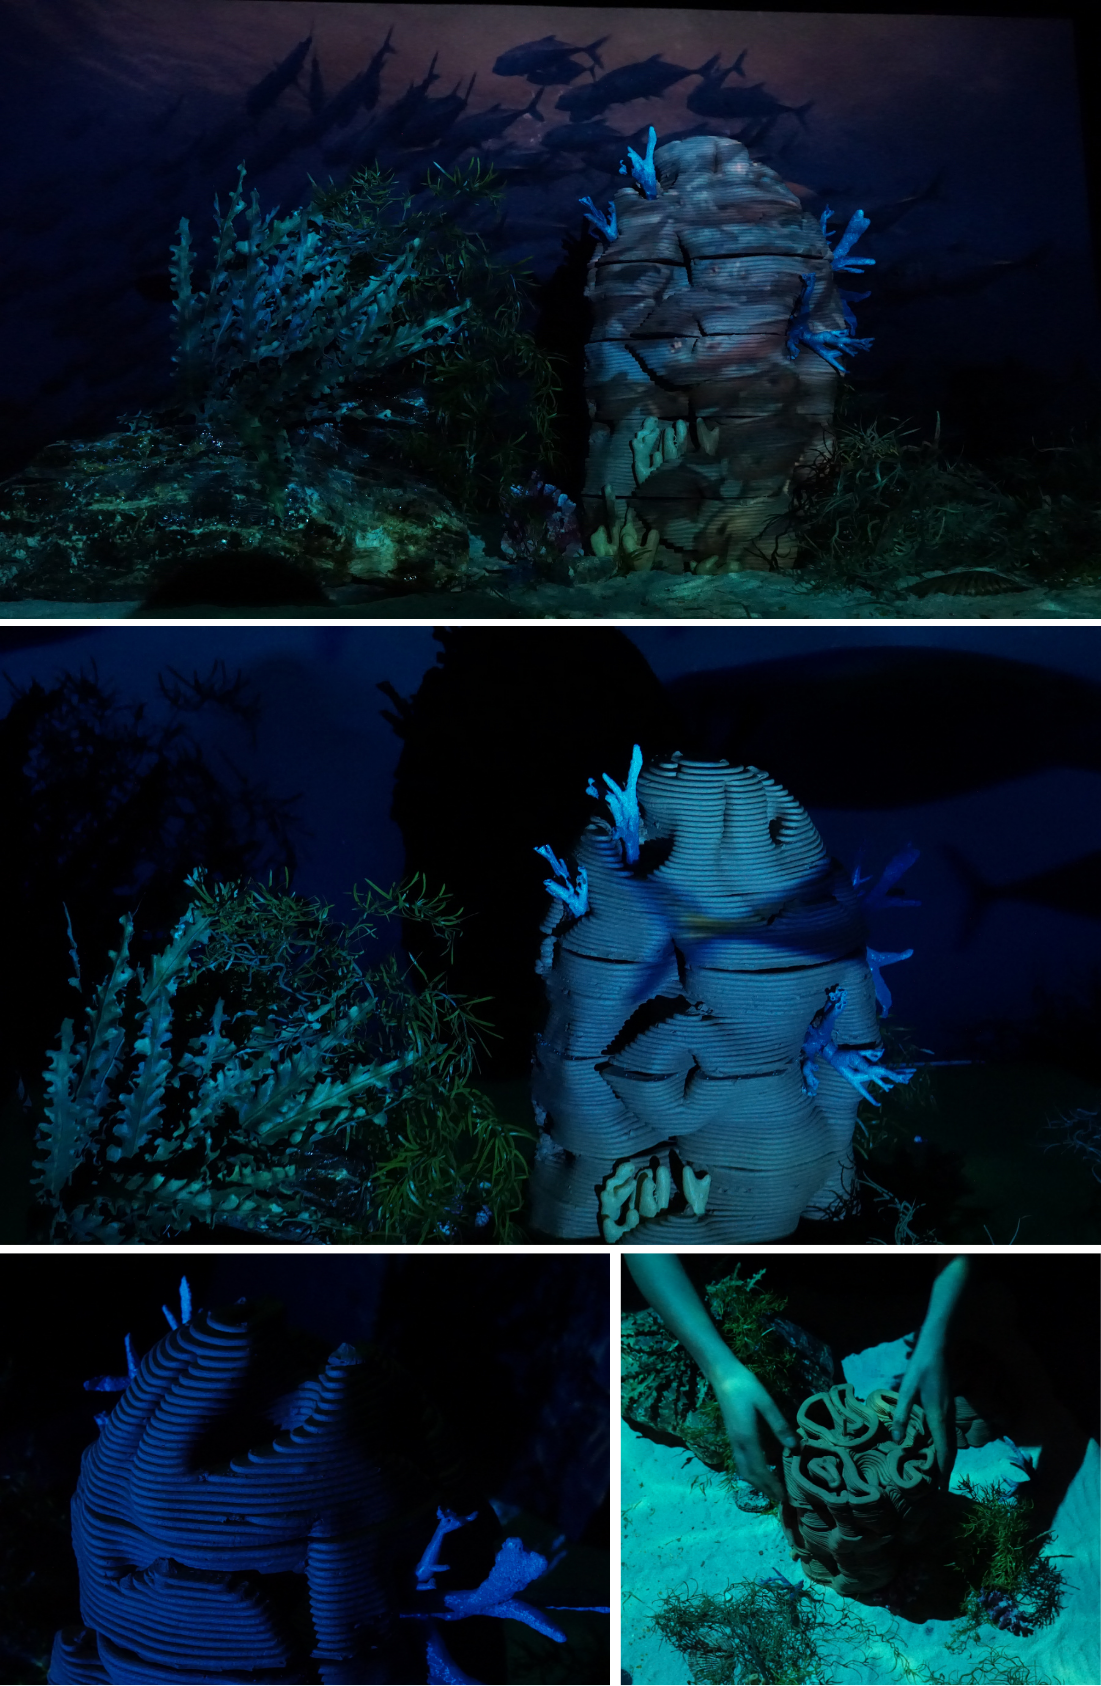
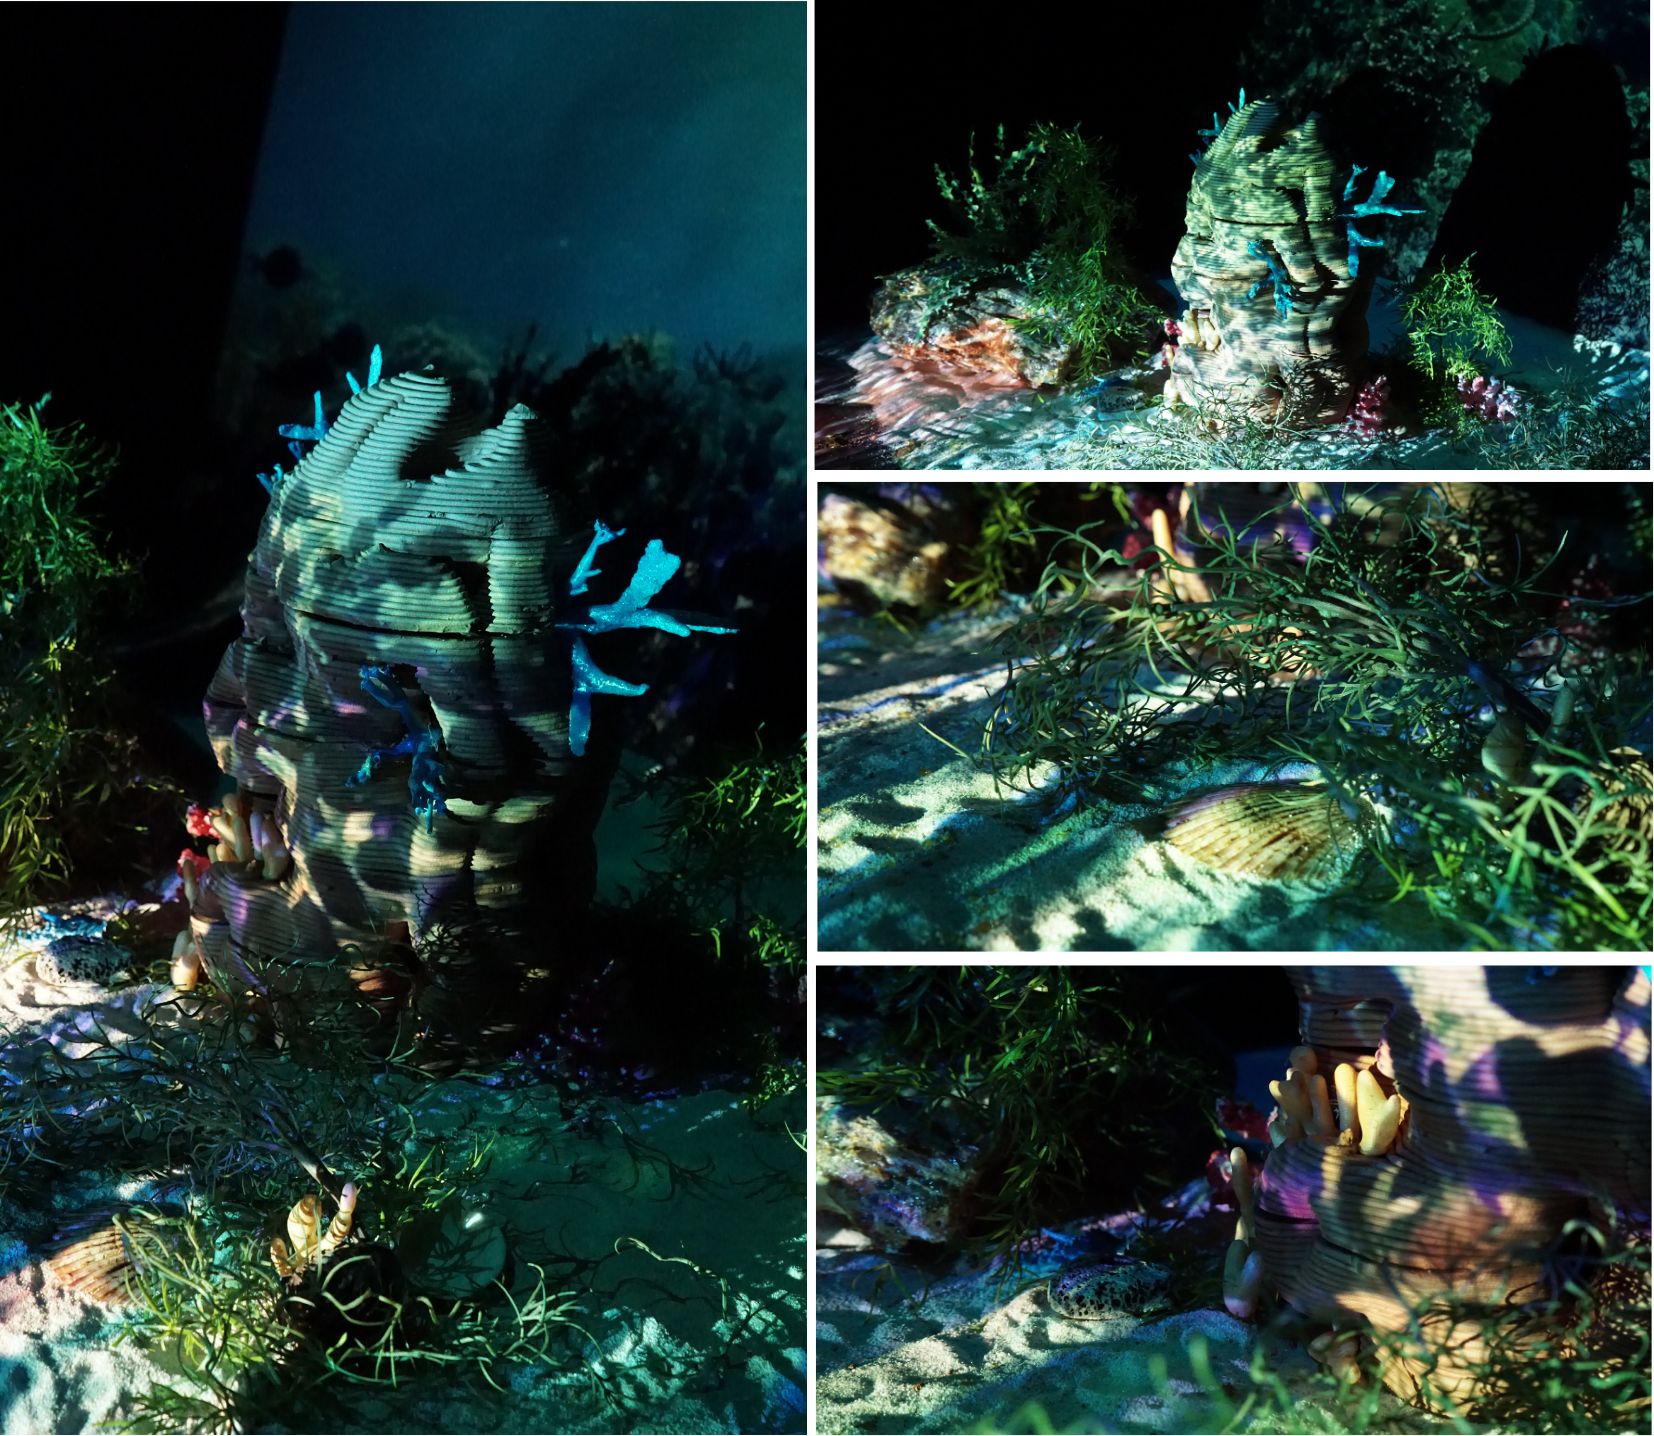
Photoshoot
Fabrication Files
-
File: Top Module .stl ↩
-
File: Central Module .stl ↩