
This is the first post of a blog post series that is focused on natural dyeing. We will start with the basics of how to dye yarn with natural dyes. If you want to learn how to dye yarn with natural dyes this tutorial for beginners is for you.
The second post in this series is about three natural dyeing books I recommend. You can read it here.
The third post covers the important topic of mordanting. If you want to read it, click here.
This post contains affiliate links. I may earn a small commission if you use these links, at no cost to you. As an Amazon Associate I earn from qualifying purchases. I only recommend products that I find value in myself. See my full disclosure here. Thank you for your support!
If you want to learn how to dye yarn with natural dyes, you can check out this step by step tutorial on my Youtube channel:

The Charm & History of Natural Dyes
Natural dyeing is a slow and almost magical process. Watching dyes extracted from natural material transform an undyed skein of yarn never seems to lose its fascination for me. Granted, the color is a bit different each time and never completely predictable. But this is exactly what I like about using botanical dyes.
Humans have been using natural dyes for a long time and it is possible to create the whole color spectrum with them. Archaeological finds indicate that natural dyes have been used to dye textiles for at least 6.000 years [1].
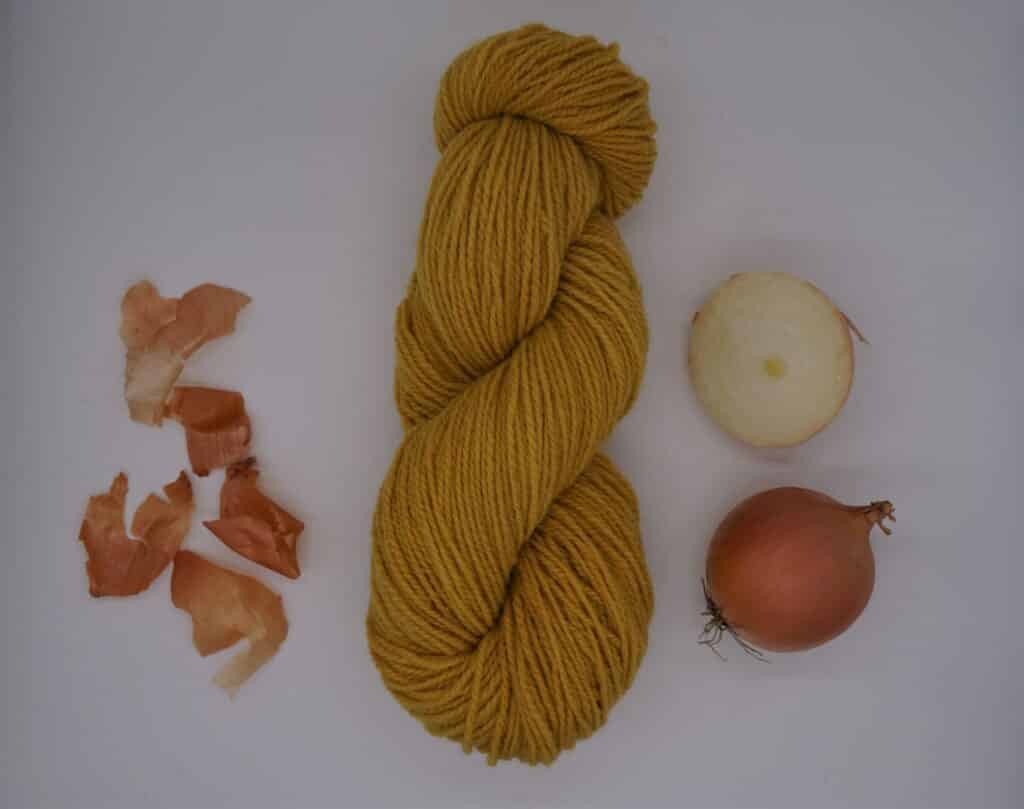
Natural Dyeing with Onion Skins
For this beginner tutorial I wanted to use a dyestuff that is readily available for most people. This is why I chose onion skins. As an added bonus, onion skins are a form of kitchen waste which makes them a sustainable option.
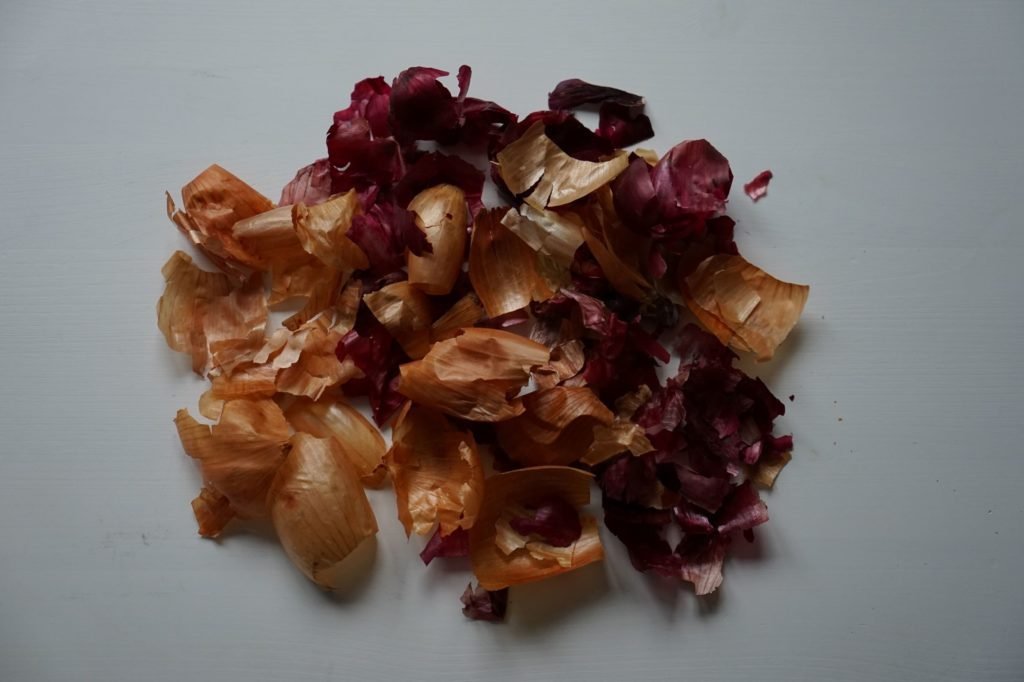
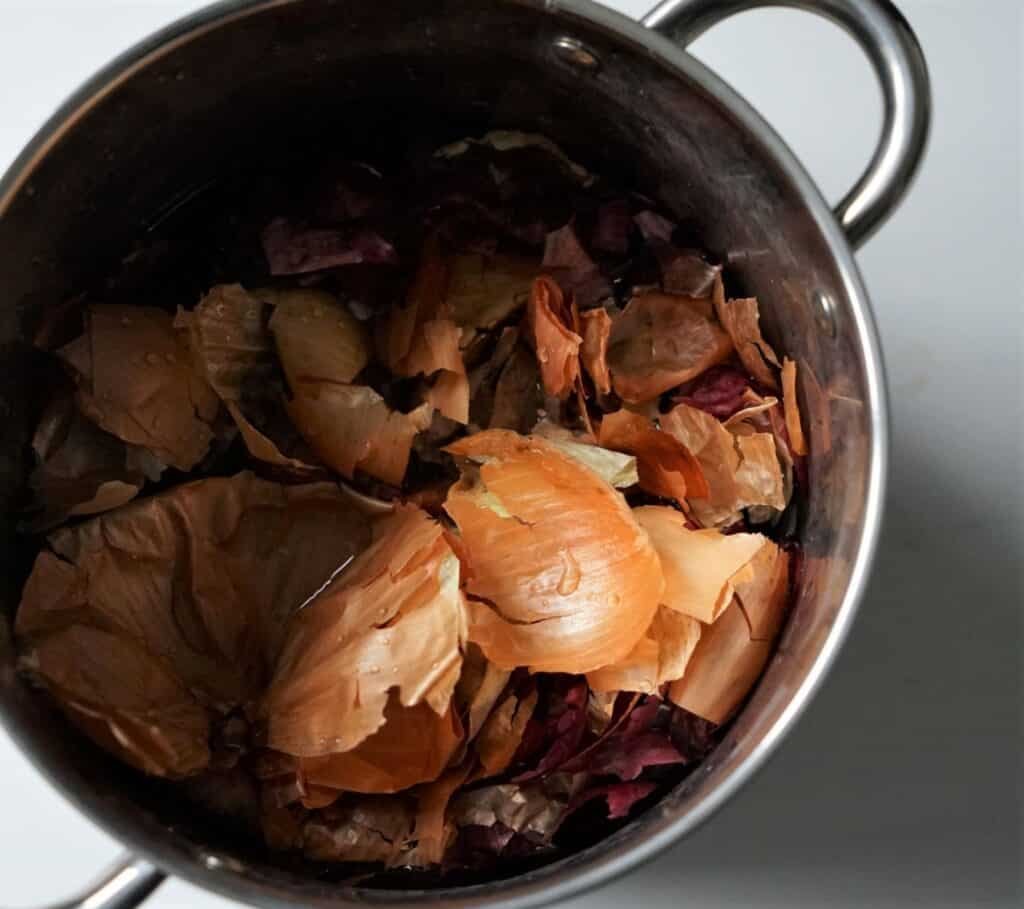
You should start collecting the colored, outer layers of the skins whenever you cook with onions. Yellow and red onions produce different colorways but I simply used both yellow and red skins to create my dye solution for this tutorial. I usually keep a large jar in my kitchen where I collect all my onions skins for future dyeing projects. I don’t put a lid on to allow for air flow and prevent any potential molding issues.
If you want to see the whole tutorial in video form, you can check out this video on my Youtube channel:
How to Dye Yarn with Natural Dyes At Home (Youtube Video)
How Many Onion Skins does it take to Dye Wool?
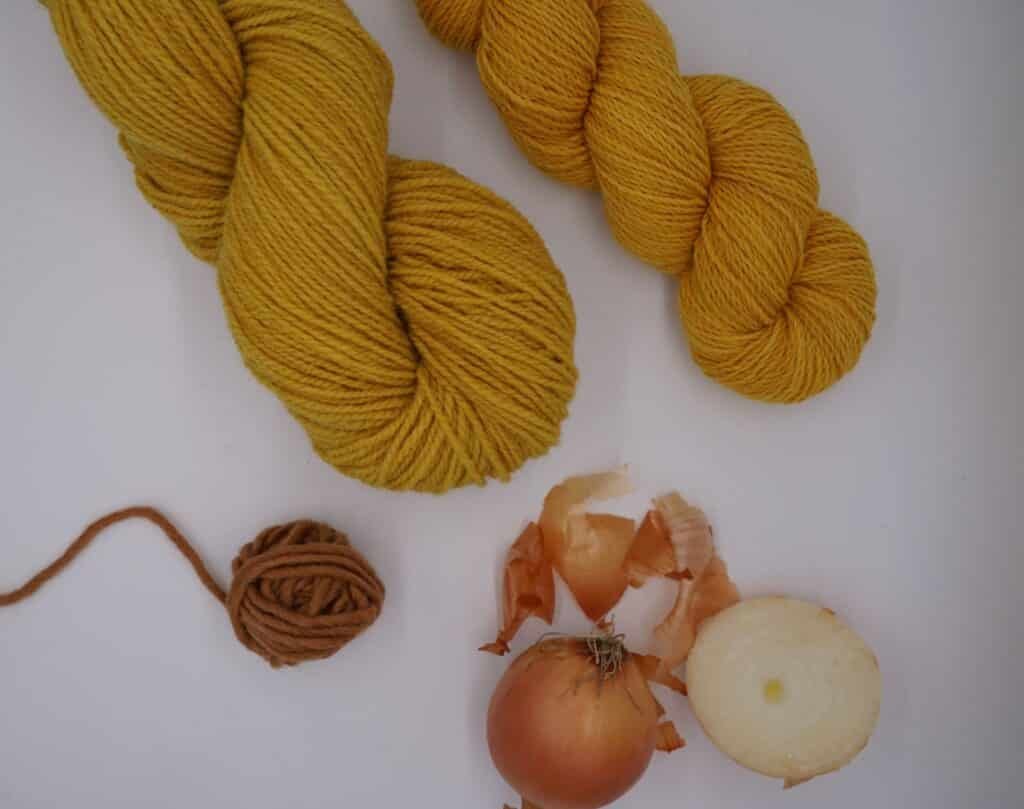
In many books you will find a rule of thumb of using about equal weights of dyestuff and yarn. In my experience, using this much dyestuff is almost never necessary. It is usually possible to create saturated, vibrant colors with much less dyestuff. Even if you use non-superwash yarn which doesn’t take up as much color as a superwash yarn. And if you prefer a more muted, pastel look, you will need even less dye material. I exclusively dye non-superwash yarn and have never had any issues with getting rich colors. A hank of yarn normally weighs 100 g and since onion skins are very lightweight, it would require quite a lot of skins to match the yarn weight! For the color I created in this tutorial, I used only 10 g of onion skins and a 100 g skein of yarn.
Which Colors do Onion Skins Produce?
Onion skins generally yield shades of yellow, orange, rust and brown on fibers. However the exact colorway depends on many factors. The type of onion, amount of dyestuff, age of the skins, the season, if a mordant was used and which one and many more parameters play a role.
How to Dye Yarn with Onion Skins Tutorial
List of Materials
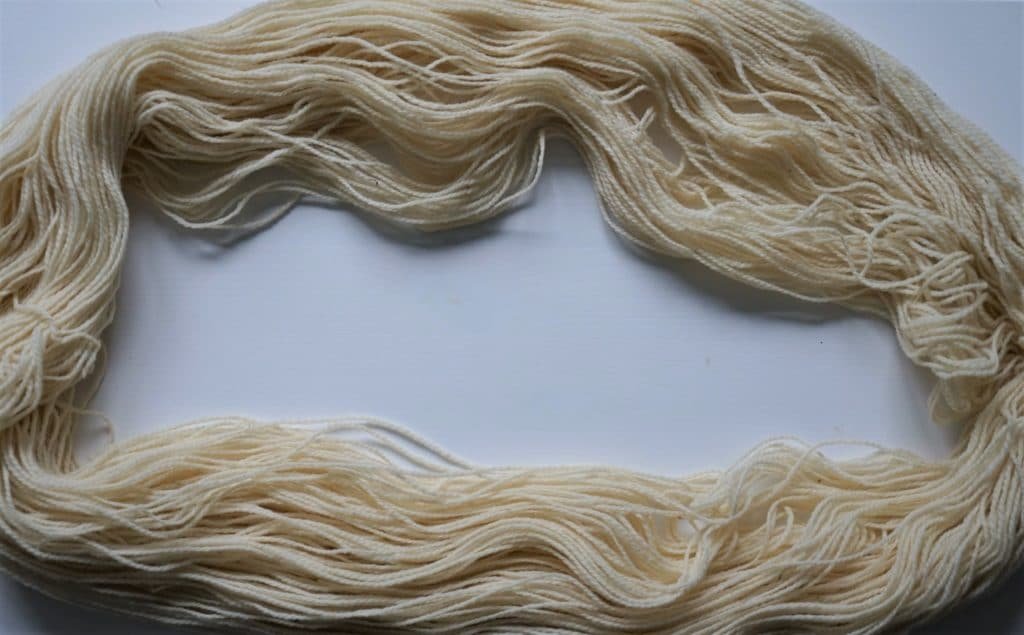
| Undyed skein of yarn | 100 g You can simply use an undyed, natural skein of yarn. Maybe you even have some suitable yarn already in your stash. If you want to use a yarn that is in the form of a ball or cake, you have to create a skein first. This can be done by using a swift (this is the one I use and can recommend). I used some of my own yarn bases (100% German Merino wool). |
| Alum | 14 g Alum or potassium alum (KAl(SO4)2·12H2O) is a mordant which means that it is used to set dyes on fibers by forming a coordination complex with the dye. It increases the fastness of the dye. |
| Dyestuff | Onion Skins |
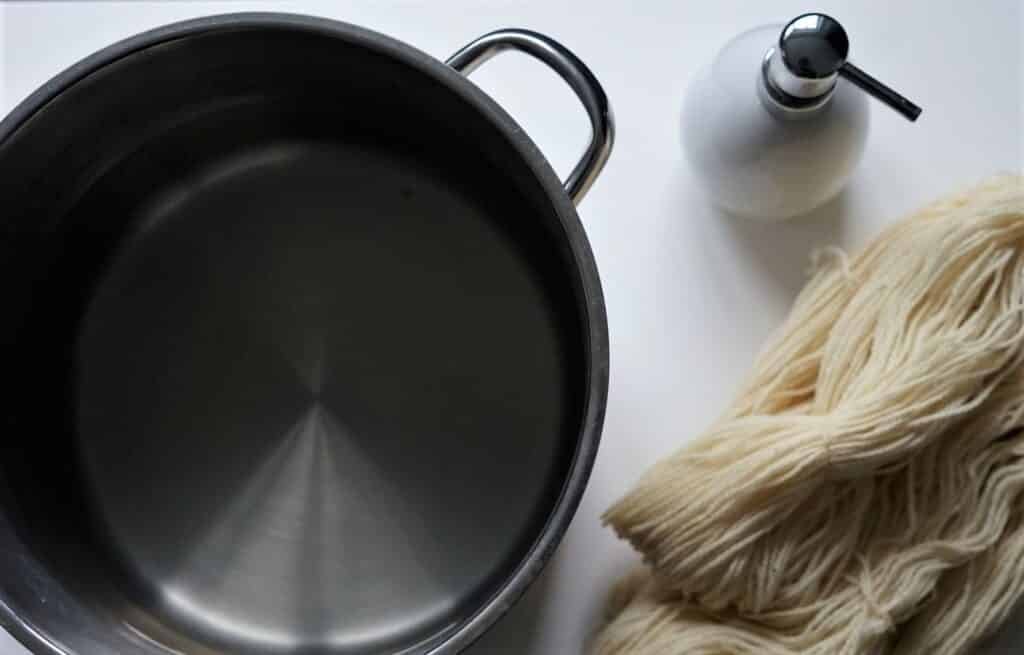
| Pot | You can use an old pot or acquire one just for natural dyeing purposes. This is the size I use if I dye only one skein at a time, it has a holding capacity of 6 qt (5.7 L). |
| Bucket or Washing Pan | To scour and wash the yarn. |
| Kitchen Scale | To measure the alum and dyestuff. This is the one I use. |
| Tie | To secure the yarn and avoid tangling. You have to use something that is stable in boiling water and doesn’t give off any color. I usually use some kind of package cord. |
| Spoon | Wooden or stainless steel |
| Dish Shoap | Whatever you have on hand. This is used to scour and wash the yarn. |
| Wool Laundry Detergent | This is the one I use and can recommend. It is gentle and doesn’t have any smell. |
Precautions: Don’t use the same pots and utensils for natural dyeing that you use for food preparation. Always wear gloves. Creating the dye solution and the dyeing process itself should be done in a well ventilated area. I often use a cooking plate that I put on my patio.
Step-by-Step Natural Dyeing Tutorial
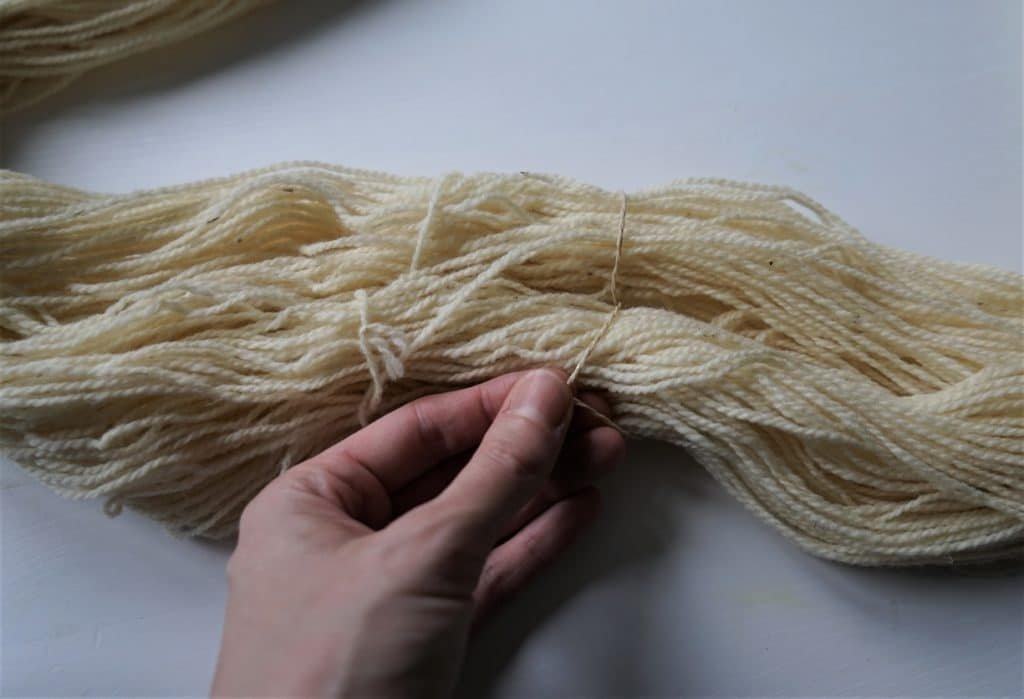
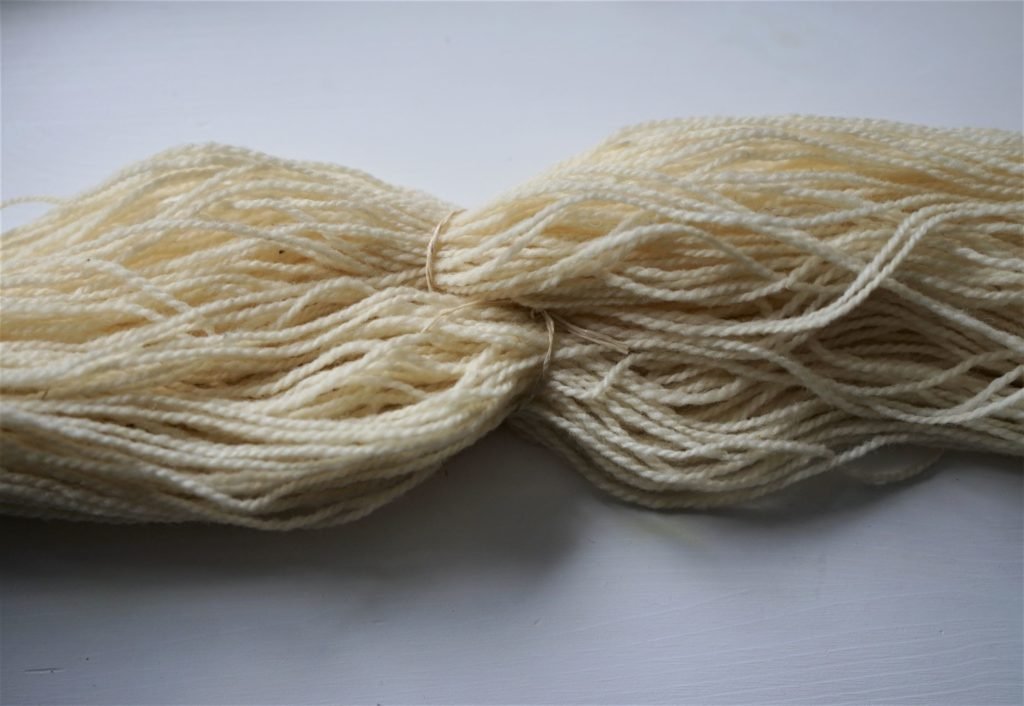
1. Prepping the yarn
Use the tie to segment the yarn in at least four different sections. This will help to prevent tangling. Make sure to not make the ties too firm. Otherwise these spots will take less dye which will be visible in the finished skein.
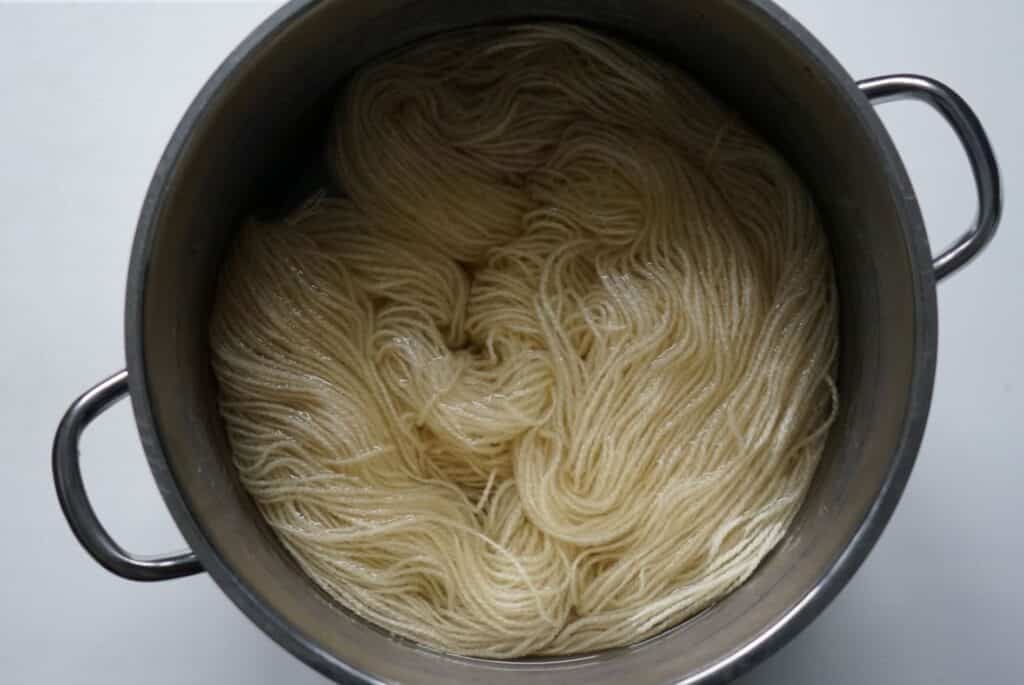
2. Scouring
The yarn has to be completely soaked before mordanting in order to take up the mordant evenly. To do so, I place the yarn in a bucket filled with lukewarm water and a little bit of dish soap. Then I let it sit for at least a couple hours, ideally overnight so that the wool is completely wet. Before putting it in the mordant bath, gently wring it out.

3. Mordanting
There are a lot of different mordants available and some dyes don’t even require an additional mordant at all. I mainly use alum to mordant my yarns and since it is a nontoxic and commonly available chemical compound this is what I recommend you use as well.
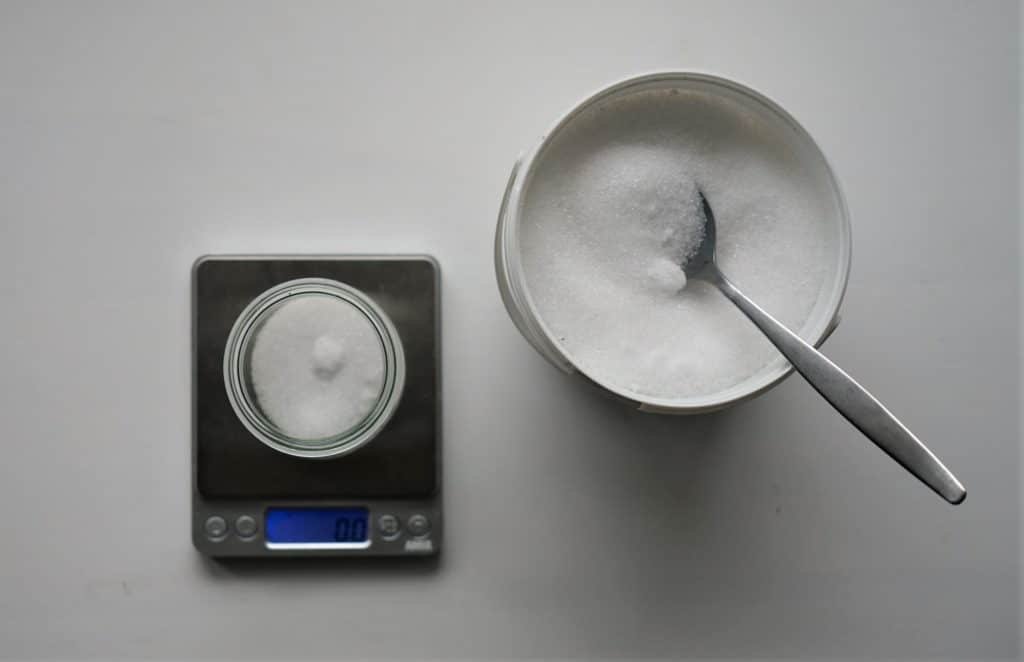
Fill the pot with some lukewarm tap water. You need 14 g of alum for a 100 g skein of yarn. I usually dissolve the alum in a small jar with some warm water by stirring it in with a spoon first. Then I pour it into the pot and add the wet yarn. Make sure that the alum solution covers the yarn completely [2].
Heat slowly and let it simmer for an hour. Let the pot cool down completely before taking out the yarn. Gently wring out the excess liquid and place the yarn in a bucket or washing pan with clear water. Then you can either hang the skein to dry for a later dyeing project or immediately use it for dyeing.
4. Extracting the Dye
This process is highly dependent on the dyestuff you use. Some plant materials are sensitive to heat and have to be processed rather carefully. Others need to be soaked for several days in order to extract the dye.
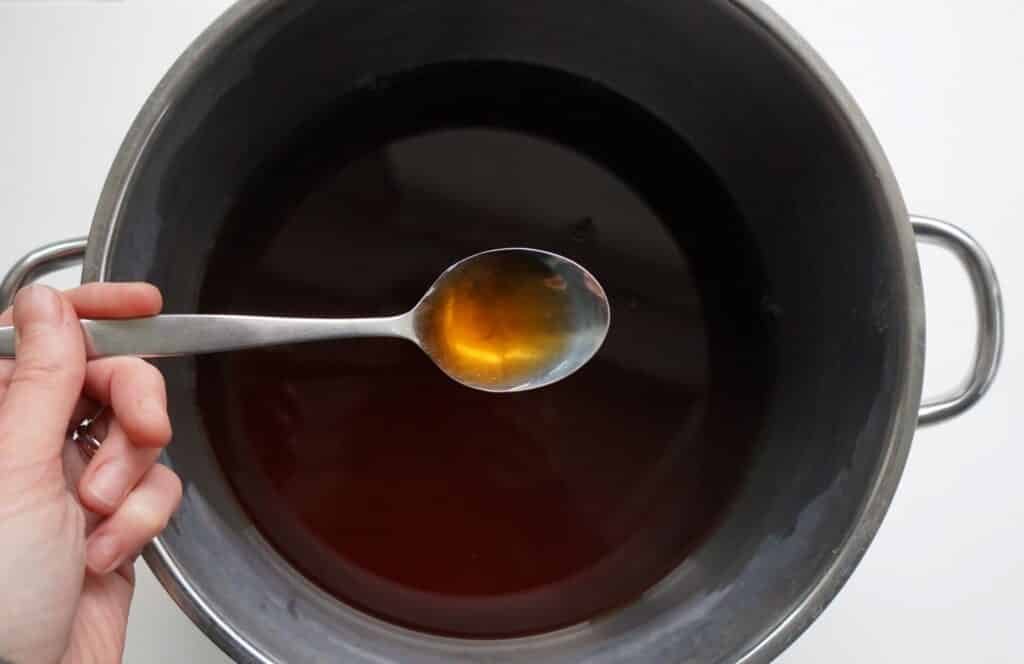
Onion skins are great for beginners because they can simply be heated – without producing any unpleasant smells – and produce a potent dye bath rather quickly. Just place 10 g of onion skins in a pot with some water. Then heat the dye bath gently until simmering for one hour and let it cool off. To set the color, I usually let the dye bath sit overnight. It is possible to heat the dye bath a second time to extract more color.
5. Filtering off the dye stuff (optional)
Depending on the result you are looking for, you can either filter the onion skins off or leave them in the dye bath. Filtering them off will yield a tonal yarn. Leaving them in the dye bath with the yarn will give you a variegated yarn. If you decide to keep the dyestuff in the pot, the parts of the yarn that touch the onion skins during the dyeing process will have a darker shade of color.
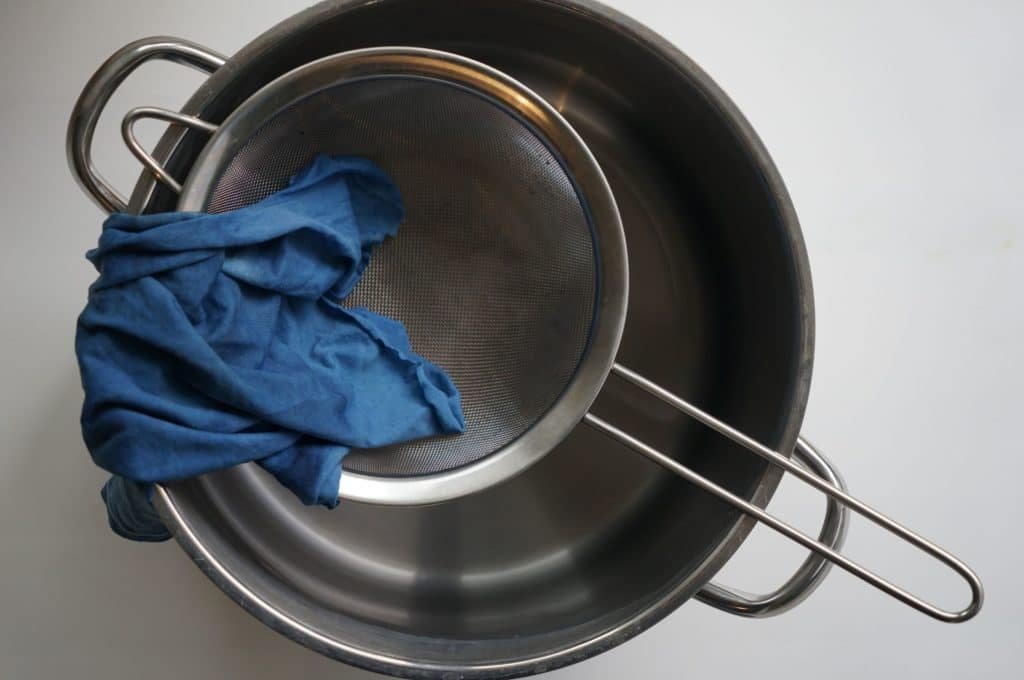
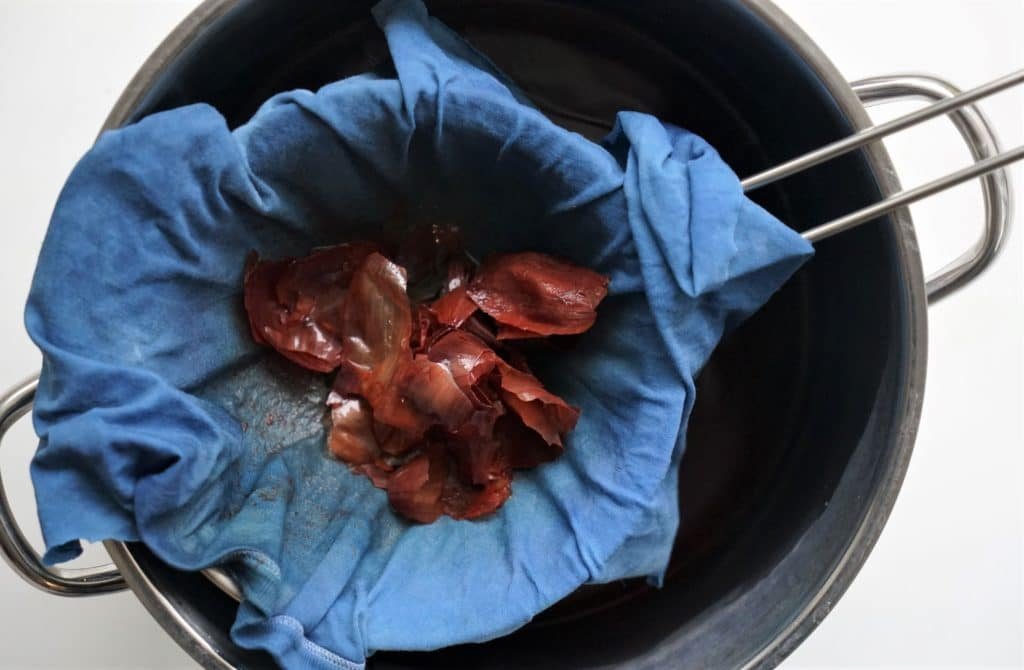
I decided to filter the onion skins off. To do so, I use a normal kitchen sieve and place a scrap piece of cotton fabric in it to catch all the pieces of the dyestuff.
Tip: If you wet the fabric beforehand, the dye solution will pass through the fabric more easily.
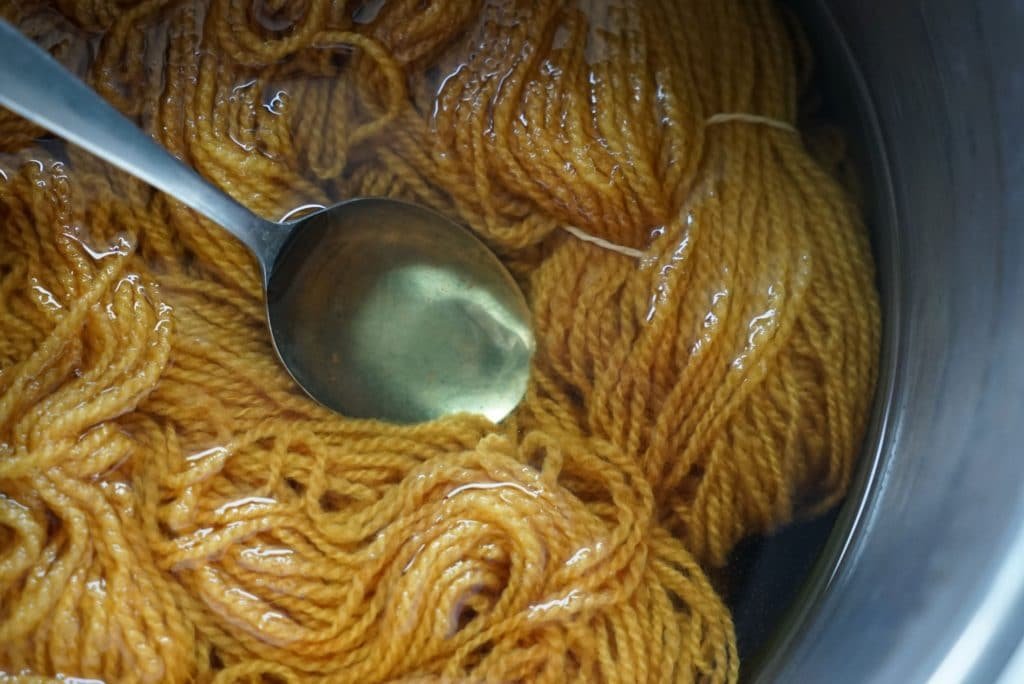
6. Dyeing
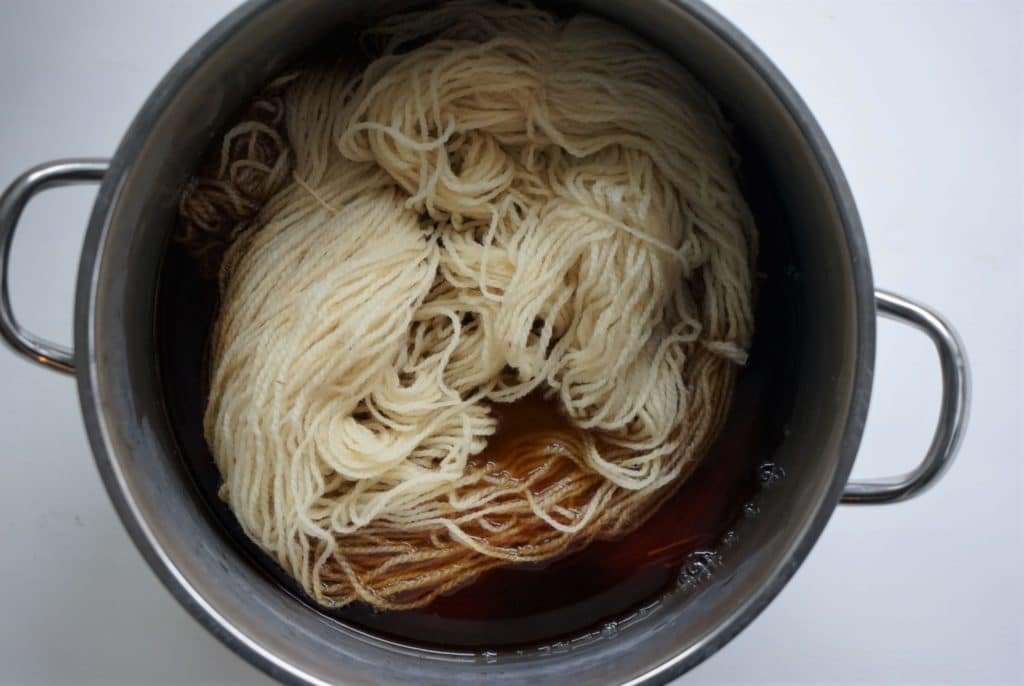
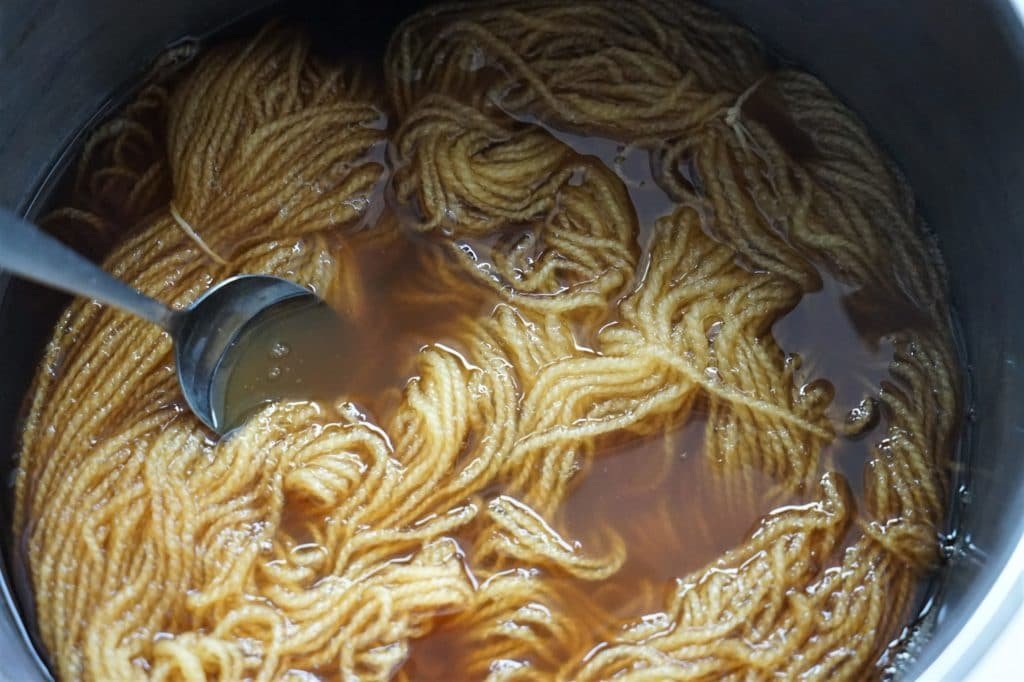
Once you have created the dye solution, gently put the wet skein of yarn in. Try not to tangle the yarn and make sure that the dye solution is covering the whole skein. Add some additional water if necessary. Then gently heat the pot and let it simmer for about one hour. I usually let the yarn stay in the dye solution overnight and check on the next day how the yarn has taken up the color. If I am not happy with the result, I heat the solution again and let it cool off completely before processing further. This time, simmering the yarn in the dye solution for one hour was completely sufficient.
Natural dyeing is a slow process. You cannot rush it but it is also rather forgiving. Whether you let the yarn sit for 8 hours or 16 hours before you take it out of the dye pot is usually not critical. Therefore I find natural dyeing very adaptive to different daily schedules. And if you are not fond of the colorway you created, there are several different options to modify the color afterwards. I will talk more about this topic in an upcoming post.
Tip: Wool is prone to felting. The scales of the fibers bond to each other when experiencing drastic changes in water temperature or agitation. This is especially true for non-superwash wool. Always place the yarn in water that is only lukewarm and heat it slowly. Wait until the water is completely cooled off before taking the yarn out.
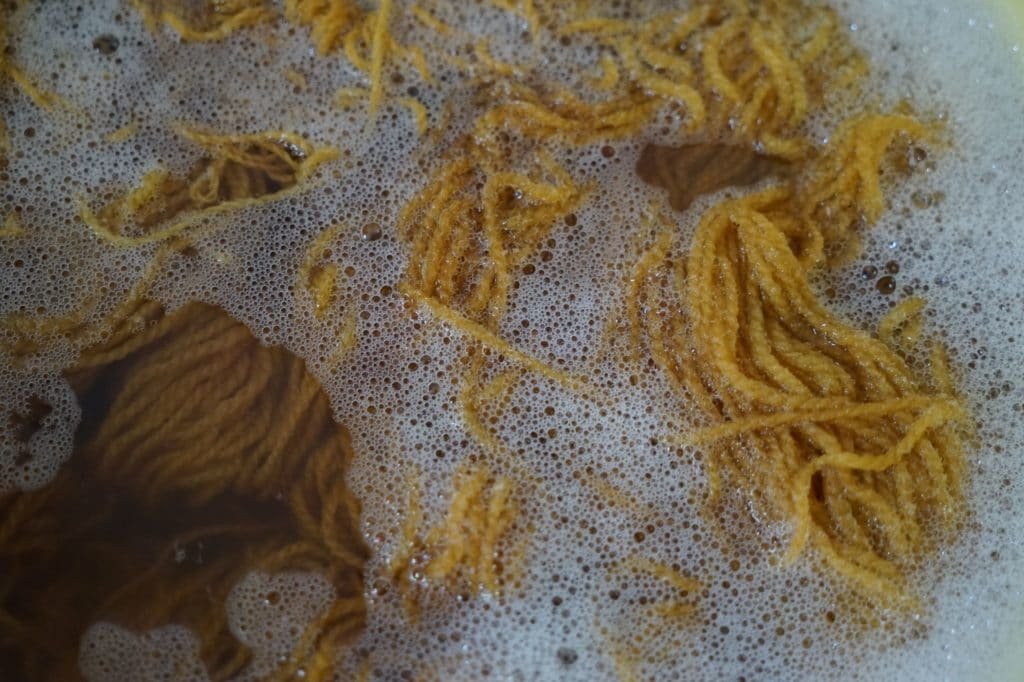
7. Washing
The next step is washing out the excess dye. Firstly, take the bucket and fill it with lukewarm water. Then add a little bit of dish soap. Take the yarn out of the dye solution (don’t forget to wear your gloves), gently squeeze it out and place it into the soapy water. Squeeze the yarn gently so that the excess dye comes out. Secondly, I wash the yarn very carefully under some running, lukewarm water. Then I fill the bucket with water and a mild wool detergent. I put the yarn in and let it sit for a couple of minutes up to a few hours. After this I wash it under some running water again. I repeat these last two steps until the water runs clear and try to use as little water as possible.
Natural dyeing usually requires a lot more water for rinsing out the dye than synthetic acid dyes do. There are some dyes that are known to „bleed“ which means that the washing out-process is rather elaborate. Luckily, dye from onion skins washes out quite easily and well.
8. Drying
There are several ways to get the yarn to dry quickly. You can simple wring it out gently and hang it to dry on a drying rack. Especially on a hot summer day, this works really well.
You can also use a salad spinner to get out some more excess water.
A lot of professional dyers use a spin dryer. I have not tried this method yet and cannot speak from my own experience but I have heard a lot of good things about it.
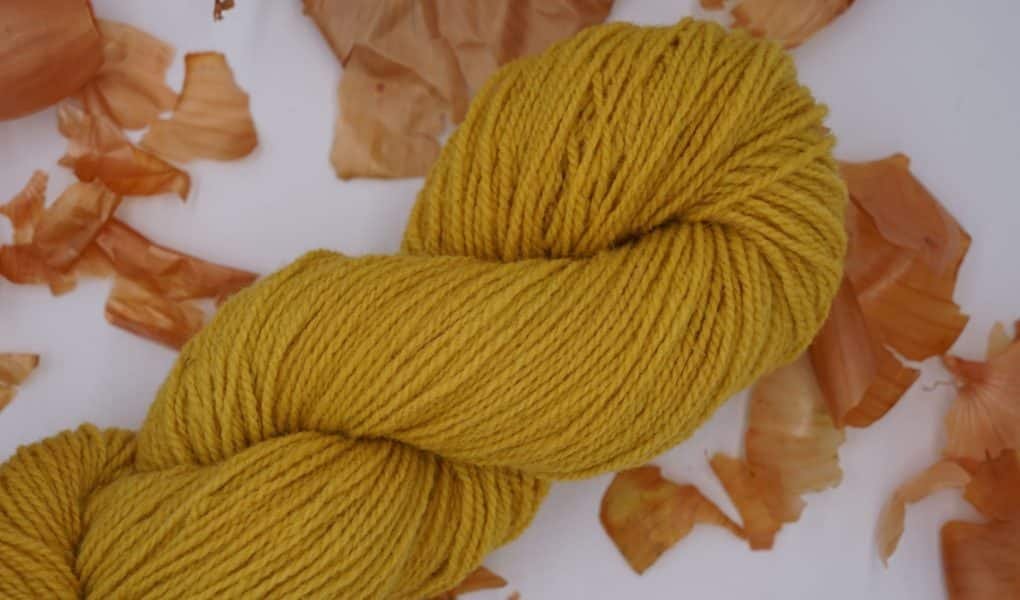
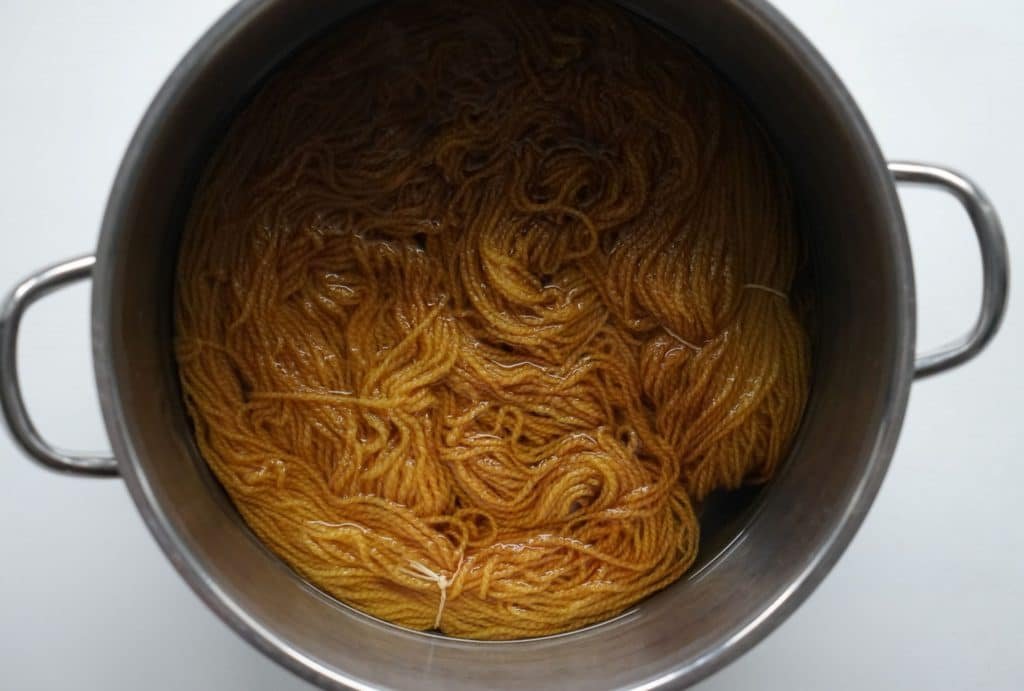
You will find that the final color often looks different, usually lighter, compared to when the skein was still in the dye pot. On the picture you can see the final color of my yarn. I am actually quite happy with the result as I really like this darker, muted shade of yellow. But like I mentioned earlier, there are a number of ways that you can alter the colour if you don’t like the result. Just stay tuned for the upcoming posts in this series!
What kind of yarn can be used with regard to fiber content?
For this tutorial, I used a skein of Merino Sport yarn. This is a non-superwash 100% German Merino wool.
But you can use superwash yarn for natural dyeing, too. It is also possible to dye other protein fibers such as alpaca, mohair and silk.
Cellulose-based fibers like cotton, linen or hemp can be dyed as well although they require a different mordanting process. We will explore the dyeing of cellulose fibers in a different post.
Pin It For Later: How to Dye Yarn with Natural Dyes
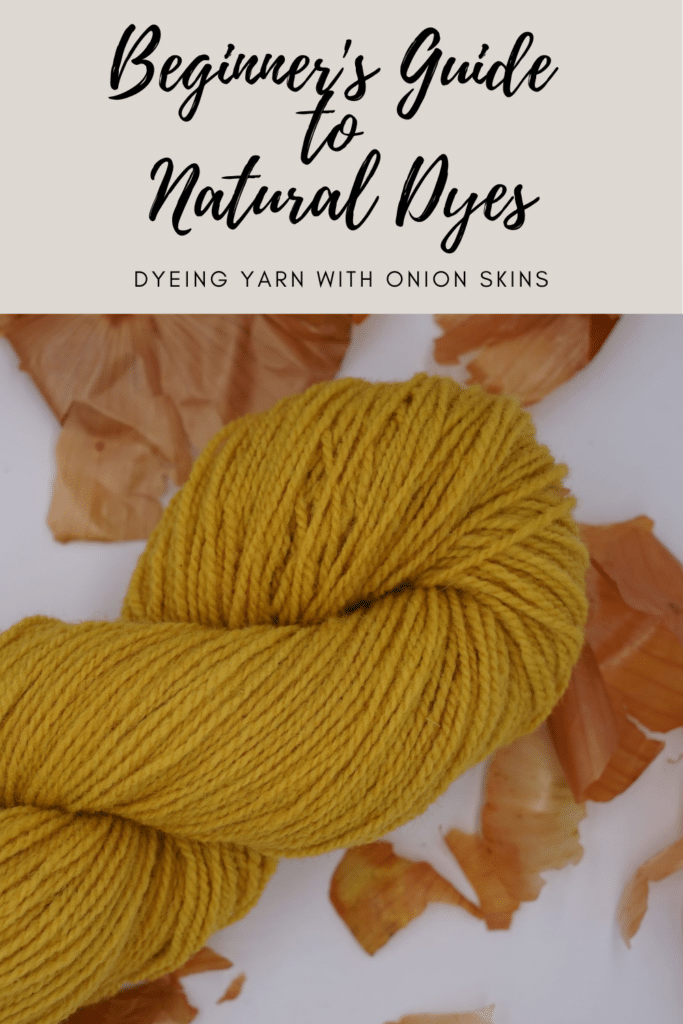
Want to learn how to dye yarn using natural dyes?
I have created a beginner’s guide to natural dyeing that contains everything you need to know to get started. And the best thing: it is available for free!
References:
[1] Dean, Jenny, et al. Wild Colour: How to Make & Use Natural Dyes. Mitchell Beazley, 2018, p. 10.
[2] Vejar, Kristine the MODERN NATURAL DYER: A Comprehensive Guide to Dyeing Silk, Wool, Linen, and Cotton at Home. Abrams 2015, pp. 58-59.


Any success with peach pits?
Hi Tom, I have never heard about using peach pits as a natural dye source before. I know that you can use the leaves and bark of the peach tree for natural dyeing, but haven’t tried it myself yet.