2. Digital bodies#
This class has introduced us new digital tools that complement hand tools in order to design, represent, make and modify the human figure that can then be used as a canvas for creation.
Inspirations#

Anne Mondro | Edoardo Tresoldi | Janusz Grunspeck

Laser cut model | David Oliveria | Han Boodt
Want I wanted to create was a mannequin that would have shown the body but not entirely. Therefore, I made a research about wireframe sculptures.
Software#
We started working on the body trought Makehuman, a free and open source 3D computer graphics software middleware designed for the prototyping of photo realistic humanoids. This software has a very userfriendly interface, very easy to use. It’s very intuitive to use and go trought all the sub-tabs.
Here is shown how changing some parameters change all the body.


It’s also possible changing the position of the body.

Looking at funny MakeHuman created body

Video by Jimmy Paquet-Cormier
Make Human UV map and Light map#
Playing around with MakeHuman I found that it’s possible export the model as UV map or Lighmap.
UV mapping is the 3D modeling process of projecting a 2D image to a 3D model’s surface for texture mapping. The letters “U” and “V” denote the axes of the 2D texture because “X”, “Y” and “Z” are already used to denote the axes of the 3D object in model space.
A lightmap is a data structure used in lightmapping, a form of surface caching in which the brightness of surfaces in a virtual scene is pre-calculated and stored in texture maps for later use.

Skin UV-map | Skin-lightmap | Skin texture

UV-map + Lightmap| Lightmap + Texture | UV map + Lightmap + texture
Cutting a printed UV-map from MakeHuman

Video by Jimmy Paquet-Cormier
Once you’ve exported the program also creates a folder called “Textures” where it saves all the “material” of your model. Here is possible to see on the left the referring model and on the right all the textures.

Usefull Links#
MakeHuman Basic Steps Texture Image
MakeHuman
Blender
From MakeHuman to Rhino/Meshmixer#
After molded my mannequin I imported the file in Rhino to cut the useless parts of my mannequin.


I also used MeshMixer to cut and repair of 3D model mesh.
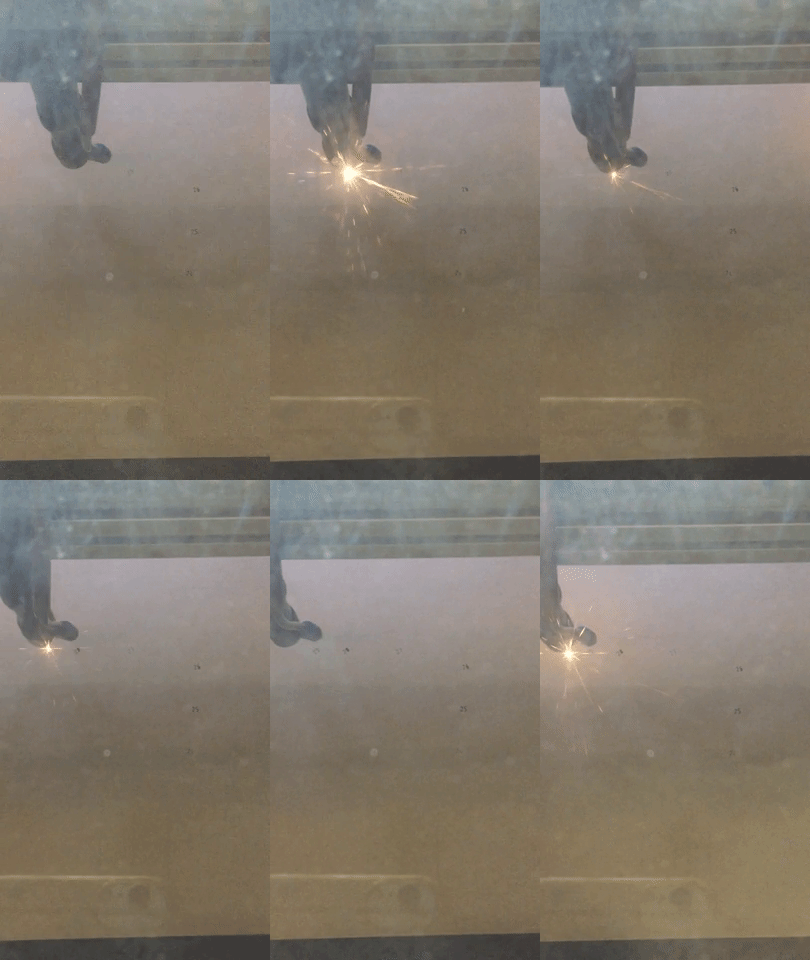
Laser cut instruction. From Slicer 360 to the laser cut#
Once satisfied of our mannequin we had to find the way to realized it. The faster machine was the laser cut. We used Slicer for Autodesk Fusion 360. It slices and converts 3D models into 2D patterns that you can cut out of any flat material.
I’ve already used the laser cut during my intership and my previous job at FAB LAB Fondazione Mondo Digitale and I think it’s my favourite machine!! ![]()

Here is shown the process from slicer to the laser cut:
1. Slicer–> Get plants
2. “File type: PDF Export to: MY COMPUTER
3. Illustrator–> Save as “ILLUSTRATOR CS2” NO COMPRESSION
4. Laser cut programm–>Import
5. After imported the file choose the cutting parameters
RED–>CUTTING Speed:80 Power:60 Corner power:20
BLACK–>ENGRAVING Speed:400 Power:30 Corner power:20
6. Put the material inside the laser cut grid
7. Move and anchor the axes
8. Focus the laser
9. Size test
10. Cutting test
11. Launch the cut
Slicer 360 settings#
Construction Technique: Radial Slices
Object dimensions: H 60cm, W 36 cm, L 26 cm
Slice Distribution
Method: By distance
1st Axis: 0,000
Radial (count): 29
Notch Factor: 0,000
Notch Angle: 1,000
Relied Type: Square
Anastasia, during the review has suggest to do a tollerance test of the material.
Lasercut lesson

Video by Jimmy Paquet-Cormier

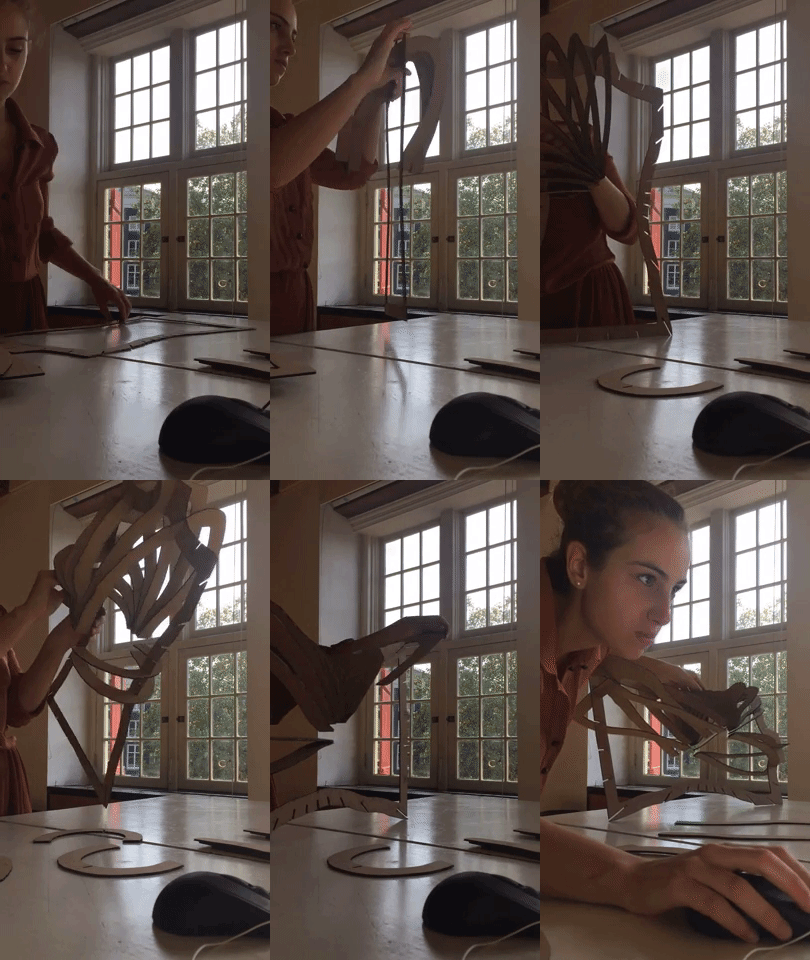
Assembly mannequin steps#
Slicer also creates 3D instructions you can interact with, to help build a model.


Mannequin photos and renderings#

I took photos of the manikin rotates 45 degrees. Than I opened in Photoshop and I


I did some quick renderings on KeyShot. I took a photo of the TextileLab-Amsterdam, where we’re having Fabricademy and I uploded in the background.
Than I experimented with different materials.

This rendering shows how my mannequins would be if they would have been made of dark gray hard shiny plastic.
3D Models#
Mannequin N1
Mannequin N2
Mannequin N3
3D scanning#
At the textile lab we choose to try with two different scans. The one we used was the kinect. The scan has worked not so perfectly so my 3D scanned figure it’s a little weird.
The kinect#
As first scanner we used the kinect.
Kinect is a motion sensing input devices that was produced computer gaming. Since you have to scan all around yourself we used a special ‘turning plateau’ for standing on it and be turned by someone else or you can sit on it and moving with your foots.
Teresa and I scanned each other.


Scan N1 | Scan N2

Scan N1 | Scan N2
As said before the result it’s not so great. Then I used Meshmixer to try to repair the mash.
Sense 3D scanner#
After a few weeks(during the E-textiles I), Jessica, Stephanie, Scarlet and I finaly used The Sense 3D Scanner that wasn’t working in the previous weeks (as you can see in this beautiful immage from Jessica documentation).


Immage from Jessica documentation!
Steps to follow to scan an object#
- Connect the scan to the computer and open the software, the scan should detect automatically.
- Click “New scan” and click again to start.
- To scan proprerly you have to move around the subject to scan or turn it very slowly and carefully.
- The scan warns you to stay still and go slowly if it hasn’t capture proprely every part of the object.
- Don’t move too quickly or it’ll lose track of what it’s supposed to be scanning, and will prompt you to stay still and go back to a previous position/angle it had already successfully scanned - if you do this, it usually just takes a few seconds before you can start scanning again.
- As finished the scan the software will create your 3D model in a few minutes.
- Click ‘Export’ - I exported our scans as .obj files.
We had some problems:
- Jessica was wearing a black leather(a little shiny)skirt so that part it’s not included in the scanning.
- Stephanie has overlapping on her face of other parts of the face.
- I was wearing a printed dress and it ended up to have texture of the dress on my face and my face on the dress.

A special thanks to Jessica for let me use her photos!
Love, share, download the file here!#
Download the mannequins files here!