2. Digital bodies#
This assignment was fun but I had to do it a little in a hurry. I wasn’t here during the second week, as I started Fabricademy later.. So I did it first week in February xD but as I said it’s fun to try out these ‘new-to-me’ softwares like MeshMixer, MakeHuman, and Slicer for Autodesk360.
How I proceeded - MakeHuman#
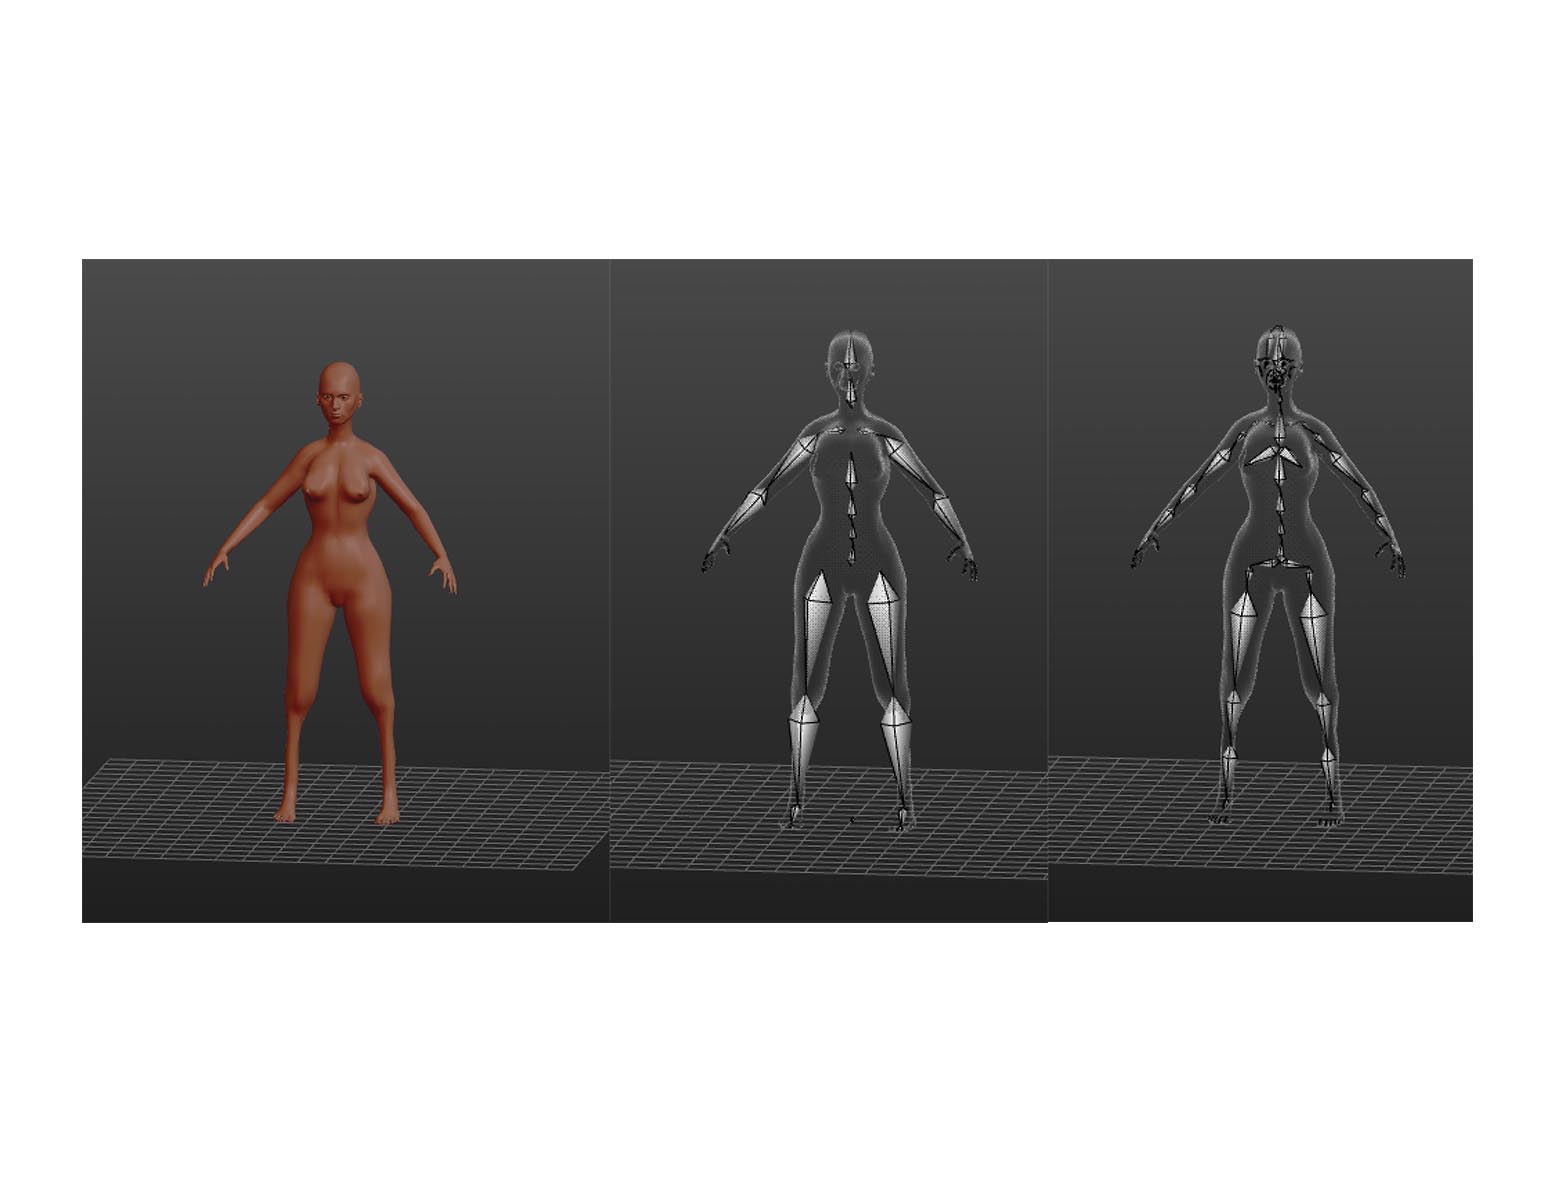
I started by setting my body measurements on MakeHuman to create a 3D avatar that ressembled me. Let’s say I had some fun there..
Starting by trying out some of the features in the software.. and yes the legs are way to thin and the hips way to wide.. don’t remember how that happened.
So here’s creep one :

Here’s creep two, or daemon.. you choose :

And this next one makes more sense if you have some kind of techno music on :

Then I thought it would be nice to give the avatar some clothes..apparently if you give all the outfit at once it’ll cut your avatar’s belly off, oh well who need a stomach :

Rhino | MeshMixer#
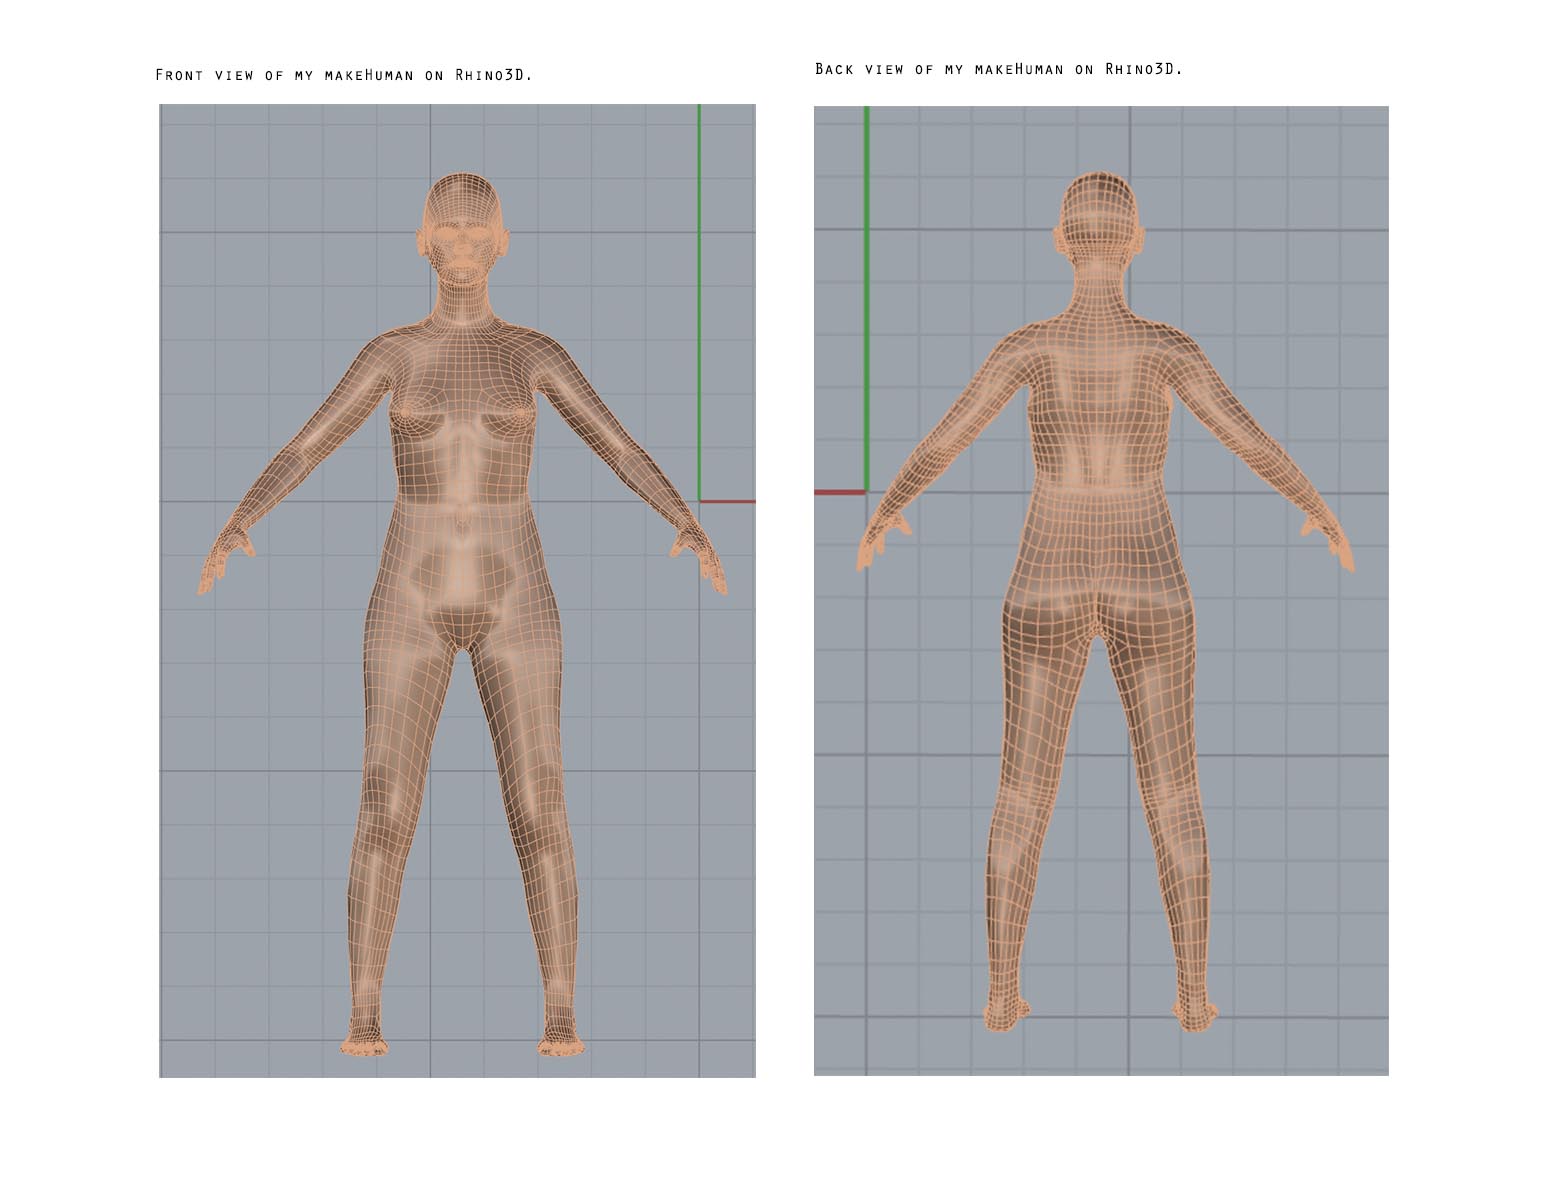
Next step is to import the .obj file from MakeHuman to Rhino3D or MeshMixer to cut off the limbs of the avatar to get only the torso.
Here’s your avatar before :
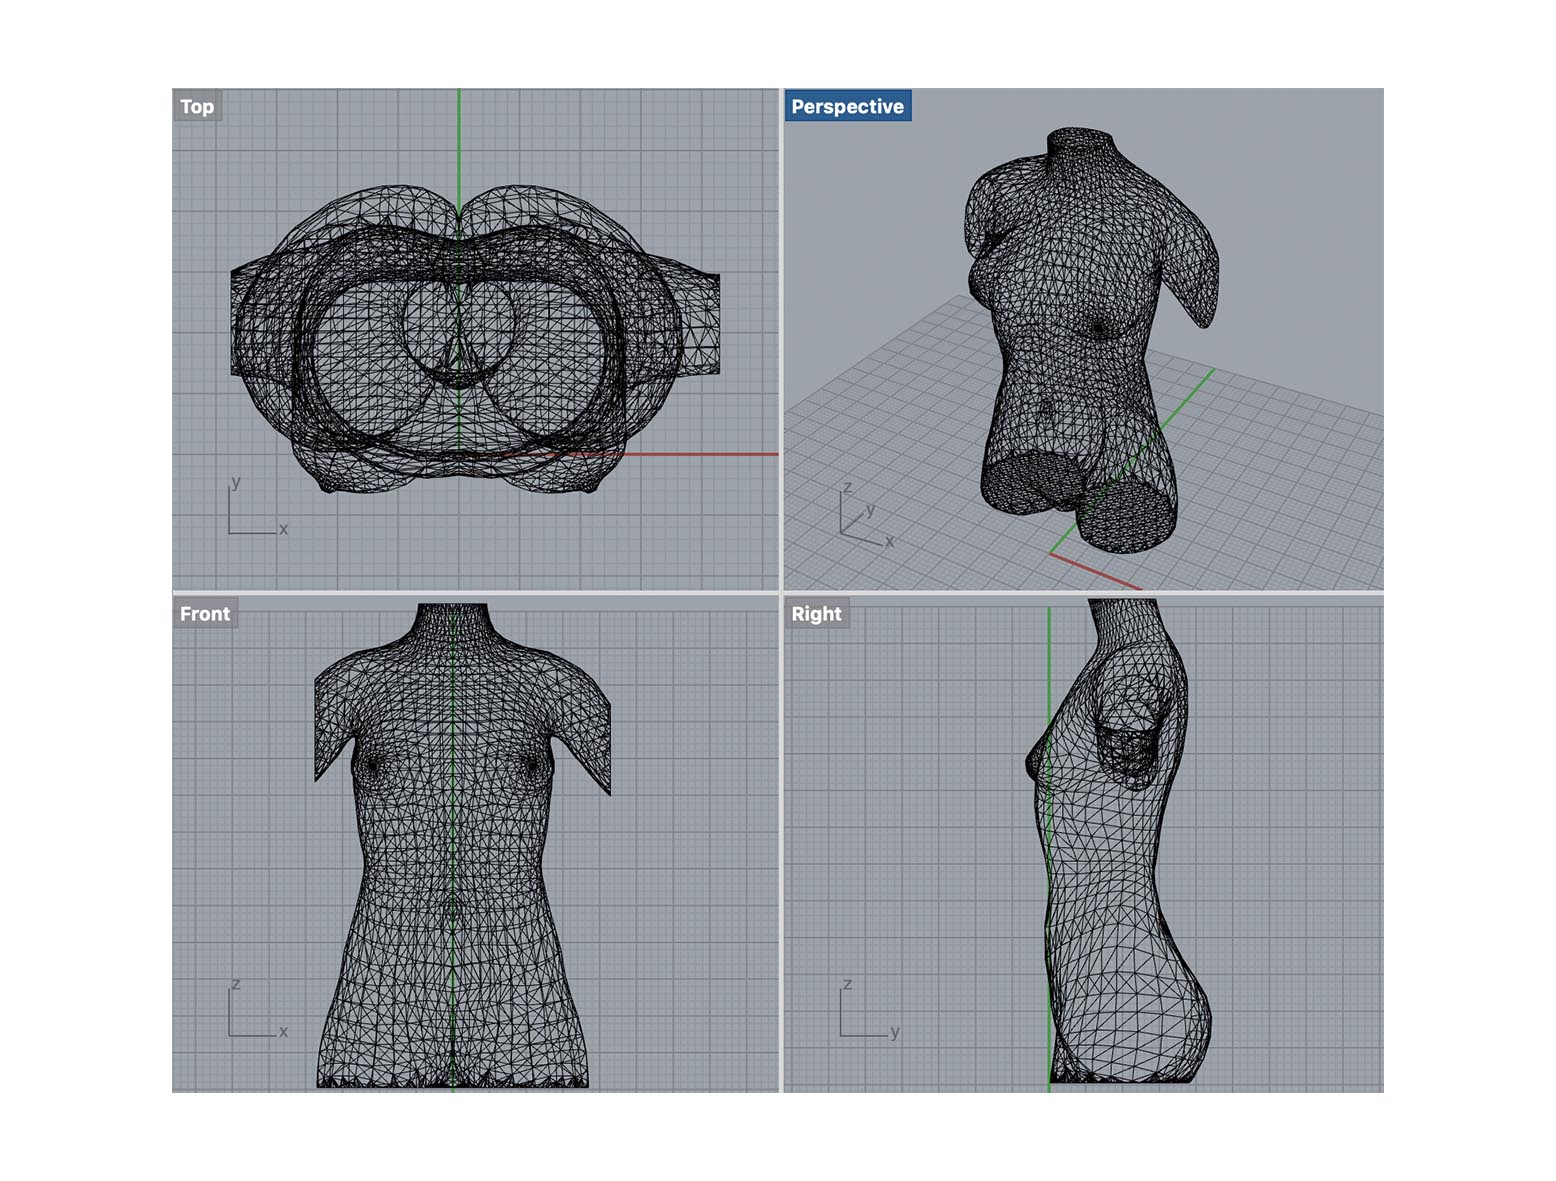
 To remove parts of the mesh, click on Edit in the left hand menu, and select Plane Cut. Then just click and drag the arrows to move the location of the cut in the x/y/z directions. to change the angle, click on the semi-circle and drag it to change the angle of the cut.
Here’s the avatar after the amputations :
To remove parts of the mesh, click on Edit in the left hand menu, and select Plane Cut. Then just click and drag the arrows to move the location of the cut in the x/y/z directions. to change the angle, click on the semi-circle and drag it to change the angle of the cut.
Here’s the avatar after the amputations :
Let’s slice that torso !#
Download and install Slicer for Fusion360.
Import your model - the .obj file you exported from Meshmixer, into Slicer. Then change the Manufacturing settings (top left of the screen) and enter the size of the material you’ll be using. This makes sure that the plans Slicer generates will be the right size for your material - we were using 110cm x 90cm cardboard, with 3mm thickness, so I entered those numbers in the menu at the bottom of the screen. Make sure to also check that your object size is correct! In the menu on the left hand side you can see your model’s dimensions, and the units they’re measured in.
And then I just tried out the different options :
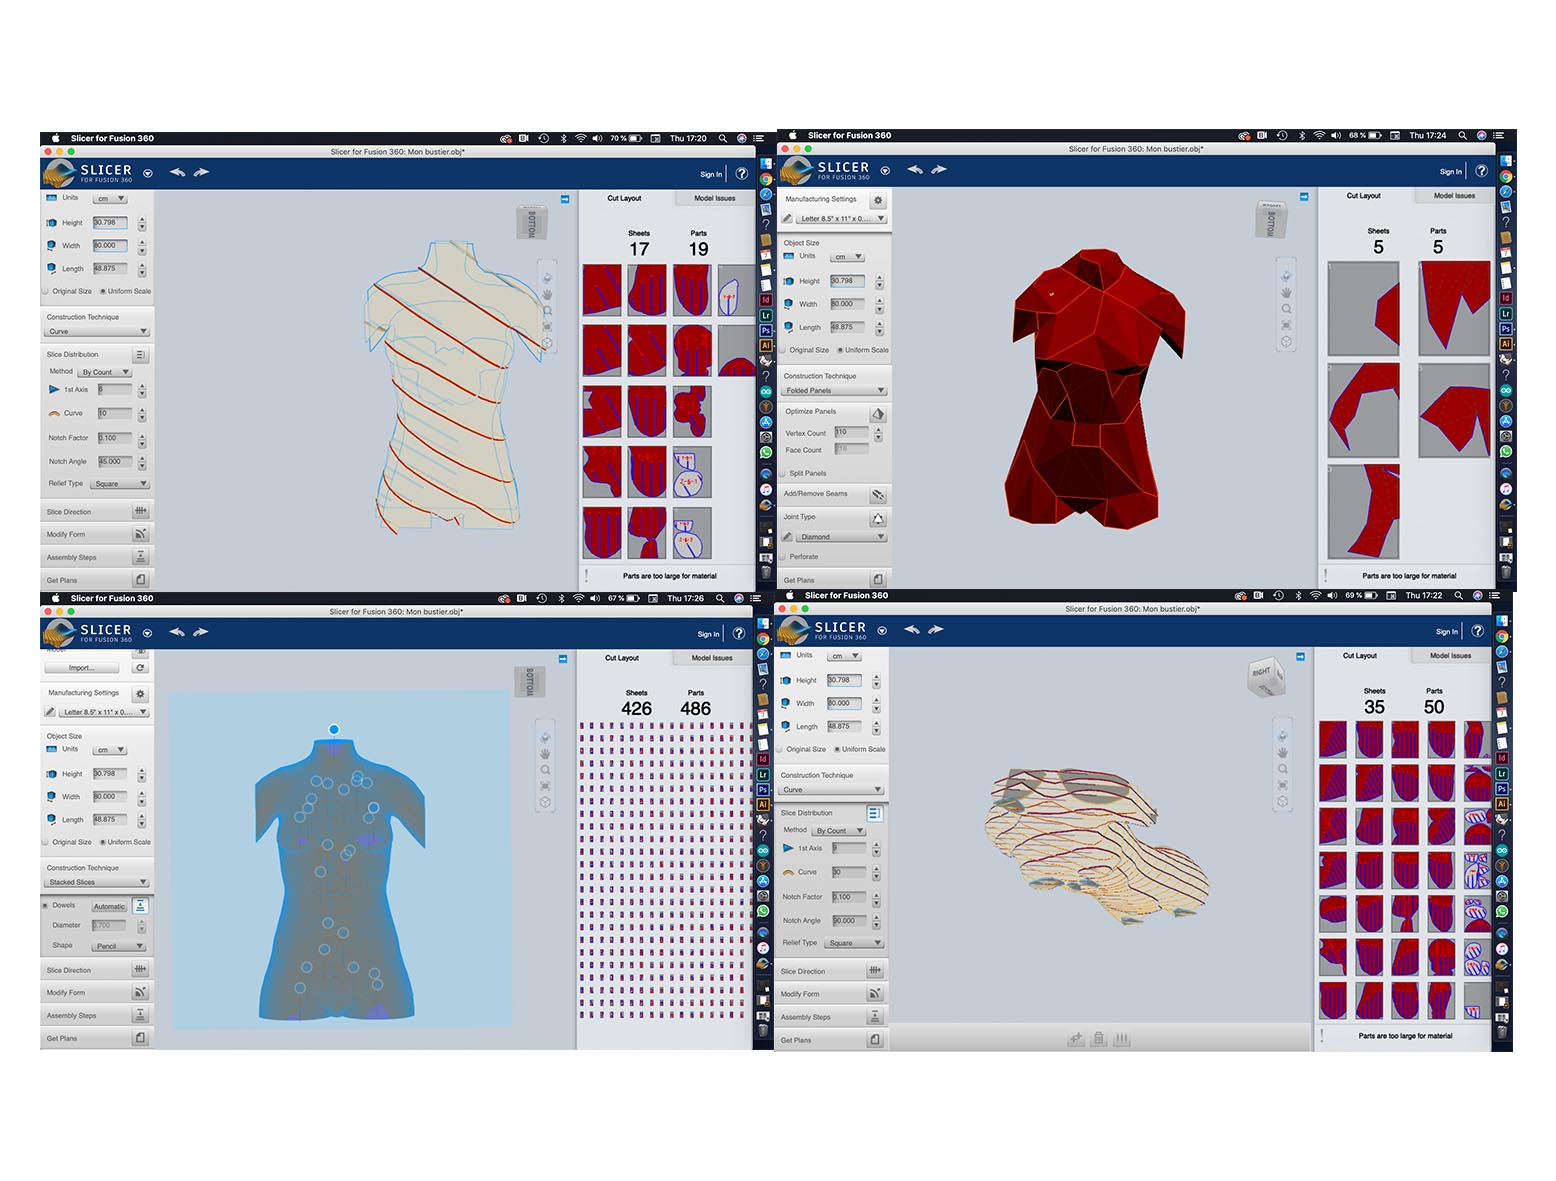
I found one that I liked and changed the settings a bit until I was satisfied. I really liked this design as it has a very nice rythmic line game. I was thinking of coloring the outerlines to give the paralleles more contrast :
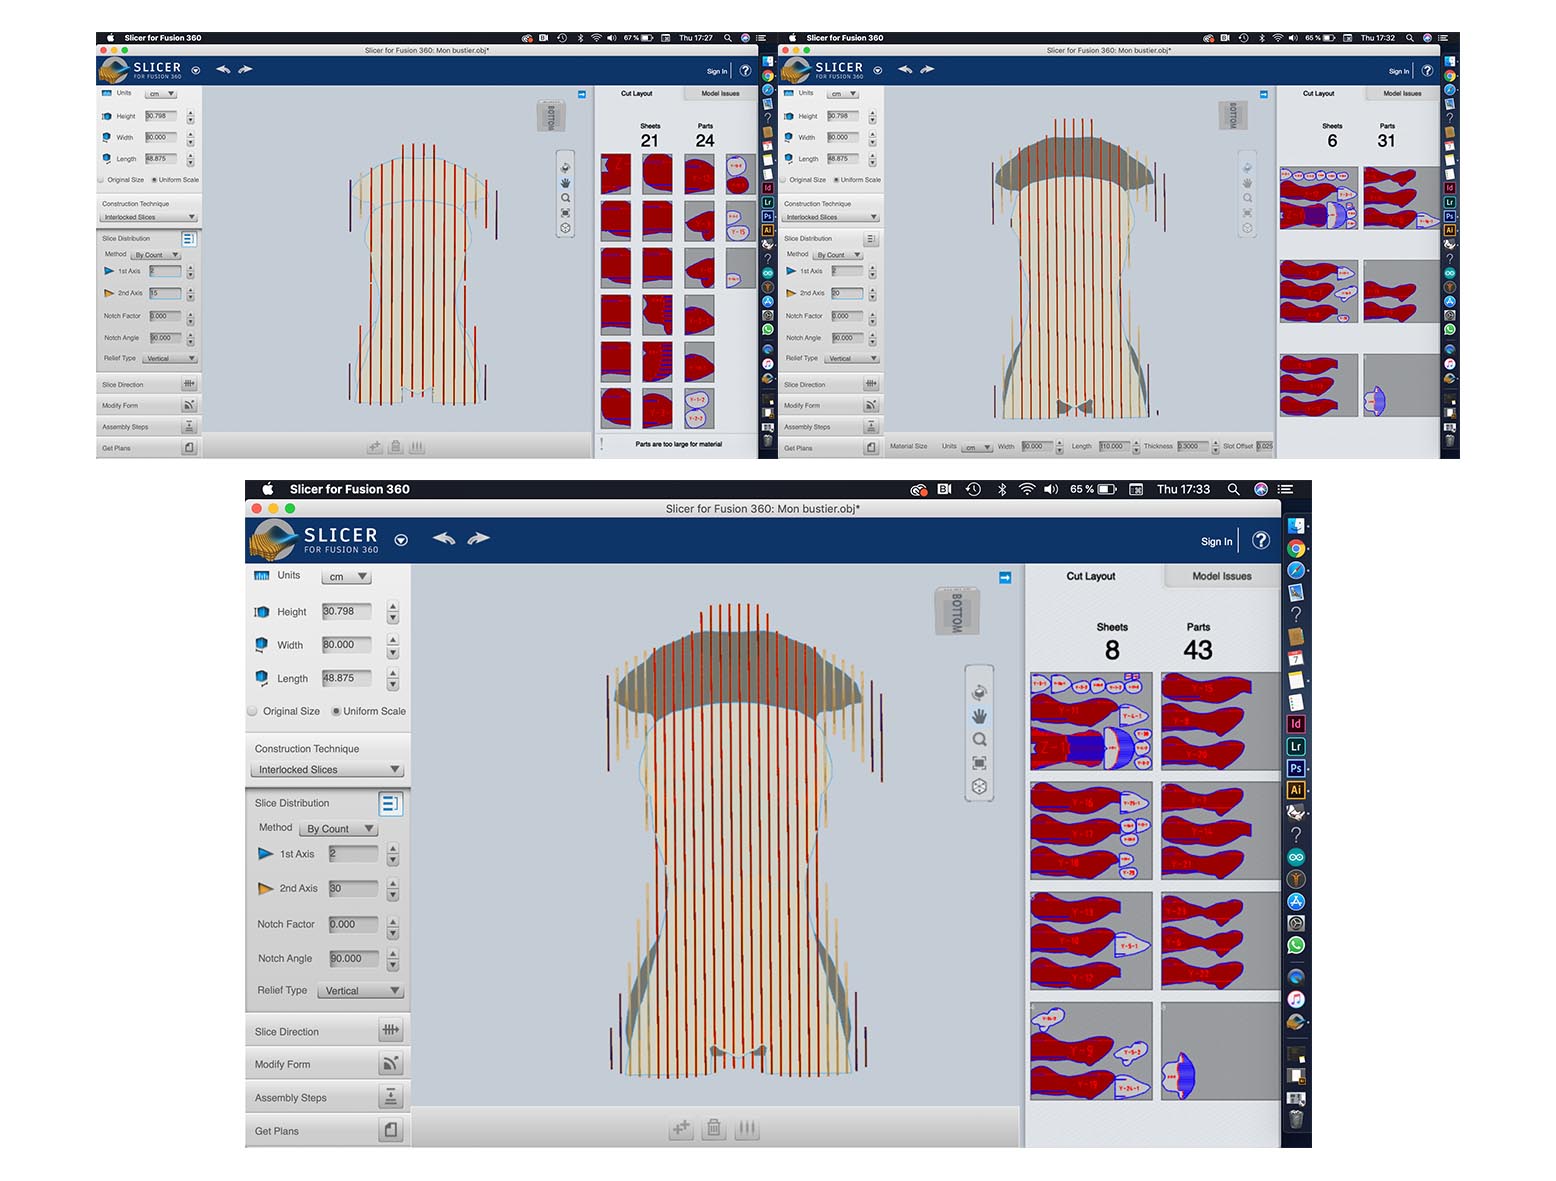
Before, lasercutting I checked the number of cardboards I’ll need ( found on the top right of the software ), and I also checked the quick assembly guide :

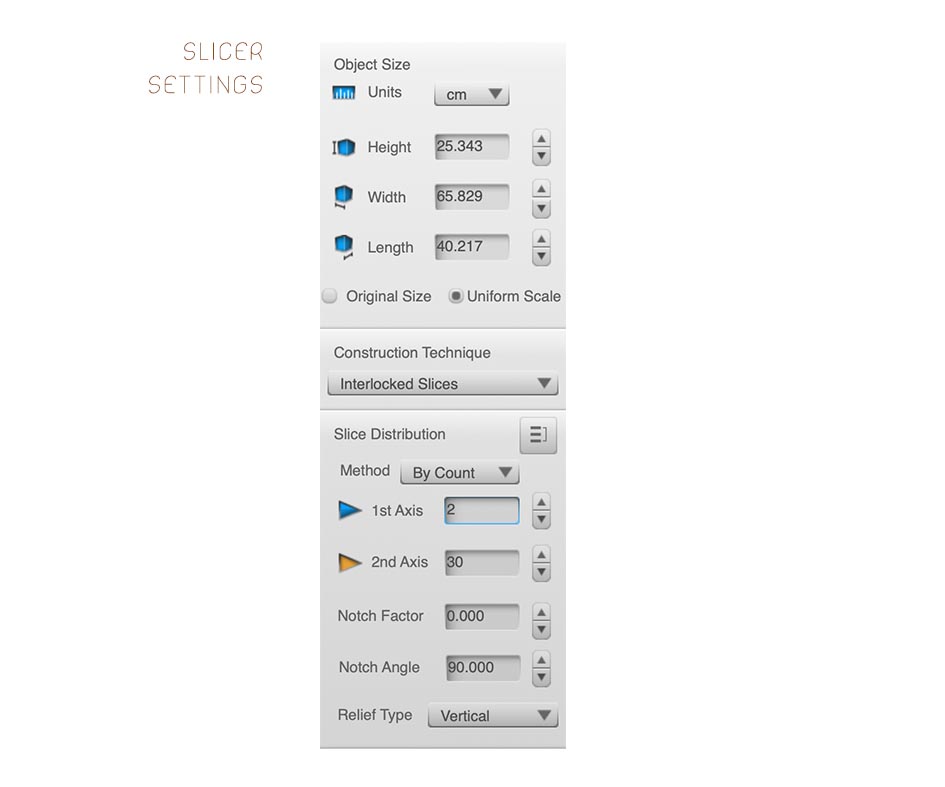
The settings I used on the program are the following :
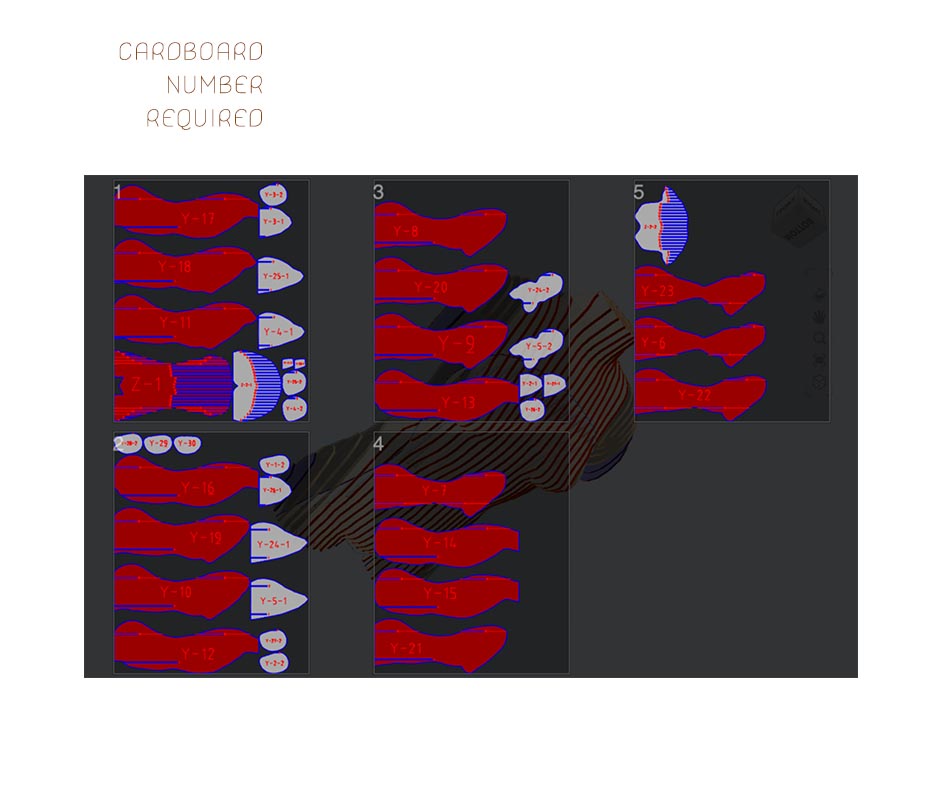
Cardboard plans#
For this bust you’ll need a total of 5 cardboards in 110/90/0.3 cm sheets.
Lasercut settings#
Cardboard : Cutting = Speed:80 Power:60 Corner power:20
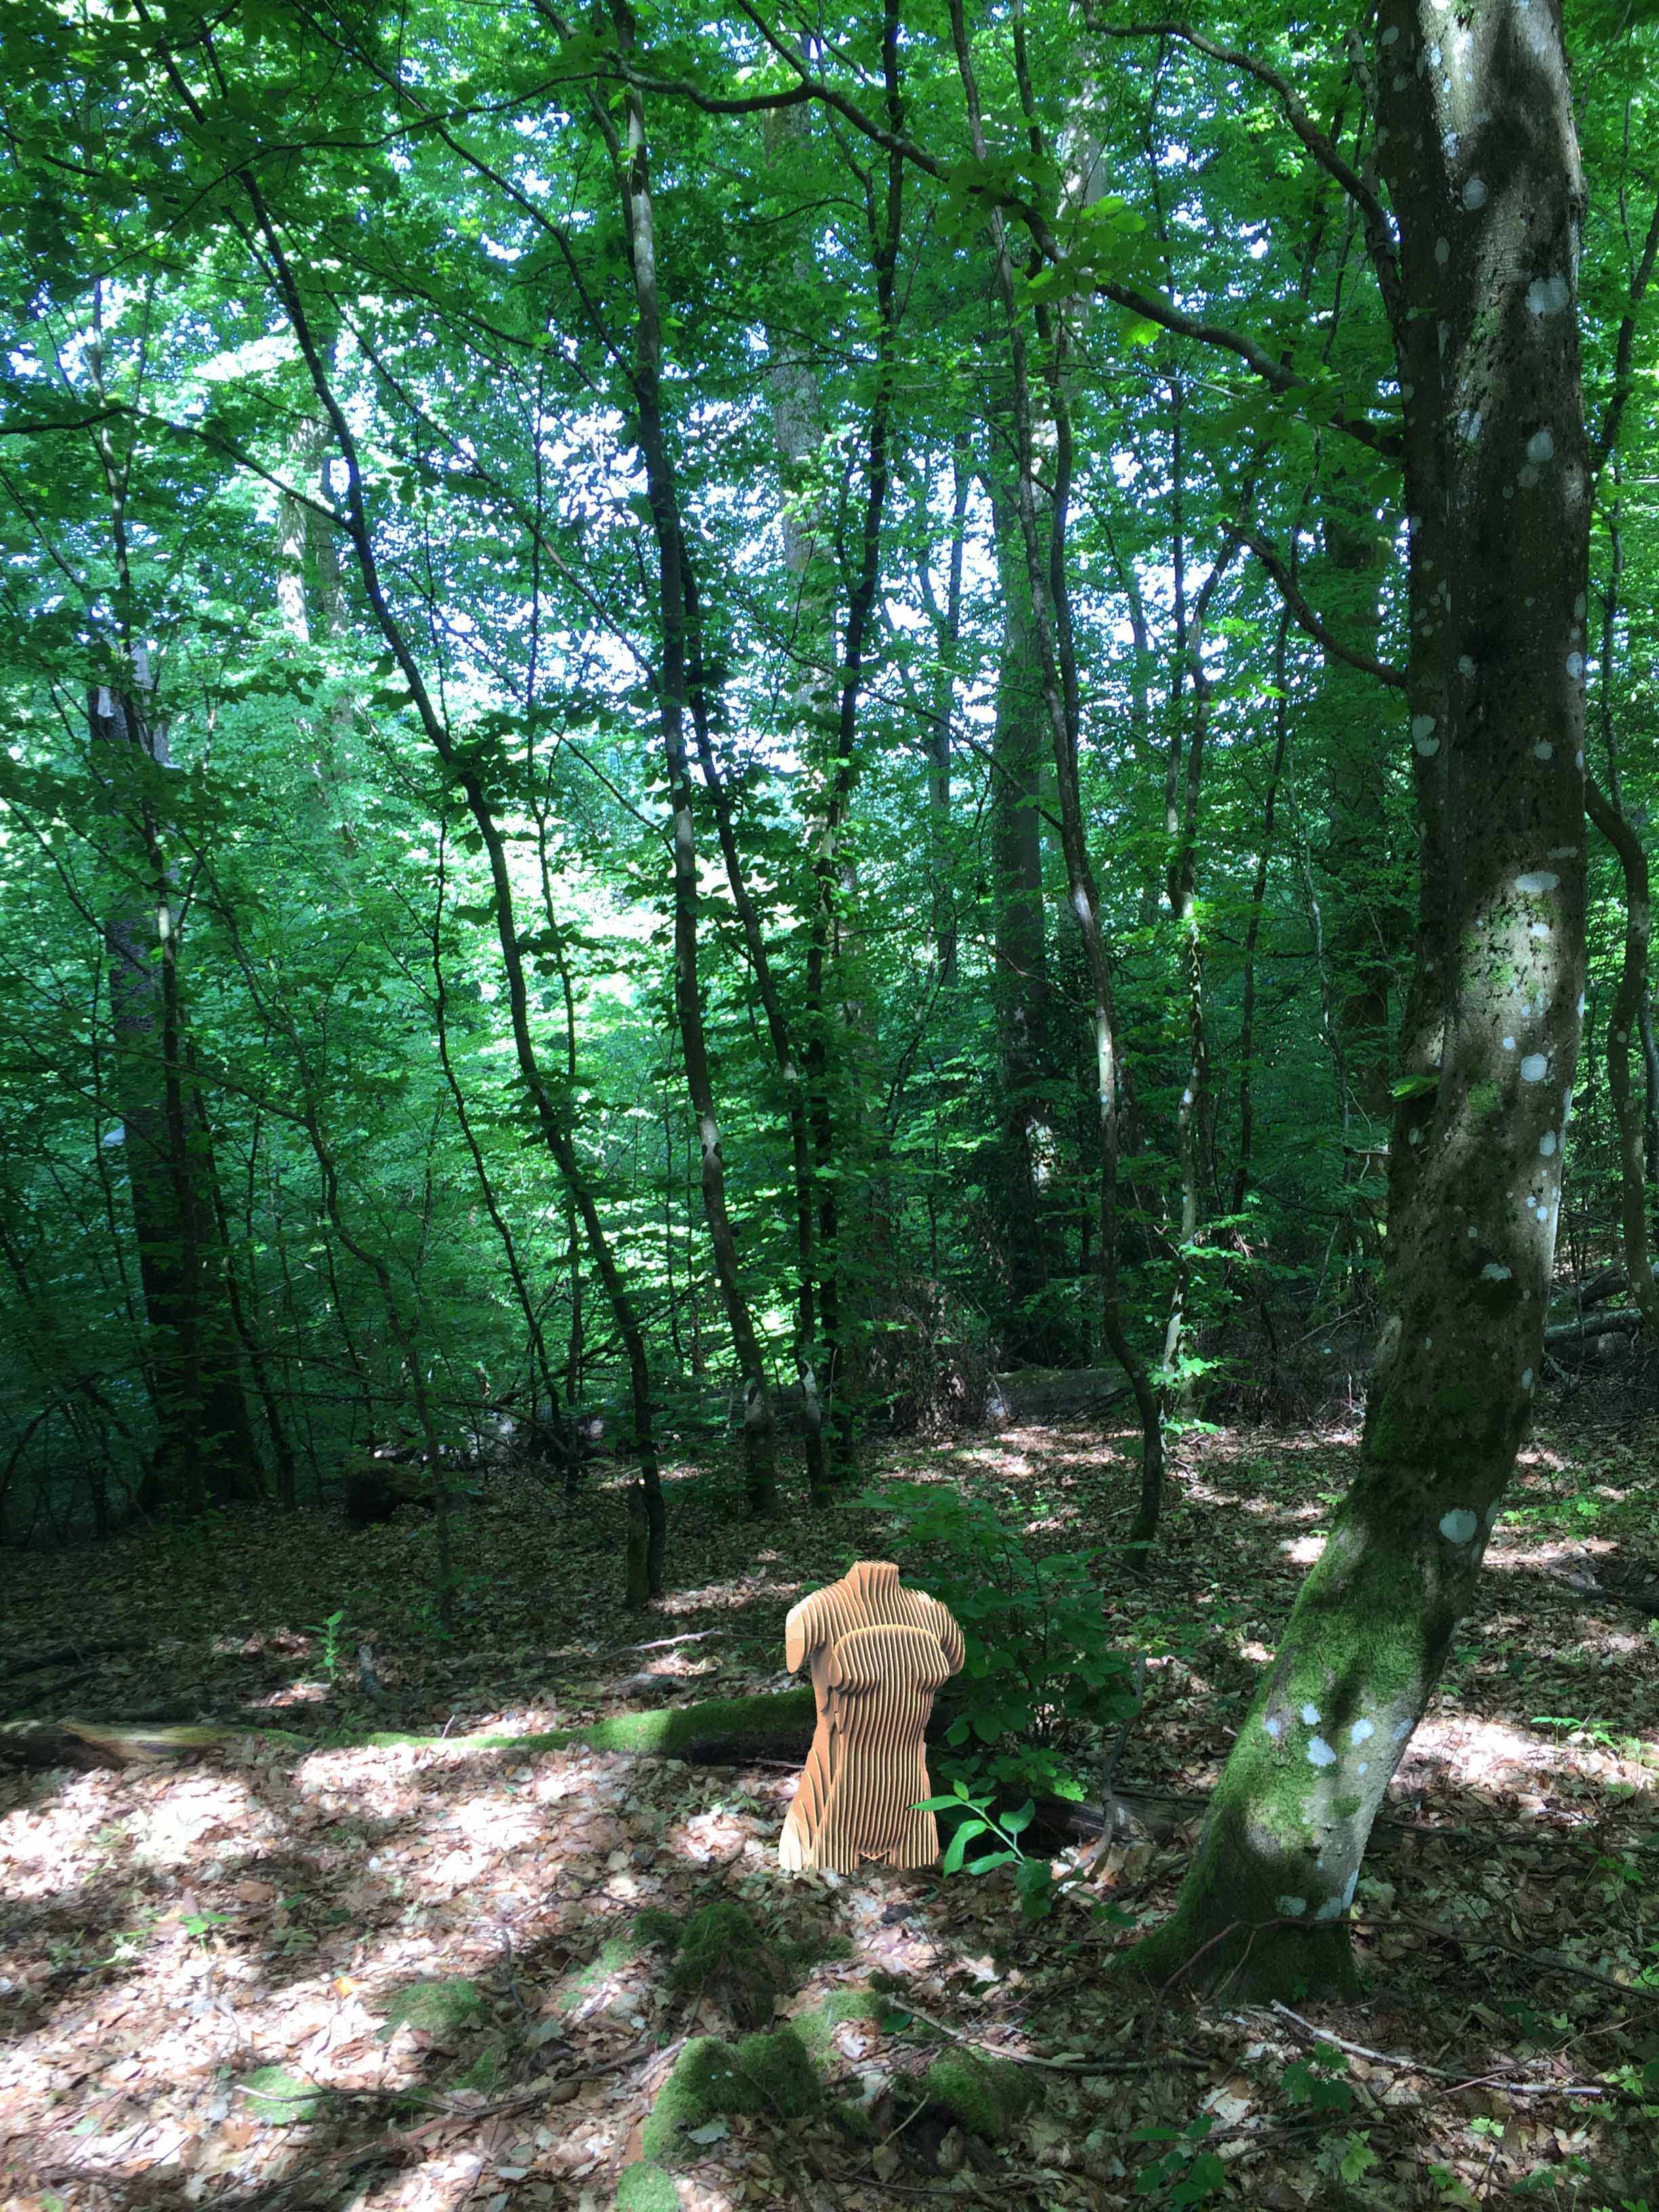
My bust in the Forest#
Files#
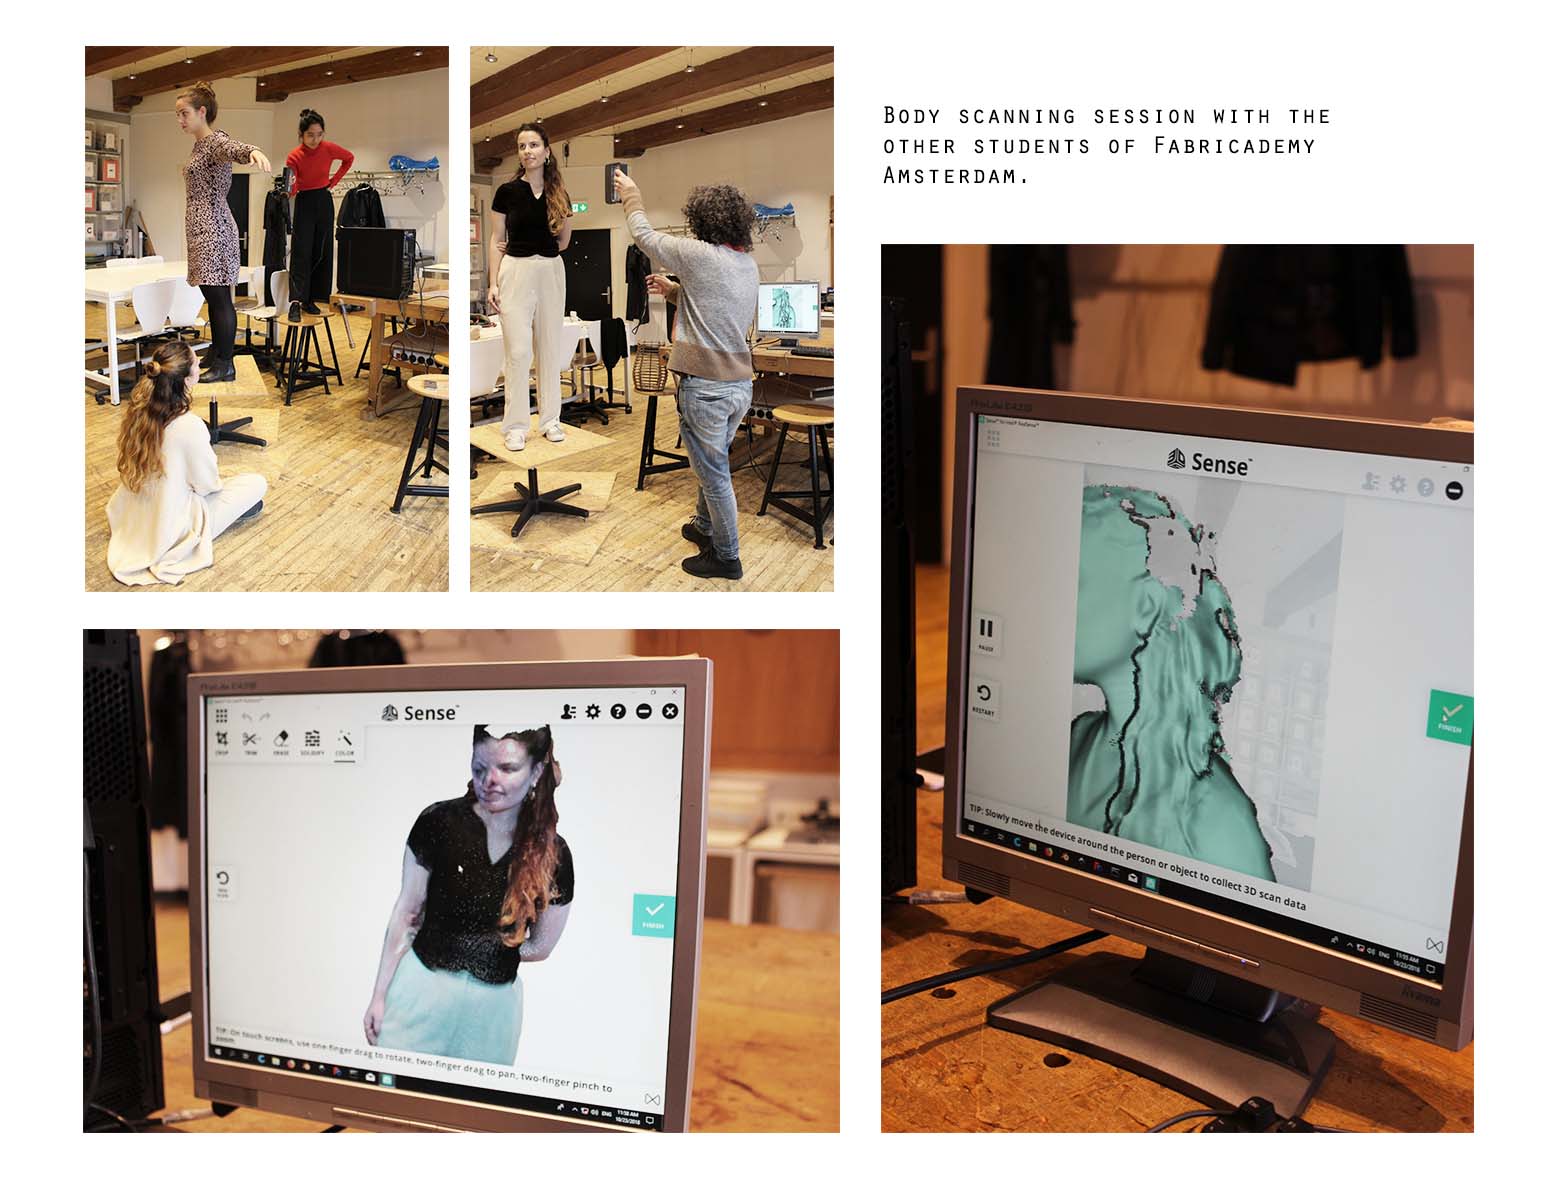
Body Scan session#
When I arrived on my first week at Fabricademy, the other student had planned to try out the 3D body scanner, so I joint.
How to use the Sense 3D scanner :
(Explanation from Jessica’s documentation, cause again it was so well written ! )
The Sense 3D Scanner is an easy to use 3D scanner which has 1mm resolution, and can work at a distance of up to 1.8m away from the scan subject. It works in conjunction with its own software, and can export files in .obj, .stl format, among others. The downside of the Sense scanning system is that it’s not super cheap (ballpark 400 euro), and is not open source. The scanner works by projecting an infrared beam, and picking up reflected infrared rays with a webcam.
The Sense scanner connects to a computer, or mobile device, via USB. I noticed that this needed to be a usb 2.0 port, otherwise the computer would not detect the scanner. The computer that we were using for this at TextileLab Amsterdam is fairly old and didn’t have any USB 3.0 ports, but I suspect that these would also work just fine. But if you’re reading this and have no idea what I’m talking about and your computer doesn’t clearly label which kind of USB port is which, just try a couple of different ones, and don’t be discouraged if the first port you try doesn’t detect the scanner!
When you open the software for the scanner, it should detect the scanner automatically. then all you need to do is click ‘New Scan’ icon on the left hand of the screen, and then click again to start the scan. This will give you a three second countdown before the scan starts: handy!
To make a 3D scan, you have to move slowly around the thing/person you are scanning, or turn it very carefully. As we were using the scanner with a desktop (which is not mobile!) and the cord connecting it to the computer is quite short, we used a makeshift turntable available at TextileLab Amsterdam (basically a wheely chair with the seat replaced with a wooden board, wheels removed, and two wooden boards slotted under it for stability). Aka a health and safety official’s nightmare, but no Fabricademy students were harmed in the making of these scans.
While scanning, the scanner software shows you an image of what you’ve scanned so far. It warns you to stay still and go slowly if you’re not doing those things, and if you move too quickly it can lose track of what it’s supposed to be scanning, and will prompt you to stay still and go back to a previous position/angle it had already successfully scanned - if you do this, it usually just takes a few seconds before you can start scanning again.
As you scan, keep an eye on the computer screen to see how your scan is building up, and where you have holes - you can return to, and zoom in on, areas with holes so that these fill in.
When you’re happy with your scan, click the button on the right hand side of the screen to finish the scan. The software will then take a minute or two to create your 3D model, but when that’s done, you can click ‘Export’ - I exported our scans as .obj files.
Here’s the beautiful and realistic result of my body scan :
Tada ! Am I not beautiful ?!