12. Soft robotics
Soft robotics: soft robotics is a subfield of robotics that concerns the design, control, and fabrication of robots composed of compliant materials, instead of rigid links (1).
Making soft robots means avoiding to the maximum motors, circuits etc to create movement, heat or light using the material's intrinseque proprieties. A lot of materials, crystals, polymers or metals can change shape, temperature and proprieties depending on the stimuli we apply to it.
Layering (sandwiching) materials is really important when it comes out to polymer soft actuators. It helps constraint the movement of the specific material you are using. The actuator can be actuated depending on the sensory information taken from the person who is wearing the wearable (pressure, vibration, motion, touch, thermoregulation, brain waves, cardiac waves or muscles contractions). A meta silicone is a silicone with inclusions of another material featuring different proprieties (softer or harder) which will temper its flexibility.
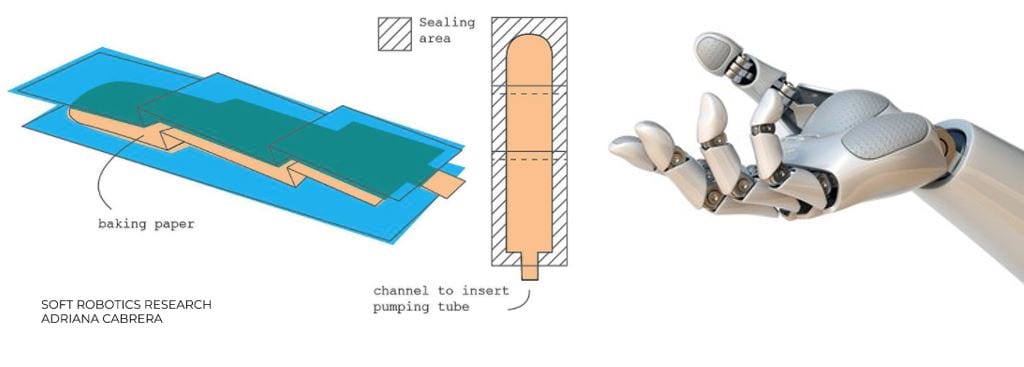
Inflatables are a category of soft actuators that can generate motion by playing with the shapes, bending angles or size of channels. How to make an inflatable? Use 2 vinyle layers and cut baking paper in the shape of the channels. Hot press the layers together. The baking paper is waxed so it will not stick to the vinyle. Rotation can also be generated if folding the baking paper and one of the vinyle together.
Artificial muscles can also be made by constraining a long balloon into a tube with different constraints of shape (for instance braided tube). If you connect the ballon with a connector to a srynge and ensure airtightness with some zip-wrap, you can make the muscle work !
To make these inflatables, we will need pump for fluidics, air pumps, valvs and transistors.
Assignment
- Document the concept, sketches, references also to artistic and scientific publications
- Make a soft robotic sample, develop the pattern for the Inflatable and draw a sketch of the air flow
- Build a pneumatic wrist brace (basic level) or thermovynil sample
- Build a Soft Gripper (intermediate level) or
- Build and document a Pneumatic, digitally controlled system , electronics schematic, electronic control and code (advanced level)
- Experiment with different materials, such as silicones, 3d printing, parchment paper, thermoadesive vynil, bioplastic , document your achievements and unexpected outcomes
- Upload a small video of your inflatable working
- EXTRA POINT Integrate it into a project
I-Thermovinyl sample
a-Folds
When working with thermovinyl samples, I wanted to experiment with the folding movement as I really liked the examples of the presentation. Doing further research, I also discovered some amazing research projects about soft robotic hands such as instructables circuits's open source and 3D printable model, or Jan Fras and Kaspar Althoefer's research (Queen Mary University of London). Soft robotics hands are amazing since they have softer and safer touch, which is an important point when the robot has to interact with humans, and have great strenght to lift important loads.
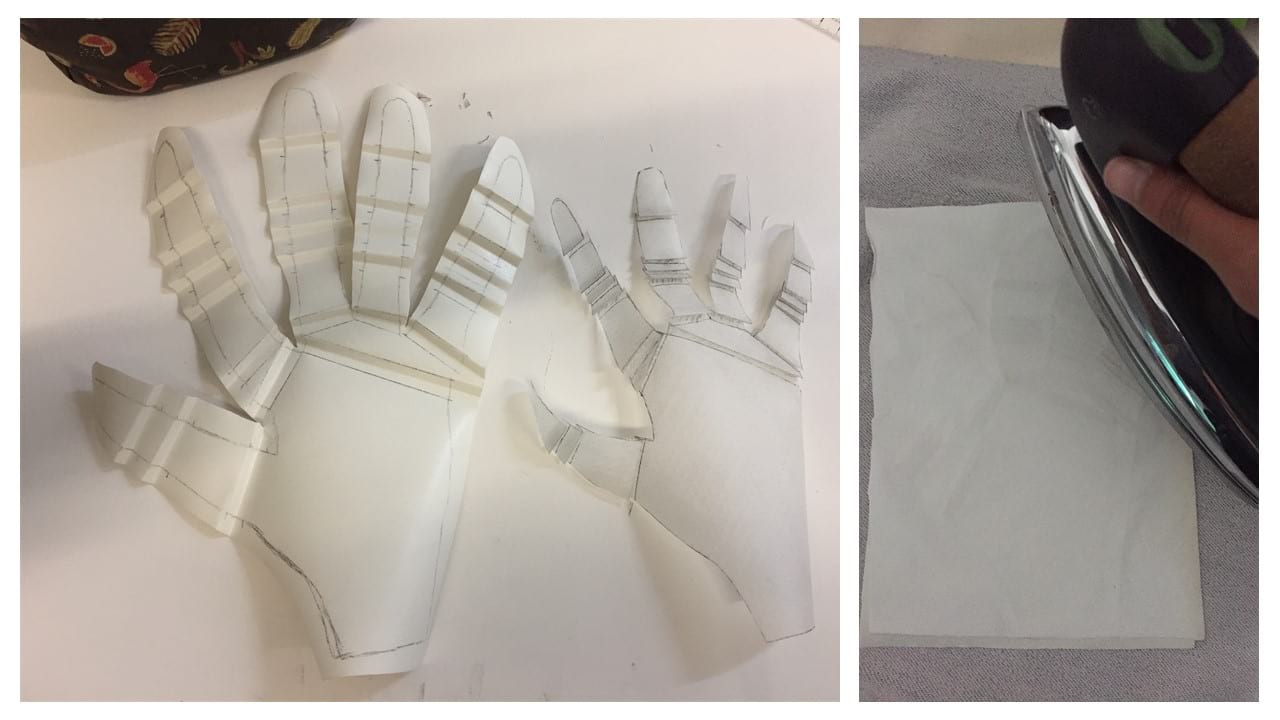
As I am very sturbon, I did not start off with something easy, and decided to make a hand right away to see if it was possible to make it in vinyle paper. For that, I first traced the shape of my hand on a piece of paper and traced a line at every fold.
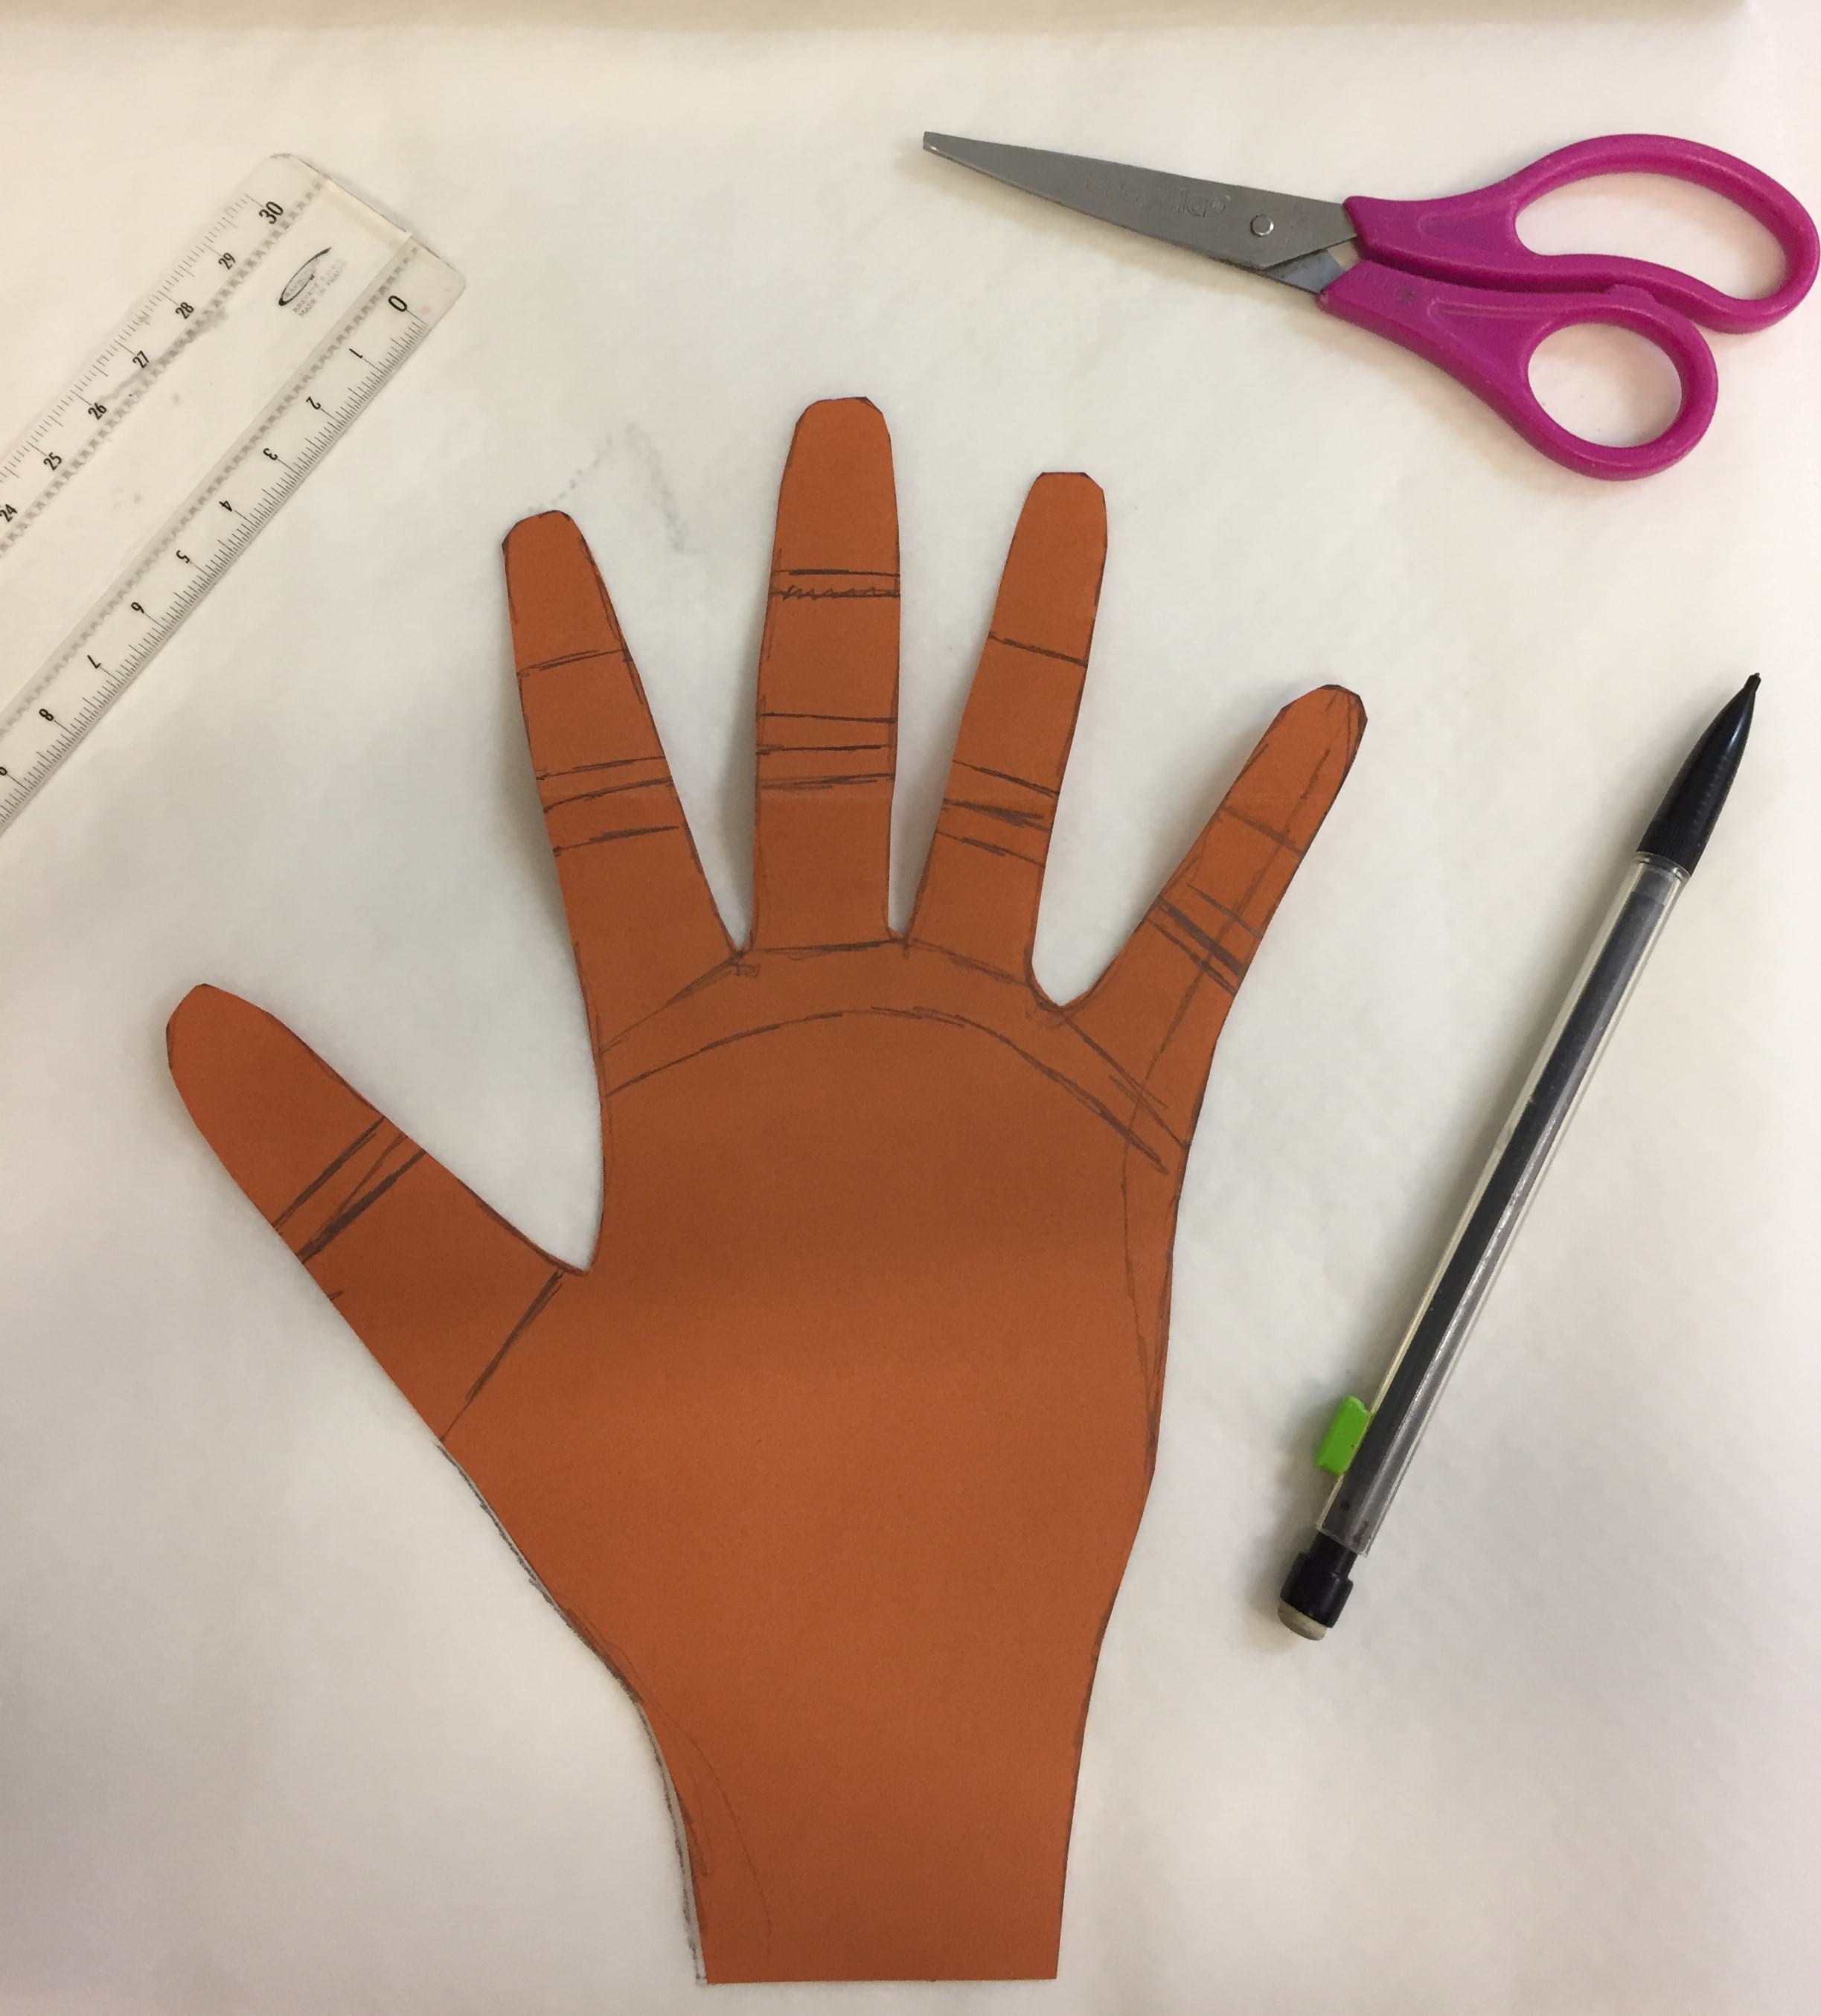
Then I studied with a bit more detail what kind of angle (actue or obtuse) was generated by each phalax of each finger (they do not all generate the same motion !! And the thumb does not move as the other fingers either).

According to the lectures and tutorials we had, generating an obtuse angle in vinyle requires one fold, a 90° angle requires two folds and an actue angle requires 3 folds. Considering these informations and the movement of my hand, I cut the pattern of my hand and inserted the some space to put some folds.
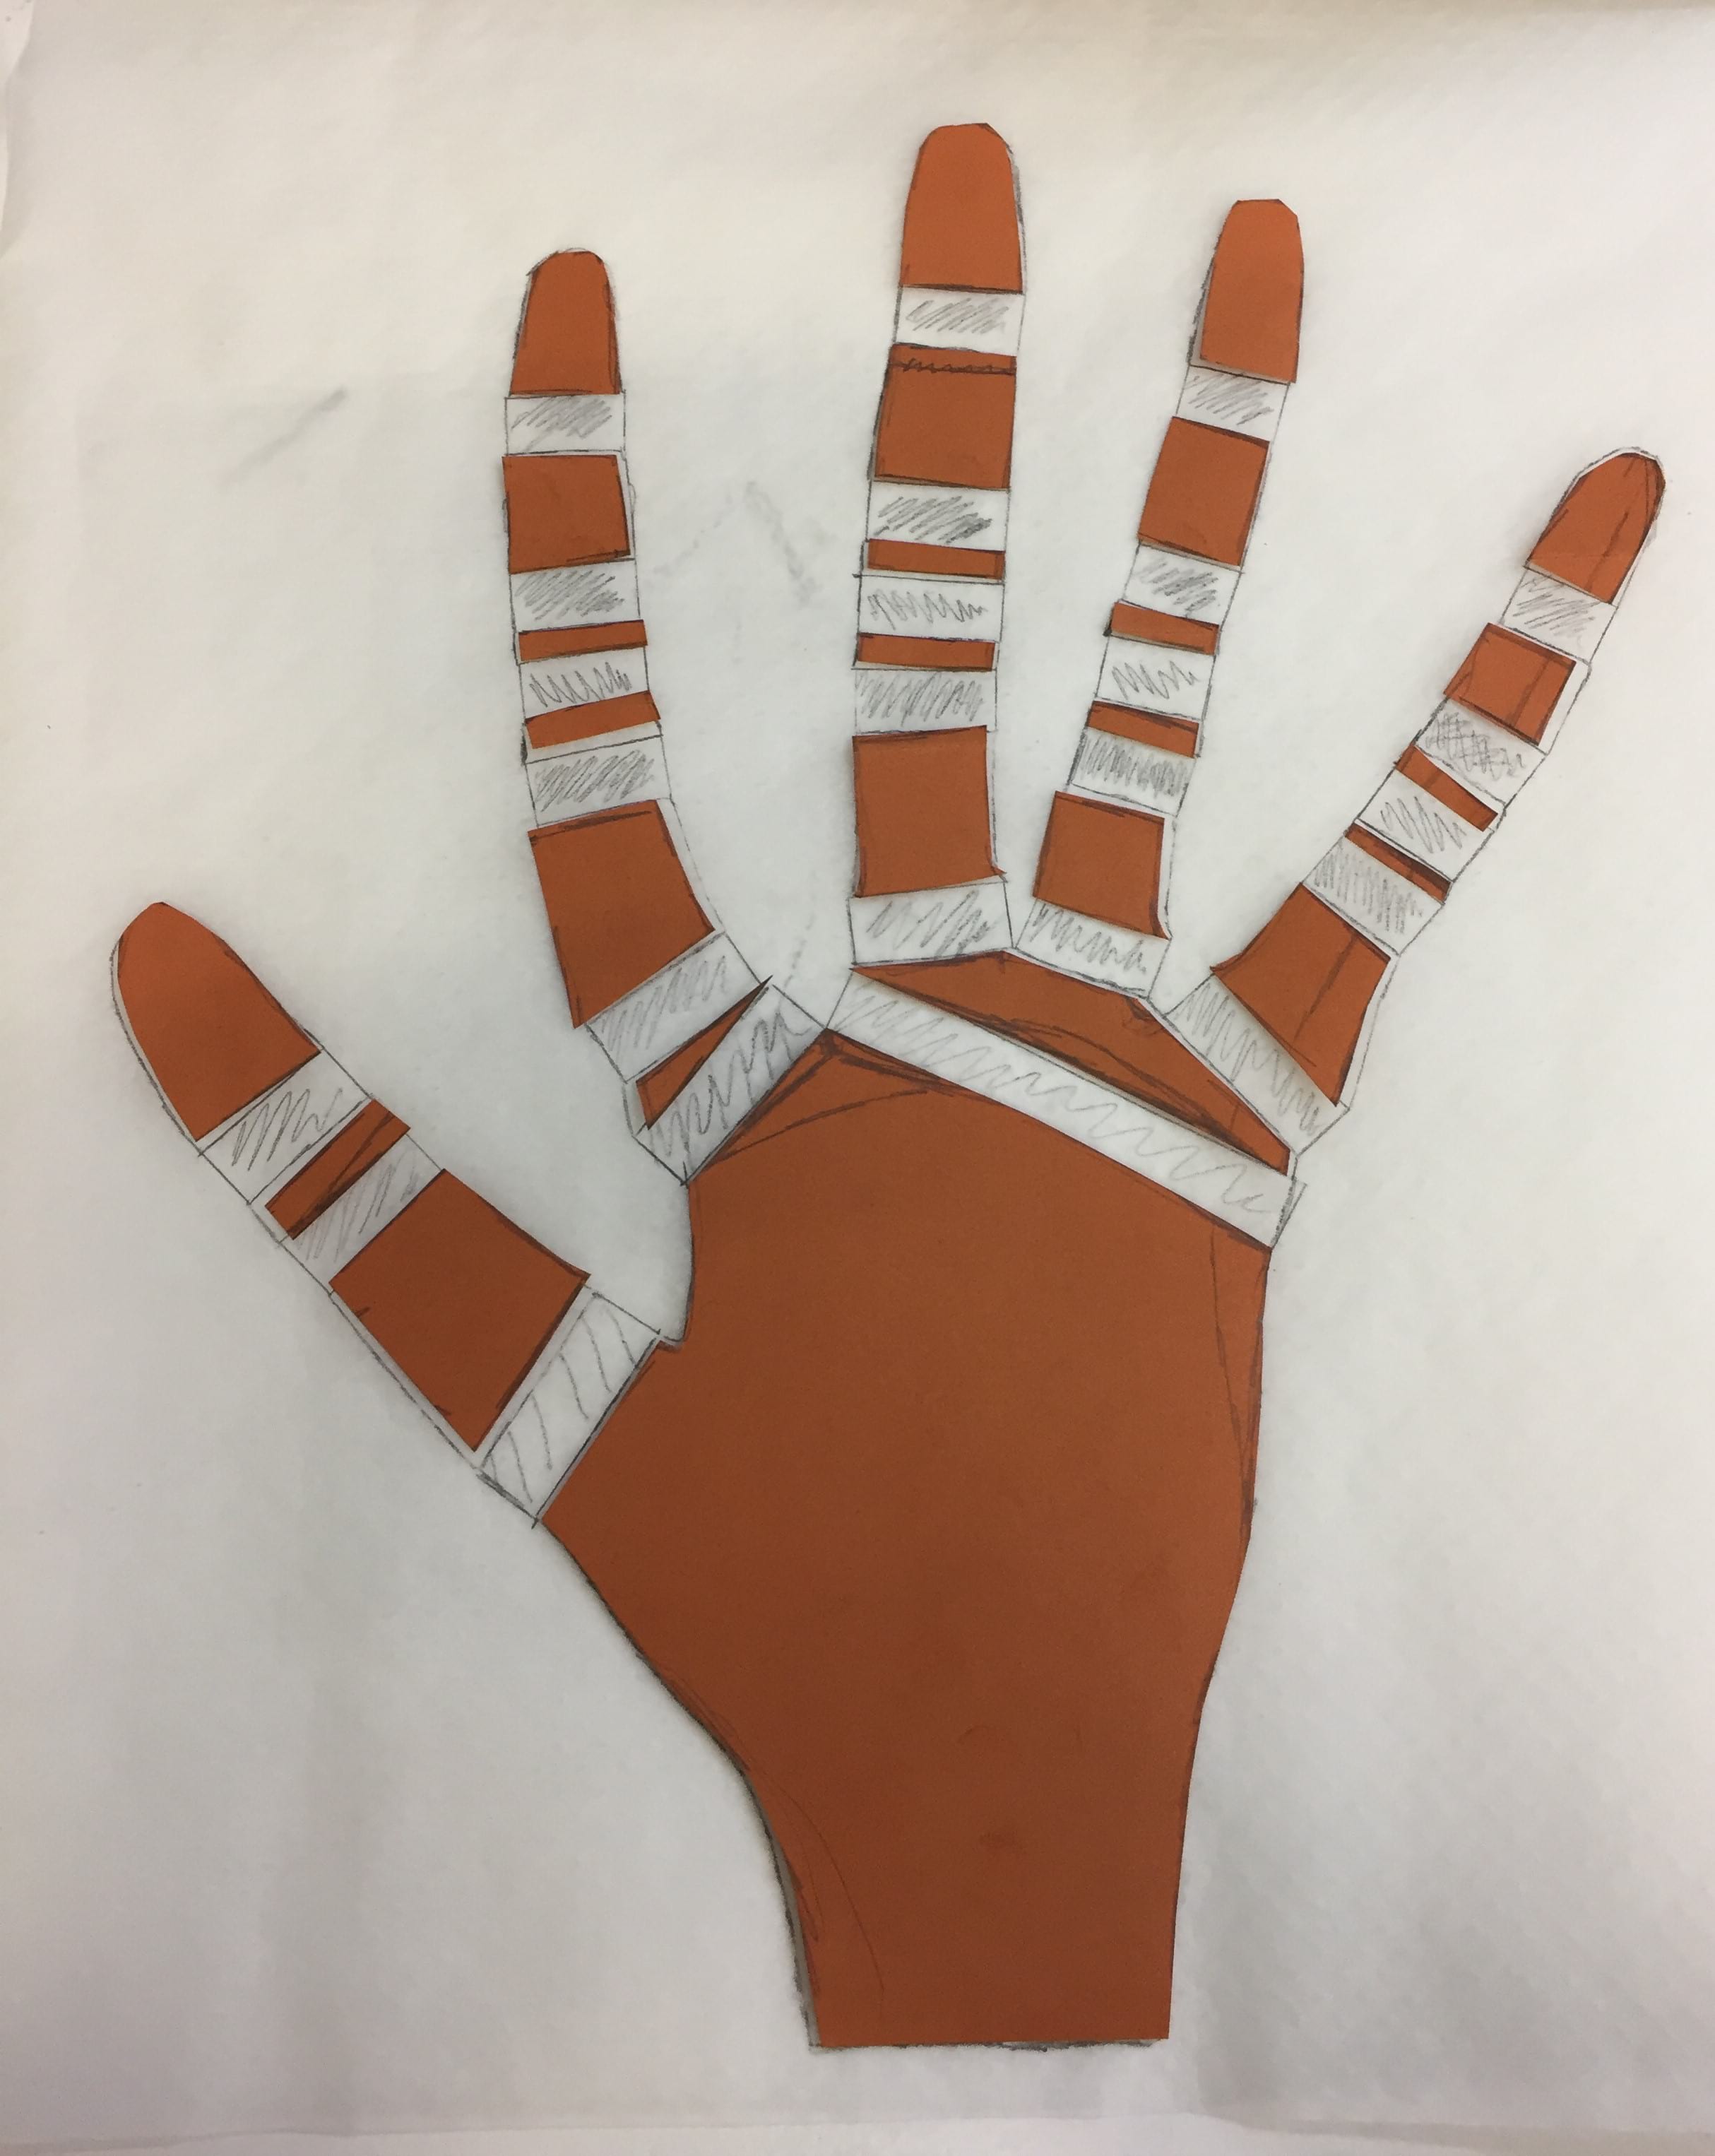
Then, I cut this pattern onto baking paper and (hardly) folded it along with the vinyle. I pressed it with another unfolded piece of vinyle using an iron (it was easier than a press since I had to maintain so many folds in place).
Unsurprisingly, since there were so many closely placed folds (sometimes overlapping with the next finger) and since the vinyle material I used was so thick the motion generated was not really the one expected...
I still made some other samples to experiment with the three types of angles, but the best I could do was an angle of 90°.
b-Vinyl cutter
Even though I did not use it, we also learnt how to use the vinyle cutter. This machine is pretty nice for cutting materials that can not be cut by the laser cutter like copper or vinyle, or very thin sheets like baking paper.
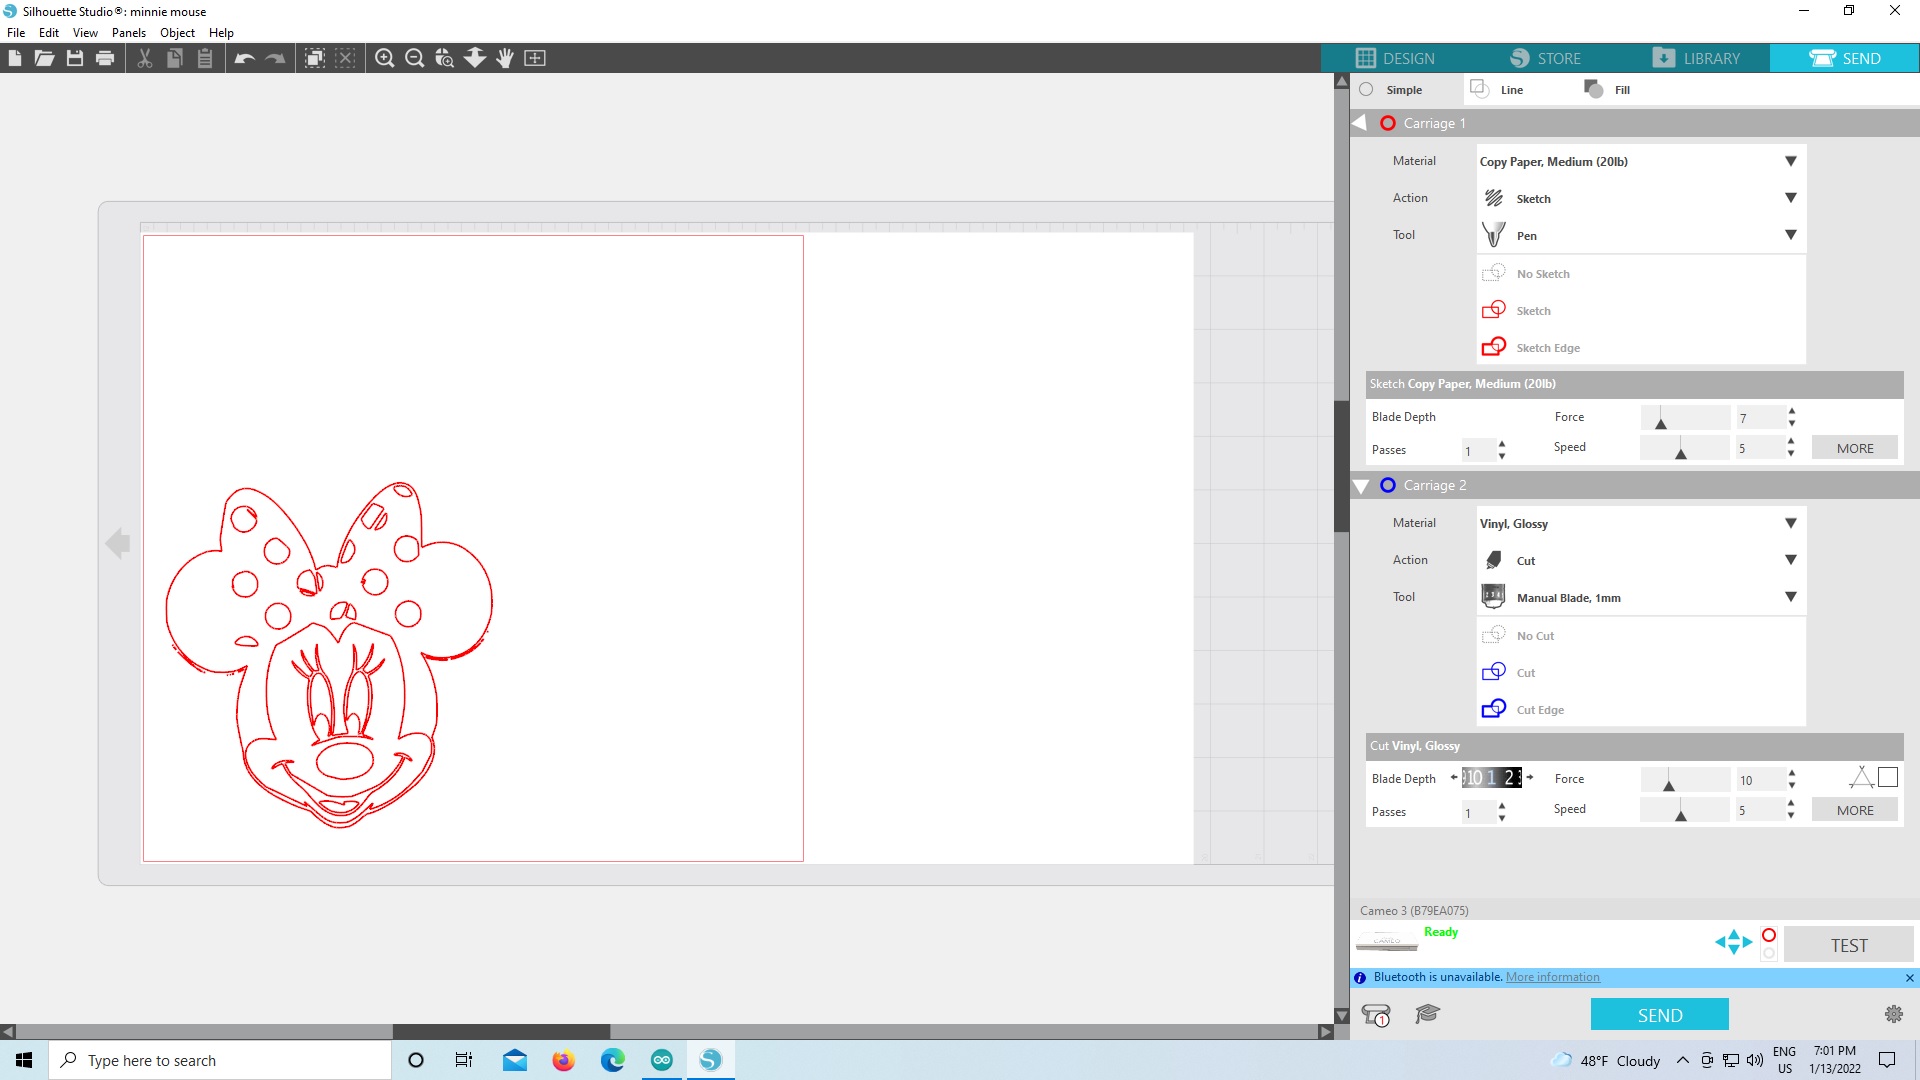
 The vinyle cutter uses a software called Silhouette studio that can print out .dxf files. Before cutting anything, one shoud always make a test (by pressing the "test" button) to check if the parameters inputted are right. For baking paper, I would recommmend the following parameters: 1 pass, force 20, speed 5 and depth 2. The following image shows the parameters for vinyle.
II-Silicone soft robots
a-Soft gripper
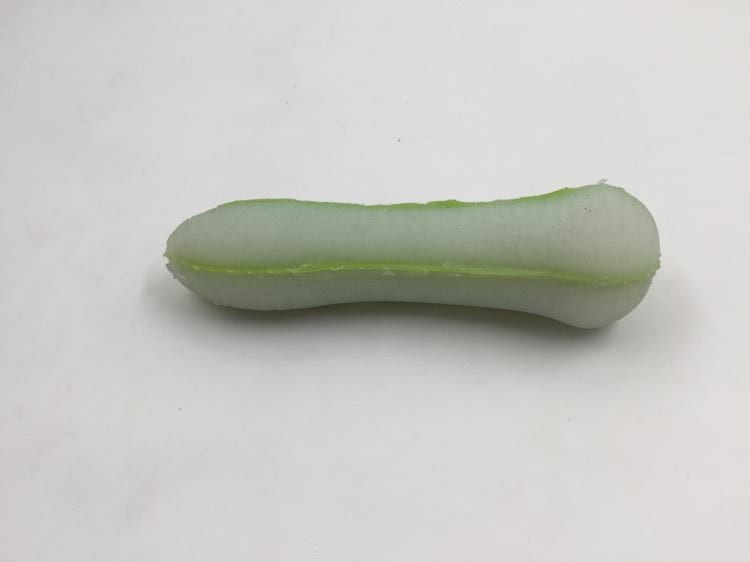
To experiment with silicone and folding in another way, I first did something very simple: making a grip out of a mold I found on Thingiverse. I 3D printed it in PLA and then made some silicone to pour inside.
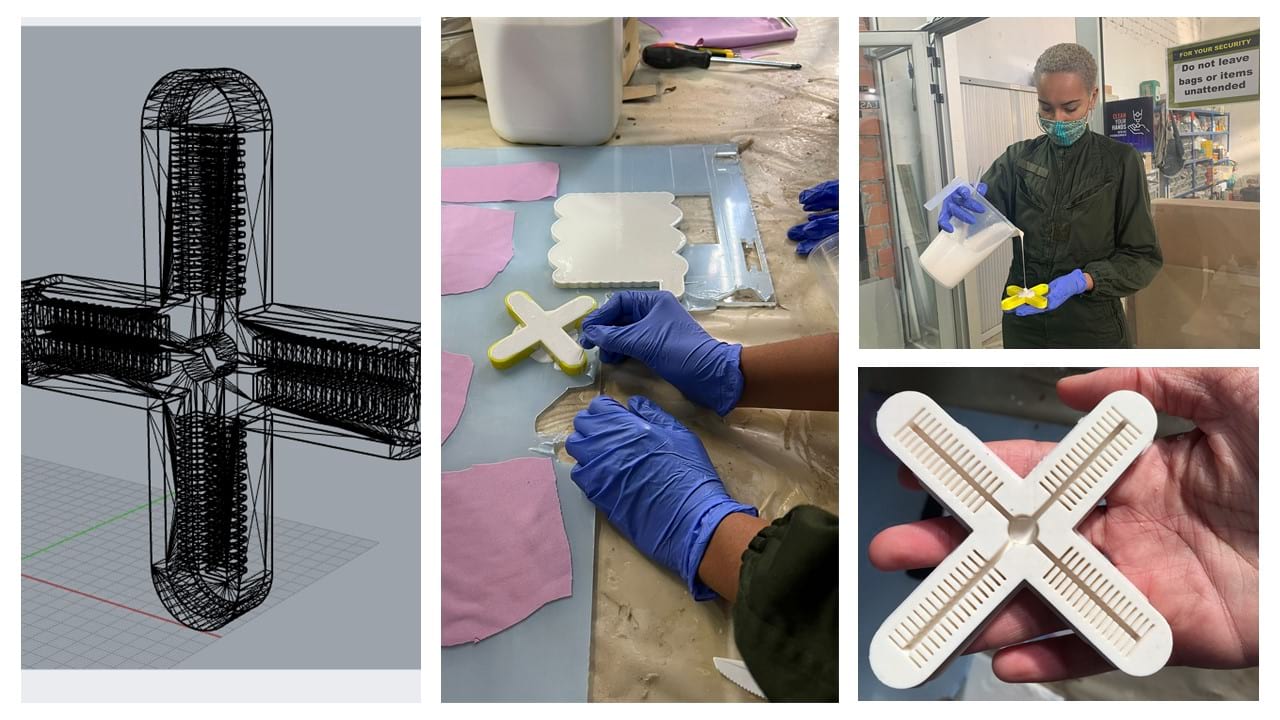
The silicone we had at the lab was extremely thick, and was in two parts: the silicone RTV 1607 and the corresponding cristallizer. The ratio was 2% to 4% cristallizer and once we stirred them well together, we had 20 mins to operate before it starts solidifying. I will not lie, pouring the silicone in the molds required some skills. As I said, the silicone was extremely thick and pouring it avoiding bubbles was a mess. We had to make sure to pour silicone on silicone to avoid making bubbles everywhere, which resulting in having leaks of silicone everywhere, and then to make the bubbles go up to the surface by tapping on the table. But I eventually succeded and managed to have my mold.
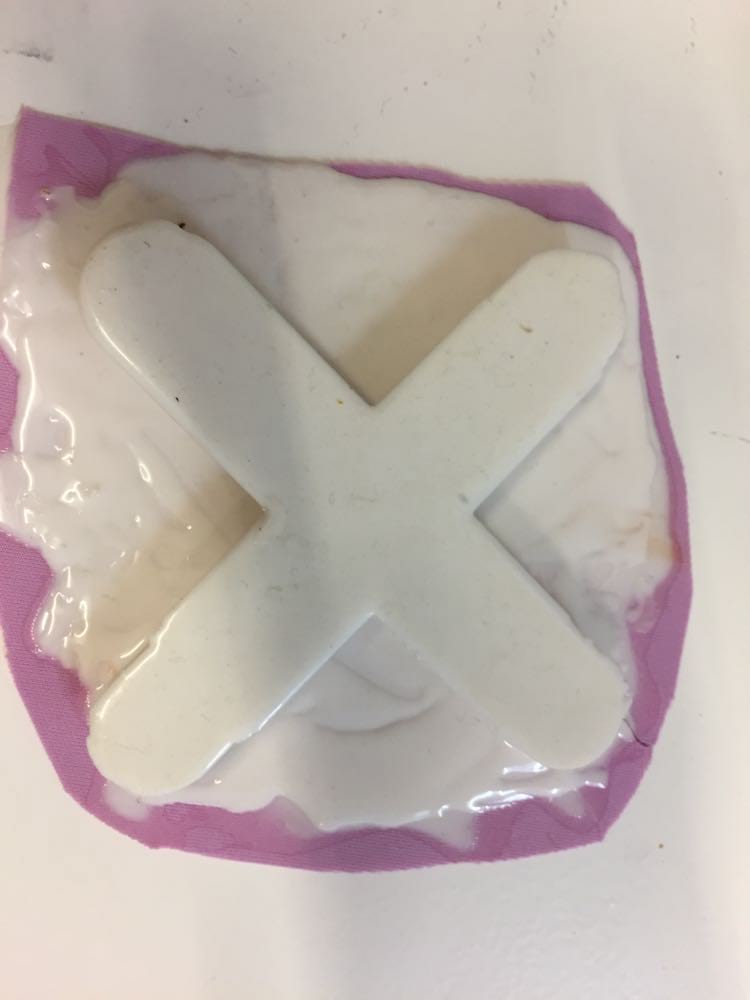
We also took some fabric to make the top layer and covered it with silicone. After 15 hours, the two silicone parts were dry. We made some more silicone and I used some as glue to stick the two parts together.
Since the silicone we used for casting is very thick, the grip did not inflate as I expected it to unfortunately. Nevertheless, it still achieves some movement.
b-Designing a sextoy
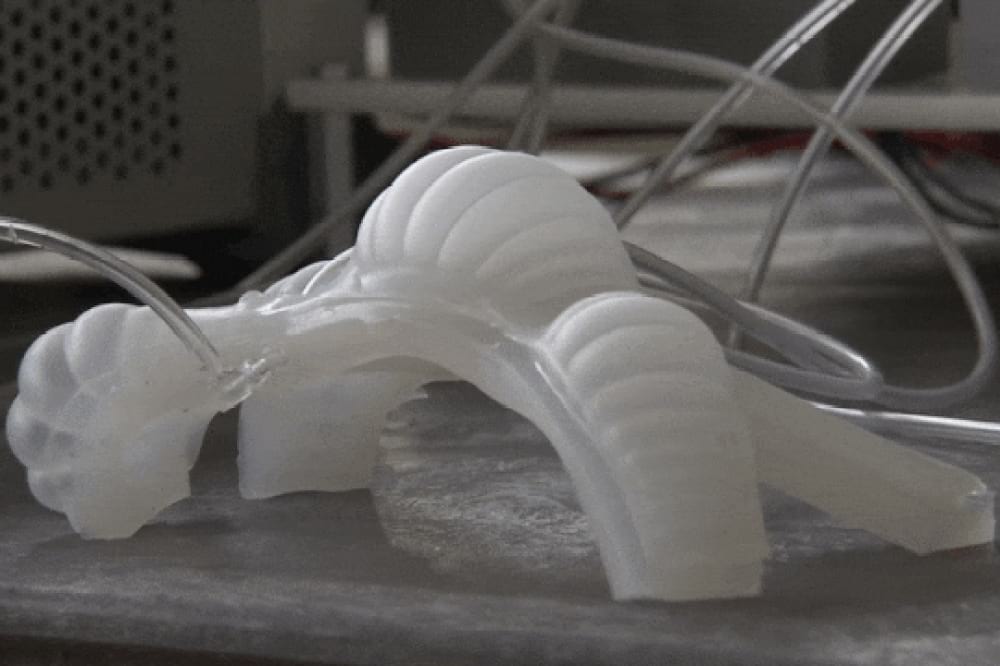
Since the object I made was litteraly made by downloading something from the internet, I decided to try to make something by myself. But I could not find anything that I wanted to make and that had not already been done before. When seeing some soft robots, I started thinking about making a sextoy. First because I could not find a lot of documentation about it since it is a "taboo object" so it was not really developped, and second because sextoys are often made with motors, vibrations and mechanical motion, but a soft robot sextoy would actually make a lot more sense because it could be smoother and more natural in the movements. I was inspired by this soft robot from nasa, capable of changing shape and thickness and capable of moving.
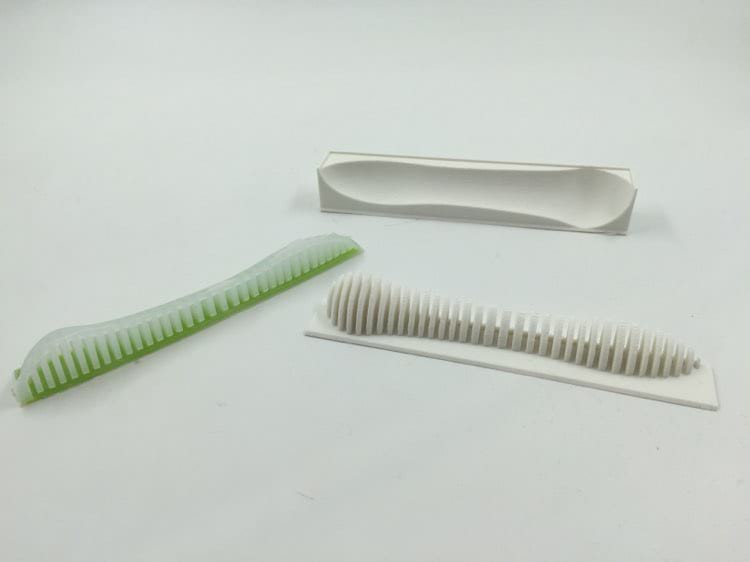
I thus started designing a sextoy on Rhinoceros 3D. I decided to make a sextoy designed for penetration, and the inflatable part would allow generating different shapes and thicknesses. I designed a mold for 3D printing.
This mold is 1/4 of the sextoy (cut radially), and every fourth is separated from the other with a layer of silicone coated in fabric. The object is filled with different air chambers all along, and these chambers have different sizes. That way, the object is an inflatable that can only inflate radially. If you inflate the 4 chambers equally, the object will inflate evenly in the radial direction. If you over inflate it, the bigger air chambers will inflate first. If you don't inflate the 4 chambers evenly, the sextoy is going to change shape and adopt a certain curve. I decided to make the mold in two parts to avoid support structures when 3D printing and to make the unmolding easier. I 3D printed it with PLA.
After assembling the 4 parts of the sextoy, I realized that there were some hole in the silicone (in the joint). Since there is no more silicone at the lab, the part of actually trying to inflate it is missing.