6. BioFabricating Materials
📆 2020 - October 27th to November 3rd
What we made this week
This week we bio-fabricated materials from different ingredients!
Read all about our process below!

Various materials we fabricated this week: bio-resin from gelatin, foils and strings from alginate, and foils from agar and gelatin
How did we get there?
When we say "biomaterials", we might be talking about materials which are any of the following, different concepts:
- bio-based: made from organic compounds, found in nature
- bio-degradable: degradable, but in a specific setting (not necessarily a natural one)
- bio-compostable: the real deal; compostable. Less impact, fully absorbed by the environment
🍄
- crafted: bio-resin, bio-silicone, algae yarn, algae-leather, fruit or fish-leather, etc.
- grown: fungi-leather, tempeh-leather, kombucha-leather, spider-silk, etc.
This is a topic I knew almost nothing about, and it was very interesting to enter this world of biofabrication! The following explanations and recipes are from this week's amazing lecture, by Cecilia Raspanti.
The plastic issue
Plastic is meant to last a very long time. How did it come to a point where we use plastic, a long-lasting material, for single use items ?
"Plastic is a substance the earth cannot digest" - Plastic Pollution Coalition
- Never goes away, is not biodegradable (and 33% is used for single use items)
- Spoils groundwater with toxic chemicals
- Threatens the wildlife (which mistakes it for food, or is entangled in it)
- It is poison for our food chains: basically everything eats plastic, and we eat everything
But we can do so many things with plastic! We can process it in many different ways: cutting, thermoforming, assembling, extruding, 3D printing, milling, drilling, heat shaping...
Could we design a material with everything in mind? Its production, application, re-use, repair, and end-of-life?
Below you can see a slide from the lecture, comparing how plastics are made, versus how bioplastic can be crafted.
Hover or tap on the picture to see what ingredients to substitute to fabricate bioplastics.


Alternative leathers
We can also biofabricate "leathers", made from fish scales, fruit, coconut, or even grow it, like for microbial leather or mycelium leather.
- Microbial leather can be made out of kombucha, which is a fermented tea. By feeding the bacteria what they need in sugar, layers of cellulose will form on the surface of the container.
- Mycelium leather can be grown in a variety of different substrates.
- Fish skin leather has been made and used by the Inuits for a long time, and can be achieved with salmon skins, for example.
- Fruit leather can be made from food waste and peels, in association with other ingredients.
Existing projects
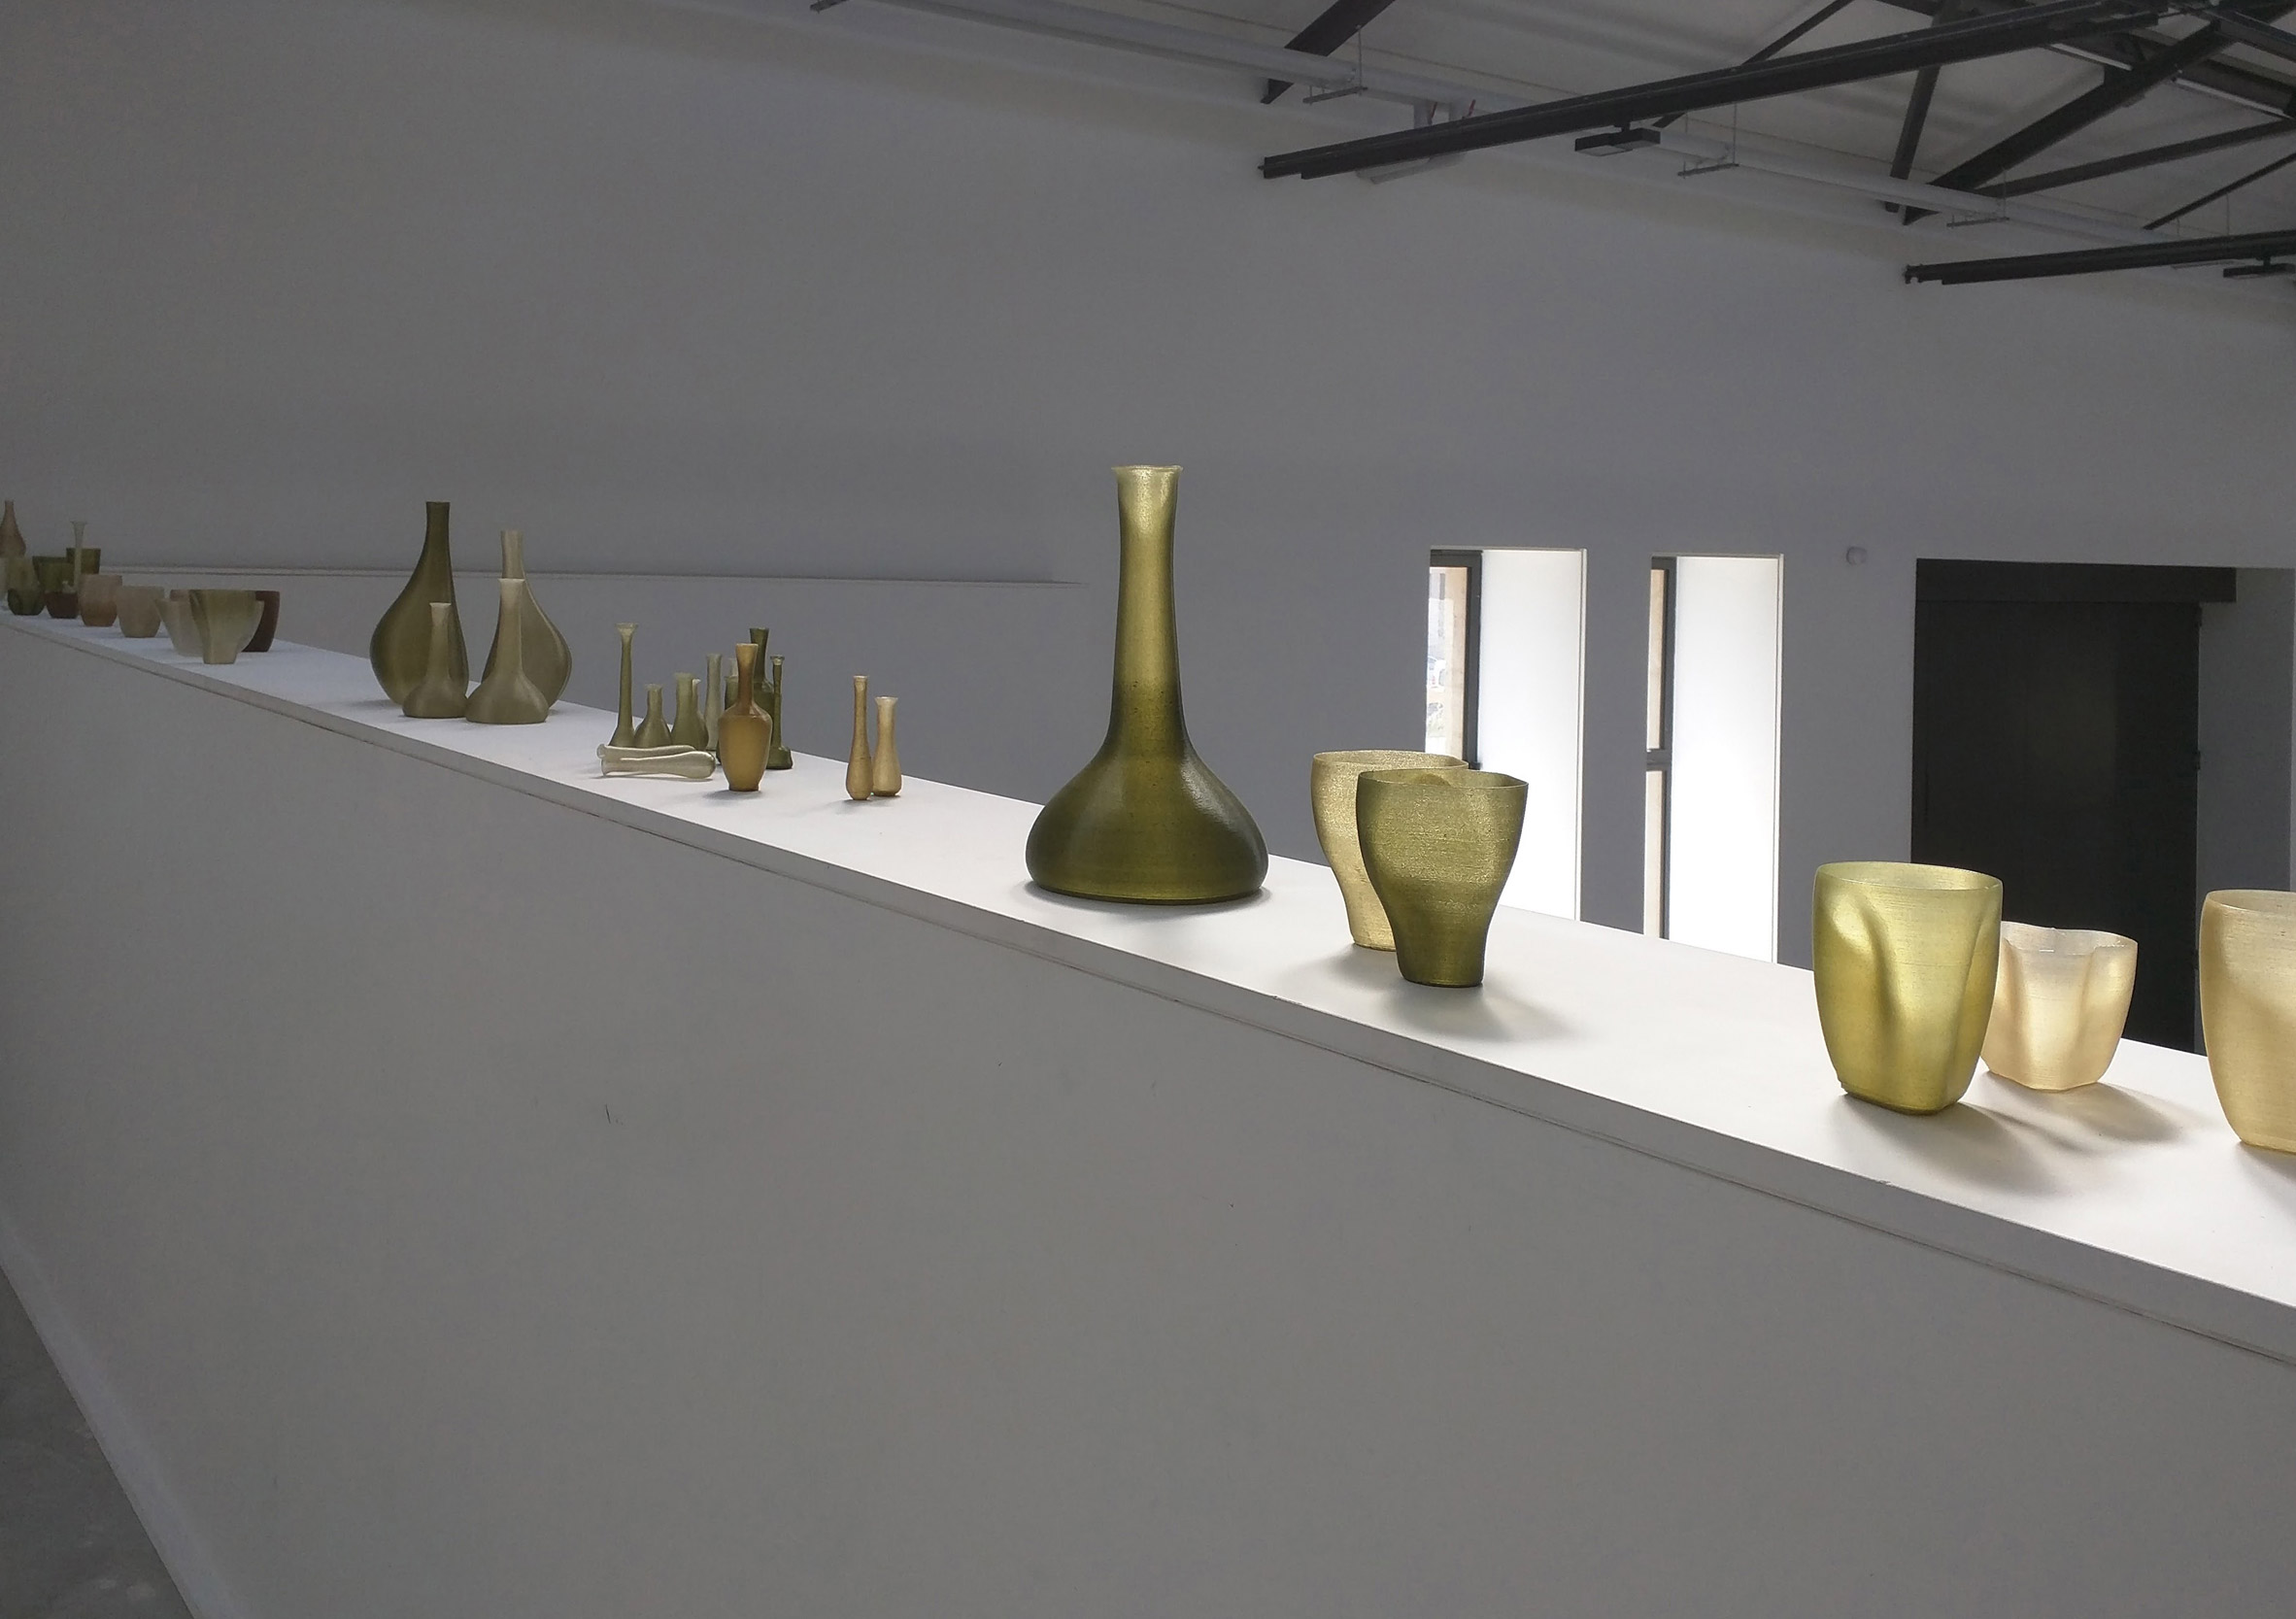
Below are some projects I found very interesting from artists and companies that use bio-plastics or bio-leathers.
First, projects from algae and gelatin. From left to right, and top to bottom: algae plastics by Eric Klarenbeek and Maartje Dros; algae packaging by Austeja Platukyte; agar beads by Carolyn Raff; food packaging from algae by Carolina Delgado; seaweed design by Violaine Buet; and gelatine bio-plastics bags that are fully compostable by Beatriz Sandini


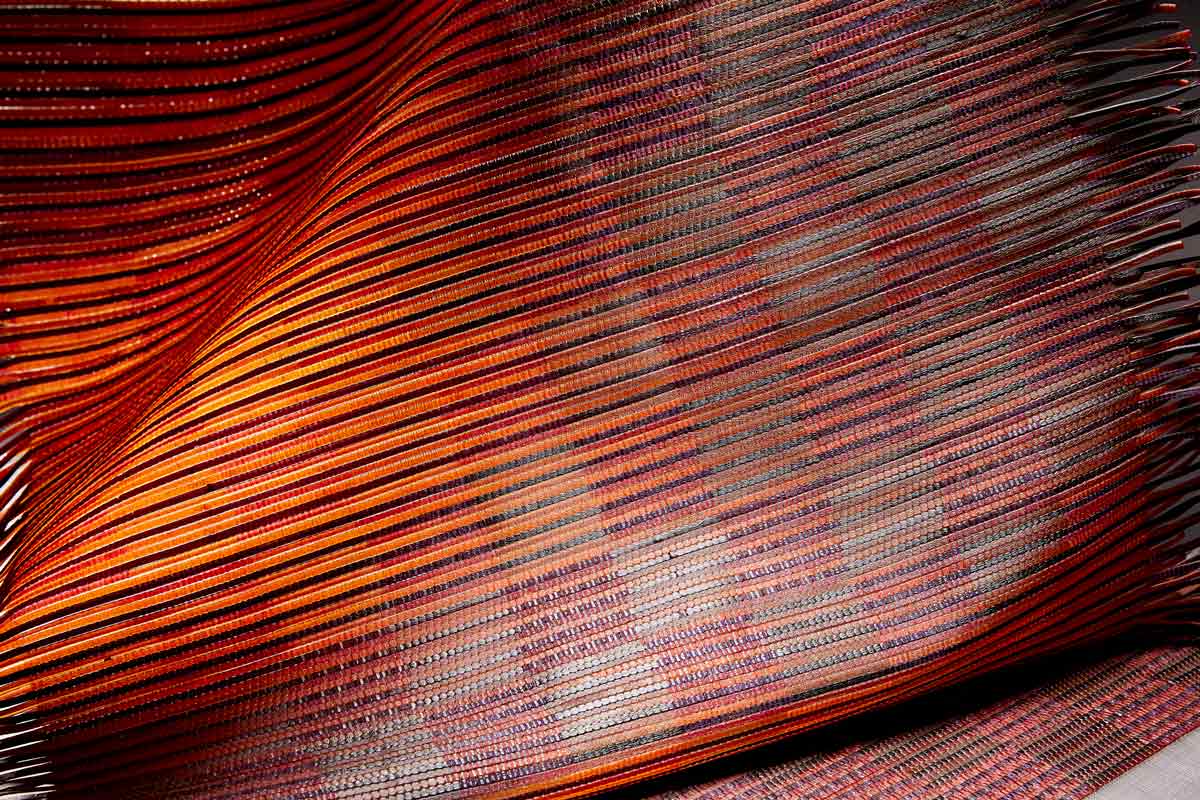

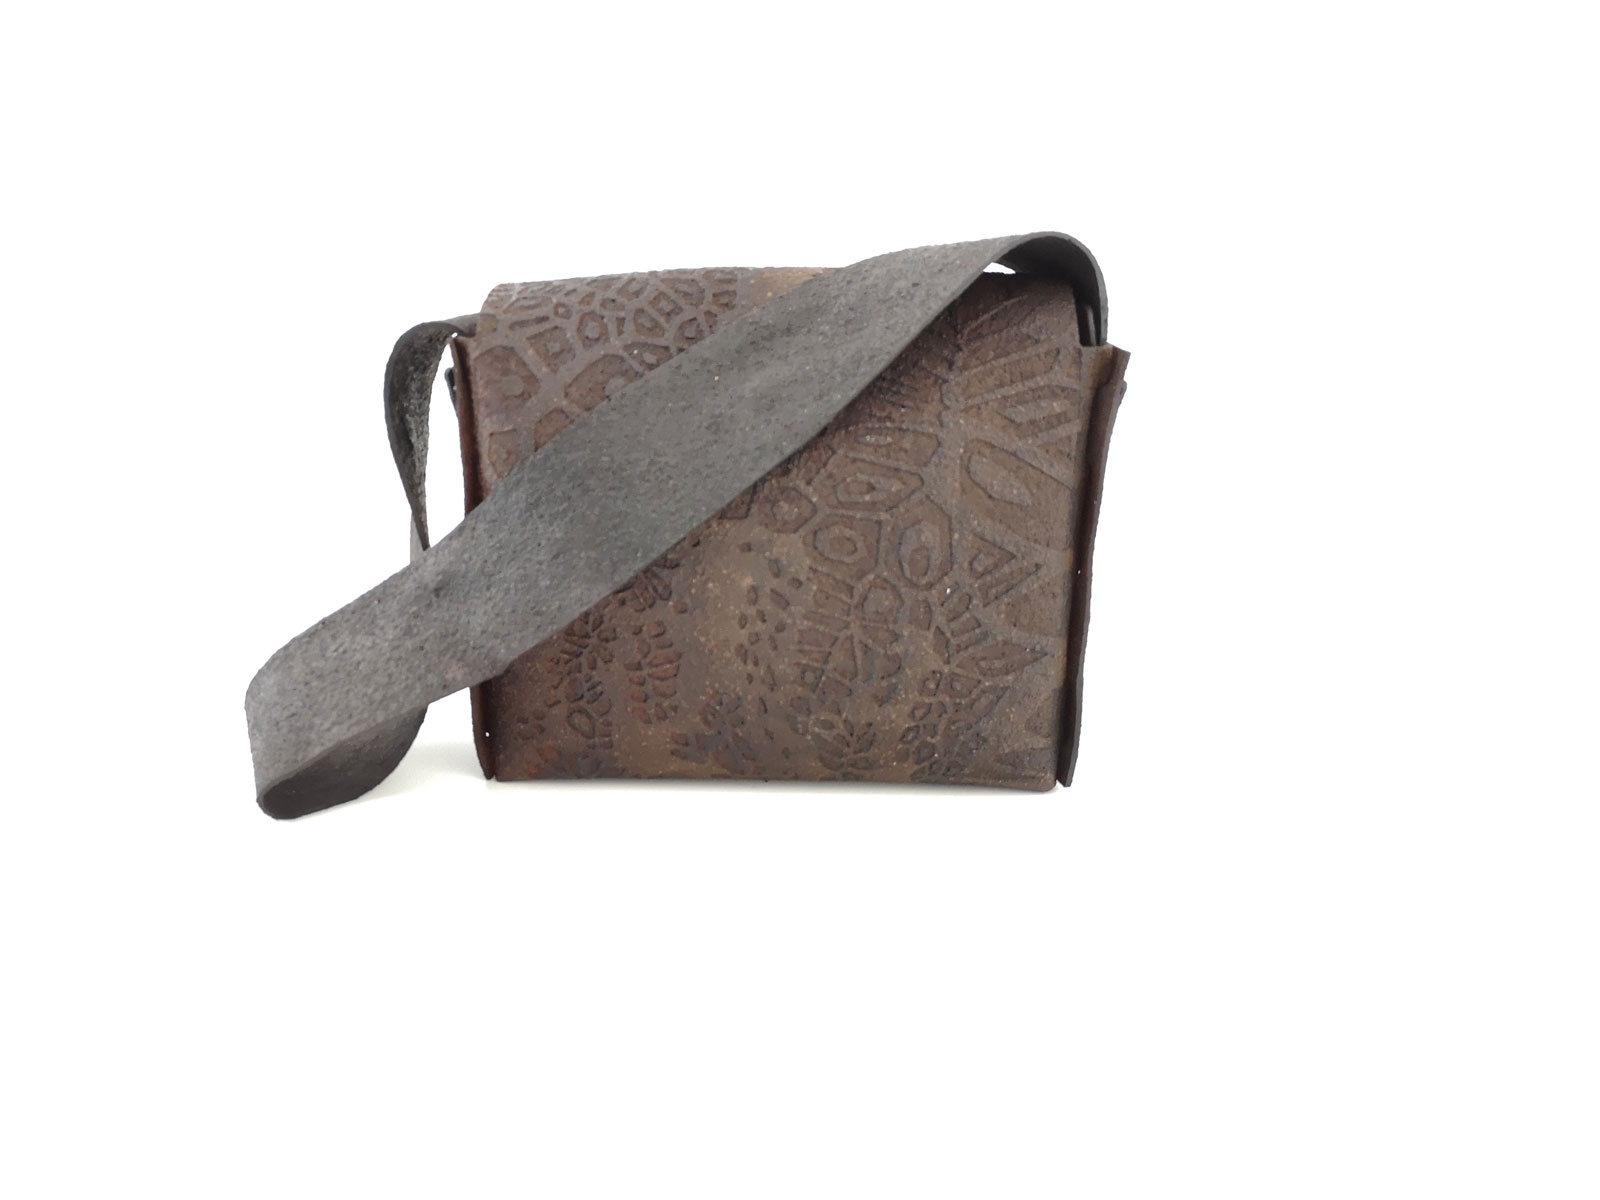
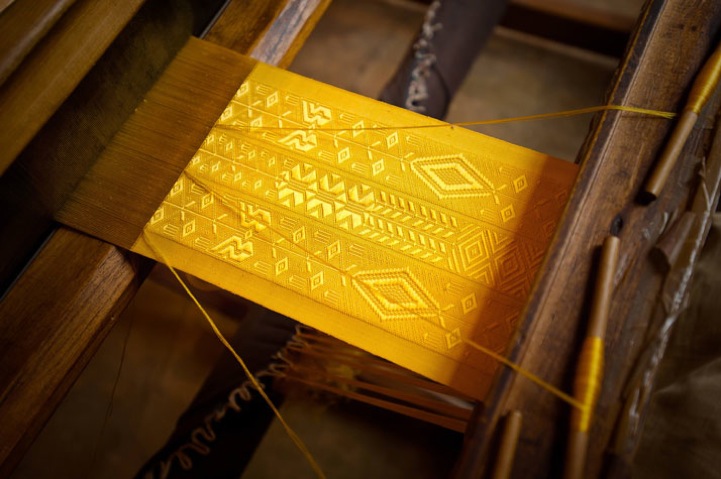
Here are some other projects, mainly from food waste, but also spider silk (!). From left to right, and top to bottom: Mayan Pesach's experiments with food waste; a coffee leather bag by Aurore Bourguignon; the company Fruit Leather in Rotterdam from which you can buy materials made from discarded fruits; Beatriz Sandini again with among others a recipe for mango and tapioca bioleather; a french company, Femer, that produces leather from fish skin; and a cape and tapestry made from harvested spider silk by Simon Peers and Nicholas Godley, that was presented at the V&A museum in 2012.


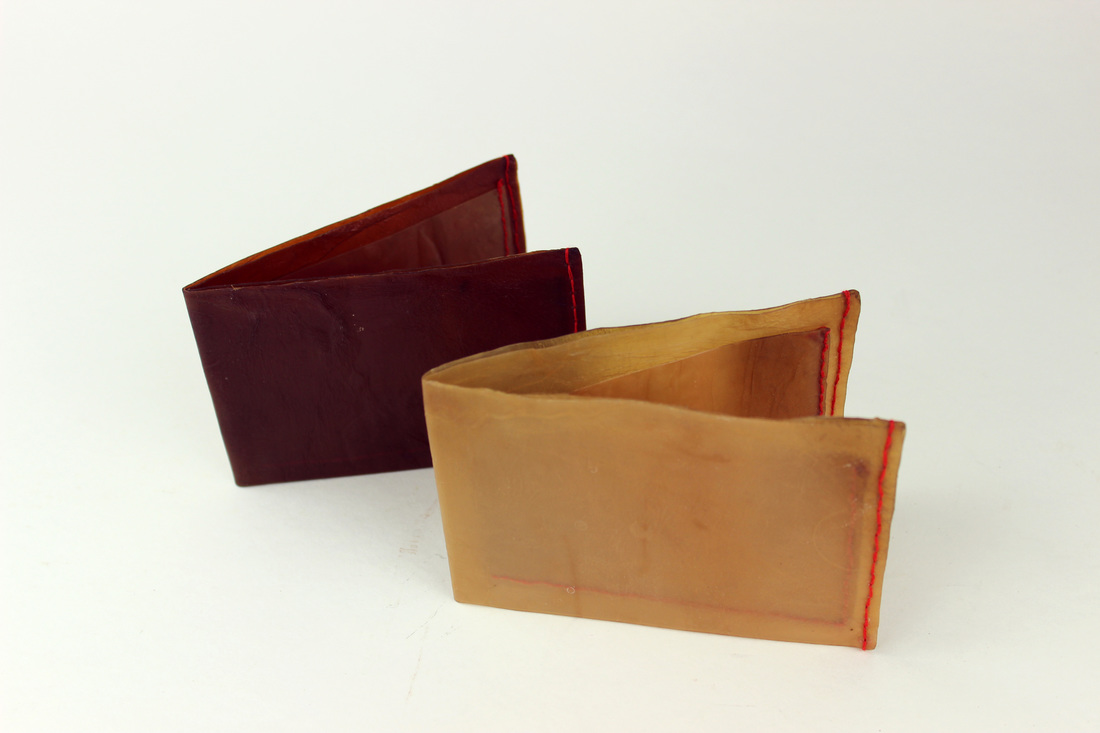
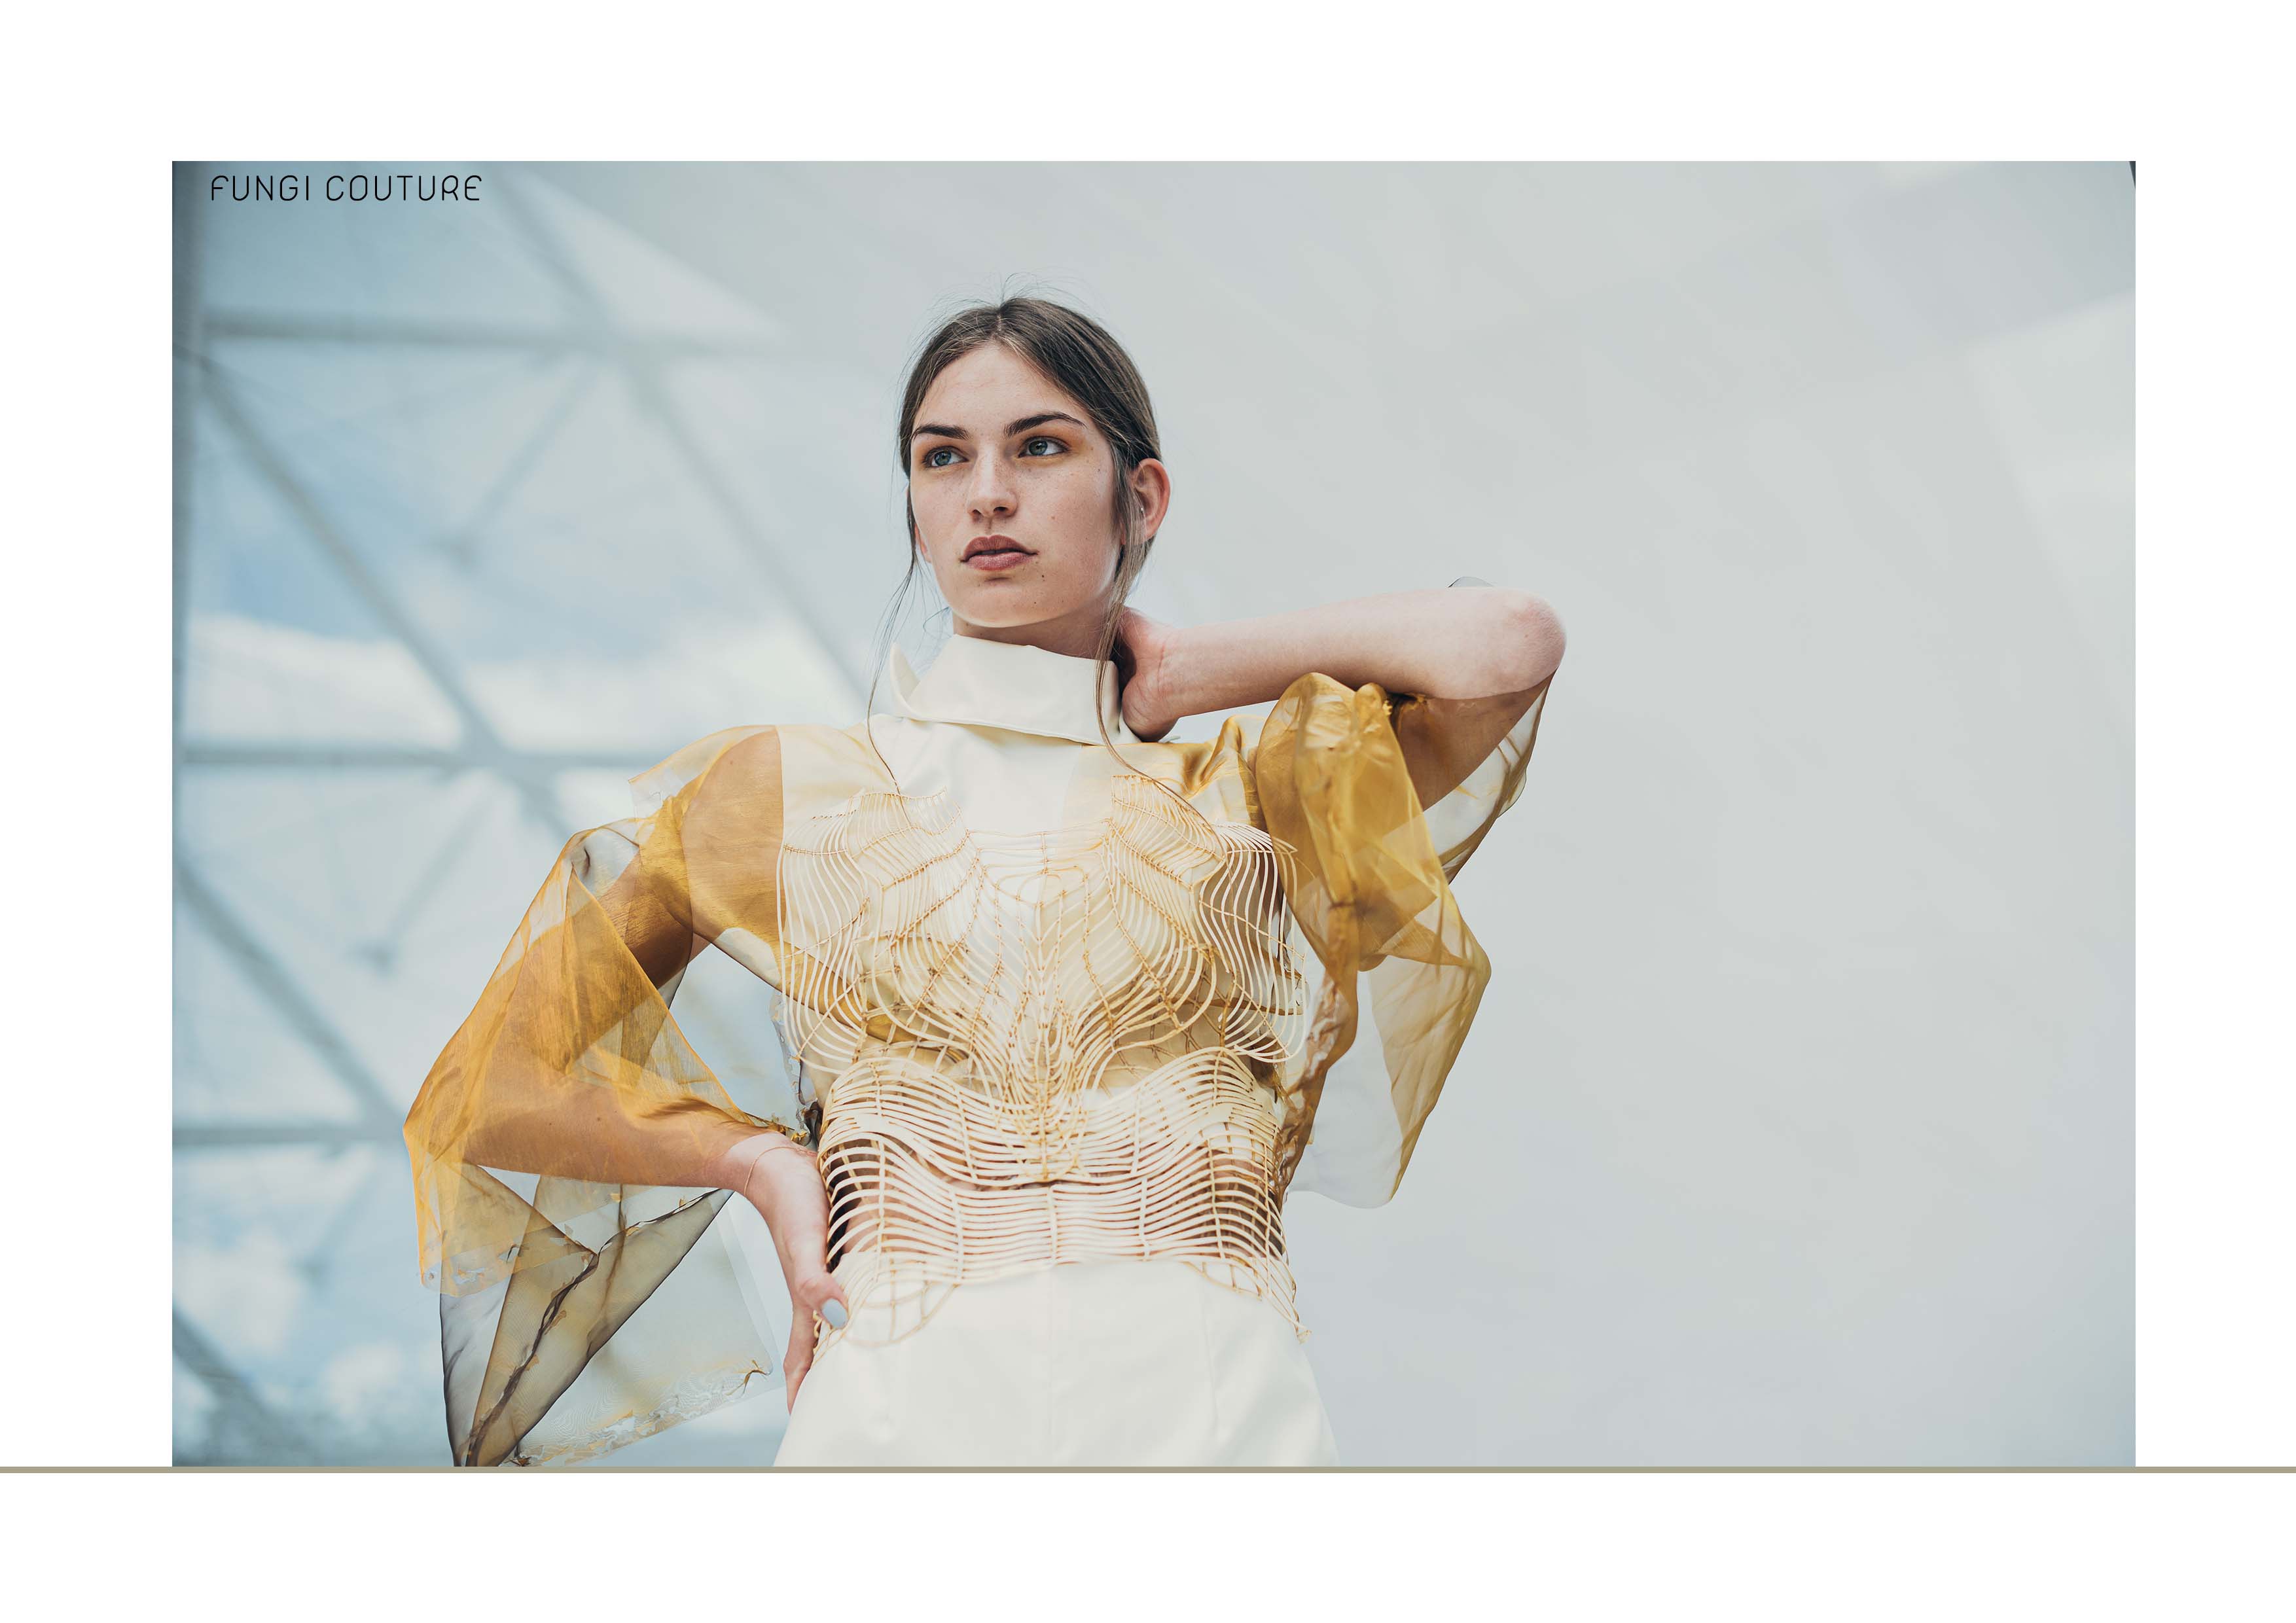
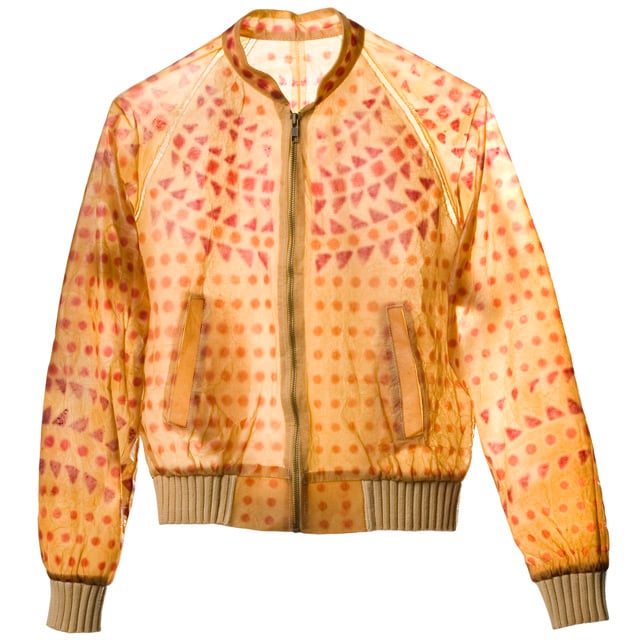
And finally projects from kombucha and mycellium leather. From left to right, and top to bottom: a kombucha kimono by Surzhana Radnaeva and thr345D; kombucha tea wallets by Zionium; mycellium grown couture by Stephanie Santos; the company Muskin, from which you can buy mycellium bioleather; and kombucha clothing by Suzanne Lee.


Our crafting experimentations

Our tools and ingredients
Alginate
We followed the "alginate flexible thin bio-foil recipe" from the lecture, which has the following ingredients:
| Alginate foil ingredients | Curing agent ingredients | |
|---|---|---|
| 400ml of water | 100ml water | |
| 30g of glycerin | 10g of calcium chloride | |
| 12g of alginate |
Process
- Weigh the water, glycerin and alginate
- Mix them together well, with a handheld mixer. It should become slimy and homogenous.
- We separated this in two batches, and we added pigment extracted from red cabbage to one of them.
- Let it sit until there are no more bubble on the surface. For the uncoloured batch we had to wait a few hours. For the coloured batch, we let it sit overnight.

From left to right: weighing the glycerin; mixing; adding pigment to a batch
In the meantime, we prepared the calcium chloride solution at 10% in a spray bottle.
We then did different experiments with this recipe:
Weird thick foil
For this one, our surface was a glass sheet. We sprayed it with the curing solution, and then started pouring the mix on it.

Pouring our alginate mix on a glass sheet
We were a bit carried away on this one, we put a lot of it on the plate...!
After a few moments we sprayed it again with the calcium chloride solution, which made it shrink a little bit.

From left to right: casting, leveling, spraying, and being weirded out
The result, after rinsing it, is a very strange thick foil, that at first was only dry on the top and bottom. We let it dry for a few days, and it is maybe a little less weird now?

Thinner foils
We used the same process to cast on another mold, a small textured one.
This time we got a thin foil, that dried quite quickly.

Alginate textured foil
With the coloured batch, we also tried again with the glass, this time with less pouring, and levelling it to make it thinner. We did it really thin, maybe too thin ? It was tearing in some parts when we tried to take it off, but after a few days of drying, we still manage to have a very thin foil that holds together!

Casting a very thin foil of alginate
We also tried on other textured molds. Here we can clearly see that the pigment did not dissolve well in the mix, it is suspended in the material.

Alginate textured foils after 5 days of drying
Strings
With a syringe, we extruded the pigmented solution in the calcium chloride solution we had put in a bowl.

Extruding our alginate from a syringe in the calcium chloride solution
The result is not very consistant, but for a first time we were happy with it!
As for the thinner foils, the pigment did not mix well, so it is suspended in the material. After 5 days of drying, they shrank even more:

Our strings after 5 days of drying
Gelatin and agar
We used the gelatin and agar bio-foil recipe from the lecture:
| Gelatin & Agar bio-foil ingredients |
|---|
| 500ml of water |
| 5g of glycerin |
| 3g of agar |
| 20g of gelatin |
Instead of using only water, we actually used 270ml from the leftover red cabbage dye bath that we had left after extracting the pigments, and completed to 500ml with water.
Gelatin is derived from collagen from animal parts. It is a spiral waste product of the meat industry that can be given a different purposen meaning that in the current state of the industry, it is seen as a repurposed waste.
Agar and gelatin bio-plastics are both neither very heat resistant, nor very water resistant
We put everything together, and started heating afterwards, which maybe was a mistake? The gelatin took forever to dissolve, I thought it would never happen. Also, the leftover from the red cabbage dye had turned a brown color that we were not super into. We had tried adding some iron to it at the beginning, but it did not help.

Mixing the agar and the gelatin with water and glycerin, then casting
We let it simmer for 30 minutes between 70/80°C. It was not quite at a syrup consistency, but we did have traces when mixing with the spatula, so at some point we decided to go for it and pour it.
We poured it on different casts :
- The tablecloth which is made of plastic, delimited by a wooden ring
- A silicone kitchen handle
- Diamond-shaped molds
These took a long time to dry, we left them sit for 5 days.

Our agar and gelatin bioplatic after 5 days of drying
Gelatin bio-resin
This is the gelatin bio-resin recipe from the lecture, with some colour added to it:
| Gelatin bio-resin |
|---|
| 240ml of water |
| 8 of glycerin |
| 48 of gelatin |
| 3 teaspoons of tumeric and ethanol ink |
This one was quick to make: we mixed everything in the heated water, and let it simmer for 10 minutes. It got syrup-like very quickly, and the color looked great.

Mixing and casting the bio-resin
We casted it in our diamond molds, in another wooden circle, and also on some small textured surfaces. We removed them after 5 days, and it had hardened in a very strong way.

Our results with bio-resin after 5 days of drying
Gelatin and eggshells composite
The basis is the gelatin bio-plastic recipe from the lecture, to which we added eggshells as a filler.
| Gelatin and eggshells composite |
|---|
| 150ml of water |
| 13g of glycerin |
| 30g of gelatin |
| 15g of finely ground eggshells |
| 3 teaspoons of hibiscus and ethanol ink |
Like for the resin, we mixed everything in the pot with the heated water. The hibiscus ink instantly changed colour when mixed, so that was surprising. We then added the ground eggshells after the gelatin had dissolved, which also changed the colour.
Failing to get a nice hibiscus colour:
We poured this one into another circle on the tablecloth, and, in a small diamond mold. The result from the circle gives different finishing on both sides: the side that was on the tablecloth is matte, while the other one is shiny:
Growing a material
Unfortunately I was not able to start growing a material this week.
I started to grow kombucha from home the following month, with more or less success! Here are a few pictures of the process.
I wanted to have kombucha dyed with turmeric, so I infused the water with it :

I followed the recipe shown in the second part of the lecture :


I put it in a warm-ish spot, covered with a cotton cloth, but I think it was a bit too cold for it to grow properly... Or maybe I should have added more water to it along the way? In the end, after a month and a half, all the water had evaporated, and the result was a very very thin foil, with the Kombucha mother stuck to it:

Putting it to dry
The final result teared down in several pieces when drying, but each single piece was quite solid:

Material archive
With what we did this week, we are starting a material archive at Le Textile Lab. We still have a long way to go to have one as big as Barcelona or Amsterdam, but we should start somewhere anyway!
I printed Loes' labels to start it out:

I have also started formalising the basic repices we used, but it is still very much a work in progress! It made me realise all the details I should pay attention to when fabricating.
What's next!
I really want to try the following experimentations:
☕ Coffee & alginate leather
🔴 Alginate pearls?
Learning more about fish leather
A few weeks after this (hi, documenting from the future 😎), we visited the factory of the french company Ictyos. They use waste fish skins from sushi restaurants in Lyon (mainly salmon) to create a luxurious looking leather. They explained to us their processes and showed us all their materials! 🤩

School trip!

Various examples from Ictyos' showroom

From their showroom, fish leather assembled into modules (hi week 3!)
Shinyyyyy
Transmission
In March, Pauline and I made a workshop for a design school in Lyon, l'École de Condé. We had 20 students experimenting and bio-fabricating over a week, and it was great to transmit this knowledge and see all the amazing things they did with it! Really looking forward to doing this again.

Our school room

Amazing results from the students
Books and links
- A book: The Secrets of Bioplastic by Clara Davis
- A catalogue of bioplastics recipes by FabTextiles
- A playlist of videos I found interesting, or want to watch
- An article (in french) about Suzanne Lee and her recipes