Textile as Scafold
Wet Leather Molding
I was very excited to experiment with wet leather molding, I absolutely love some of the result that were shown during the presentation. Leather is a material that I love, not necessarely to wear, but I always just love bags and accessories made out of leather, I would love to find a distributor that would allow me to buy eco friendly leather, I love the material but I feel bad about using animal leather for obvious reason.I would love to try out this cactus leather made in Mexico, the result seems absolutely stunning! Anyway, let's get to work!
Designing the mold
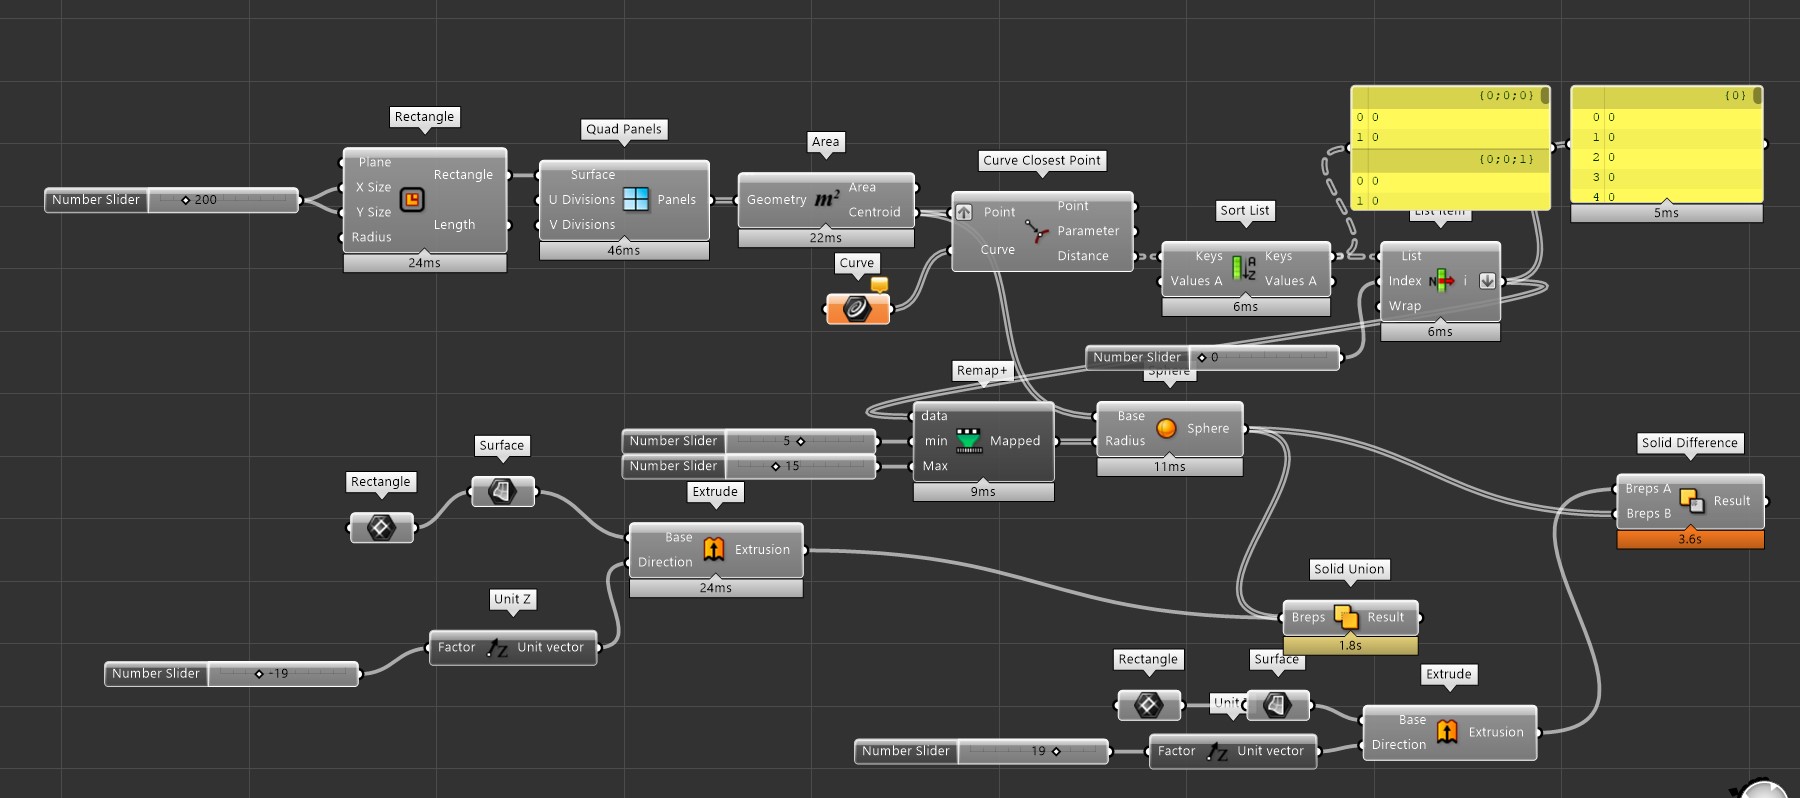
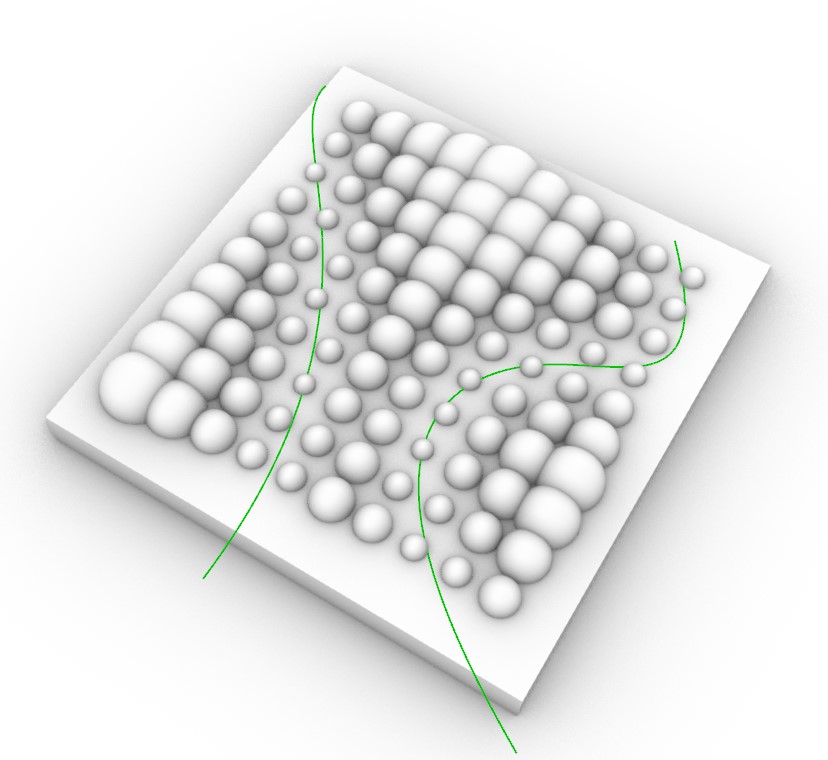
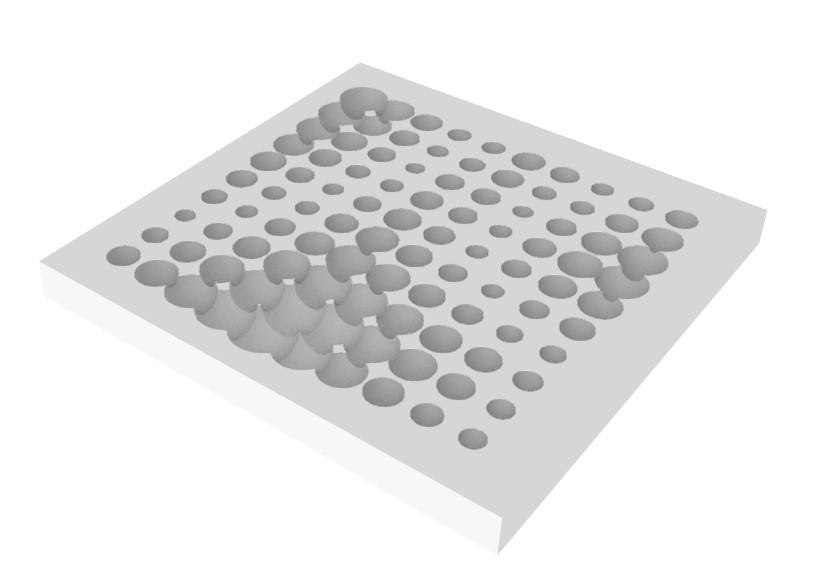
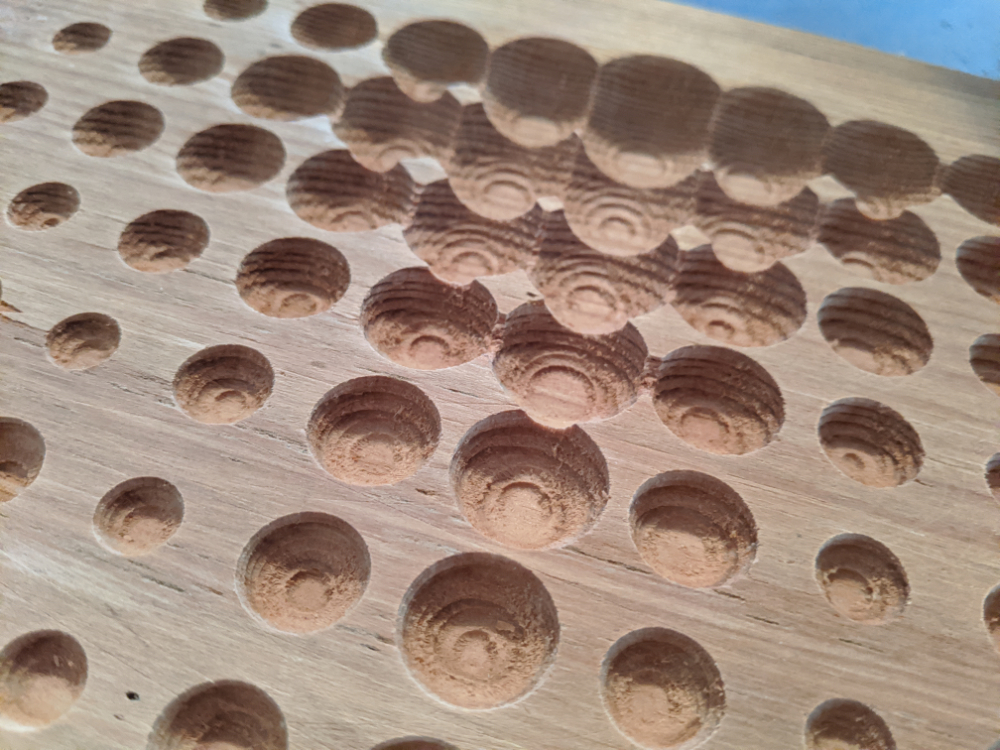
For my first experiment, I wanted to make a CNC mold, something that would have very organic shapes and would transform the leather in a very sureal way. To do so, I used Grasshopper to do a simple attractor script that would change the radius of demi-sphere depending on the distance from their center point with curves.The script is pretty straightforward, but one thing that I need to adress is the third party module that I use for remapping data. The tool is called Remap+ and is made by Parametric House. I strongly recommend that you go and check out their website if you are looking for a very well done and complete class of grasshopper, the price is a bit steep but it's totally worth it, believe me.
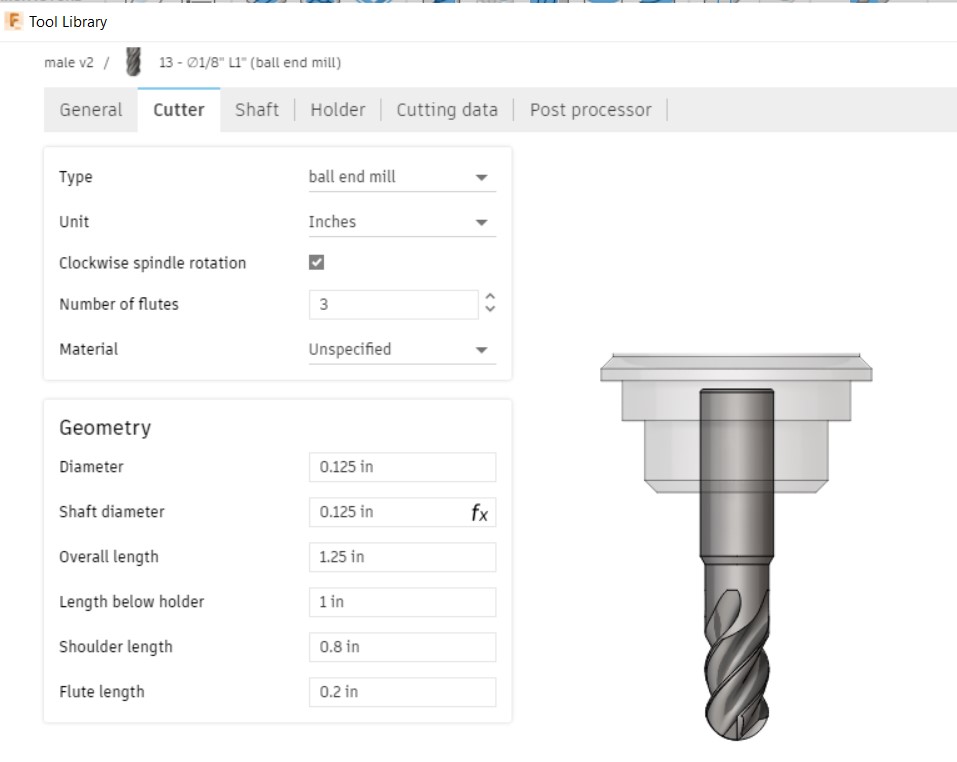
Once the design was done, I had to prepare the job for the CNC. I realise when doing this particular job that I couldn't find my 1/4 collet for my CNC at home. I bought some immediately but decided to go ahead and let the job be machined entirely using a 1/8 inch tool. The result were great, but it took over 16 hours to complete this simple job!
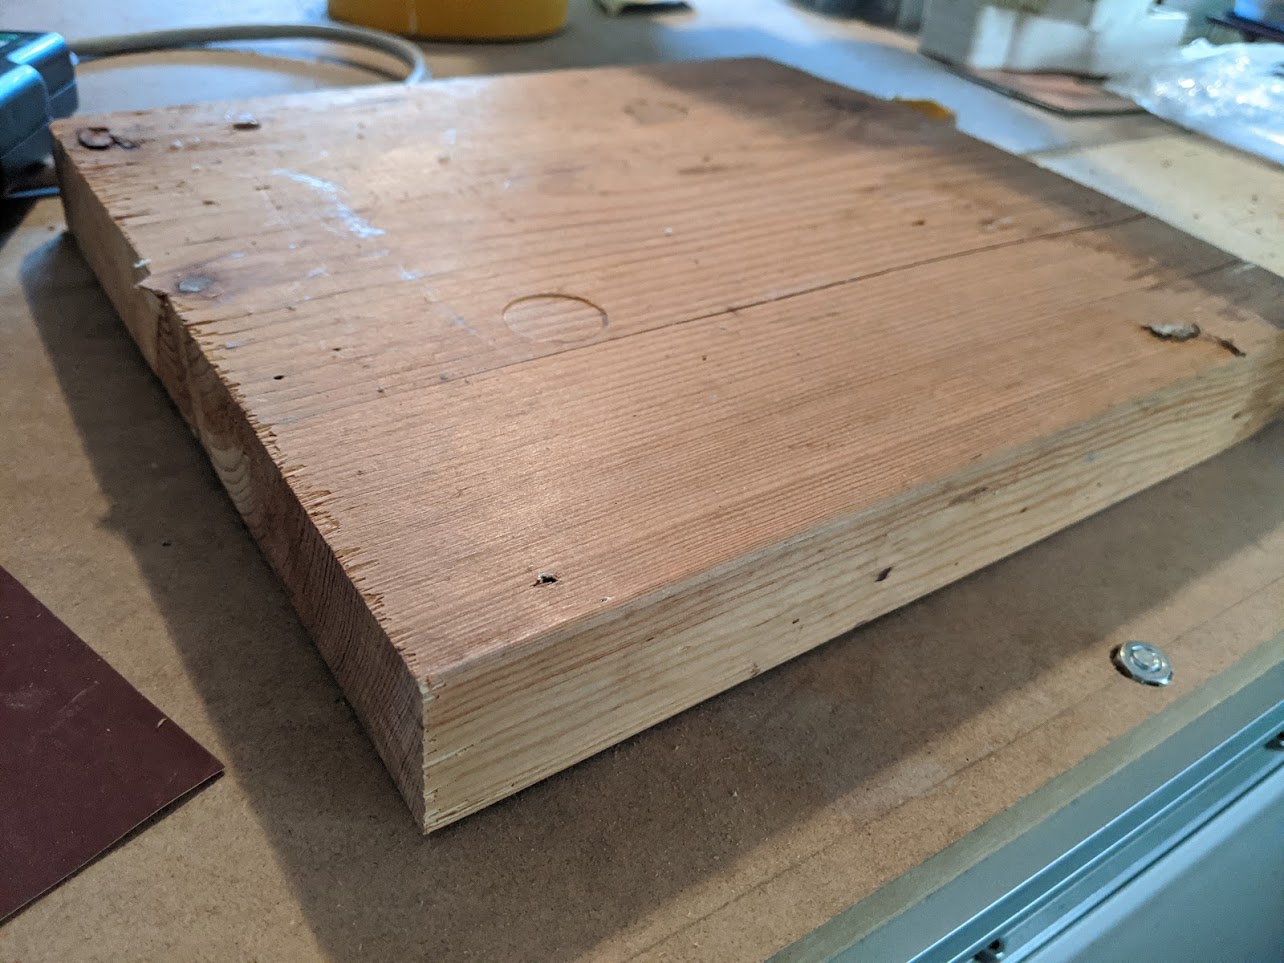
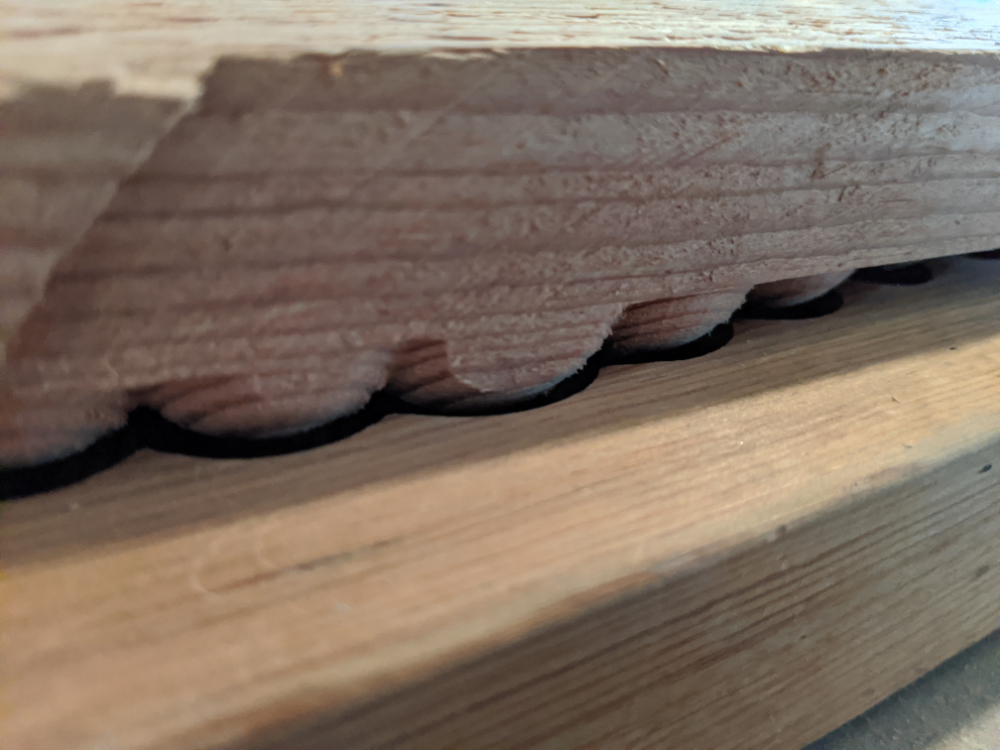
I had a big piece of spruce wood in my workshop, I decided that this would be perfect for the mold, it is very soft wood so it's super easy to machine. The only thing I had to program was the 3D Pocket that would make my mold, no cut nor holes were necessary since I wanted to manually cut the Spruce wood by hand (Since it's over 2" thick no reason to use the CNC).
I used Fusion 360 to generate my toolpath. After importing the model into Fusion 360, first thing I did was to create a tool for my job. Like stated above, I only had my 1/8 collet with me, so I used a ball nose 1/8 inch bit for the whole job, I litteraly program the job as a huge finishing job, since I just wanted to start the CNC and let it do it's thing without having to come and change the tools for rouphing/finishing passes. This means that the job would take a very long time, it is not an issue for me since I can just let the machine work overnight. I would never recommend this kind of tool pathing normally. You should always have your rouphing tools and your finishing tools for each kind of materials.
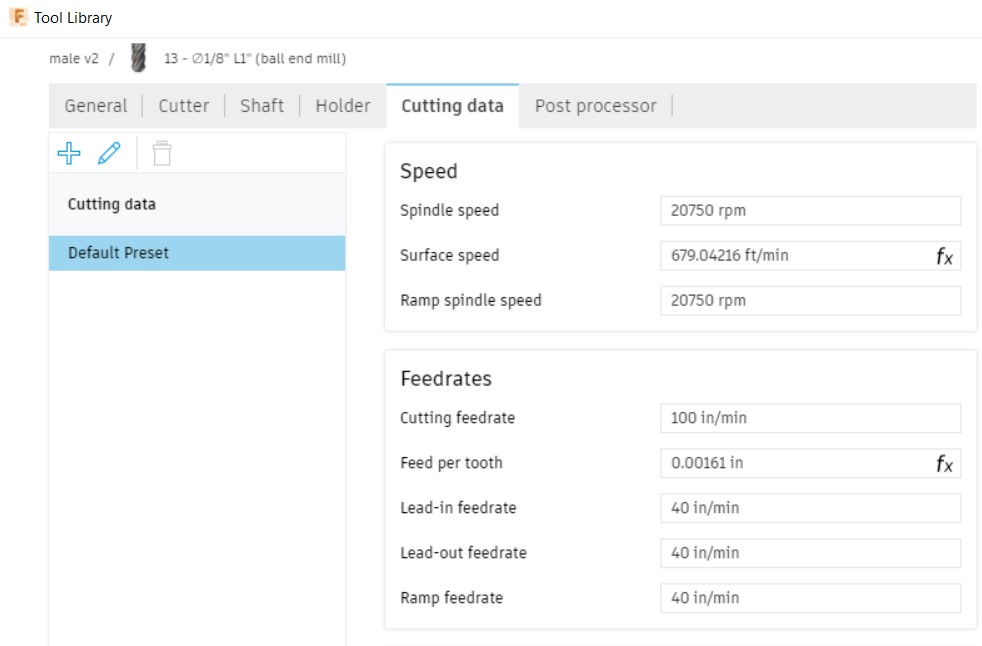
Since I'm doing very low stepdown per tool passage, I can afford to gain a little speed on my feedrate, this is all set in the tool creation.
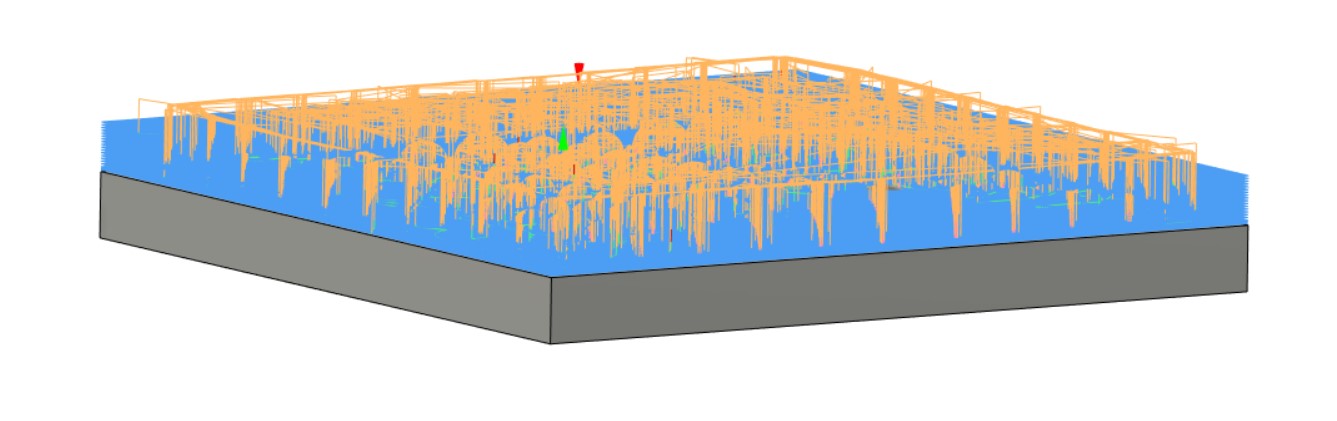
Next, There are 2D and 3D path generation avaible in Fusion 360, a 2D operation happens when you can move the x&y axis without having to simultany move the z axis, while a 3D operation require the 3 axis to work together to create organic shape. Since we are doing demi-sphere, I will use an operation called 3D pocketing that will create a toolpath around my sphere to get rid of the material surplus.
Once the tool path was generated, I have to set the machine, this is pretty straight forward, you need to Home your machine and your job position, fix your material to the sacrifice bed and install your tool onto the collet. Once this is all done, you can go ahead and lauch the job.
After over 16hours of work the job is finally done, I know im repeating myself but I want to make clear that the job only took this much time because I was stuck with only using a 1/8 inch tool so I couldn't do a rouphing job first that would have save me a huge chunk of time. Anyway, here are the result.

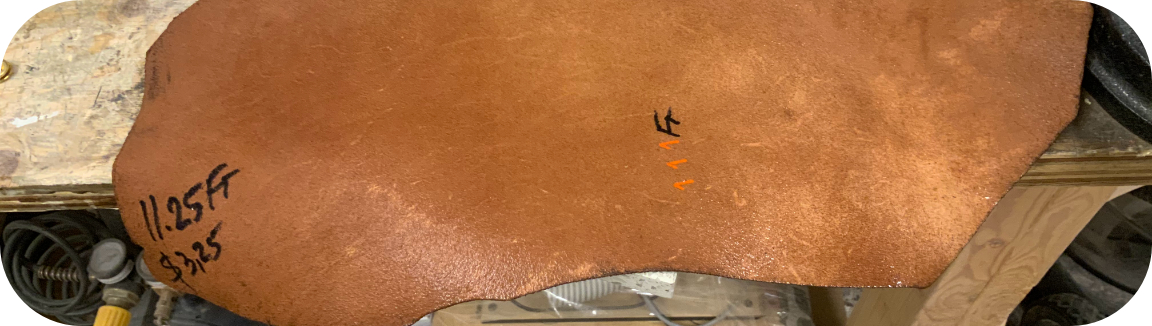
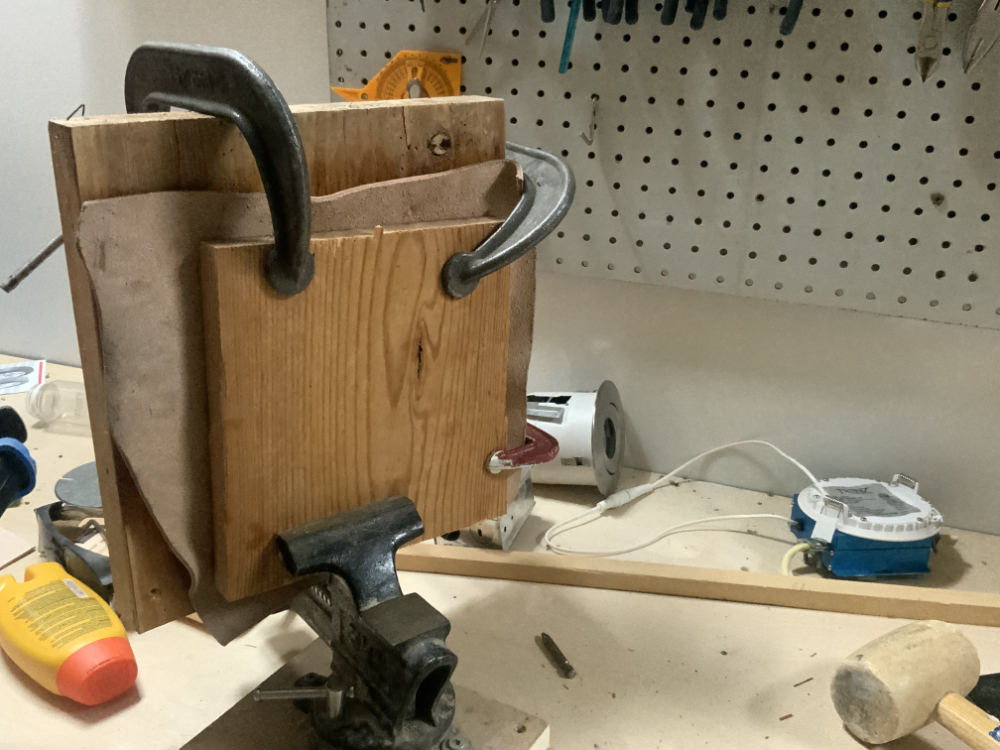
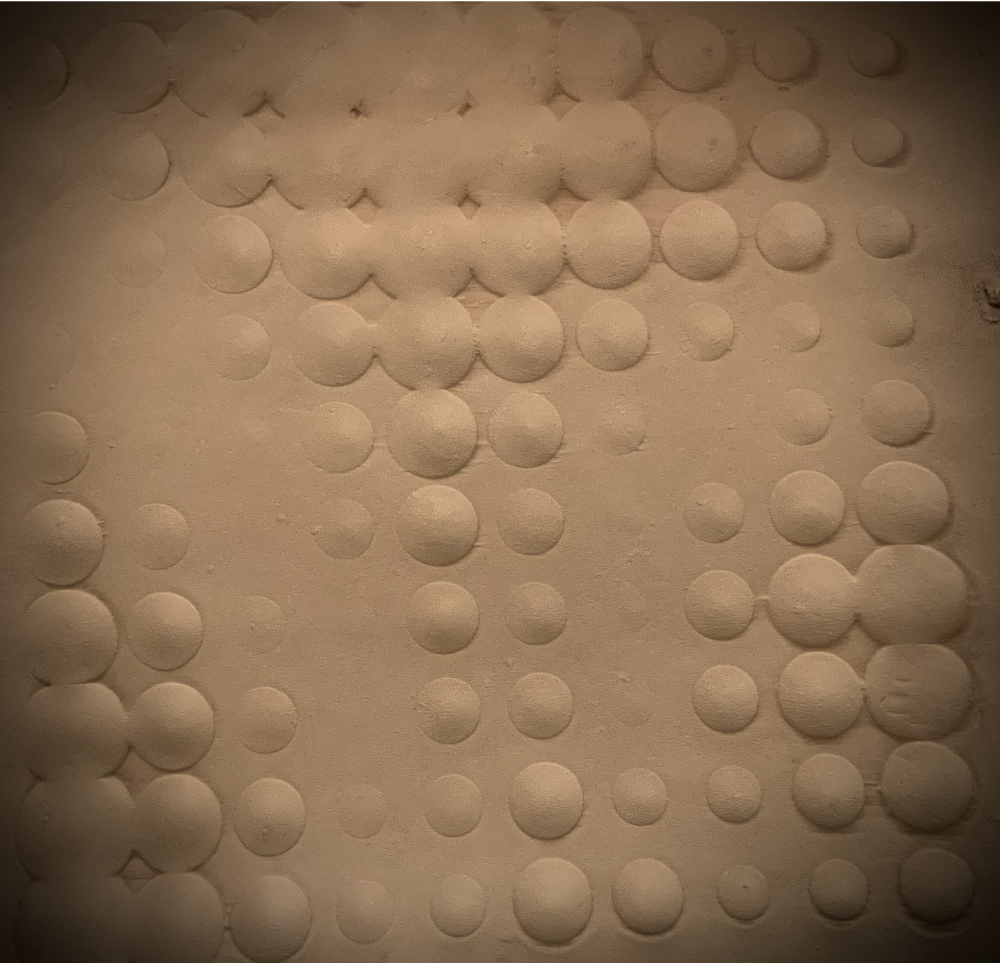
I used a 1/8" vegetal treated leather for my test. Once wet, I sandwich and press the leather using the mold and clamps very hard togheter and let it sit for a night to dry. The result where a bit underwhelming. The process works, and it is pretty amazing to see how we can turn this material into any kind of shapes, but my particular mold did not had the result I was hopping for. The sphere looks flat and a bit boring.
Making a pratical object
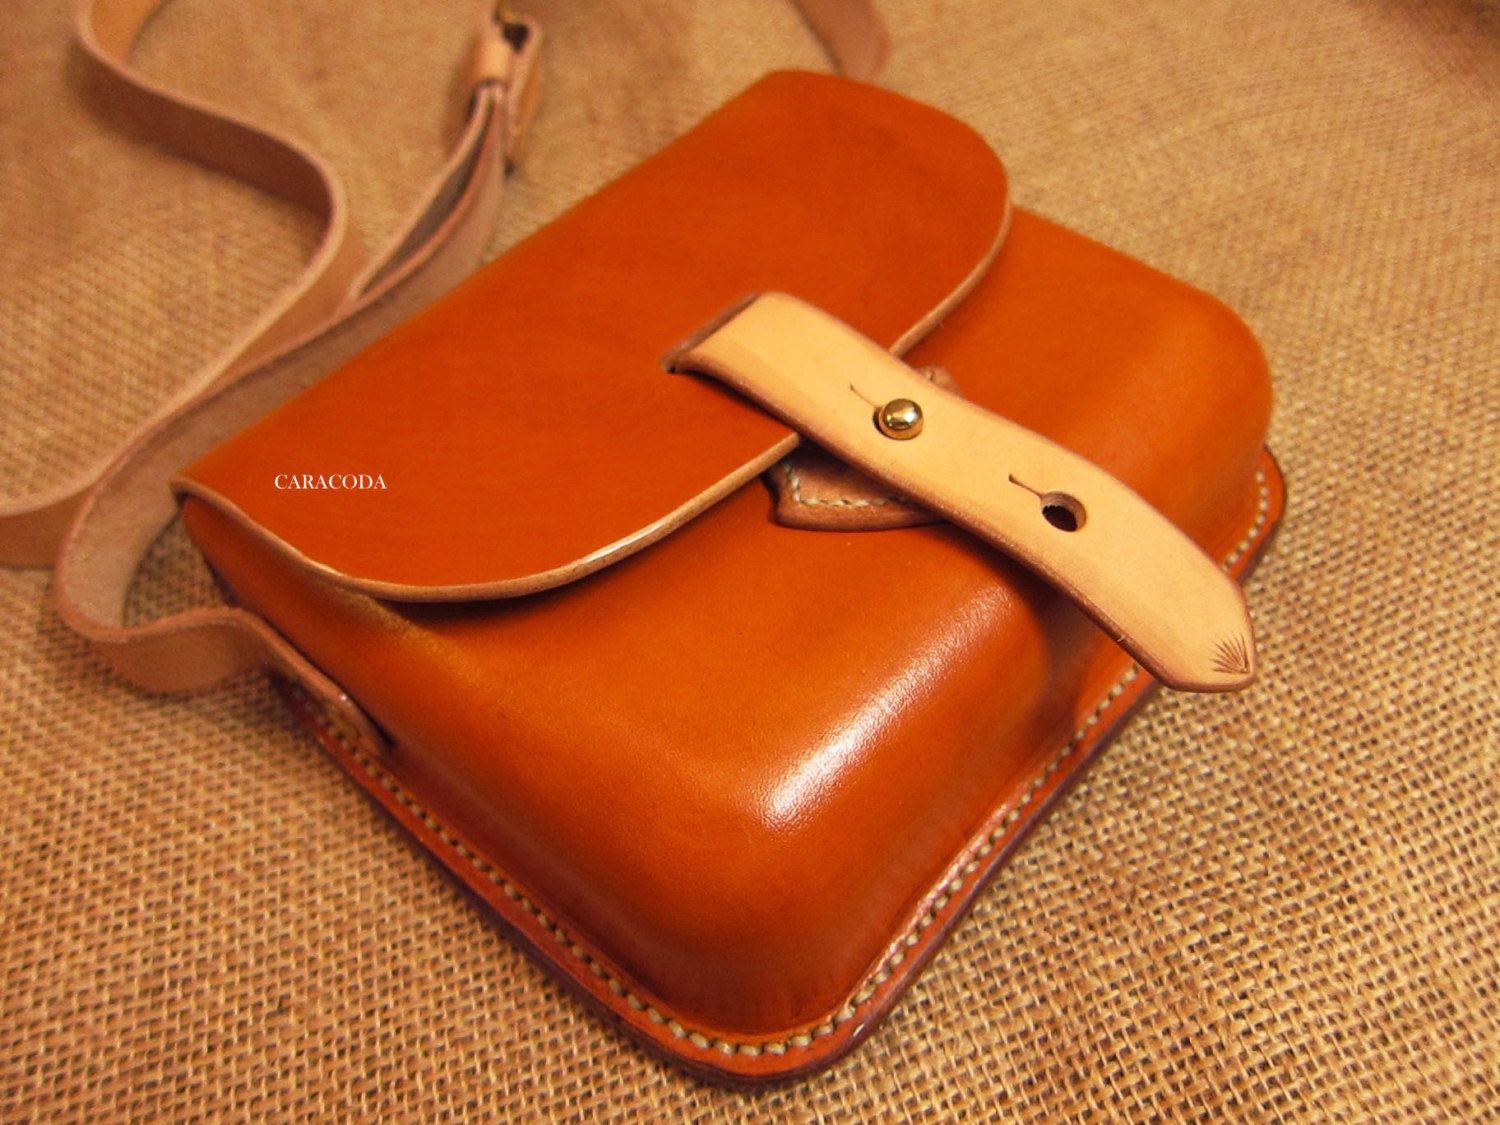
Now that I've seen how cool wet leather molding can be, I want to create an object that would have an actual utility. With christmas around the corner, I decided I would do a christmas gift in the form of a simple pencil holder. To do so, I inspire myself with these exemple: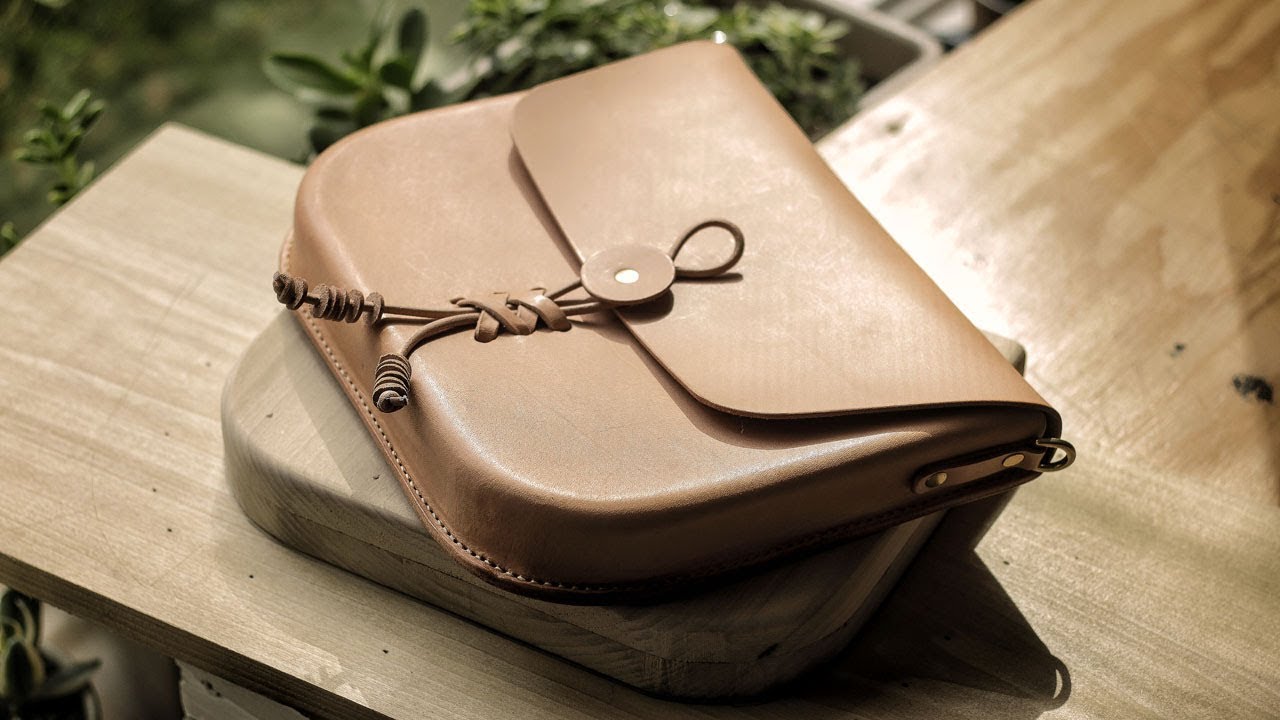

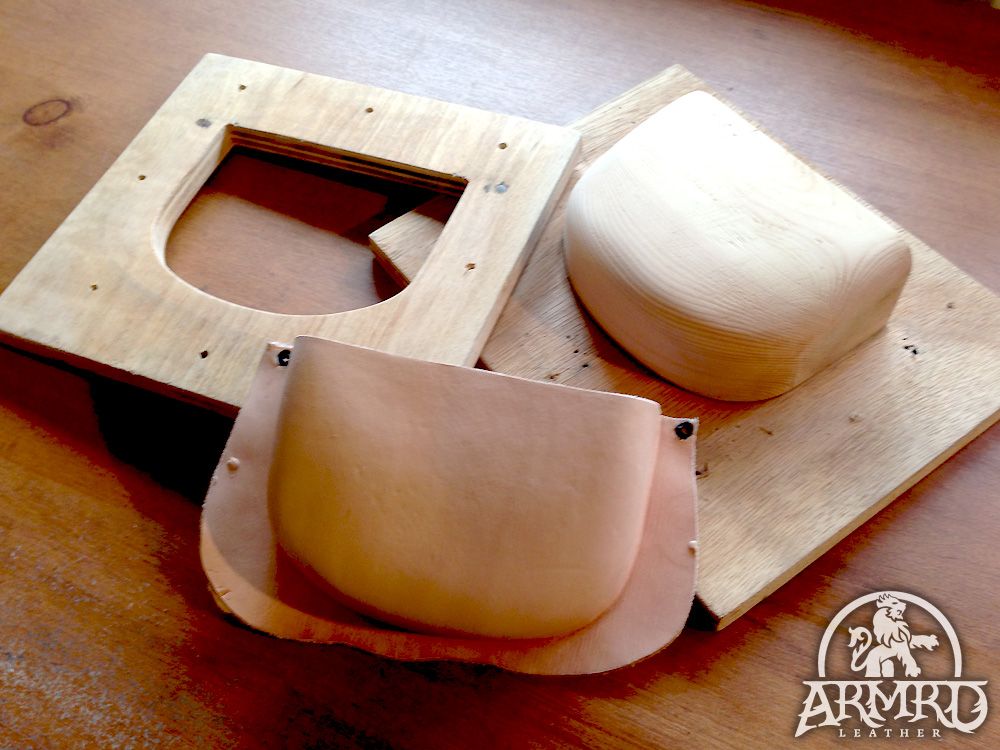
First step was to design a mold, this was very straight forward as I just did a rectangle with rounded corner, wide enouph to fit pencils. I use fusion 360 and the laser cutter to create the mold.
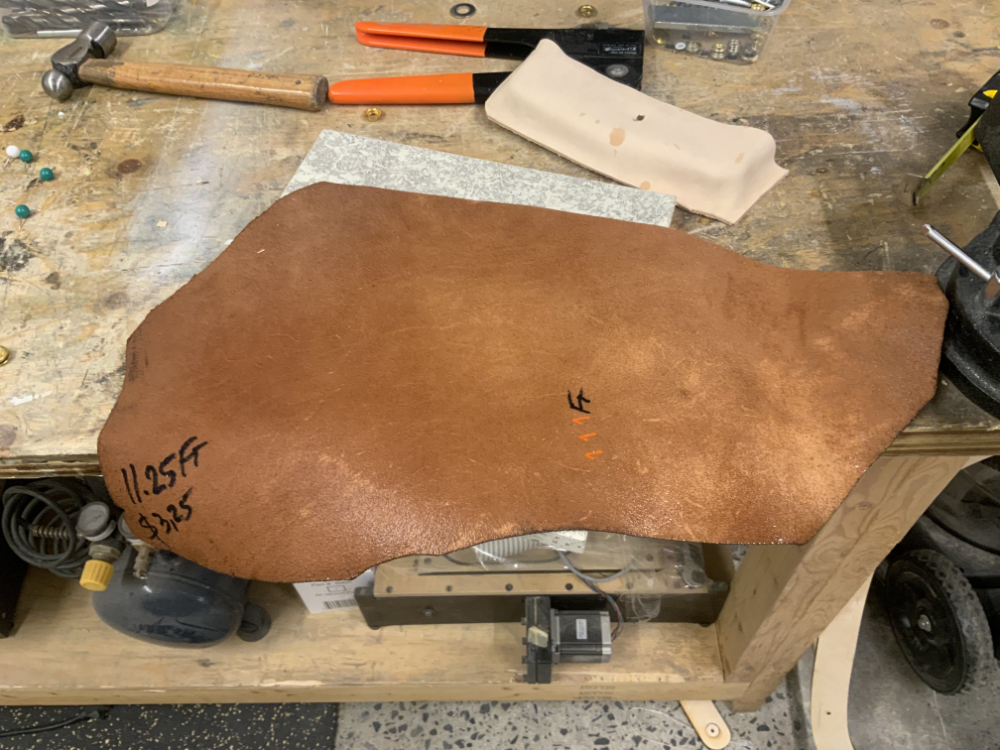
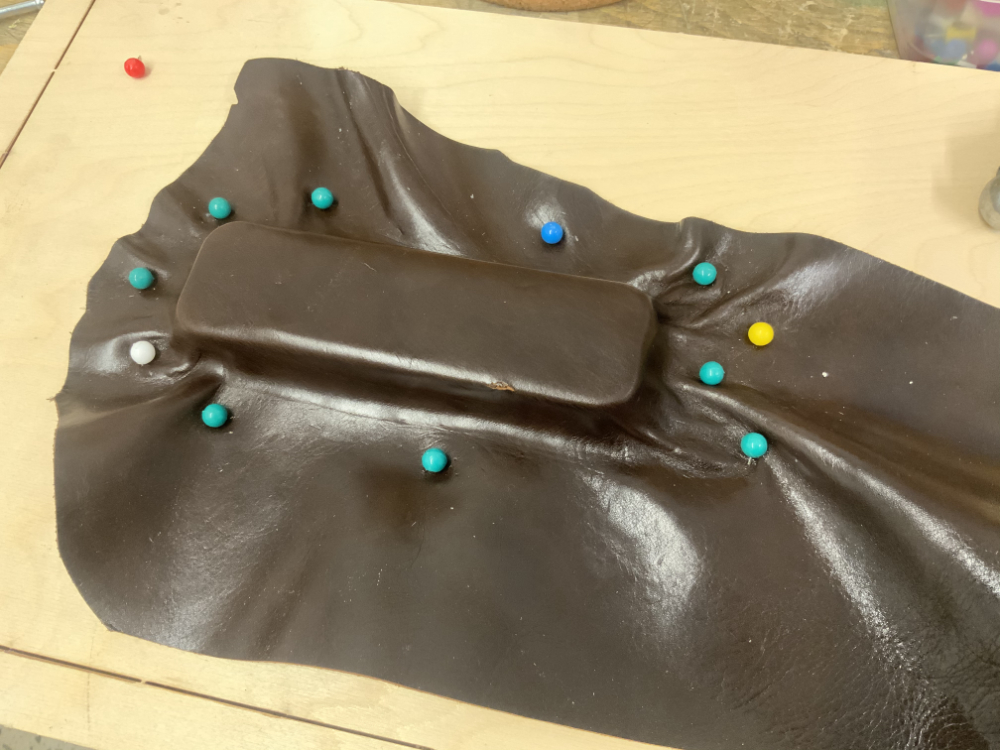
Next I went and buy a new leather skin, one that had a better look in my opinion. Once wet and force it around the mold and use pins to keep it in place.
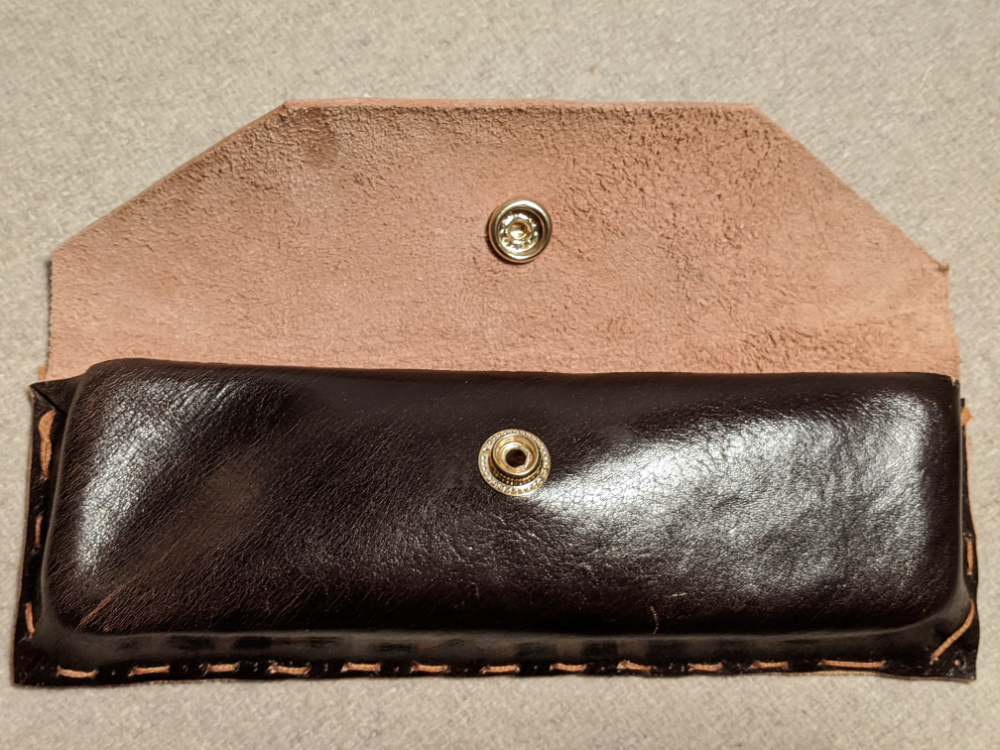
After a night drying, I sew the leather with the other part and then cut the surplus material. Unfortunately I didnt had acess to my cellphone during this process so I don't really have any picture, but here are the final results!
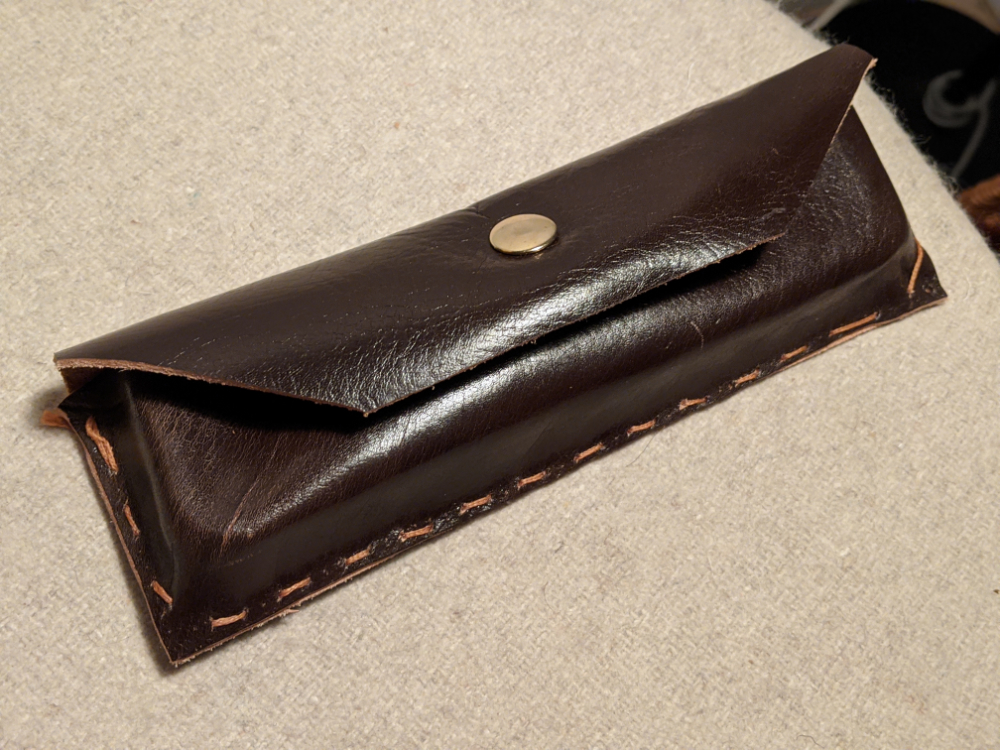
I am pretty proud of the result, I love doing this and I think I will revisit this technique at some point. For sure I would love to find access to a more eco friendly leather, I am looking for alternative and can't wait to come back to this!
Crystal
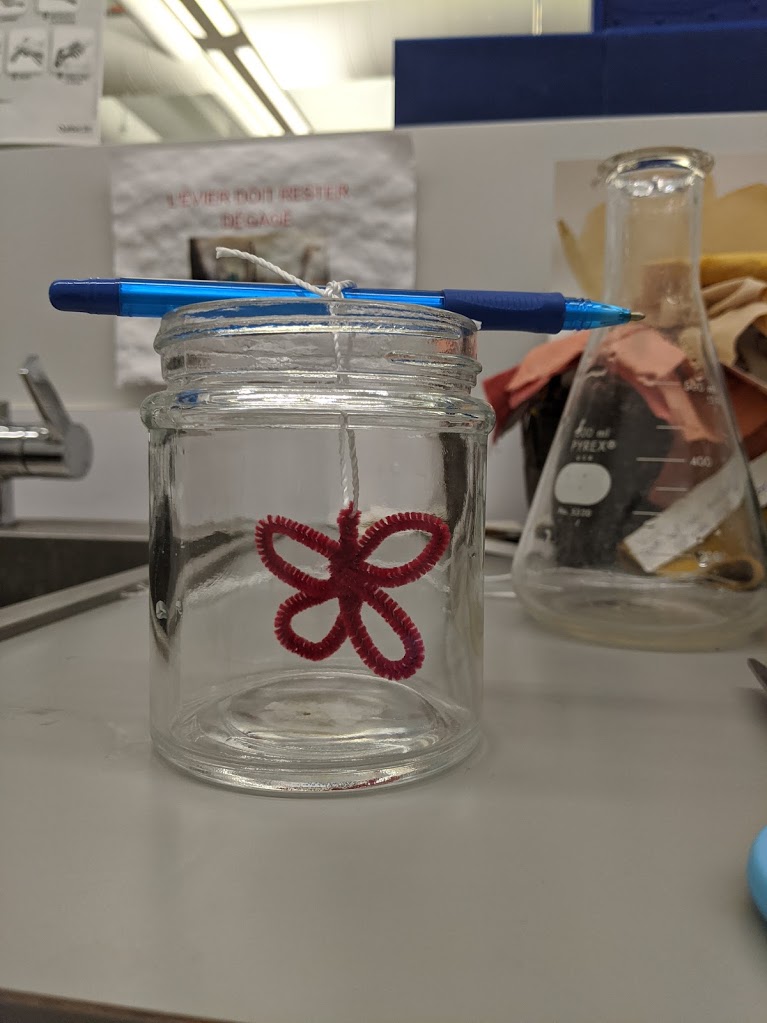
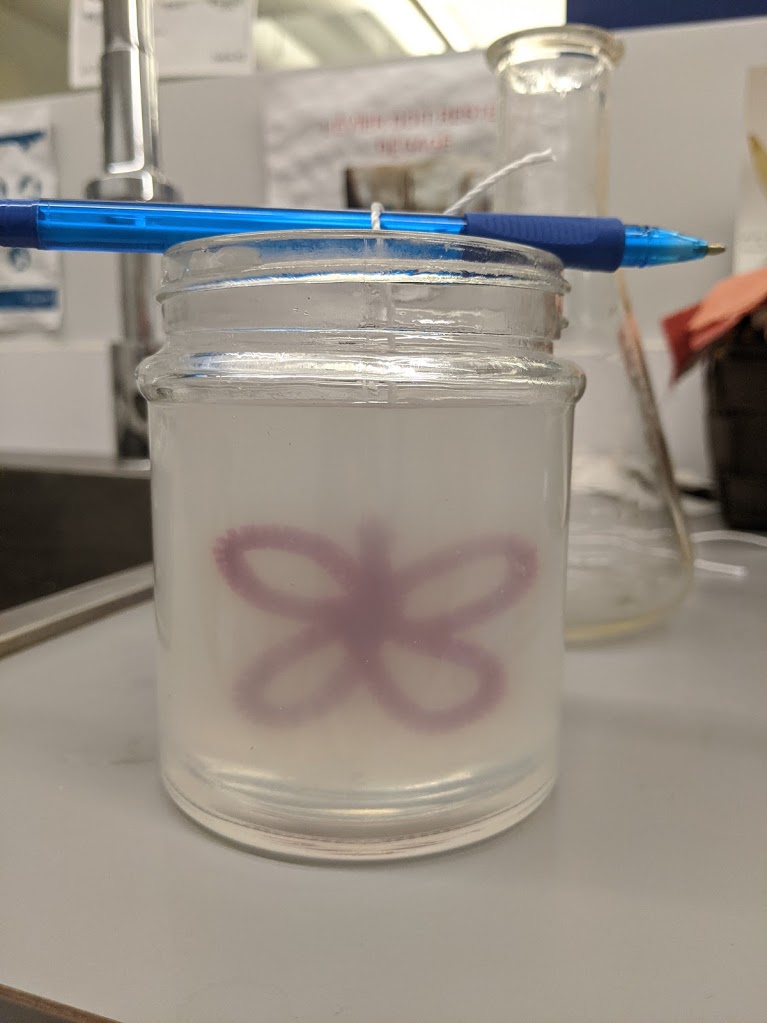
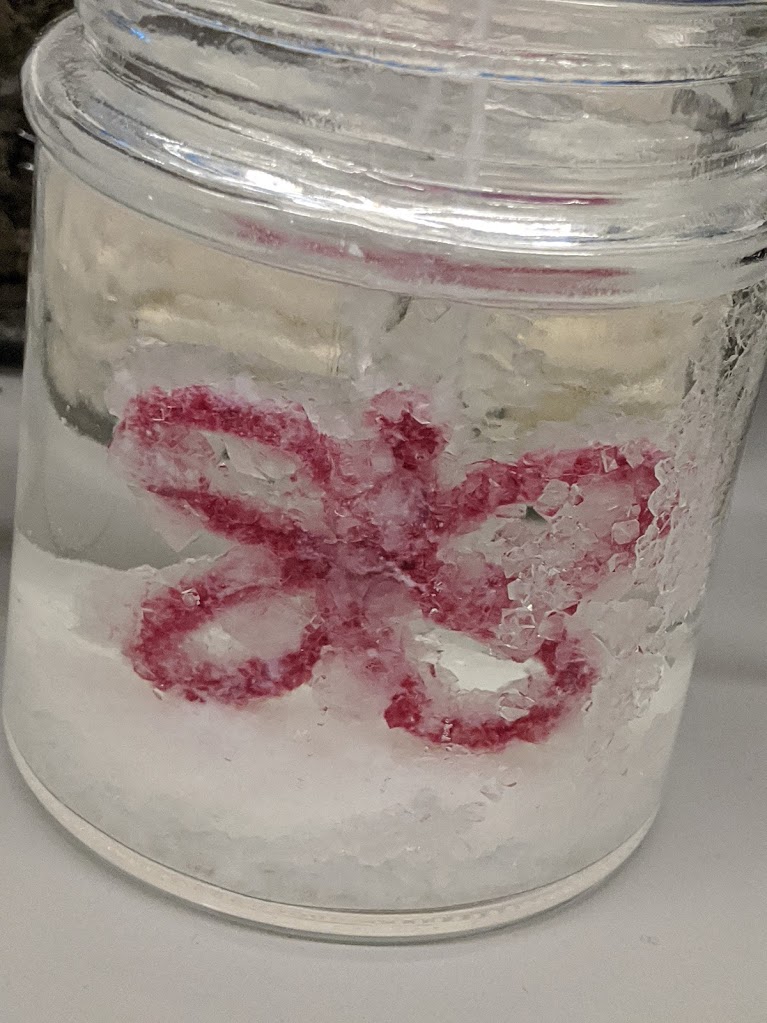
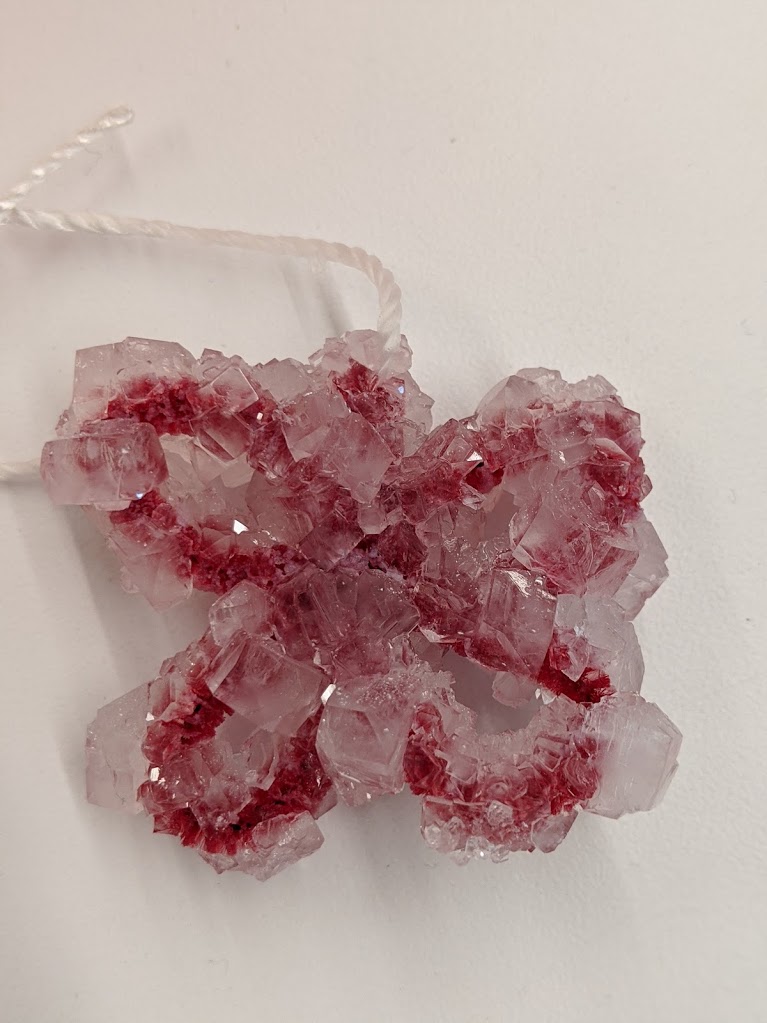
As a side project, I wanted to try to grow crystal, the process is extremely simple and straight-forward. I had some borax left from the bio-dye week so I decided to use this to generate my crystal.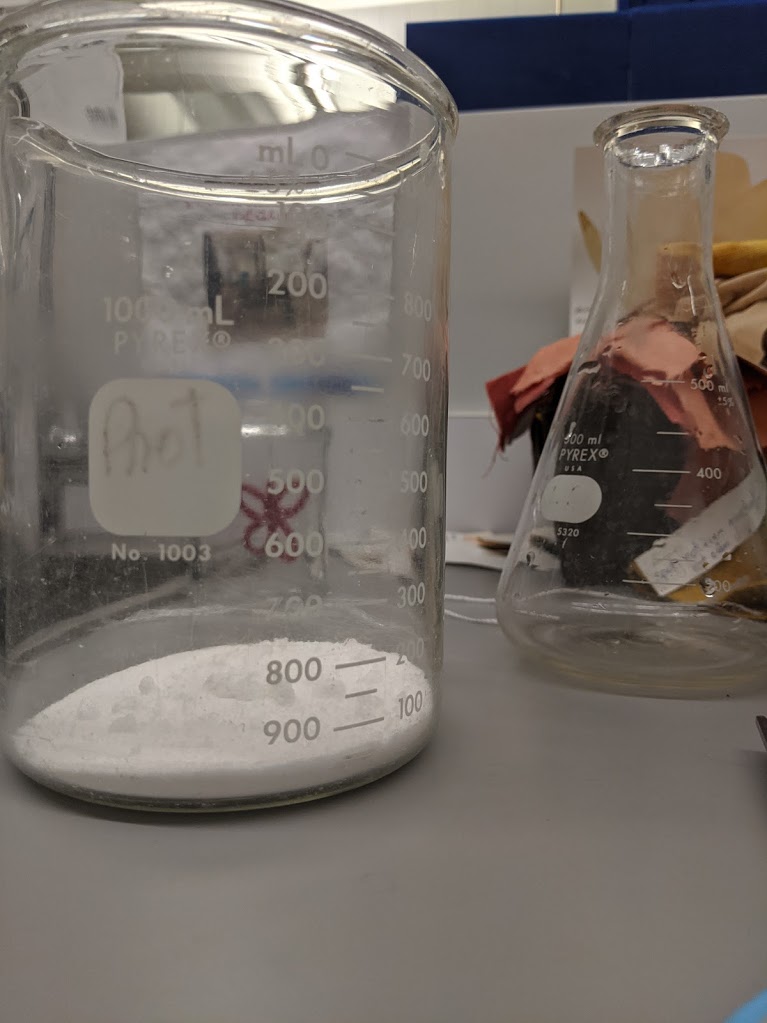
You can find all the files generated for this week assigment here.