Soft Robotic

Facilitate Soft robotic Design
This week we have to explore soft robotics, this is a subject that I was super excited for, but I feel like it will be a lot of trial and error. Creating moovement can seem pretty simple but there a lot more to it that we may first think. There nothing wrong to work without previously knowing the result that we are gonna get, but I had the idea to create a 100% parametric soft robot design that could facilitate the process of having multiple iteration.Also, being able to have a design that can be easily modified and personalised can be great for other people to iterate their own iterations.
Using grasshopper, I start designing the whole thing, first step was for me to organize in my head what needed to be done. I decided that I would have a "flower" kind of structure that would have these caractheristics:

I program the design step by step, starting with the arm and the base, then the conduits and finally the outside frame. the whole thing is pretty complicated, I had some struggle with the orientation of the conduit that had to follow the direction of the arm, but after a while everything seems to work great! One thing that I use for simplifying the interface is the Remote Control Panel tool. This tool let's you put any input into an simple graphical user interface so that everything is well tied up and organised. I absolutely loved doing the design. Here is the final overview.
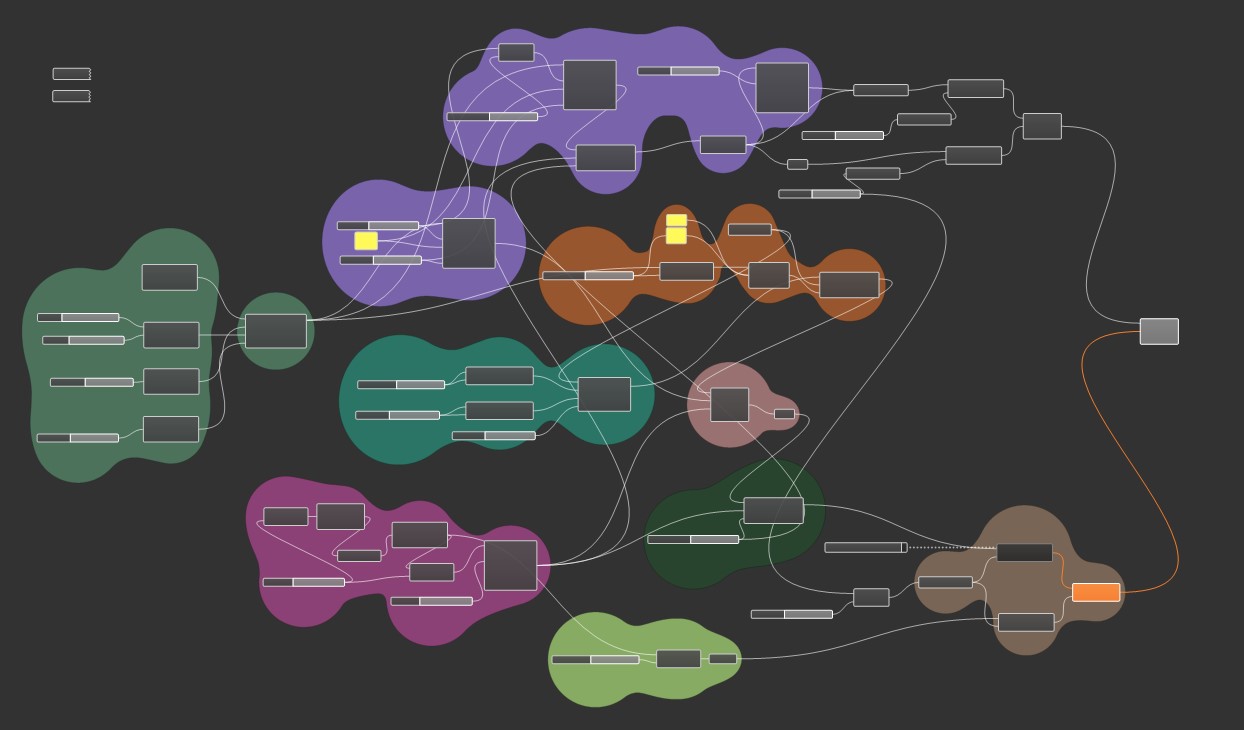
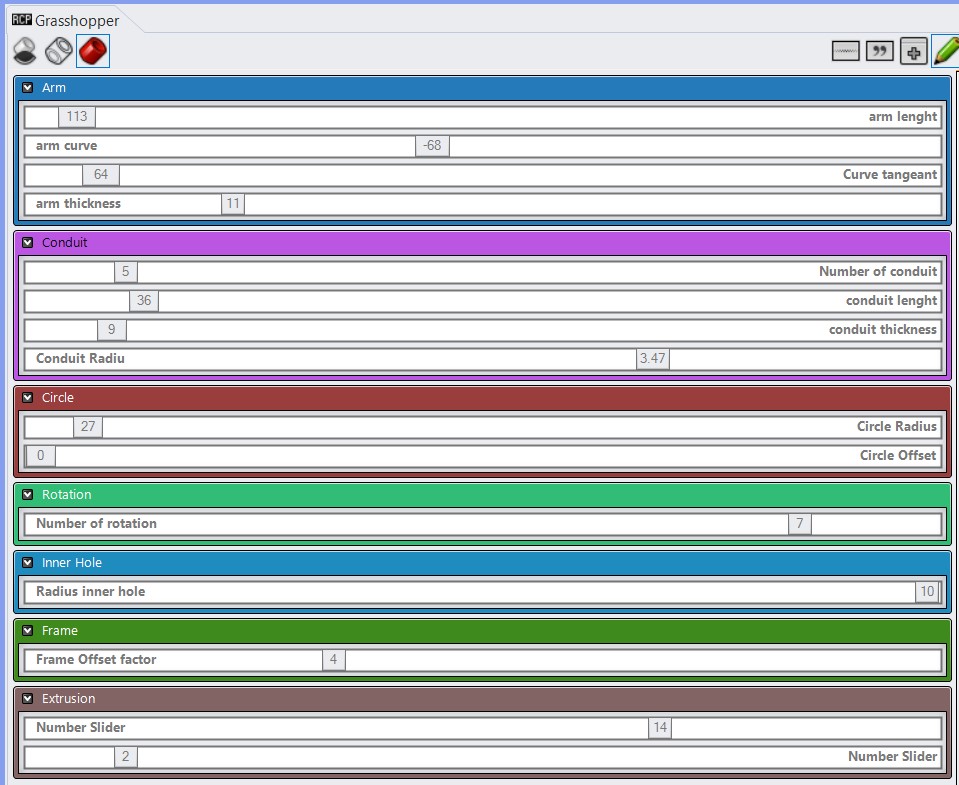
I couldn't possibly explain the whole design here, but feel free to download it by yourself and see what I've done to achieve it. I am very proud of this, it was my first complete grasshopper semi complex design and I think I did a great job! Here are some result that comes out once baked into grasshopper.
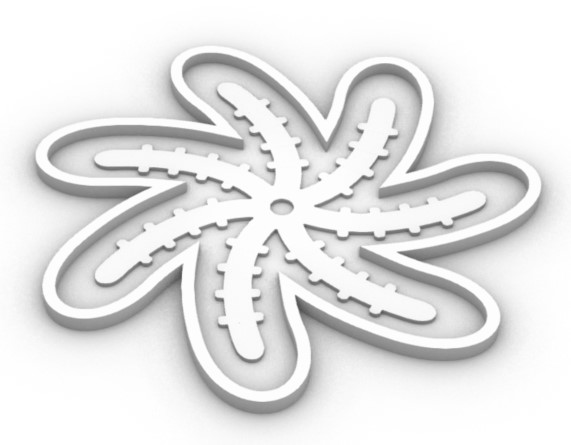
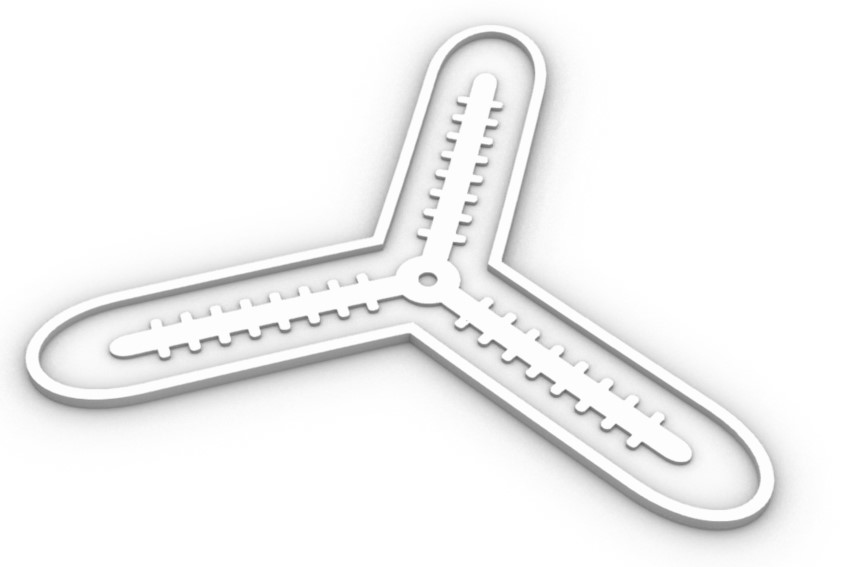
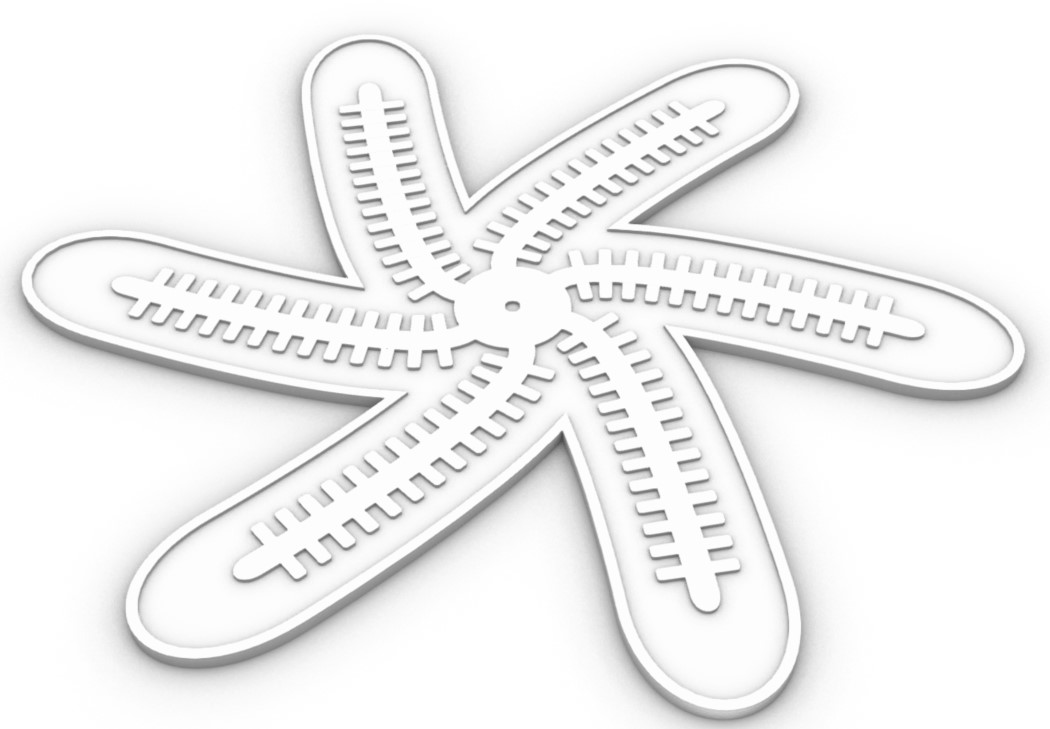
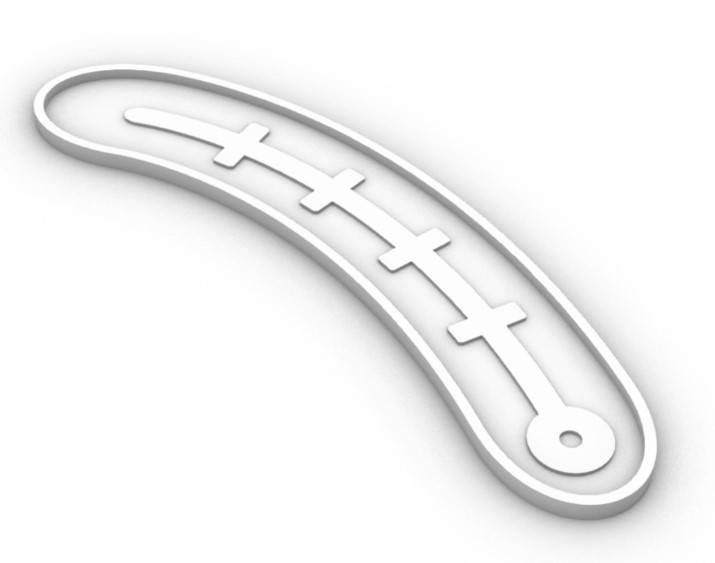
Now that I have a tool that can in a matter of seconds generate soft robots mold design I am ready to go ahead and try it out!
3D printing a mold
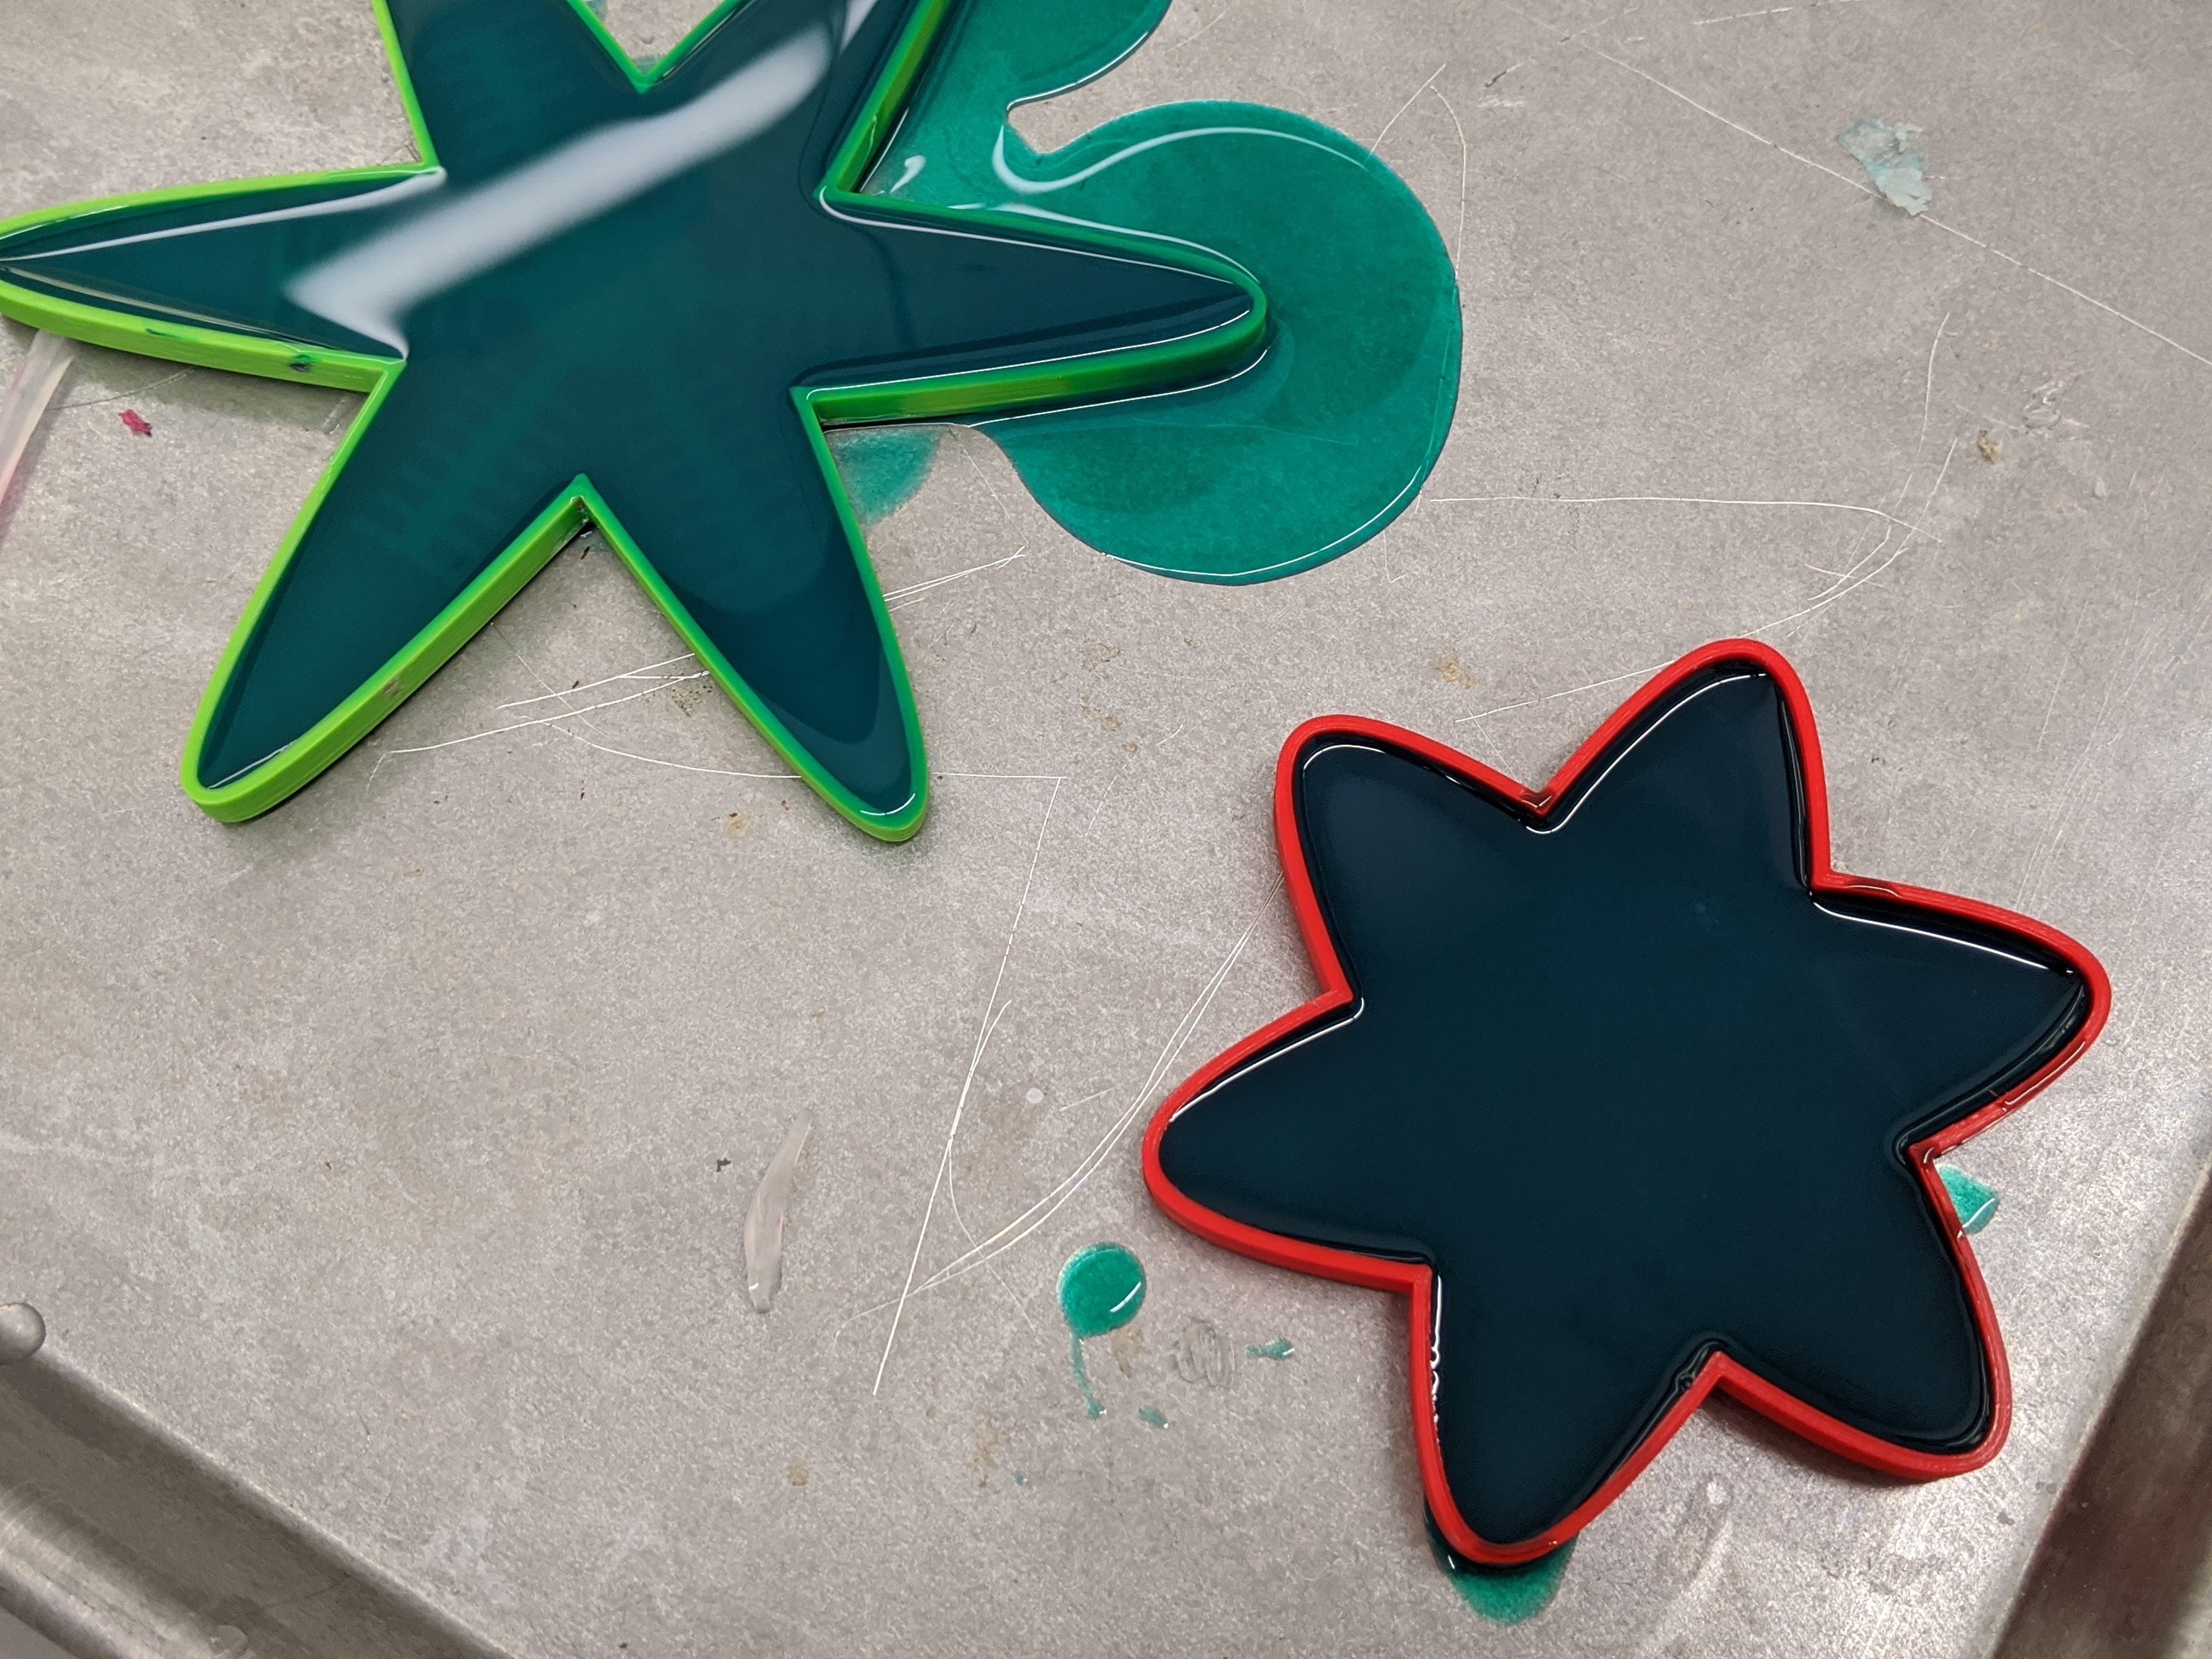
I decided to do a sillicone mold using a 3D printer, to do so, I exported one of my grasshopper iteration as an .STL file, this could then be imported into a slicer of your choice, I used prusa slicer for the configuration of my print and the results were pretty good. I then cast those mold with two type of sillicone, the first layer was made out of a very soft sillicon, the ecoFlex 00-20, while the second part witch was supposed to act as a floor layer for creating the air conduit was made out of a more rigid sillicone, the dragon-skin FX pro. The casting process went very well for the first layer.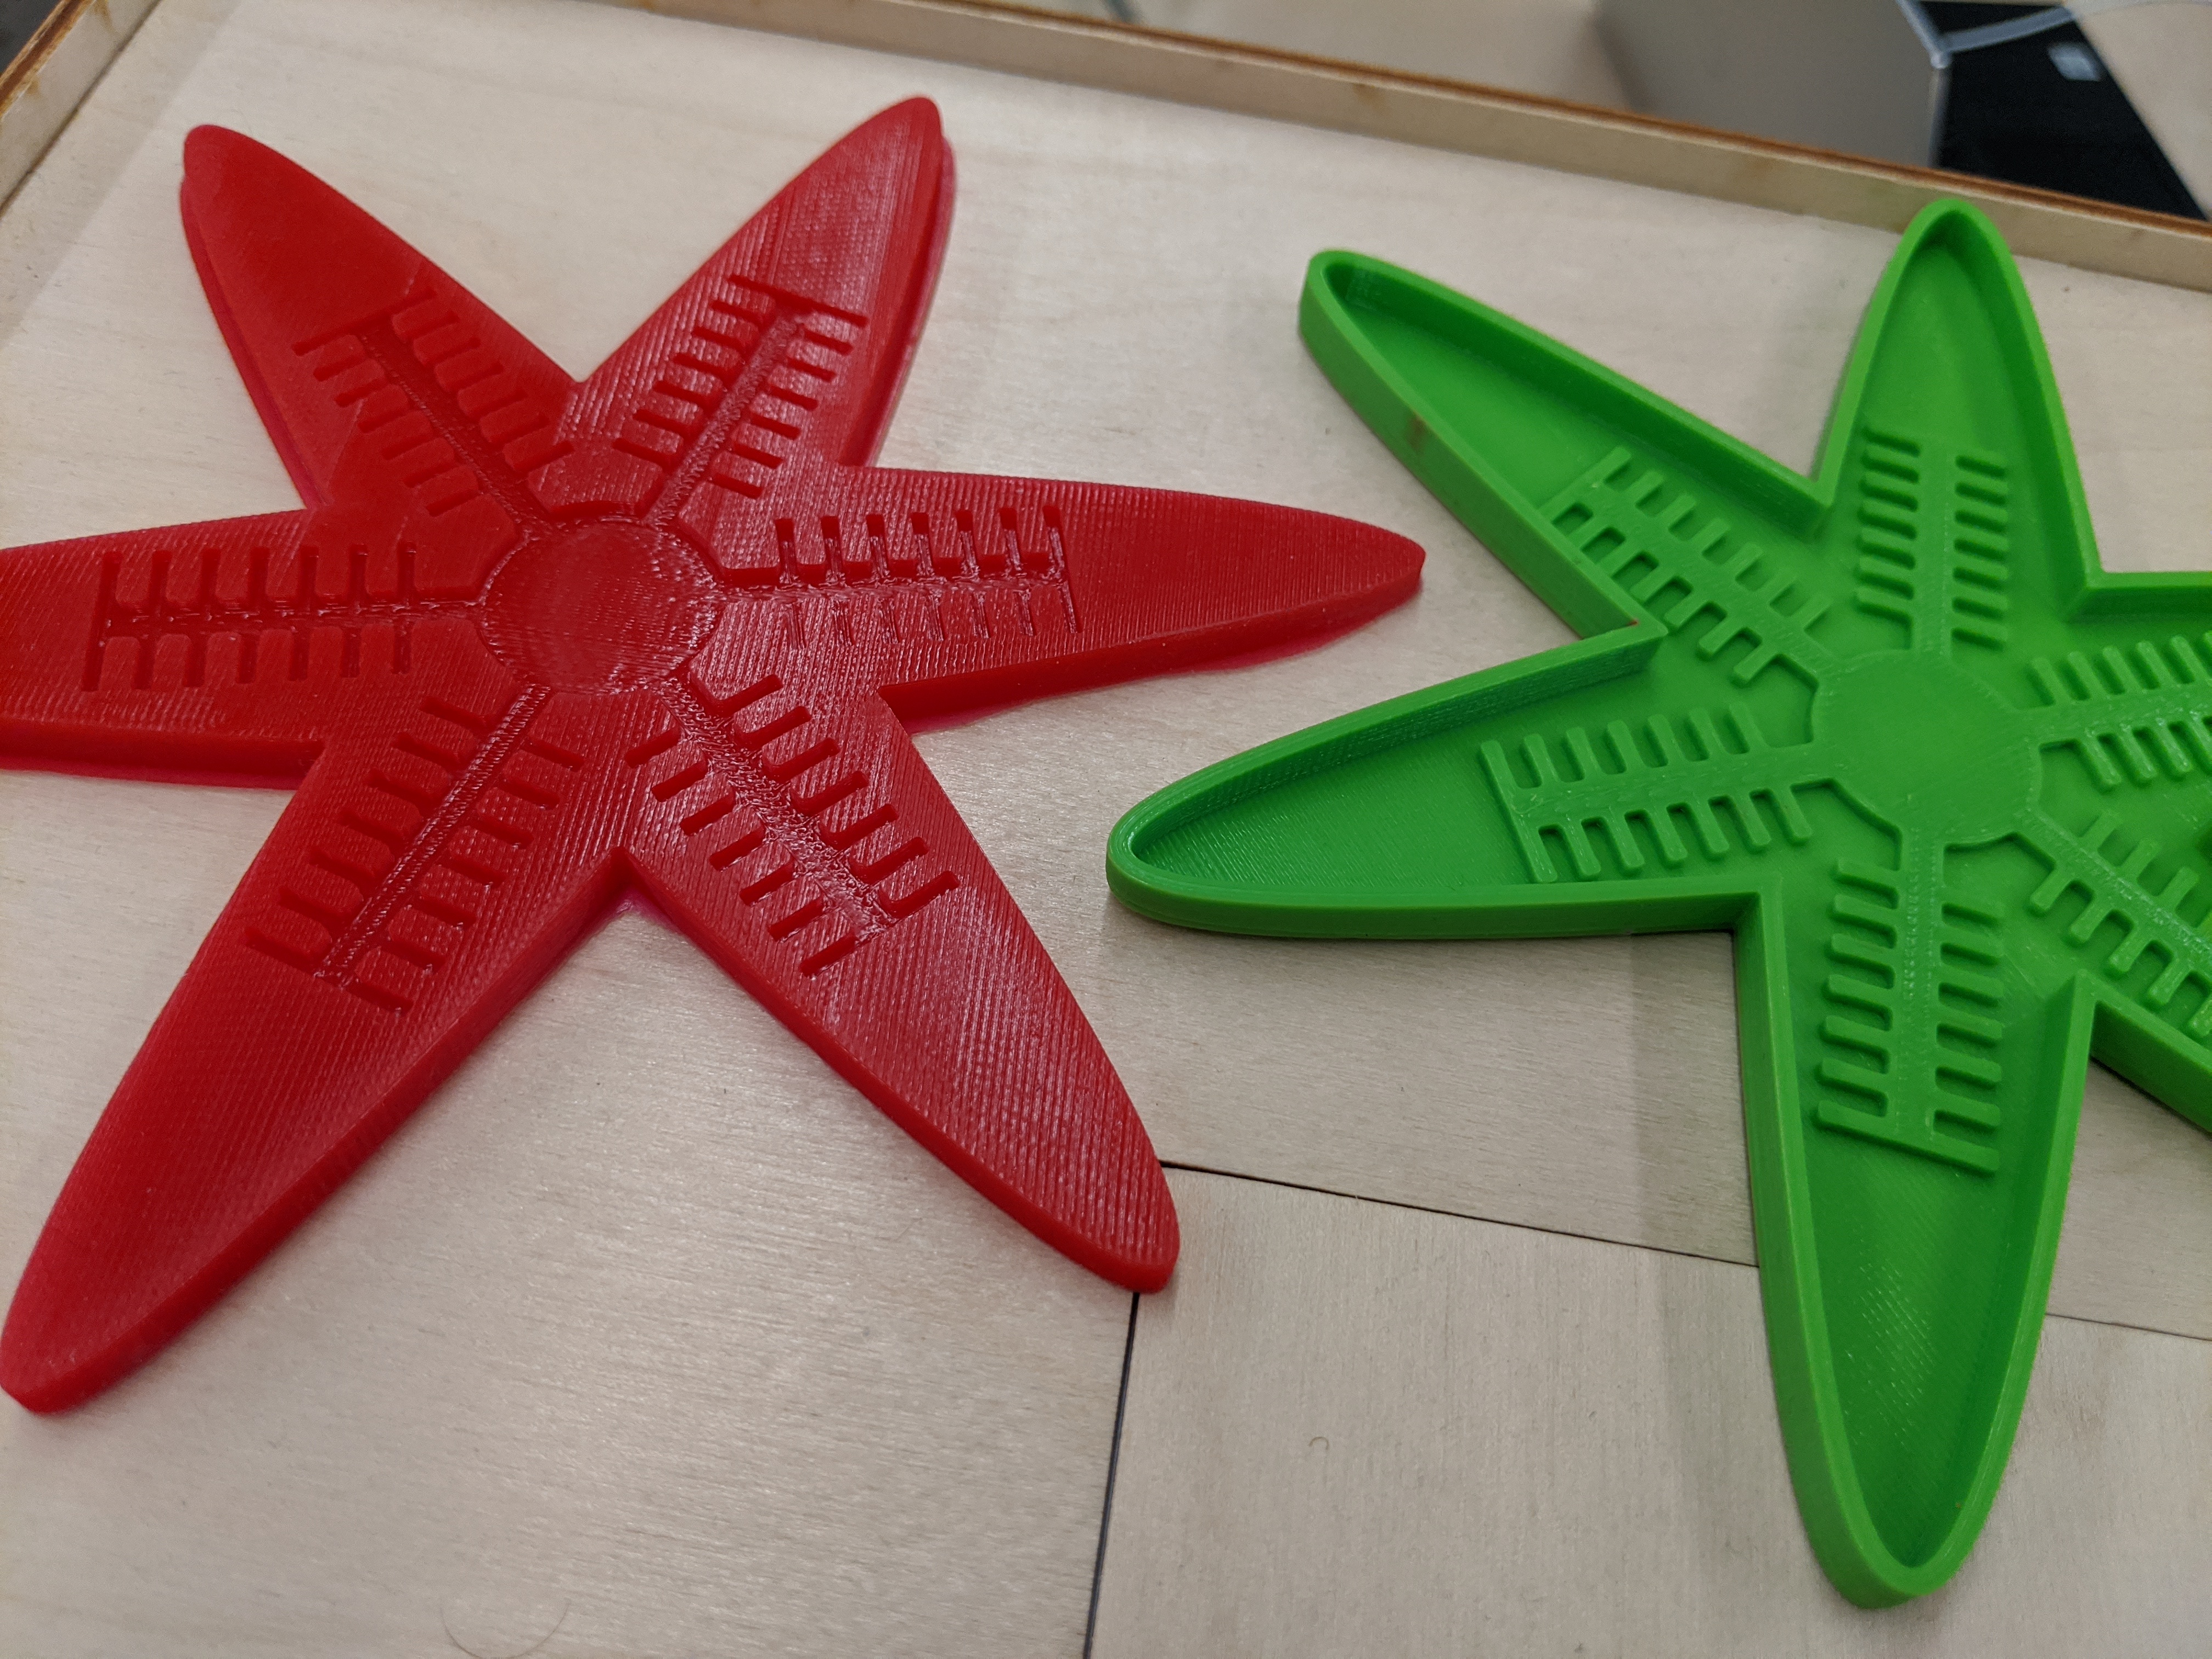
Using Vinyl
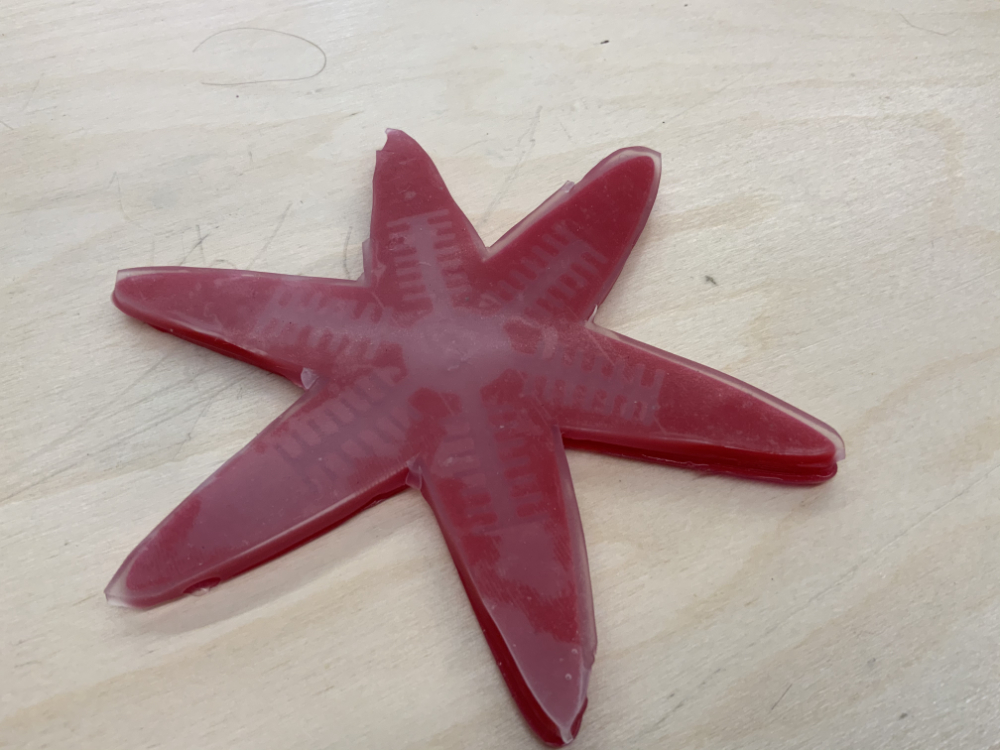
Another fun way to easily create soft robotic is to use two layer of vinyl that you can stick or thermo-merge together and culinary parchment as an air conduit. I did a small test just to see how easy it was to create a simple artificial muscle.First step was to design the muscle, I used Inkscape.

Next, I create two cutting job for the vinyl using cricut design space, one of them has to be mirror so that they can stack together. I also created an other job for the inside cut. Culinary parchment is a bit of a struggle to cut, it tends to not adhere to anything, a good tip is to just tape it to the cricut mat. Once everything was cut, I "assemble" the whole thing and press it on the heat press, the result were great!
If time allow me, I would love to come back to this technique for a somewhat more complex design. It's very interesting to experiment with these kind of process, it open a new door to the way we can create mouvment. You can find the files for this week here