Week 07-31/10/2022

Computational
Couture

Scroll For More

Oct 31, 2022

Computational Couture

In this class we explore computational design methods towards a new reinterpretation of cloths, garments and accessories for fashion design, inspired by a new digital design methodology.


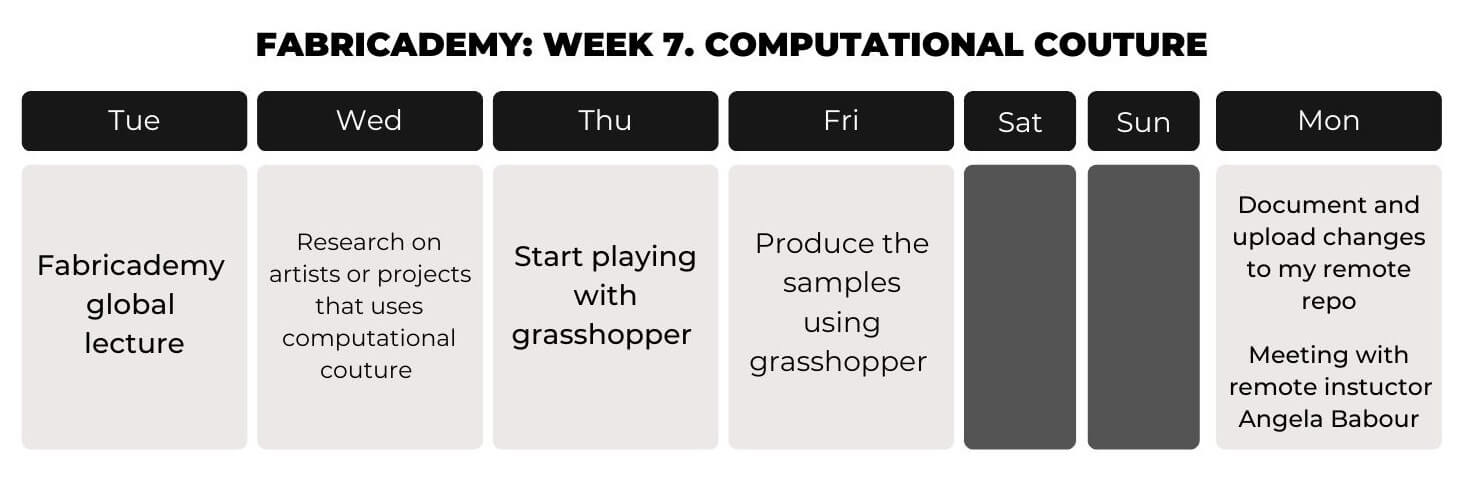
1. Weekly Documentation planning

How I worked this week

2. Inspiration and research

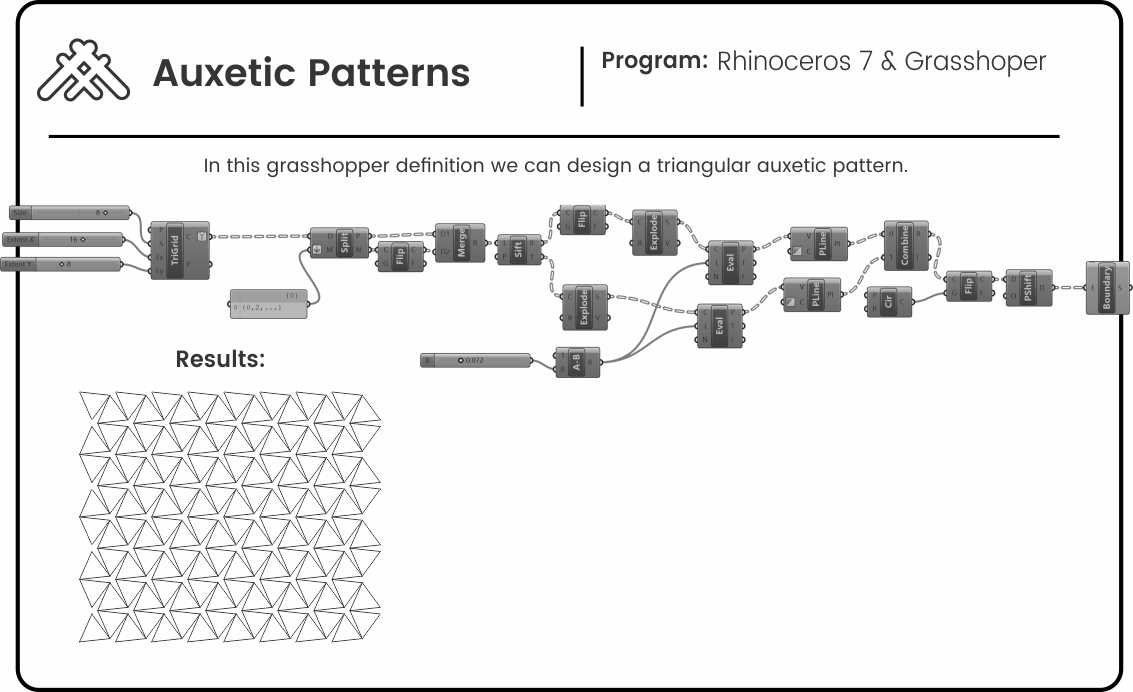
This week I wanted to learn about auxetic patterns and its application to different fields, so I made some reasearch about works related to it. I also write about other techniques and some experiences I had with computational design.

Auxetic clothing for children, which "grows" alongside their growth, designed and manufactured by Petit Pli Ltd.
A shoe that adapts to the foot – not the other way around. A reinterpretation of a classic design by Werteloberfel and Rebecca Meixne
Nike Inc.’s Free sole alongside the auxetic array of incorporated triangles. (IUCr) articles.
Design study of deployable architecture. The freeform inflatable dome can be used as a semi-permanent, relocatable space.. Source: Computational Design of Auxetic Shells

3. Computational Couture

3.1. 3D Printing process

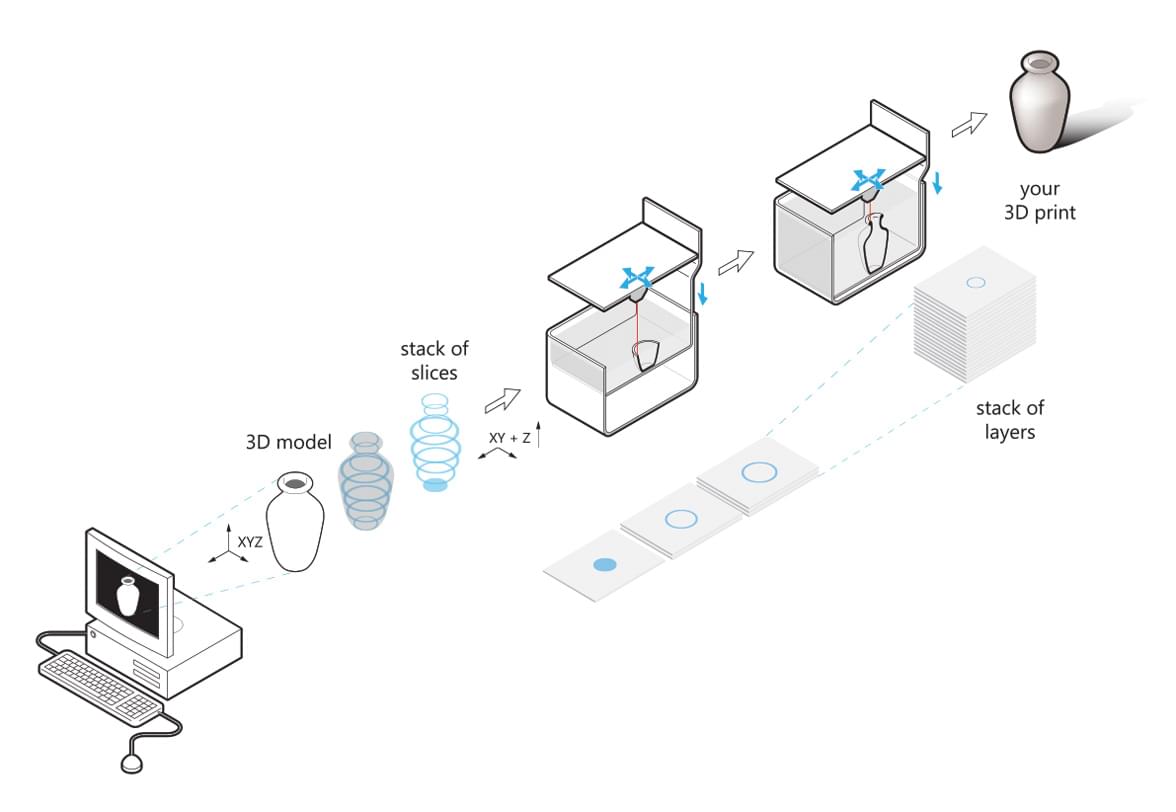
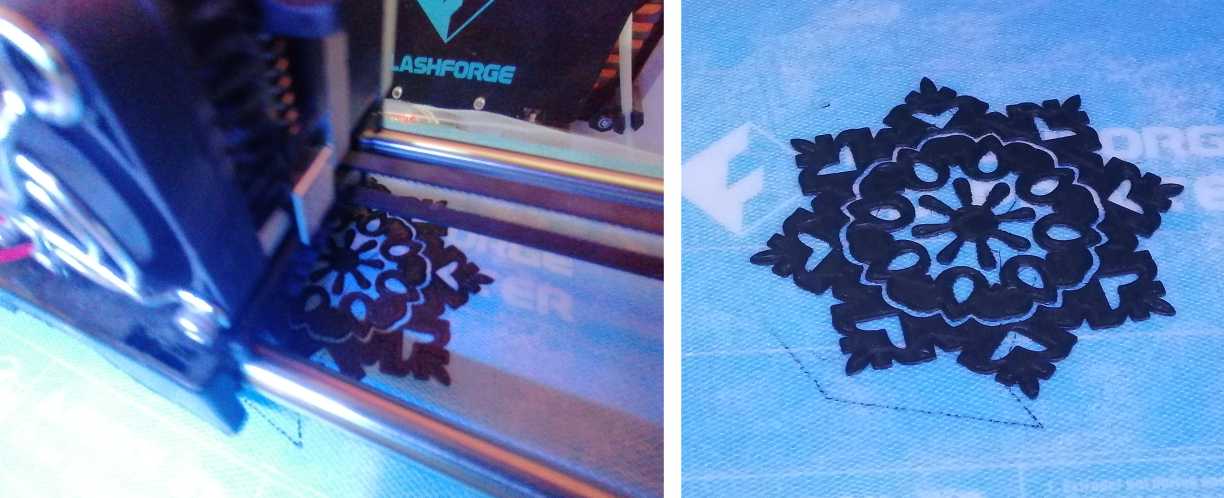
Here's the general workflow of 3D Printing, I'll be going step by step explaining how I worked this week.

3D Printing workflow. Source: i.materialise

3.2. 3D Modeling: Grasshopper

3.2.1. Parakeet

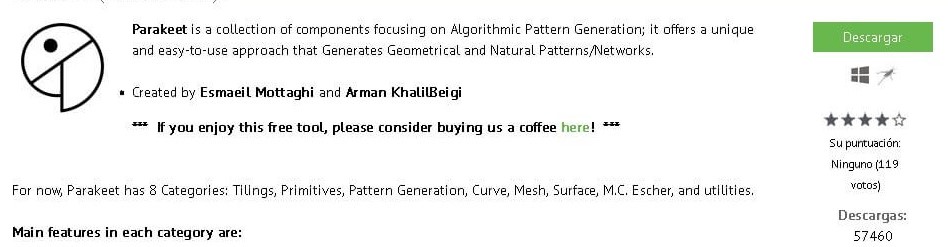
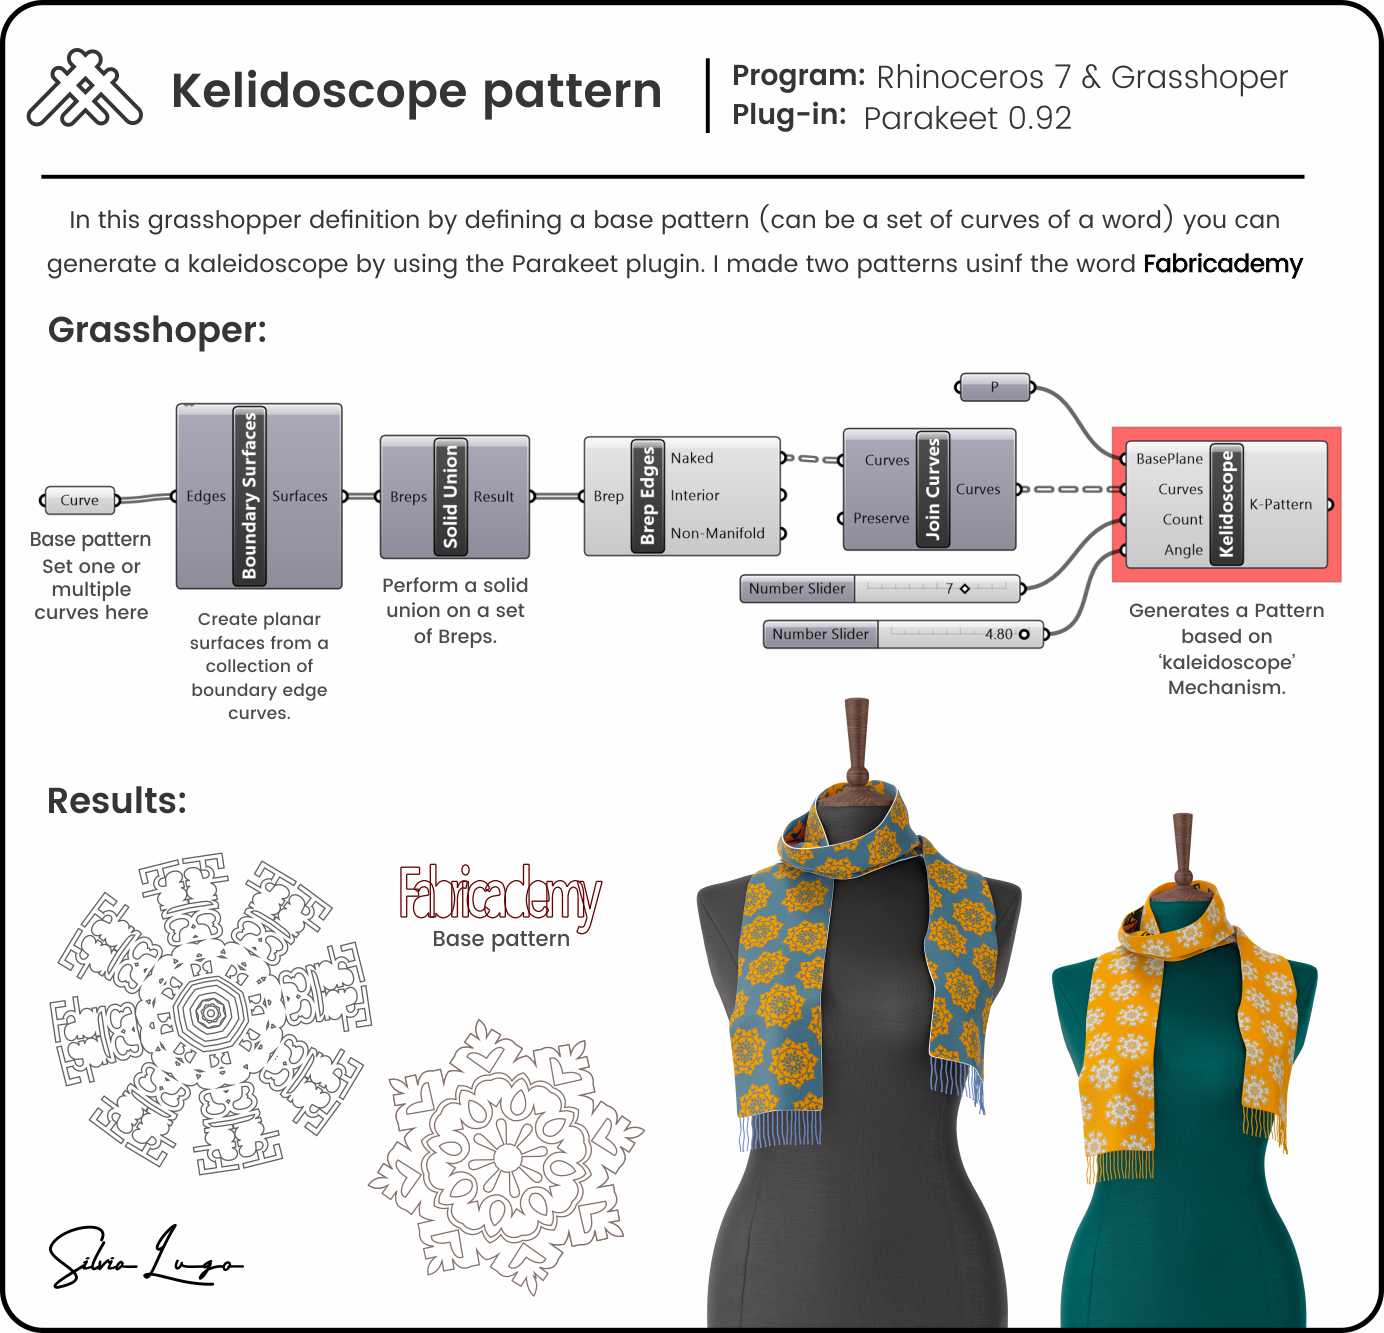
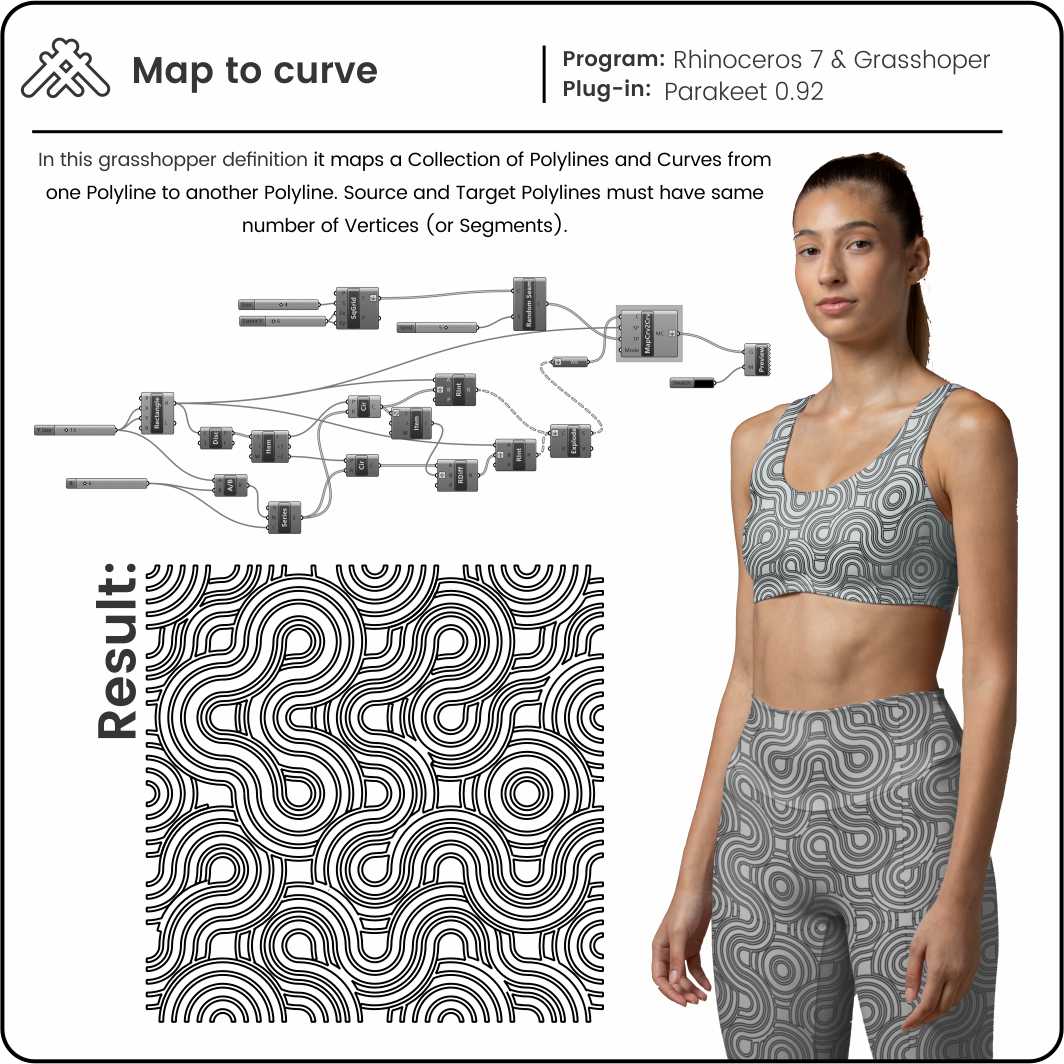
I decide to play a little with Grasshoper. I started testing one of my favorite plugins, which is Parakeet. A collection of components focusing on Algorithmic Pattern Generation; it offers a unique and easy-to-use approach that Generates Geometrical and Natural Patterns/Networks.

Parakeet plug-in. Source: Food4Rhino
a. Parakeet Kelidoscope
Kelidoscope de Silvia Lugo
b. Map Curves
3.2.2. Auxetic materials

I found a Newspaper article called "Auxetics: Don't Pull Me, I'll Get Fatter!" by James N. Grima-Cornish of University of Malta, it's an useful resource that I referenced in this week's documentation a lot. So take your time and read it if you want to.

Auxeticity, a term coined by K. E. Evans and coworkers in 1991 (Evans et al., 1991), can be defined as the material property of having a negative Poisson’s ratio. A visual example of auxeticity is given in Figure 1, which shows how auxetic materials become “fatter” when uniaxially stretched and “thinner” when uniaxially compressed
On the macroscale, applications of auxetic materials and structures include sportswear applications, clothing, furniture, yarns, protection and home improvement.

a. Linketix: Auxetic patterns

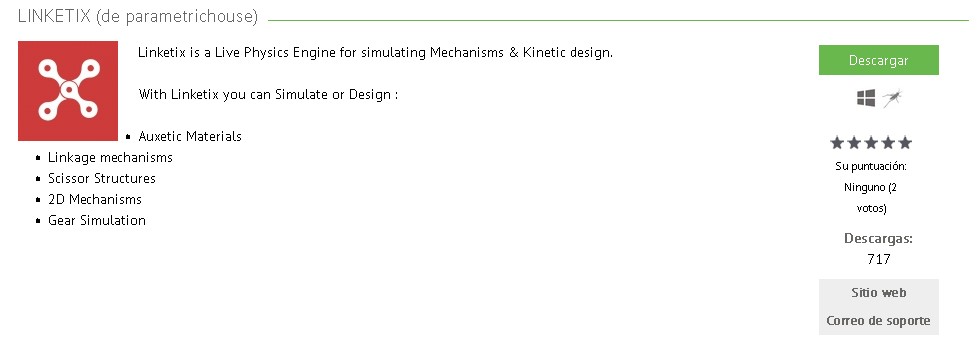
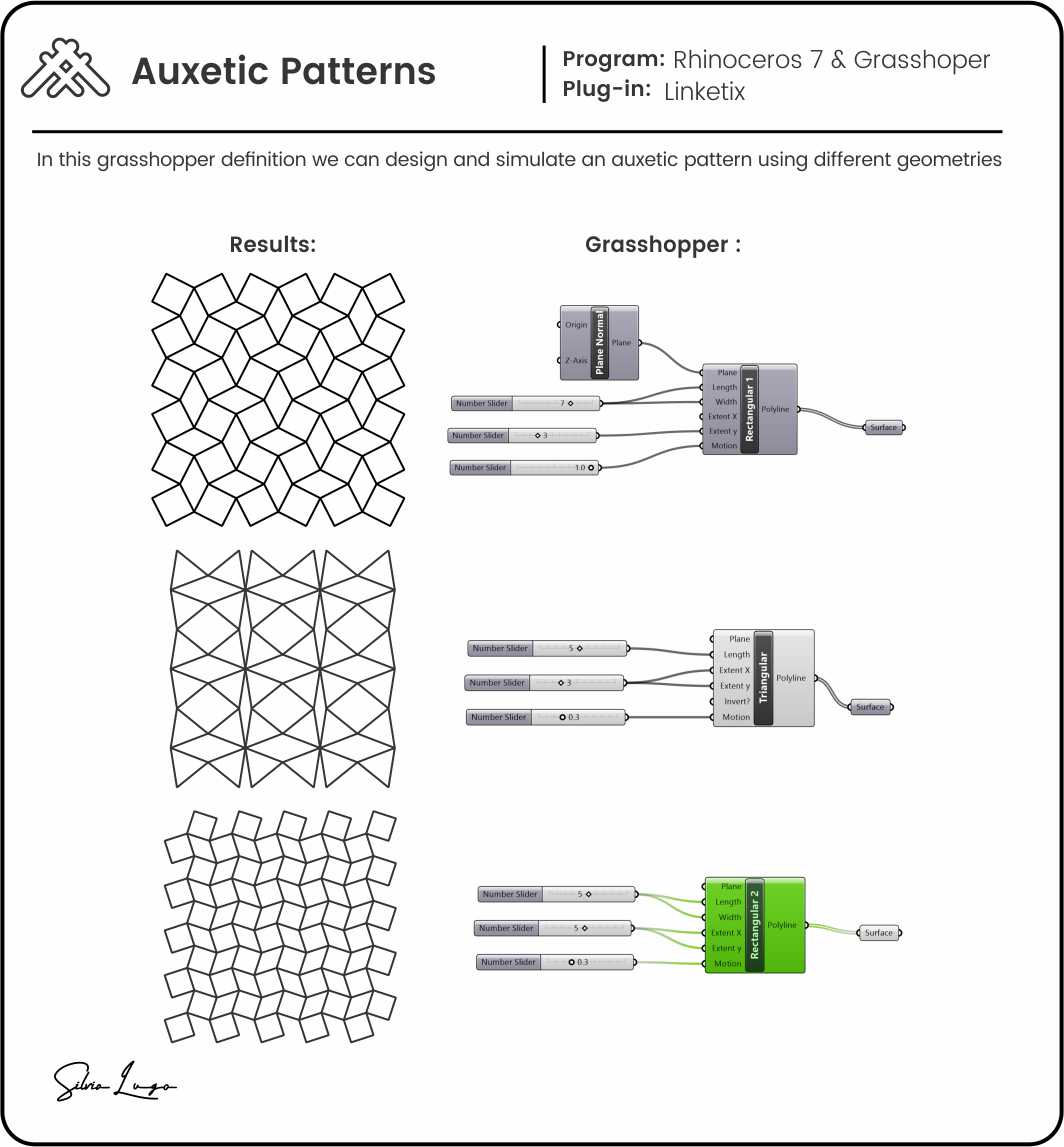
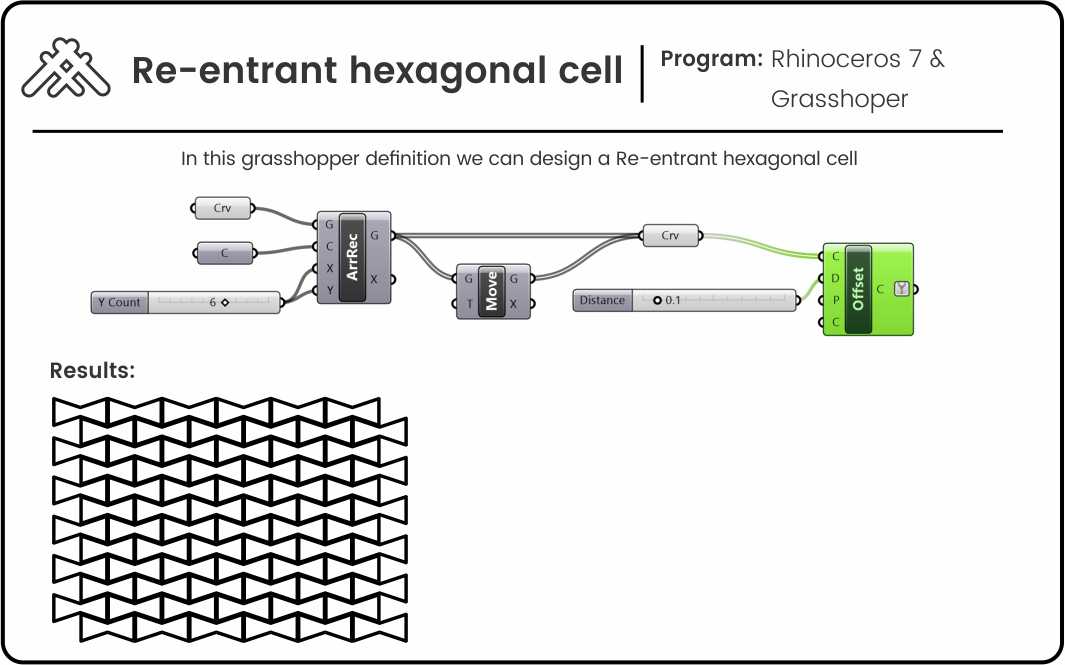
To try some auxetic pattern I download a new plug-in called Linketix (de parametrichouse). A live Physics Engine for simulating Mechanisms & Kinetic design.

Linketix plug-in. Source: Food4Rhino
Auxetic Mechanism PlugIn de Silvia Lugo

b. No plug-in: Triangular auxetic pattern & Re-entrant hexagonal cell
Here you can Test the definition

3.3. Export the files for 3D PRINTING

The STL (Standard Triangle Language) is the industry standard file type for 3D Printing. It uses a series of triangles to represent the surfaces of a solid model. All modern CAD (Computer Aided Design) software allow you to export their native file format into STL. The 3D model is then converted into machine language (G-code) through a process called “slicing” and is ready to print.

All my files were exported to stl and have a similar size of 80x80x1 mm.

Software Description
Rhino
File > Save As… In the Save As... box, select Stereolithography [*.stl].

Source:HUBS

3.4. Prepare the G code: Slicer

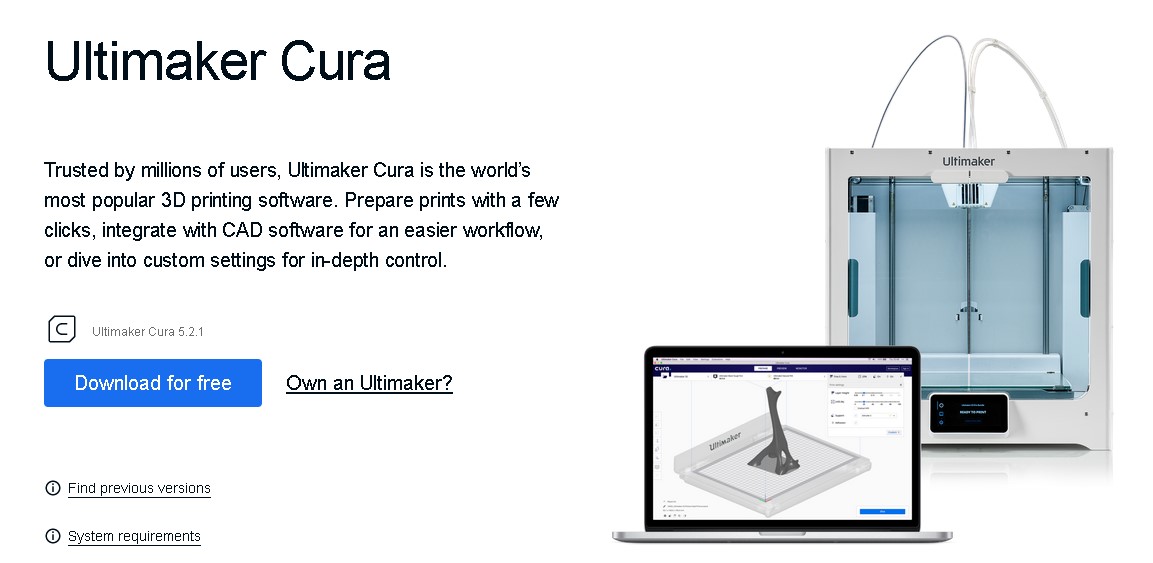
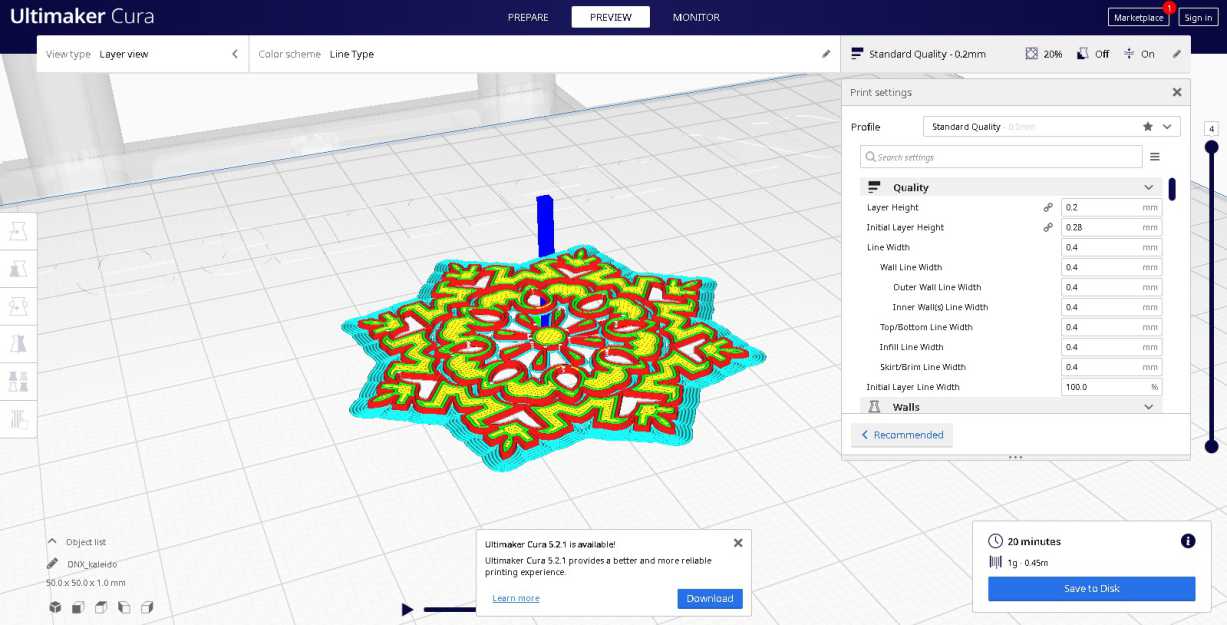
A slicer is a program that converts digital 3D models into printing instructions for a given 3D printer to build an object. In addition to the model itself, the instructions contain user-entered 3D printing parameters, such as layer height, speed, and support structure settings. I use Ultimaker Cura as my slicer. Here are some settings I use to print the samples:

General Process

  1. Open your .stl file with ultimaker cura
  2. I used this parameters:
    1. Material: TPU (Flexible material)
    2. Layer height: 0.2
    3. Minimum speed: 30mm/s
    4. Extruder temperature: 210°C
    5. Platform temp.: 40°C
    6. Infill: 40%
    7. Raft: No
    8. Supports: No
  3. Save file as gx in a SD card
  4. Leveling Z: We used a paper to define the right offset for the extruder point. Placed a paper over the platform, press the “level” button on the dreamer screen. when the extruders move, test the friction between the extruder point and the paper, It should be tight but allow paper’s movement. Do this 3 times in each part of the platform.
  5. Plug the SD in
  6. Press print and wait

a. Pick the Material

For these works, I'll use TPU, which is a flexible filament. Here you can see a list of the most common filaments.

3D Printing MaterialPhysical Properties
FDMABSThe right intensity and temperature resistance; Easier to warp
PLALow impact strength
TPUDifficult to print accurately
PAHigh impact strength and mechanical
PEIExcellent fire protection
PETGExcellent automatic and safe food material

b. Review the Machine Specifications

  • Machine model: Custom 3D Printer
  • Job size: 300 x 300 x 400 mm
  • Software: Ultimaker CURA
  • Machine model: Dreamer Flashforge
  • Job size: 485*344*382mm (19.1*13.5*15.03IN)
  • Software: Ultimaker CURA or FlashPrint

3.6. Results and tests

a. Kelidoscope pattern

Kelidoscope pattern de Silvia Lugo


b. Map to curve definition

Map to curve definition de Silvia Lugo


c. Auxetic patterns

Result square auxetic de Silvia Lugo


d. Triangular auxetic pattern

Triangular auxetic pattern de Silvia Lugo


e. Re-entrant hexagonal cell

Re-entrant hexagonal cell de Silvia Lugo

4. Files

Kelidoscope pattern

  1. Rhino + GH definition
  2. .Stl File

Map to curve definition

  1. Rhino + GH definition
  2. .Stl File

Auxetic patterns

  1. Rhino + GH definition
  2. .Stl File

Triangular auxetic pattern

  1. Rhino + GH definition
  2. .Stl File

Re-entrant hexagonal cell

  1. Rhino + GH definition
  2. .Stl File

Weekly assignments

  • 100%
    Document the concept, sketches, references also to artistic and scientific publications on 3D printing and parametric modeling
  • 100%
    Design a parametric model using Grasshopper3D and upload the rhino file + grasshopper files
  • 100%
    Learn how to use a 3D printer and document the step-by-step process and settings
  • 100%
    Document the workflow for exporting your file and preparing the machine, Gcode and settings to be 3D printed
  • 100%
    Print your file and document the outcomes
  • 0%
    Upload your stl file
  • 0%
    Submit some of your swatches to the analog material library of your lab. Size 20cm x 20cm approx (extra credit)
Back to Top