Sep 20, 2022
Hello there! This is a page that documents how to survive the first week of Fabricademy. Let's go!
1. Weekly Documentation planning
2.Learning Git (and actually understanding what's going on)

At first, Git & Gitlab can be confusing, and maybe you'll manage to upload your website to class.textile-academy.org not even knowing how, I'll document a series of useful information that explains (in a human way) what's git, how it works and how to customize a website.
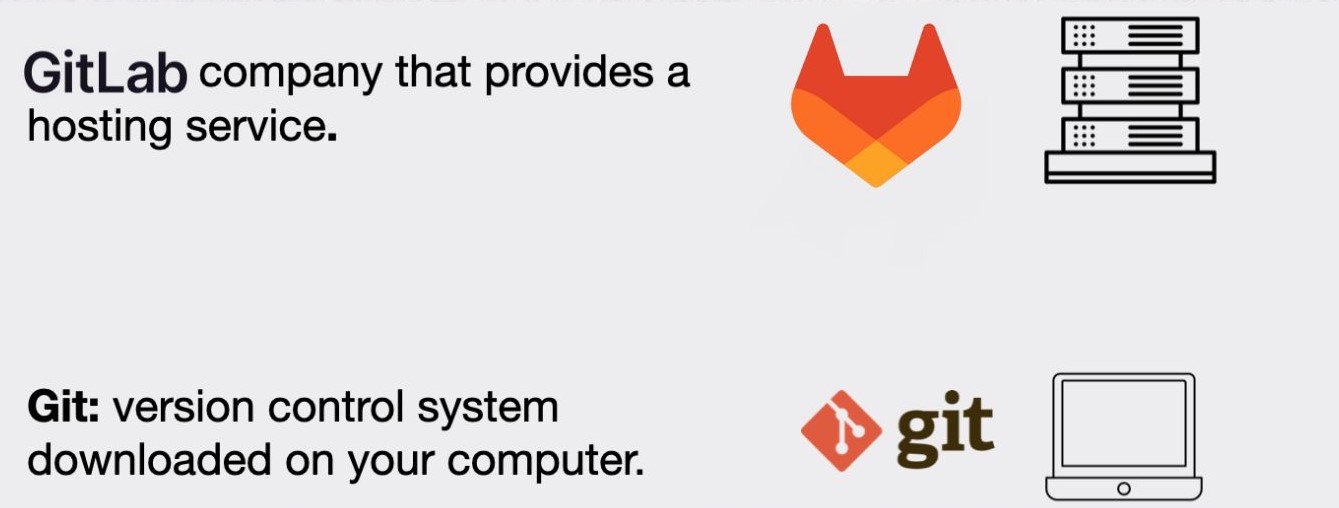
Git is a version control system that you download onto your computer. You must use Git if you want to collaborate with other developers on a coding project or work on your project.
You can install Git by going to the Git website and easily following the download instructions to install the correct version for your operating system.
To check if you already have Git installed on your computer, you can type the command
git --version
Gitlab is a product that allows you to host your Git projects on a remote server somewhere (or in other words, in the cloud).
It's important to remember that Gitlab is not Git. Gitlab is just a hosting service. Other companies offer hosting services that do the same thing as Gitlab, such as Bitbucket and GitHub.
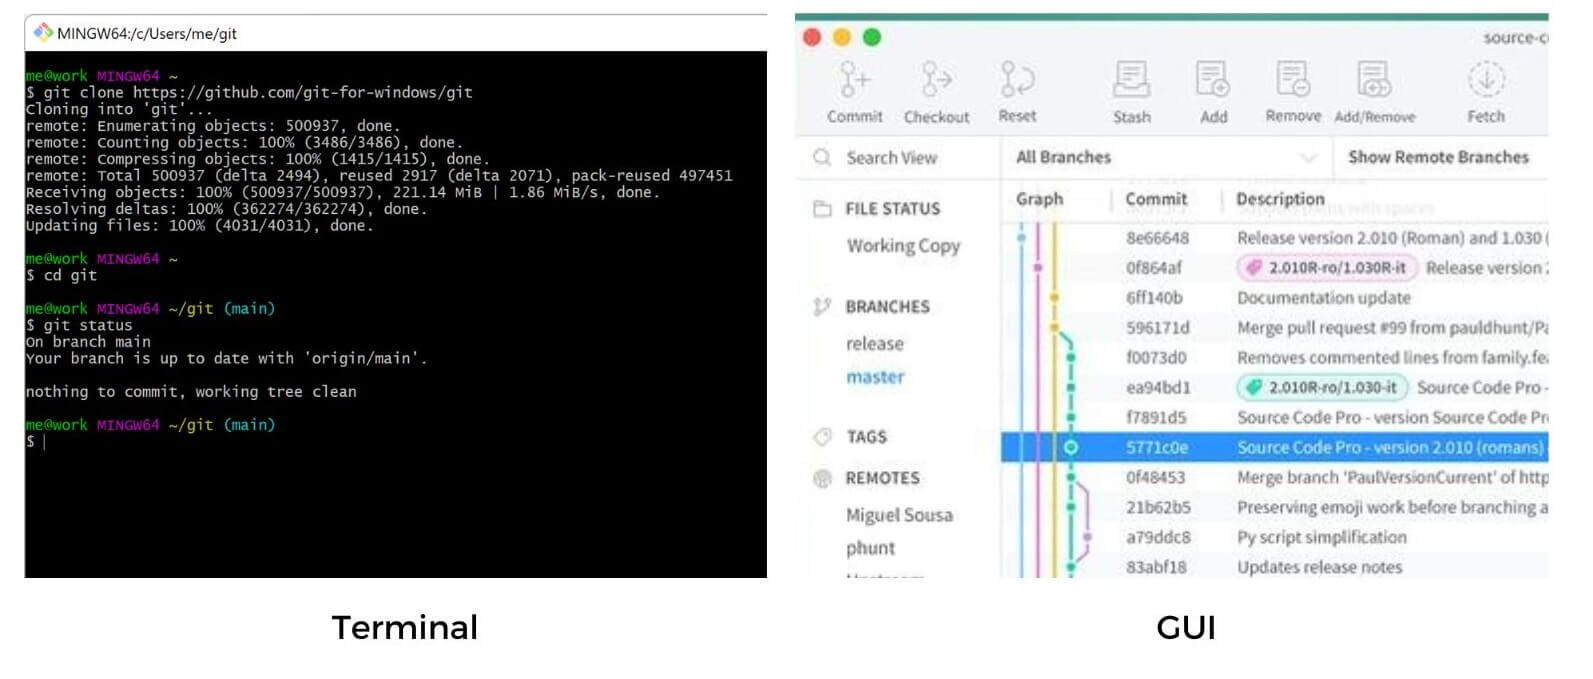
You can either use Git by typing commands in the terminal or you can use a graphical user interface (GUI) such as Sourcetree or GitKraken.
If you choose the terminal, you will have to look up which Git commands you will need.
Git offers in-depth documentation on its website. You can also check the Fab Academy-Git Simple Cheat Sheet.
Whether you choose to use the terminal or a GUI, you will need to understand the basics of how Git works to use it confidently.
In my case, I prefer to use a graphical user interface, that's why I picked Sourcetree, I'll share the steps using Git in Sourcetree. But the steps I share are very similar if you are using the terminal.
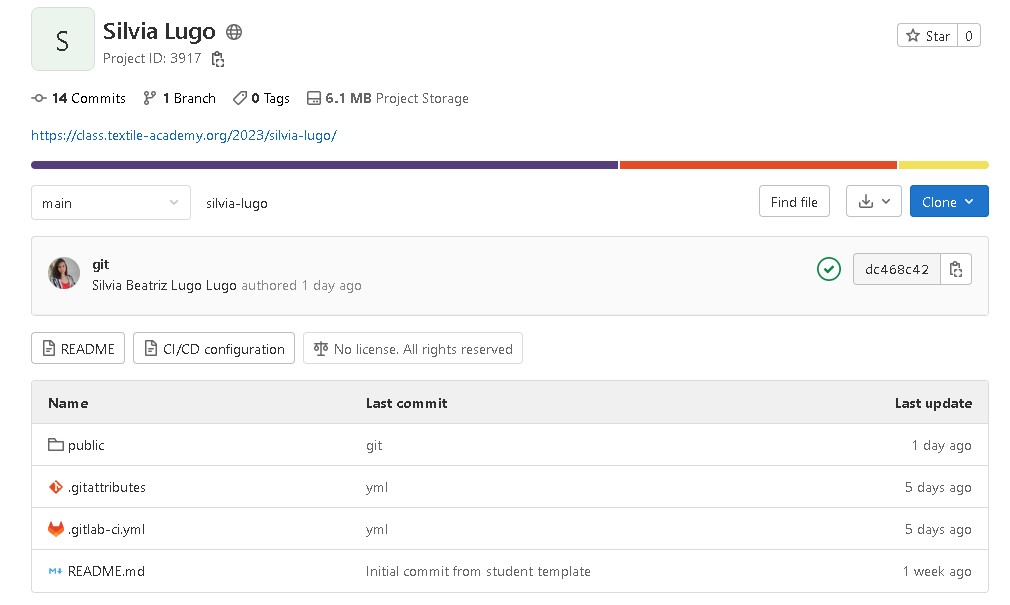
Each Fabricademy student is provided with a repository on GitLab Fab cloud, the software infrastructure for projects in the global Fab Lab Network, in which we’ll document every week's assignments and a final project.
To find your repository, it usually follows this pattern:
Academany > Textile Academy > 2023 > students > "your name" Here's how it looks mine:
Every repository has a default theme written in Markdown that you can customize:

You can edit your page directly in the WED IDE of Gitlab, but it's easier to clone (or in other words download) your remote repository to your computer and add all the changes locally.
To clone your repository copy these steps:
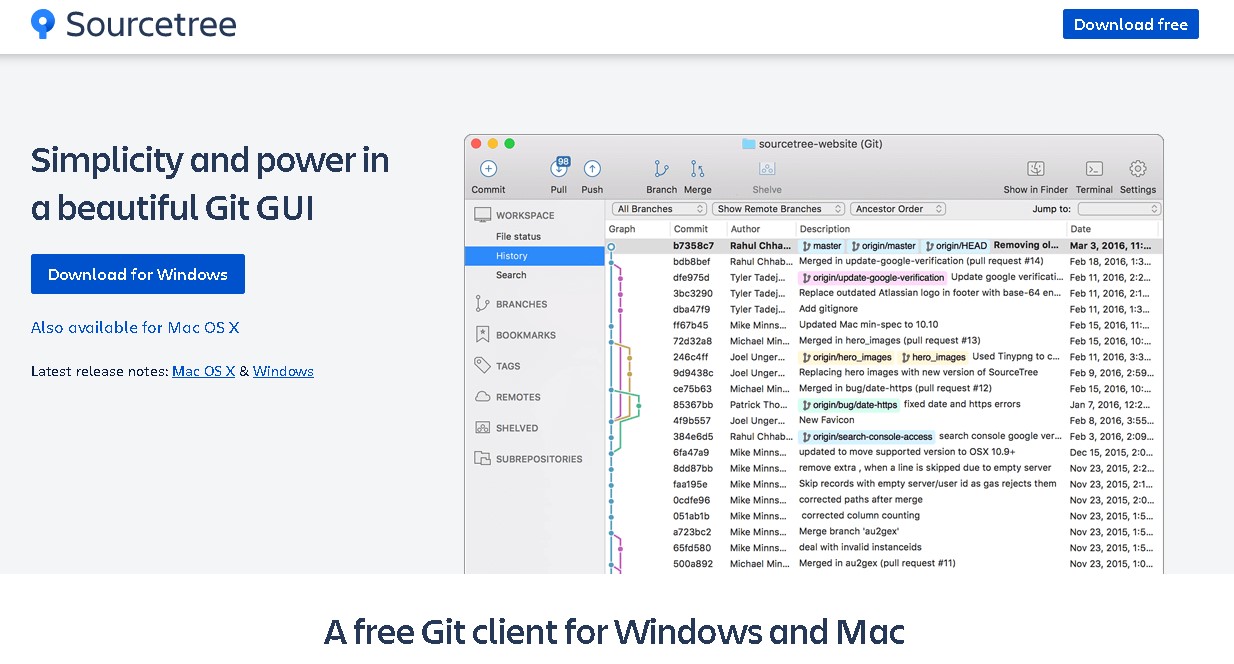
Sourcetree simplifies how you interact with your Git repositories so you can focus on coding. Visualize and manage your repositories through Sourcetree's simple Git GUI.
Click the "Clone" button, and choose "Clone with HTTPS"
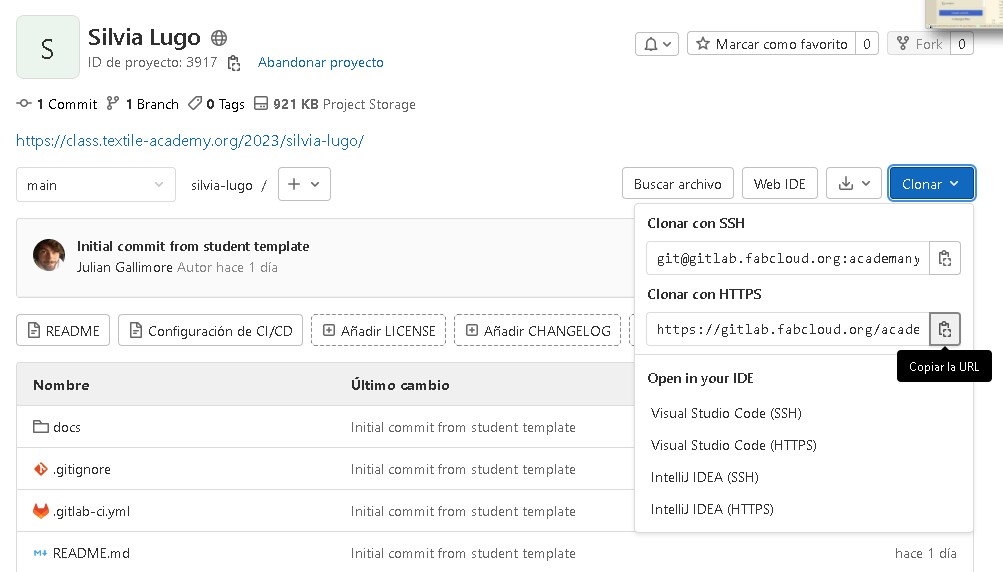
Go to "File" and click "Clone/New" or use the shortcut "Ctrl + N", paste the HTTPS and create a new folder on your computer

Click "clone" and that's it! Now that you clone your website you can start editing files and adding changes.

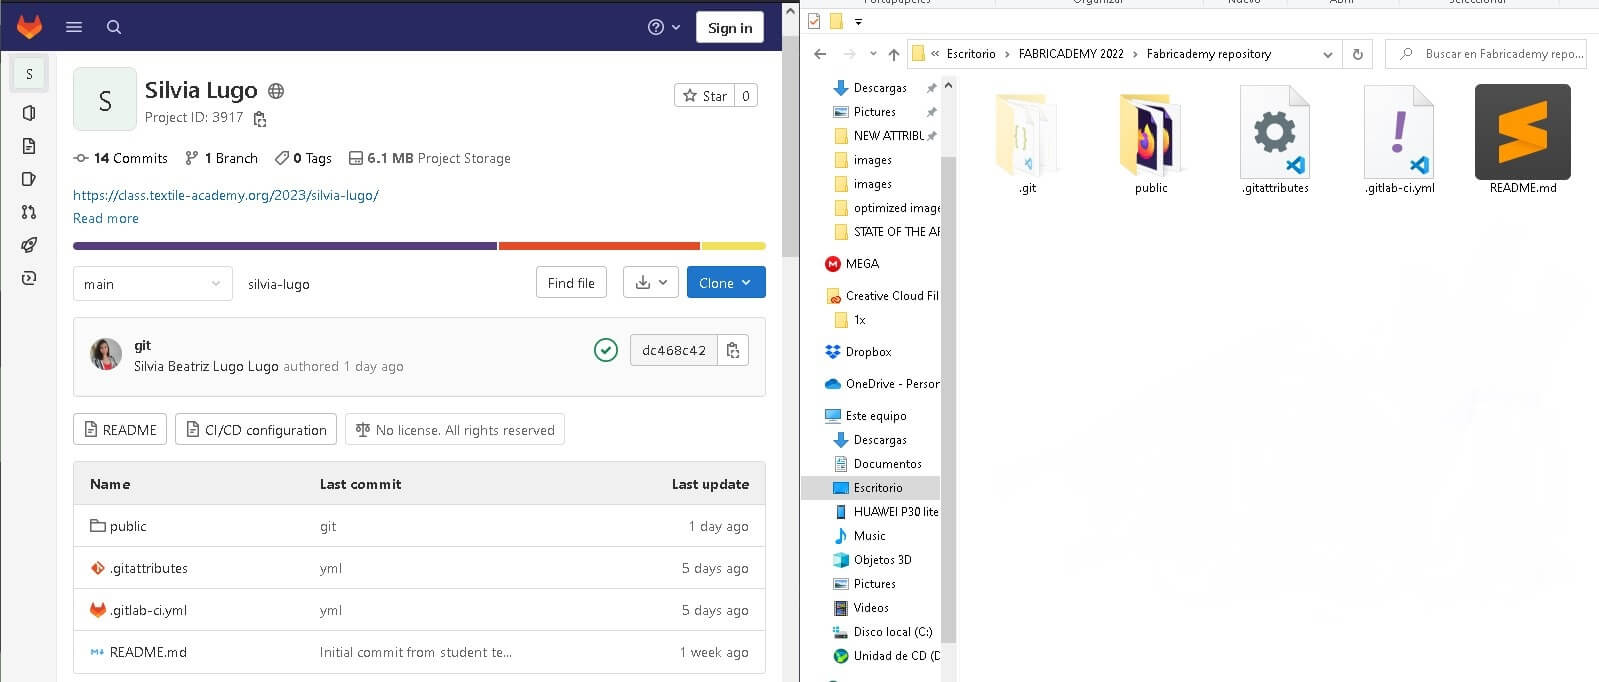
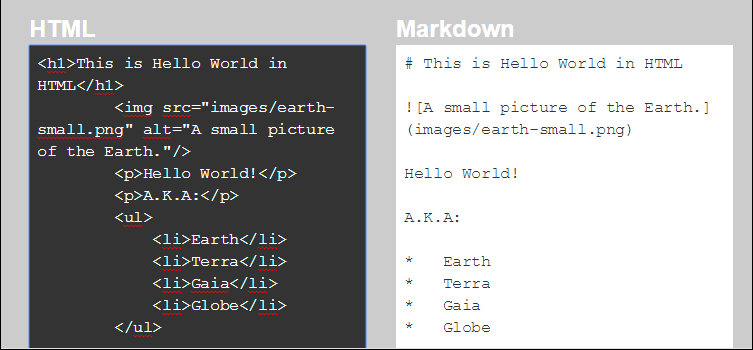
By default, the Fabricademy site uses Markdown, which is a text-to-HTML conversion tool for web writers. Markdown allows you to write using an easy-to-read, easy-to-write plain text format, then convert it to structurally valid XHTML (or HTML).
There are many resources online to learn it, for example, Markdown Tutorial. It is a great tool to quickly customize a website, especially if you don't have experience before.
I prefer to work with HTML, CSS, and Javascript because I have more experience with these tools, that's why I decided to erase all the files in my repo and start using a free template name Knox.
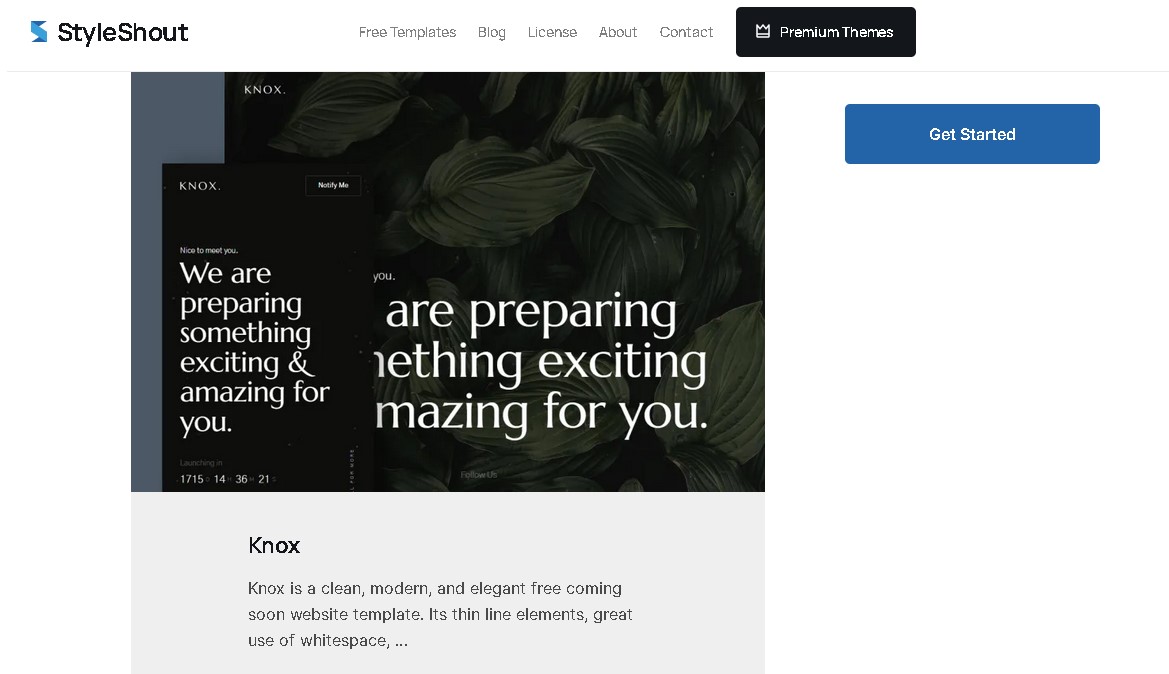
I start editing the template using Sublime text, a text editor for code, markup, and prose.
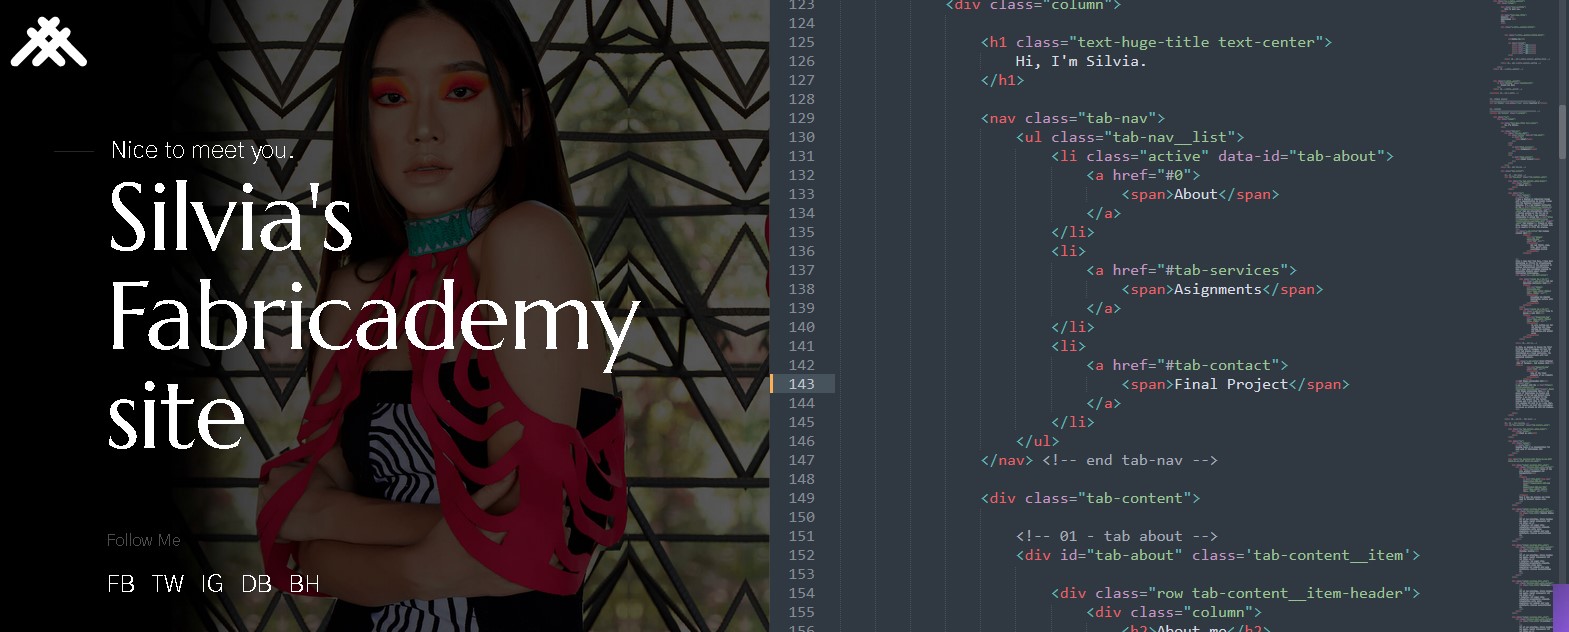
To customize a website, you need to work with HTML to change the information staged in a template, CSS to change the style of the page, and Javascript to add transitions and cool animations.

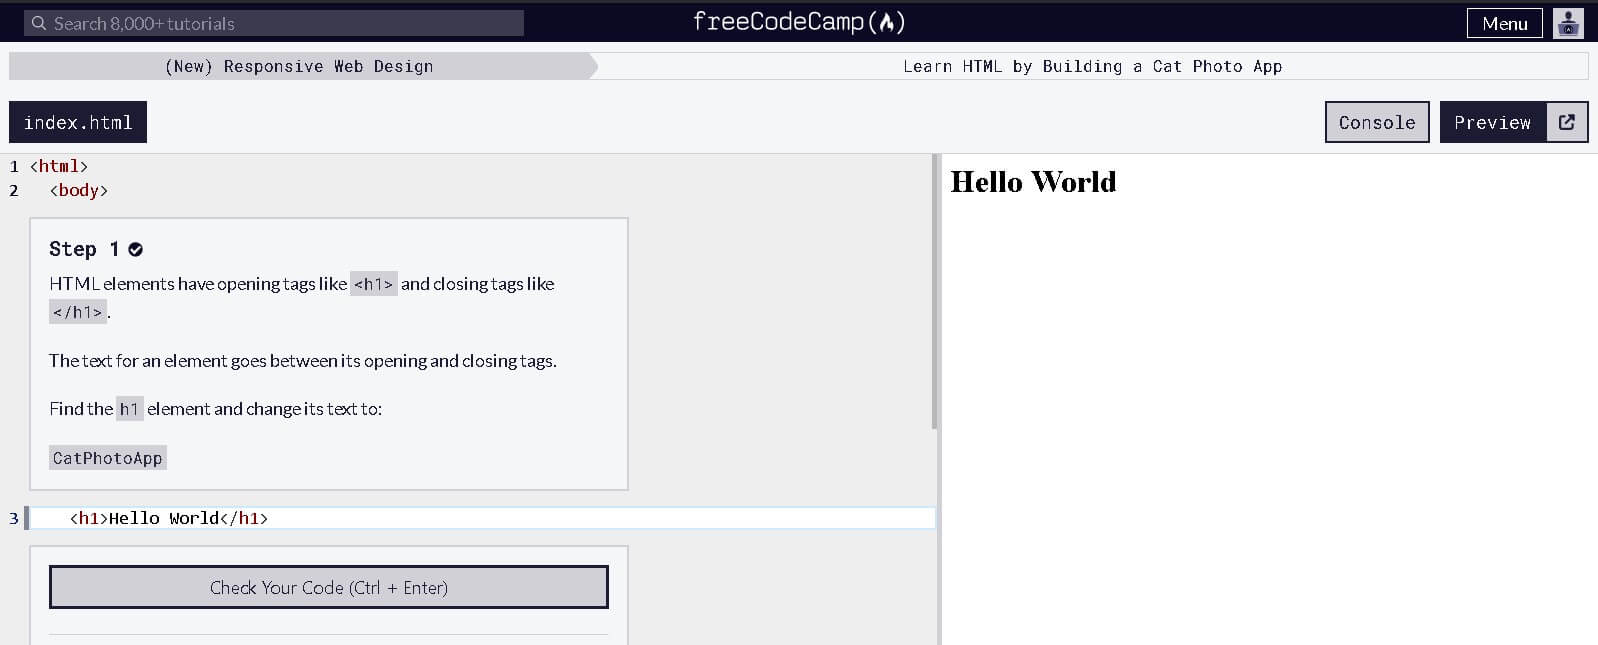
If you want to learn HTML, you can enroll the free bootcamps with live classes on freecodecamp.org or check in the free courses on codecademy.com.

To save the local changes to our remote repository, and in order to save different versions of our project in Git we will make commits.
A commit is a version of your project. It represents a standalone version of your project and has a reference to all the files and folders that are a part of that version.
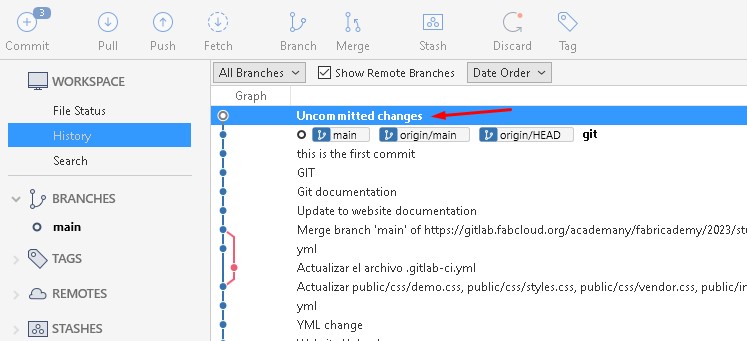
Once you open the software, it'll automatically detects "uncommited changes" at your local repo. It'll look like this:
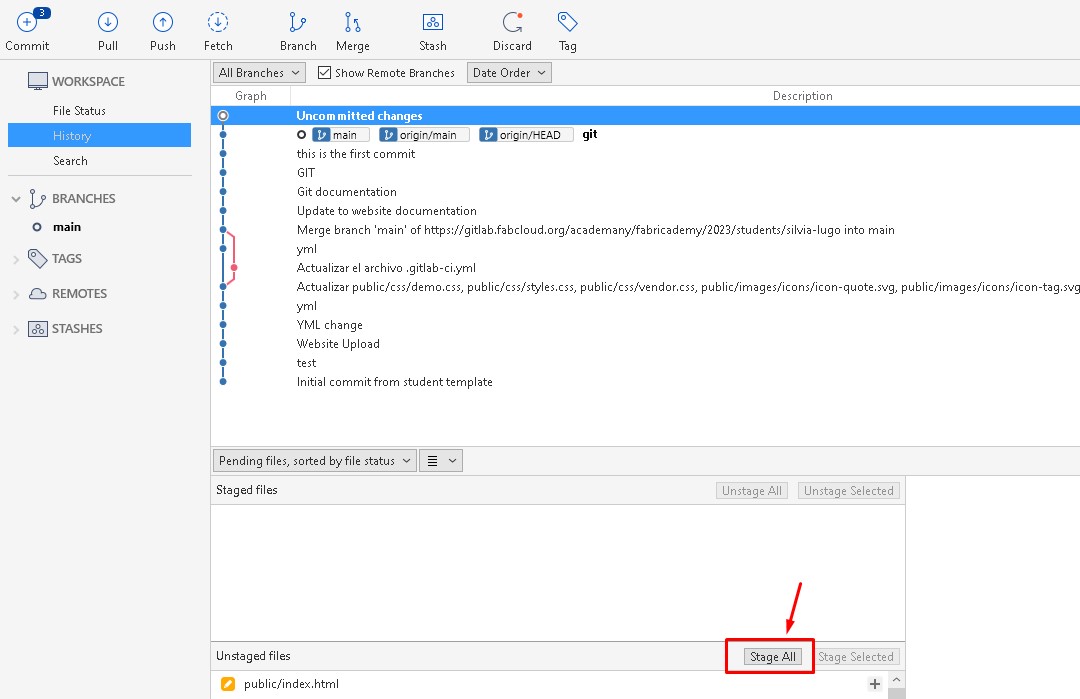
Go to "Unstaged files" section at the bottom of the program and Click the "Stage all"
Click " + Commit" and pass in a commit message, for example "this is the first commit", click "commit".


Click "Push" to upload your local changes to your remote repository
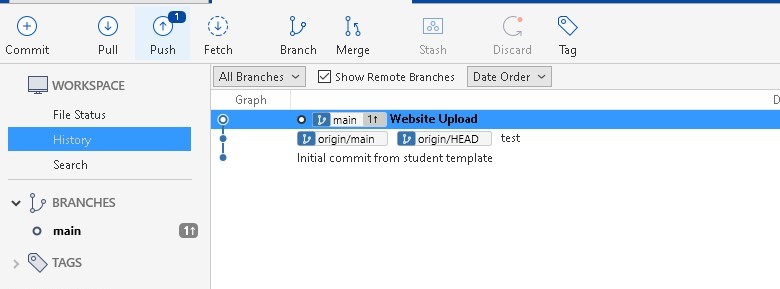
GitLab CI uses a YAML file (`.gitlab-ci.yml`) for project configuration. This file is placed in the root of the repository and defines the project's Pipelines, Jobs, and Environments. This file automatically runs whenever you push a commit to the server.
To enable HTML rendering, at the root of my repo, I change the `.gitlab-ci.yml` file using a specific configuration for plain HTML websites I found here:
    pages:
      script:
        - mkdir .public
        - cp -r * .public
        - mv .public public
      artifacts:
        paths:
          - public
      only:
        - main
To optimize all the uploaded images I used TinyJPG because It’s easy and fast. Perfect for express documentation at Monday nights
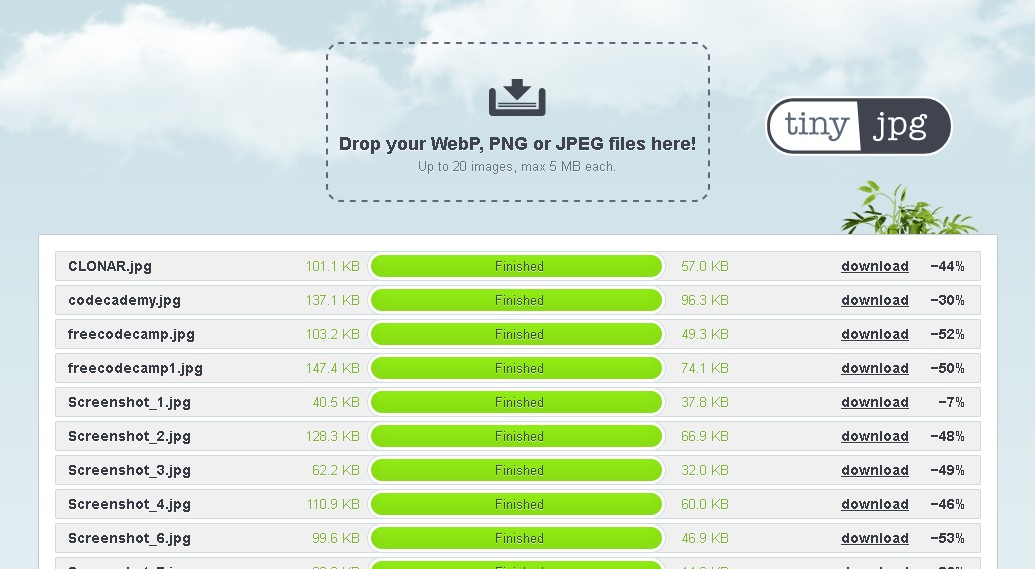
I'm a student at a single node, the fablab in where I'm attending the course is a Fab Academy node, but not a Fabricademy node, that's why I want to plan every week before hand in case I have to buy or get a specific material.
In my everyday life I use a tool called "Notion", is like a second brain. I write everything there without a structure, just to not forget it. I made a workspace for Fabricademy, you can check it here:
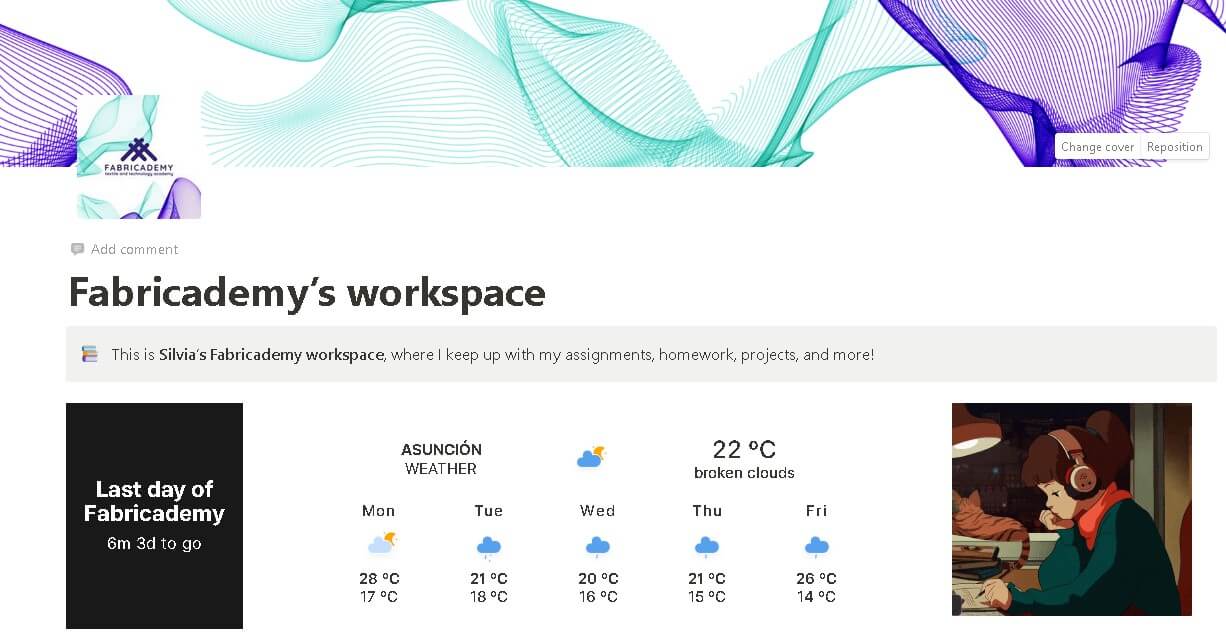
Notion has so many templates about different topics to organize youself that I'll like to recommend it to anyone interested in being more orginized