Development Process
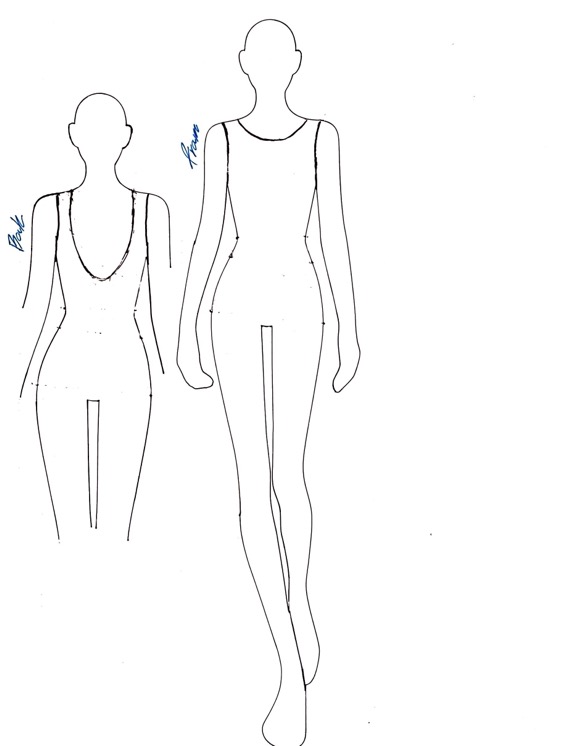
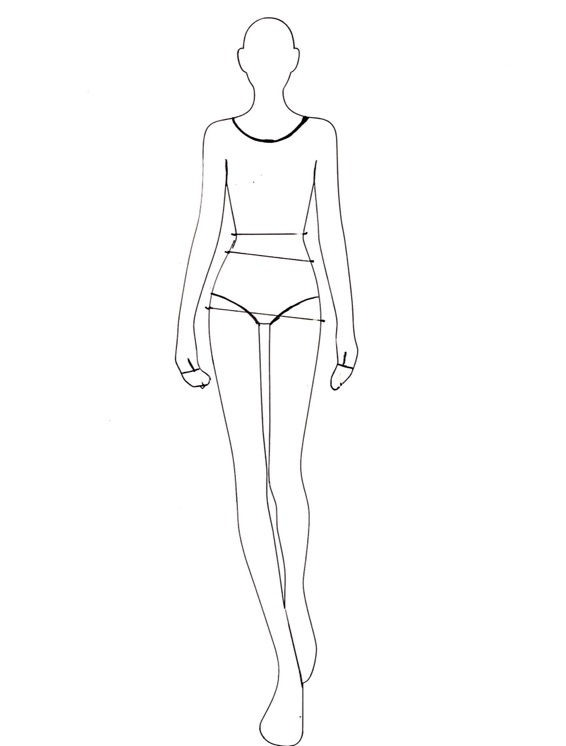
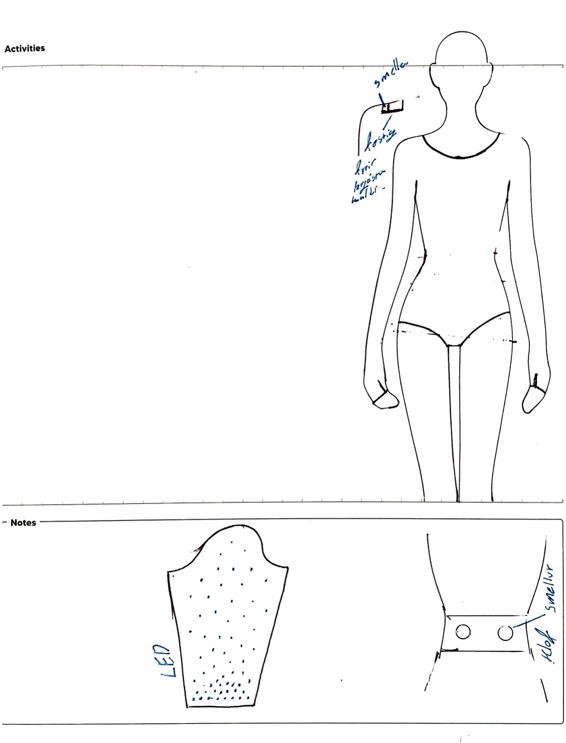
Ideation & sketches
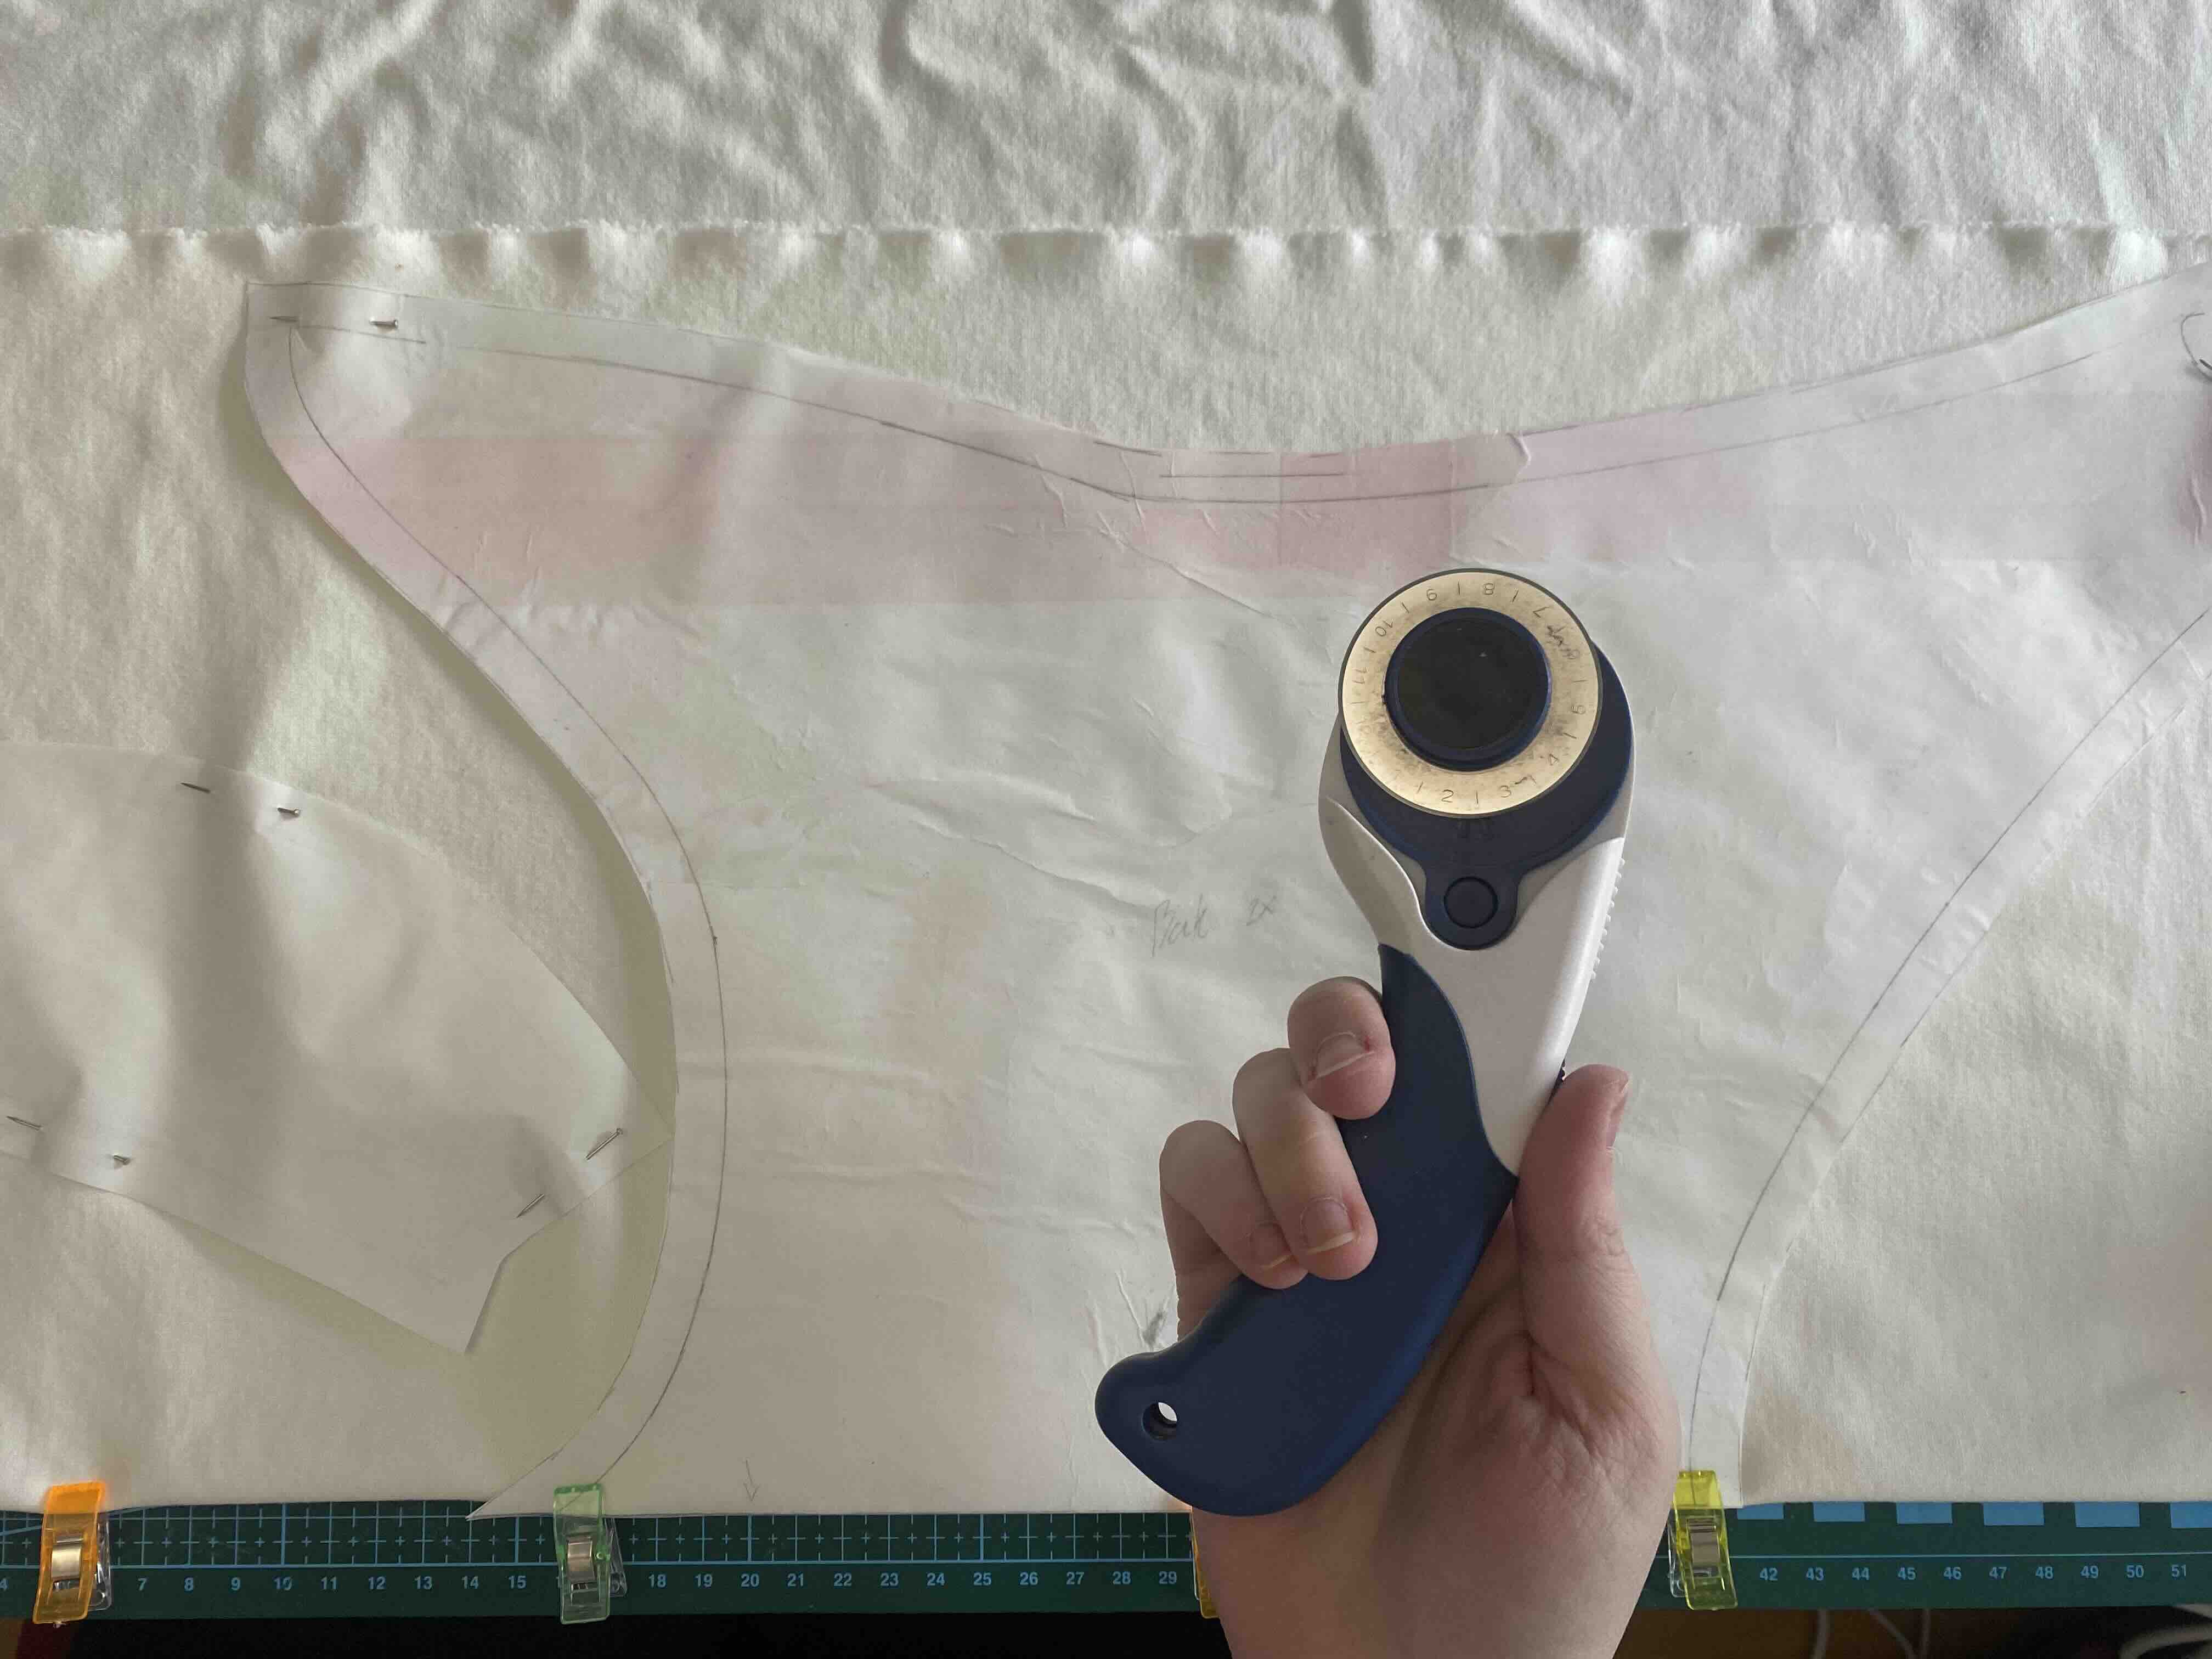
Cut and Prepare Fabric Pieces
Carefully cut out all fabric pieces according to the pattern. Double-check each piece to ensure accuracy and label them if needed to stay organized.
Sew Individual Sections
Start by sewing smaller sections and details individually. This prepares the major components before joining everything together.
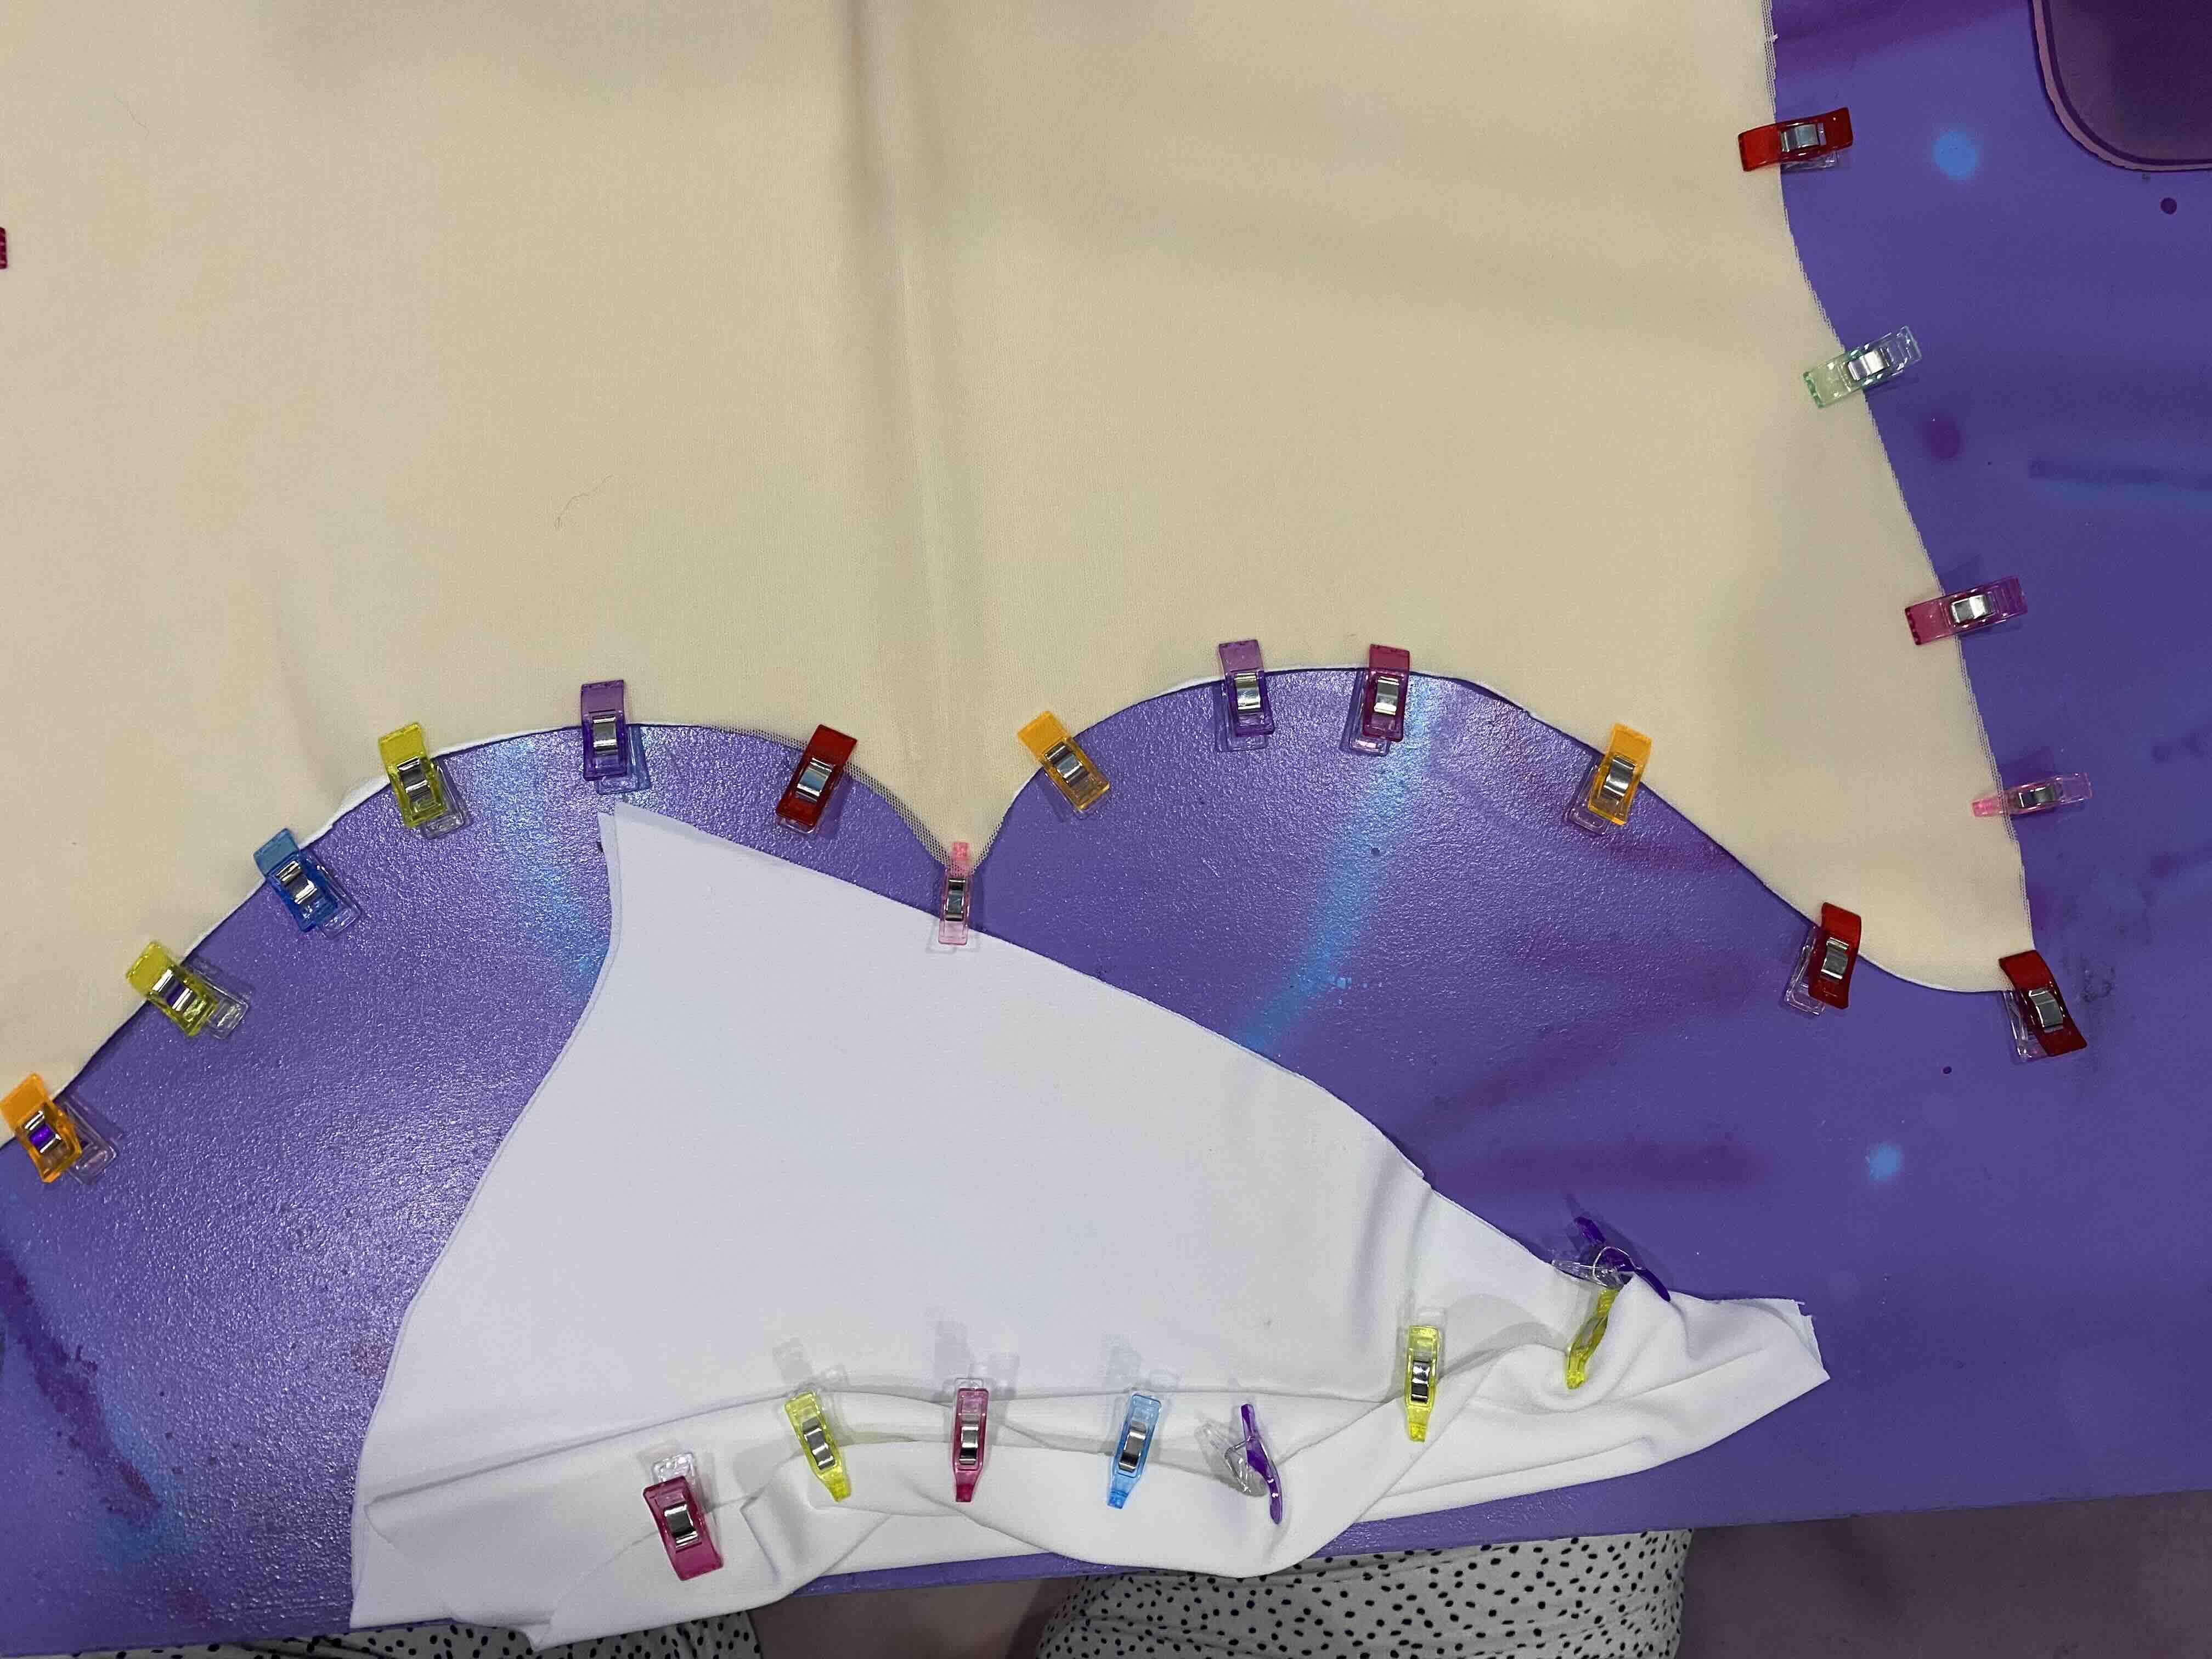
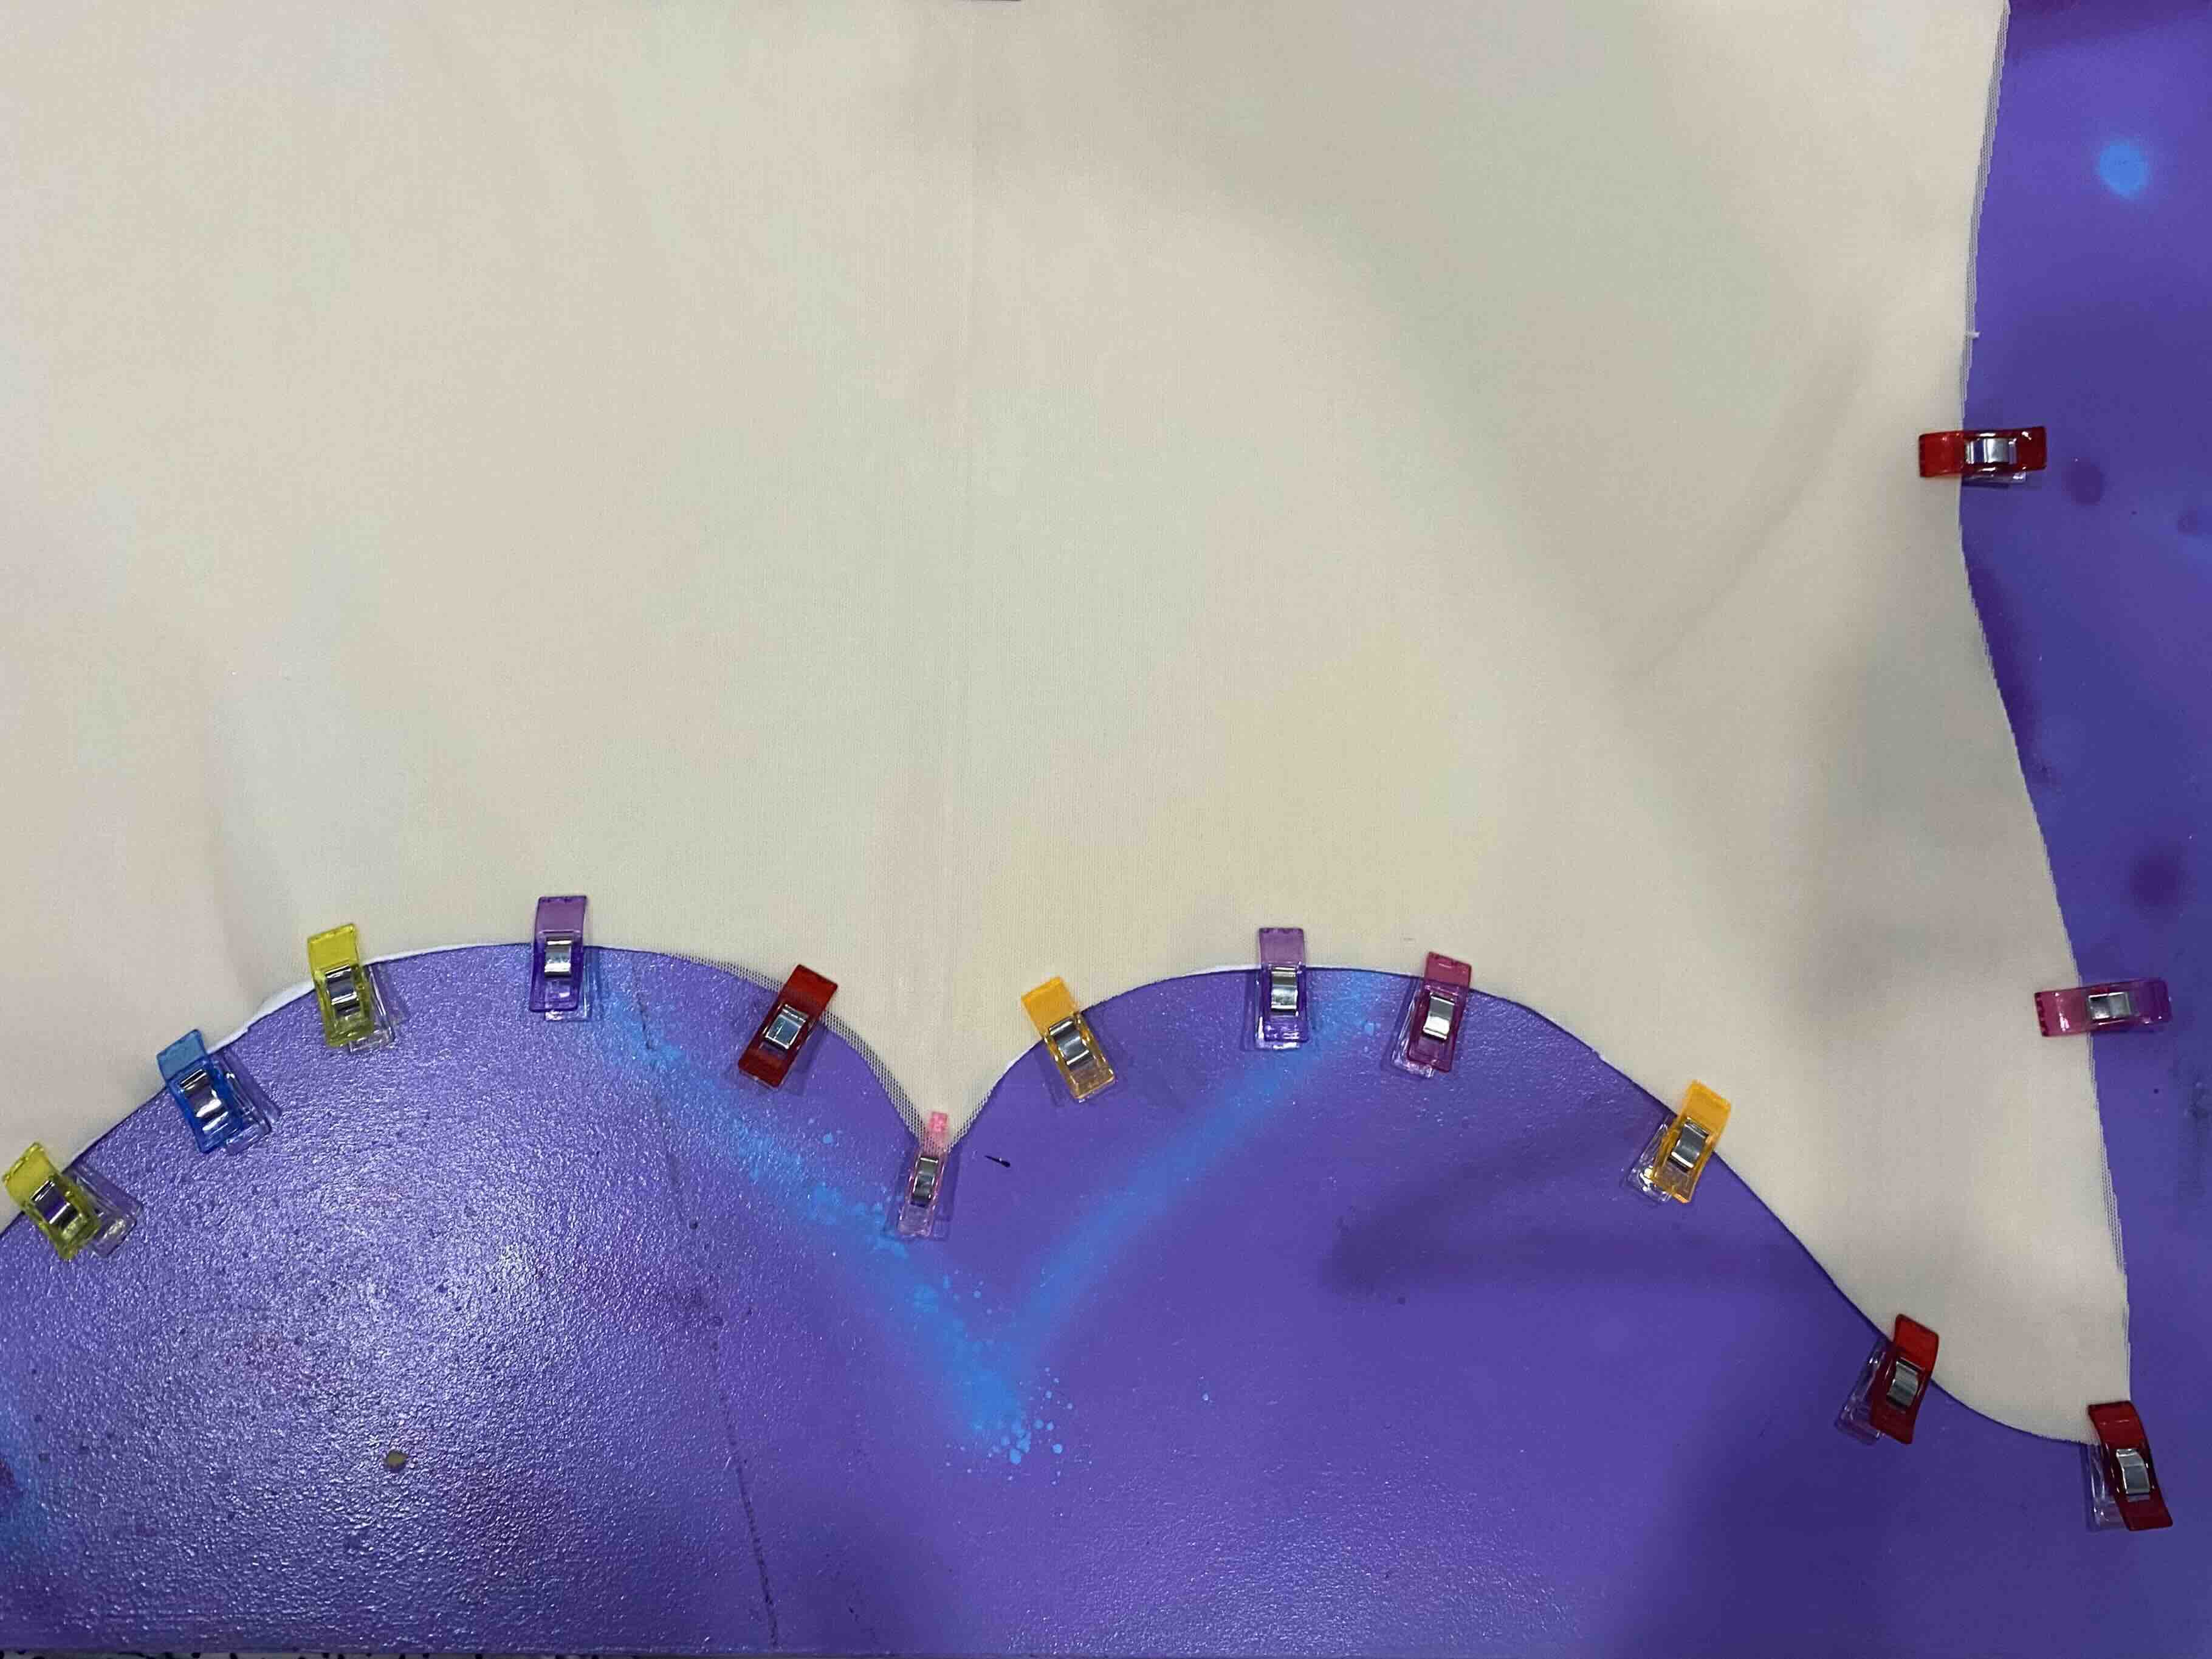
Sew Front Side to Front Medial
Align and stitch the front side panels to the medial front section. Make sure seams are clean and edges are properly matched.

Sew Lower Back Section
Assemble the lower back piece by sewing along the designated edges. Ensure the shape remains consistent with the overall pattern.
Sew Upper Medial Back to Pocket Back
Attach the upper medial back section to the back pocket panel. This creates the foundation for later fitting and structural details.
Join Upper Medial Back to Lower Back
Sew the upper medial back onto the lower back piece, completing the basic structure of the back of the garment.
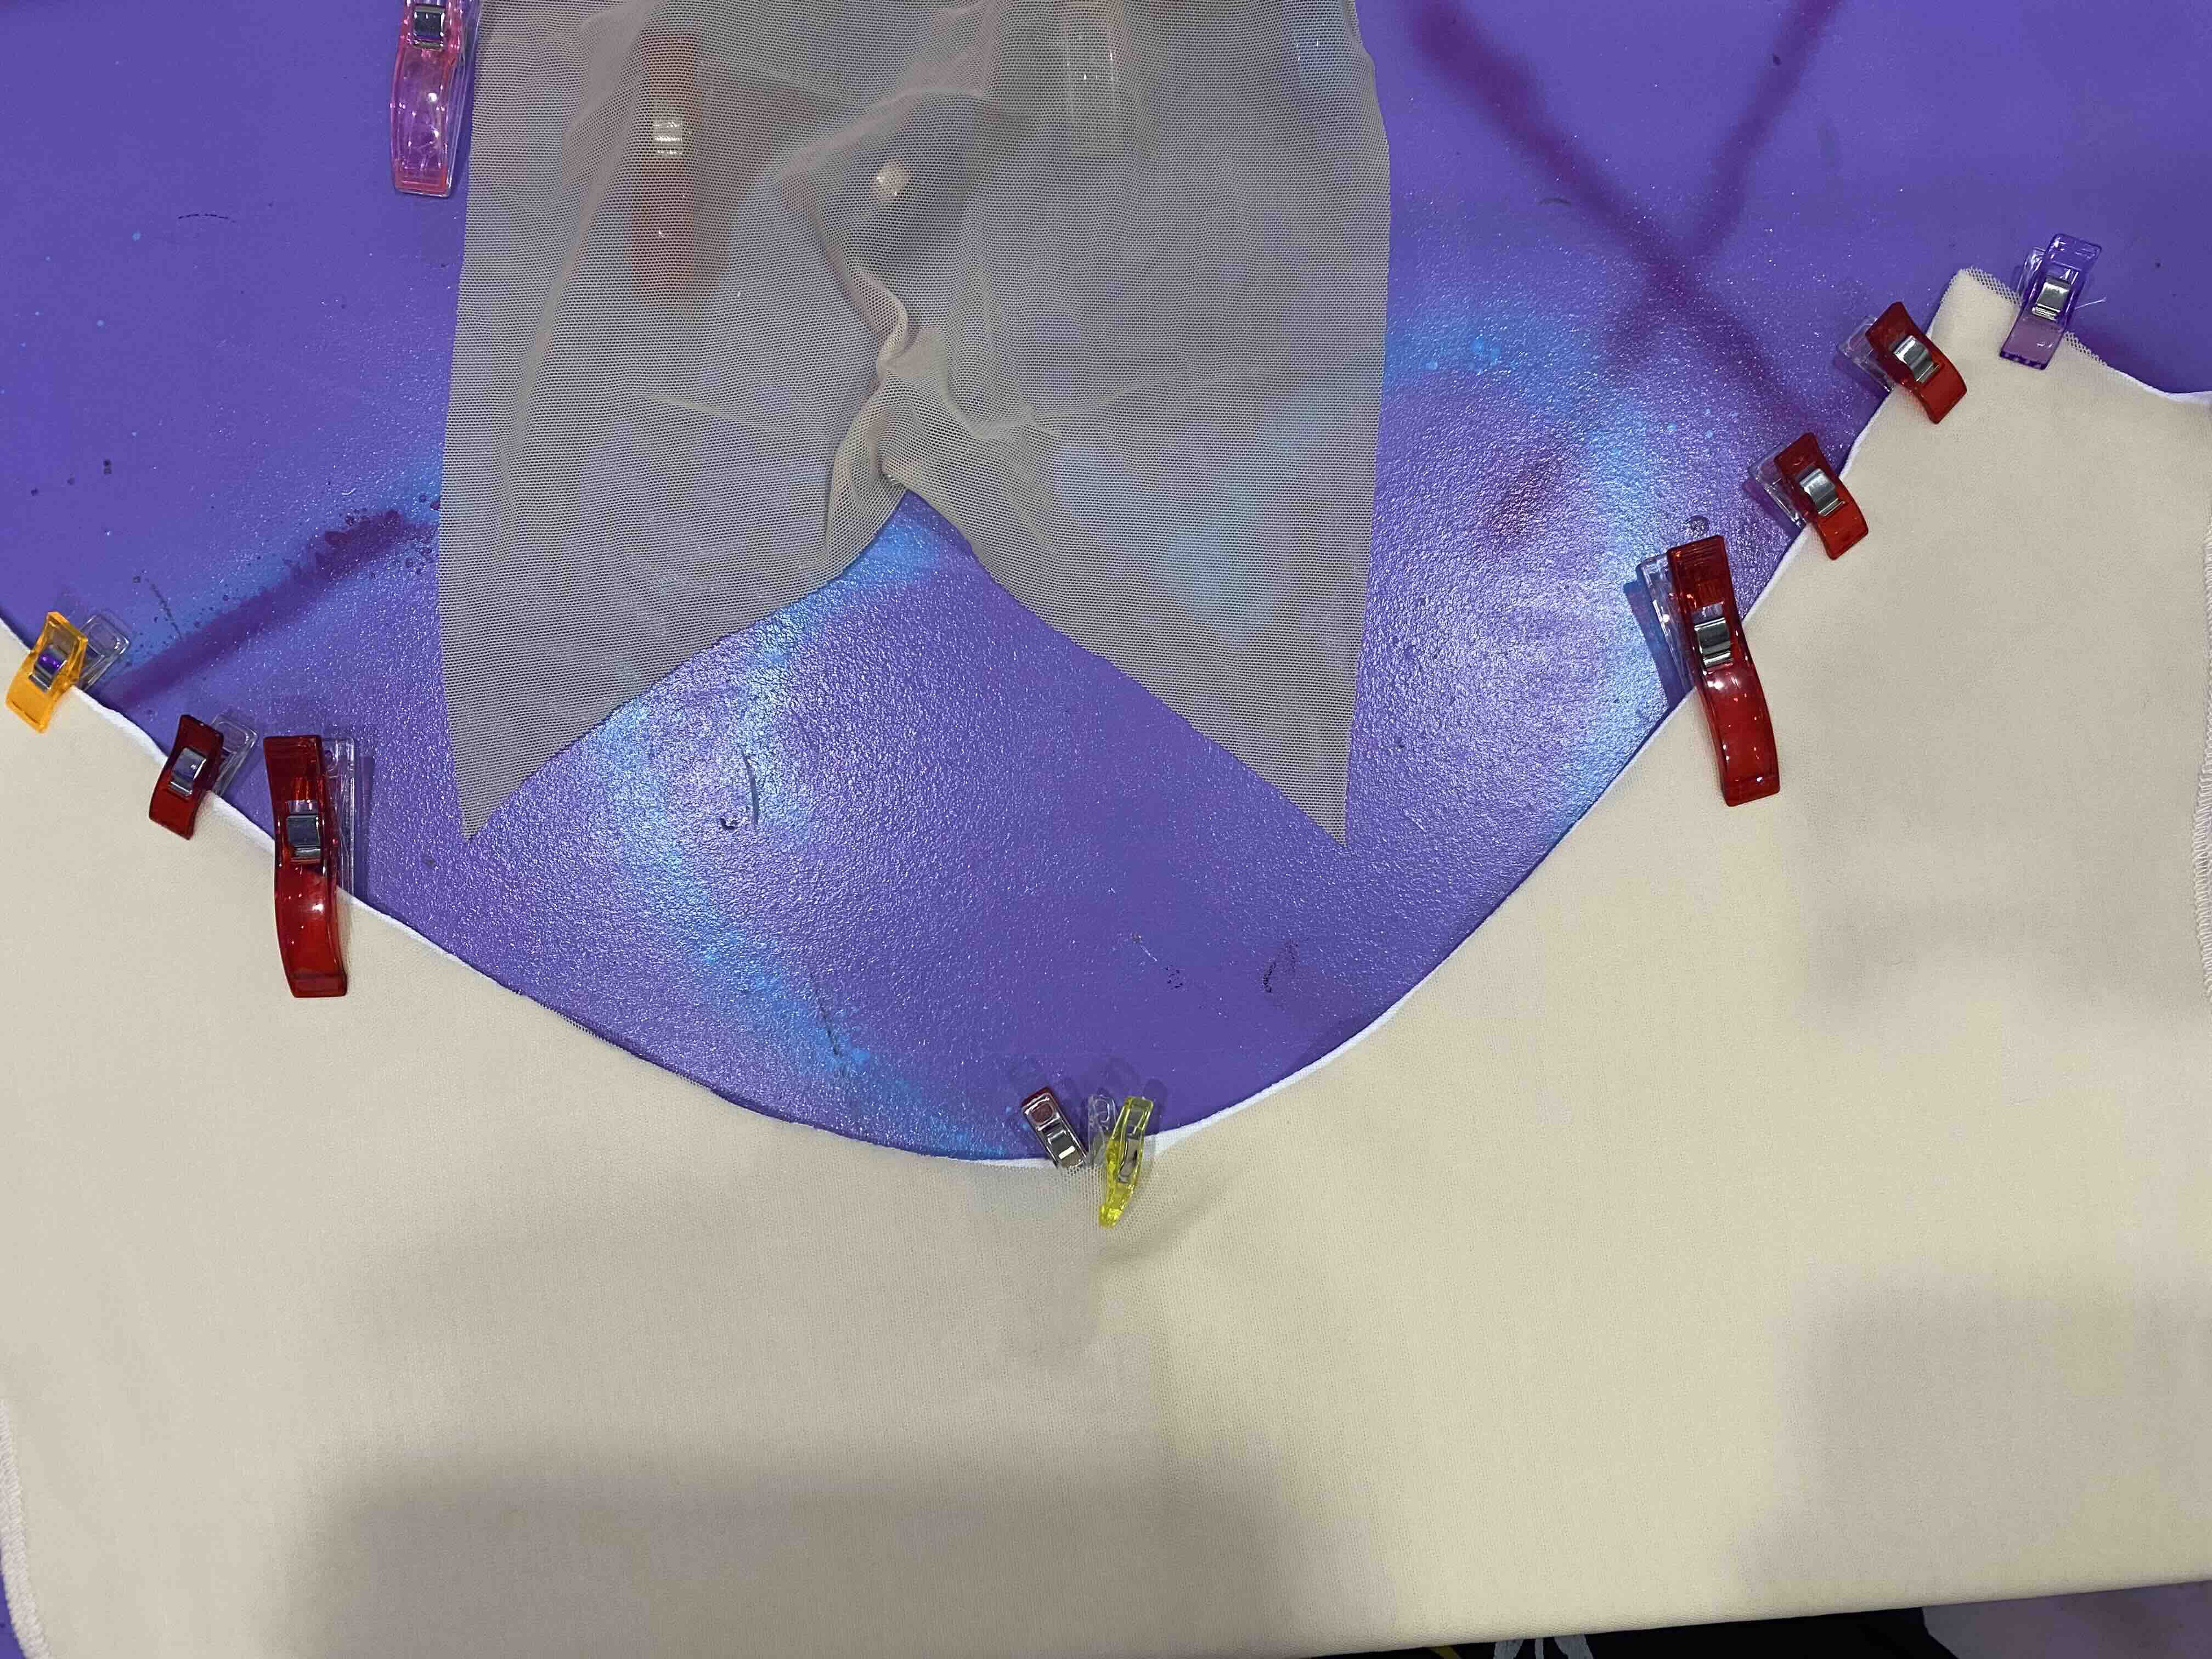
Connect Front Side to Upper Medial Back
Join the front side panels to the upper medial back. This step connects the front and back of the garment for the first time.
Attach Lower Front to Front Medial
Sew the lower front panel to the front medial section, creating a seamless transition along the torso.
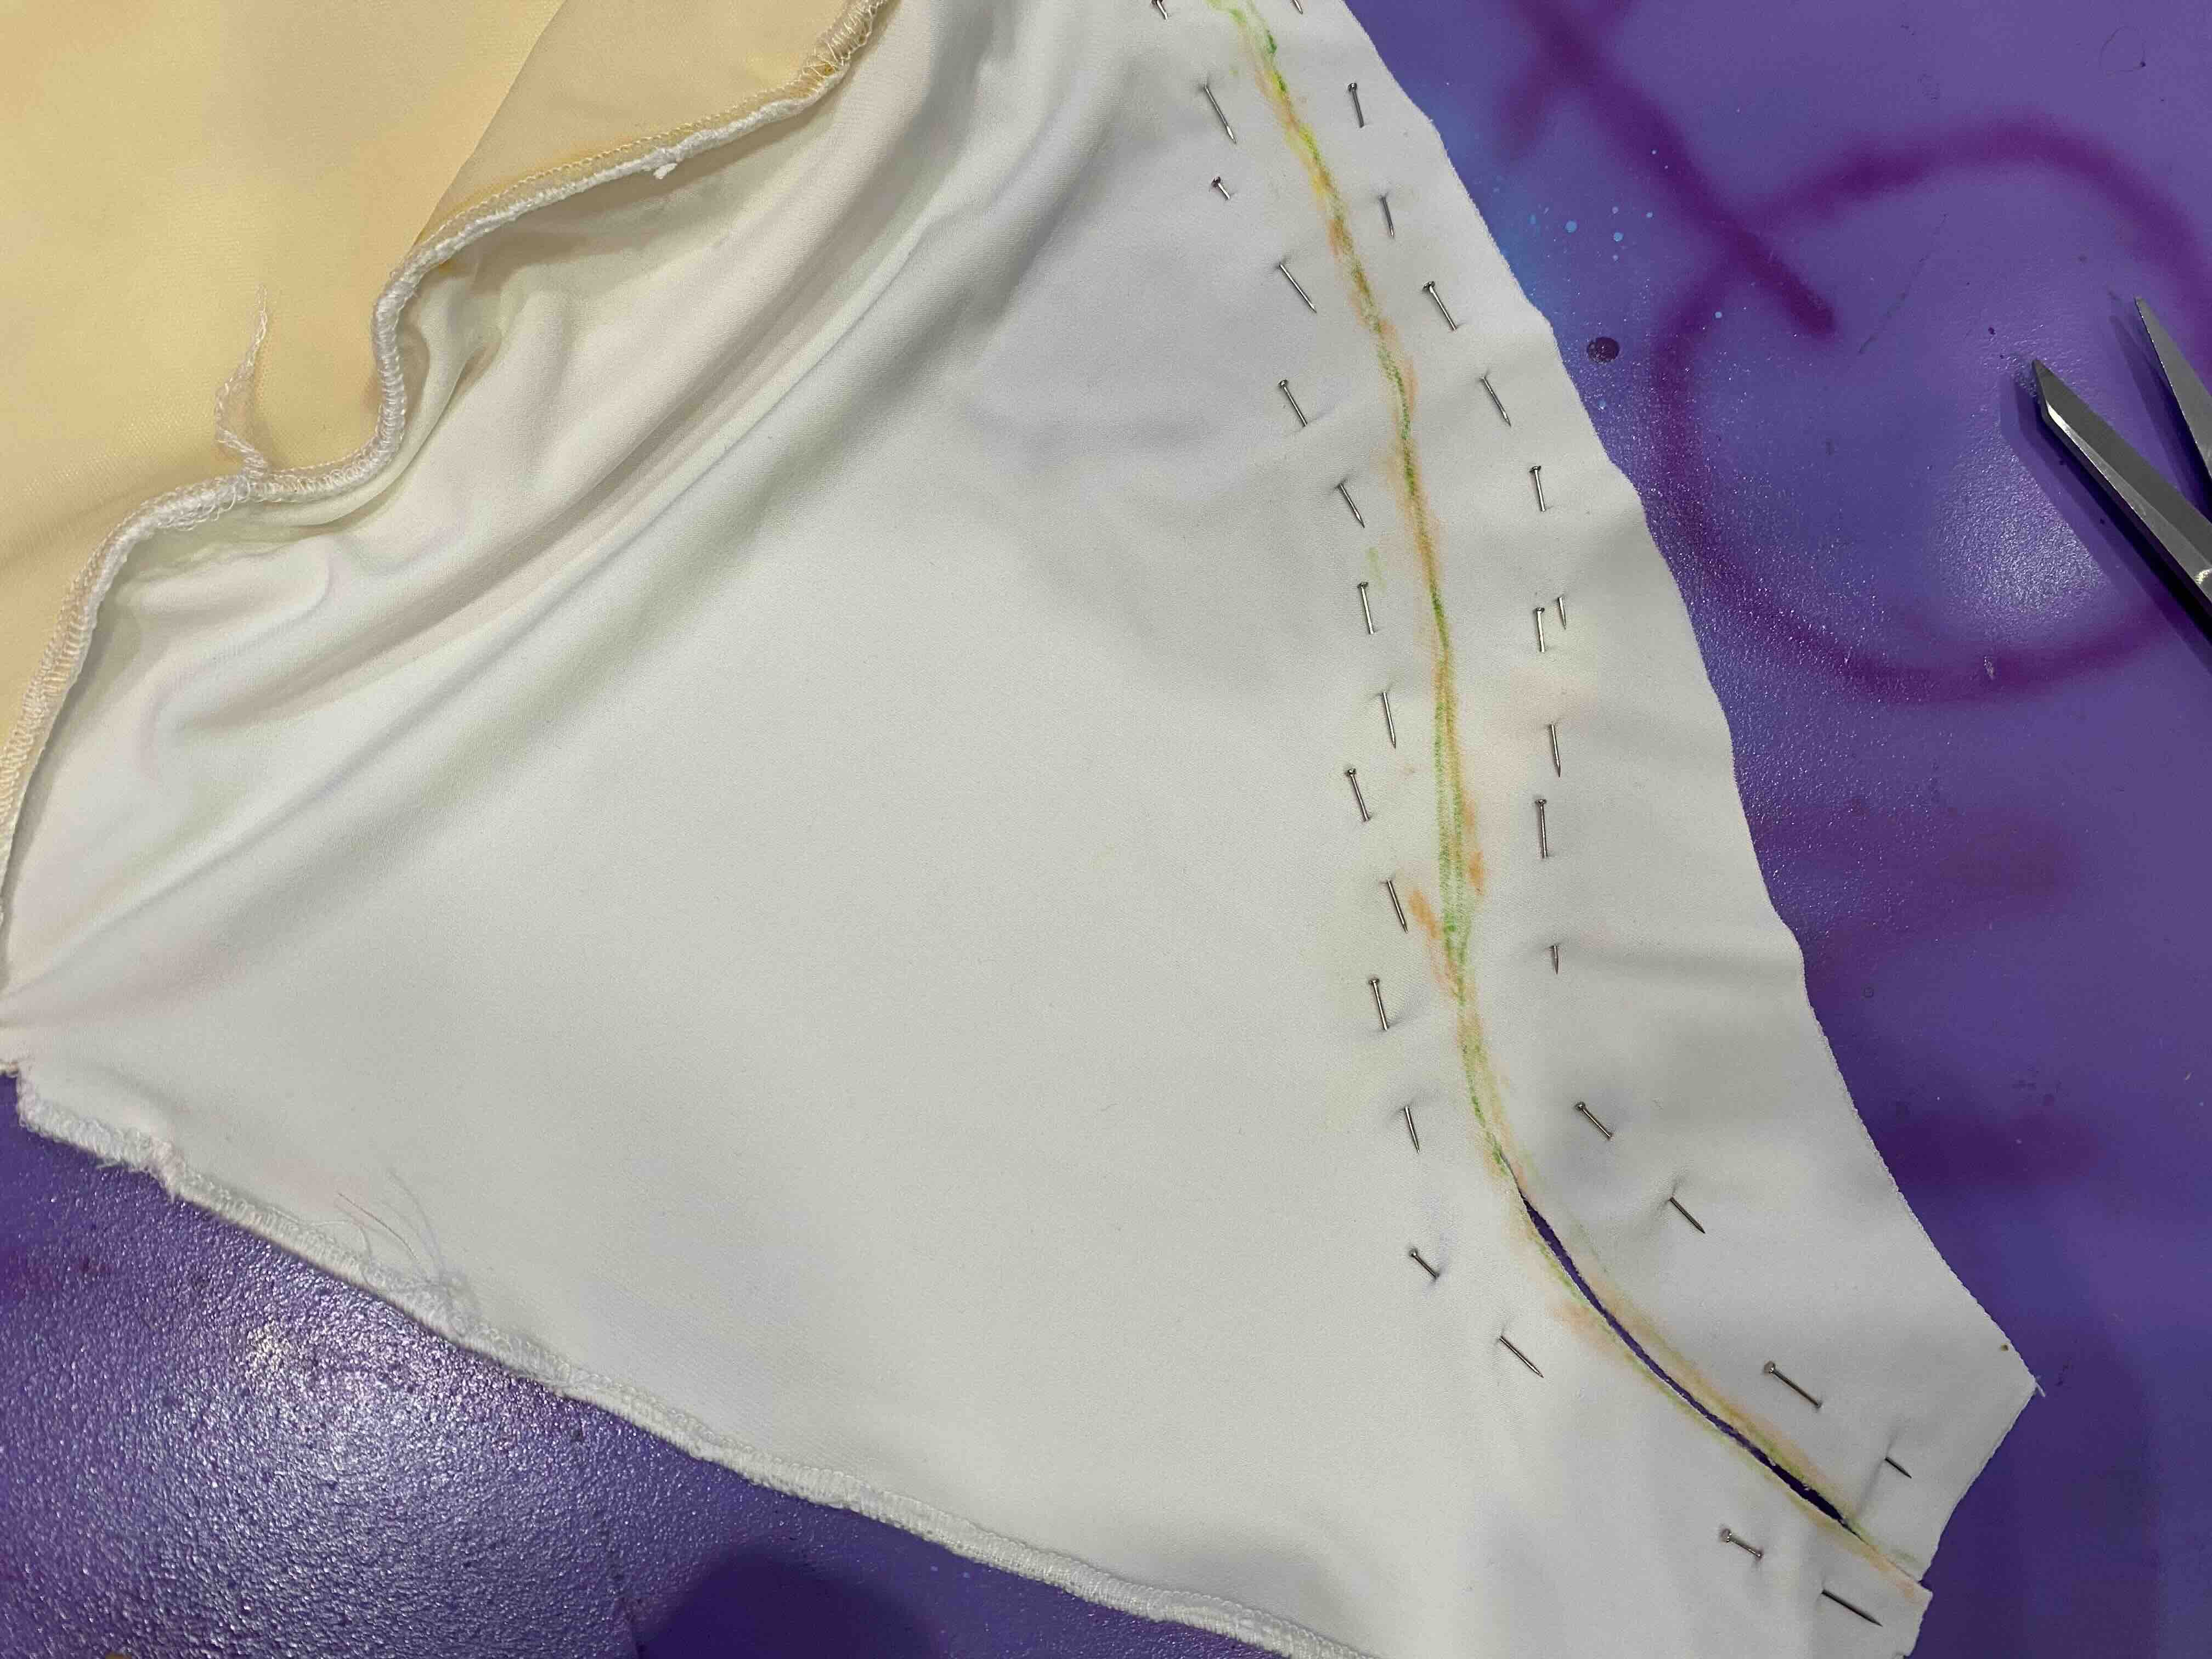
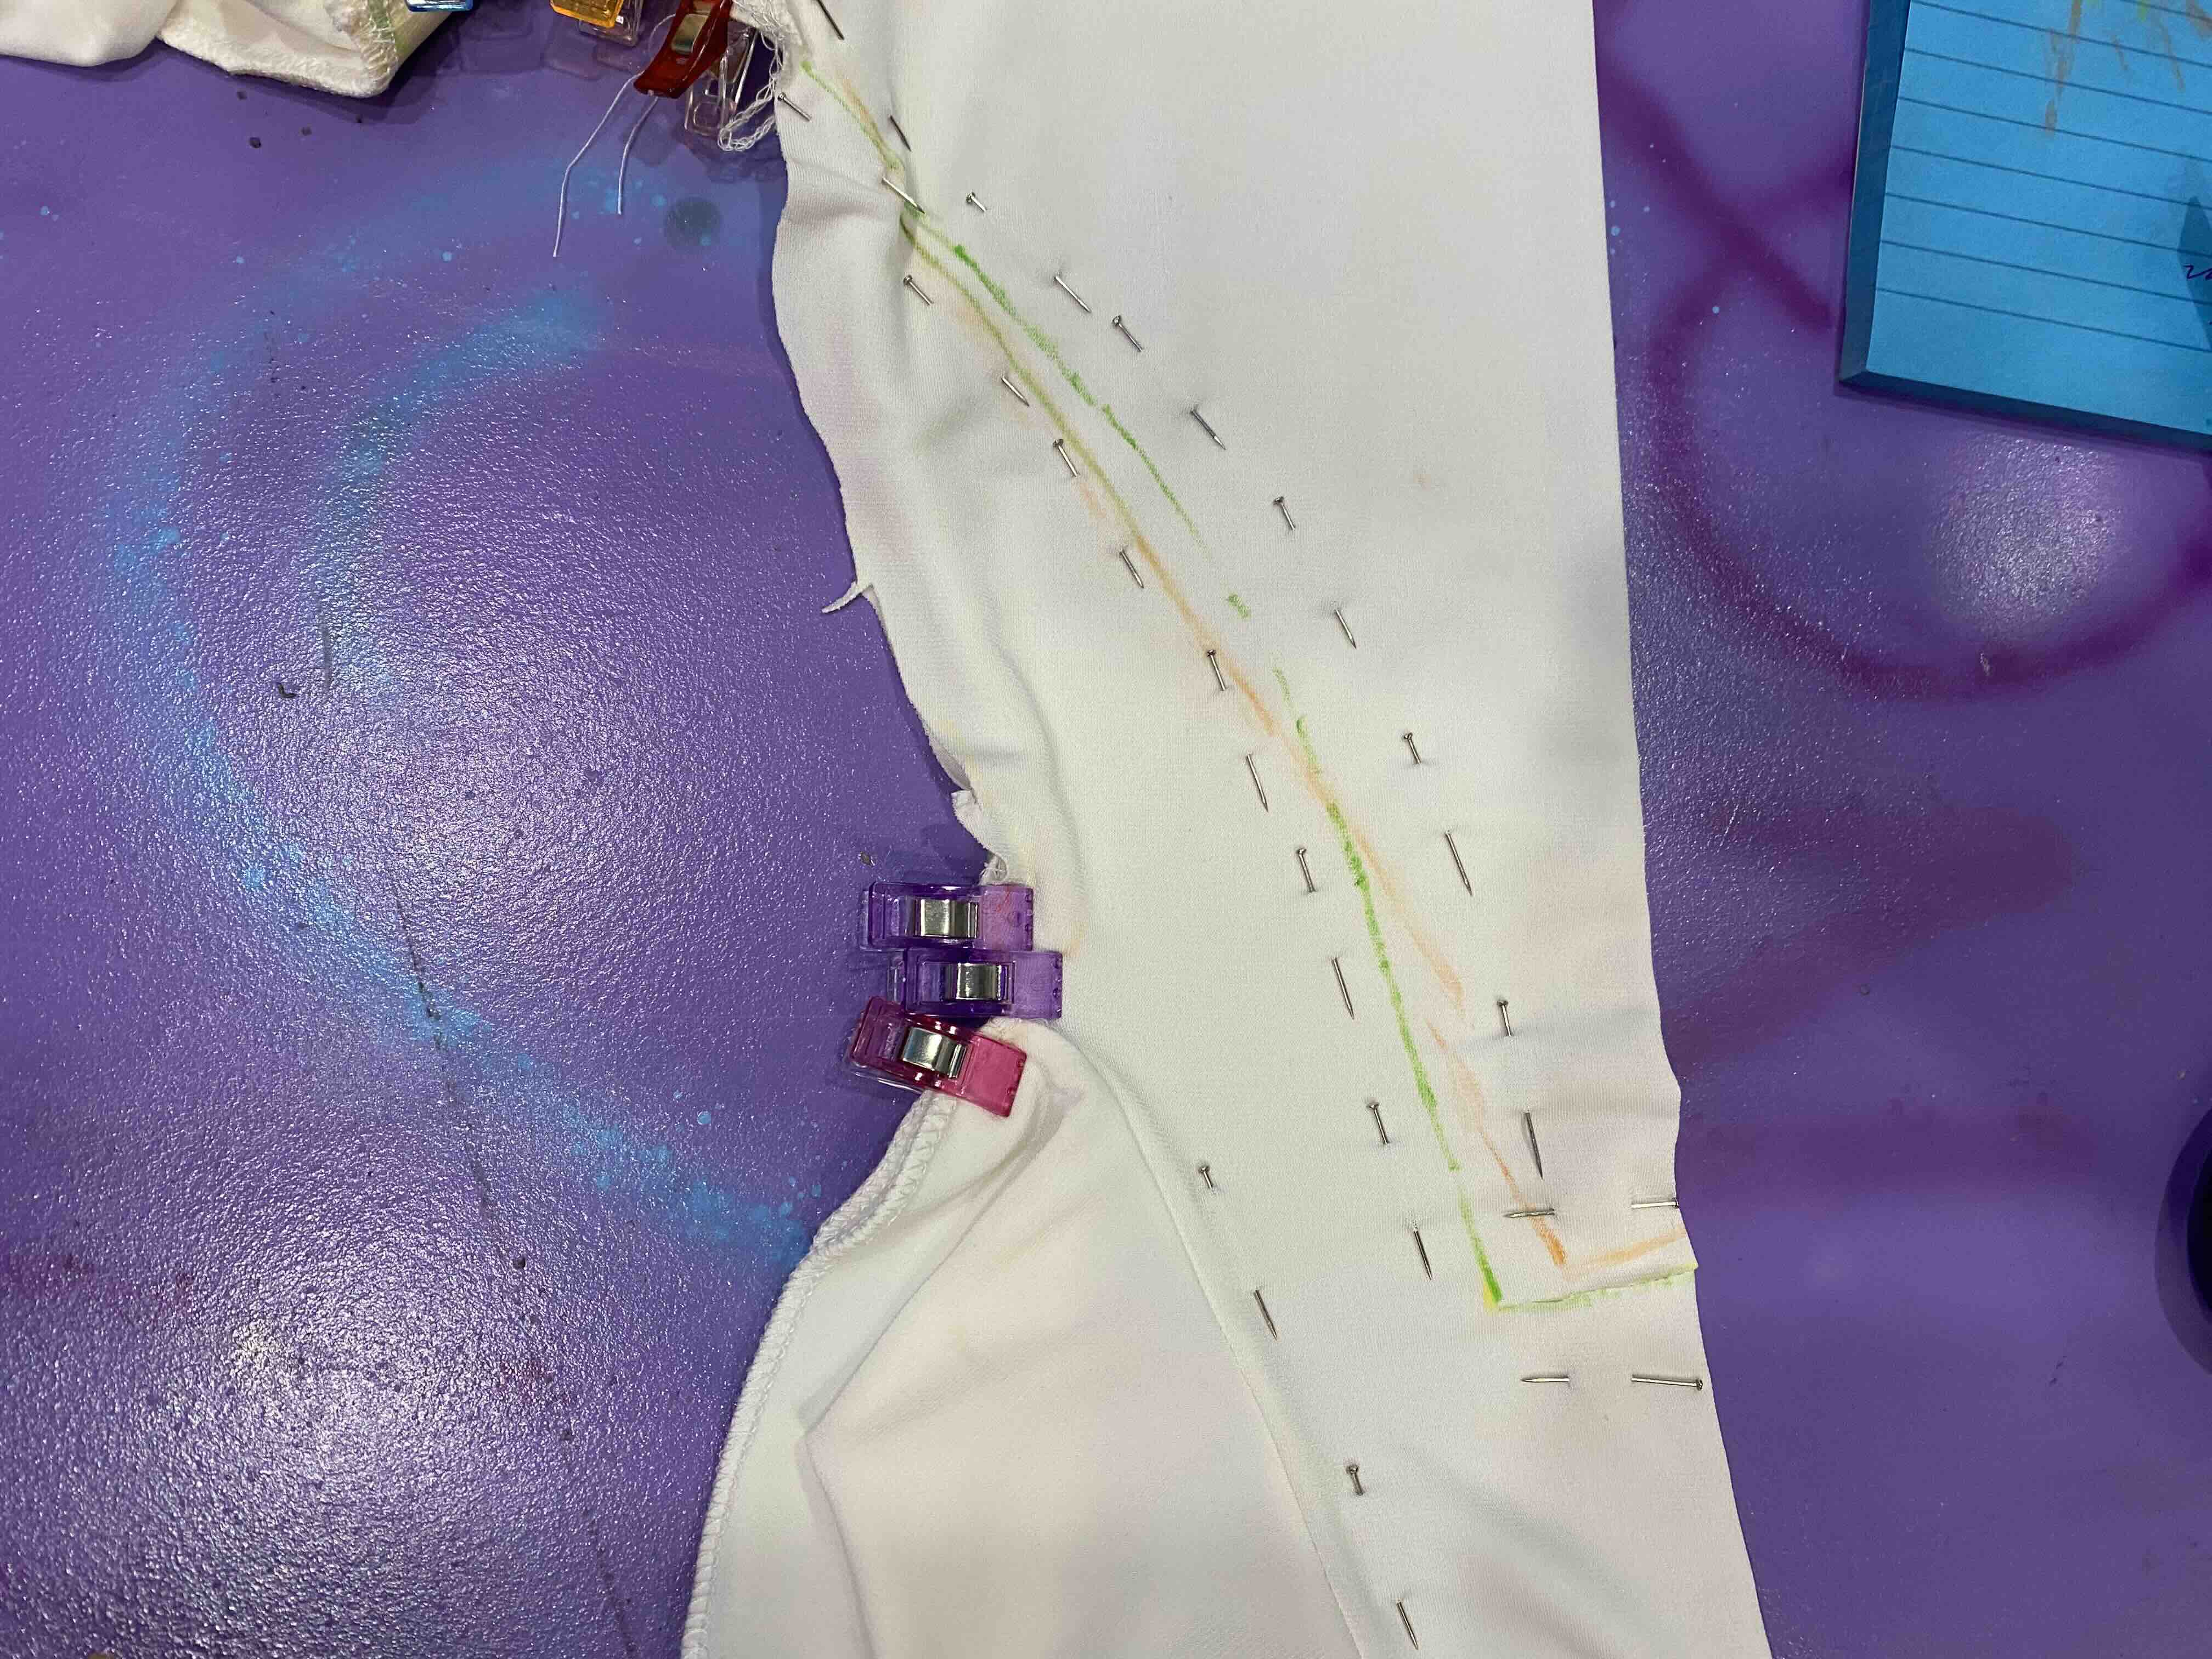
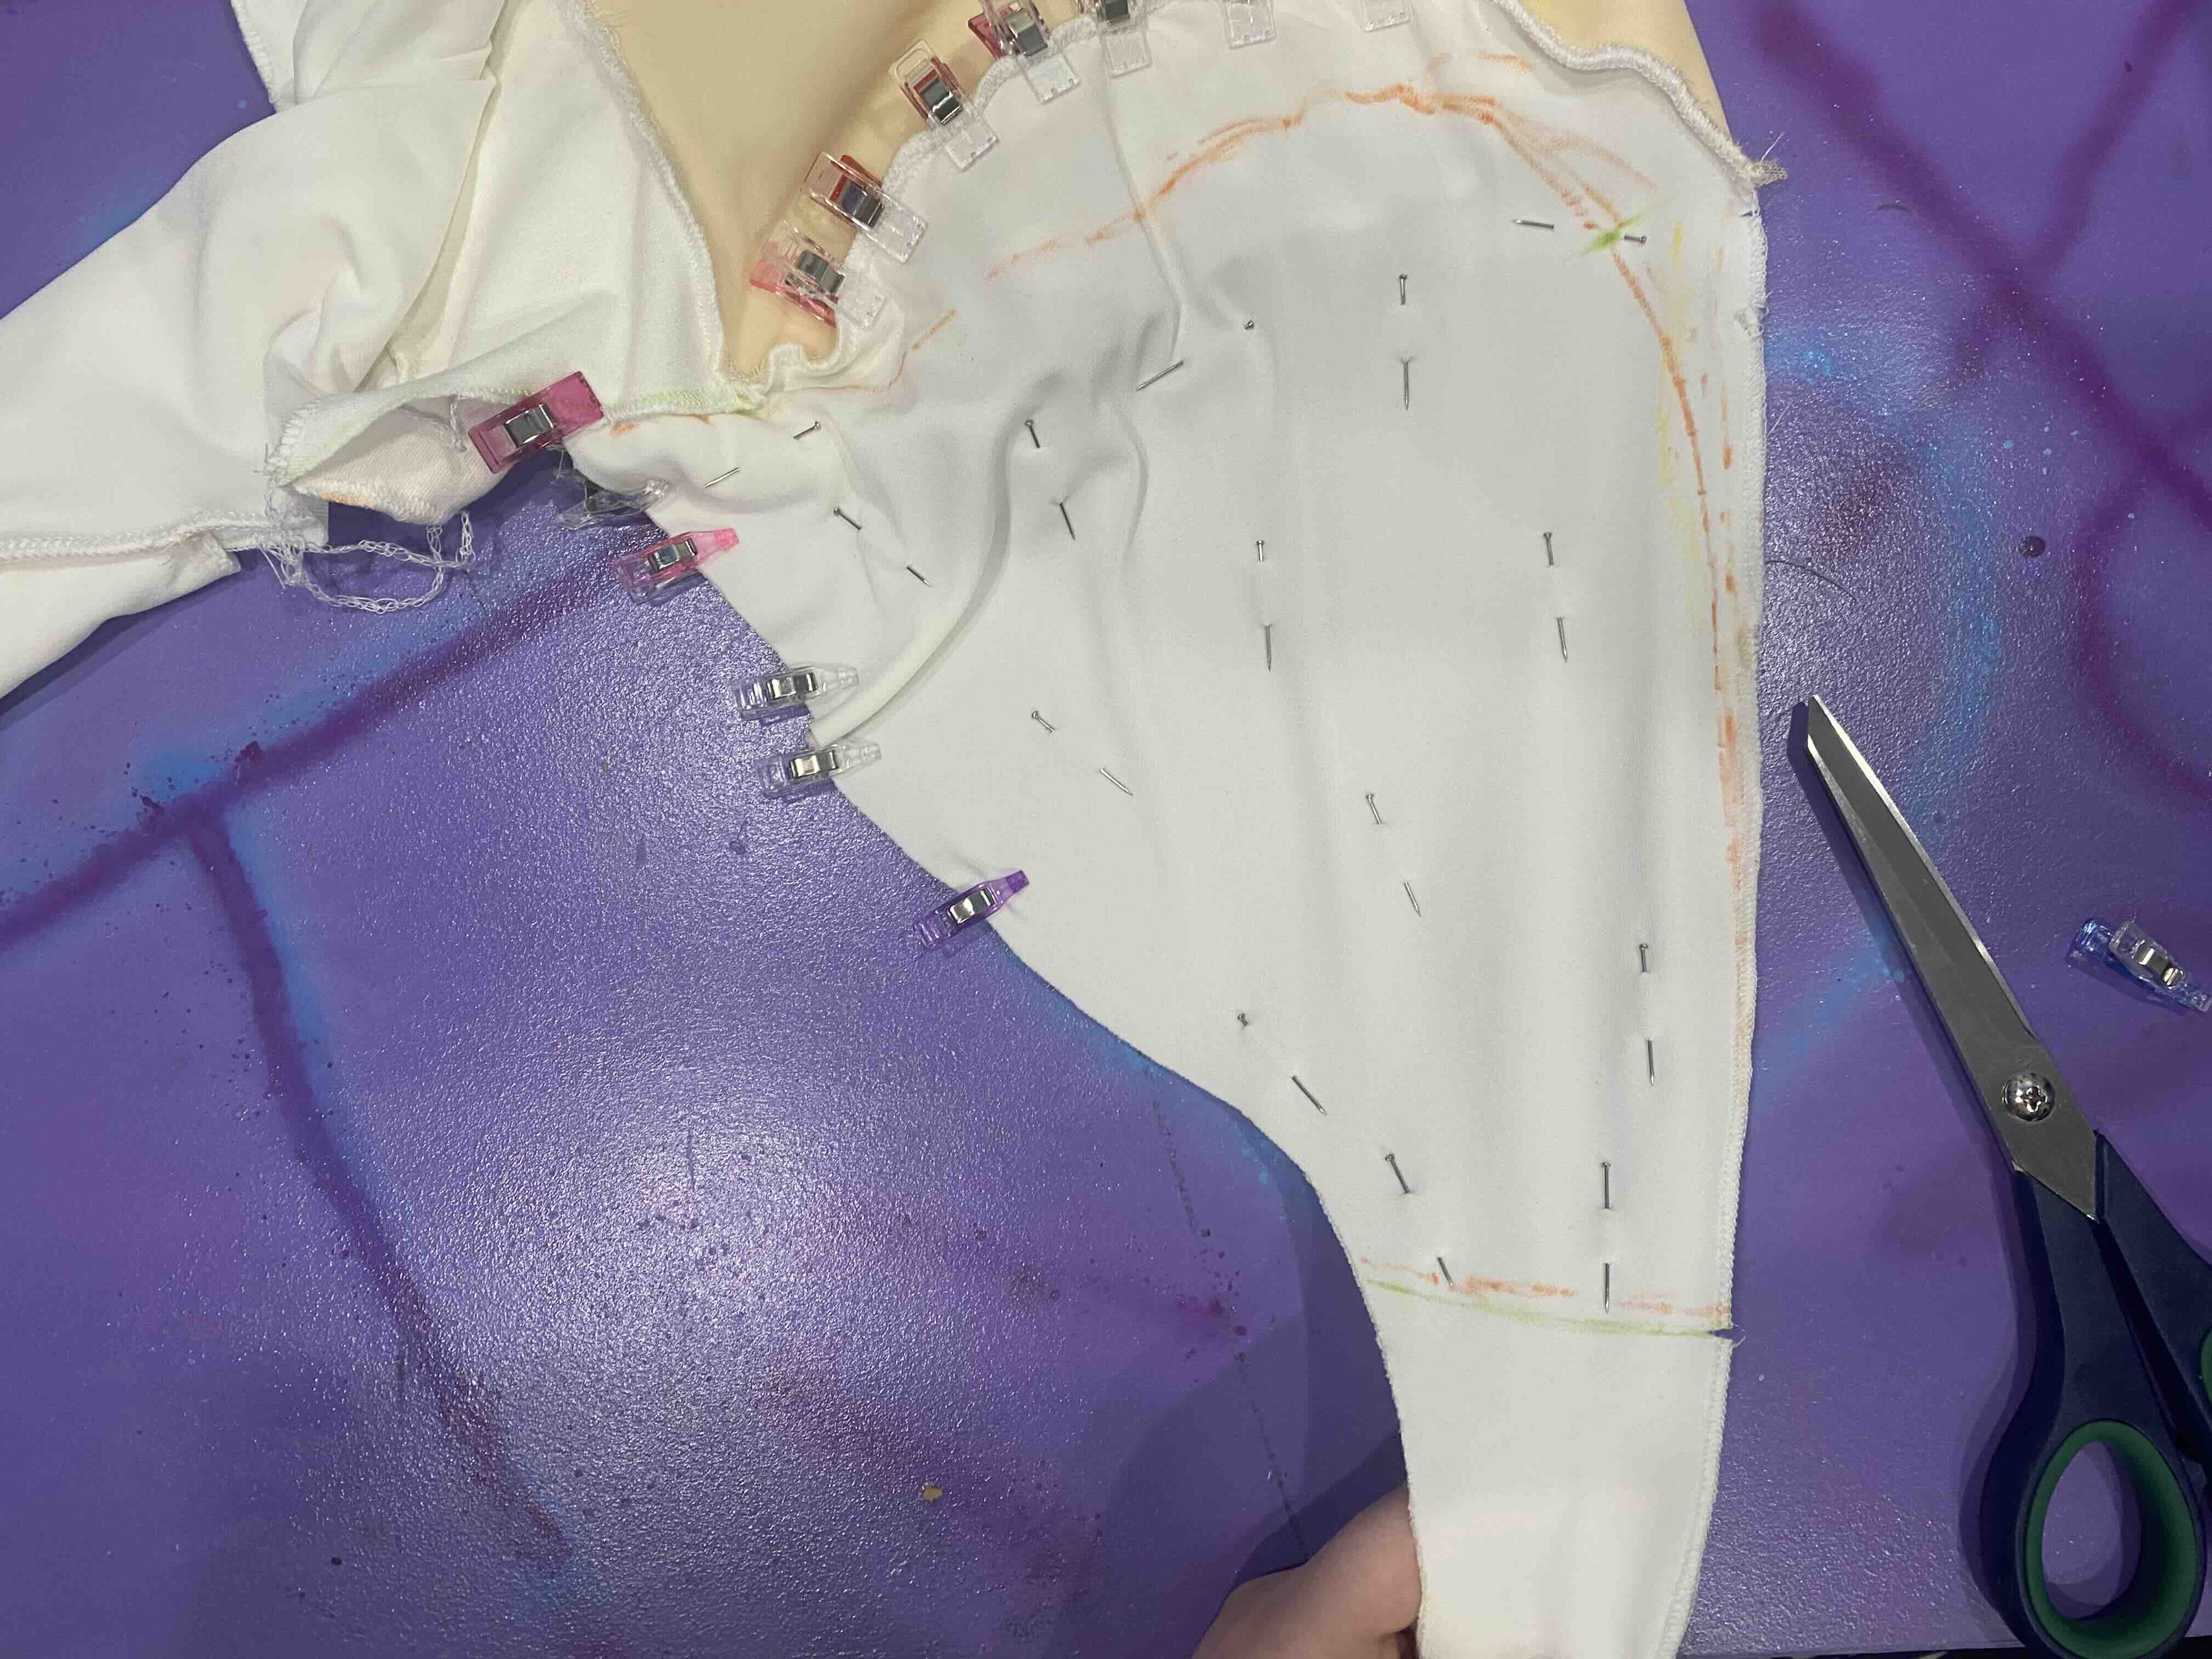
Make Adjustments to Fit
Try on or fit the assembled pieces to a form. Pin, trim, or modify areas as necessary to improve the fit before continuing.
Sew Adjusted Sections
Secure all adjusted areas with final stitching to lock in the updated fit and ensure durability.
Zigzag Stitch Down Seams
Apply a zigzag stitch over the seam allowances. This prevents fraying and adds flexibility, especially important for tight-fitting garments.

Attach Elastic Band to Pocket Back
Sew an elastic band onto the pocket back area to provide stretch and allow better fit or function depending on the design.
Sew Elastic to Upper Medial Back
Attach another elastic section across the upper medial back. This helps maintain structure while allowing movement.
Sew Elastic to Mid Lower Back
Sew elastic bands to the mid-lower back area for shaping and better support of the lower garment
Sew Elastic from Side Lower Front to Lower Back
Stretch and attach elastic from the lower front side panels across to the lower back. This gives tension and flexibility where needed.
Insert Boning for Structure
Slide boning into designated channels or seams. Boning provides extra structure, helping the garment maintain its shape.
Begin Sewing Sleeves
Start assembling the sleeves by matching and sewing smaller sleeve sections together.
Sew Sleeve Sections Together
Complete the sleeves by sewing all necessary parts together, shaping them to fit the arms comfortably.
Attach Elastic Band to Upper Section
Attach an elastic band to the upper body portion (or neckline area) for additional hold and flexibility.
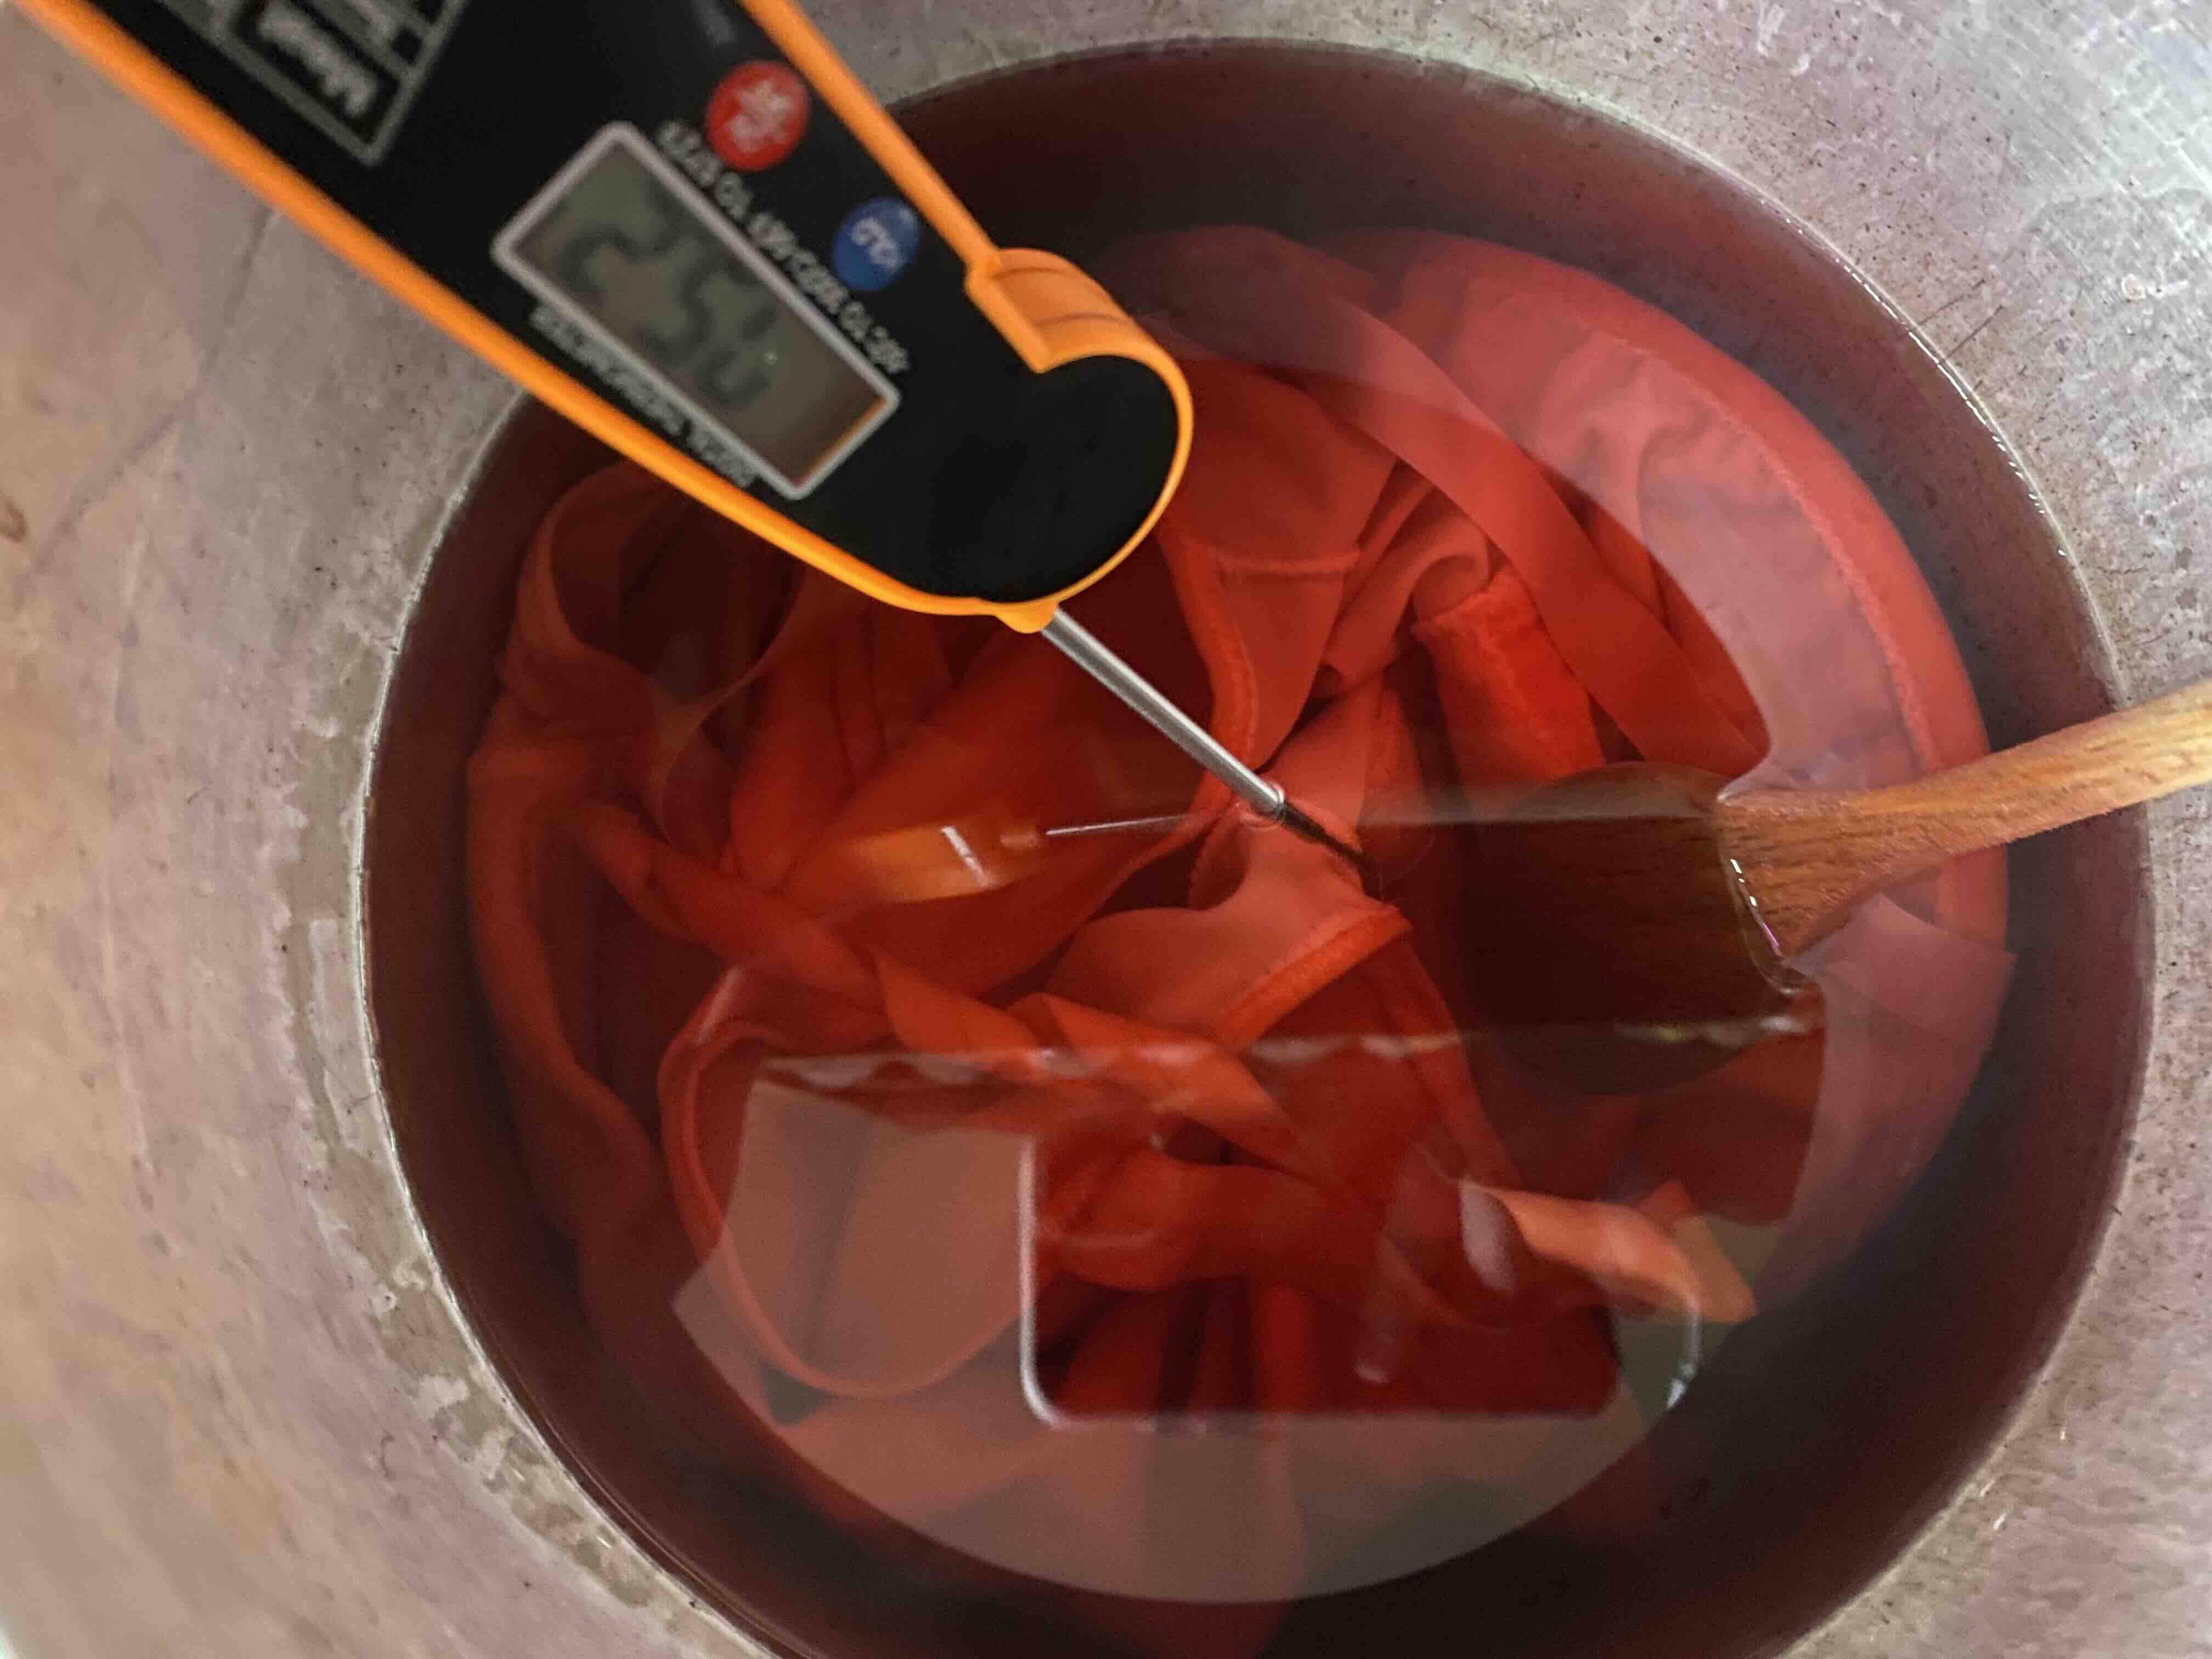
Dye the Fabric or Components
Apply dye to fabric sections or completed pieces as needed to achieve desired color effects. Allow time for drying and setting.
Print Designs onto Fabric
Print any logos, patterns, or artwork onto the fabric. This could be done with screen printing, vinyl transfers, or other techniques.
Prepare LED Setup
Lay out the design for LED placement. Test LEDs, conductive thread, and battery systems before stitching them into the garment.
Sew Conductive Thread into Sleeve
Carefully sew conductive thread into the sleeve along the planned pathways for the LEDs, ensuring electrical connections are secure.
Sew LEDs with Conductive Thread onto Sleeve
Sew the LEDs directly onto the sleeve, connecting them to the conductive thread paths for proper function.
Attach Elastic Band to Sleeve
Add an elastic band at the end of the sleeve (wrist area) to ensure a snug and comfortable fit.
Attach Stud Snaps for Fastening
Install stud snaps onto the garment in the appropriate locations. These provide strong, easy-to-use closures.