Process
This project contains 2 parts
- Creating a textile from waste that is durable, flexible, wearable
- Binding pieces together to create a garment without sewing
What's the Point?
- Using scraps that otherwise are difficult to use
- Finding alternatives to sewing / time intensive / body intensive labor
Creating a Textile
First Experiments
Casting: These first experiments were done by experimenting with a few different casting methods, but they were all done by:
- Starting with a surface sprayed with calcium carbonate solution
- Coating fabric in bioplastic mixture
- Spreading bioplastic mixture above or below the coated fabric or both
- Curing, removing from the base
- Rinsing and dehydrating
Bioplastic Recipe:
I experimented with 2 recipes, both shared by Beatriz Sandini in her biomaterials lecture
| Ingredients | Flexible BioSheet | Flexible BioPlastic |
|---|---|---|
| Sodium Alginate | 12g | 12g |
| Glycerol | 40g | 20g |
| Water | 400g | 200g |
| Sunflower Oil | 0g | 10g |
| Calcium Carbonate : Water Ratio | 1: 10 | 1:10 |
The Biosheet is much smoother, easier to spread The BioPlastic is much thicker and does not spread well, it creates a more uneven surface
Learnings from Round 1:
- Not very durable
- Lots of shrinkage
- Crackly / Crispy texture
- Despite the Sunflower oil and lower water amount in the bioplastic, I did not find a big reduction in shrinkage or texture between the bioplastic and biosheet, however the biosheet was much easier to work with when casting as it spreads evenly and more easily
Samples: Round 1
Can see detail on recipes, methods and outcomes on my google sheet here
Sample 1
Sample 2
Sample 3
Sample 4
Sample 5
Sample 6
Samples 7, 8 not of note
Sample 9
MidTerm
Bio Patchwork by Sophia DiMatteo
Second Experiments
During the second set of experiments I narrowed down my casting technique to get the results below using the following methods.
Casting:
- Start on a surface coated with calcium carbonate (AVOID COATING THE WOODEN FRAME)
- Calculate amount of mixture to use: 0.33g * area of frame = g of mixture
- Pour bioplastic mixture onto frame, distribute evenly by tilting or apply using a ketchup bottle
- Generously coat fabric with mixture
- Place onto wet bioplastic base
- Add thin layer of bioplastic on top, can spread with fingers
- Spray with calcium carbonate solution
- Rinse
- Let dry
Casting Surface:
- Flexible Plastic work great for small samples, but for big samples it doesn't hold the weight of the mixture as well
- Fabric works great as a base for medium sized frames, but when rinsing / curing it can absorb a lot of water and take a long time to dry
- Fabric type --> using a swimsuit material helps create a smooth surface on the bioplastic as the bioplastic can take some of the texture of the cotton and becomes more matter, but the swimsuit material is too stretchy so it wont support the weight of the wet bioplastic, so using 1 layer of swimsuit material over 1 layer of non-stretch cotton works great
- Glass or hard plastic works well for big samples as it supports the weight much better, when using glass or hard plastic be careful when coating the surface with calcium carbonate as if you use too much the mixture will cure very fast and wont spread well
Learnings:
- Wooden frame important for reducing shrinkage as the bioplastic binds to wood and helps hold its shape
- Avoid coating the wooden frame in calcium carbonate as it won't stick
- Can add a zipper directly into the fabric and create a strong bond
Lining
As I want to create outerwear, I experimented with lining the bioplastic with something softer, I did this in 3 ways:
- Cast the bioplastic on uncured fabric, it will bond and create a lining (Note: Requires a full piece of fabric, not scraps)
- Cast and when still wet, paint one side of liner with bioplastic, place on top, cure through the liner
- Take finished, cured, dried bioplastic, apply sodium citrate to one side, let rest, rinse, paint one side of liner with bioplastic, place on side that is broken down, cure through liner
Methods 2 and 3 are better because can use scraps as liner
Texture / Different Kinds of Fabric
I wanted to experiment with different types of fabric and scraps to see how I can apply this method
So far I've been using scraps from our fabric store at the fablab, but at the fablab we also have a lot of scraps from small makers in the area from the garments they've created. The fabric is in odd shapes that are not ideal to use for sewing so I want to explore using these more
Knit Wool Scraps
Still in progress, didn't set the same as with other fabrics (Could be because the frame seemed to leak something onto the edges)
Shreds
I like the shreds as a design feature / way to play with the rigidity and texture
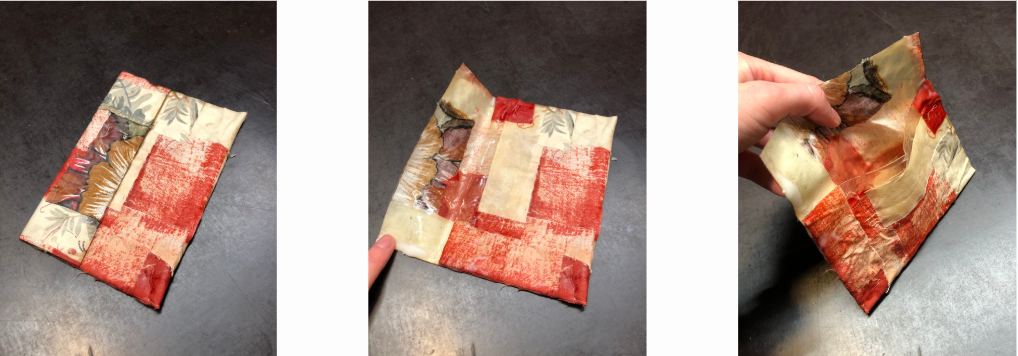
No Sew Construction
Construction process
Make a solution of 1:5 Sodium Citrate: Water
Make strips of fabric the size of the seam allowance, In my case 1cm. Soak strips in sodium citrate solution
On Seam Allowance, place soaked strips
Let rest for 20 minutes, wipe with wet towel to remove excess
Add BioPlastic mixture (Thicker recipe) to seam allowance, press together
Hold together, cure with calcium carbonate solution, let dry
Notes:
- Not happy with the patchwork of this one, want to be mindful of not going overboard for something wearable
- Glue did not stick as well for this one since it wasn't on a flat surface --> Need to keep refining
Notes:
- Love this one! Much simpler as its a single piece, but glue worked well and its solid
What is Sodium Citrate?
Sodium citrate is the sodium salt of citric acid. It is white powder and is soluble in water.
It is used as a food additive to control acidity and act as a preservative.
Creating Final Pieces
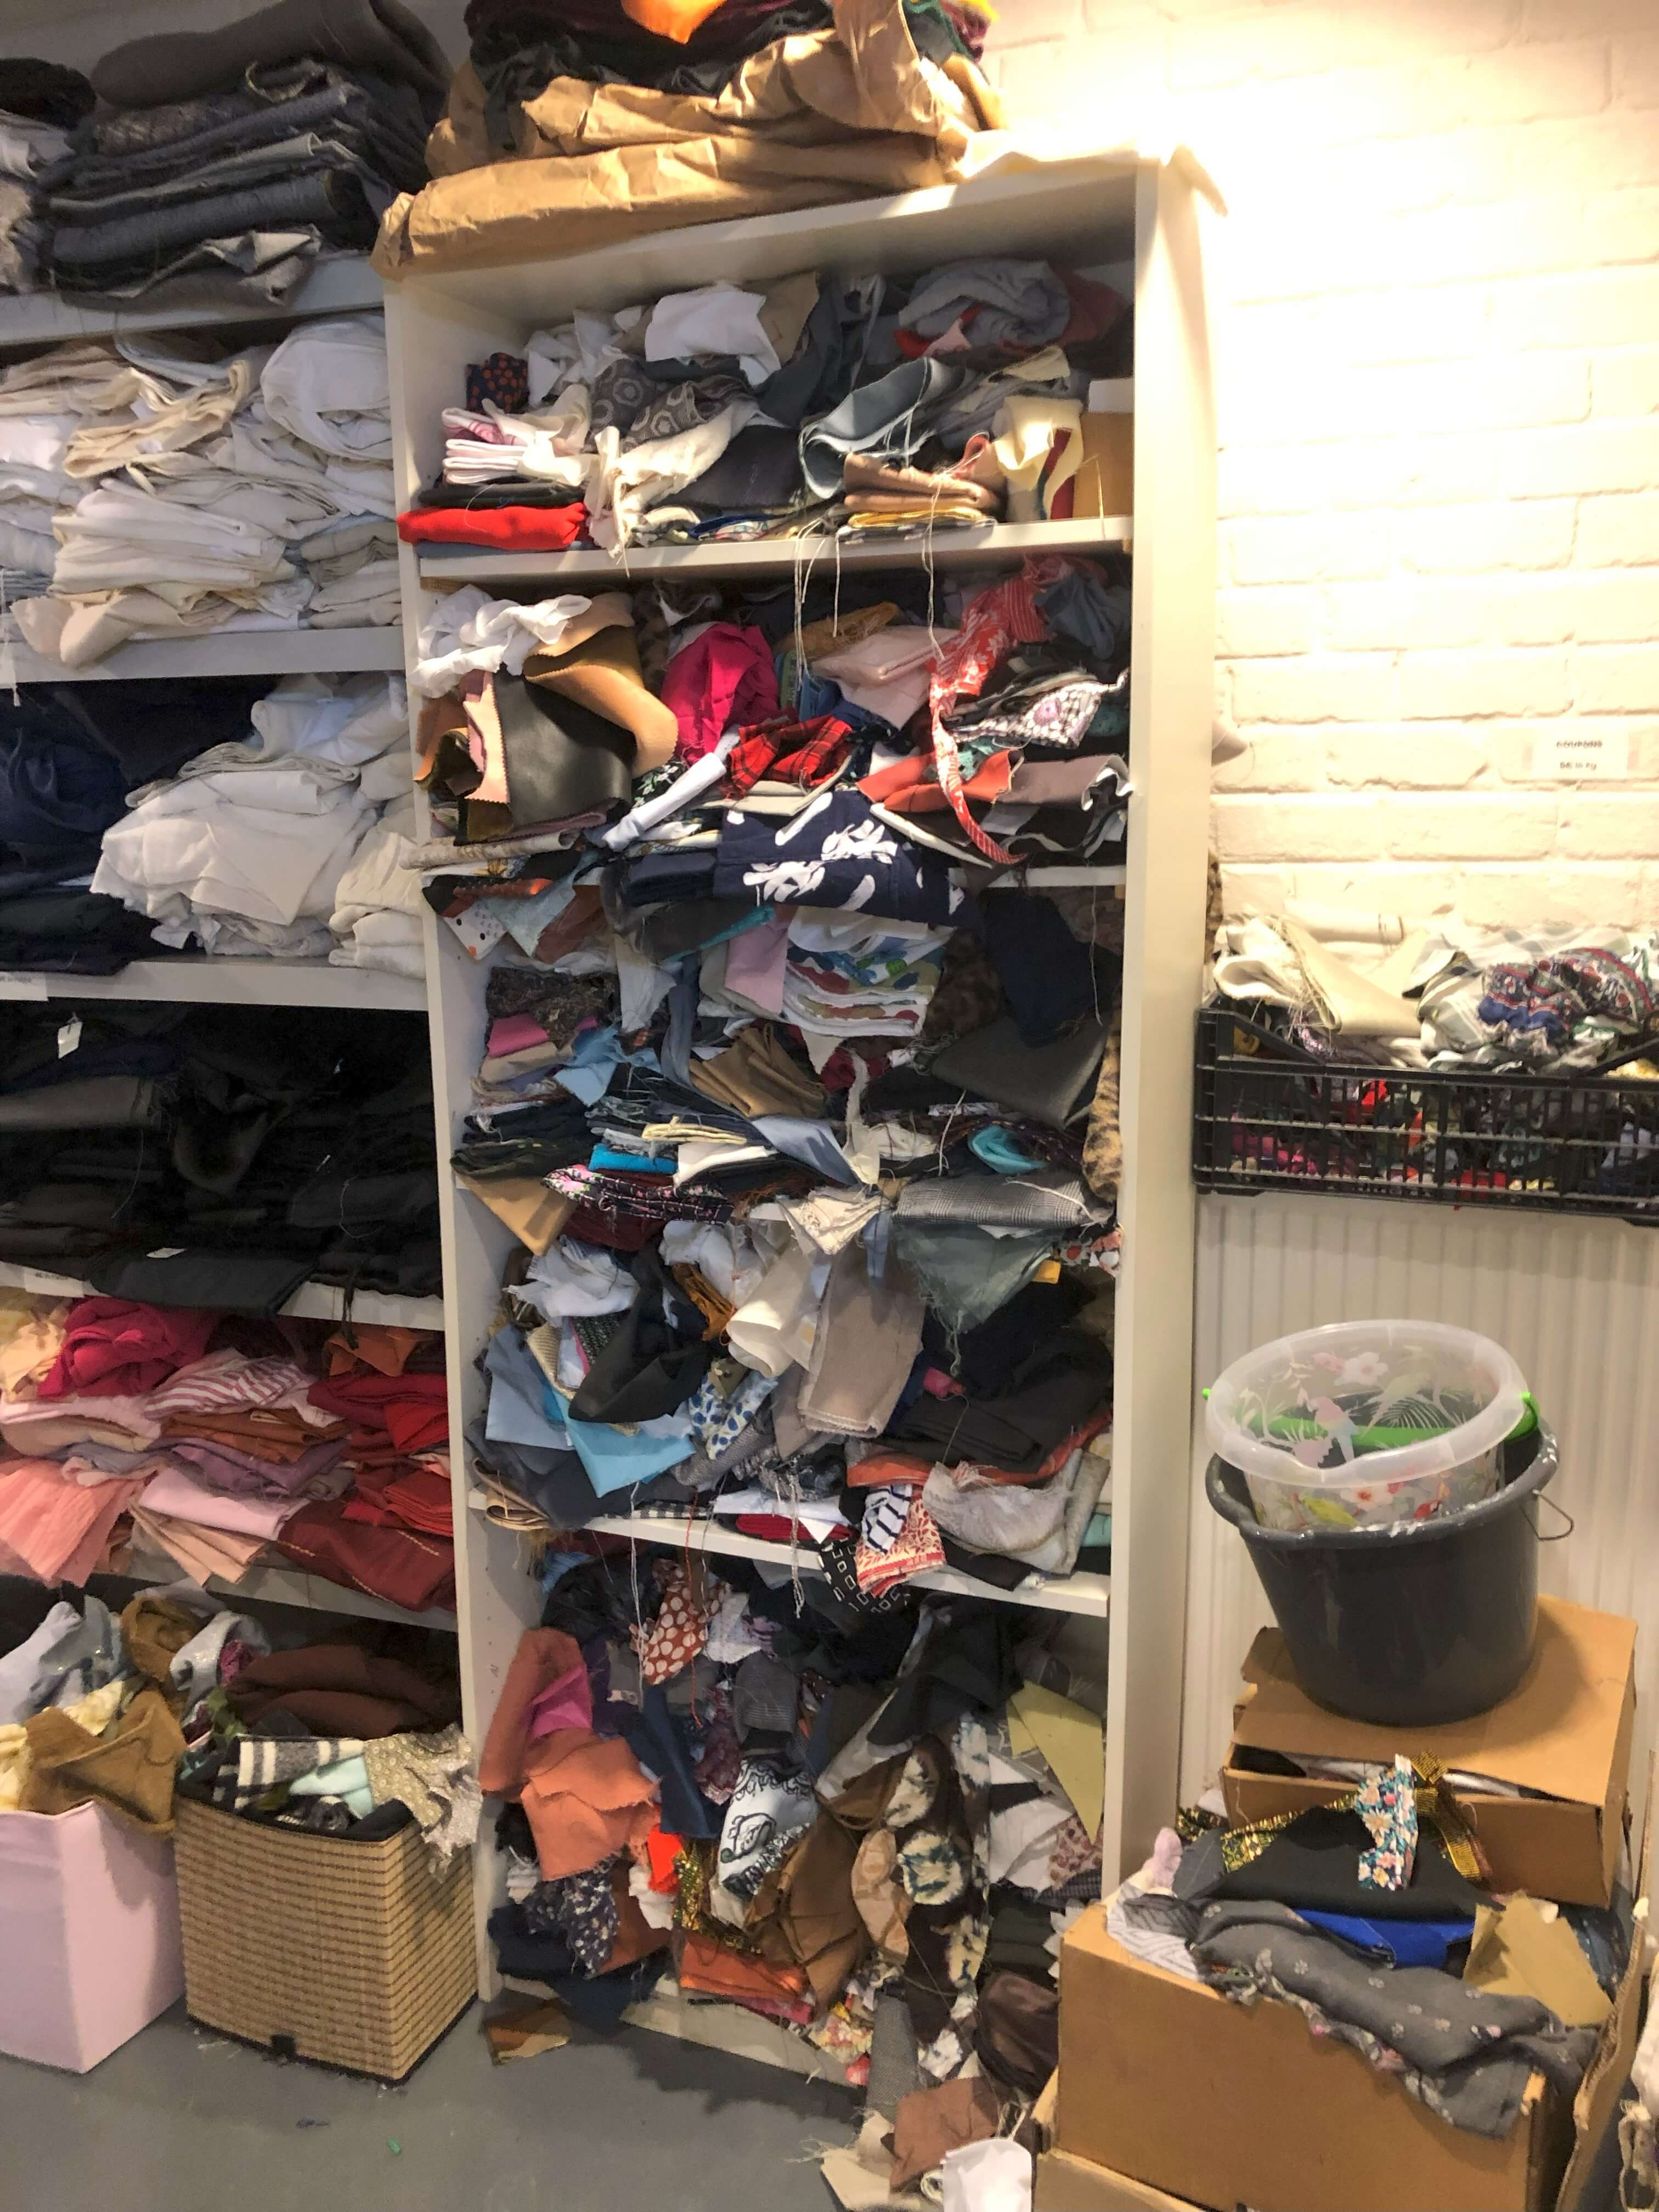
Fabric
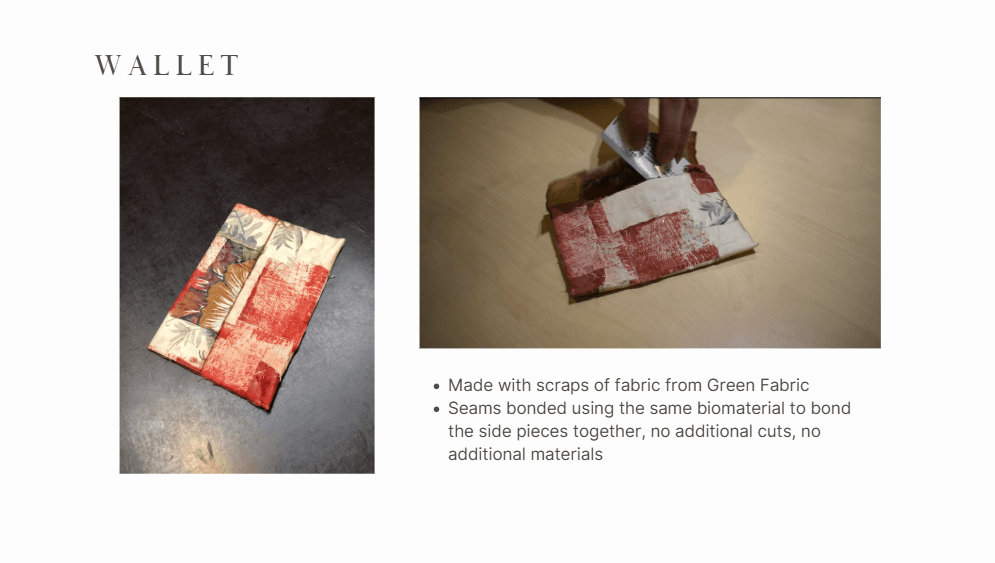
I decided that the best fabric to use would be from our discount scrap shelf at Green Fabric. This is the shelf of fabric that has been cut up, is not able to be identified or recycled, so it is really considered waste.
Casting Process
To cast large pieces of fabric, I bought a 50x70cm picture frame at HEMA for €22.99, it comes with a plexiglass frame which is perfect for casting as it holds the weight of the biomaterial better than fabric
I followed the casting method outlined above with some adjustments:
| Ingredients | Flexible BioSheet |
|---|---|
| Sodium Alginate | 12g |
| Glycerol | 40g |
| Water | 400g |
| Calcium Carbonate : Water Ratio | 1: 10 |
*mixture refers to biosheet recipe
- Put mixture into squeeze bottle, let rest to minimize bubbles
- Spray frame with calcium carbonate, use paintbrush or paper towel to move around and make sure its evenly distrubuted without any big droplets (this will cure the biomaterial too fast)
- Calculate amount of mixture to use: 0.33g * area of frame (50 x 70 cm = 3500cm) = 1155 g of mixture
- Pour bioplastic mixture onto frame using squeeze bottle, distribute evenly
- Generously coat fabric with mixture with fingers, around 4x-4.5x WOF (e.g., if using 70g fabric, mix with ~300g mixture)
- Place onto wet bioplastic base
- Add thin layer of bioplastic on top, (can spread with fingers), around 300g
- Spray top with calcium carbonate solution
- Rinse
- Let dry
- When dry enough, remove from frame, flip over and let dry again
Lining
To add the lining I used the following method:
| Ingredients | Flexible BioPlastic |
|---|---|
| Sodium Alginate | 12g |
| Glycerol | 20g |
| Water | 200g |
| Calcium Carbonate : Water Ratio | 1: 10 |
- Create fabric as described above
- Prepare lining fabric
- When mostly dry but not totally dry, paint bottom with sodium citrate solution (1:5 sodium citrate:water)
- Let sit 10 min
- Lightly wipe with wet cloth
- Add layer of bioplastic, can use the biosheet recipe above also, but this one will reduce shrinkage
- Paint layer of bioplastic onto liner
- Press liner biopatchwork making sure the edges are tightly pressed together if using multiple pieces of lining fabric
- Spray with calcium carbonate through the lining fabric, making sure its soaked through
- Rinse, let dry
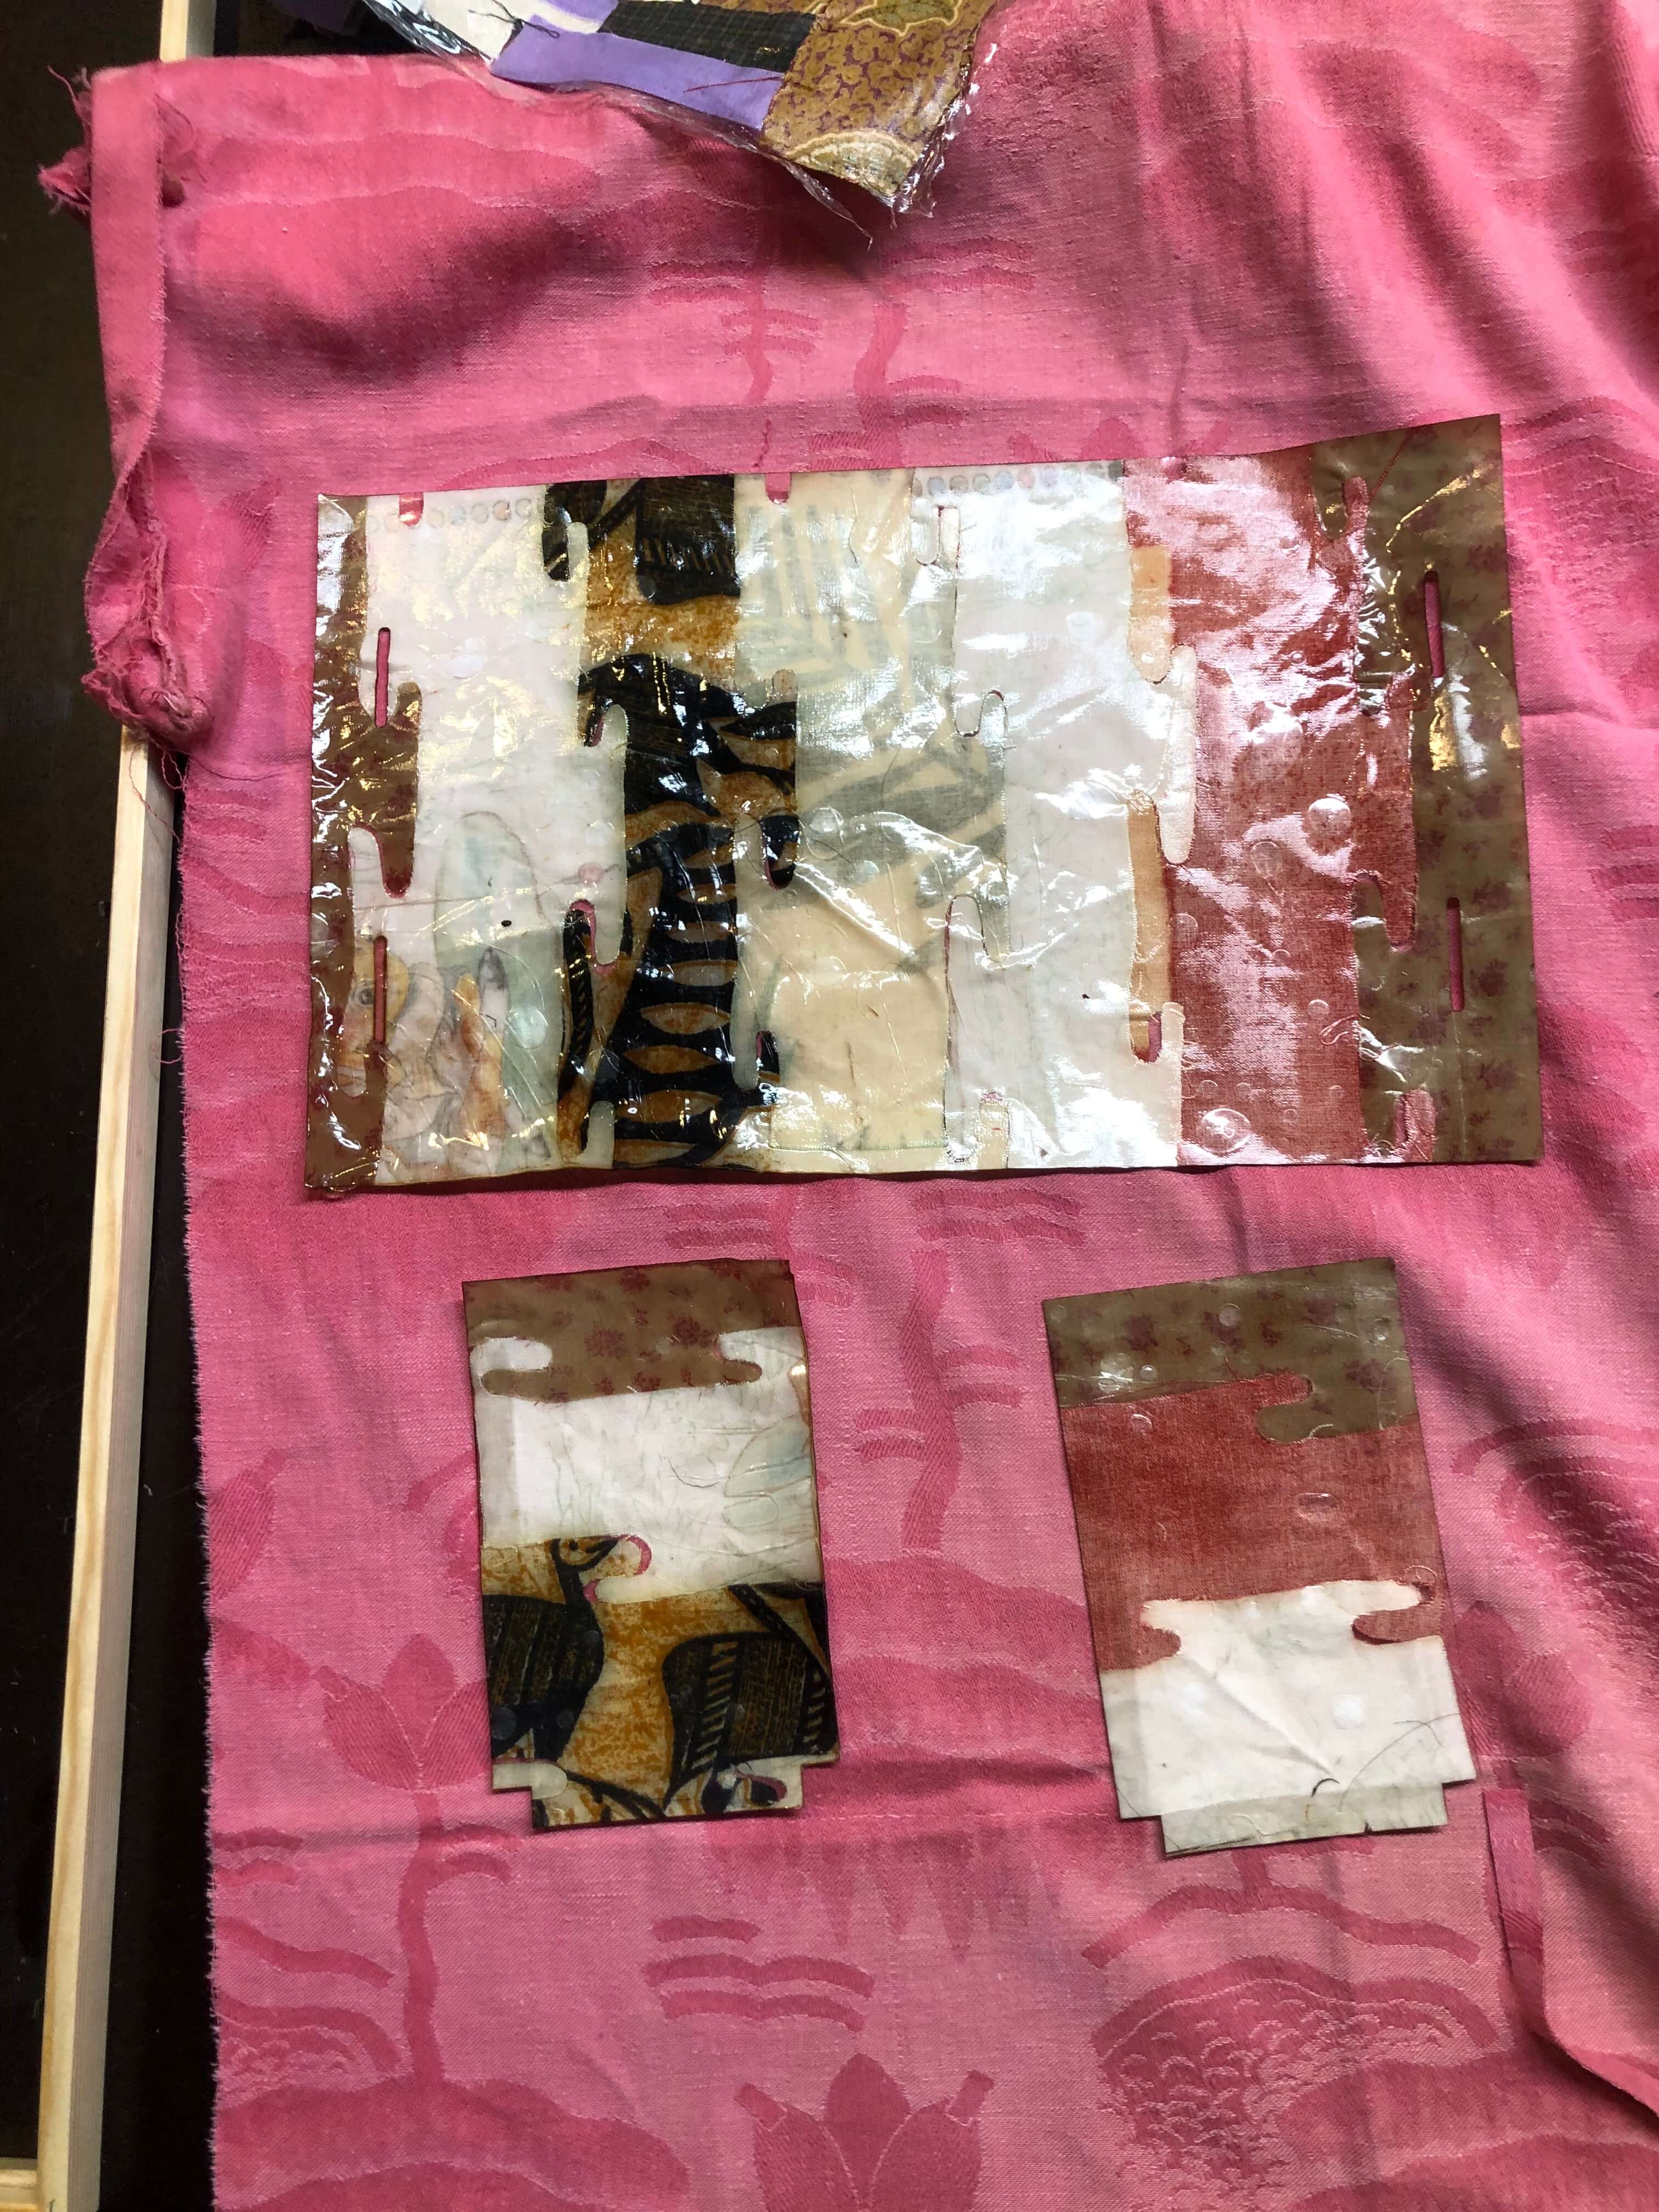
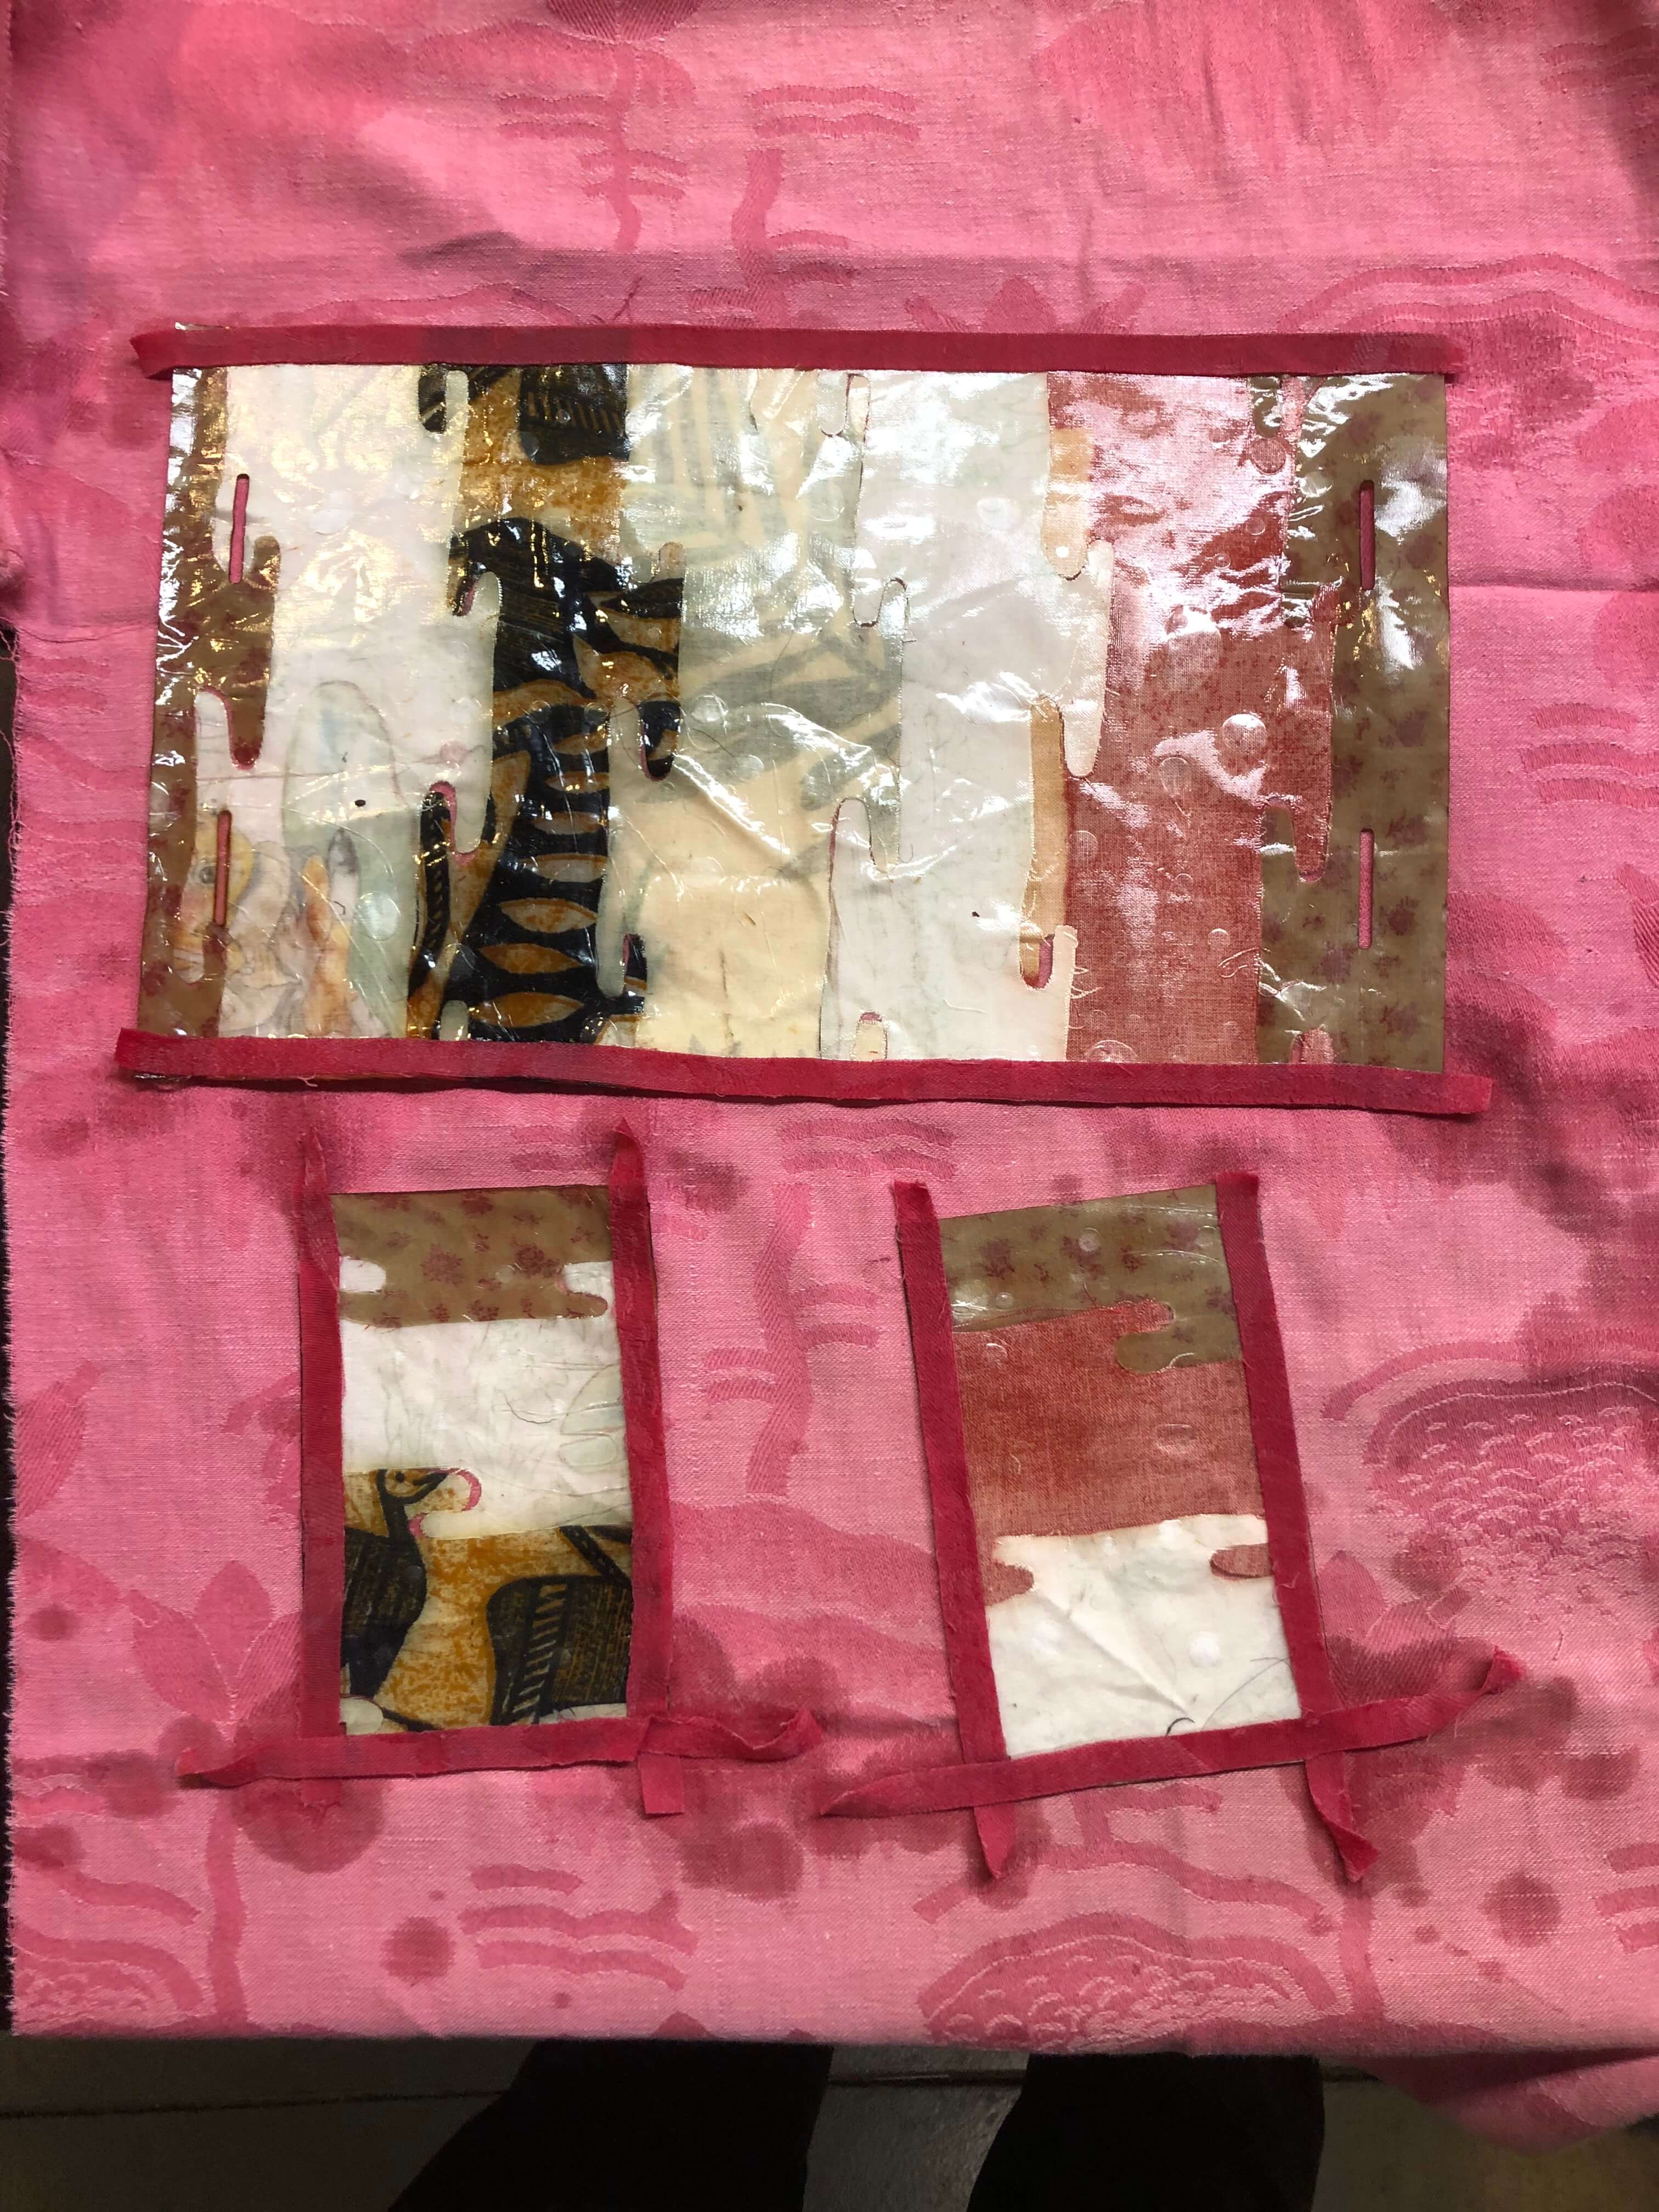
Construction
For construction I decided to use both modular construction and also the bioglue seams above
I cut the pieces using the laser cutter with the following settings
| Power | Speed | Execute |
|---|---|---|
| 60 | 20 | 1 |
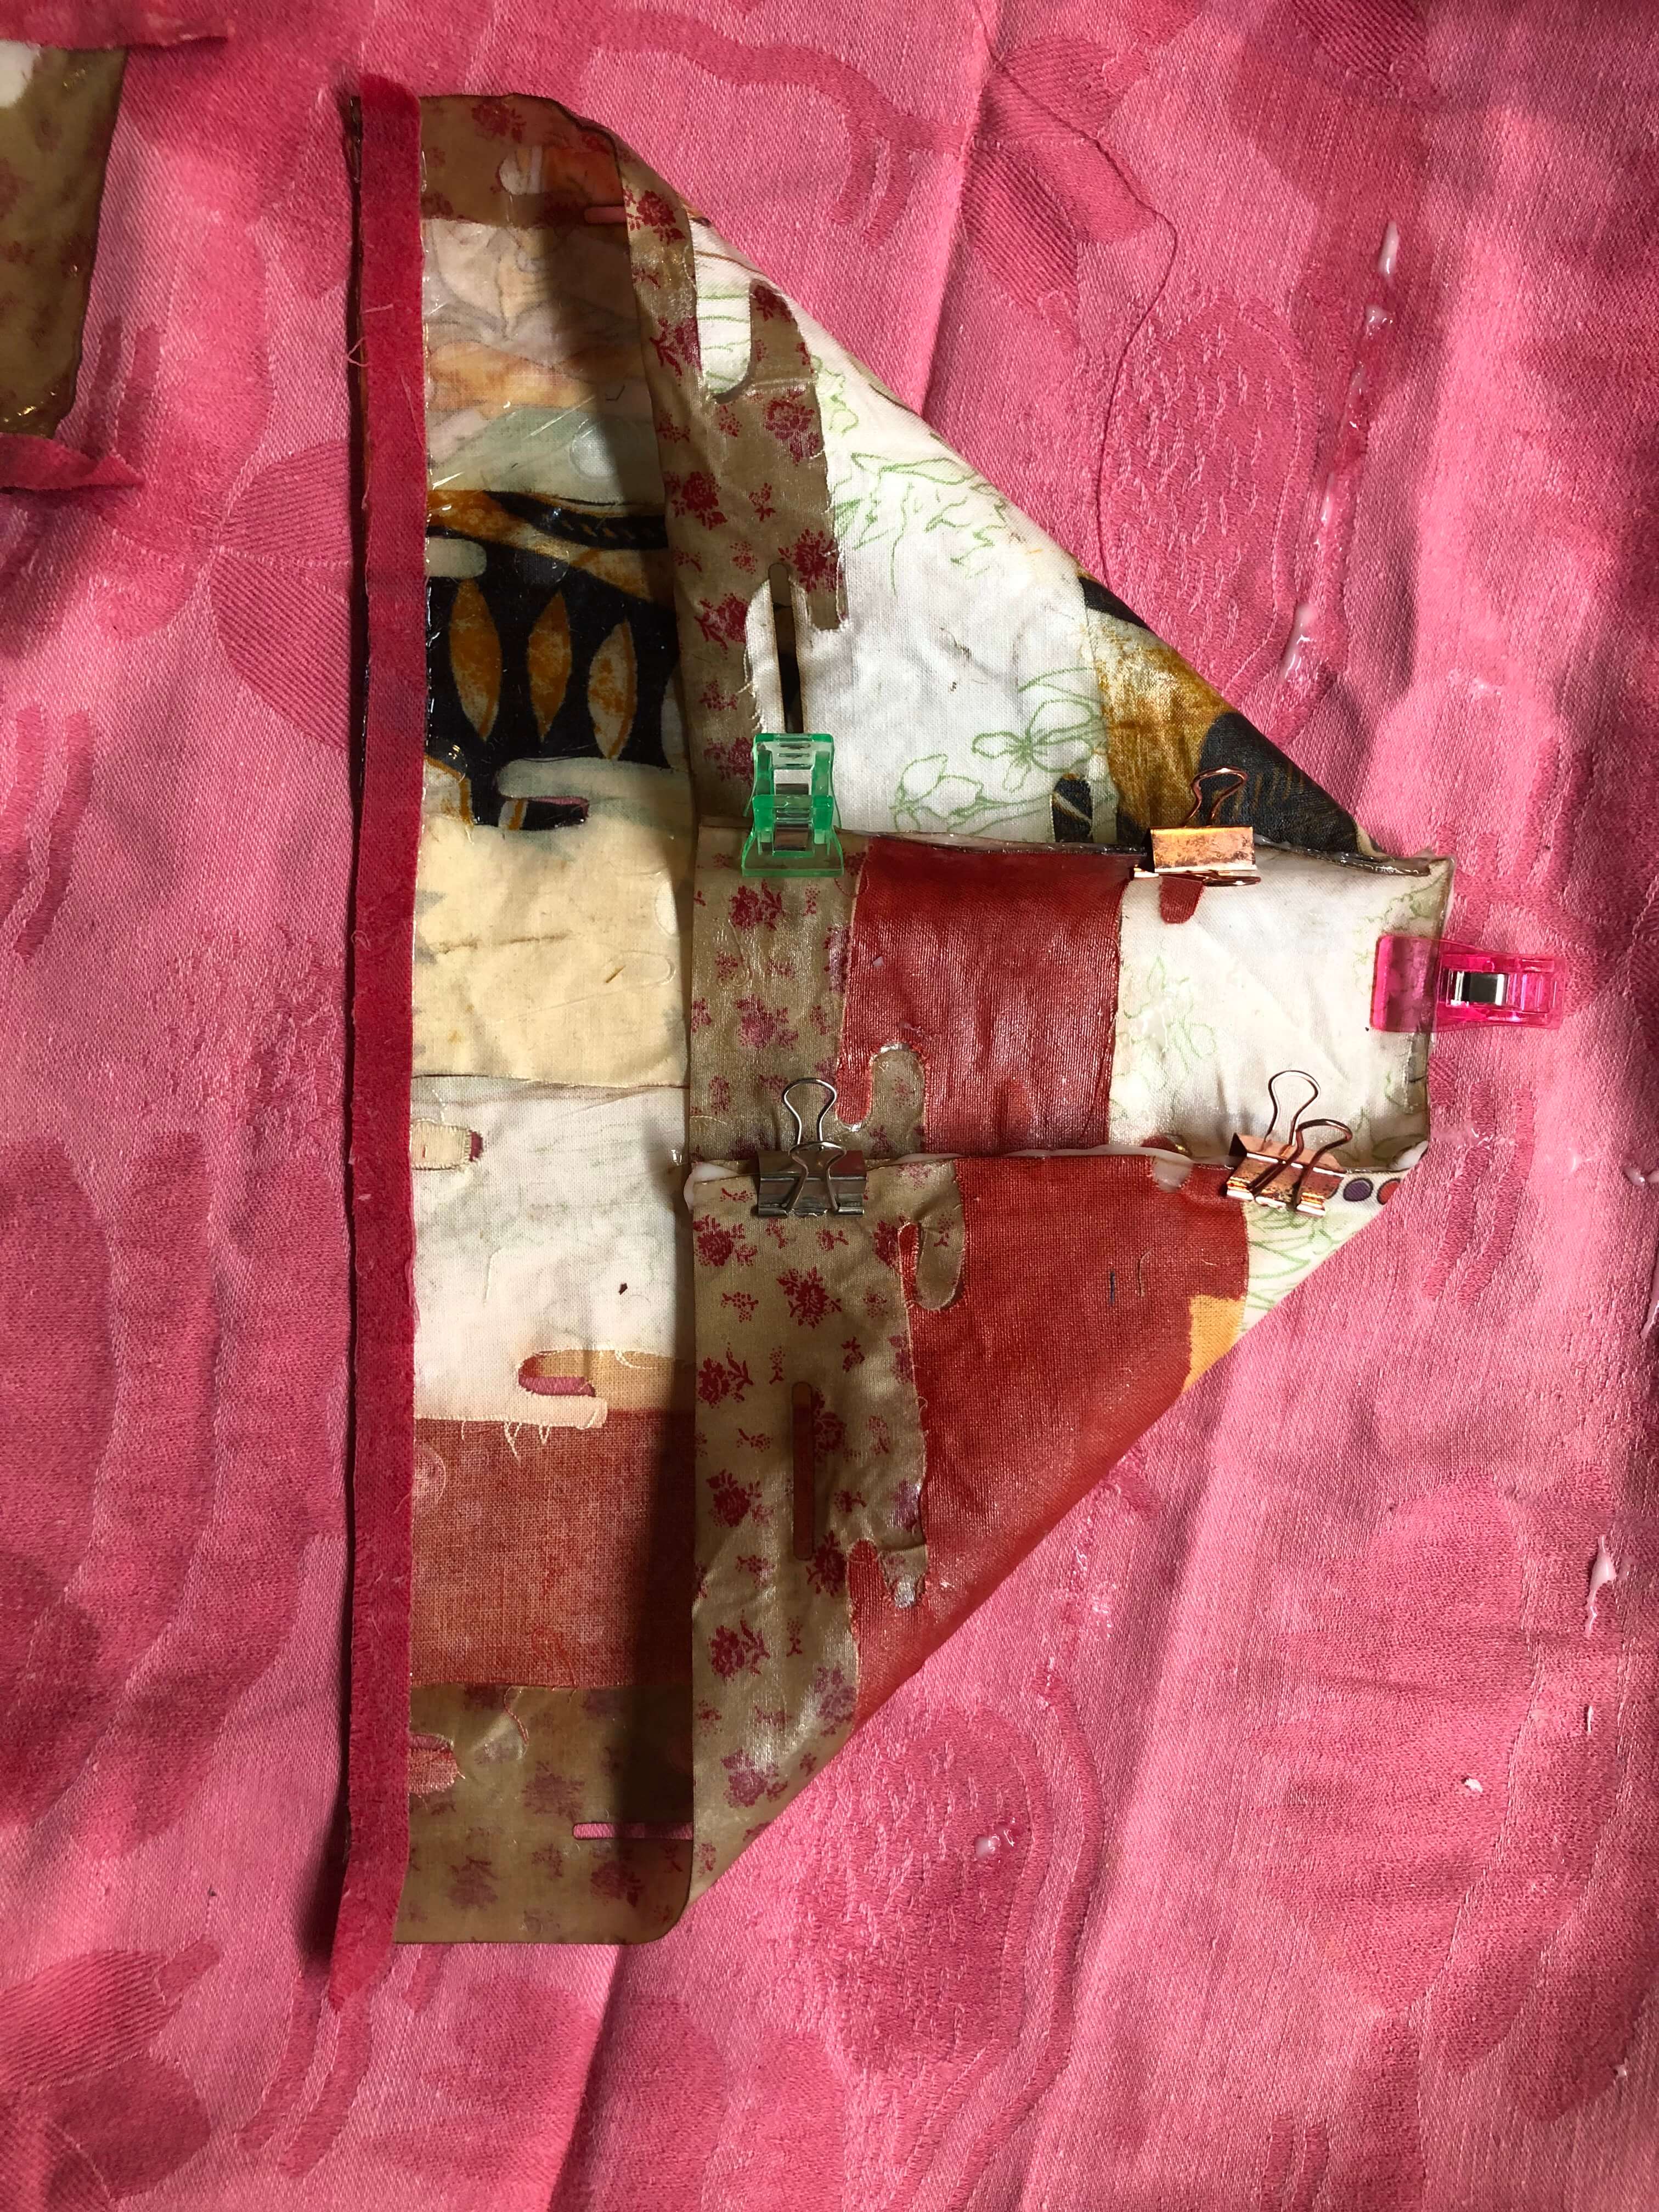
BioGlue
Modular Construction
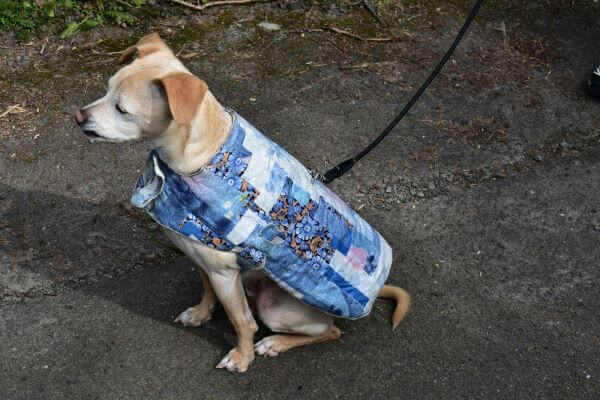
Bruno Jacket

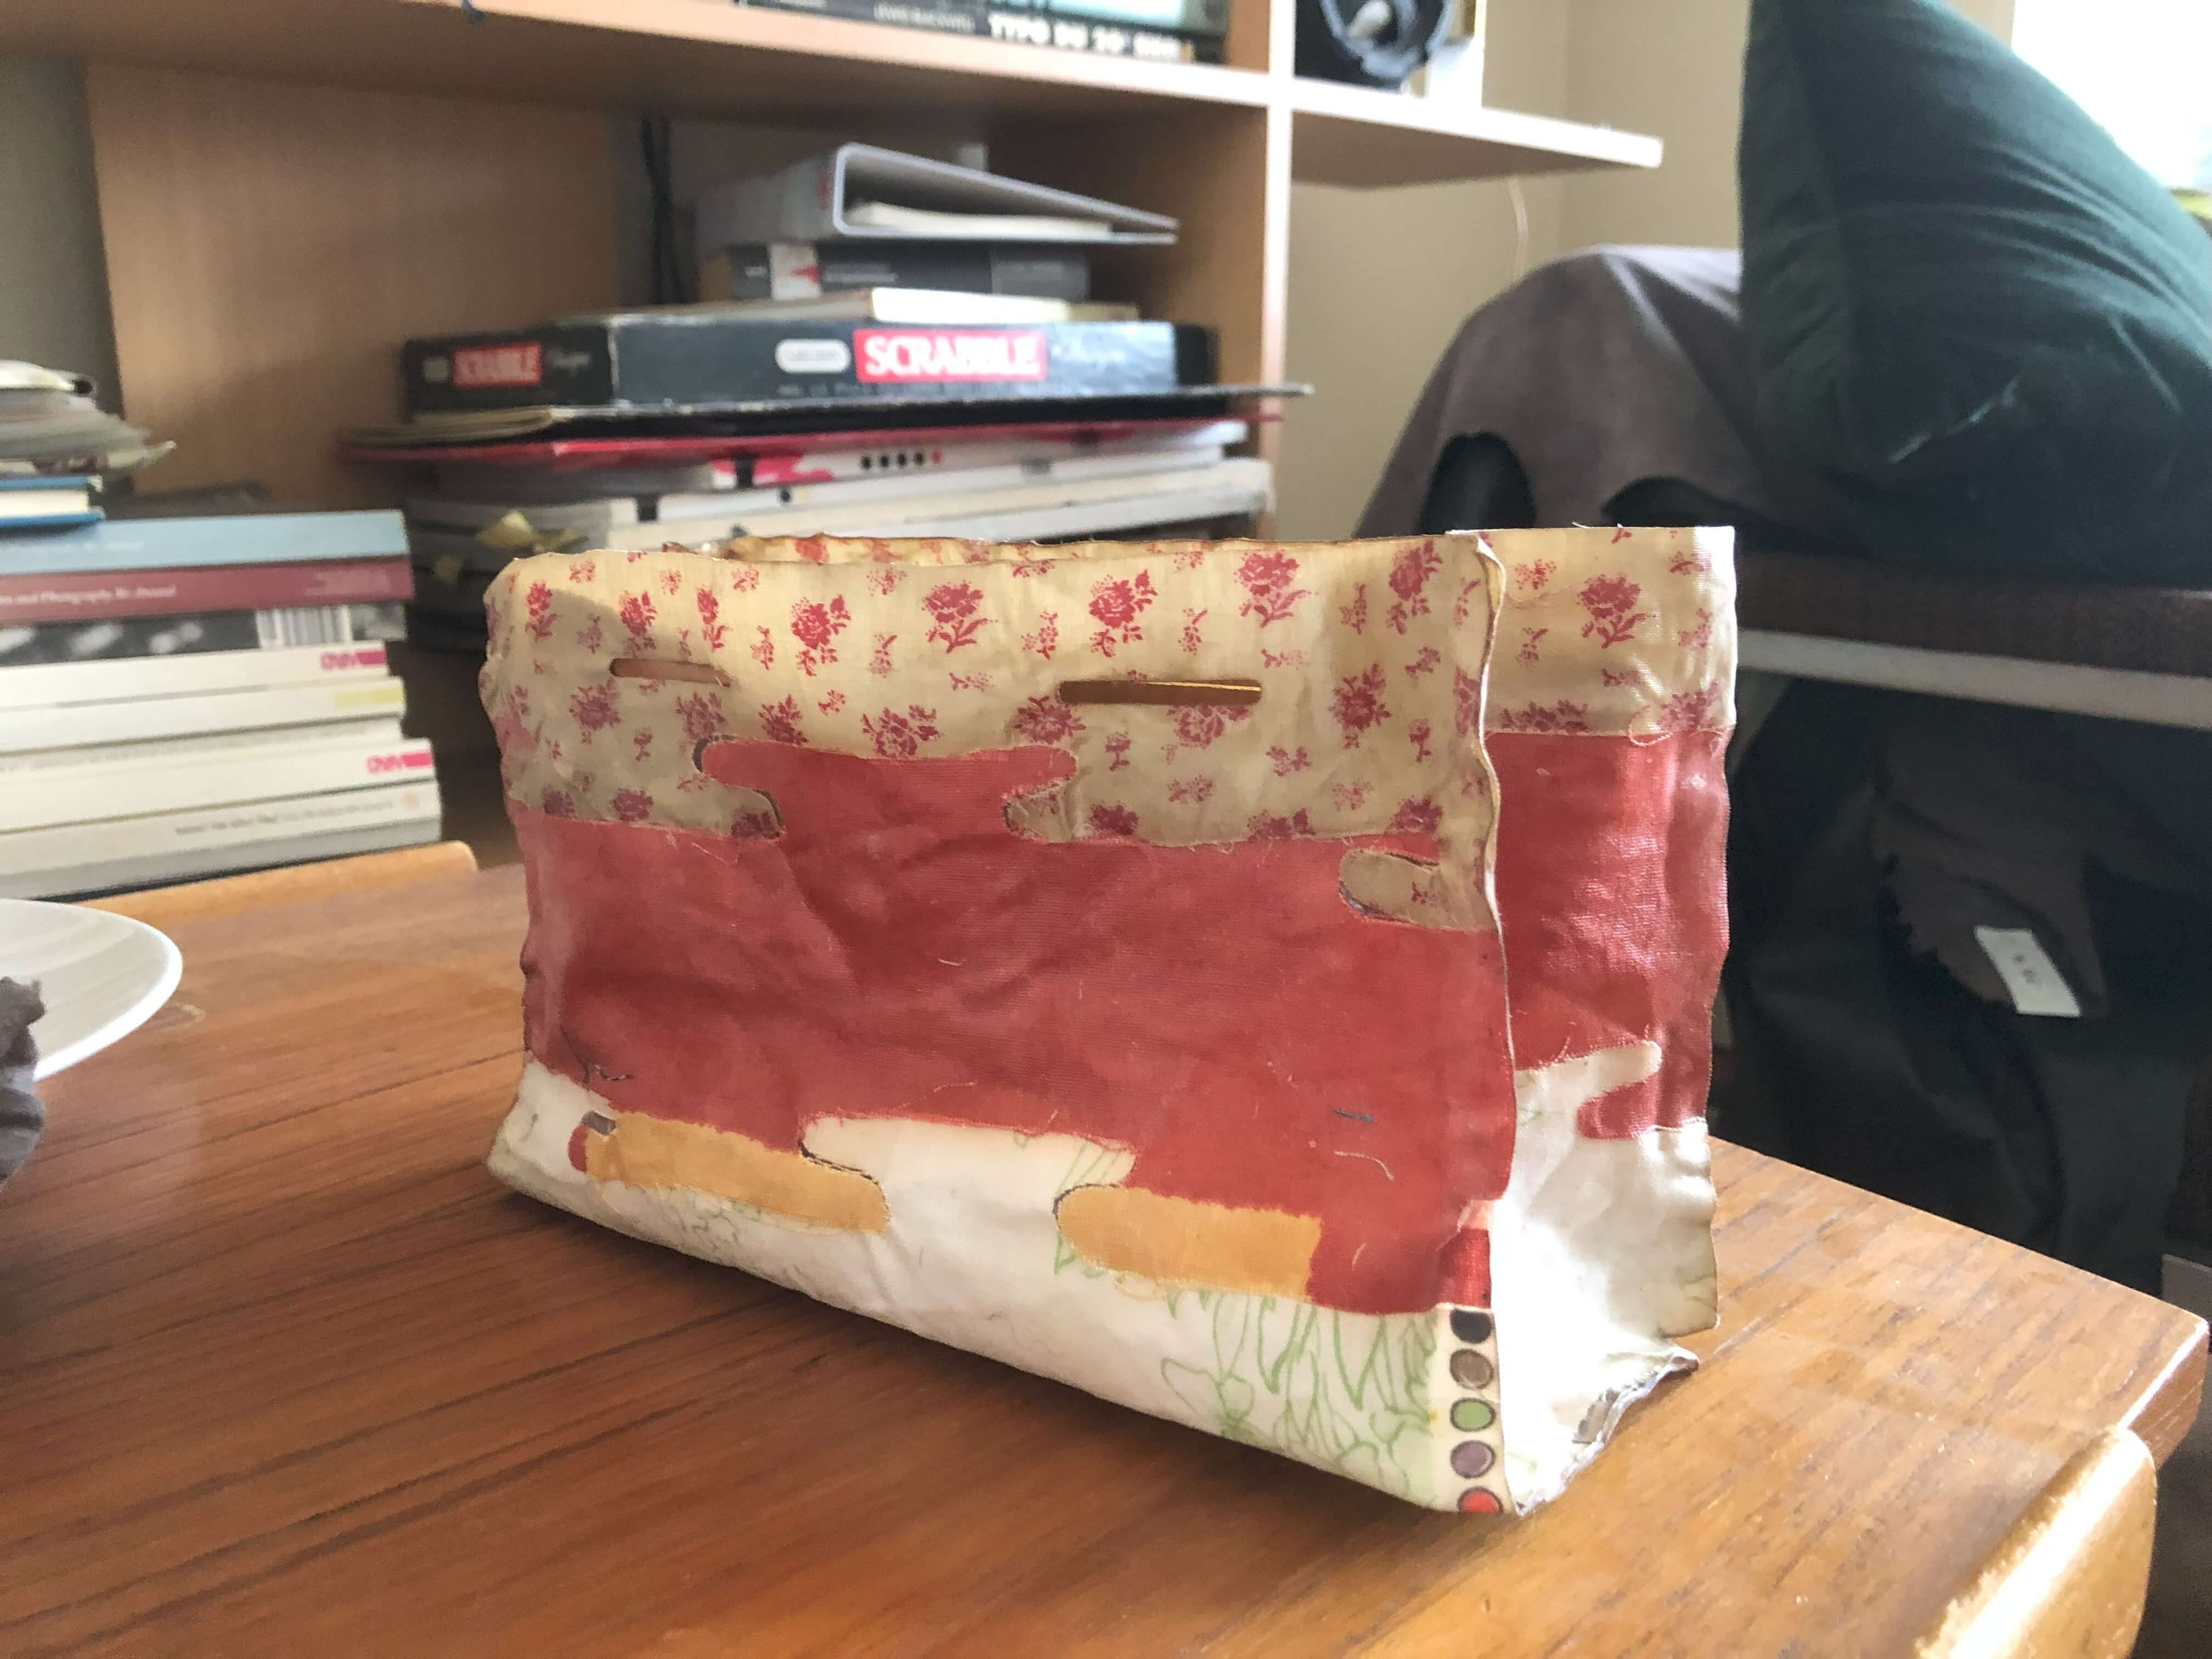
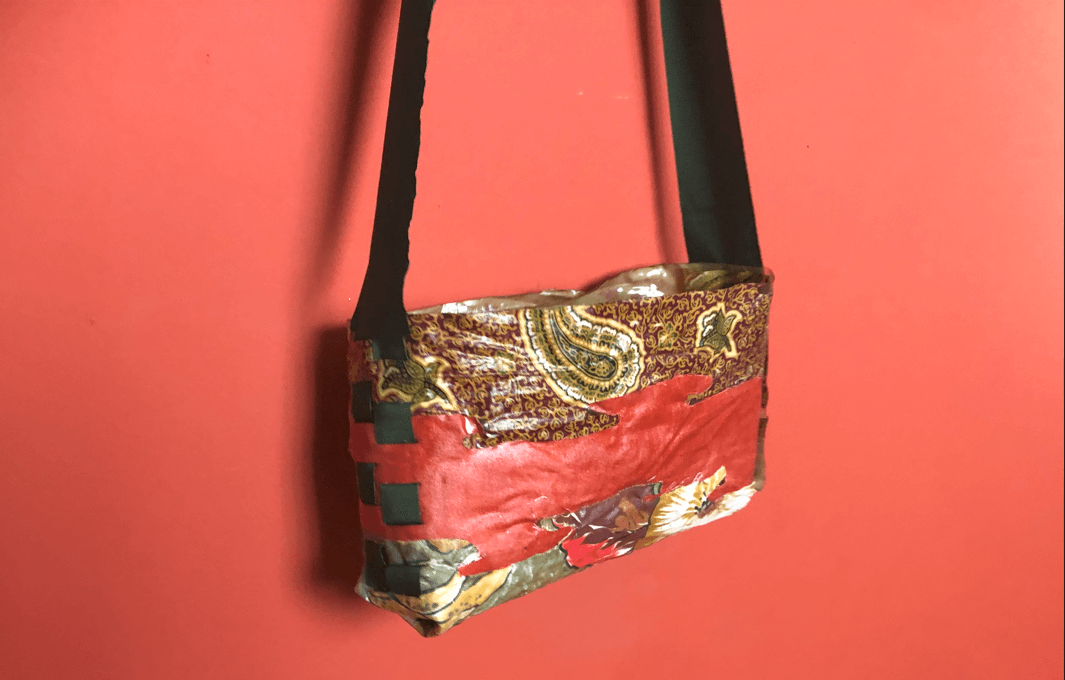
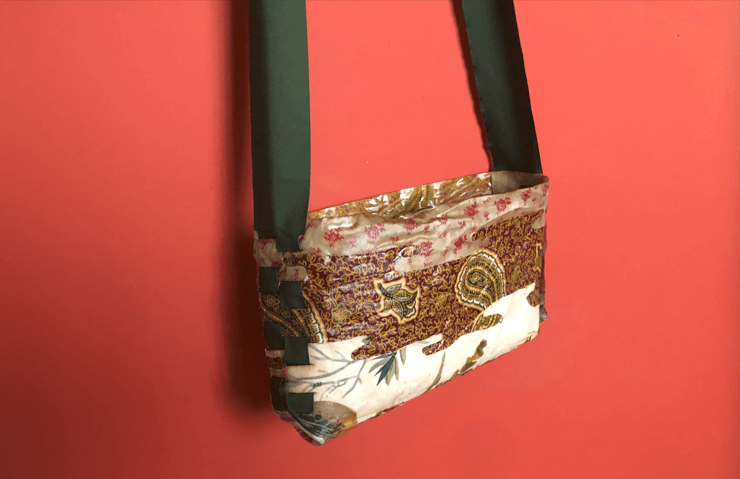
Purple Bag


Alpine Village Bag

-
File: Bruno Jacket ↩
-
File: Purple Bag ↩
-
File: Alpine Village Bag ↩
-
File: Alpine Village Fabric Cut ↩