8. Computational couture
Learning Rhino & Grasshoper
First time for me with Rhino and with Grasshopper.
Process
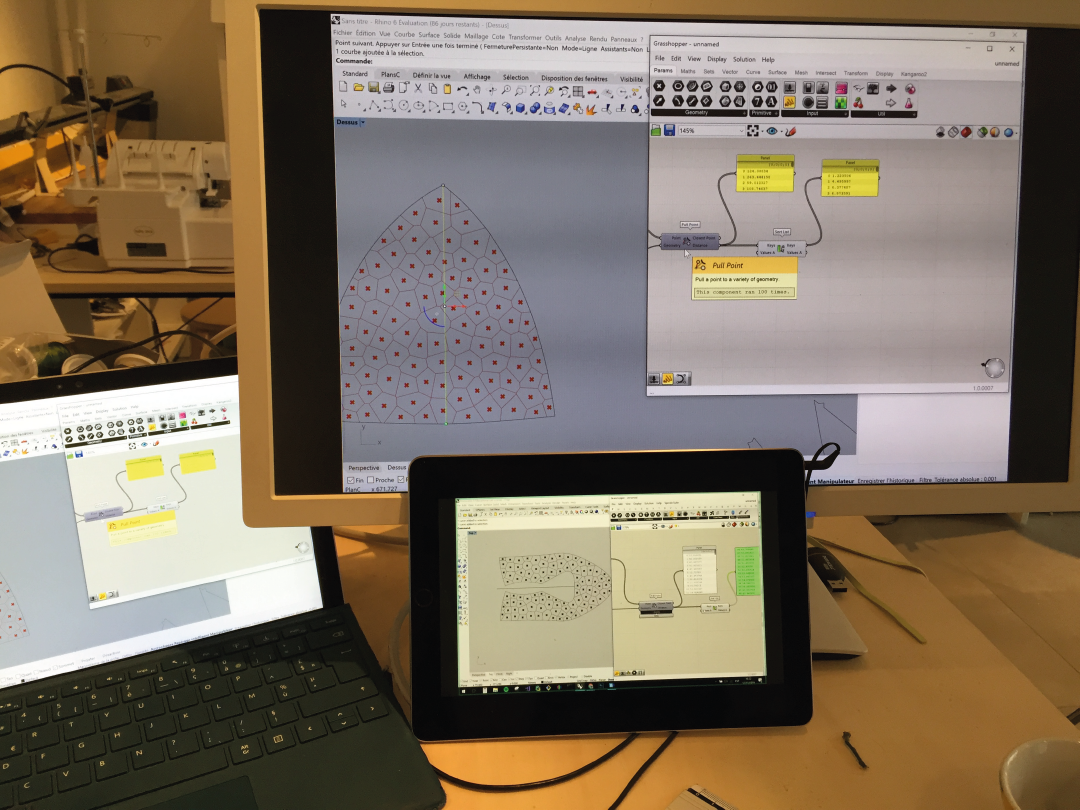
I follow all the tutorials form Eugenio on Vimeo. Here is my installation, the video on the IPad, and play & pause several time to do it step by step :
Then I re-watch the class with Aldo, to practice with the coralia dress.
Fabricademy Classes - Week 08 - Computational Couture from Textile Academy on Vimeo.
In order to go on with the refexion I had on digital bodies class, I wanna work on a parametric "do what you want" bra. It would be great to get a 3D printed bra that can adapt in volume to any breast and avoid multiple pieces.
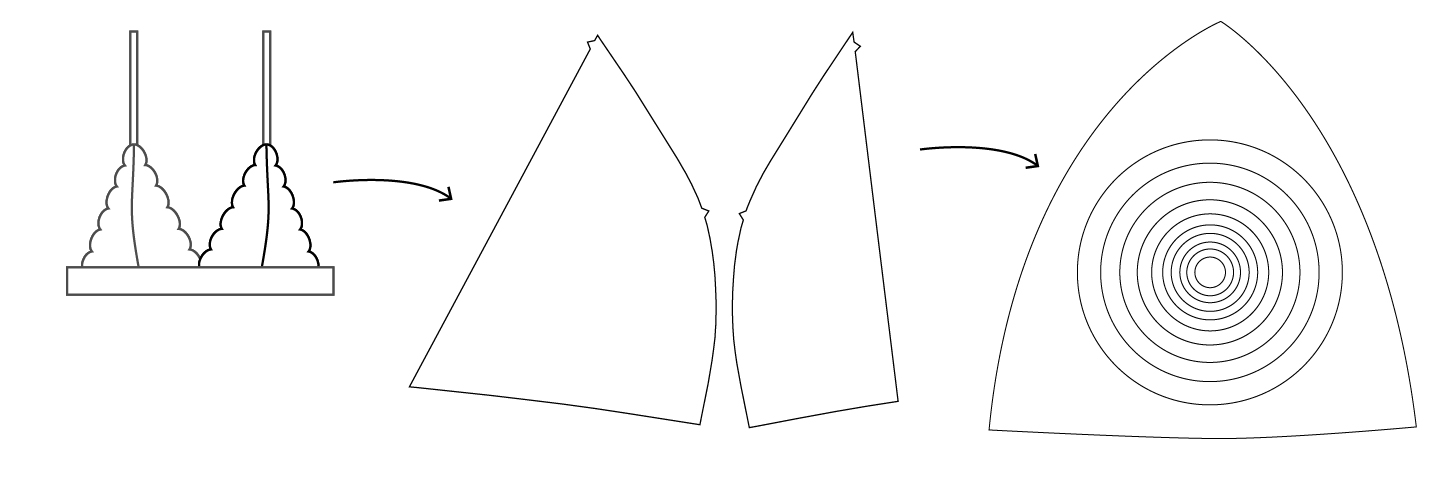
I choose to adapt the Coralia design to make a triangle bras pattern :
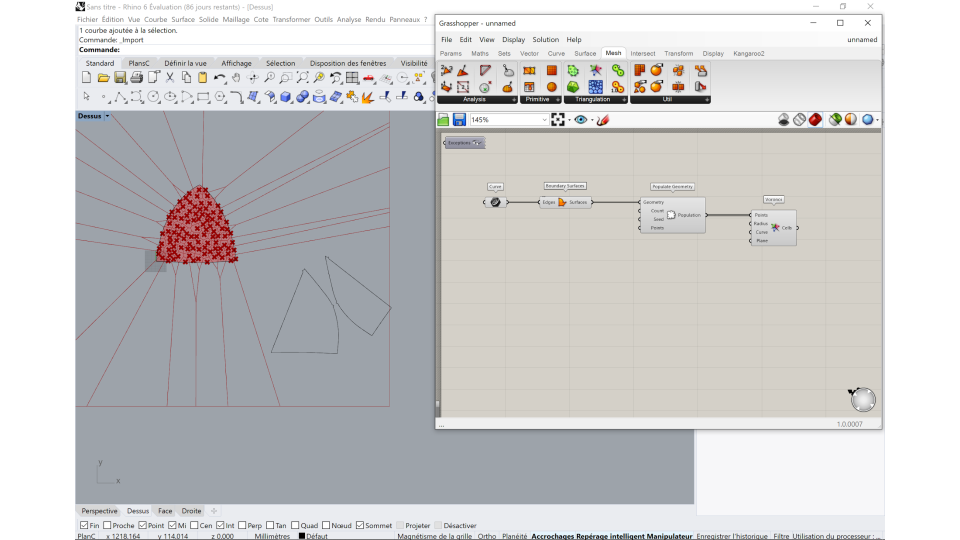
So far, so good :
To be more cohérent with my project I change the process and use a curve in the middle of my pattern as geometry reference for the Pull Point
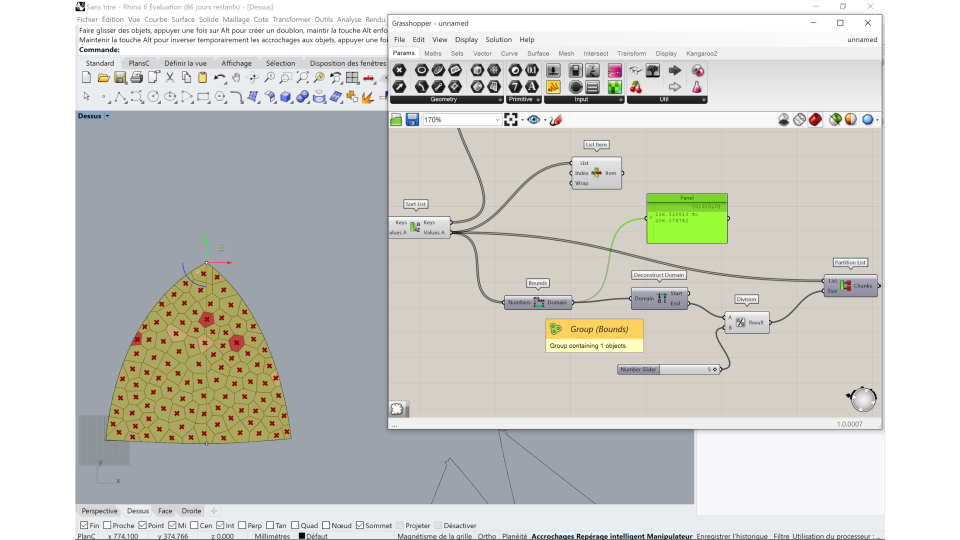
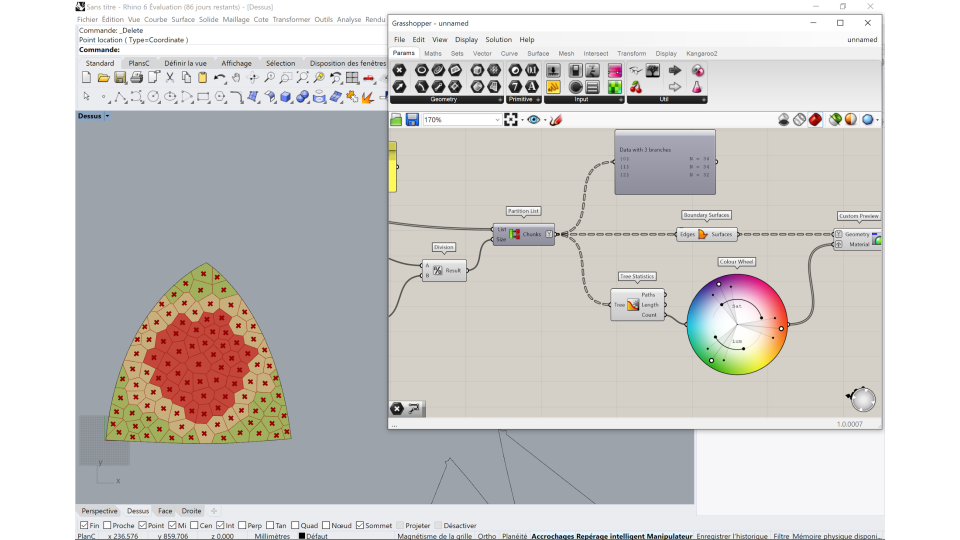
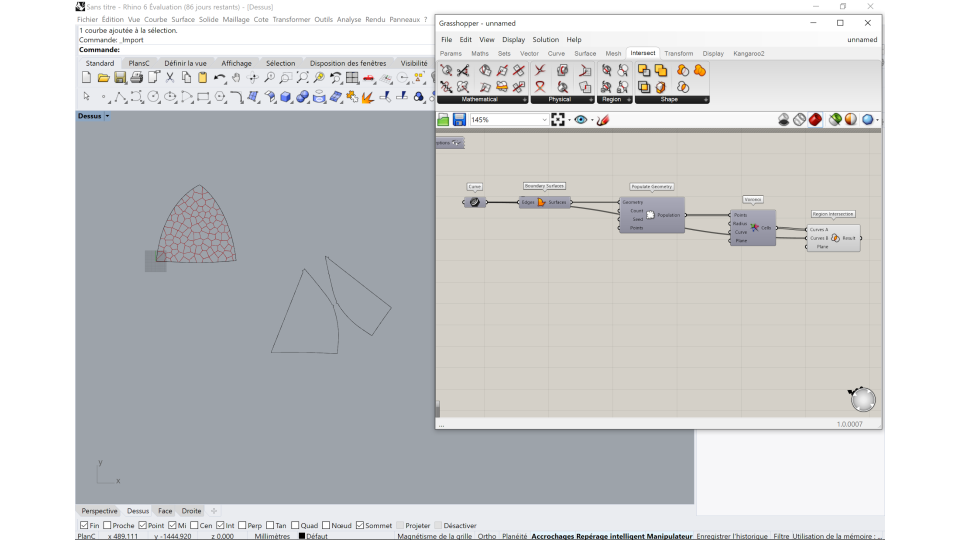
There I had an issue, impossible to have the representation in Rhino of this subdivision. Suddenly I've found that right click on point in the voronoi block then press FLATTEN make it visible. but I still don't understand why and why the REGION INTERSECTION doesn't work.

Files
3D print as fabric
Auxetic Pattern
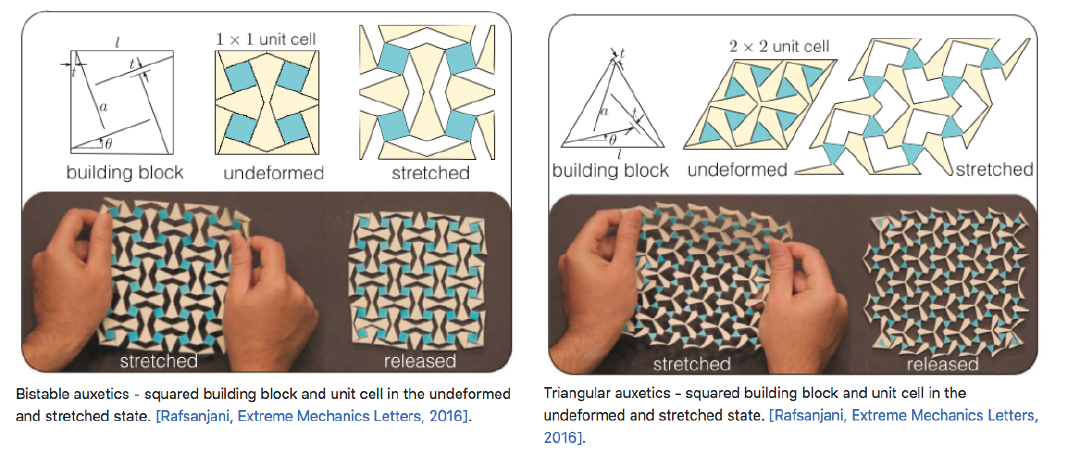
Denis Terwagne did the recitation this week, with Nicolas Decoster they made a very interesting tool during their Fabacademy called the Bistable Auxetic Pattern Generator Bistable Auxetic
Kirigami is simply a sheet folding in which there are cuts. When the 2D structure is stretched, it deforms in a particular way: It can expand, retract, rotate, move out of plane,...
Generative design with Processing
The Auxetic Pattern reminds me those I use to make in generative coding with Processing.
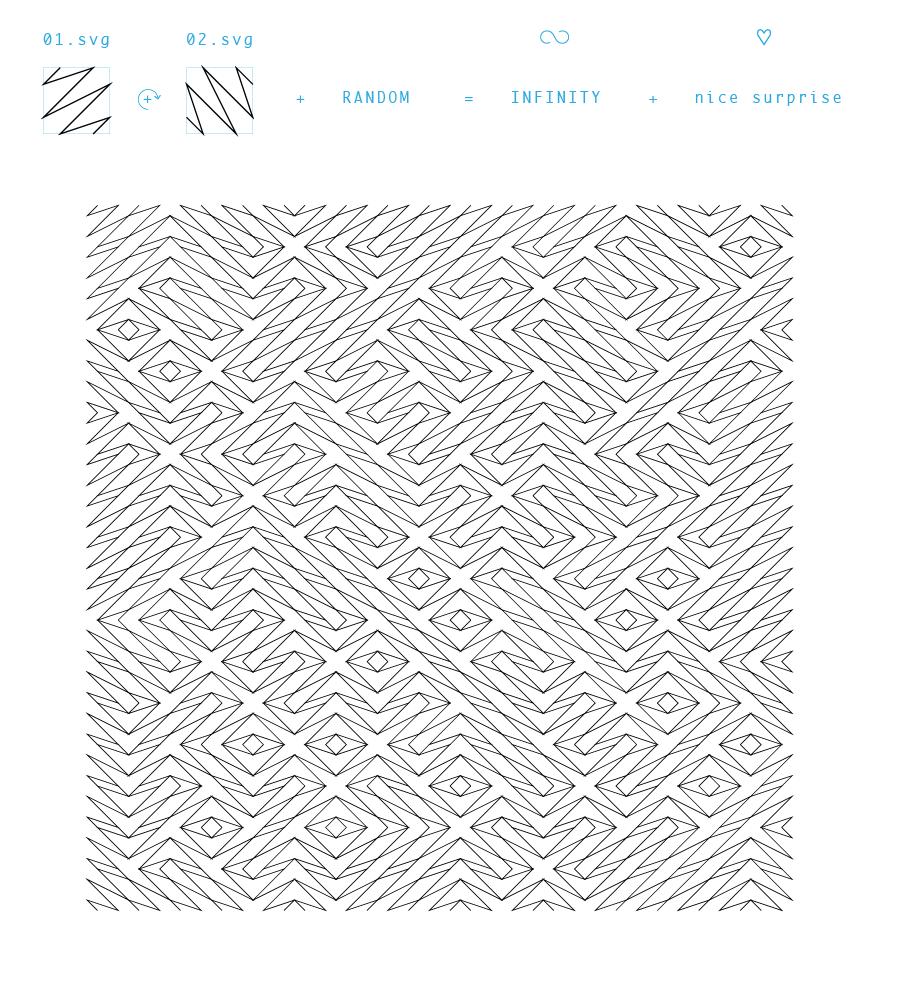
Here is the code I use to generate pattern with 2 svg.
import processing.svg.*;
import processing.pdf.*;
boolean record;

PShape img1;
PShape img2;


void setup() {
  size(1000, 1000);
  img1=loadShape("01.svg");
  img1=loadShape("02.svg");
}

void draw() {
  if (record) {
    beginRecord(PDF, "frame-####.pdf");
  }
  background(255);
  for (int i=0; i<height; i=i+10) {
    //axe x
    for (int j=0; j<height; j=j+10) {
      //axe y
      float R = random(2);
      //variable aléatoire
      if(R<1) {
        img1.enableStyle();
        shape(img1, i, j);
      } else {
        img2.enableStyle();
        shape(img2, i, j);
      }
    }
  }
  if (record) {
    endRecord();
    record = false;
  }
  noLoop();
}
void mousePressed() {
  redraw();
}

void keyPressed() {
  record = true;
}
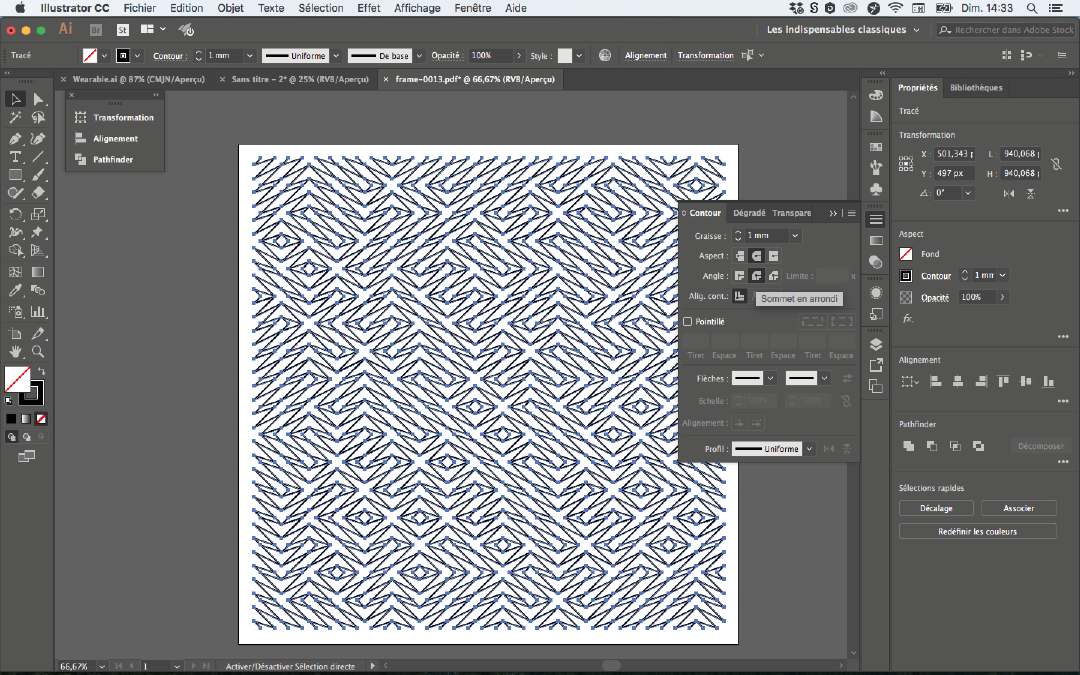
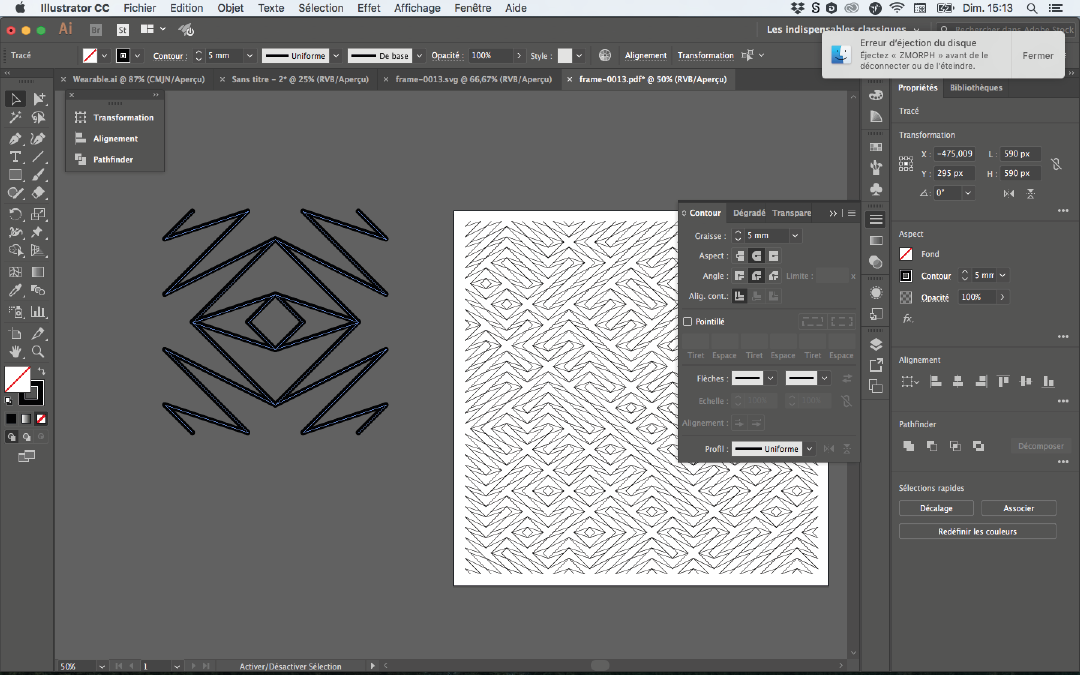
When pressing any key on keyboard in Processing, the pattern is recorded in .pdf This is the file I opened in Illustrator :
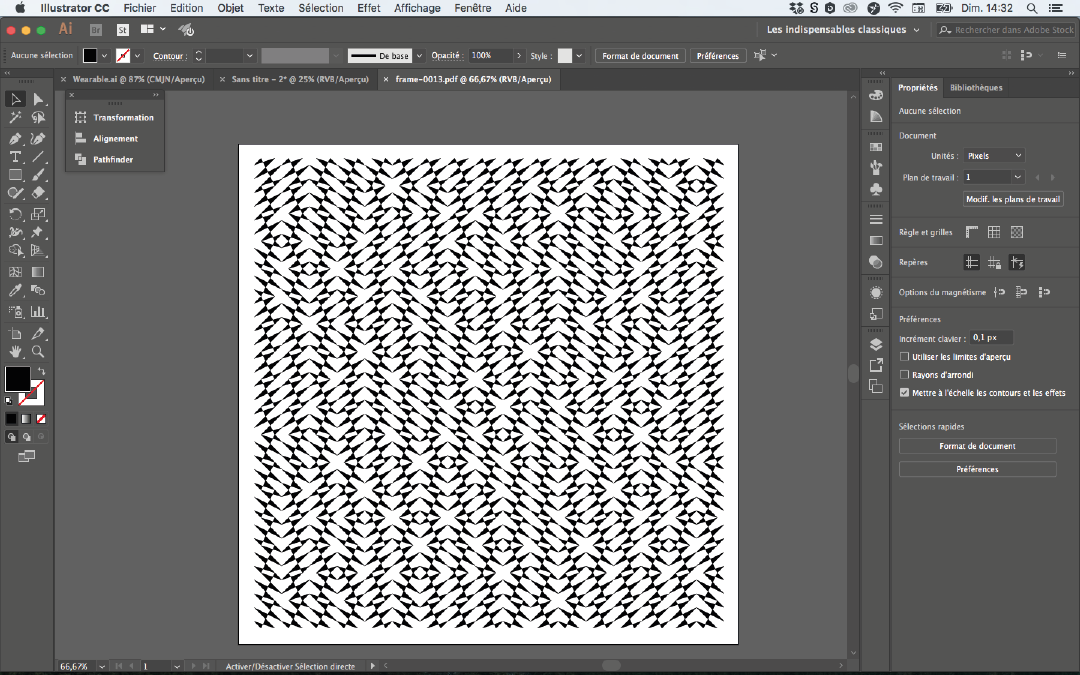
I change fill shapes into stroke,
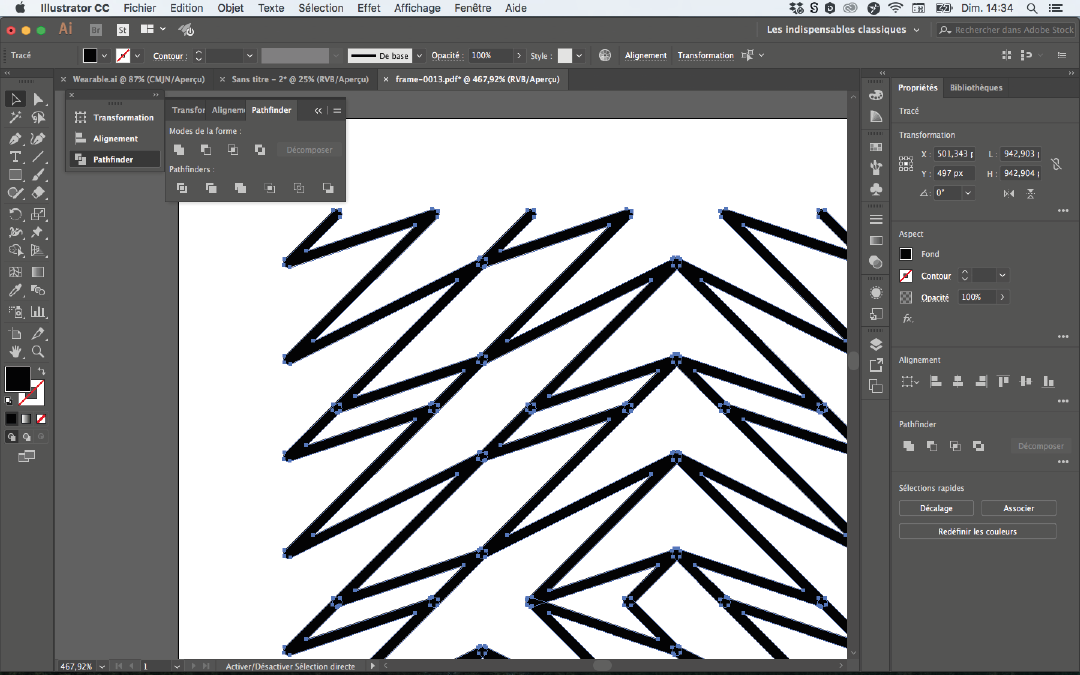
I choose the thickness I need for the stroke, and rounded for the edges and corner.
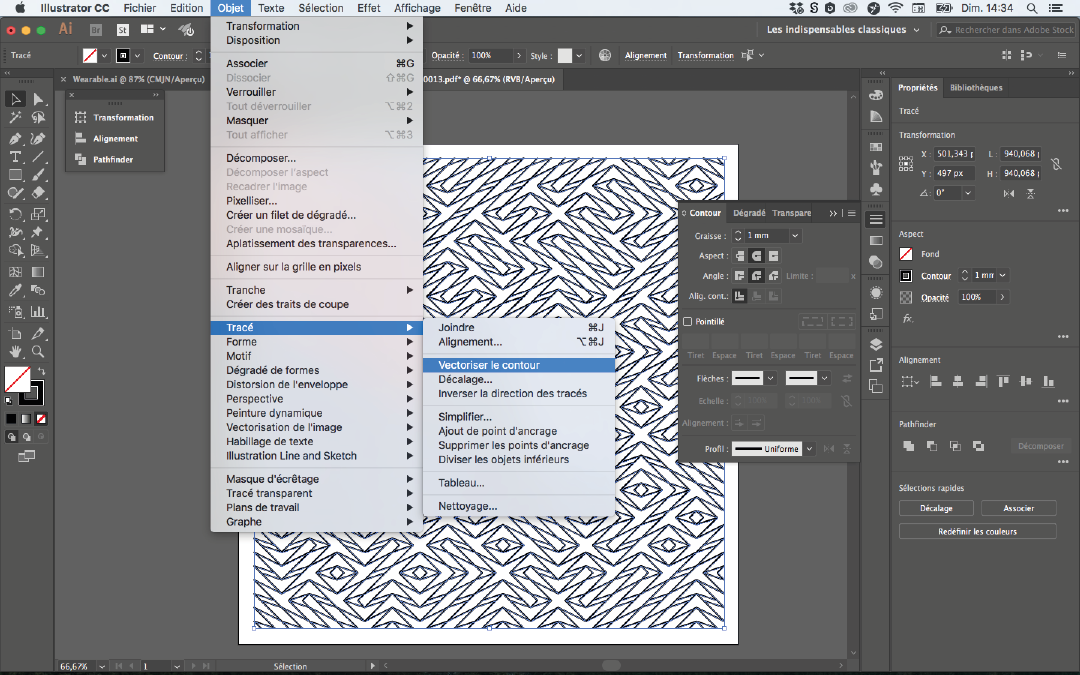
Select all, and merge all the shapes with pathfinder tool.
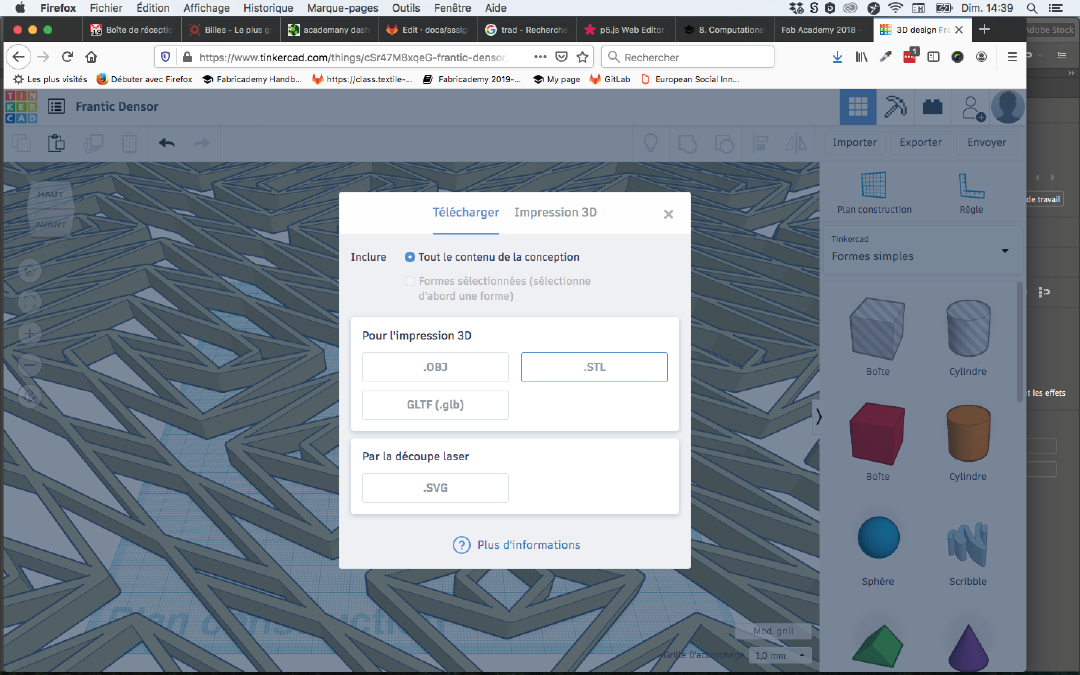
In order, to go fast I used thinkerCad, import the .svg et upload it in .slt
3D Print
Voxelizer
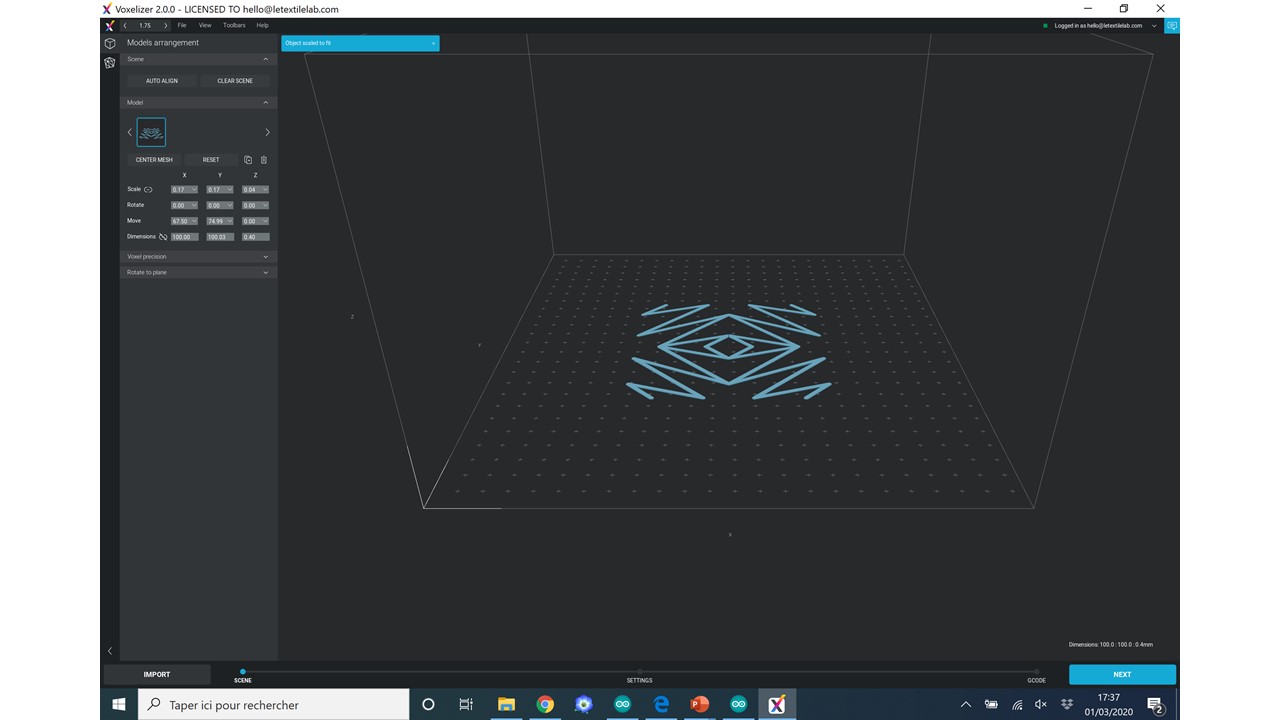
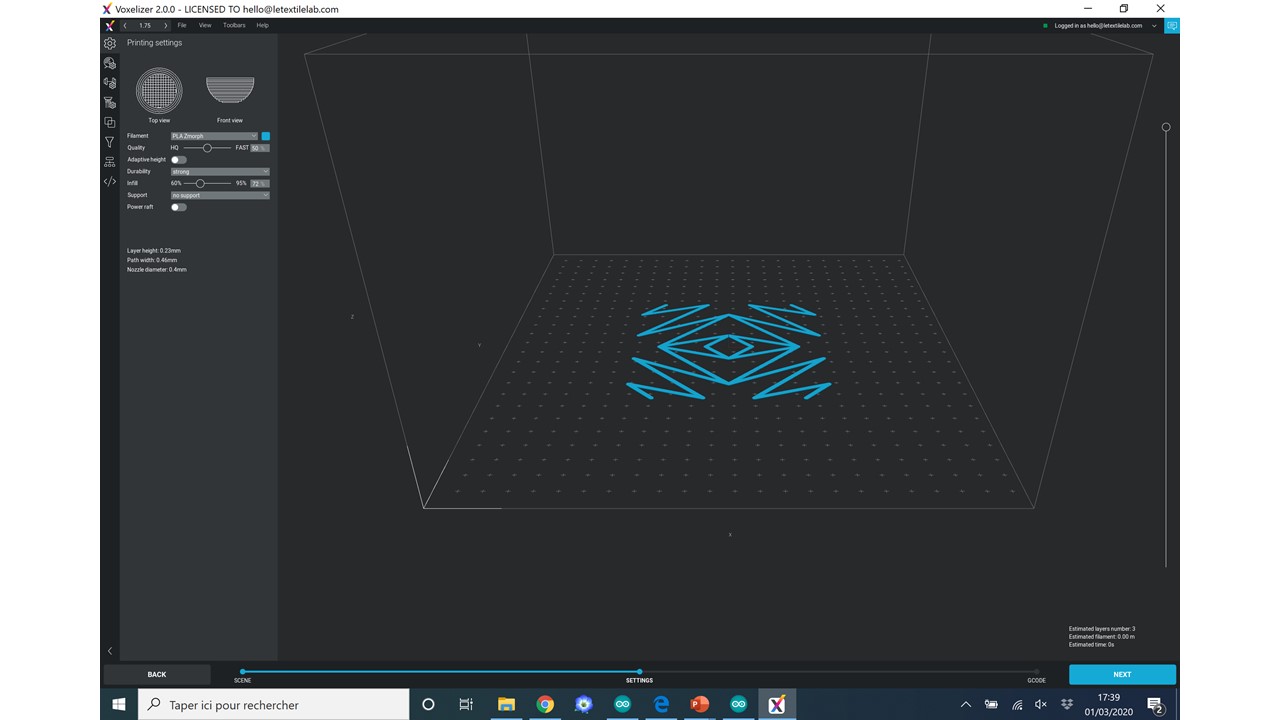
Open Voxelizer, choose the right toolhead for 3D printing : Single extruder & 0.4 noze I change here the height I want : 1mm
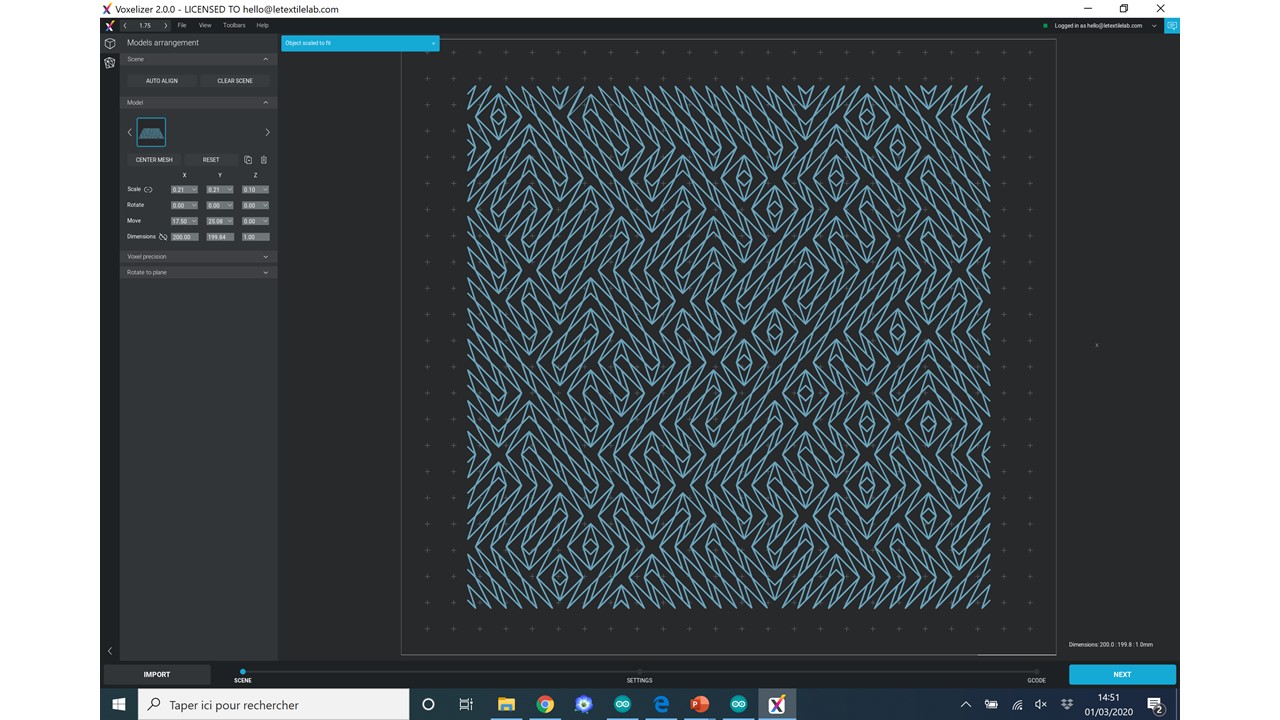
Next screen, I choose no support, and no Rim
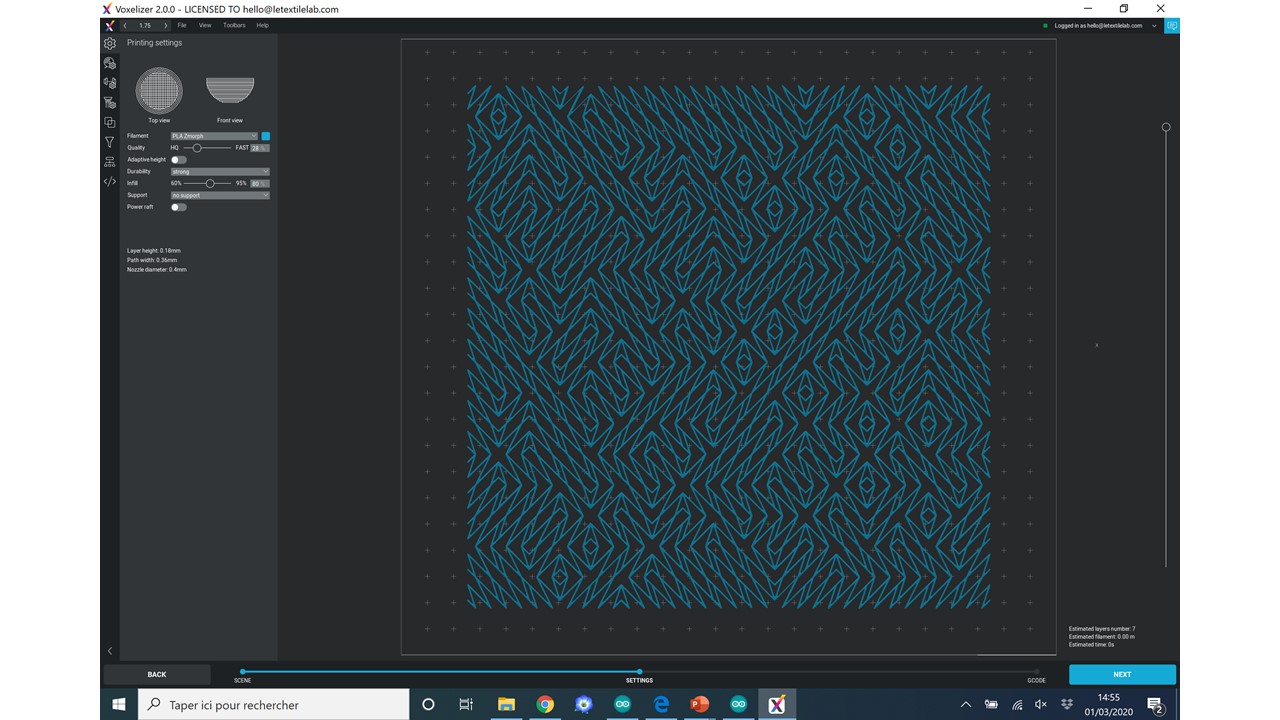
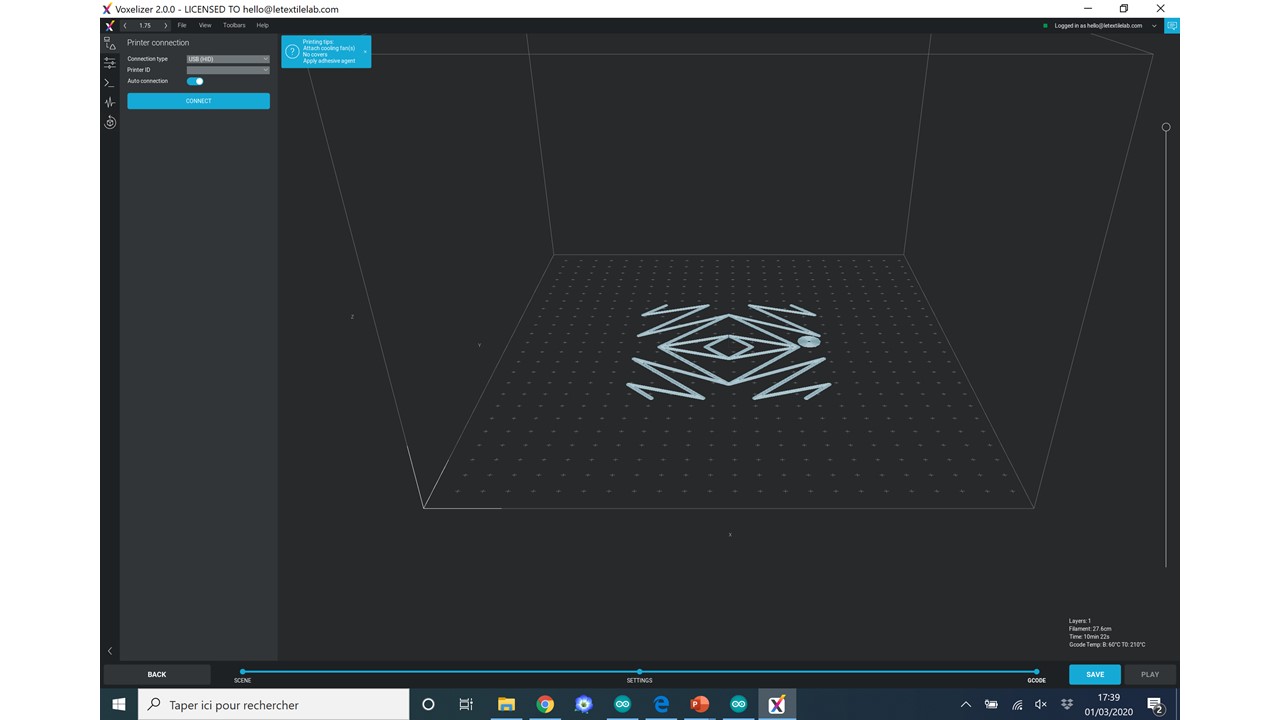
Then save as a Gcode
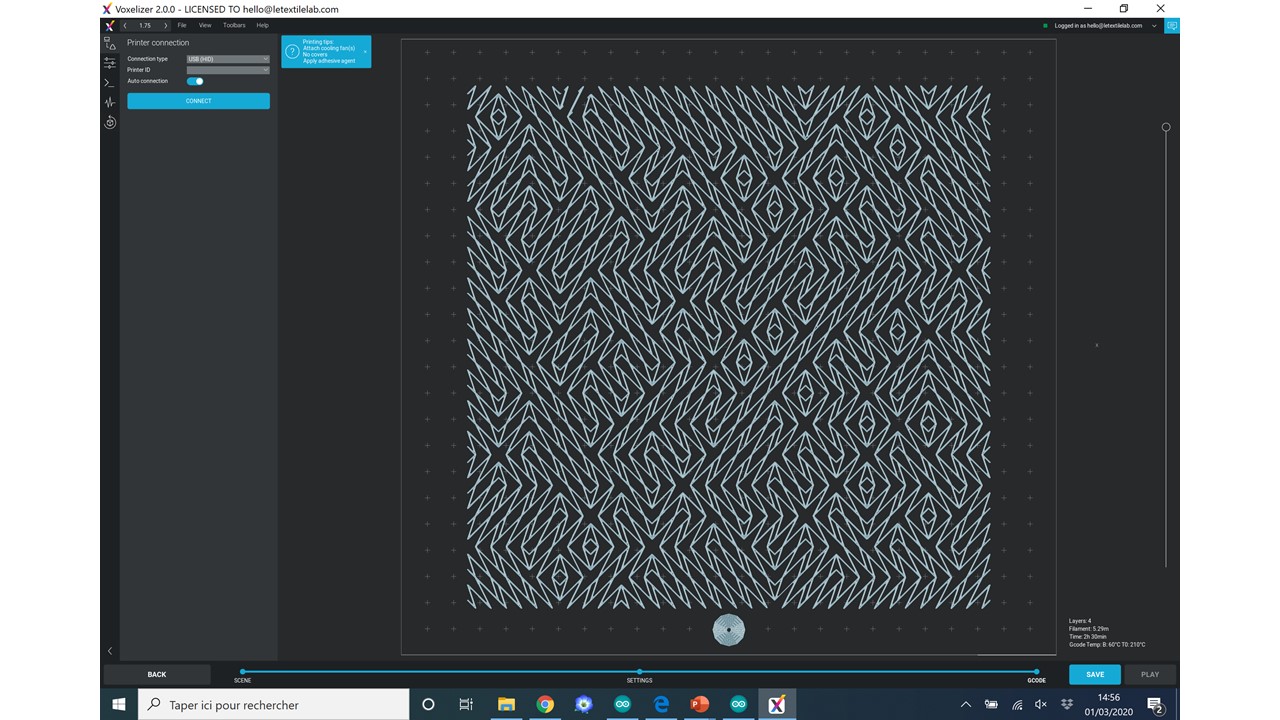
Zmorph
... add photos
Video
... add the video
3D print on stretched fabric
For this assignement, I work with a small part of my previous genrative design.
Same proccess : in Illustrator, I choose the line stroke width, I trace the and merge all the shape with the pathfinder tool. Then export as SVG, upload in ThinkerCAD and export in STL. Below the screenshots of the slicing in Voxelizer :