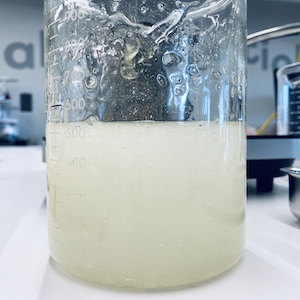
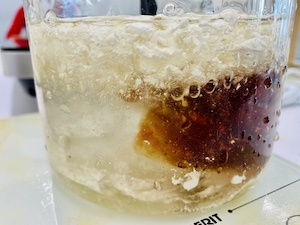
The main ingredient here is the sodium alginate, a white powder that comes from alginic acid and that is used in food. Mixed with glycerine and water that forms the main recepies. Pray your surface with calcium chloride and tatannn !!!! Biomaterial here we come. Depending if you want to do a sheet, a foil or something thicker, you can change the amount of glycerine to 20gr to 40gr.
Here you see in the first mixture, that alginate takes time to rehydrate. I mix all the my test with a hand mixer (like the smooties). In the first mix, I use instead of 400ml of water 600ml by mistake and it has the perfect consistance to do a sheet (it was the recepies to do the foil)
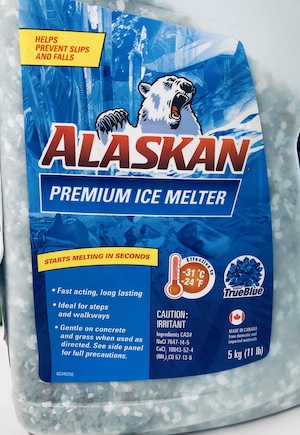
To prepare the calcium chloride, I didn't find any the calcium chloride, so I buy some Alaskan (a product to prevent ice on driveway during winters). I desolve 11gr in 100ml and filter the liquid to take some gravel. I spay my first batch of biomaterial and I discoverd that all the magic fixing is made buy the calcium chloride. But sometimes when maybe it has too much water in it, the result is inconsistent.
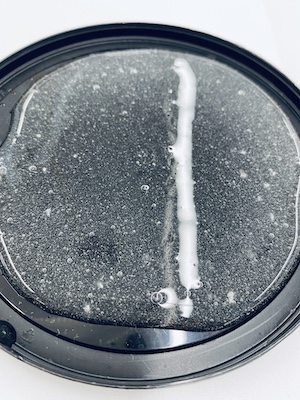
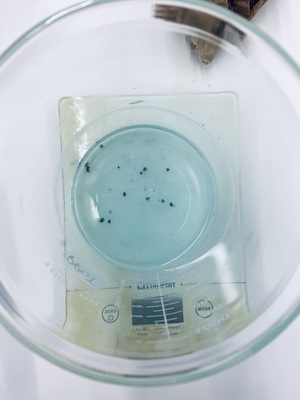
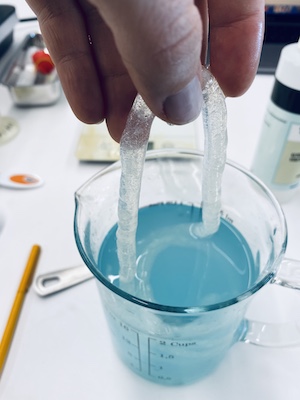
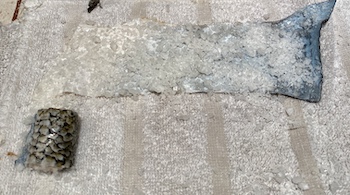
I made other test, this time I put only 200ml of water for the bioplastic and put it in a ziplock (I don't have a seringe, but that will do for a proof of concept). Take off a corner and press the liquid directly into the calcium chloride mixture. Exept for the bubble because I didn't let it sit the result of the yarn was spectacular.
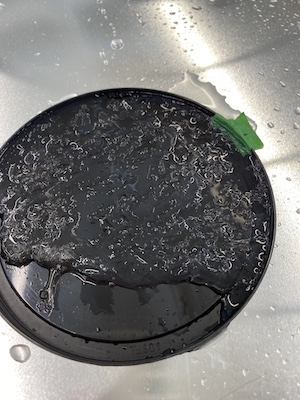
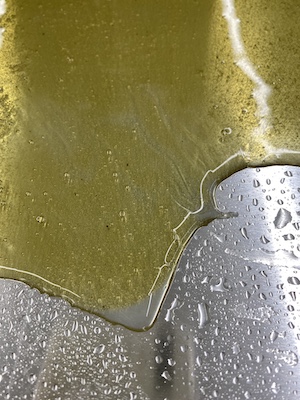
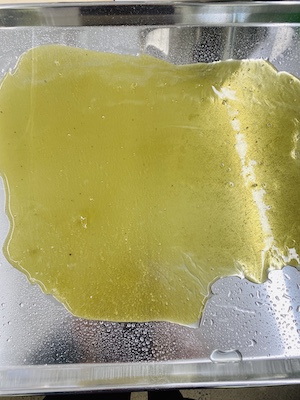
I decide to try to make a sheet. I mix 400ml of water, 100ml of my red oignon dye that I make, 12gr of sodium alginate, and 40gr of glycerine. Spray the bottom of my pan, pour the material in it and spray on top of it.
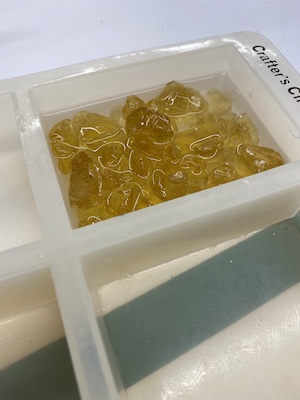
The resine
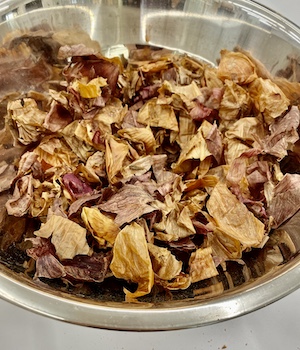
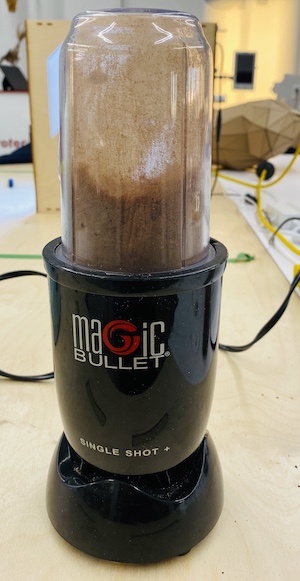
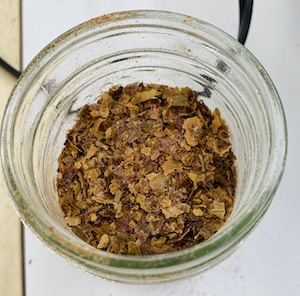
I dryed the oignon skin that I used for the the biochrome week and chip it with a magic bullet. Seriously..this thing is MAGIC to put things in powder.
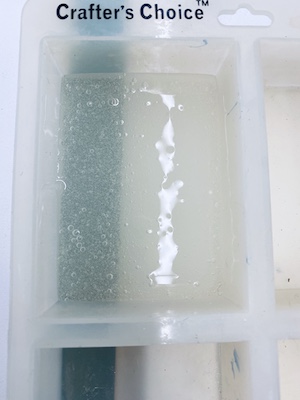
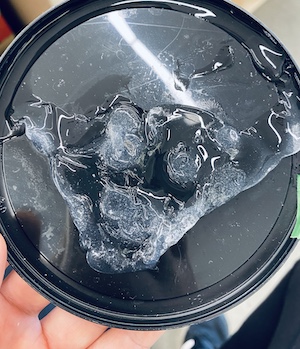
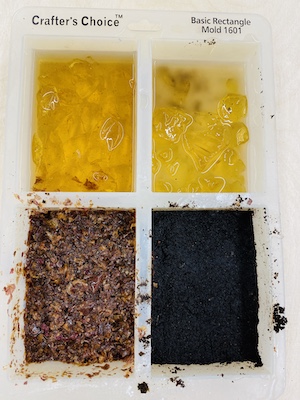
I try to desolve 50gr of pine resine rock into 30gr of alcohol... after few minutes I discover the I had the wrong quantity...I try with the 30gr of resine and 30gr of alcohol.. It works better but take forever to desolve. So I take the super Magic bullet and in 1 sec, it turns everything into powder, how fantastic is that! Put the powder into the mold with the same quantity in gr in alcohol and wait. Meanwhile, I take 25gr of oignon skin and 25gr of coffee grain and when the mixture is desolved, mix it them together in a mold and wait.
Fish leather test 1
When I heard about the fish leather I call my local market to try these experiences. They gave me most of all salmon fish, but also some tuna from hawaii and from gaspesie, artic chair and sturgeon.
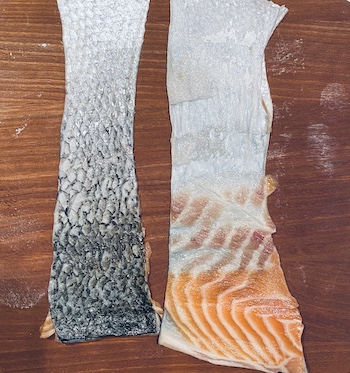
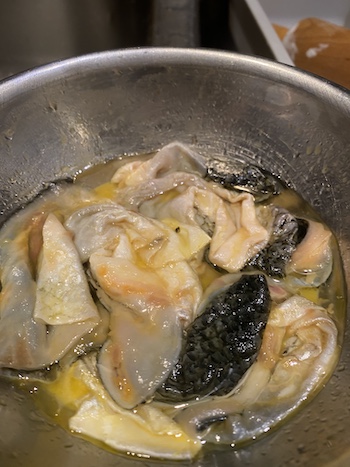
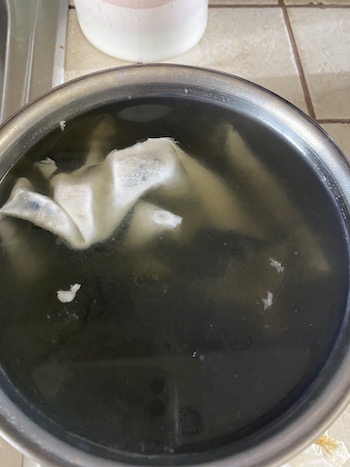
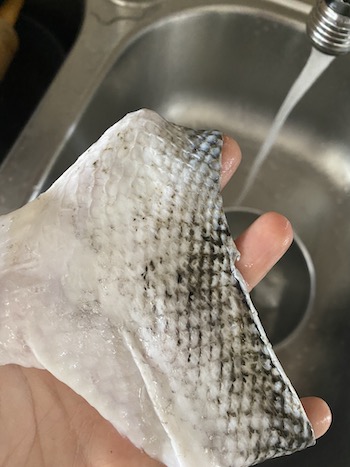
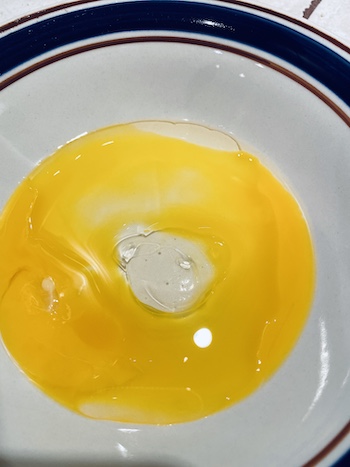
My first experimentation was with 1 egg yolk and 100ml of vegetable oil. Mix together and add 2 or 3 fish skin in it. The fish skin I use was all salmon that I take off all the scale and residu of flesh on it. I put it the boil and in the fridge for 3 days.
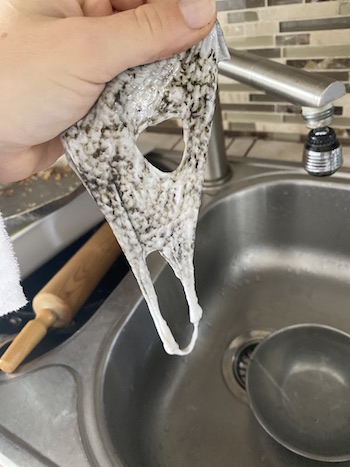
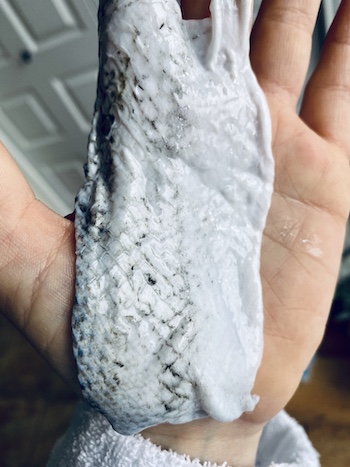
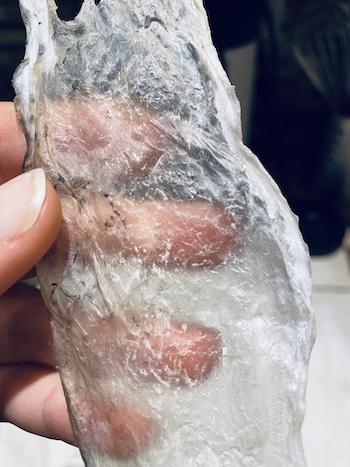
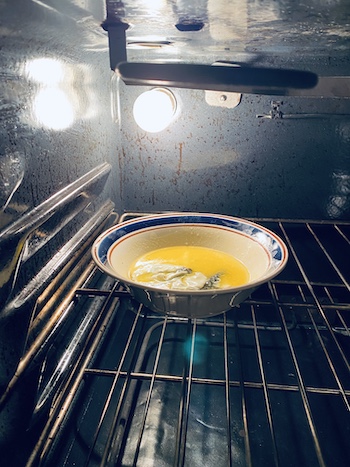
There are many people on internet that washes the skin before and thinks that this process is somekind of breaking the skin. So I soak over night these skin into Tide soap. The next morning, the skin was broken... Some have holes in it, some lost the black color on top. I let some of the skin dry and the result was awesome and very easy to break so that it could be flexible. For the rest of the skin I redo the egg yolk and oil mix and let the skin absorb again and instead of frig, I put them in a closed oven with only the light open.. apparently when it's a bit warm the skin absorb more the fat.
When I take them out, the egg had cook a little bit and the skin was a big mess..end up to trash
Fish leather test 2 and 2.5
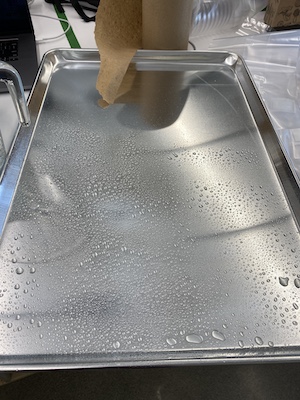
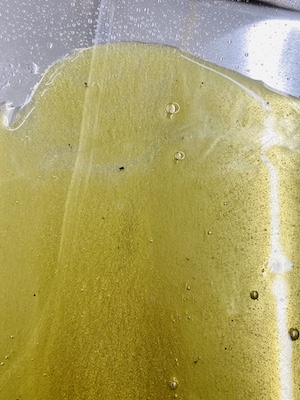
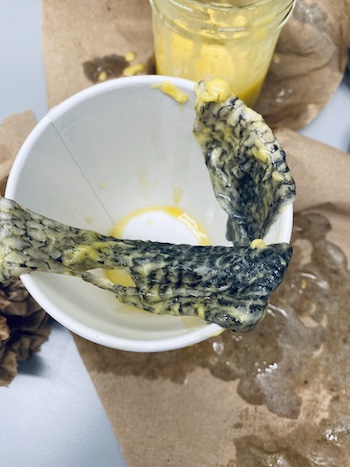
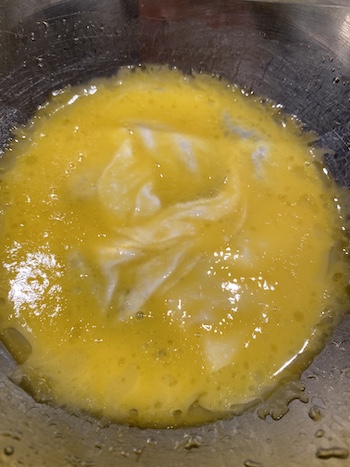
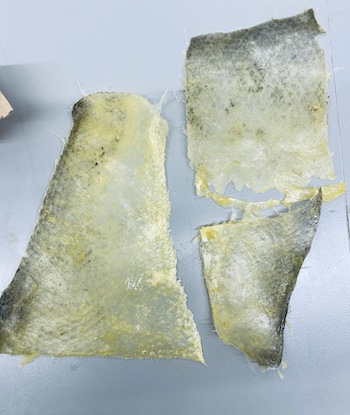
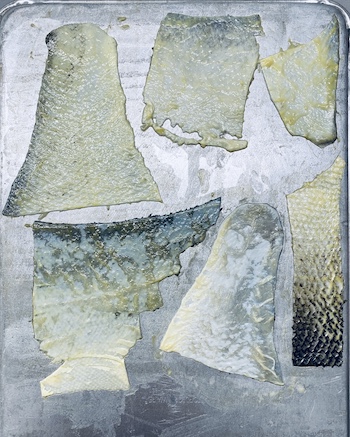
I found another recipe and a wonderful serie on fish skin leather by Janey Chang Art & ancestral skills. She put some soap, but in her mixture so I did one batch only with egg yolk and 100ml of canola oil (no soap) and one, same mixture with soap. Mix it by hand, massage for 5 min and leave it over night on the counter. Then next morning, I paint them on a metal cookie pan like you see in the picture. The first row on top is no soap and the next row have a table spoon of soap.
I let it dry and the result was a little bit yellow. I was with water and soap the one with no soap because it was very smelly and very yellow.
Fish leather test 3
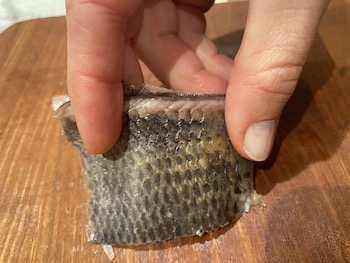
I try with salt, take the skin no scale, no flech and put some big salt on it on roll them. Roll them in a cloth and leave it there for 2 days.
When I unroll them they were touching the same has the other one but feel still fragile so I soak them into the famous egg & oil mixture.
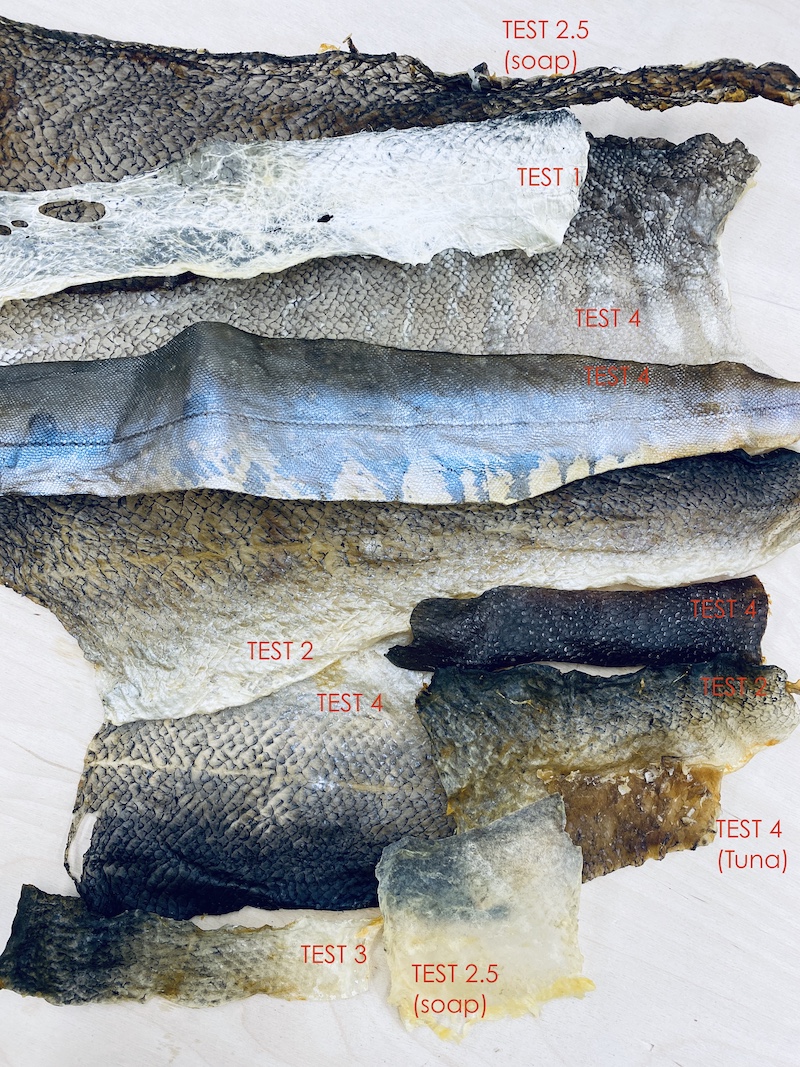
Fish leather test 4 and results
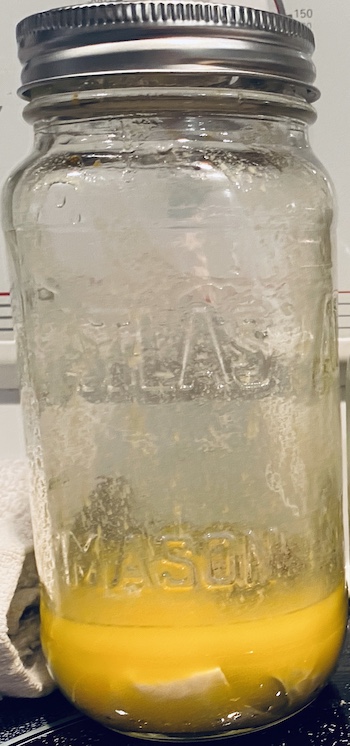
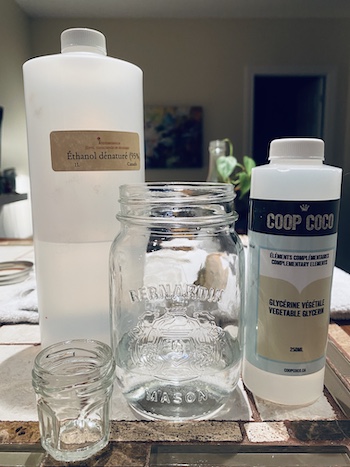
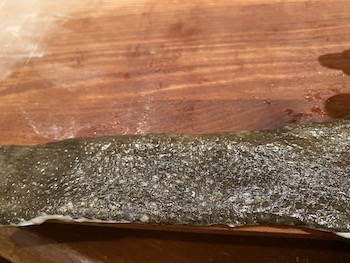
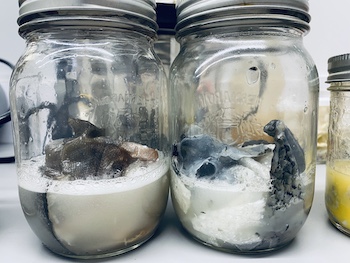
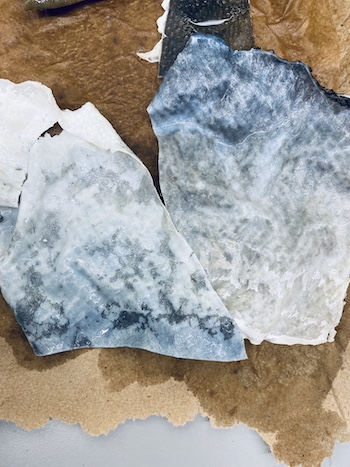
This test uses the recipe given by the textile academy. 1 part ethanol for 1 part glycerin. And I have a lot fun to take all kind of fish skin. I put them in a masson jar and shake them 20 times per day during 3 days and now they are drying.
One of the two masson jar I did had more fish skin into and when you touch both batch the feeling of the skin was more viscous and less dry and plastic, so I figured they were not ready. I redo the mix and put them again inside.
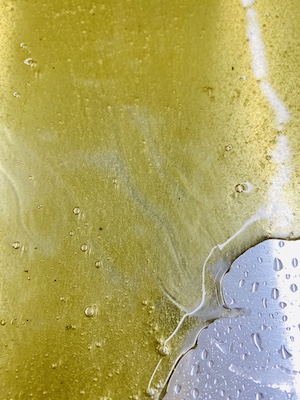
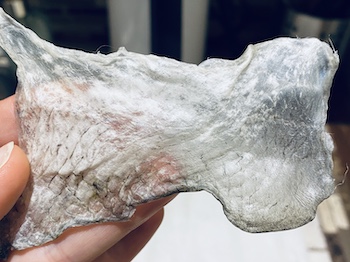
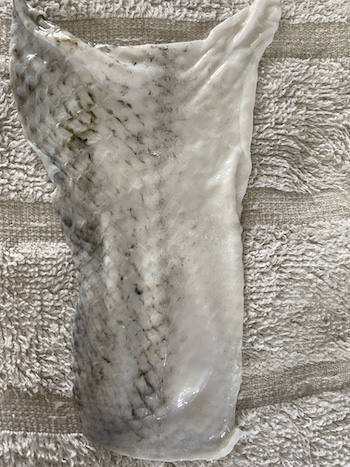
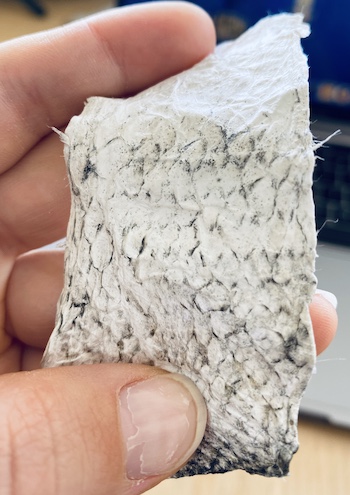
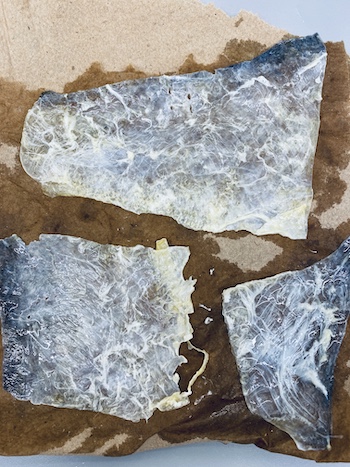
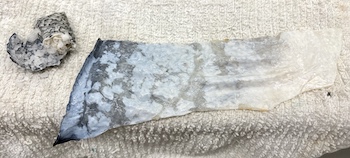
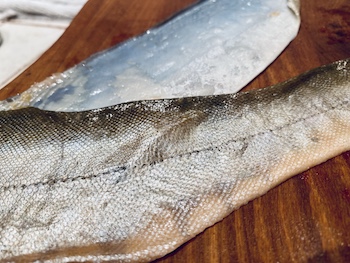
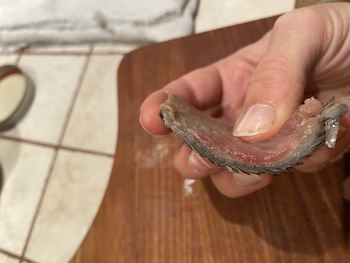
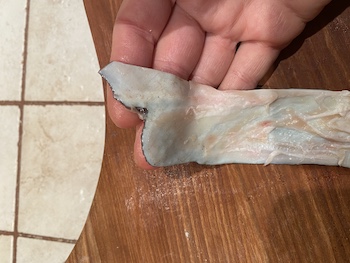
The last picture show you the different between all the tests I made. The test no.4 is the one that stay transparent but it feel greacy. Test 1 respect also the color, but feel a like Tyvek and if it take water, it go back rigid. Test 3, don't make a realy big different. Test 2 respect the color on a early stage, but with time, some yellow tone appear.
Mycelium
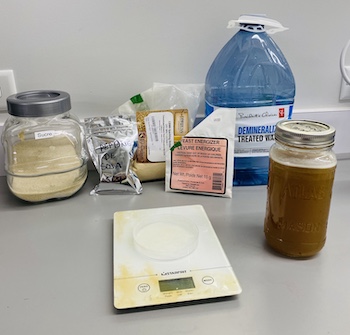
First do your food mixture. I mixed 3gr of malt extract, 3gr of yeast extract, 5gr of peptone and 600ml distil water. Mix everyting and put it in a masson jar. You need to sterelise everything that will be in contact with the mycelium.
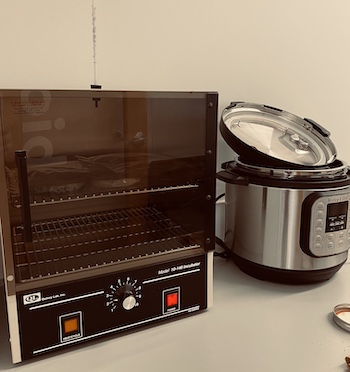
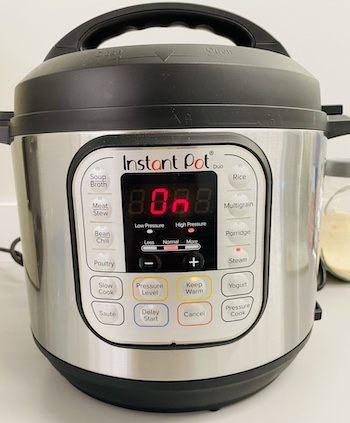
I put in the instant pot 4 cup of water at the bottom and put my food masson jar I just did and a jar full of coffe grain to sterelise. I made the STEAM fonction for 1 minute and let the instant pot work.
Meanwile, I take 70% alcool and desinfect the table, some tools like spoon and scisor, some container and a beathable bag. It'a a bag with a small filter to let the inside breath without contamination. I figure it will keep also the humidity inside.
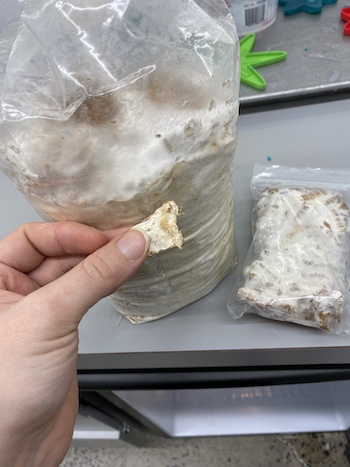
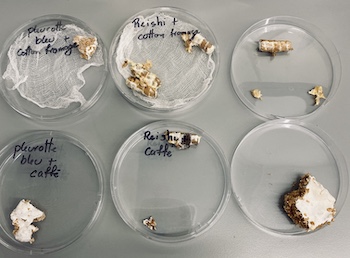
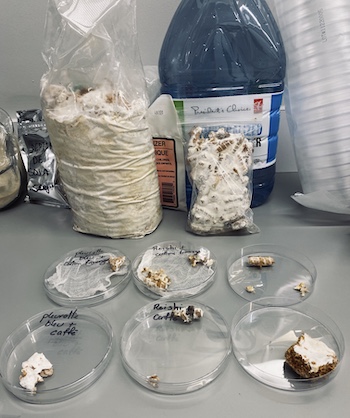
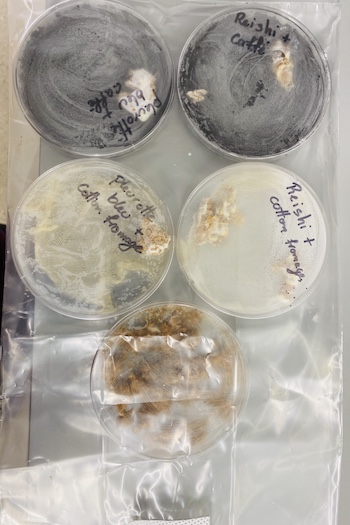
I cut some pleurotte and Reishi mushroom. I both them from a mushroom store. We let it grow on the counter so he can produce a maximum of mycelium. Apparently if the bag is all white, it mean's that it's ready to create a fruit so a mushroom. I cut a piece of both and put them in container.
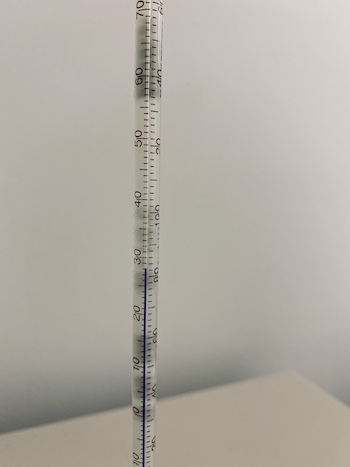
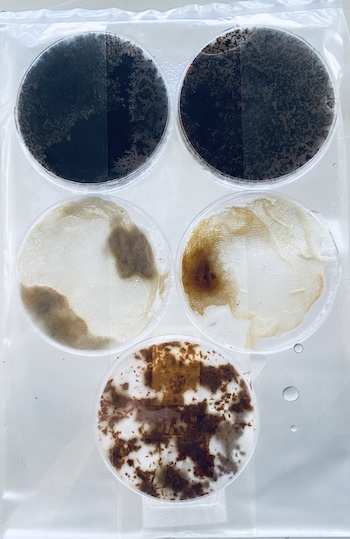
When everything is clean, let cool down. I don't have a lot of time to do it so I pour right away the coffee in two container with 2 table spoon of food. In the 2 other containers, I put a cheese cloth and only 1 table spoon of food with the sample. I seal everything in the breathable bag and put it in the incubator at 28 degree celcius.
I also collect a very nice sample from the outside of the pack and I think that this is actualy mycelium leather.
Here are some video interesting:
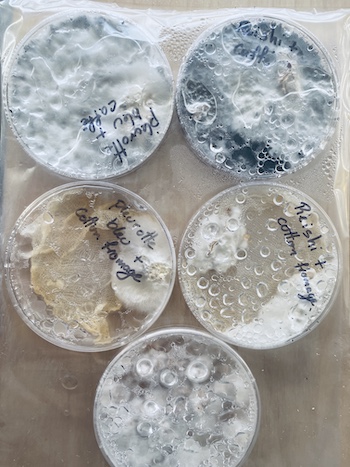
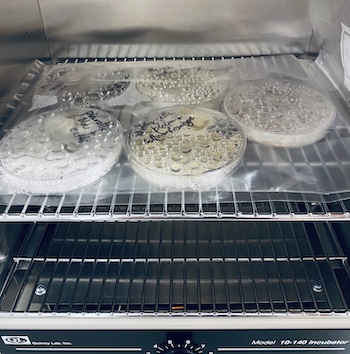
After 1 week, the mycelium grow very well in the incubater with no problem. Maybe a little to much water inside, we will see what happen.