2. Digital bodies
This week was the fist hands on assignment were I digitaly created an object using 3D scanning and Meshmixer to make a 3D printable sculpture.
Creepy Roly Poly
3D Print

Design Process
Scanning
As I didn´t have access to FabLab I did have to improvise a bit. So Adriana came to visit and we had a little cake. Well why she came is, because she brought an "I sense" to scan me. As we tried to do it in my tiny flat we didn´t get a good result because it also captured the background objects. So we went to the parc. I actually had the idea to make a scan while moving and hoped it will become an experimental deformed bodyshape, but in fact "I sense" is always wanting to switch back to the original pose. What was funny to see is, that when I slowly moved my arm it looked like those kitschy snow angels, but that was not what I wanted. So I tried to hold a scarf in the wind, that actually produced lots of little bits of a scan what looked quiet interesting. In the end I started to put my cardigan around my head to create a "ready made sculpture" and modified body. I called it the "knot head". After that I wanted my screaming head to be scanned, so I have more objects to play around and merge. That´s how I created the final creepy roly poly.

Here the wind was interrupting a clear scan that could be used as a experimental method to create and influence the shape. I really enjoy playing around and change purposes of existing techniques. The access to the scanner was only a few hours, so I couldn´t work on the "scanning moving object" idea much longer. I´ll try getting one for my very own :D I think it is anyway useful and widens up the whole design process to make customised and digitaly created fashion and costumes.


Those two Scans were the final objects I used for designing my little project of the week.
Preparing to 3D Print on Meshmixer
After fixing the mesh the first time there came out somekind of a bubble to close the open bottom. It reminded me of a roly poly so I decided to keep on with that idea. This sculpture already was so weird, why not giving it useful purpose as a creepy looking toy.
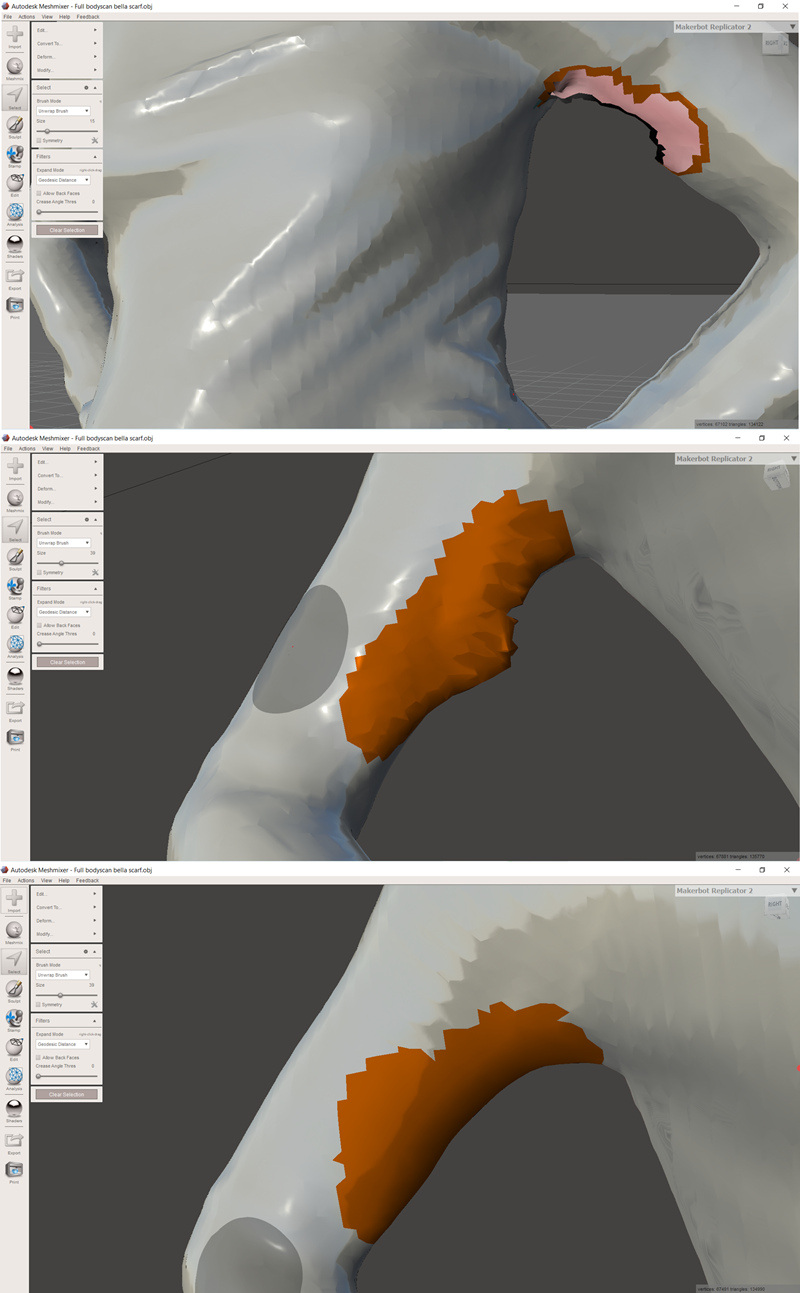
Useful basic and quick commands to clean the scanned mesh in Meshmixer:
Edit -> Inspector -> Auto Repair Using that you will get a closed object
Select -> Choose parts you want to clean/delete with the brush mode -> Discard the Selection
Select -> Double click on the open edge -> Erease and Fill Using that you will get a flat closed refill of the discarded selection

Other Designs in Progress

Software and Techniques
In class we also could work on creating a manequin combining the open source Softwares MakeHuman and Slicer Fusion 360. Both of them are very intuitive and easy to create a customized design to be lasercutted or 3D printed.
Make Human
Make Human is a very handy software to make a 3D Body shape with customized sizes. You can export it to a 3D Software like Meshmixer or Rhino to cut the object for just using the head or other body parts for example. Or to design a piece directly on top of the body.

Slicer Fusion 360


Research on Artists working with the body
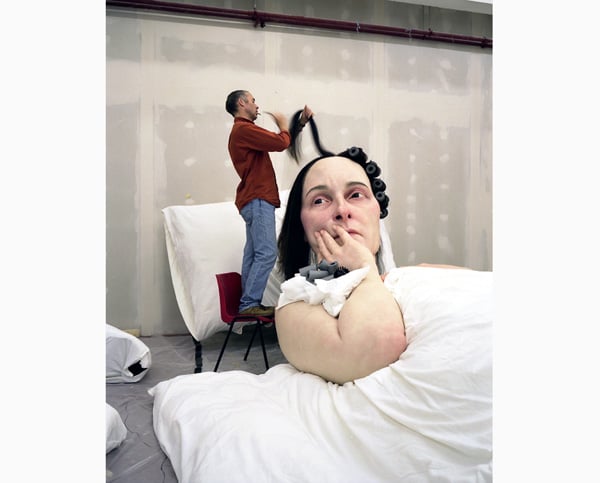
Ron Mueck
Useful links
Compressing Videos with Handbrake
Tutorials
This short tutorial is a great way to clean your meshes on meshmixer. It helped me with a few clicks to make a solid object and smooth surface. Check my Video above how I made my creepy roly poly.
Fabricademy Lectures: Digital Bodies
Fabricademy 20-21 WEEK 2 Digital Bodies from Fabricademy, Textile Academy on Vimeo.