7. Computational Couture

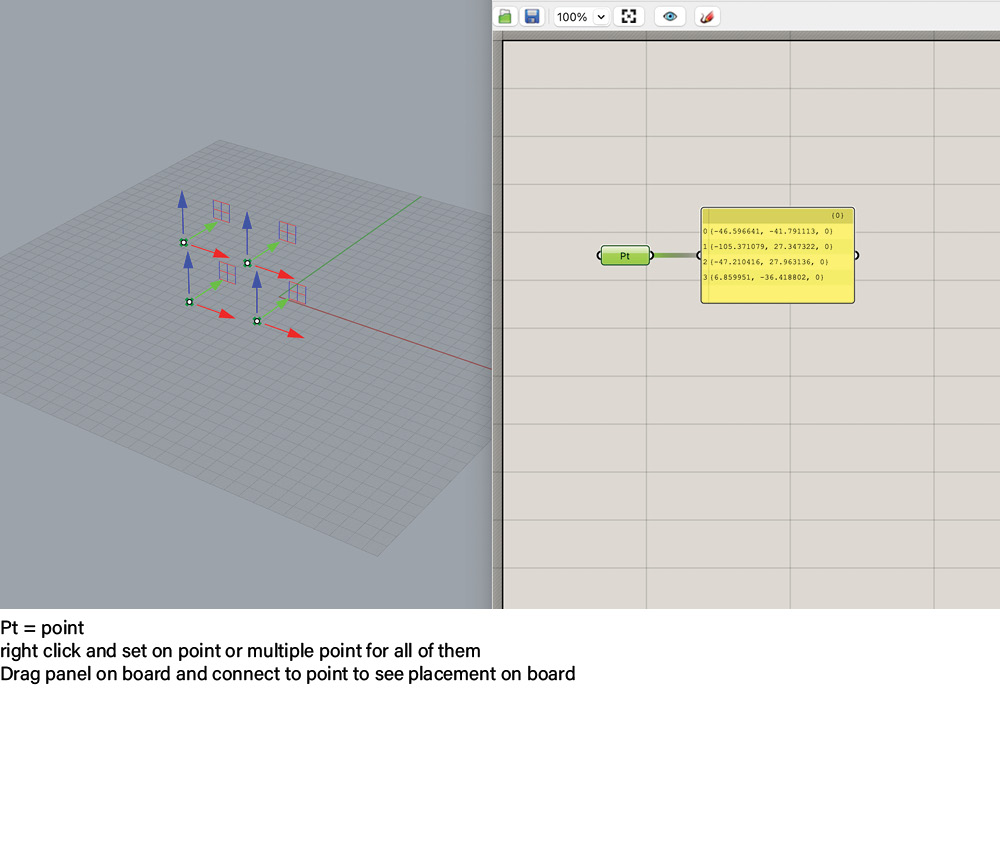
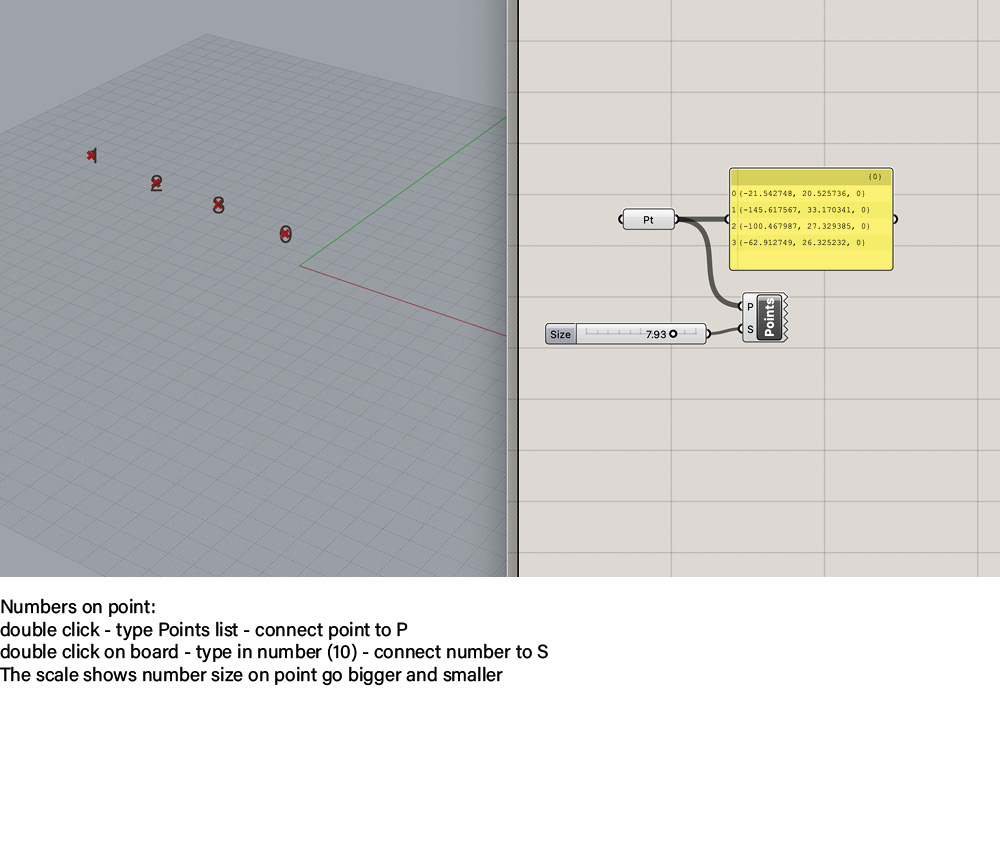
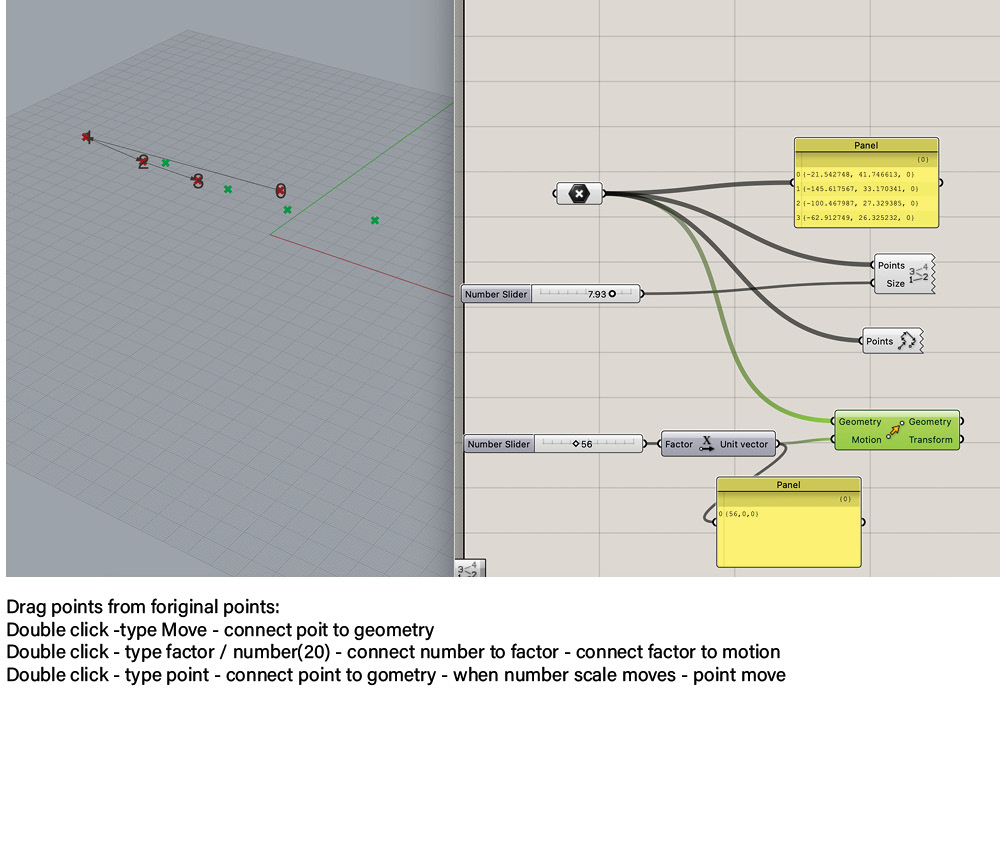
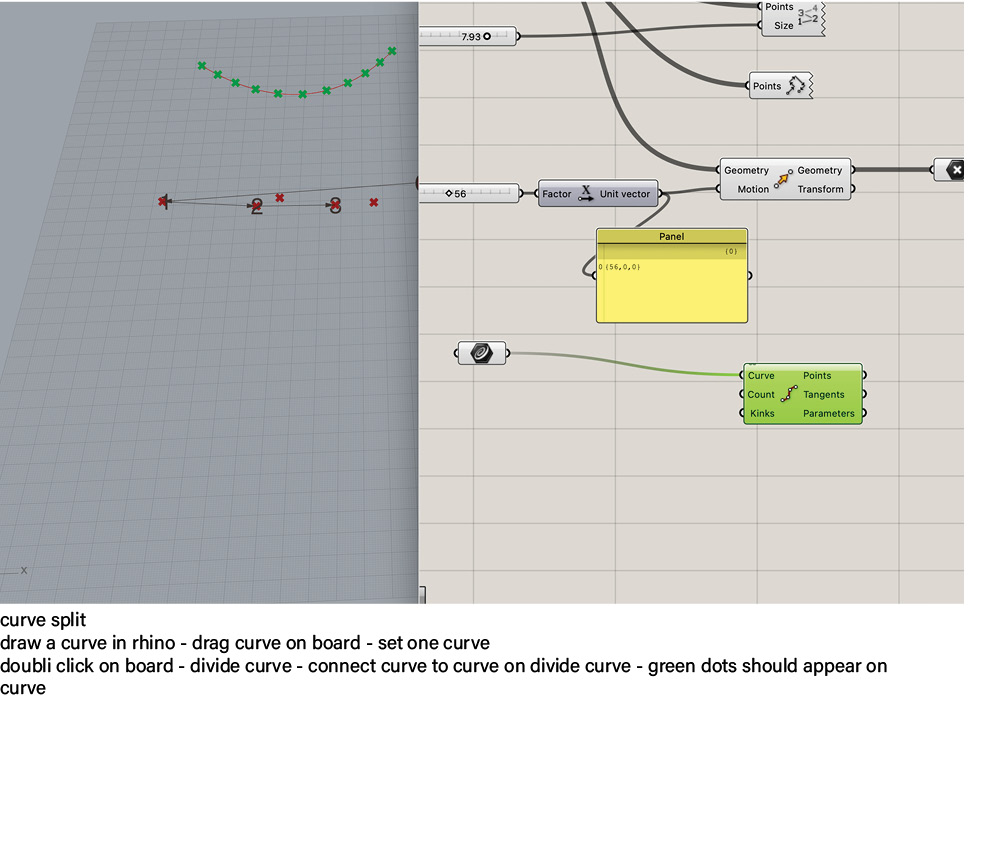
Grasshopper is a visual programming language and environment that runs within the Rhinoceros 3D computer-aided design (CAD) application. programs are created by dragging components onto a canvas creatign parametric model with endless opportunity for design and construction. I think of it sometimes like making a recipie of materials and puting in amounts of each ingredient. Then the outcome is on the rhinoceros screen to the left on your screen. I think it is a great software to see connetctions and have the whole process in front of you. A little bit like weaving also, where if the start is not right the whole thing wont work.
Research & Ideation

analog 3D printing and parametric design
Vaxandi / Birta Rós Brynjólfsdóttir Low-tech 3D printing method with wax and water
Vaxandi from Birta Rós Brynjólfsdóttir on Vimeo.
Catenary Pottery Printer using analogue parametric design by GT2P
Parametric Ceramics from Jimmy Jian on Vimeo.
Tools
- Grasshopper
- Rhino3D
- Ultimaker
- Youtube tutorial / grid distortion
- 1.03 Grasshopper Fundamentals: Attractors
- modelab
- Documentation alumn - Amaya De yavorsky
- 3D printing on fabric
- Digital interlooping
- Shapemode studio - x wasp delta
grasshopper first tutorial
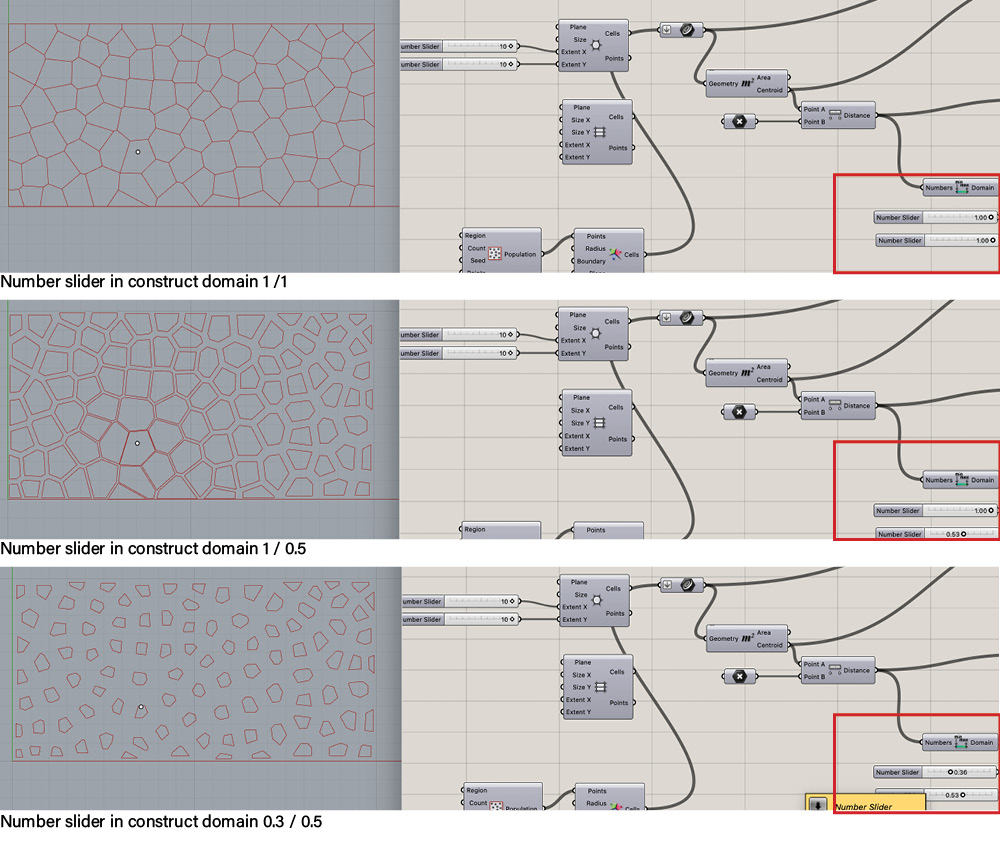
To be able to get started I found this nice tutorial on youtube showing the fundamentals of using attractors. I was great to understand that with only one recipie og programming it is possible to connect different forms to it like hexagonal, triangular, rectangular and voranoi. So it was fun playing around with that and moving the attractor point around. I ended up working with the rectangular form, to get file here 2.
 By working with attractor points is was also nice to learn that sliding the number slider connected to the construct domain you could control how close and far apart the hexagon or other forms are from each other.
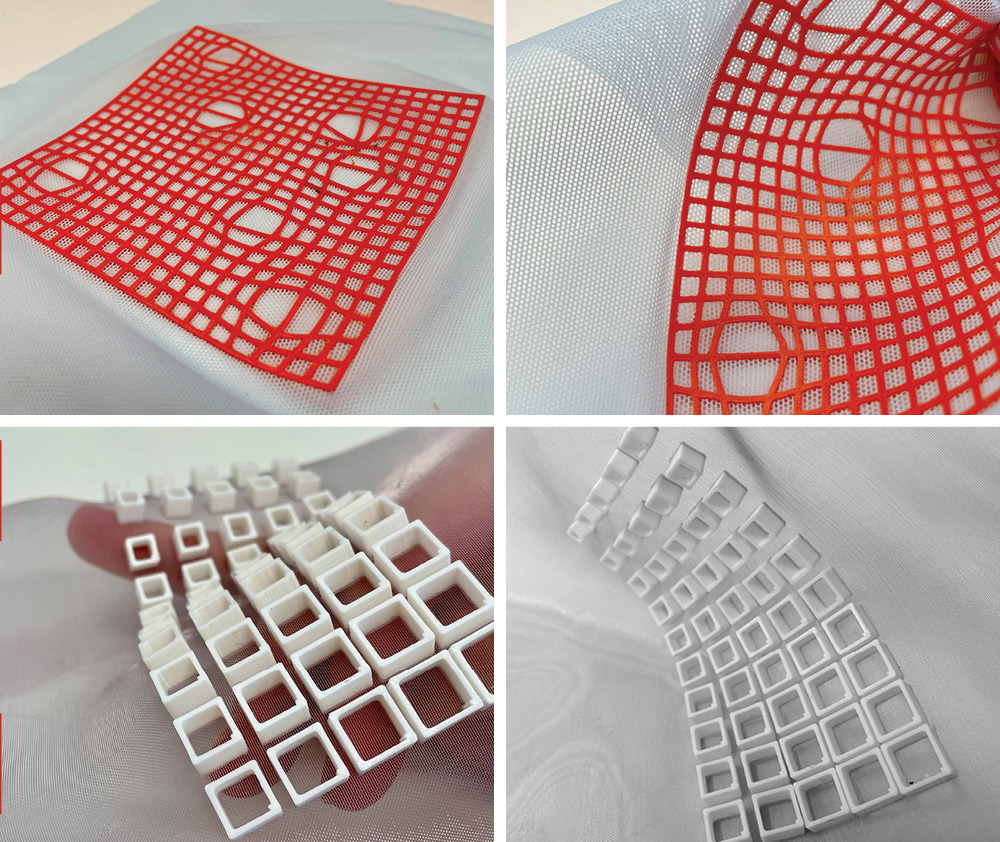
Another tutorial I tried, by wanting a more abstract and distorted pattern I tried working with tensors. It was a great learning curve just to understand the possibilites in grasshopper even though I would still have to go back into the file to understand what i did, it is great to know that I was able to do this even though it is very basic. I was trying to make a patter for a fabric that I would strech on the 3D printer and it would shrink toeath making a 3D pattern as end resault but it was to dense and closed for it to work. Also it was hard to extrude the curves but was able by extruding each nurbs curve seperatly and merging them together and bake and ended up with this 4 model

Ultimaker cura
Ultimaker Cura is an open source software to make STL files (3D objects)ready for 3D printing (Gcode). You can add the 3D printer that you will work with and it will give you the options available for that printer.
How to prepare file for 3D printer
- put in the 3D printer you are working with (here prusa i3 Mk3 / Mk3s)
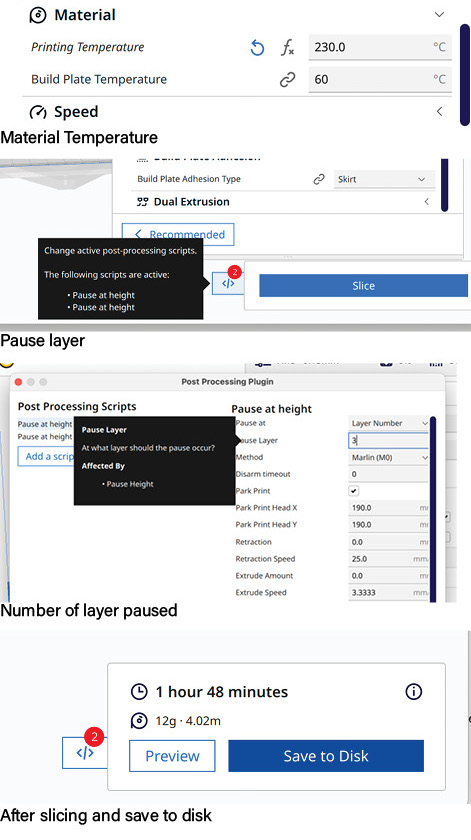
- Find the fill you will print with and put in material printing temperature
- PLA printing temperature from 200-250°c
- PSU printing temperature from 230-250°c
- build plate temperature from 0-60°C
- Layer height 0.15 mm - fine
- for open objects take out and type 0 for any grid, fill and top layer
- support: used for curve or bridge
- Put a pause to the print on layer 2-3 to be able to put material in between 3d print layers
- Slice the object and you can see the gr, time, and meter of filling used to estimate material usage
- save to disk for 3D printing a (Gcode)
- copy from computer on SD card
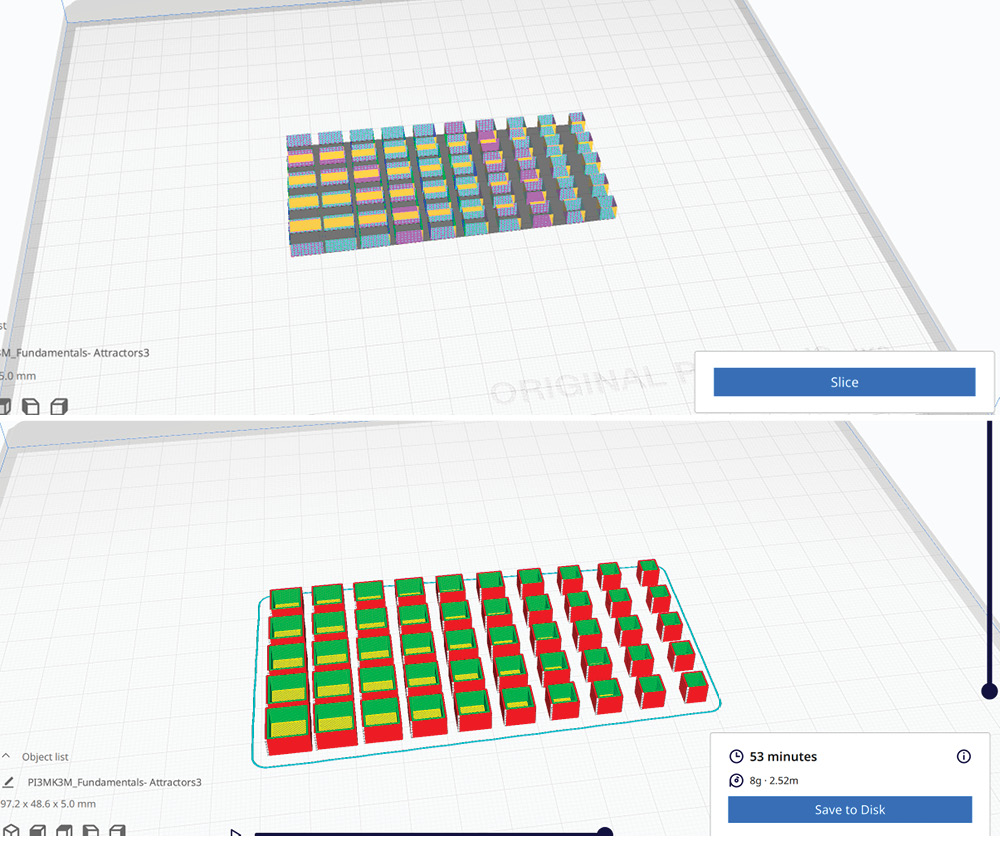 Picture above: shows the stl file before slicing and picture below: shows the stl file after slicing. for this it is good to rembember to take any grid and fill out aswell as top layer if you want to have an open object as the end result.
I tried 3 different prints and they all needed different setting in Ultimaker Cura. The paramteric model 2 was created using.. it allows the user to follow, shape, adapt, increase, mimic..
3d printing
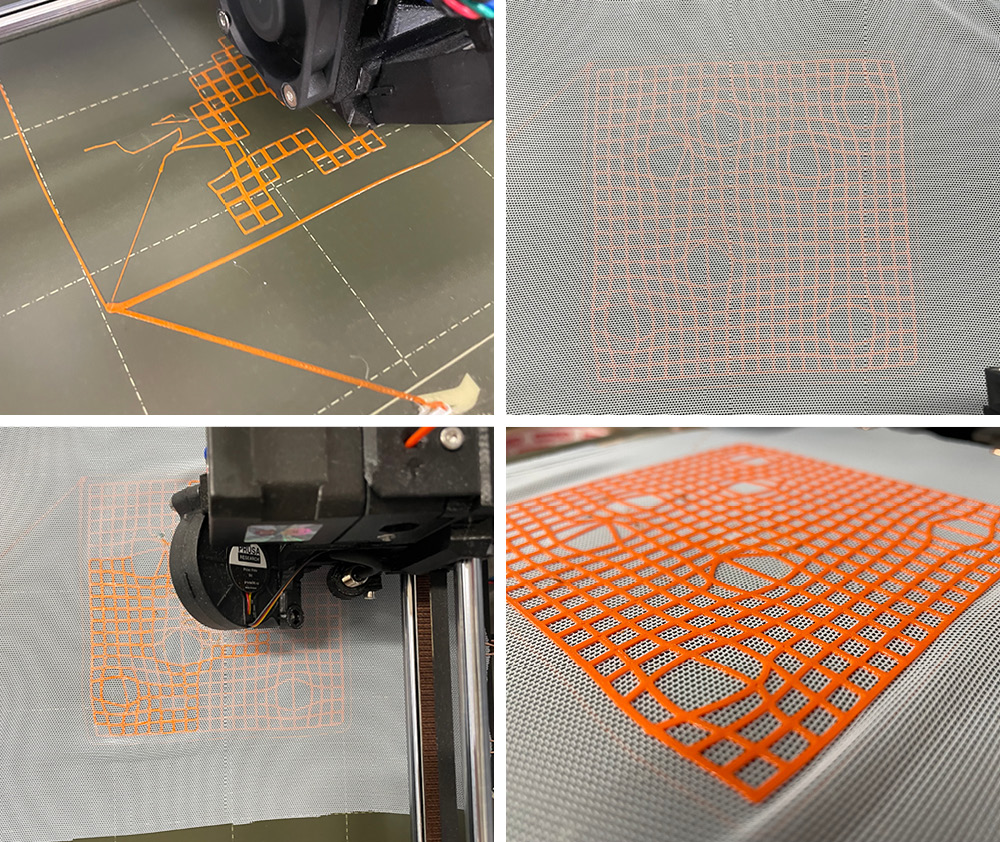
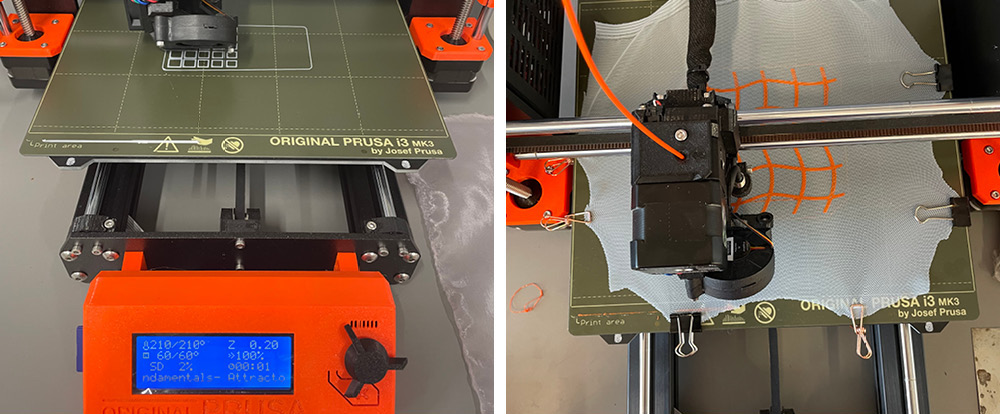
At the Icelandic Textiel Center is a Prusa 3D printer. It is only 1 years old but it is great if you want to print on fabric since the access to the printing plate is very good. It is easy to use clips, magnets or tape to fasten the fabric to the plate. This week I tried three different 3D prints.
Tools
- 3D printer ( here Prusa i3 Mk3/Mk3S)
- 3D filament (here PLA and TPU)
- Thin fabric, strechy and non strechy (for this I used strechy and unstrechy polyseter mesh)
- Tape og klips to keep fabric steady
How to put fabric on 3D printer plate
- Start your print and let it work until is automatically pauses after 2-3 layers
- When printer pauses place the pabric on the 3D printer plate on top of already printed layers
- Use clips og tape to straighten and strech out the pabric so no ripples are visible(that may cause problem when printer starts printing again)
- when fabric is secure, start the print again by pushin the main orange button
- Pay good attantion to the printer for the first 2-3 layers as the fabic can curl or move which we dont want
Difference between PLA and TPU Before starting to Print with Different printing filaments it is good to know what the differences are. I found this this sitethat is good to lokk at to see pros and cons and when to use what type of filaments PLA or Polylactic Acid is a common material for 3D printing. It is the common and the most used 3D material. It is cheaper and easy to print than other materials. Additionally, thermoplastic is prepared from organic materials like sugarcane and corn. TPU or Thermoplastic Polyurethane is another popular material for 3D printing. It is commonly used to print elastic and stand up against oil and abrasion.
Model of squares
Model of disoriented grid
Model of strech grid
 Print above was created using 5 gcode with strechy mesh and TPU filament and print below was created using6 gcode with unstrechy polyester mesh and PLA filament
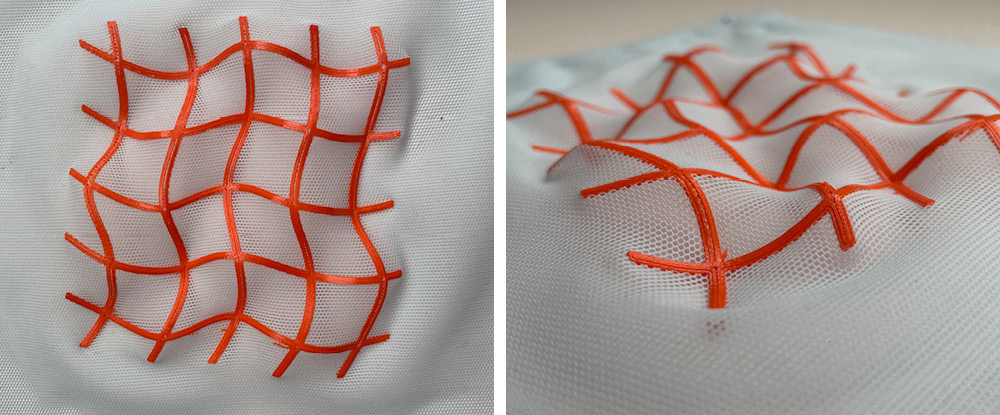 Print was created using 7 gcode with strechy mesh and TPU filament
To read
- Parametric Design Used in the Creation of 3D Models with Weaving Characteristics
- How to Rhino Tutorials
- Architectural Design with Parametric Design
- 10 Reasons why parametric design is changing Architecture
Fabrication files
-
File: GH model of strech grid 3dm of Fundamentals- Attractors ↩
-
File: GH model of squares GH of Fundamentals-Attractor ↩↩
-
File: GH model of strech grid 3dm of GridDistortionUsingTensors ↩
-
File: GH model of disoriented grid GH of GridDistortionUsingTensors ↩
-
File: Gcode file of Squares Gcode of Fundamentals- Attractors3 ↩
-
File: Gcode file of disoriented grid Gcode of GridDistortionUsingTensor ↩
-
File: Gcode file of strech grid Gcode of grid_margret ↩