Post Mid-Term Review
Comments from Mid-Term Review
- Are you creating a 'Look'?
- Similarity to architecture...a worn structure
- Get your hands dirty! Move away from just concept
- Connection with design tradition
- How to efficiently gather material for fabrication...without dumpster diving
Progress Update
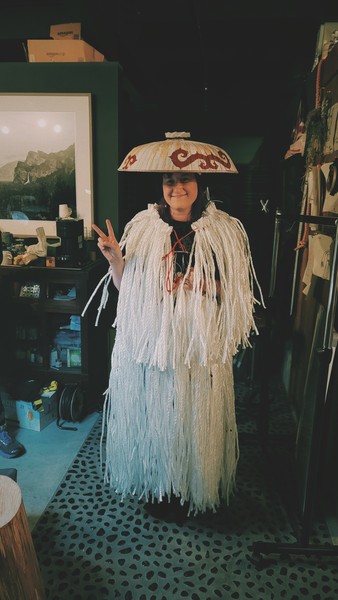
Concept Image > Ghost in the Rain
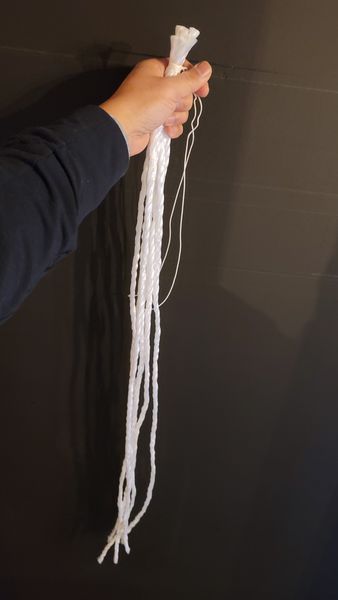
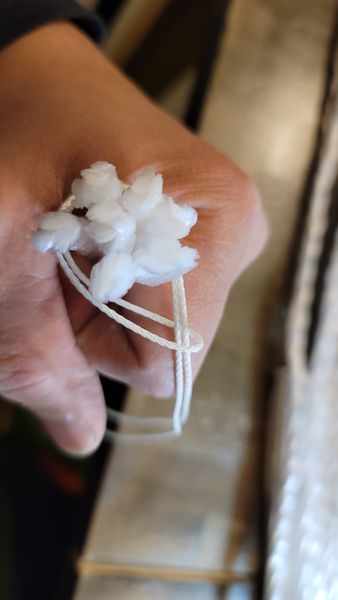
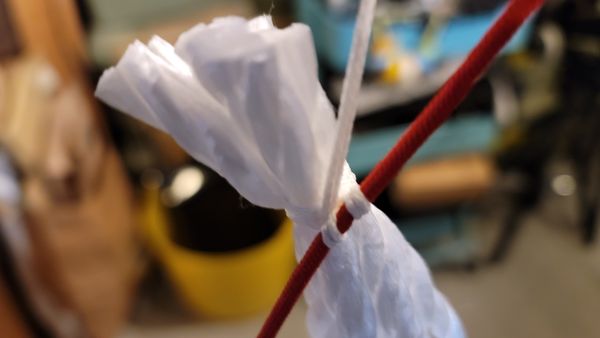
Hand-Tied M1N0 Outer Shell > 2-layers
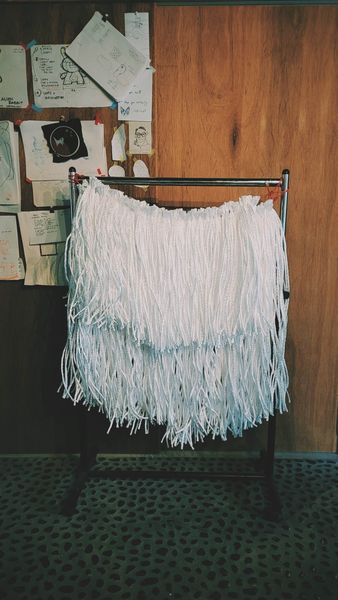
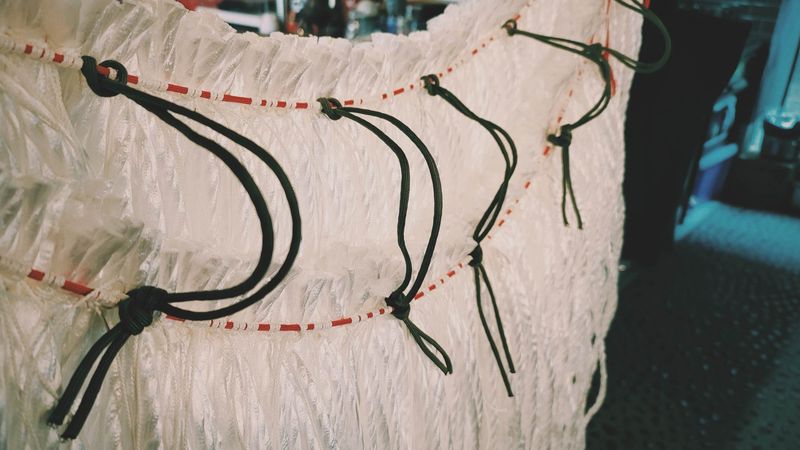
Adjustable Suspension System for Layers
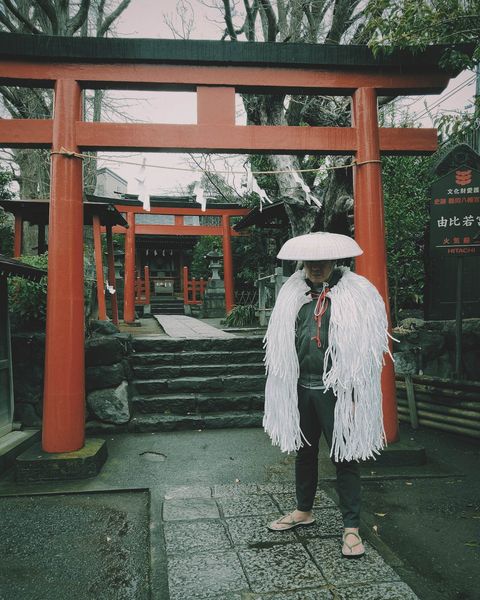
Test Fitting In Situ
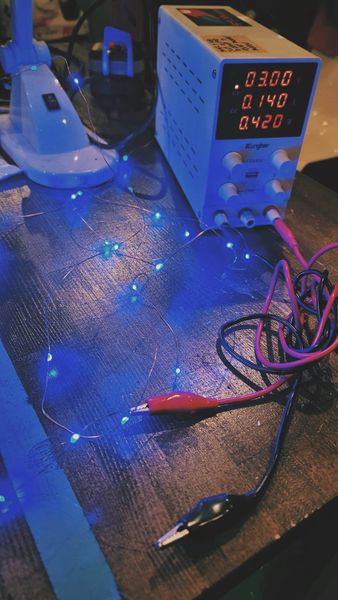
Recovery and Voltage Requirement Testing Xmas String LEDs
LEDs behind Outer Shell Modules
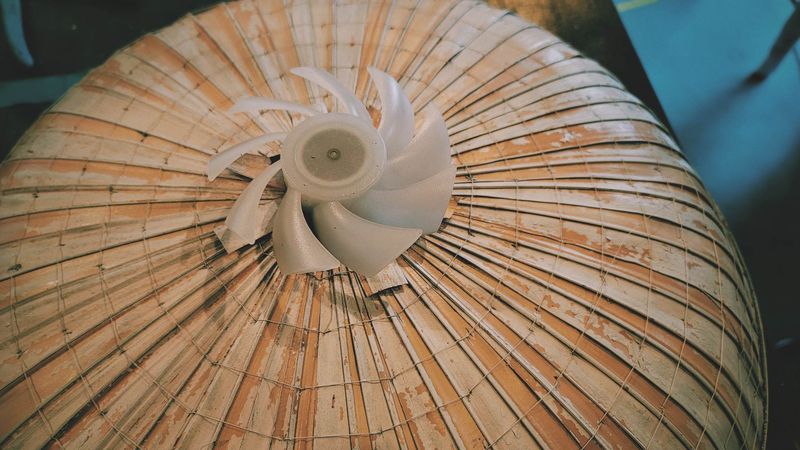
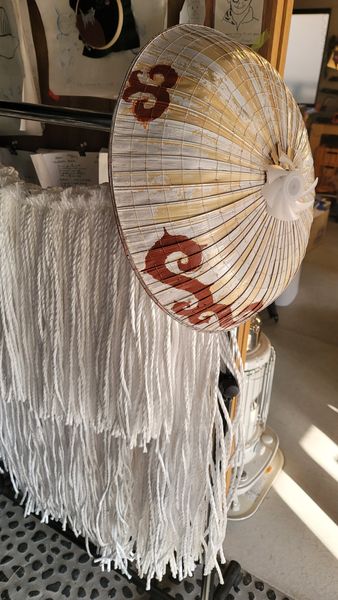
Installation of LED Fan onto Sandogasa
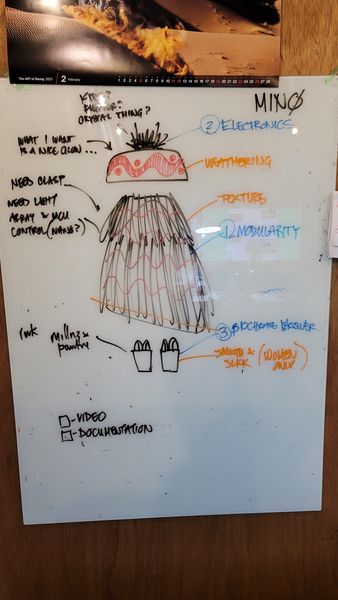
M1N0 Concept Slides Presentation
Reflections Since Mid-Term Review
- I don't think I will have time to explore other variants of the M1N0 >> Outer Shell from discarded umbrella material
-
In making the prototype...some discoveries have helped to refine the core concept and intent of my Final Project work
-
Handcraft & Automation >> Lo-Tech Accesibility, Meditative Handcrafting in combination of computational design and machine fabrication
- Accessible Fashion >> humble materials, simple methods that is available to anyone to use and modify
- Modularity >> long-life garment, size adjustable
- Motainai Textile >> Humble & Affordable 'Found' Textile Materials >> Utility emphasis
- Motainai Electronics >> Hacking 'Found' Electronics >> Future Fiction:Cyberpunk
Work to Do
M1N0
-
Still need to Kill the Kitsch! >> consider refinement to the current design, something more elegant, move beyond prototype
-
Smartly integrate the lighting array beneath the rope outer-shell >> what light pattern to generate? how to avoid having the wearer get tangled in the wires?
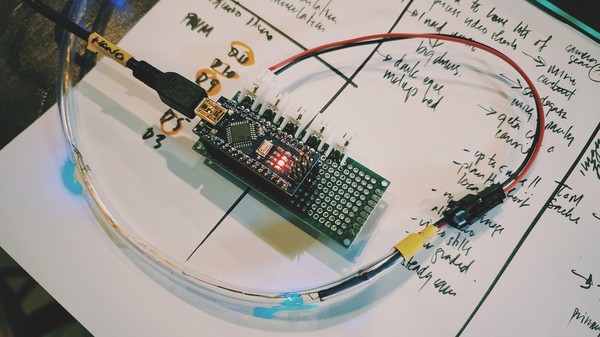
Instead of simply powering the LED string, I thought to connect it to an Arduino to see if I can take control of the light emission utilizing Pulse Width Modulation. The first attempt is to make the LEDs gently Fade In and Out.
Connecting the Negative lead of the LED string to the Arduino Uno's GND pin and Positive lead to PWM pin 9. I soldered a 220 ohm resistor to the end of Negative wire to help make sure the current is low enough not to blow out the LEDs.
I wrote and uploaded the following code...
//Fading an LED String
//by Rico Kanthatham, Fabricademy 2023

int LEDstring = 9;
int brightness = 5;
int fadeRate = 10;


void setup() {
  pinMode(LEDstring, OUTPUT);
}

void loop() {
  analogWrite(LEDstring, brightness);
  brightness+=fadeRate;

  if (brightness == 5 || brightness == 255) {
    fadeRate = -fadeRate;
  }

  delay(250);
}
The light, thankfully, behaved as expected.
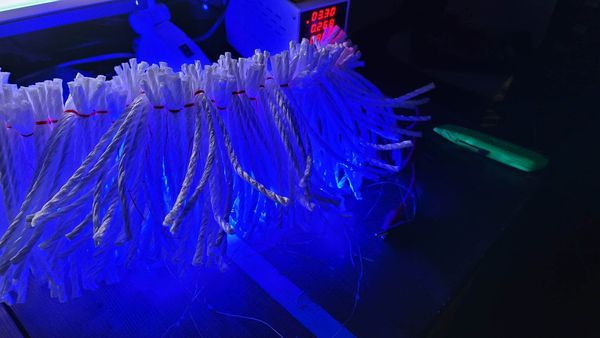
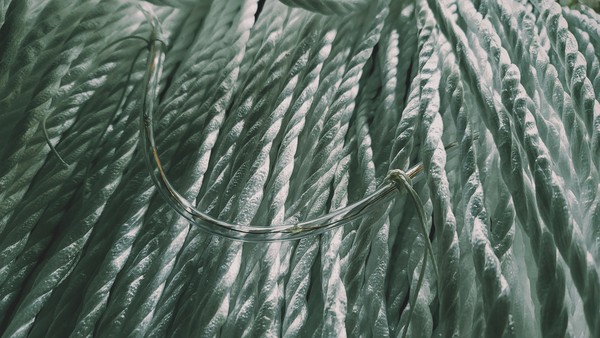
Now time to test the light behind the Rope Array Outer Shell.
The videos exaggerated the brightness of the LEDs...but the real life effect was subtle and pleasing. Rather than each LED generating a point light, a general glow bled through the translucent PE rope. I count this initial test as a success.
Now to figure out how to attach the LED string to the outer shell.
- Consider and design a electronics enclosure/light control box >> 3D printed? CNC milled from wood? >> Ainu crafts as inspiration
Sandogasa
- Install battery and switch for fa
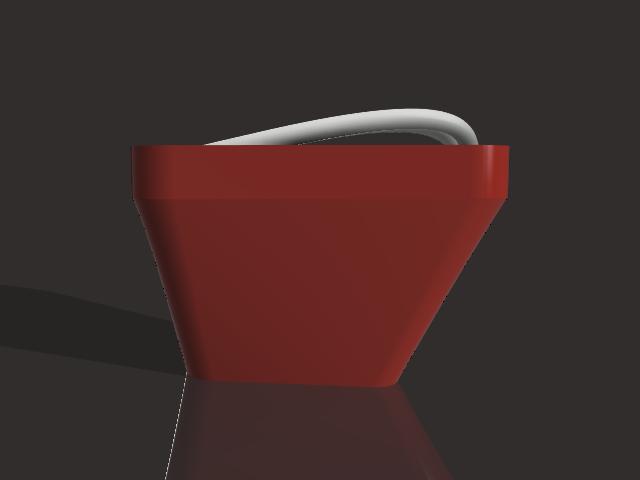
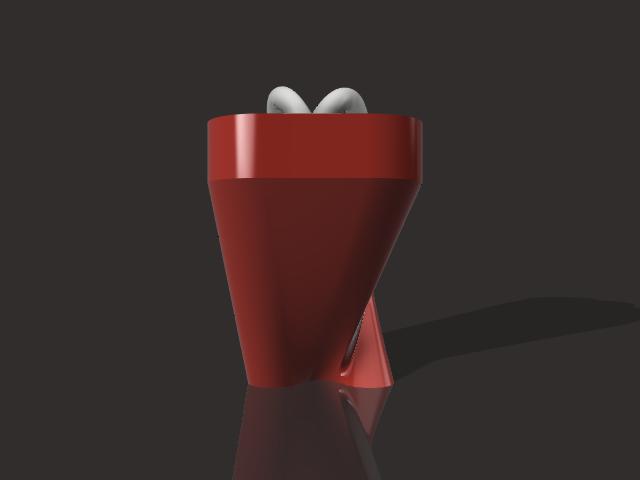
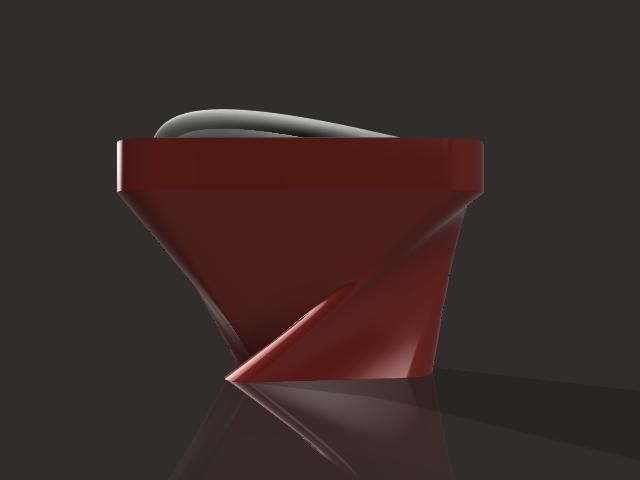
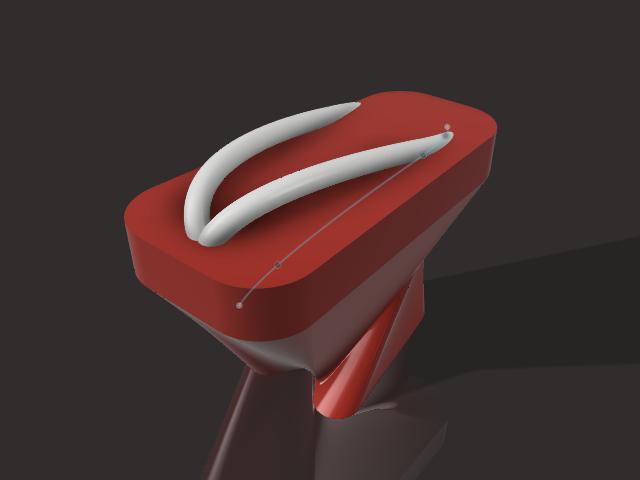
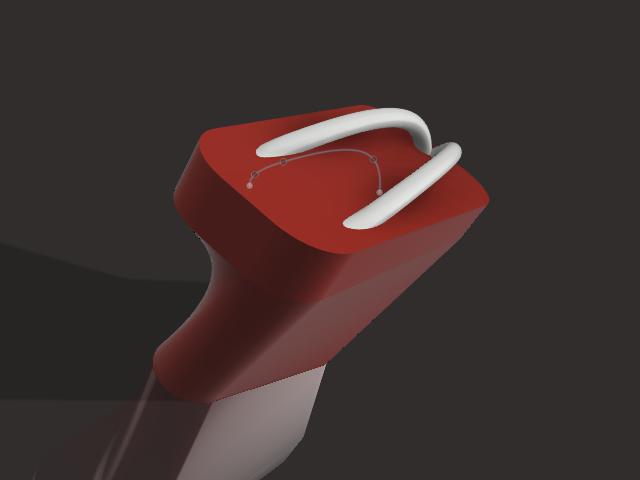
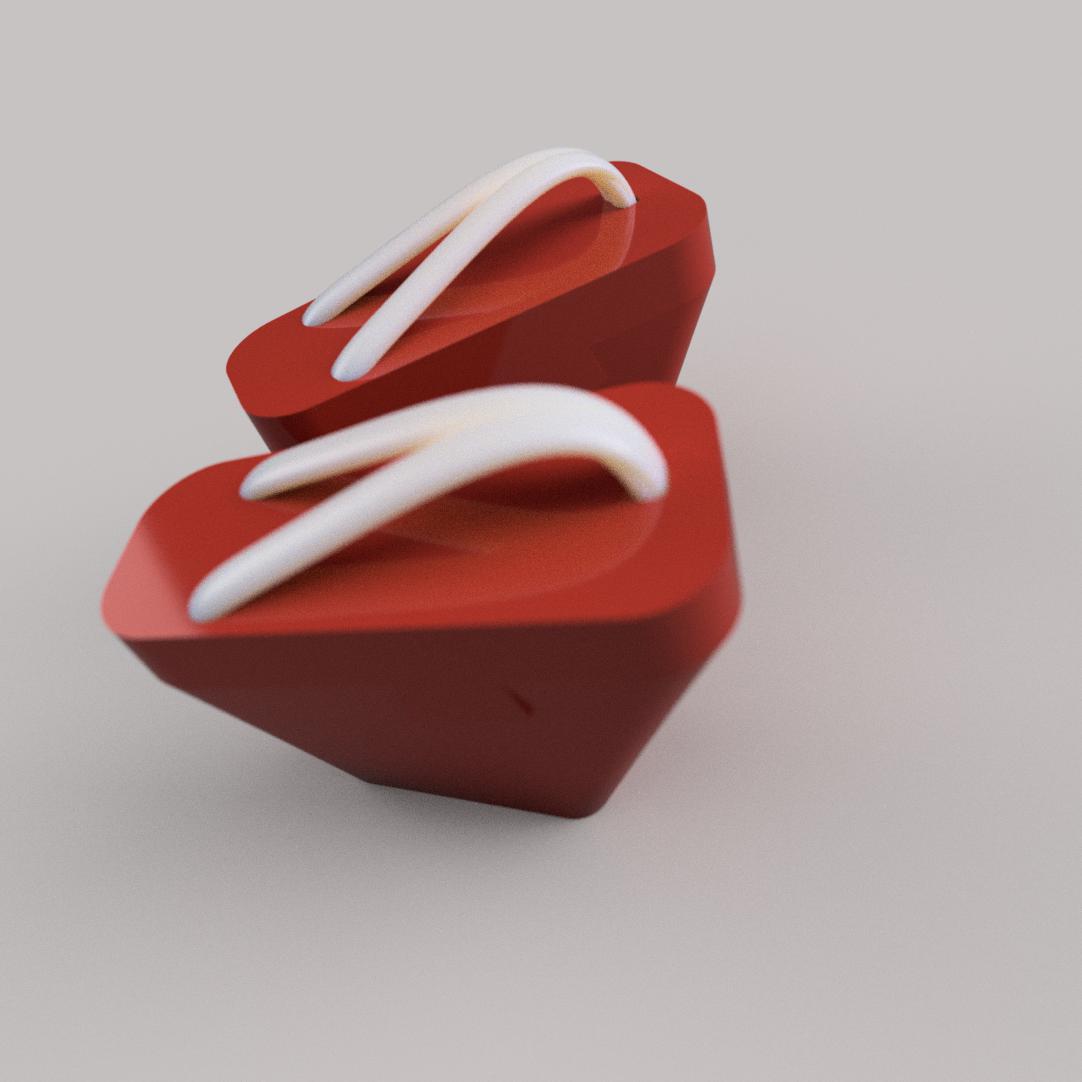
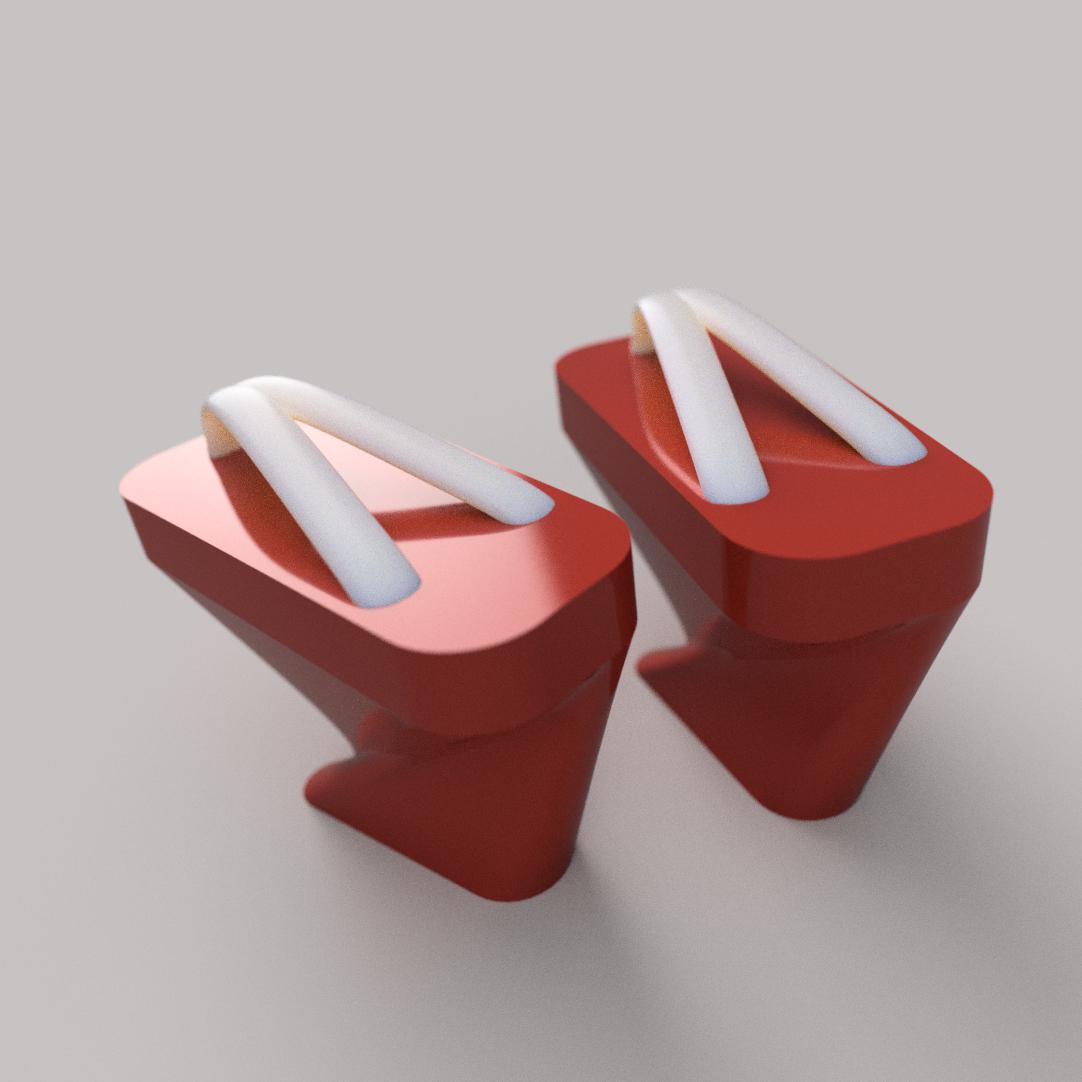
Geta
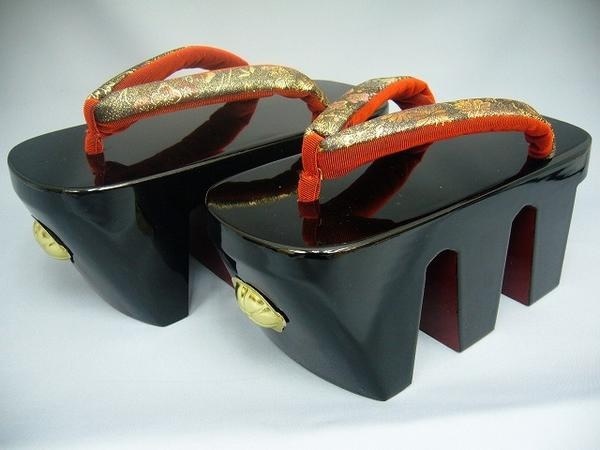

The above 2 images are also called 'Geta' but are (to me) a bit more interesting than the run of the mill, blocky, 2 pronged Getas.
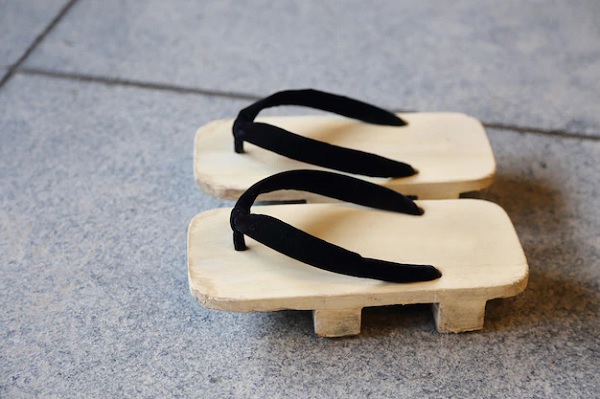
I thought I would design something along the lines of the 'interesting' Getas in a 3D modeling software and mill the result out on a CNC machine.
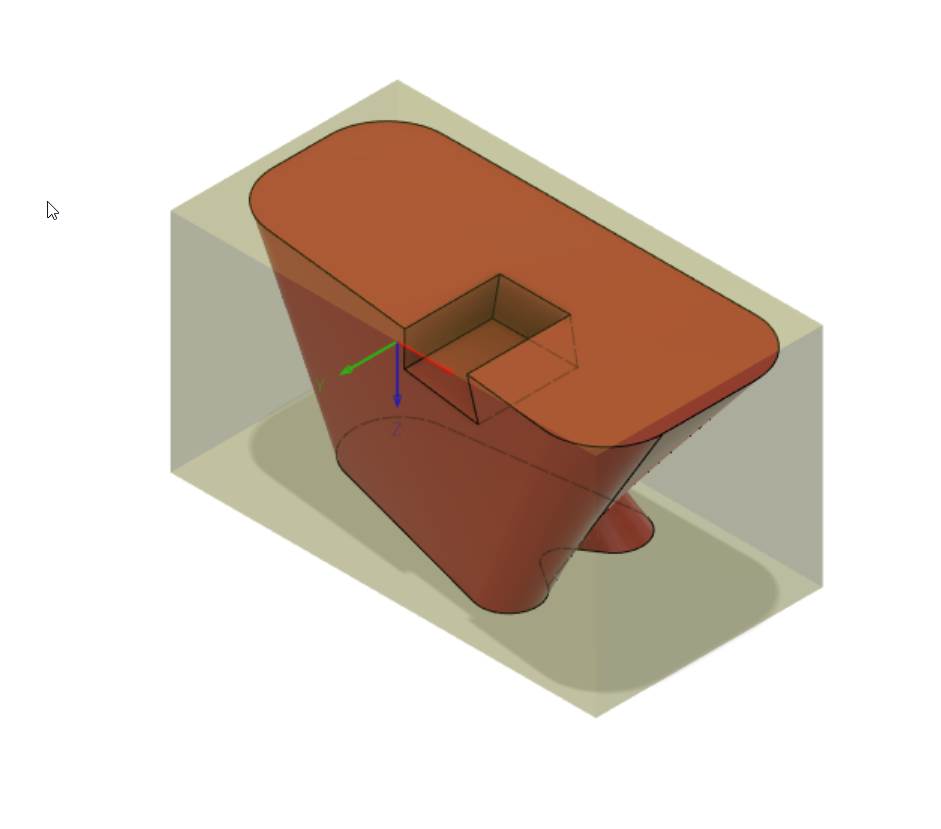
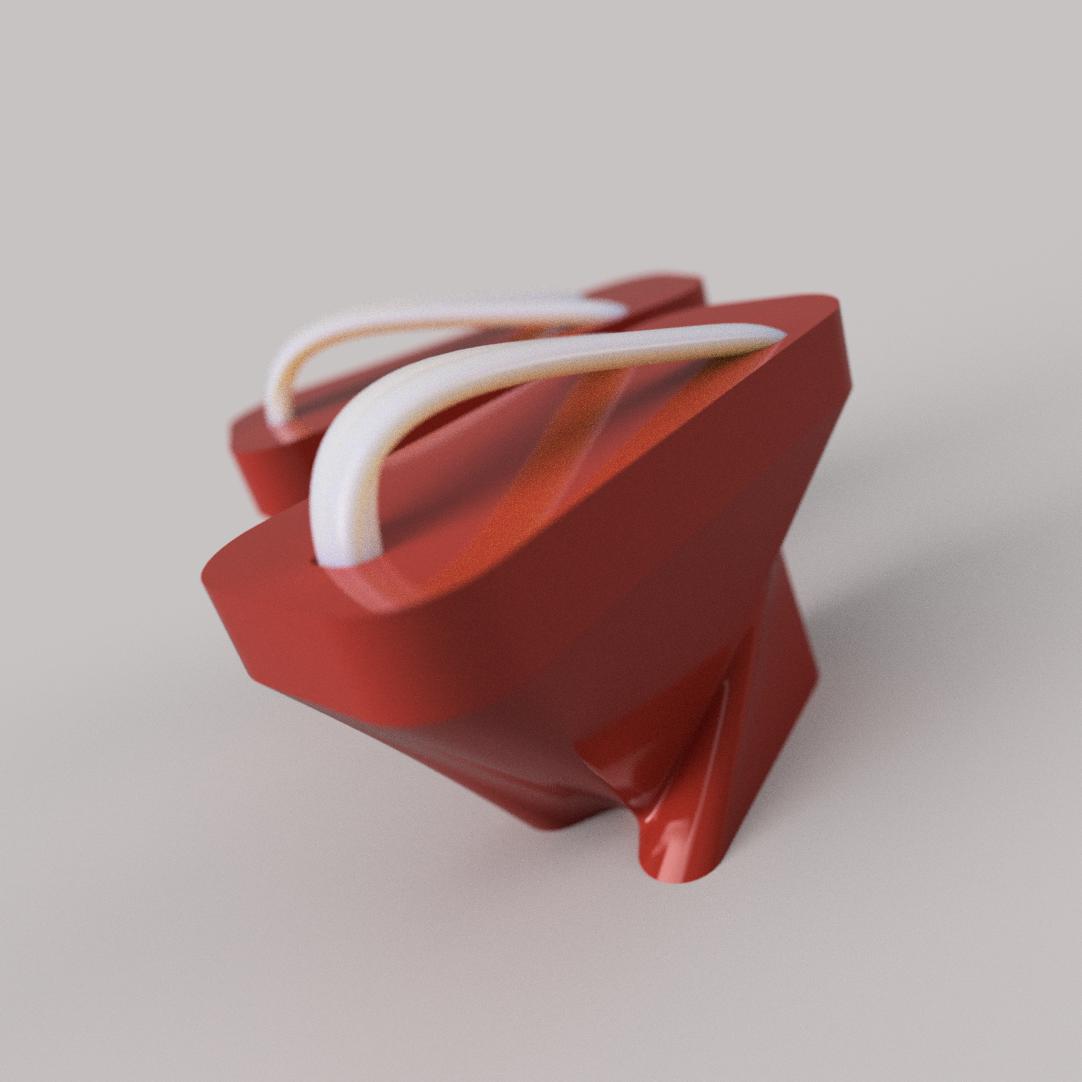
I used Fusion 360 to quickly generate the initial concept design...utilizing the loft command between two profile shapes (the top and bottom surfaces of the Geta).
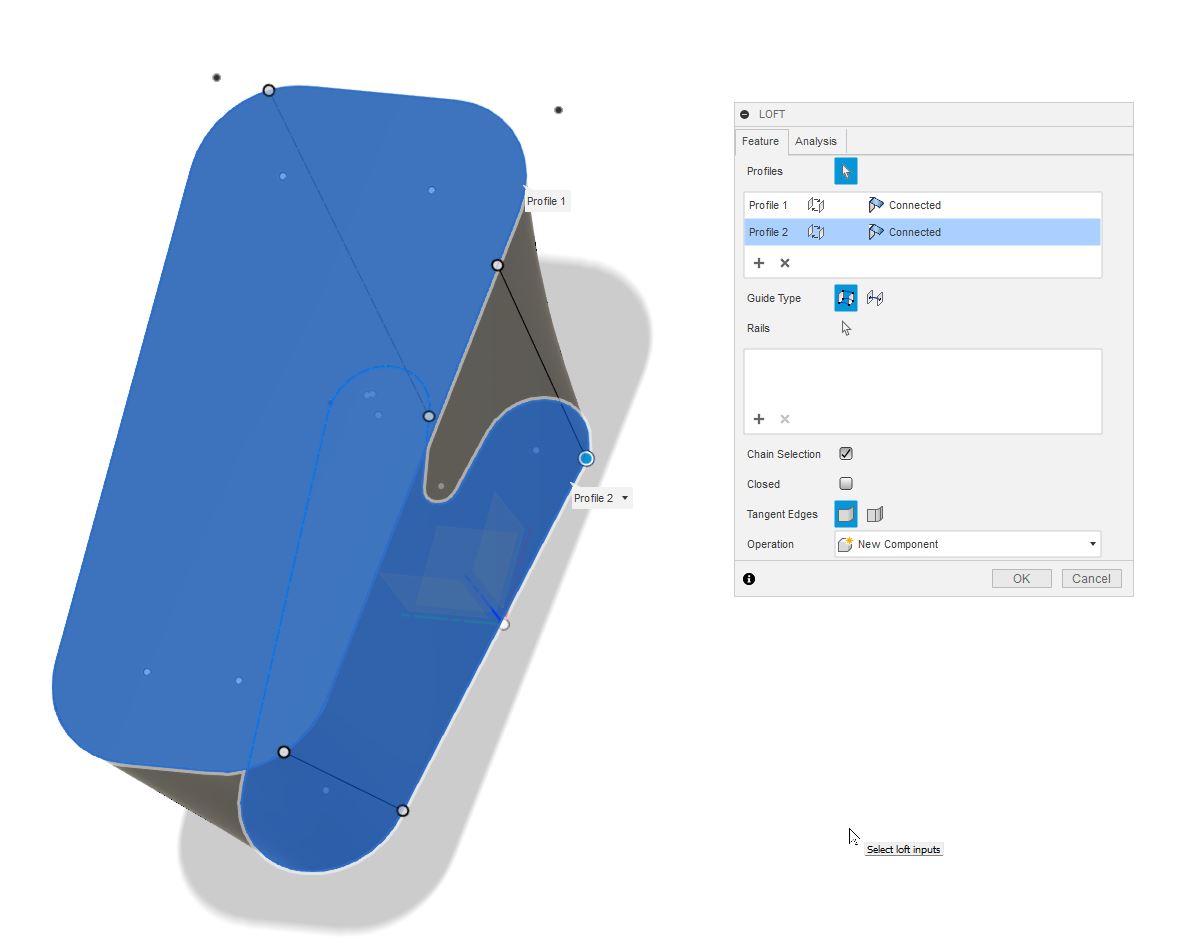
I also used parameters to make the Geta more easily adjustable.
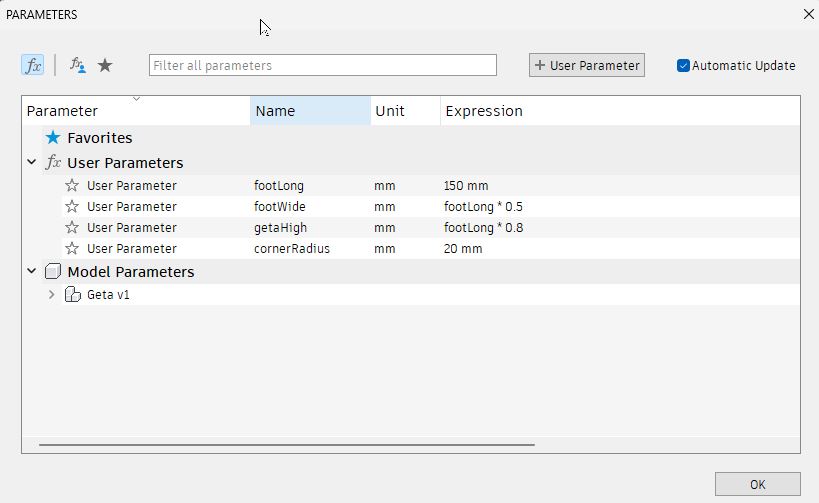
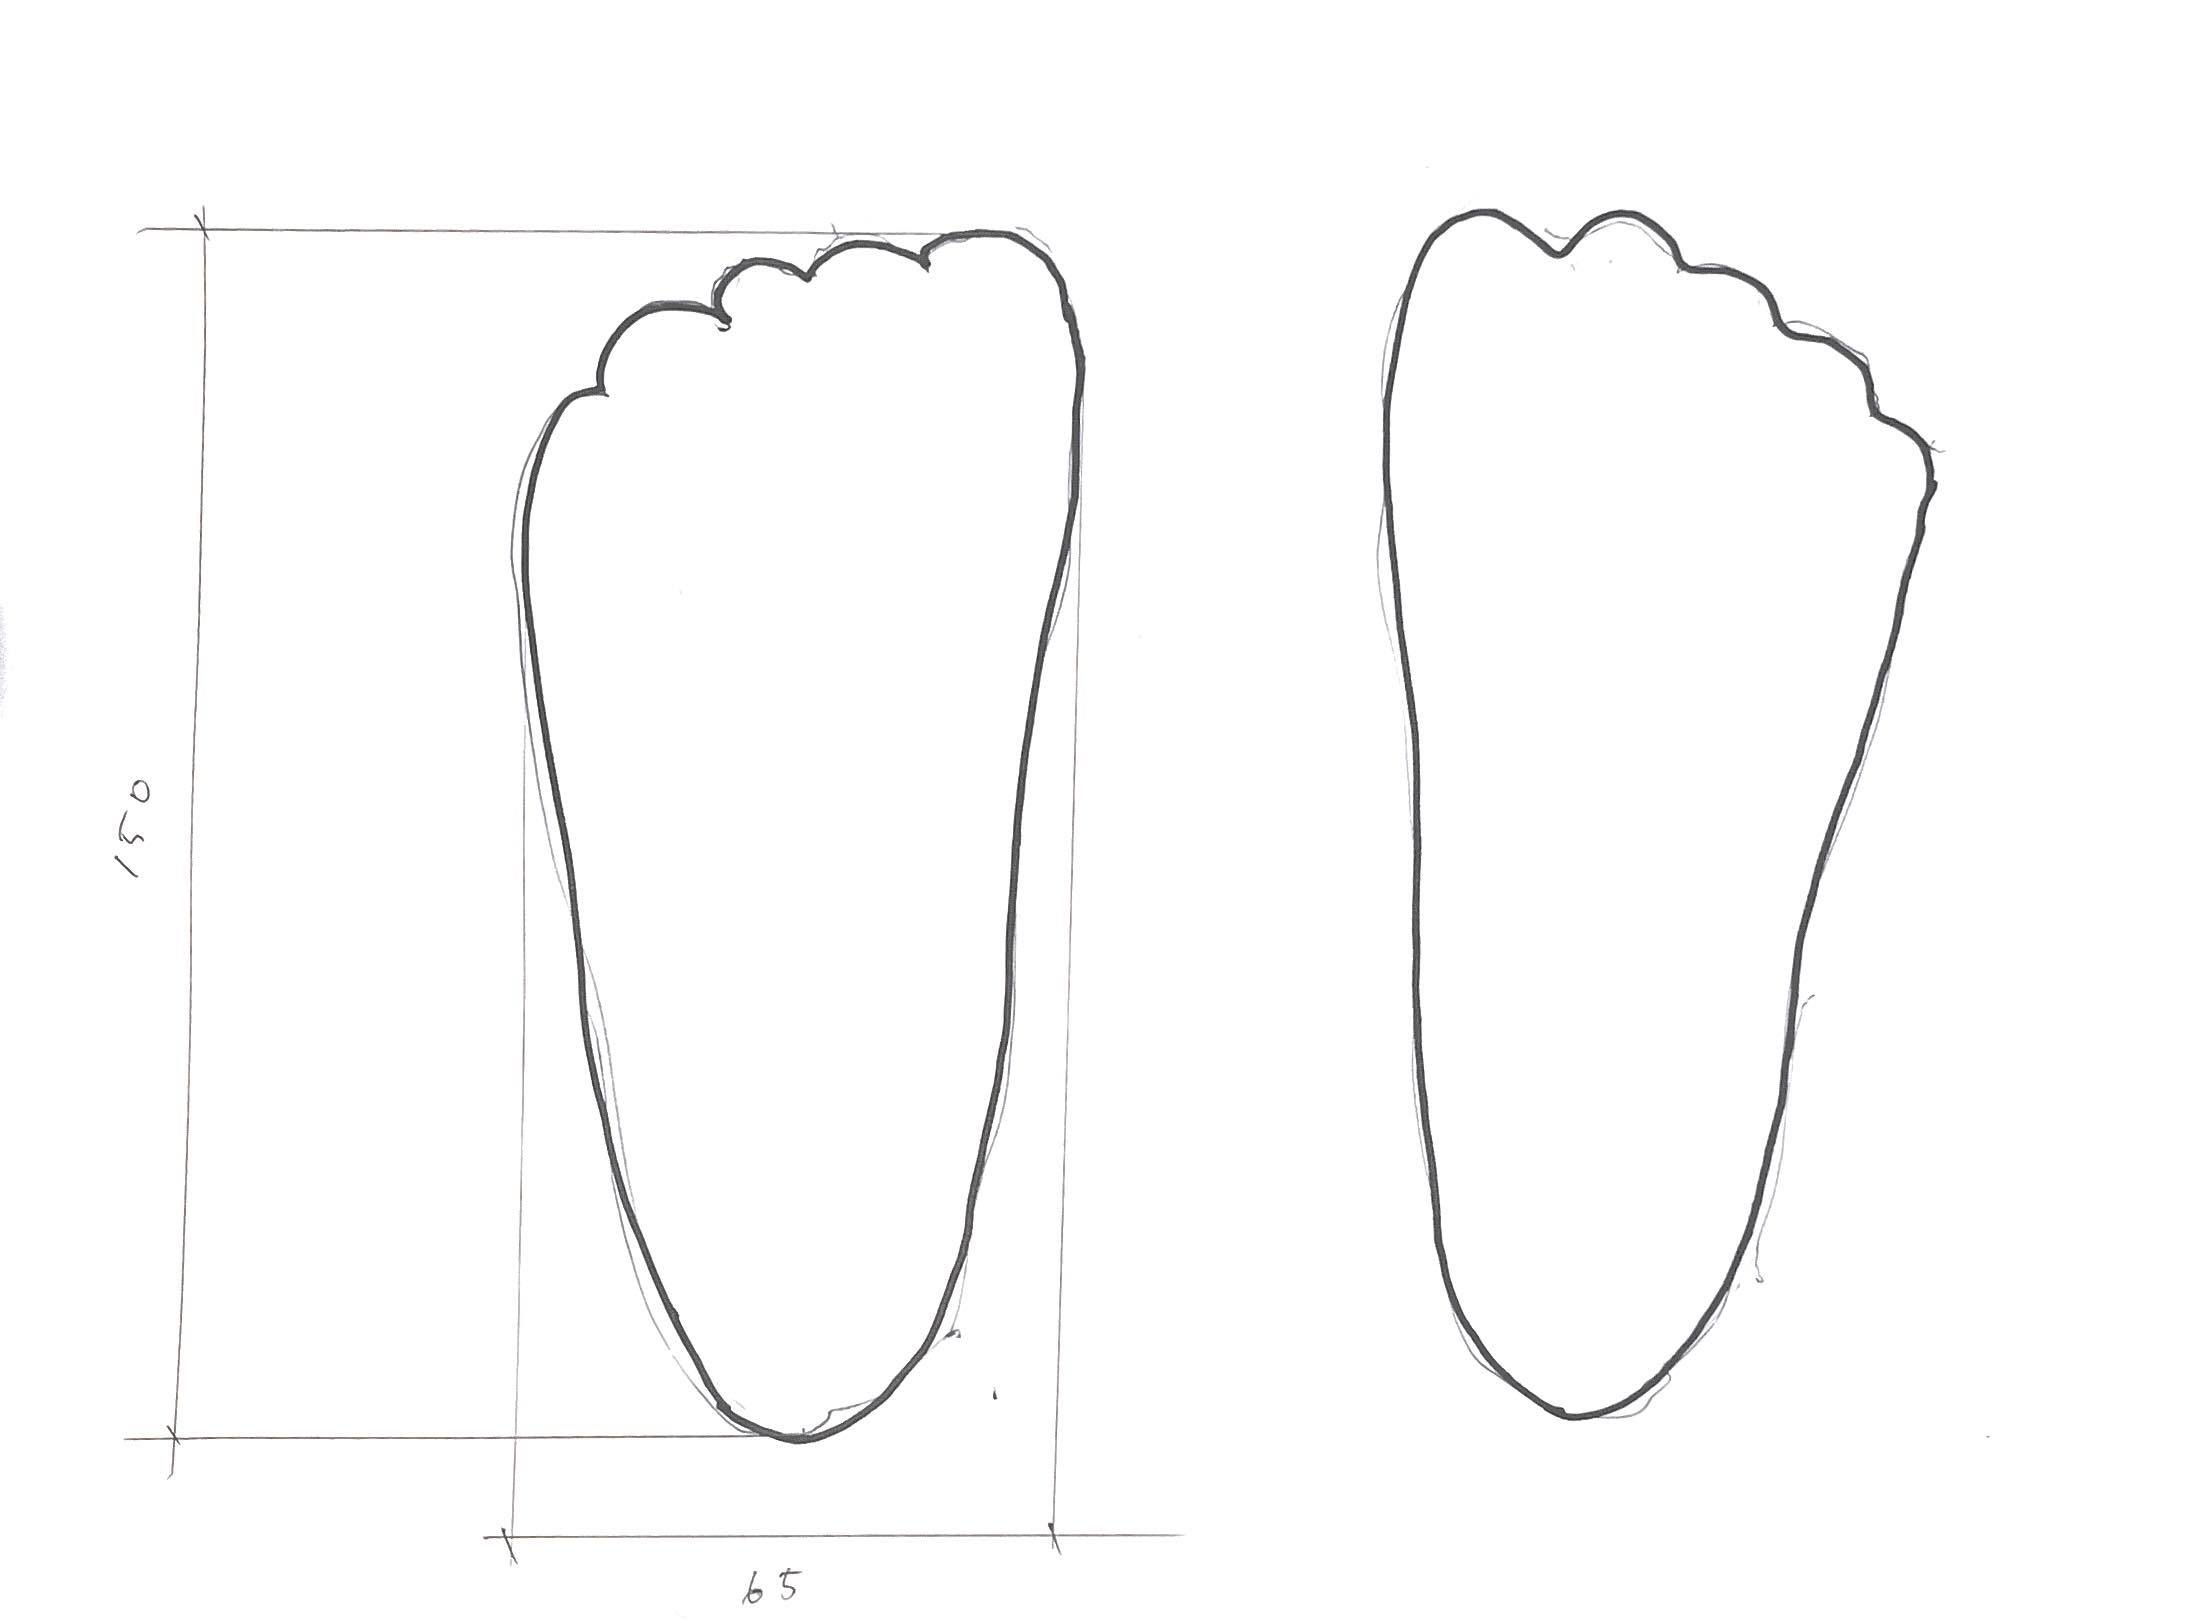
I used the foot size of Yui Kawahara as my size reference.
Here is the first run design result...the Loft operation went weird for some reason (need to debug) but I love the unexpected result...though I don't think I can mill this.
Comments from Mentoring Session - Troy & Claudia
- Good that the LEDs are not on the outside of the coat
- Aphroditti Psarra
- The Look...is a toolkit that becomes something when the wearer assembles the parts in their own way
- The Look...is a Co-manufacturing process
- Co-Manufacturing...engage people to make...not design the garment
- Consider making a TOOL to make the thing...something to entice them to get started
- Consider a non-homogenous surface texture
- Consider making a jig to make the (modules)
- Make the (Sandogasa)...a bit more elegant (than just slapping a computer fan on top)...maybe something with 'flutter'
- Consider how the whole ensemble (hat/coat/shoes) create a coherent totality, a single image
- Microphone in the shoes...that talks to the lights in the hat?
- What about interactivity with the environment? sensors? Proximity, light level, sound (OSC)
- Get reactions from Japanese people
Reflections from the 2nd Mentoring Session
- Lots of great comments from my mentors
- In particular, many great ideas on how to take my working prototype to the next level
- Think about the 3 elements of The Look as a coherent singularity
- Add sensing and interactivity to the garment > add intelligence
- Consider the project less as a garment...but perhaps a method, approach or tool kit...for garment making
- Fit the garment on a proper model
Work
Planning
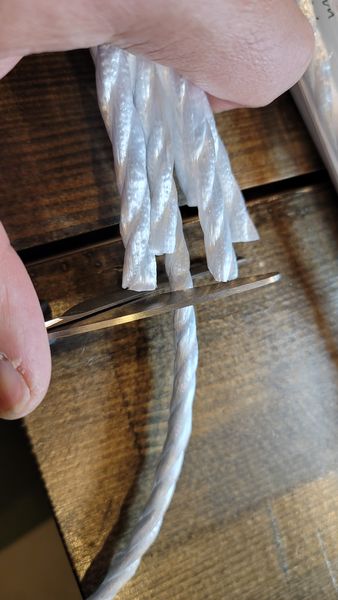
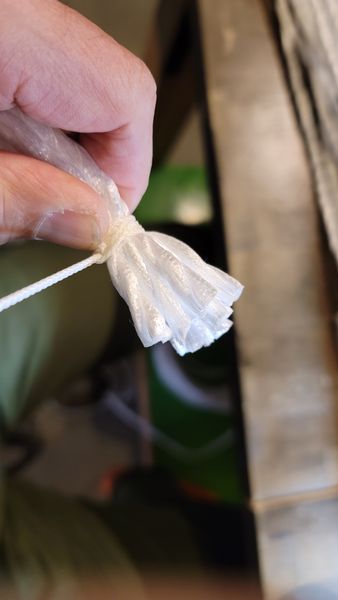
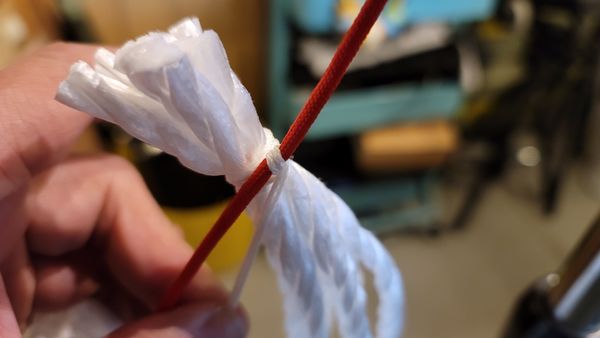
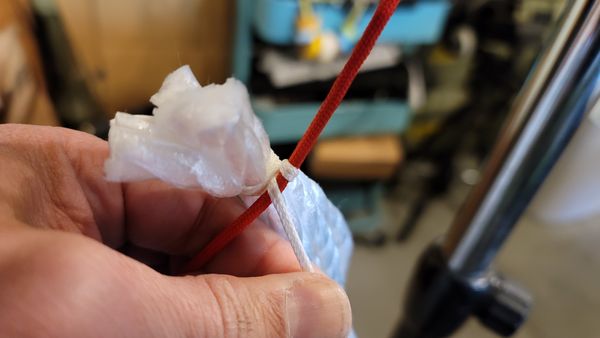
Making (More) M1N0 'Straw- Modules
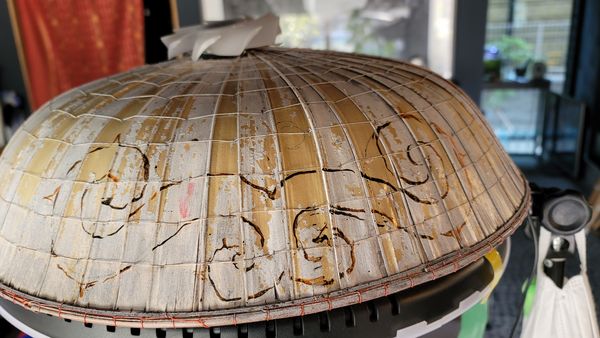
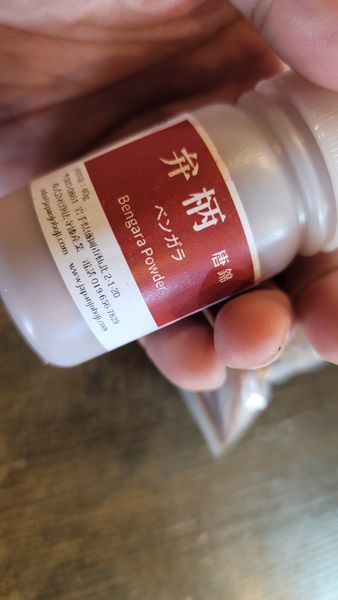
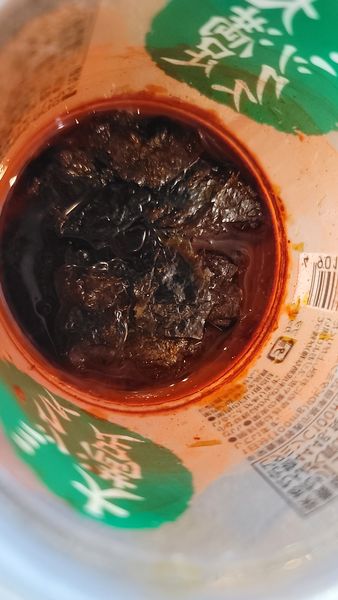
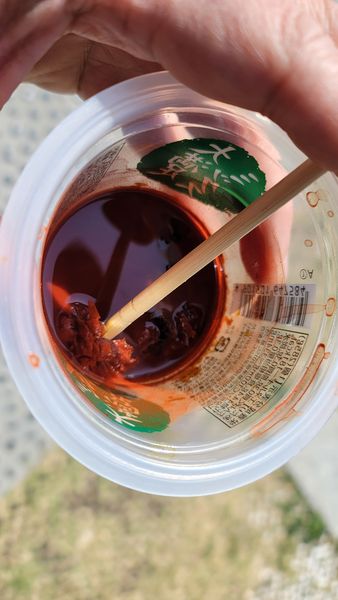
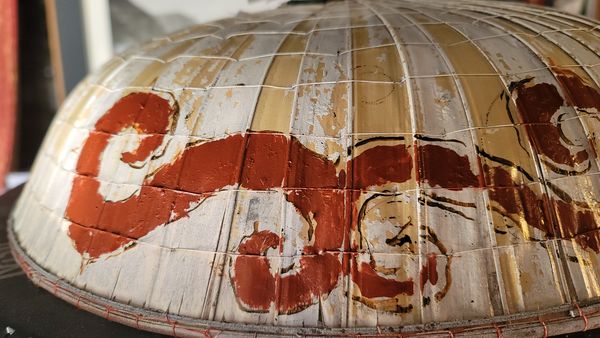
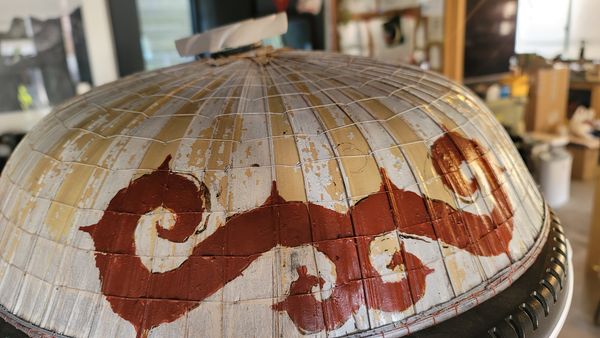
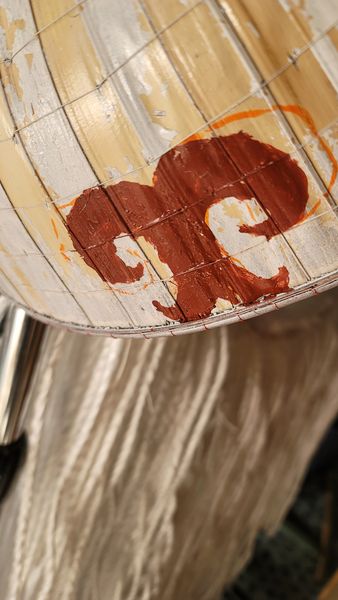
Sandogasa Painting - Shellac + Red Bengara
the design > Ainu Inspired Nature Based Graphic Symbols
Shellac

Red Bengara Powder
IPA (to dissolve the Shellac)
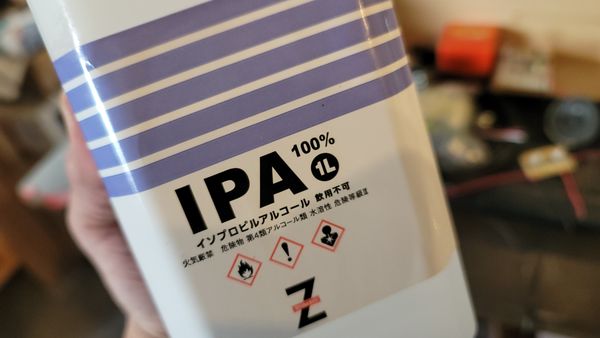
Combine & Mix
Painting The Front Graphic
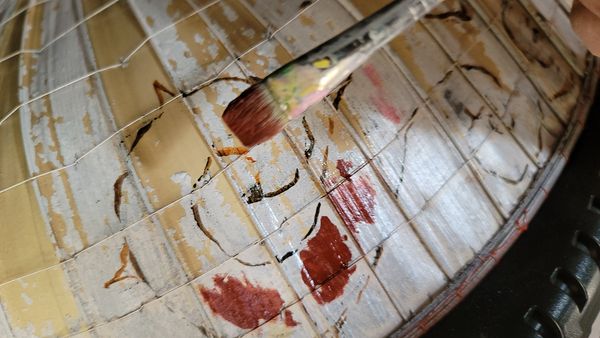
Back Graphic
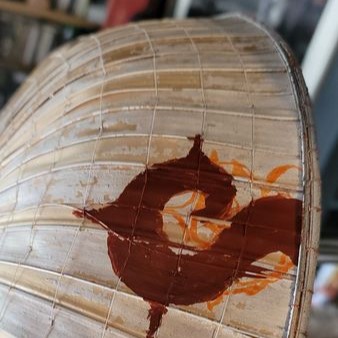
Side Graphic
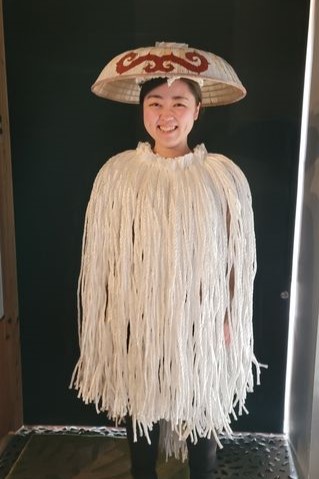
Painted Sandogasa with M1N0
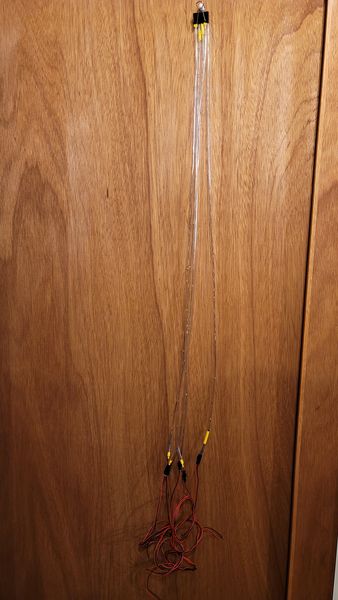
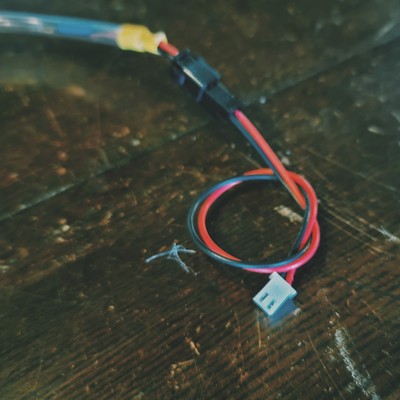
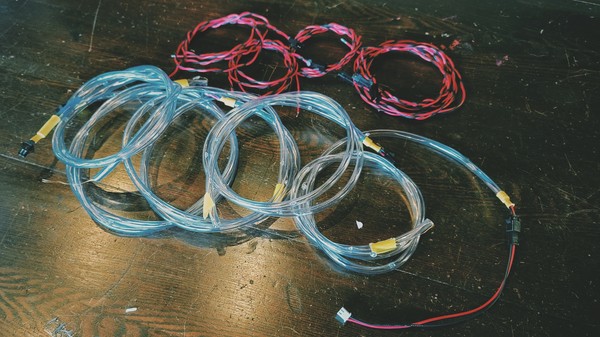
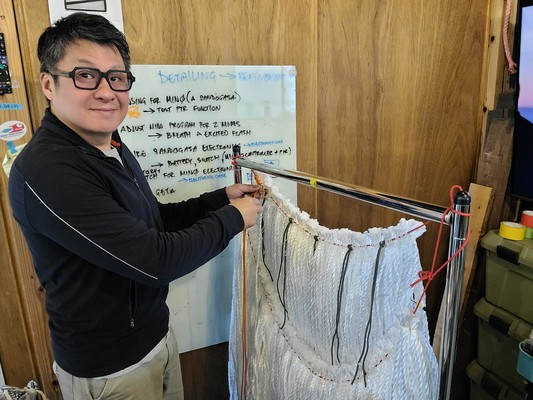
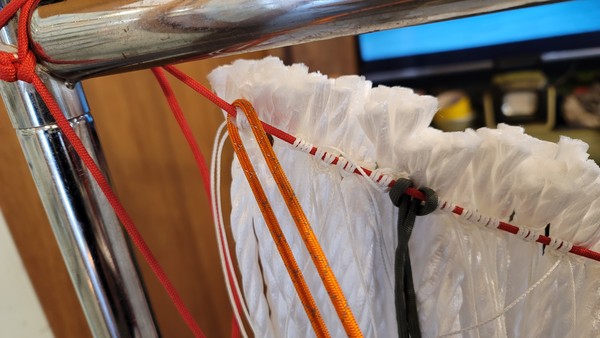
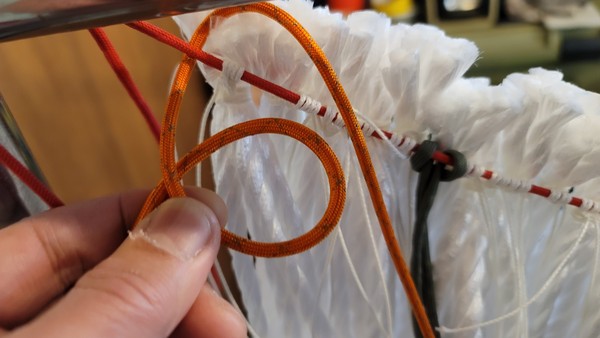
Building the M1N0 LED Wire Harness
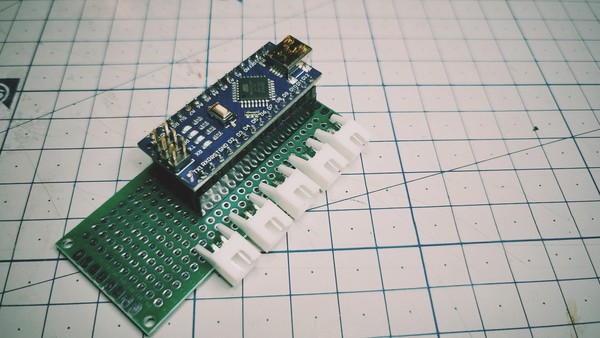
Connectors
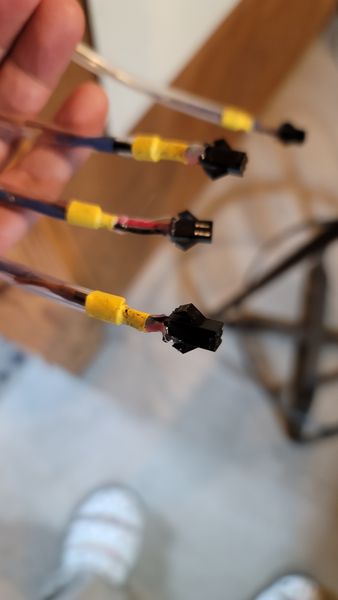
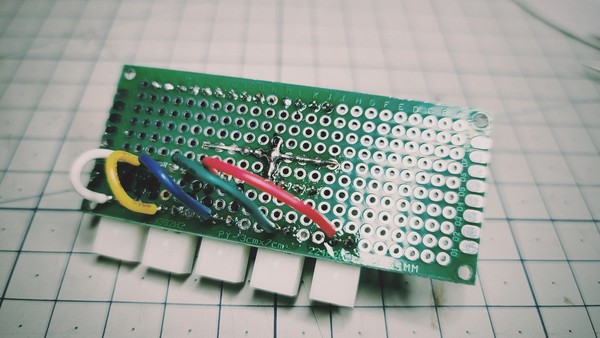
Soldered to LED Strands
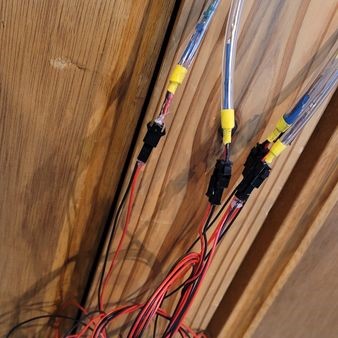
5 Strands Completed
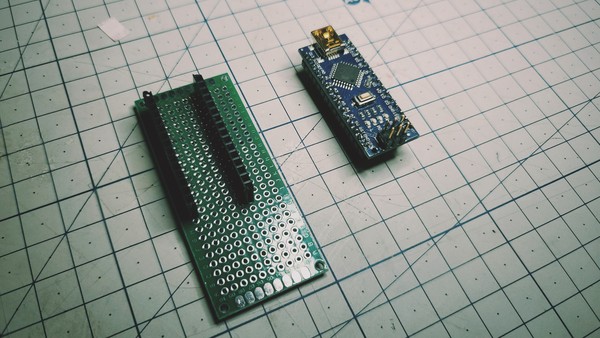
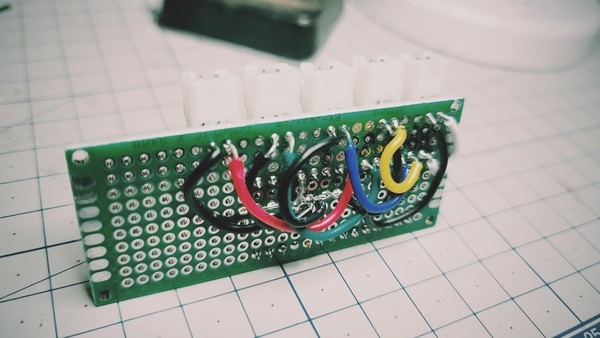
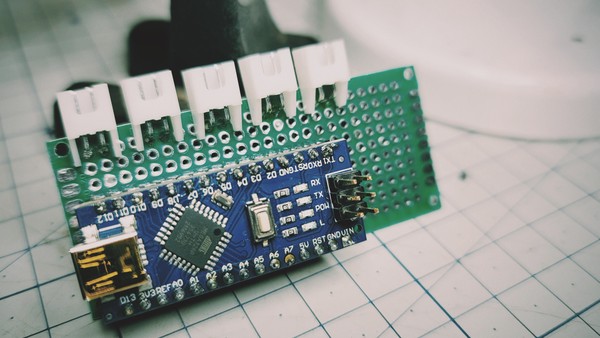
Building The M1N0 Light Array Control Board
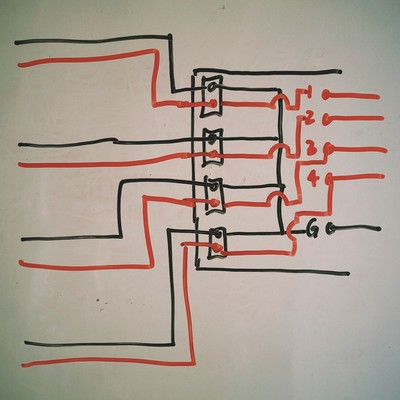
Control Board - Design Schematic
Control Board - Building
LED Array - Wiring & Installing
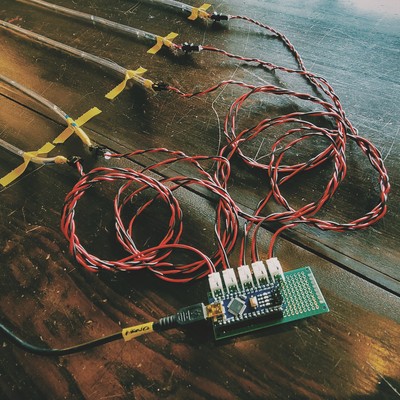
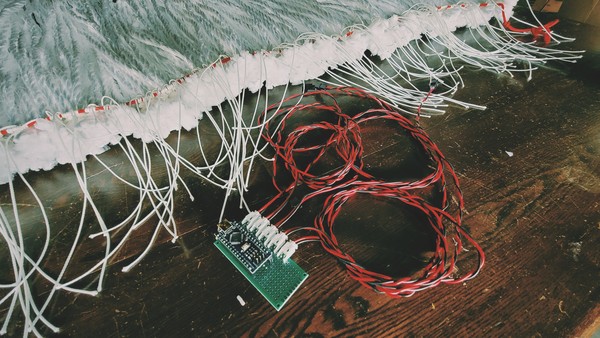
Testing the Control Board + LED Array
Sensing for the M1N0
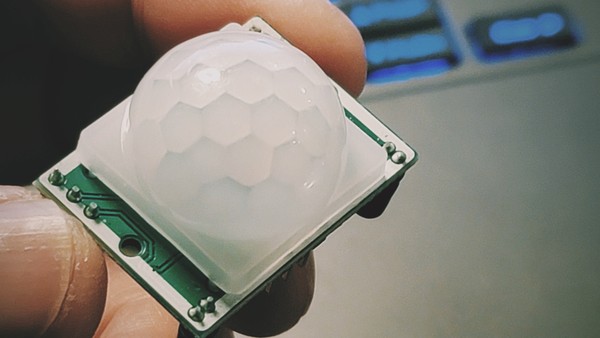
PIR Sensor
I learned how to use the PIR Motion Sensor from reading this excellent description at Adafruit and also from this YouTube video by How to Mechatronics.
Some key learnings:
- PIR = Passive Infra-Red
- The PIR is a Pyro Electric (Infrared radiation) sensor

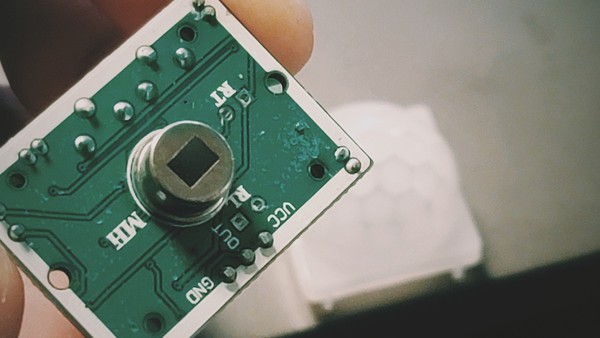
- The PIR module has 3 connection pins...VCC, Signal and GND
- The PIR module has a movable jumper connector that allows it to switch functionality from Repeatable Trigger (H position) to Non-Repeatable Trigger (L position)


- Repeating Trigger mode...continues to reset the starting time as long as movement is detected by the sensor
- Non-Repeating trigger mode...automatically reverts back to LOW state after the specified HIGH state duration has been reached, i.e. does not trigger or reset the starting time once it is initially triggered
- The PIR module also has 2 adjustable trim potentiometers...to adjust detection distance sensitivity (up to 7m) and triggered state duration (0.3s to 5mins)

- The PIR module requires some warm up time
- The PIR module's white dome cover is actually a fresnel lens that widens the view angle of the sensor (expands the visible detection area)
PIR Settigs Decisions:
- Retriggering mode
- 2m to 3m detection range
- 5s triggered duration
I want to use PIR sensor(s) to detect approaching people...to trigger an 'excited' light pattern in the M1N0. The sensors will likely be installed in the 'collar' area of the...one pointed towards the back and one pointed to the front.
Fittings on Reluctant Models

Notes from fittings:
- The 'straw' does not contain the body well >> need weft?
- The length of the M1N0 needs to be tailored for different size individuals...to look good
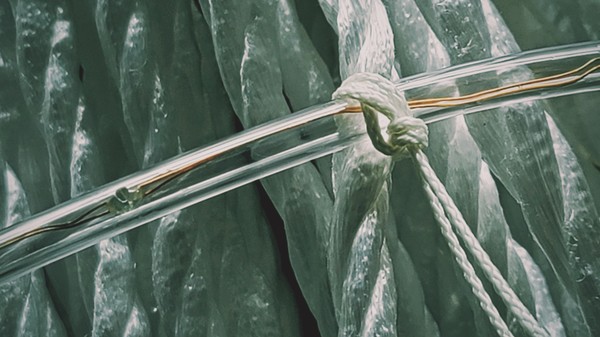
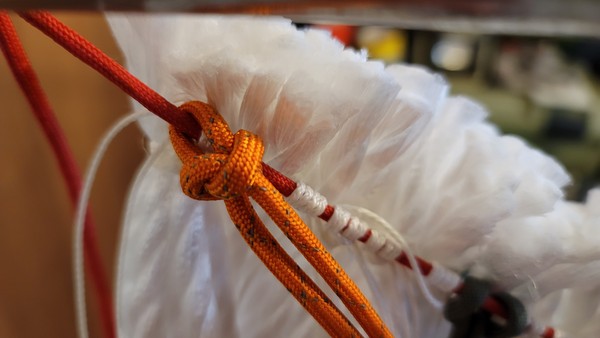
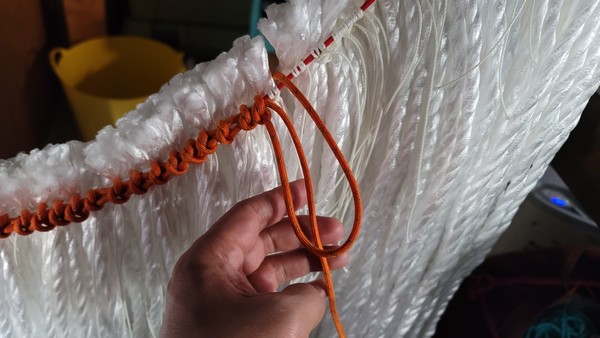
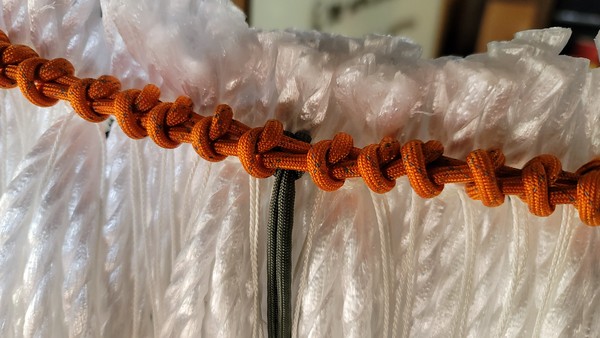
- The main horizontal rope of the rope array needs reinforcement >> paracord snake knot collar
- The collar can hook on the inside to the top rope...for different neck and shoulder sizes >> what hook?
Note: The idea for the reinforced, paracord collar and sizing hook...resulted from a conversation with a friend. Takeaway...don't work in isolation. Show your work in progress to others who will offer comments. Sometimes they will help you see pass your blind spots.
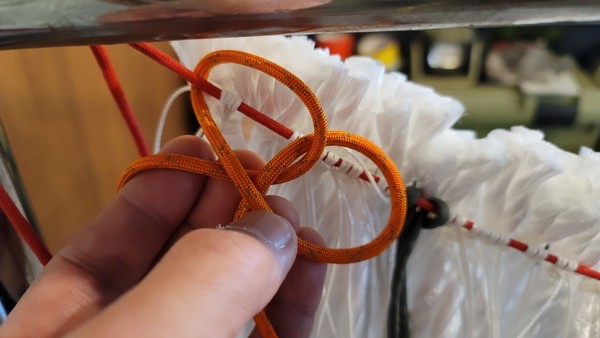
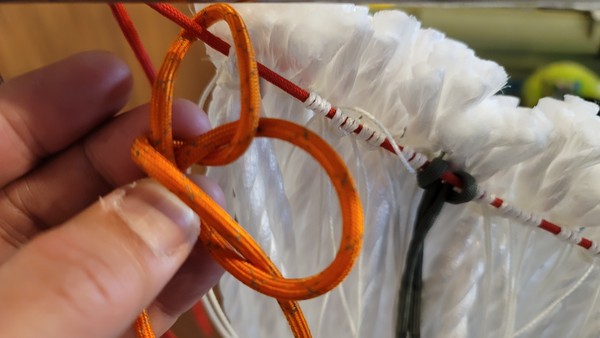
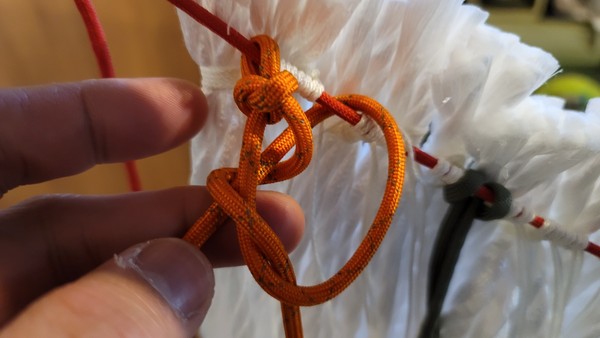
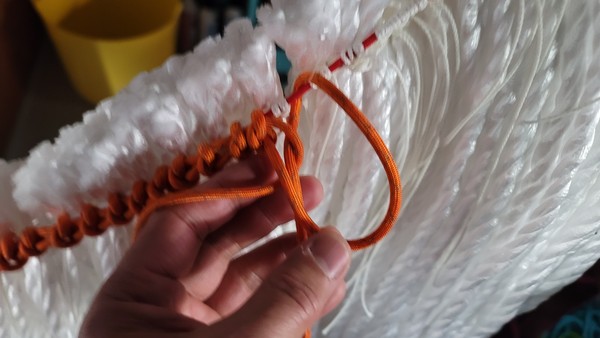
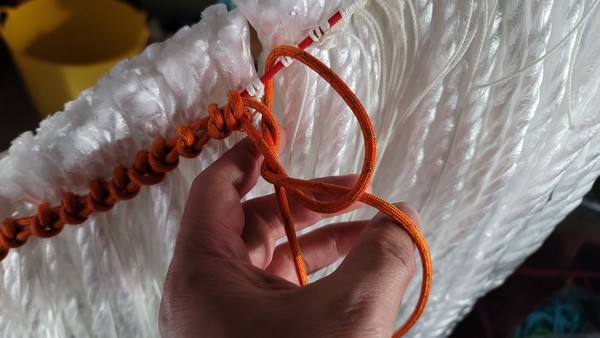
Paracord Collar Reinforcement
As with creating the modules for the 'Straw Array', I find the process of 'tying' the Snake Knot collar meditative. While strictly not garment making or tailoring...I feel I am participating in some textile fabrication tradition...akin to net making by fisherman or straw roof making by farmers...or those who knit and weave. Humble, utilitarian, 'beautiful' in its unabashed simiplicity.
Beauty in Simplicity...has become to define what I am doing on this project. As unintentional as it may have been because I started with the idea that the most modern tools and processes should be employed to make an amazing Fabricademy project. I have come to see that perhaps the time-savings benefits of digital fabrication...may come at the cost of something fundamentally good and intrinsic to handcrafting.
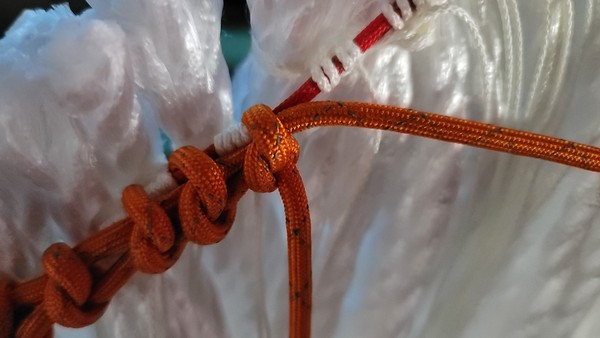
...but simplicity, becomes beautiful, when details are considered. The straw roof edge is cut straight and with precision.
"God is in the Details" Meis van der Rohe

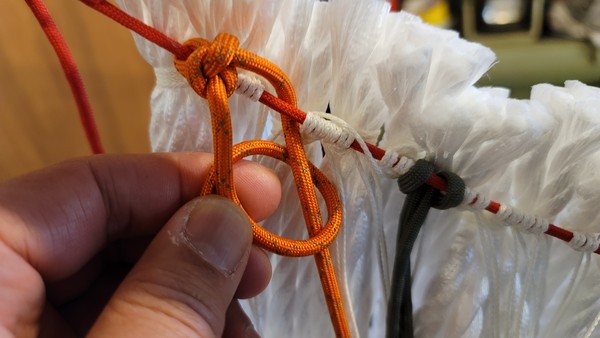
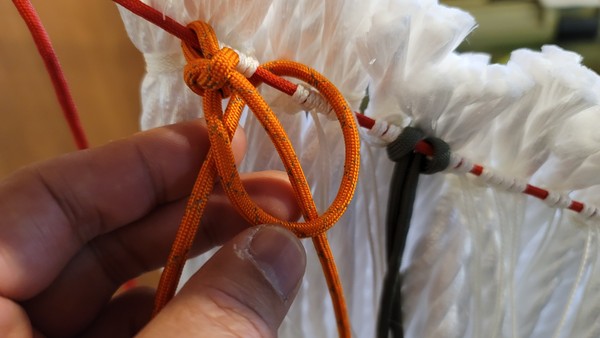
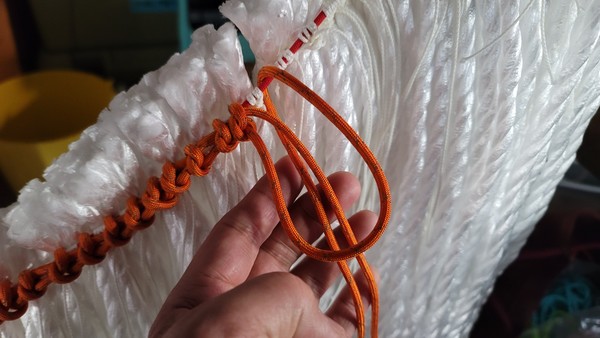
Tying the Snake Knot
 -m "
Finished Collar
-m "
Finished Collar
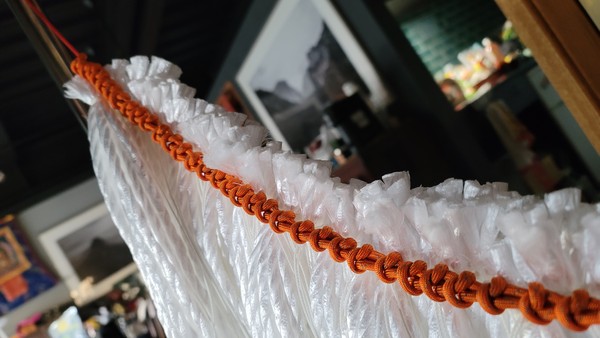
"God is in the details" Meis van der Rohe
Geta
Model
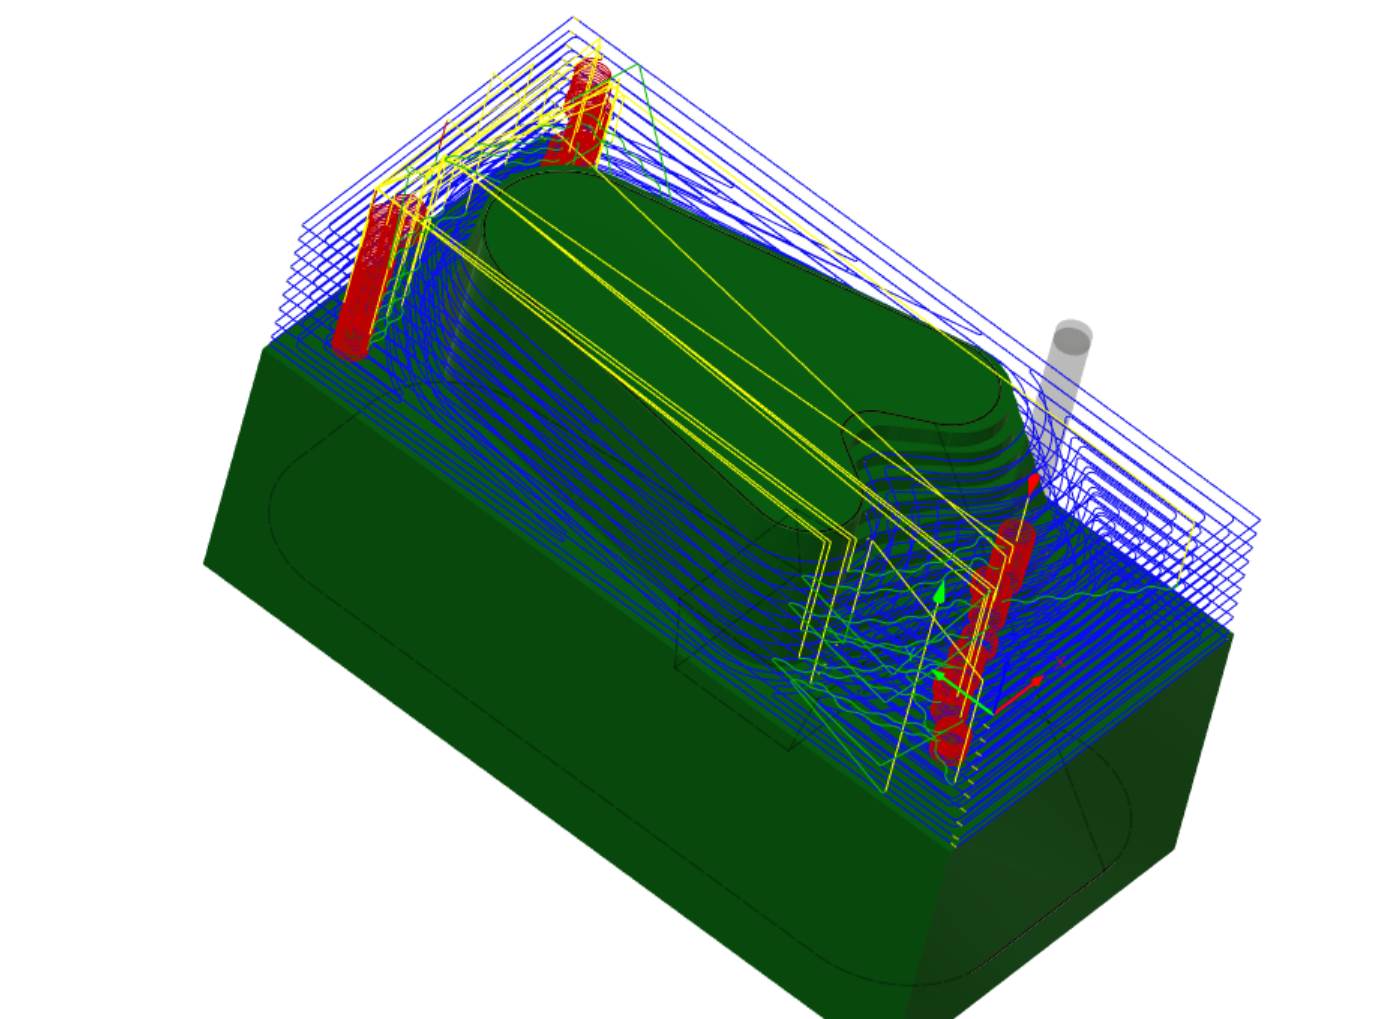
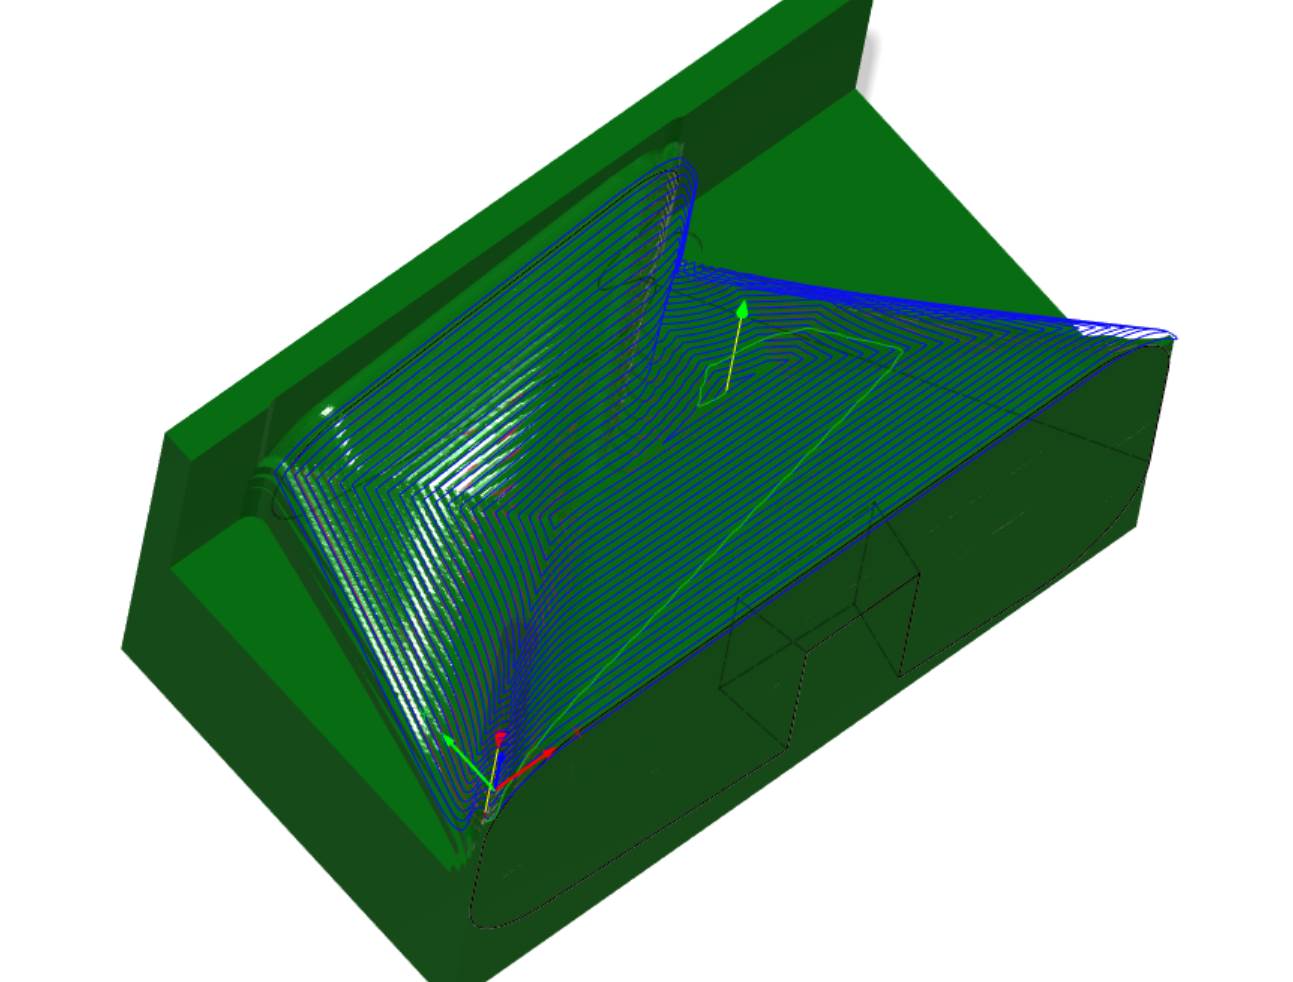
CAM