12. Skin Electronics#
This last week was quite hectic, and a little more challenging to manage. Irene and I are participating in a Fashion - Innovation contest, and the deadline is mid January.. so we had to double work on this project before the Christmas holidays. At the same time, I worked on the skin electronic for this week’s assignment and I went for something ‘easy’ that I could manage to finish and make it work. Also, I had to leave Amsterdam and go back to Luxembourg in the middle of the assignment for personal reasons, which forced me to speed up the work with Irene and I had to organize the needed material for the electronics part to bring with me.
BUT I did ! Well +/- , 2 hours before the online check I’m writing my documentation while I have no compatible USB cable to connect my Gemma to the computer..
How to start#
So my plan was : Make something artistic with what you have in front of you ! What I had was my mold from the Week 6 :Scaffold assignment + a piece of the lasercutted mold from the previous Week 11:Soft Robotics assignment + electronics stuff + liquid latex and a very limited amount of time. So I did a quick sketch on my phone’s ‘Note’ app :
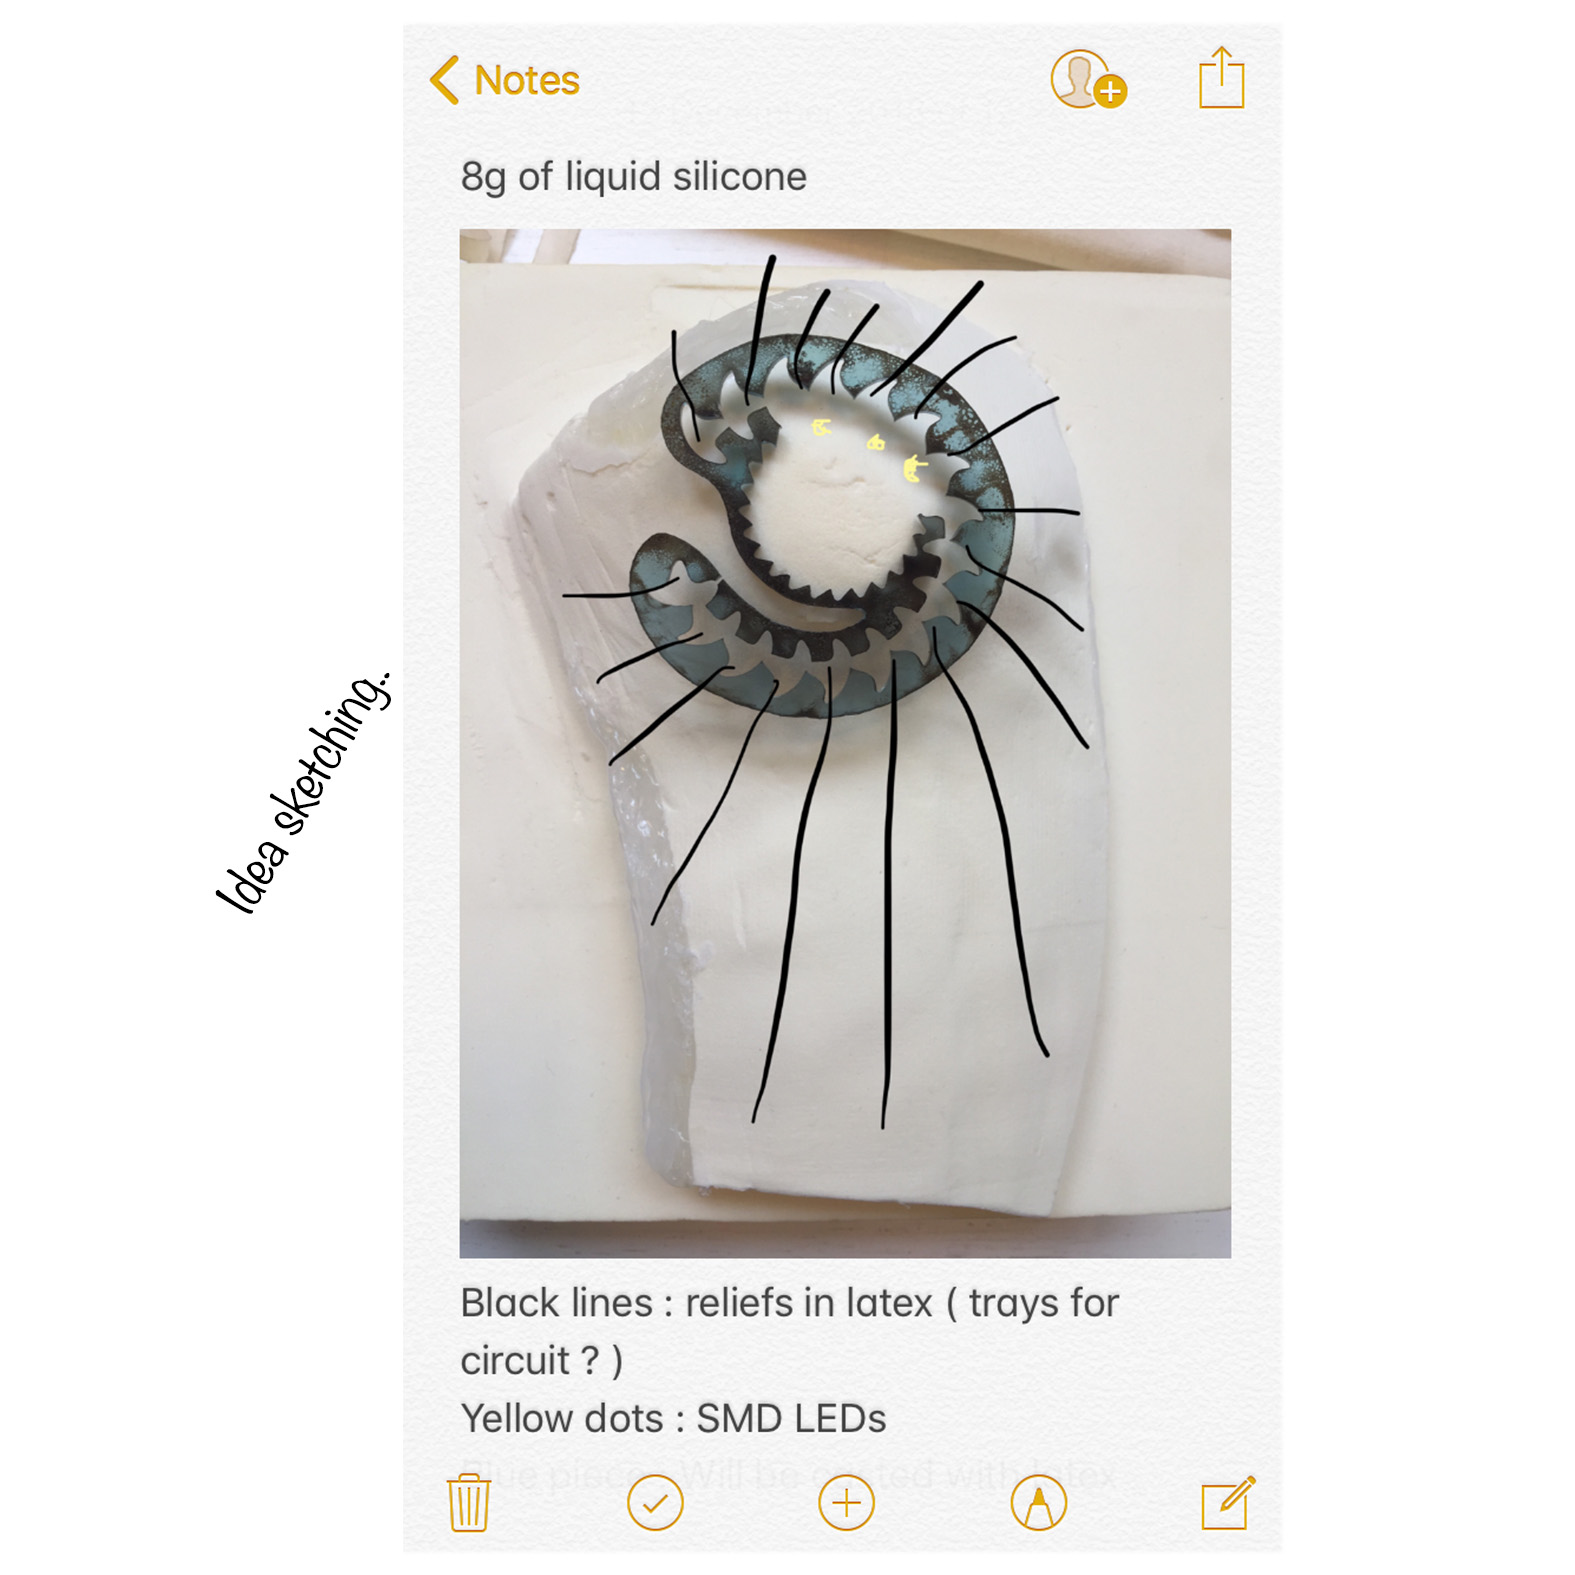
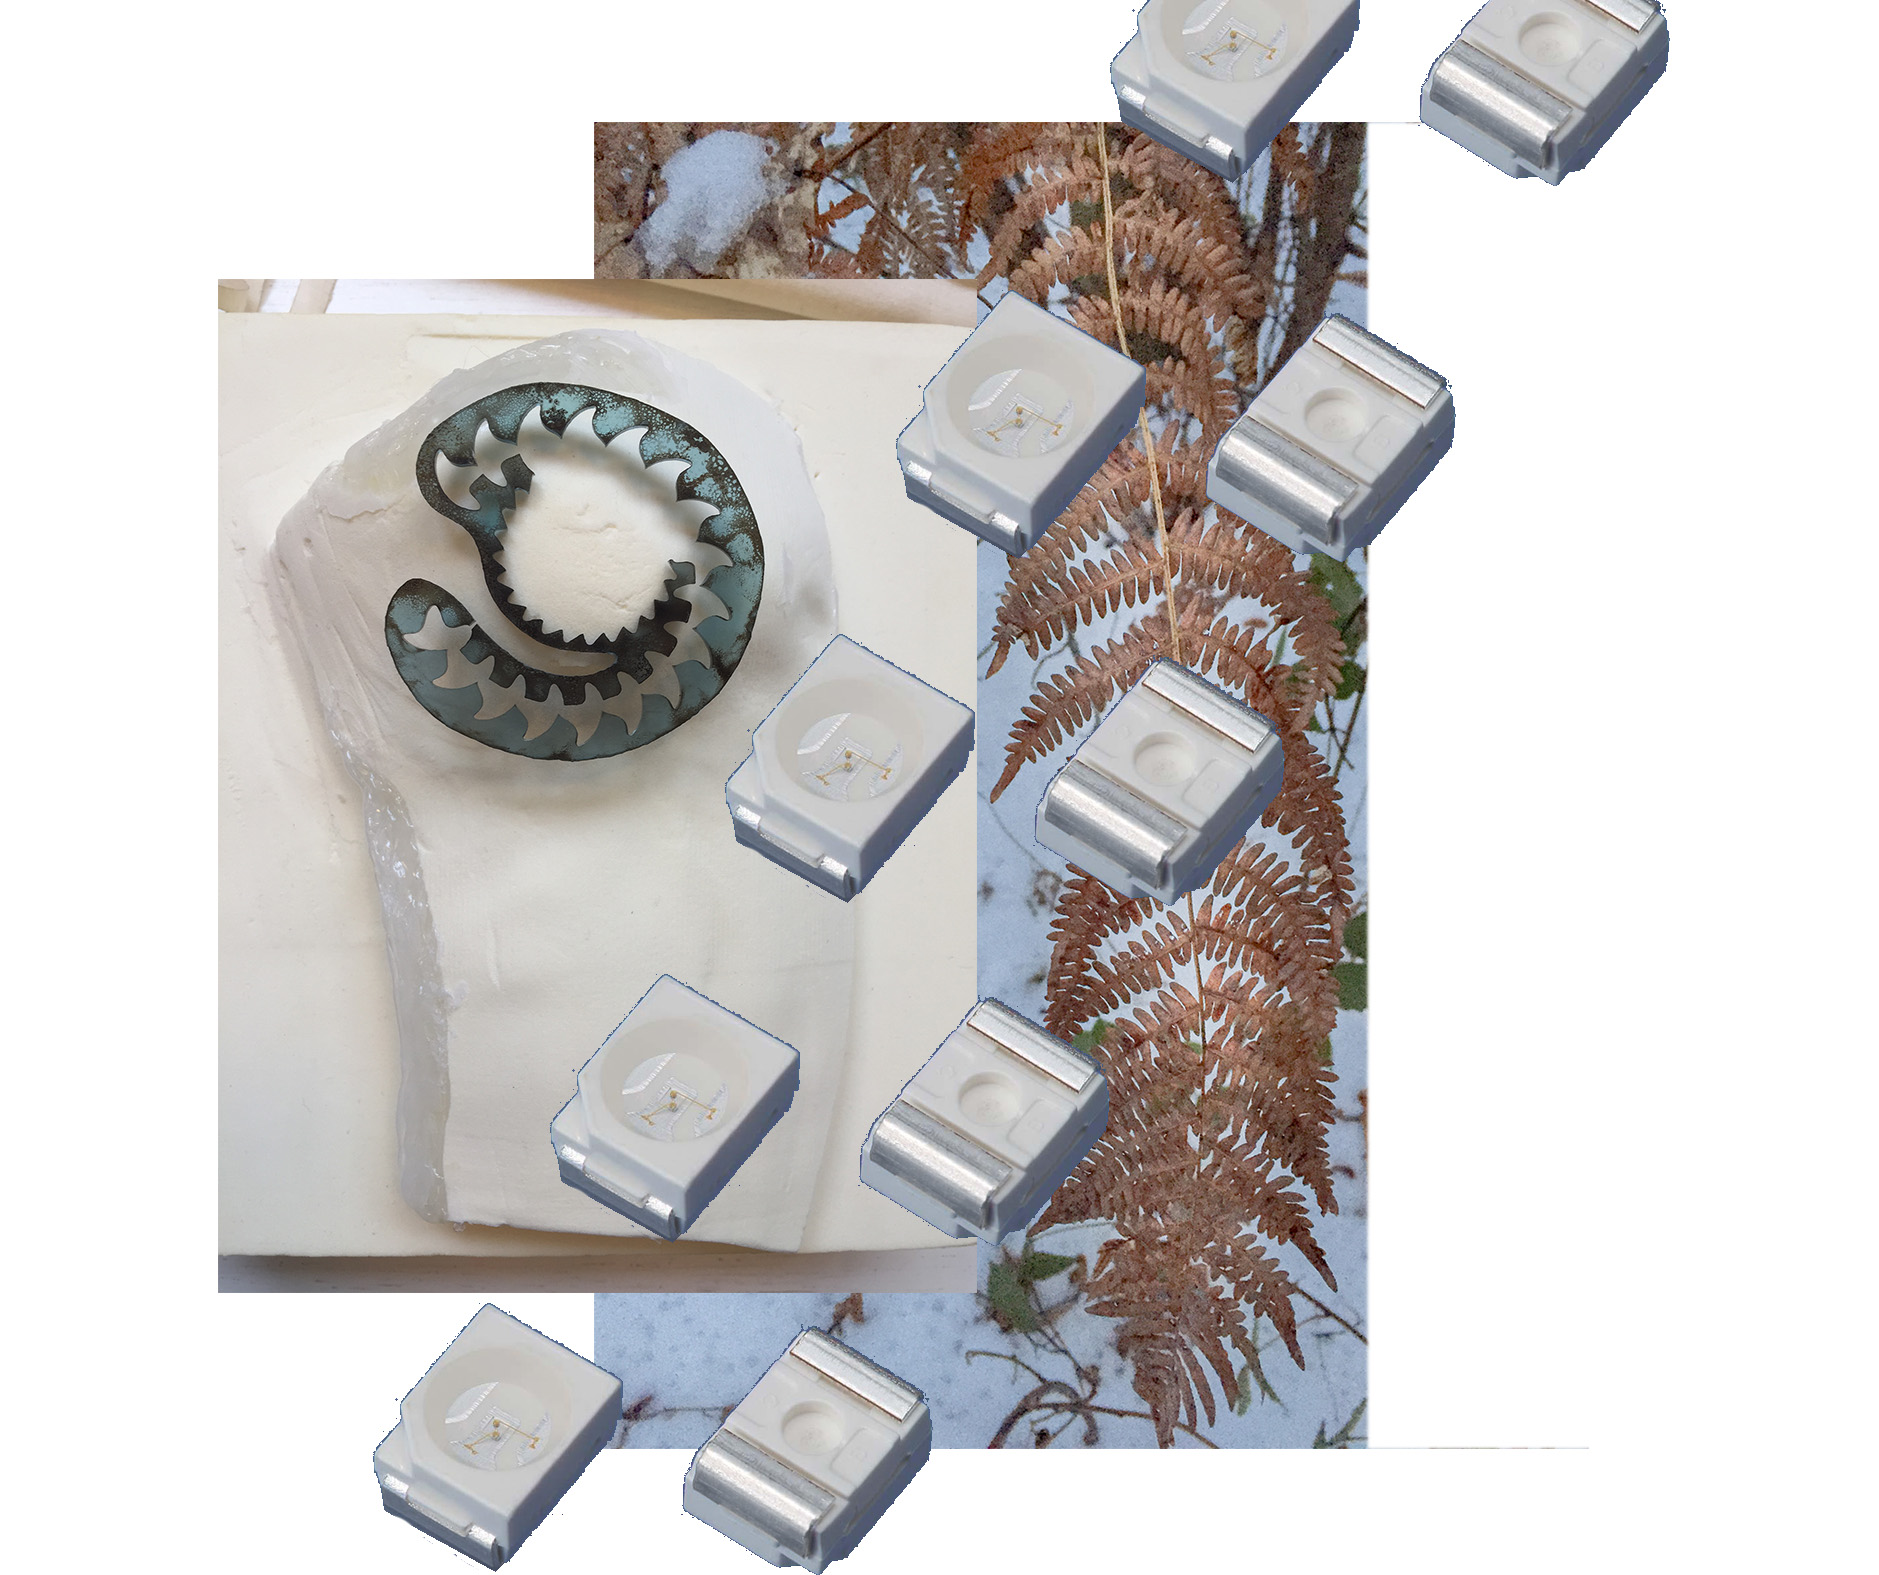
And also a little inspiration board :
Electronics#
Material you’ll need for this design :
- Adafruit Gemma
- SMD LEDs
- Soldering Iron
- Aligator clips
- Conductive thread/wire
- USB cable (that can transmit files and not only charge)
- 9V battery
- 9V battery clip
- Coin cell battery holder
- 2x 3V coin cell batteries
SMD LEDs#
I f you want your SMD LEDs aligned in the same circuit you’ll need to solder them on the same ‘path’. You can use conductive thread or wire, but notice that conductive threads have more resistance and could work less good than wires. For my last assignment of Wearables 2 I had some issues with the resistance of the thread, therefore I prefered to go with wire this time.
To solder the LEDs together you’ll need a soldering iron with a very pointy ‘nose’. You need to be very precise as the pieces are TINY.
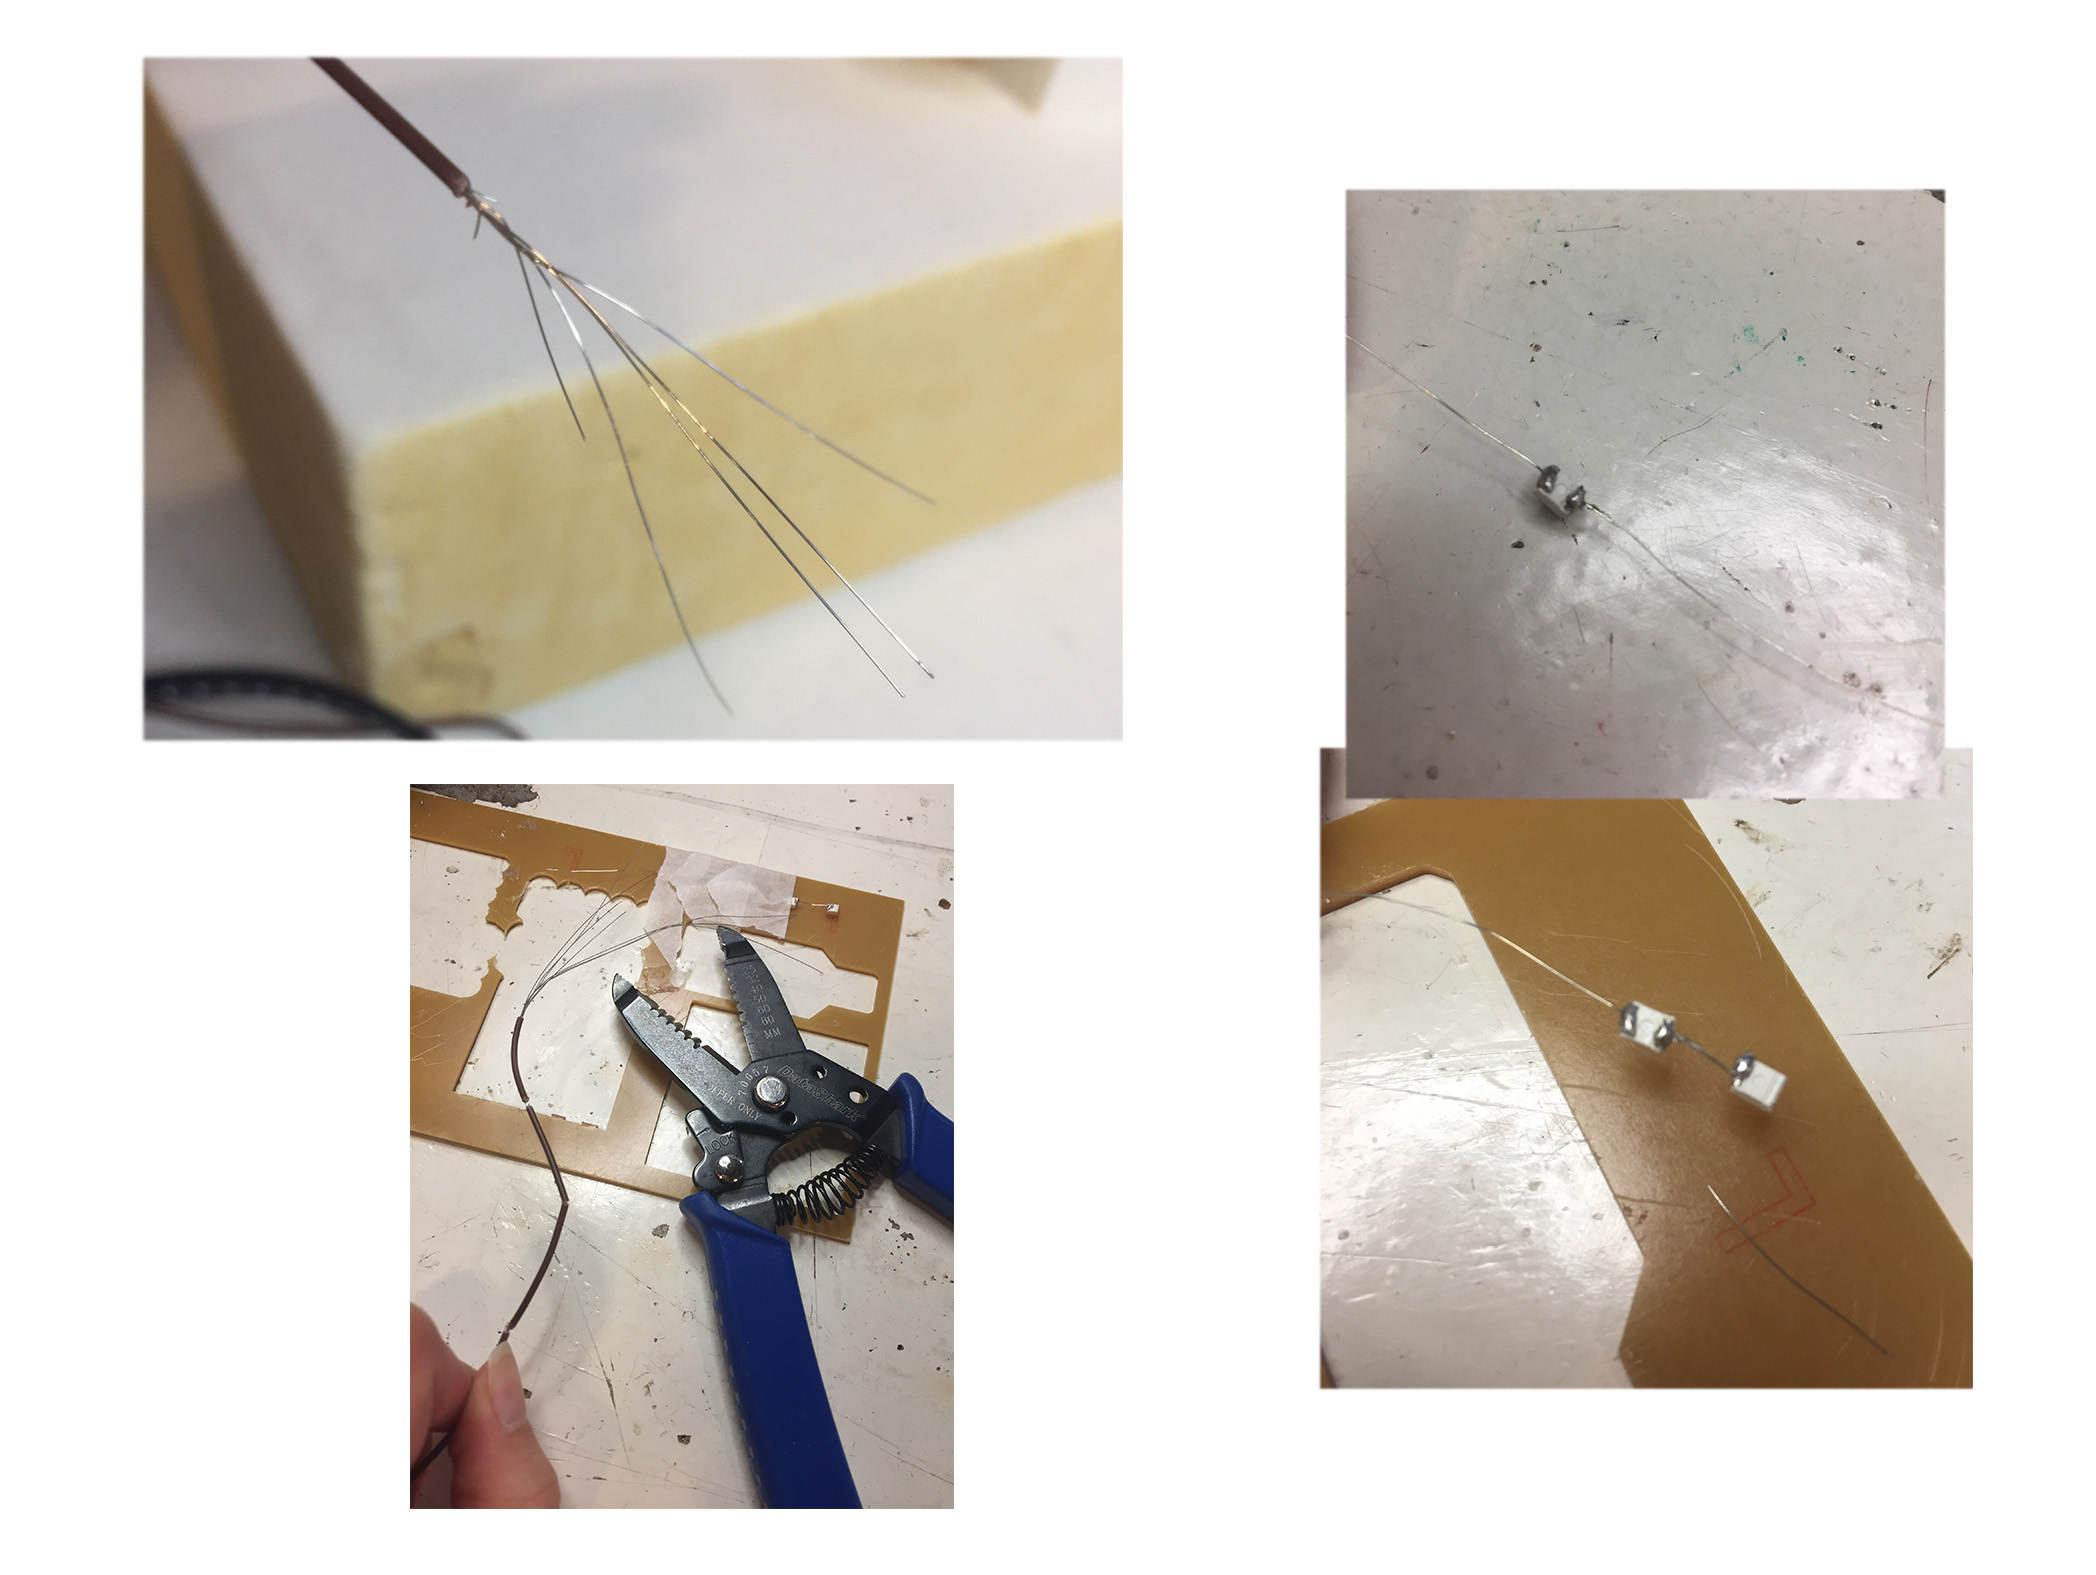
Make sure to not breathe in the smoke released of the soldering wire while soldering !
Layers of Latex#
I started with brushing layers of latex on my mold and letting it dry in between.
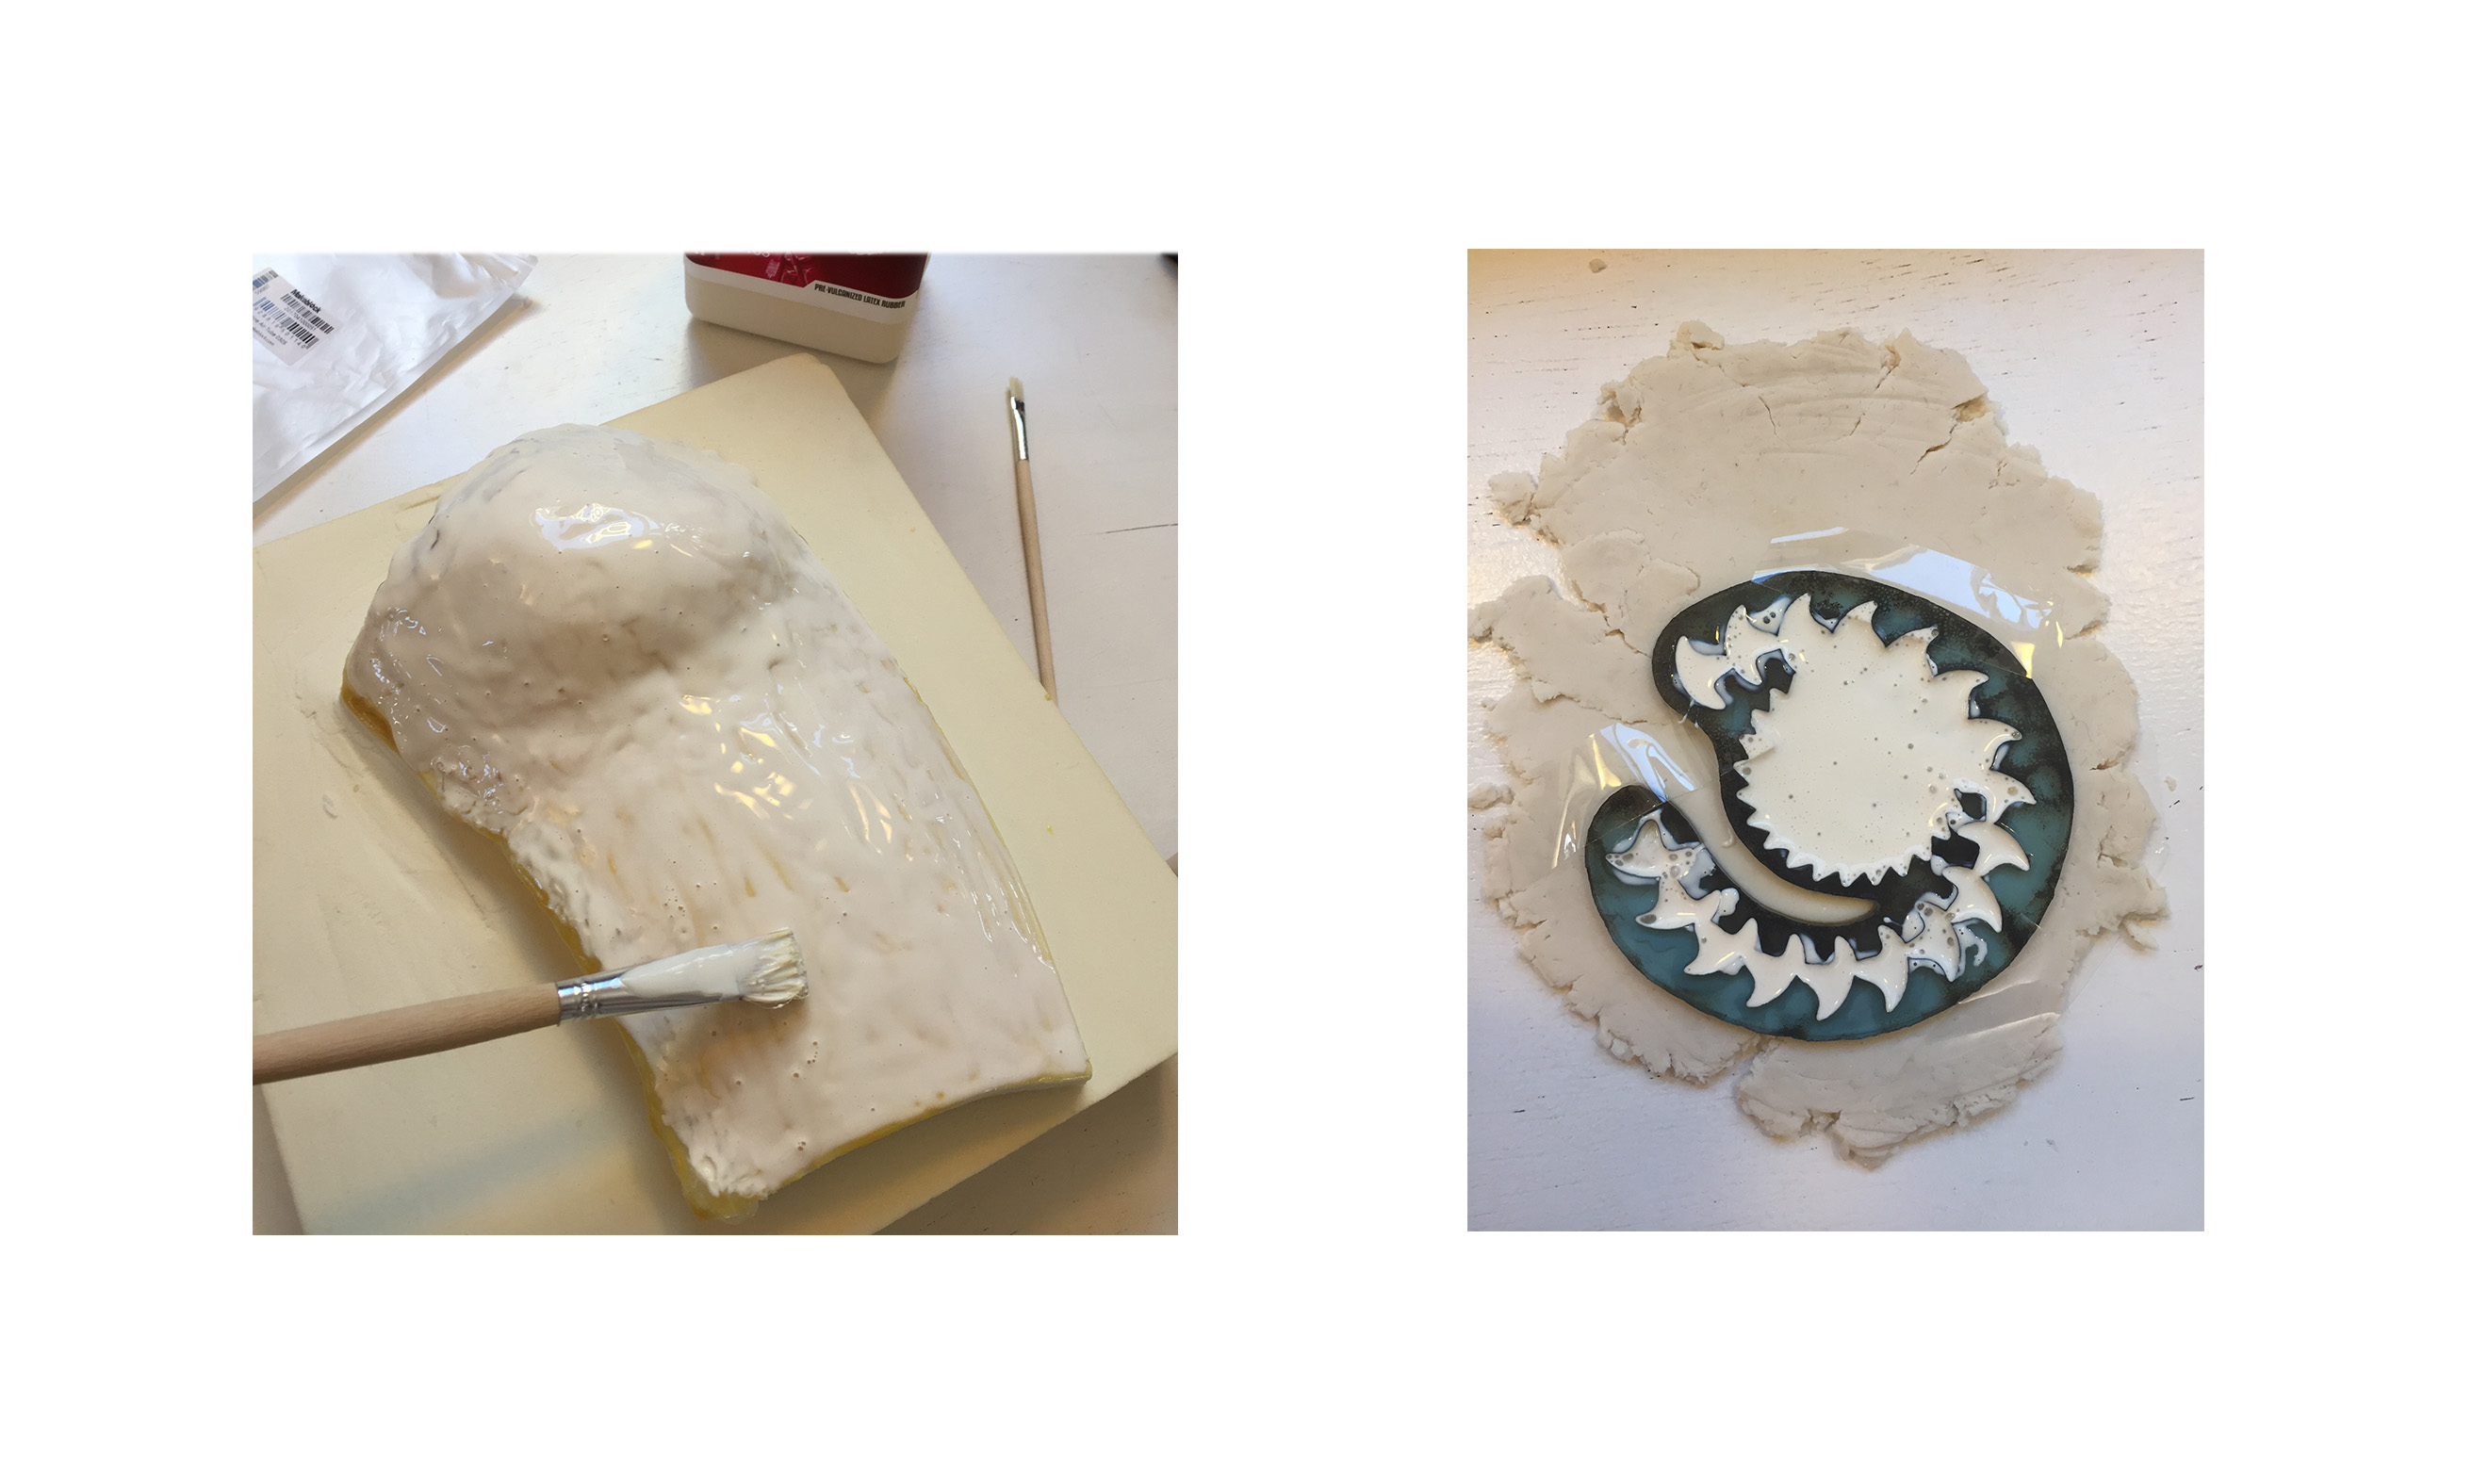
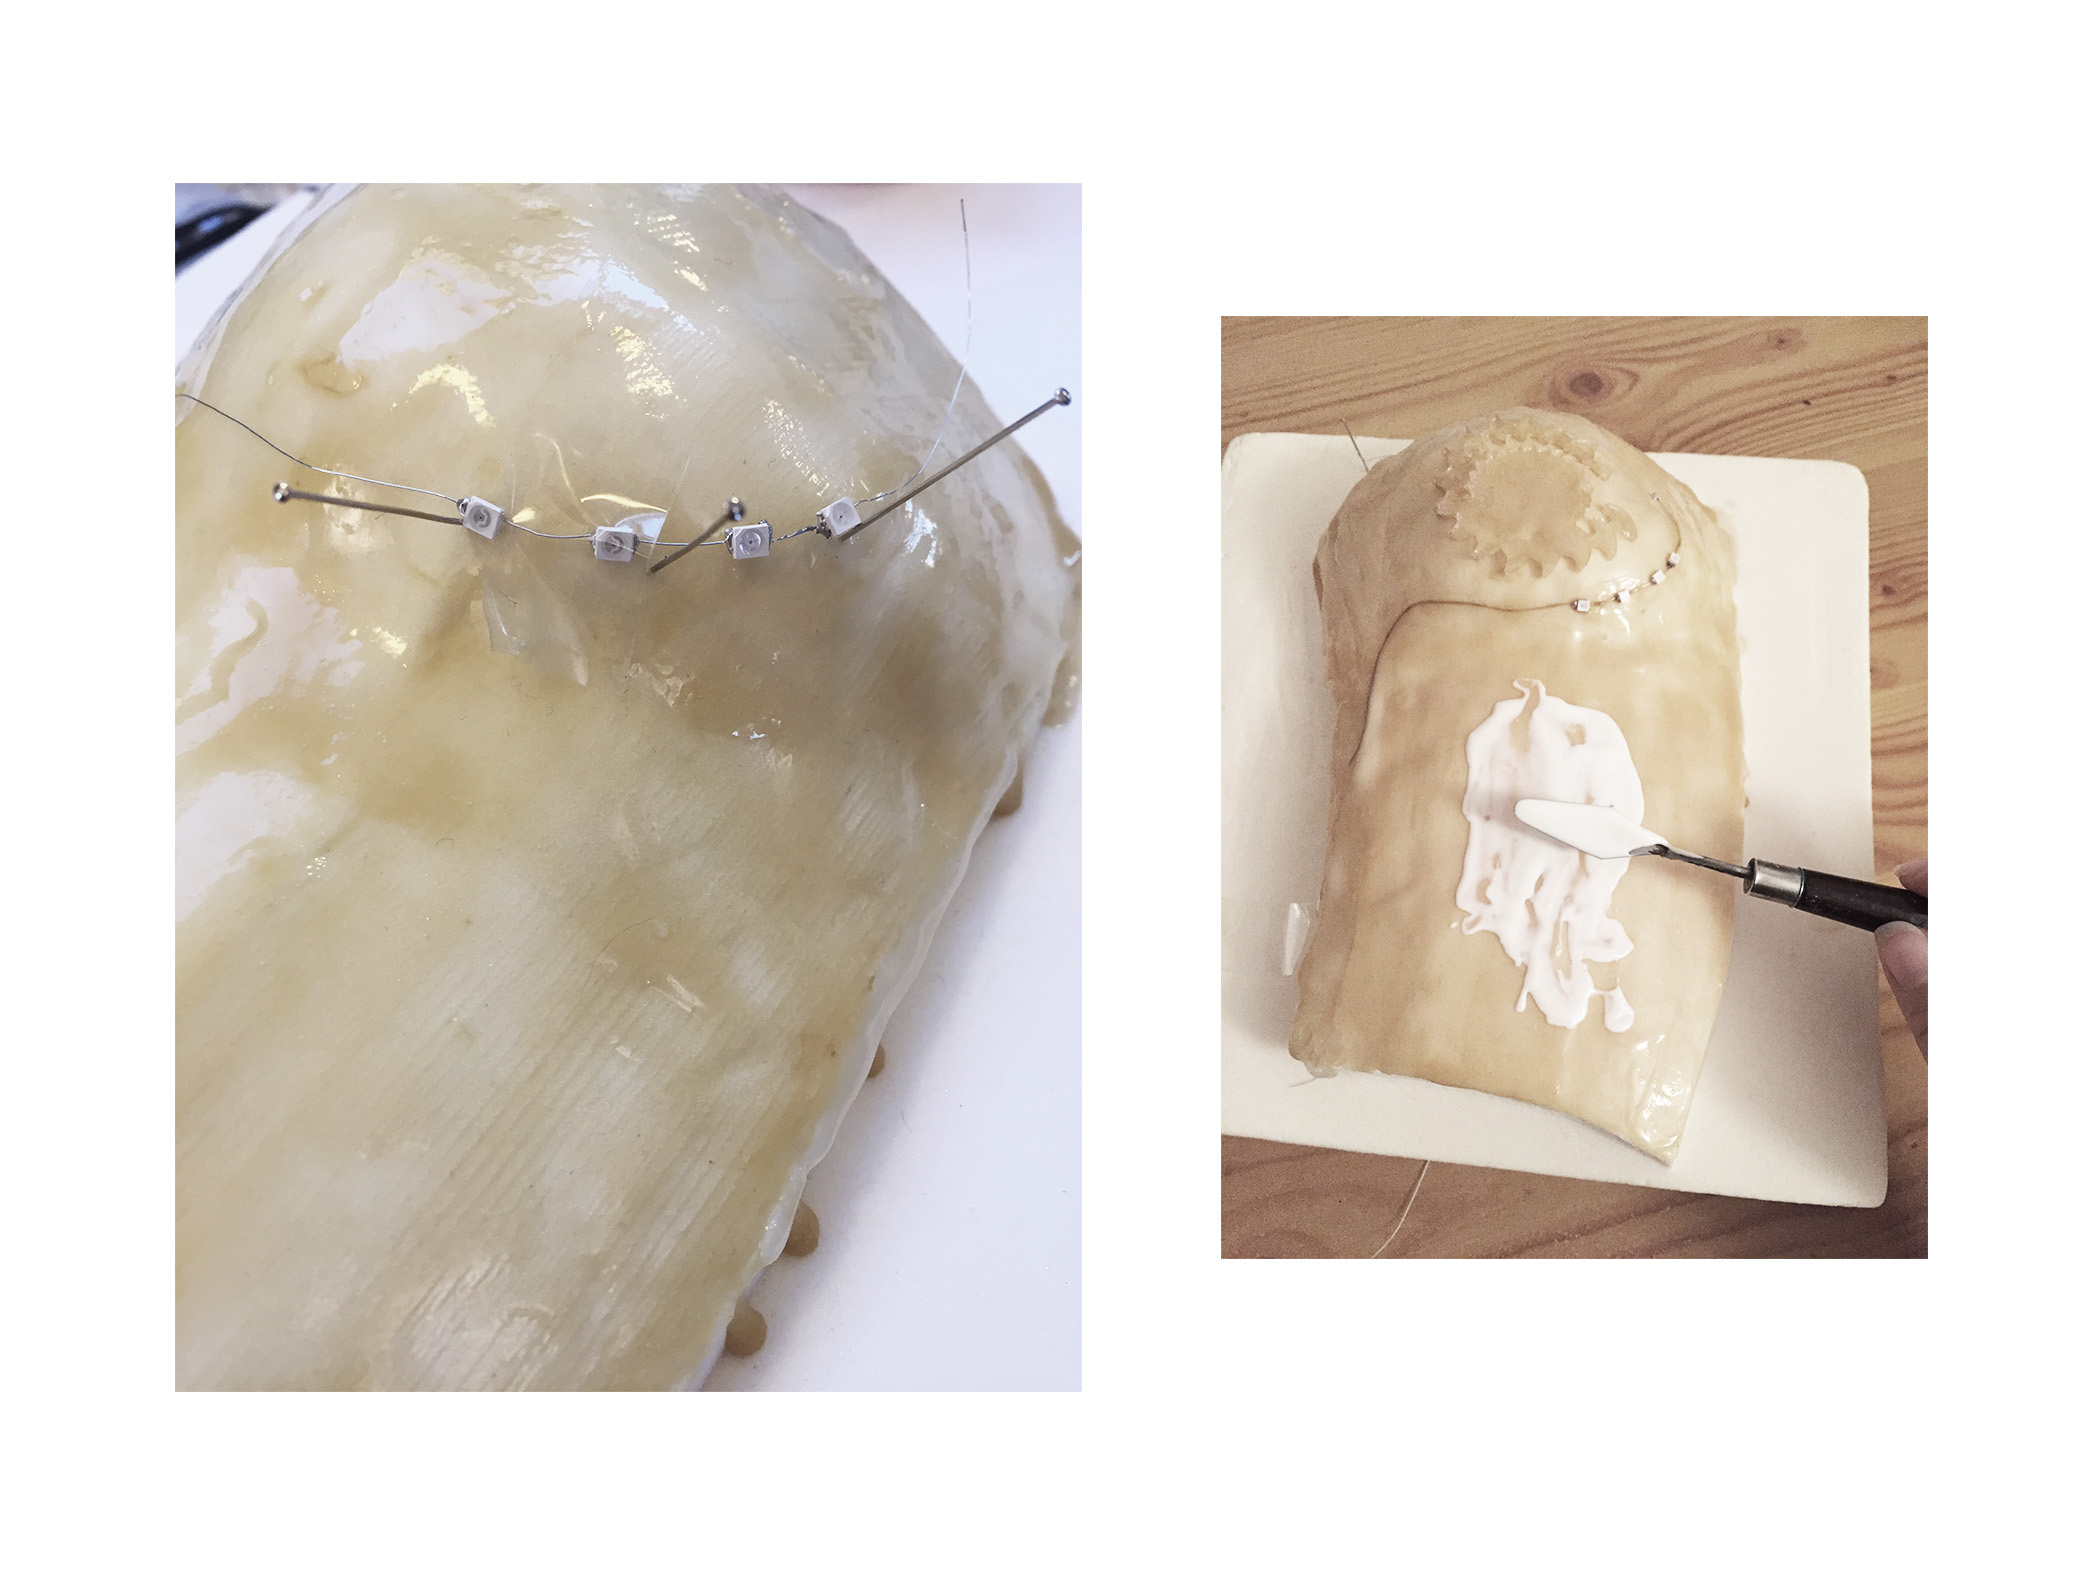
The latex takes about 1hour to dry, depending on how thin/thick you layer. When dry, the latex gets a yellowish-transparent look.

Adafruit Gemma#
You’ll find all the necessary instructions on how to use this microcontroller board on the Adafruit website.
Here are some of the more important ones for this project :
The pins schema on the Gemma

If you do not have the most recent version of Arduino IDE (1.6.6+) than you won’t have the right boards installed yet..
What you’ll need to do is to copy and paste this link :
https://adafruit.github.io/arduino-board-index/package_adafruit_index.json into the ‘Additional Board Managers URLS’, like so :
 And right after you’ll need to install the needed boards, like so:

Gemma Setup :
- Make sure to choose the right boards -> ‘Adafruit Gemma’ ( and not ‘Arduino Gemma’!)
- Select ‘USBtinyISP’as the programmer
- Plug in your Gemma
- Before you try to upload your code to the Gemma it must be in the Bootloader Mode. That means its listening for a sketch or program to be sent to it.
When the Gemma is in bootloader mode, the red LED will be pulsing. Once the red LED stops pulsing, you must press the tiny reset button on the Gemma to re-enter bootloader mode.
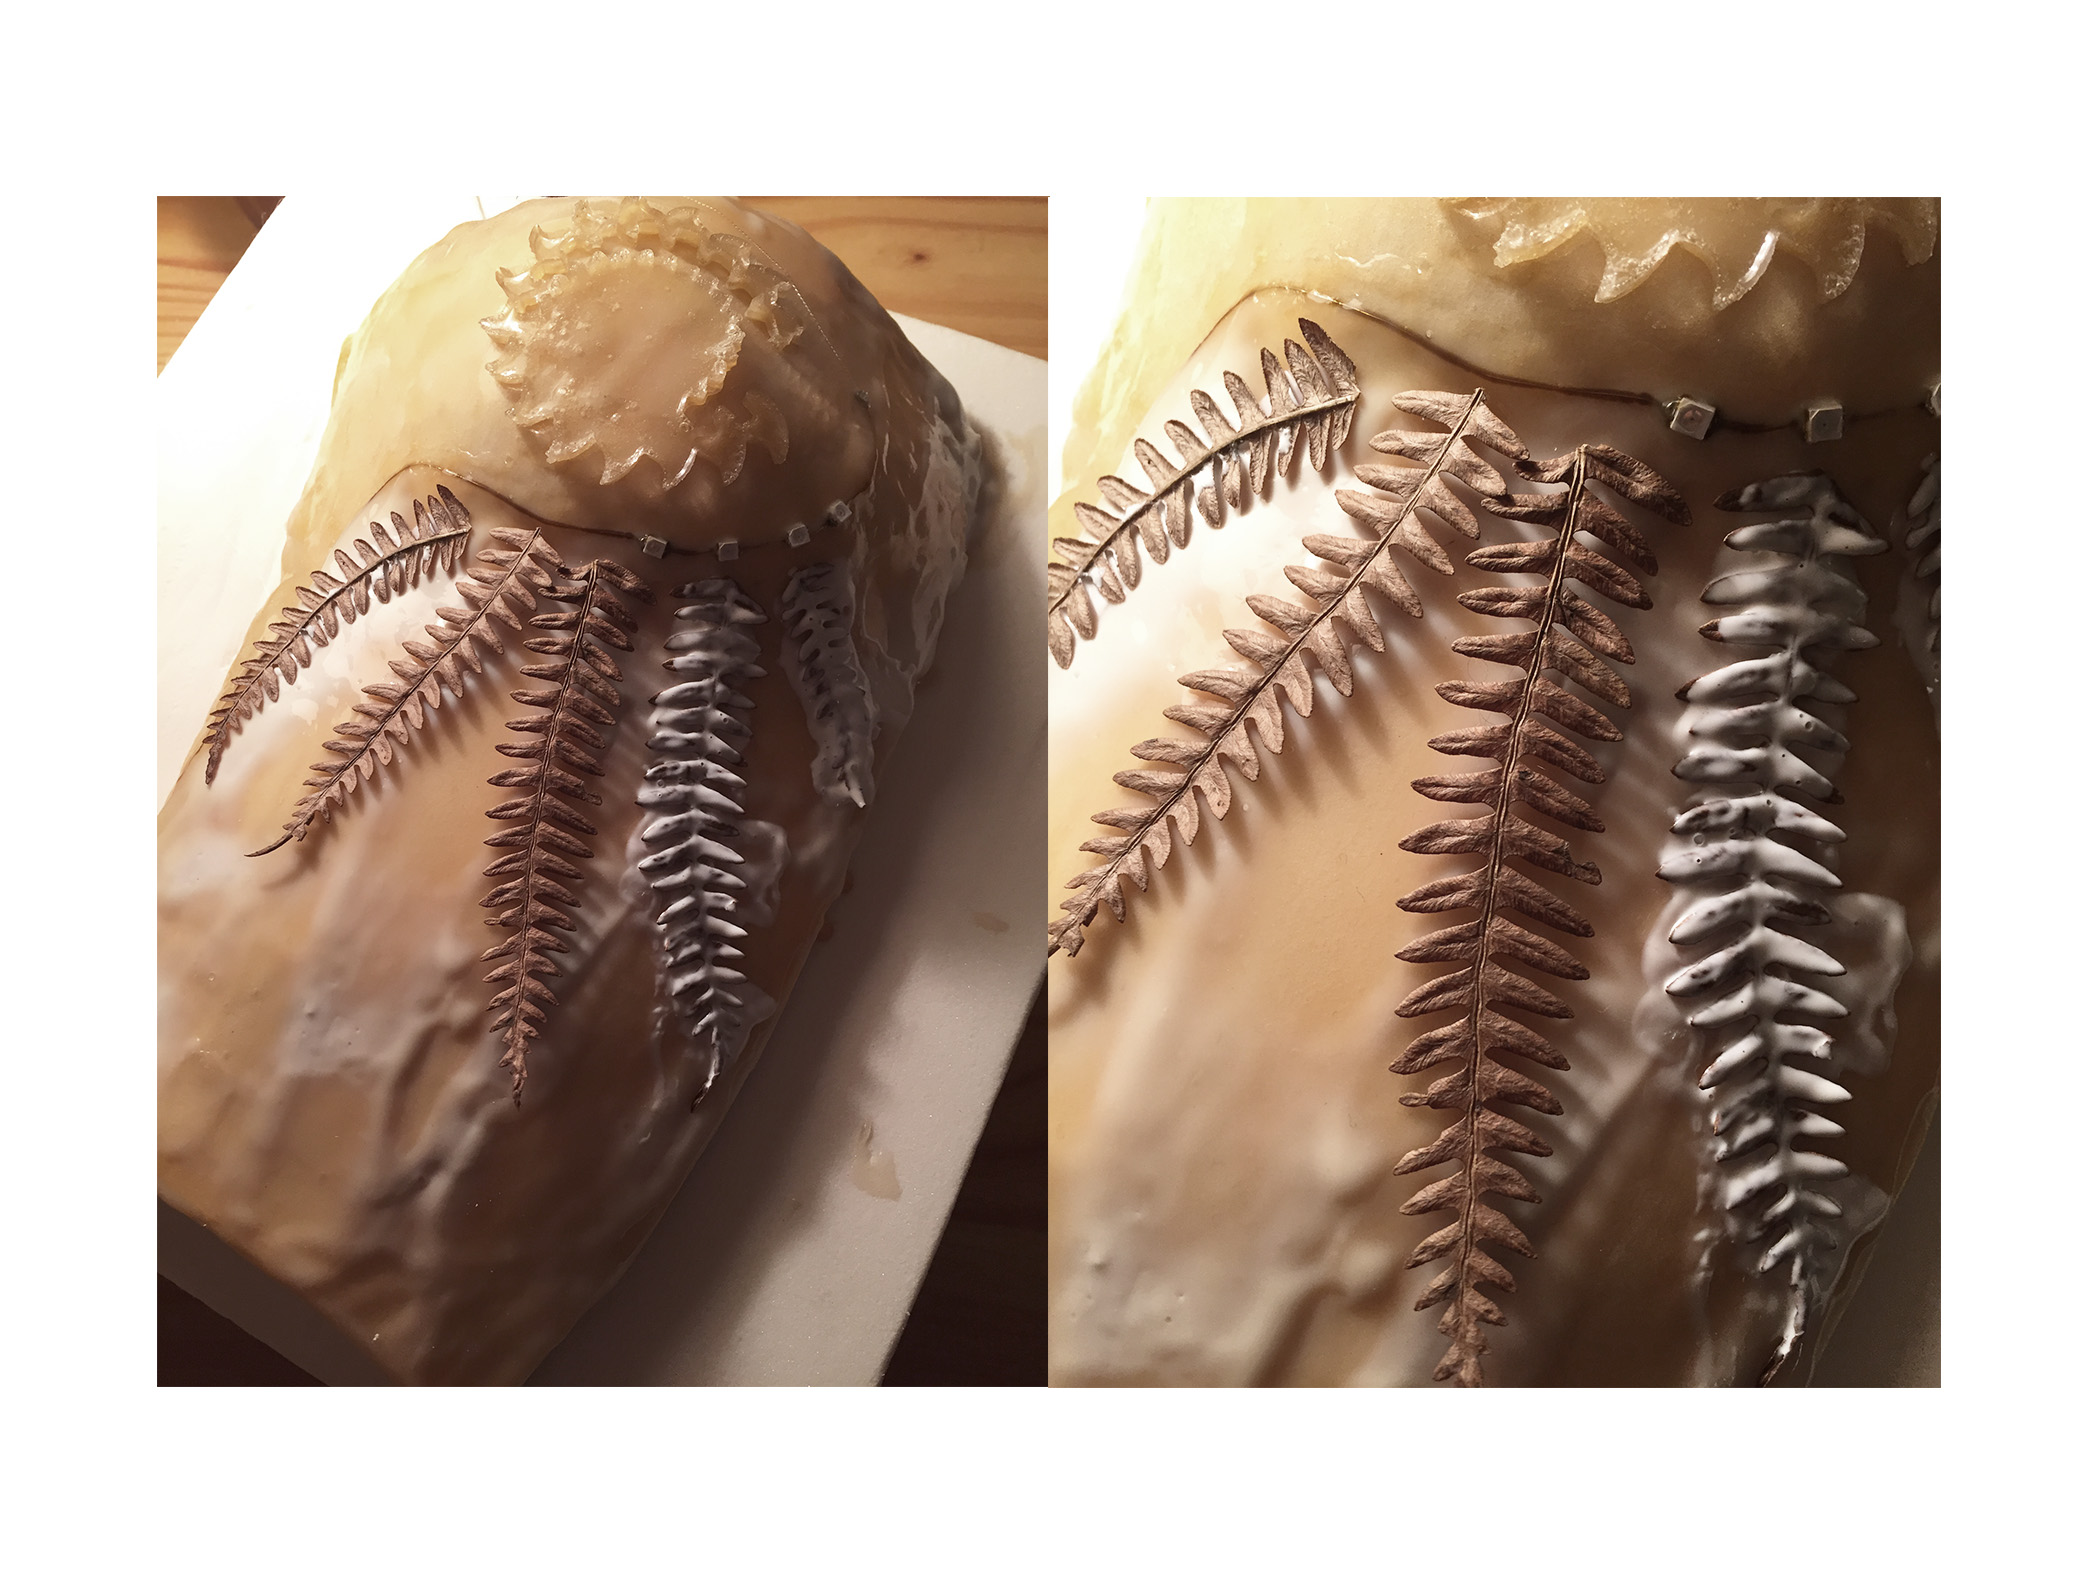
Finishing the design#
Finishing up with the last layers of latex and decorating the design with some leafs I found in the forest while taking a walk..
After leaving that layer dry I found out that the wire has oxydized :
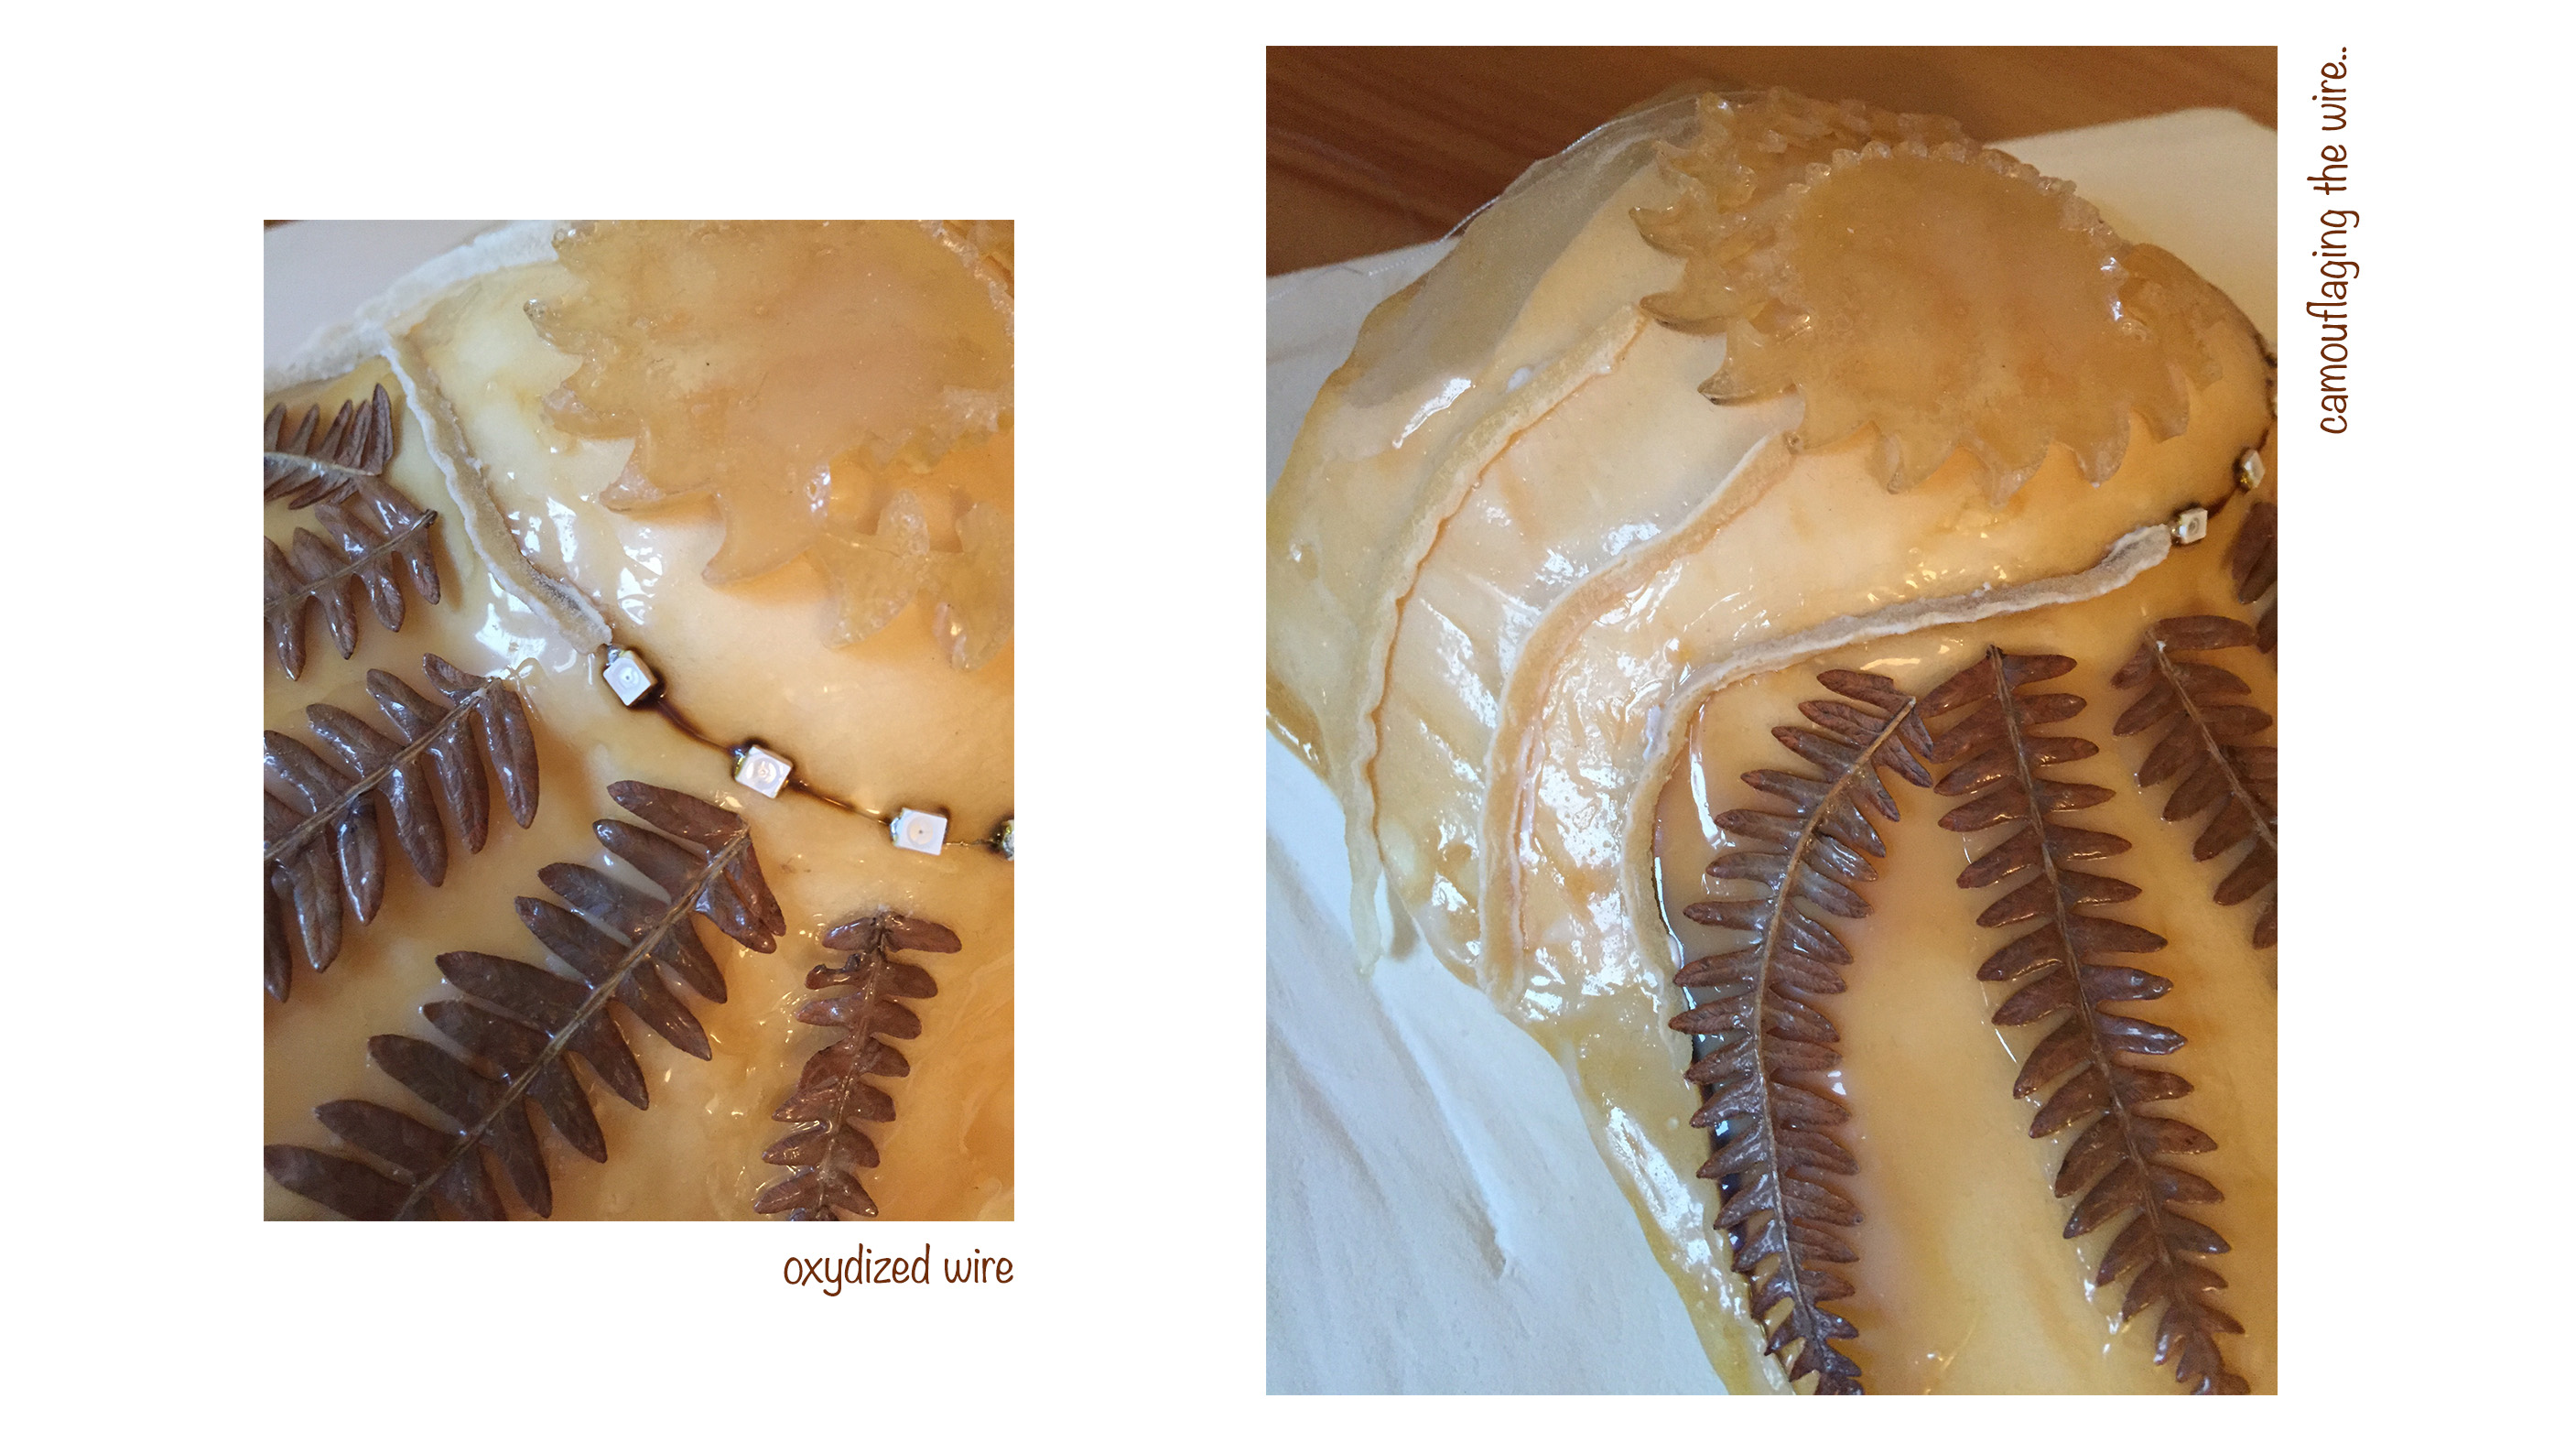 I wasn’t sure at that point if the circuit would function or not, so I tested it with the 9V battery :
I carved some lines next to my mold to create latex lines that I would use to hide the oxydized wire.
I wasn’t sure at that point if the circuit would function or not, so I tested it with the 9V battery :
I carved some lines next to my mold to create latex lines that I would use to hide the oxydized wire.
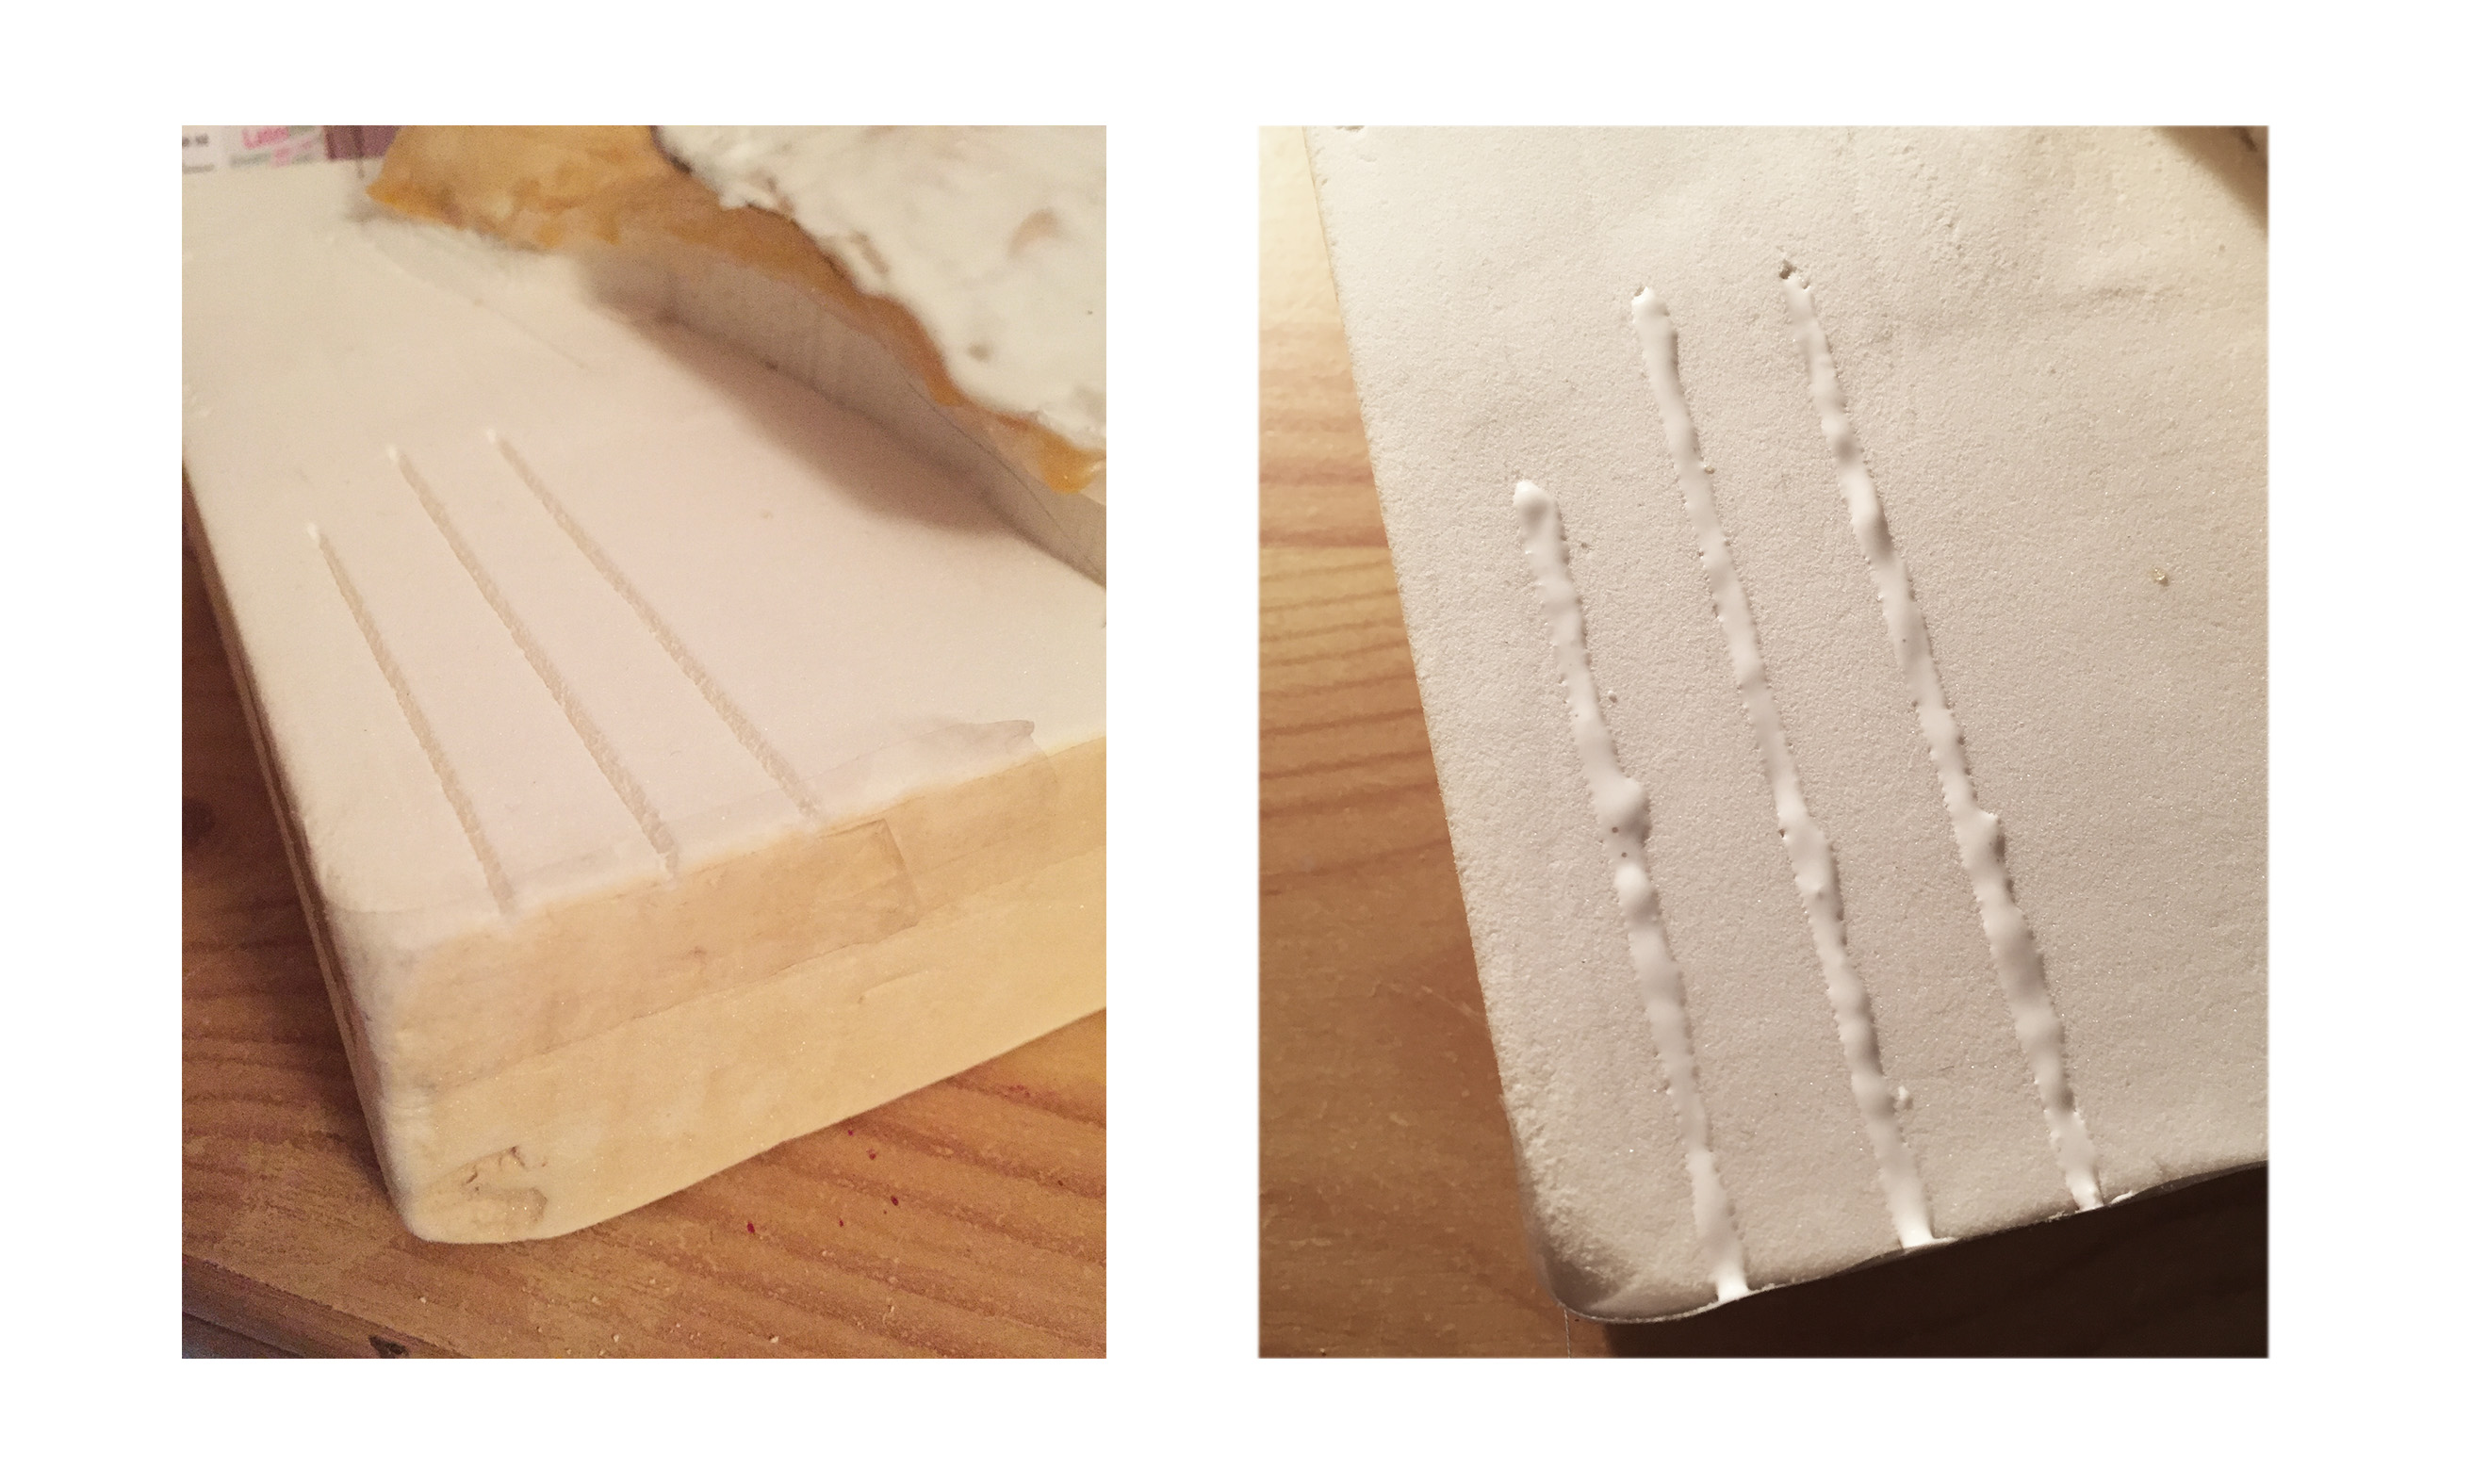

WORKS ! Phew
Program the Gemma#
I finally had everything installed and setup. I wrote a quick and easy code to just light the LEDs on/off.
Adafruit Gemma Code :
//* Stéphanie Santos; LED on-off code
// December 2018
// Skin Electronics

int led_pin = 1; // pin D1 on the Gemma for the LEDs
void setup() {
  // put your setup code here, to run once:
  pinMode(led_pin, OUTPUT);

}

void loop() {
  // put your main code here, to run repeatedly:

  digitalWrite(led_pin, HIGH); //turn on the LED
  delay(100); //wait 100ms


}
I pressed the reset button on my plugged-in Gemma and uploaded the code.
And..
I got this
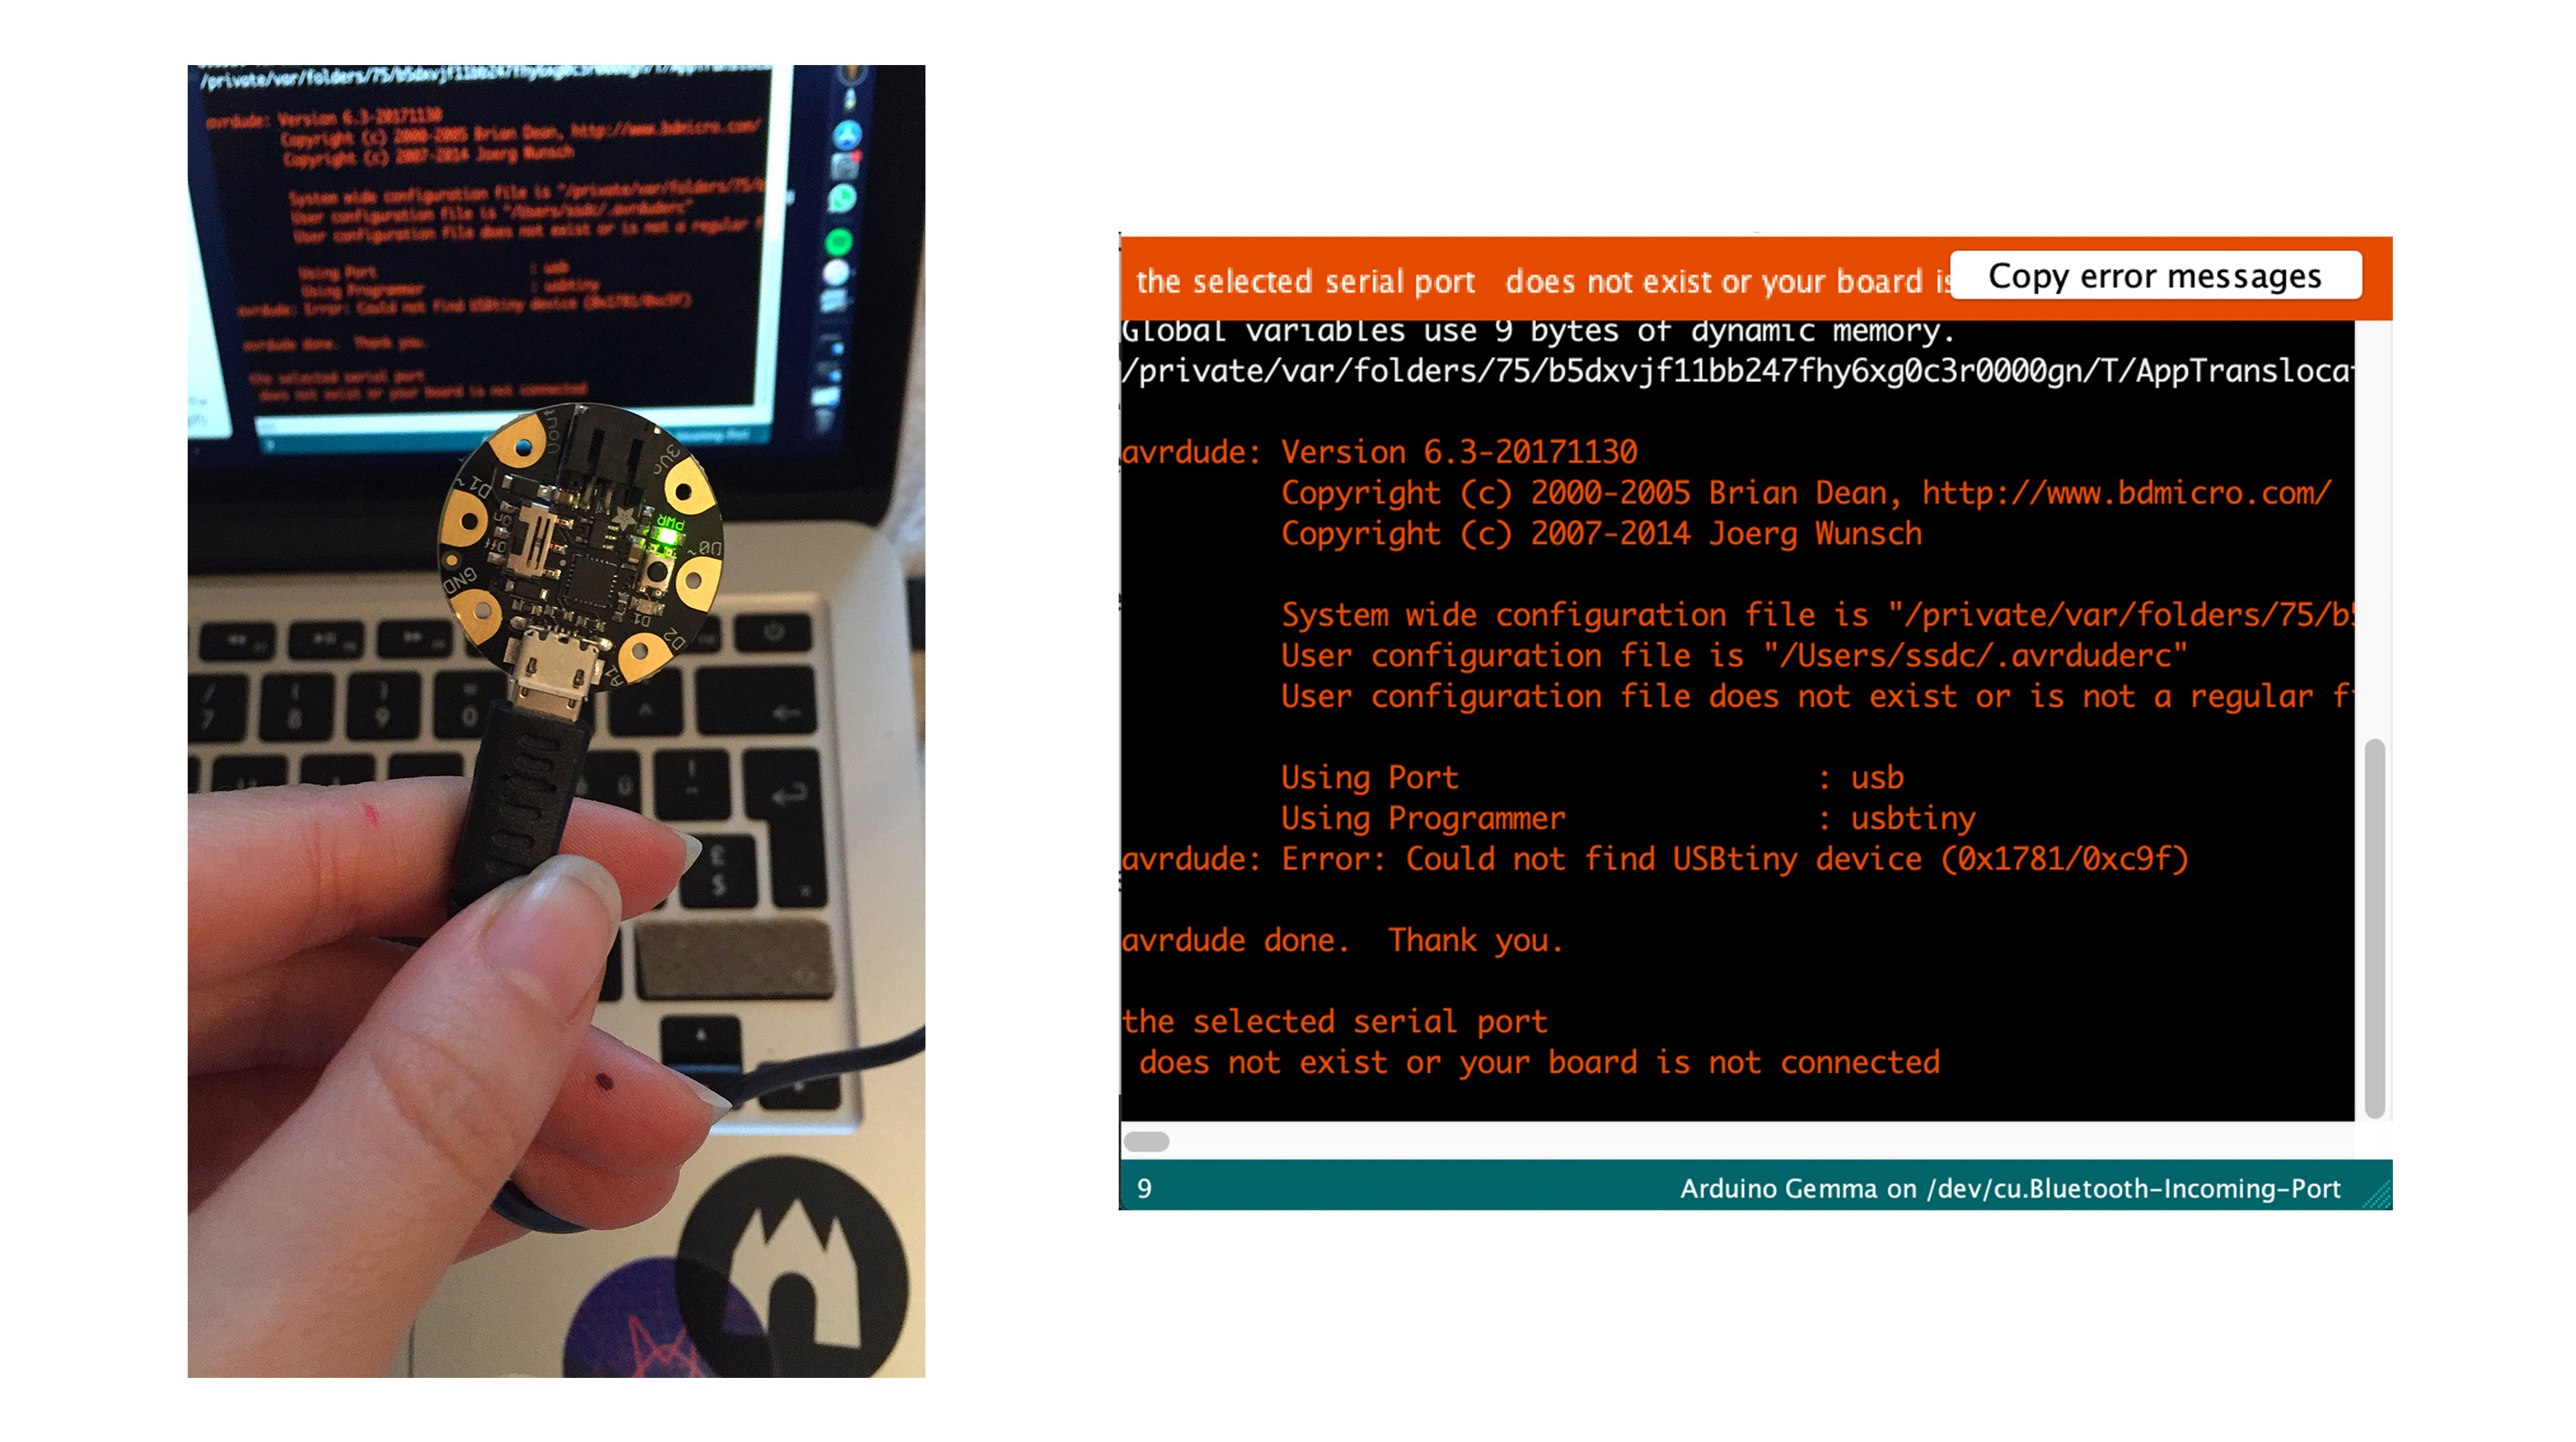 I checked everything again, and the setup was good. The only answer i found was that my USB cable wasn’t good..
I tried several ones I found at home ( as I was in Luxembourg and not in Amsterdam in the Lab )
But none of them worked !!!!
I checked everything again, and the setup was good. The only answer i found was that my USB cable wasn’t good..
I tried several ones I found at home ( as I was in Luxembourg and not in Amsterdam in the Lab )
But none of them worked !!!!

Which means that I’ll need to find a suitable cable and try the circuit then again..
Contest with Irene#
As I mentioned above, I’m working on a project with Irene, and this is what we did this past week :
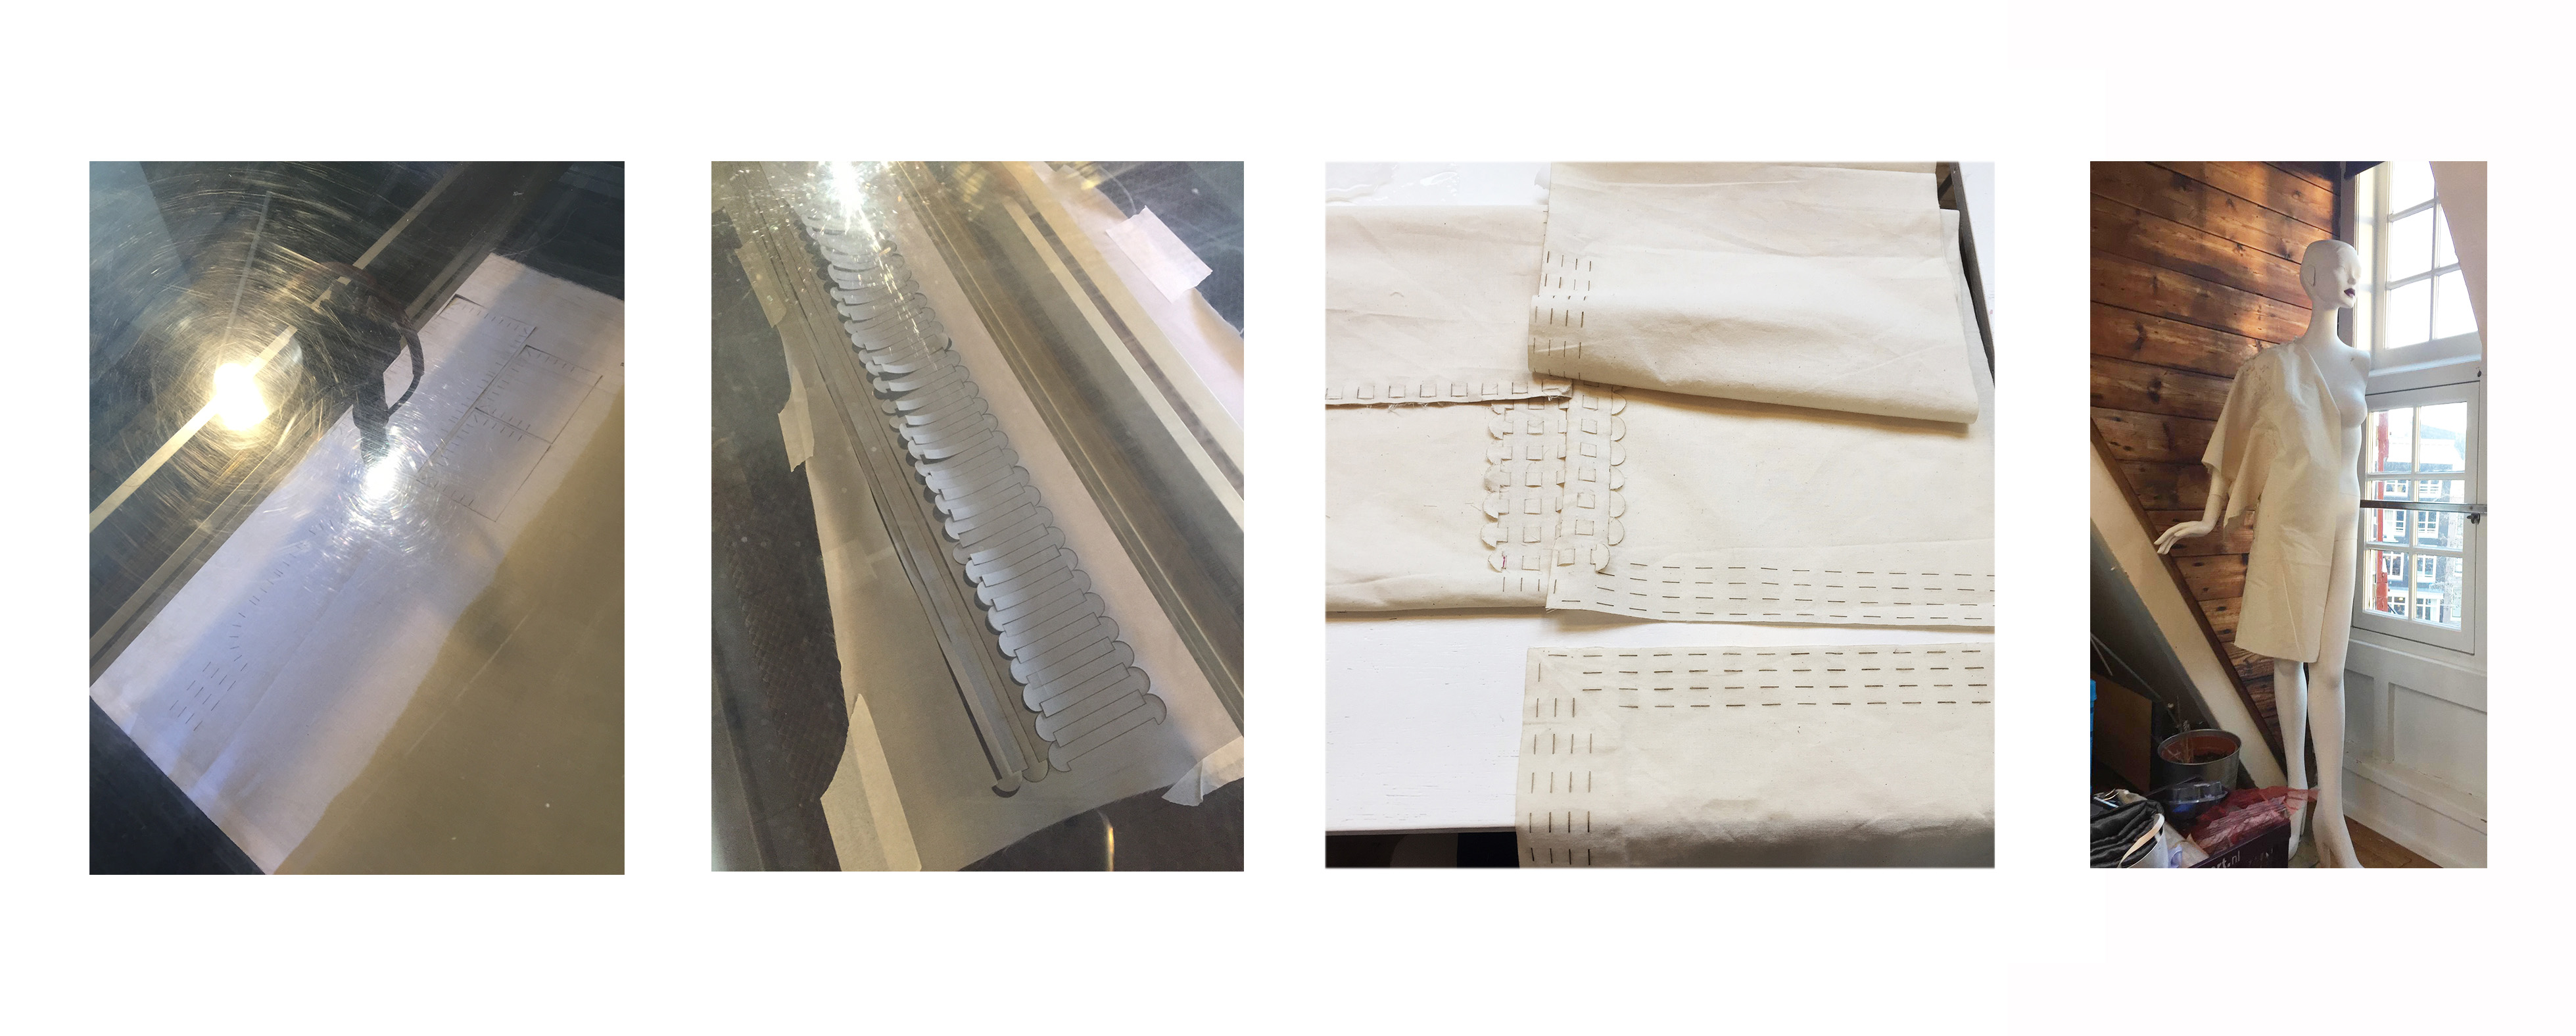

With lasercutted some interlocking designs samples for the final Kimono we lasercutted a little later on latex fabric. To be continued..
................