7. Computational Couture
📆 2020 - November 3rd to 10th
What I did this week
Experimentations with generative design!


A few 3D prints: 2 on fabric and one with no support:

From left to right: PLA printed on tulle fabric; semi-flex TPU with no support; semi-flex TPU on stretched lycra fabric
How did I get there?
This week our lecturer was Aldo Sollazo from the company Noumena, who talked about how parametric design can be translated to wearables and fashion, and how we can use 3D printing technology to produce such items.
The idea is to get a generative design from a shape: the process is not pre-defined, we only define a series of points in the initial shape, and then feed them parameters so that a movement is generated.
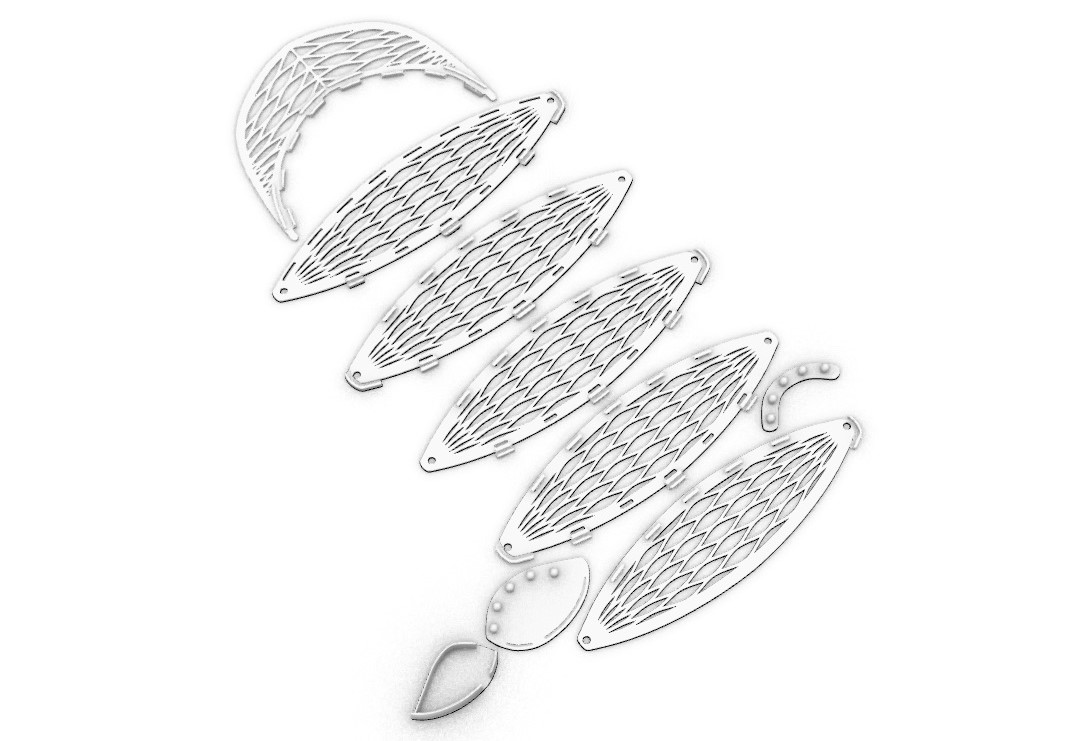
A great example is this petal dress by Nervous Systems:
Some more examples: "Caress of the gaze" by Benazh Farahi, Lucid-1 by Niccolo Casas, and the collection Ludi Naturae by Iris Van Herpen:


- Learn how to use parametric design with the Grasshopper software
- Experiment with 3D printing, either on fabric, or printing a structure alone
Some great examples from previous years in Fabricademy: Betiana Pavon, Lucrecia Strano, Ana Correa and Amaya de Yavorsky.


Playing with the software
Learning
Throughout the week we got to follow some great tutorials to understand Grasshopper. Coming from a developper's point of view, to me it was like learning another programming language, its vocabulary, its components and its limits.
The first tutorial revolved around the Voronoï tessellation, and how to apply it to a plane surface (we then extruded this surface a few millimeters to make it 3D printable).

The result of the first tutorial: a half-mask shape with a Voronoï tessellation

The first part of my Grasshopper definition

The second part of my Grasshopper definition
I tried to organize and comment my "code" as I would with code I normally write in other languages.
In the second tutorial, we learned how to project points on a 3D object (a body for example), and the kind of parameters we can use to vary, for example, the pleating of a surface in a non-linear way.

The result of the second tutorial: a 3D mask projected onto a face
In the third and final tutorial we started to explore some Grasshopper plugins, and how to use them for generative design. In the screenshot below, we used the Kangaroo plugin to make line "grow" alongside the body in a constrained pattern.

- First tutorial: Voronoï mask (link coming soon)
- Second tutorial: data structures and projections (link coming soon)
- Third tutorial: generative patterns and algorithms (link coming soon)
And all the commented definitions I made during the tutorials there:
I then started to experiment with what I had learned, and the help of many other video tutorials I found.
Differential growth
I really loved what we did in the last tutorial, and tried it again with different parameters. In this video you can see the progression for every step of the definition, and the way the growth of the curve is controlled:
This is called differential growth, and the idea here is to increase the length of the line we have at the beginning, while avoiding collisions and constraining it to a given surface.

This definition, like in the tutorial, uses the Kangaroo plugin, and was based on the definition from this video by Dan Piker.
Useful links
- My Grasshopper definition: differential-growth.gh
- The Kangaroo plugin
- Kangaroo examples from its creator Dan Piker
- The differential growth video by Dan Piker that I used as a base.
- A nice explanation of differential growth
Making a weave pattern
I was interested in making a weaving pattern with Grasshopper. I was sure there was a simple way to do it, but I wanted to try and do one from scratch, to understand it better. So I did it in a very "brute-force" way (inspired by this video), not elegant at all, but it really helped me know the components a little bit better.

My spaghetti monster
Then I made pretty much the same thing in a lot less components with the Mesh+ and Weaverbird plugins !

Weaving but in an easy way
Useful links
- My Grasshopper weaves definitions: weaves.gh
- The Mesh+ plugin
- The Weaverbird plugin
- Tutorial for making a weave pattern with Mesh+ and Weaverbird
- Tutorial for making a weave pattern from scratch
Discovering new add-ons
While wandering in more Grasshopper video tutorials, I found this one:
So I installed the Parakeet plugin, and started playing with the different tessellations available. At this point, in case you hadn't noticed, I'm all over the place, discovering all these and not yet knowing what to do with it, haha.

All overt the place with the Parakeet plugin
I also discovered the Firefly plugin, which enables links with Arduino boards. I'd really like to learn more about it, but I did not have the time to do it this week.
Useful links
- The Parakeet plugin
- A (long) Parakeet overview video
- The above video presenting Gilbert tessellation with Parakeet
- The Firefly plugin
Playing with open-data
Another thing I wanted to try was to make some parameters vary according to given data. So this is not generative design per se, in the sense of a generative algorithm, but more "data-generated" design, I guess.
I noticed a "CSV" component in Grasshopper; so what I did was prepare a simple CSV file from the warming stripes data (which shows the change in temperature over the course of more than a century, based on the difference between the average temperature for that year and the average temperature during a reference period):

The data that was used for this stripes visualisation is available here. This was not exactly the formatting I wanted, though, I had to switch the rows and columns. The CSV file I ended up with is looks like the screenshot below, and is available here: climate-stripes.csv.

My CSV file with a column of values for each year
I used different components to map this data on the extrusion size of a curve's segments:

The Grasshopper definition I created
The resulting curve, with a variation on the size of the extrusion
Useful links
- My Grasshopper definition: warming-stripes.gh
- An explanation of the warming stripes
3D Printing Tests
All of our tests were done at Le Textile Lab, on Voxelizer's zMorph multi-function machine. We had last used it for laser-cutting, so we had to follow a few steps before using it for 3D printing:
- Change the toolhead to 3D printer: we used a single extruder 1.75, with a 0.4mm nozzle
- Install the support for the materials: we used PLA and semi-flex TPU
- Calibrating, pre-heating and inserting the material
- Using Voxelizer's software to prepare each of the files
The weaves pattern
I really wanted to 3D print the weave but... no matter how small I did it, it was still going to take hours on our machine!

Oh no!
So I made a new file to print something that would take less time.
Hexagons and triangles
Using Parakeet, I started with this triangles tessellation, and set out to invert the pattern to get the shapes from inside the lines.

From the plane tessellation to the extruded shapes
In order to do this, I needed to offset the lines of the pattern to get some width in between the shapes. At this point (and thanks to this video) I realised I could use Python to do things in Grasshopper! Python is one of the languages I have used the most in the past 10 years, and I am very comfortable with it, so I was very happy with this! 🐍

The Grasshopper definition containing Python
This component, "GHpython", which comes natively with Grasshopper and does not require a plugin, enables me to write a Python script using the input variables from the component, and outputting a result. The script I used here is actually very simple and contains only one line, a built-in function to offset curves from cells:
a = OffsetCurve(curve, distance, direction)
The rest of the definition is pretty similar to what we did in the tutorials when extruding for 3D printing, you can find it below in the links.
We then set out to print, my first 3D print ever, which was really exciting!

The shapes in Voxelizer's software, ready to output the gcode
We decided to print it with PLA, on tulle fabric. At first, we wanted to let the printer print the first layer of material, then insert the tulle and let it print the rest. This way, the tulle would be imprisoned between layers.

Our 3D printer printing a first layer of the shapes
We had only one problem... when the first layer was done, the toolhead of the machine did not go up enough for us to slide the tulle underneath! So we had to scrape the first layer and start again, this time directly on the tulle. In the end, the material did stick pretty well to the fabric!
Useful links
- My Grasshopper definition: hexagons.gh, and my gcode file: hexagons.gcode
- A tutorial on how to offset curves with Python
Gilbert tessellation variation
Our next test was to print a variation on the Gilbert tessellation on a stretch fabric.
Playing with the number of lines
We printed it on lycra, with TPU, which stuck really well to the fabric.

The tessellation in Voxelizer

Our stretched lycra on the printer, and white TPU printed on white lycra 🤦🏻♀️
Our choices of colours is not very fortunate, as white-on-white does not render very well in pictures...! But when unstretched, the fabric is forming shapes guided by the 3D printed pattern. The shapes are not very defined though; for our next steps, we should use simpler patterns, or even just lines.
Useful links
- My gcode file: gilbert.gcode
Triangles
We then wanted to print something with semi-flex TPU with no fabric support.
I made a simple definition using Parakeet's trilateral tiling:


Our triangles tiling being printed
This structure makes it stretchable in one side and not the other, though it is less stretchable that I expected. I will try a tiling with wider gaps.
Useful links
- My Grasshopper definition: trianges.gh
- My gcode file: triangles.gcode
What's next!
🖨️ Printing on stretched fabric again, but with simpler lines and patterns
📊 More dataviz projects
🎶 Sounds! Arduino!