2. Digital bodies: Written on the Body
This week I worked on the body!!
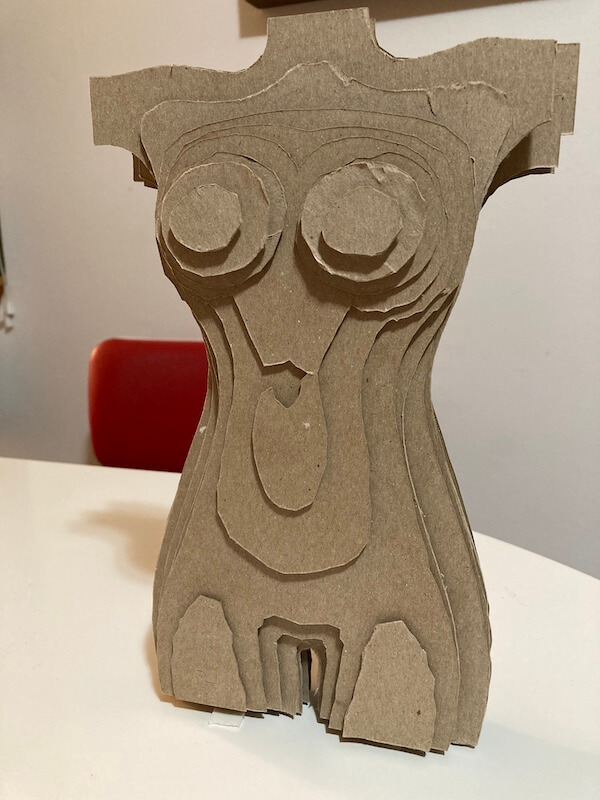
Final Results
Assembly Video Preview
Research
SomeBody Love Me. How many of us love our bodies? So often, I hear women and men complain about if only this or that I would be happy with my body. In this assignment I want to explore not only a 3D representation of the body but how what we say about our bodies transforms them. I don't have access to my laser cutter so I wanted to explore making a 3D representation of the body with the vinyl cutter. Can the assignment for fabricademy be done with the vinyl cutter? Thereby reducing startup costs and mobility in completing assignments? I will try to do the majority of assignment for this week with the vinyl cutter and explore the limitations of that machine.
"Beauty is in the eye of the beholder"
Ideas and Inspiration
- body inspired furniture
- body inspired lighting
- paper mache body
- blow up mannequin
- paper dolls
- paper houses
- sewn mannequin
Useful links
- Make Human
- Rhino
- Gimp
- Inkscape
- MeshMixer
- Autocad 3D Slicer
- Corel Draw
- Cricut
- Photo Collage
- Sketchfab
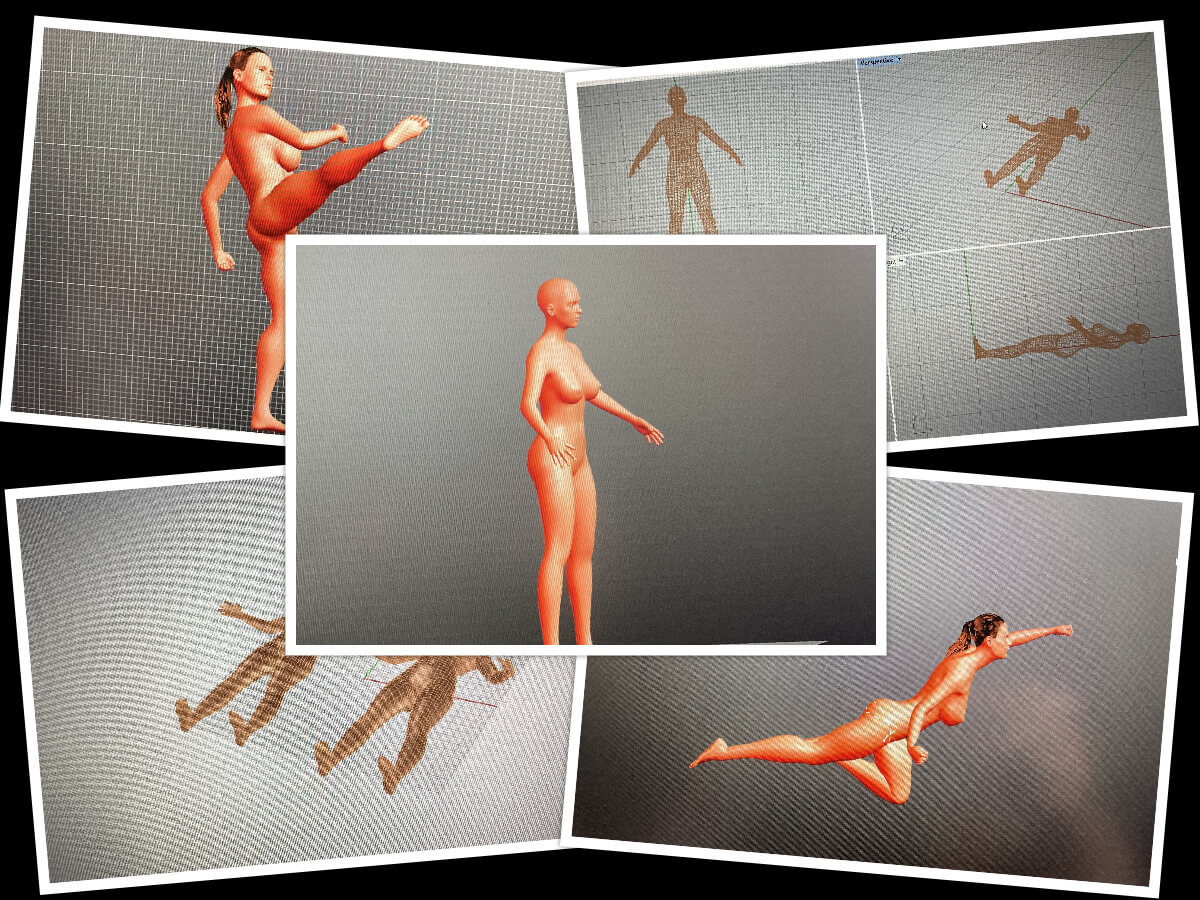
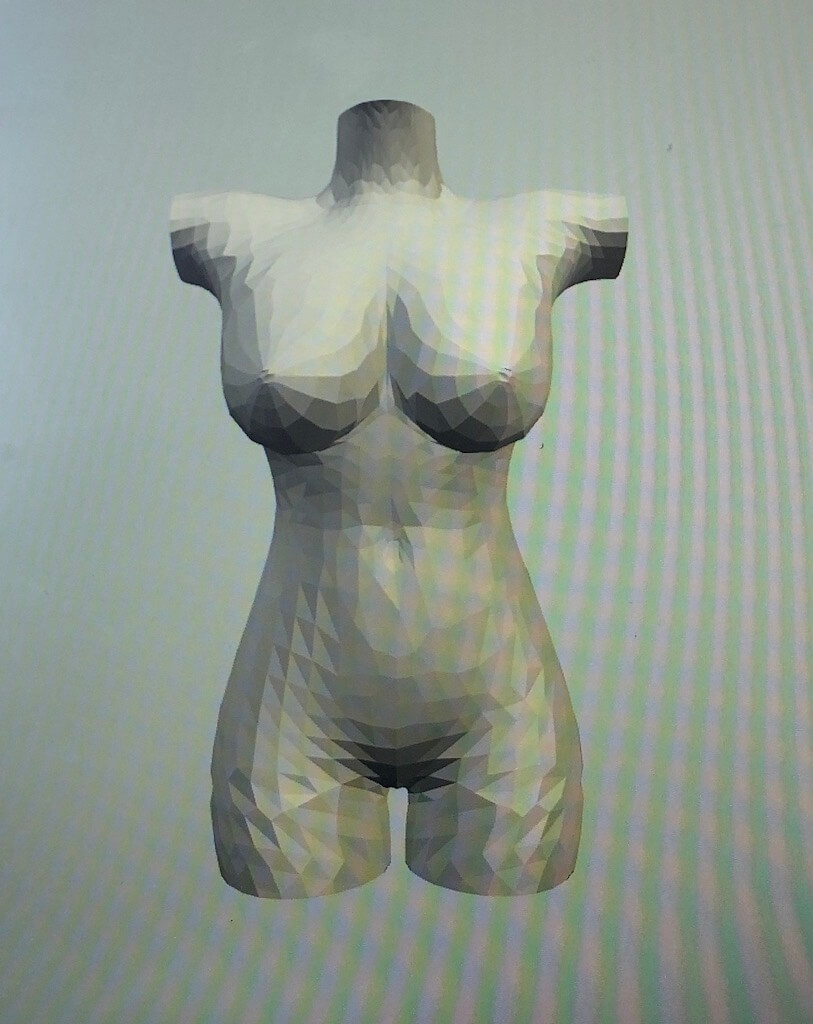
Modeling with Make Human
First I downloaded the make human software and then modeled my body in the general settings and used a tape meaure to input meaurements. My kids and I enjoyed playing with this software and tried shrinking and expanding the body and different poses and clothes. When happy with the result I saved the model as a .stl and .obj file.
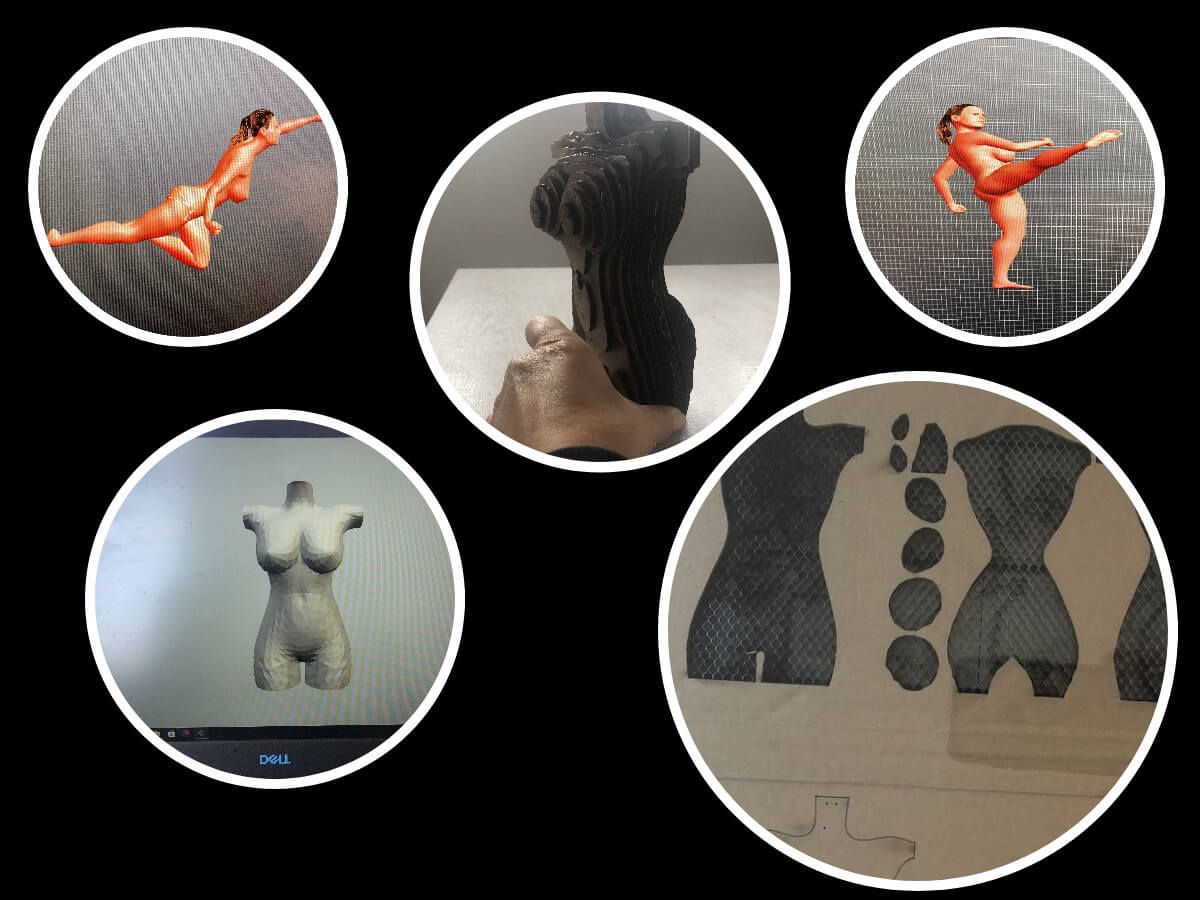
Meshmizer
I imported the 3D model into Meshmixer and made sure that the model was watertight and sliced off the arms, head and legs.
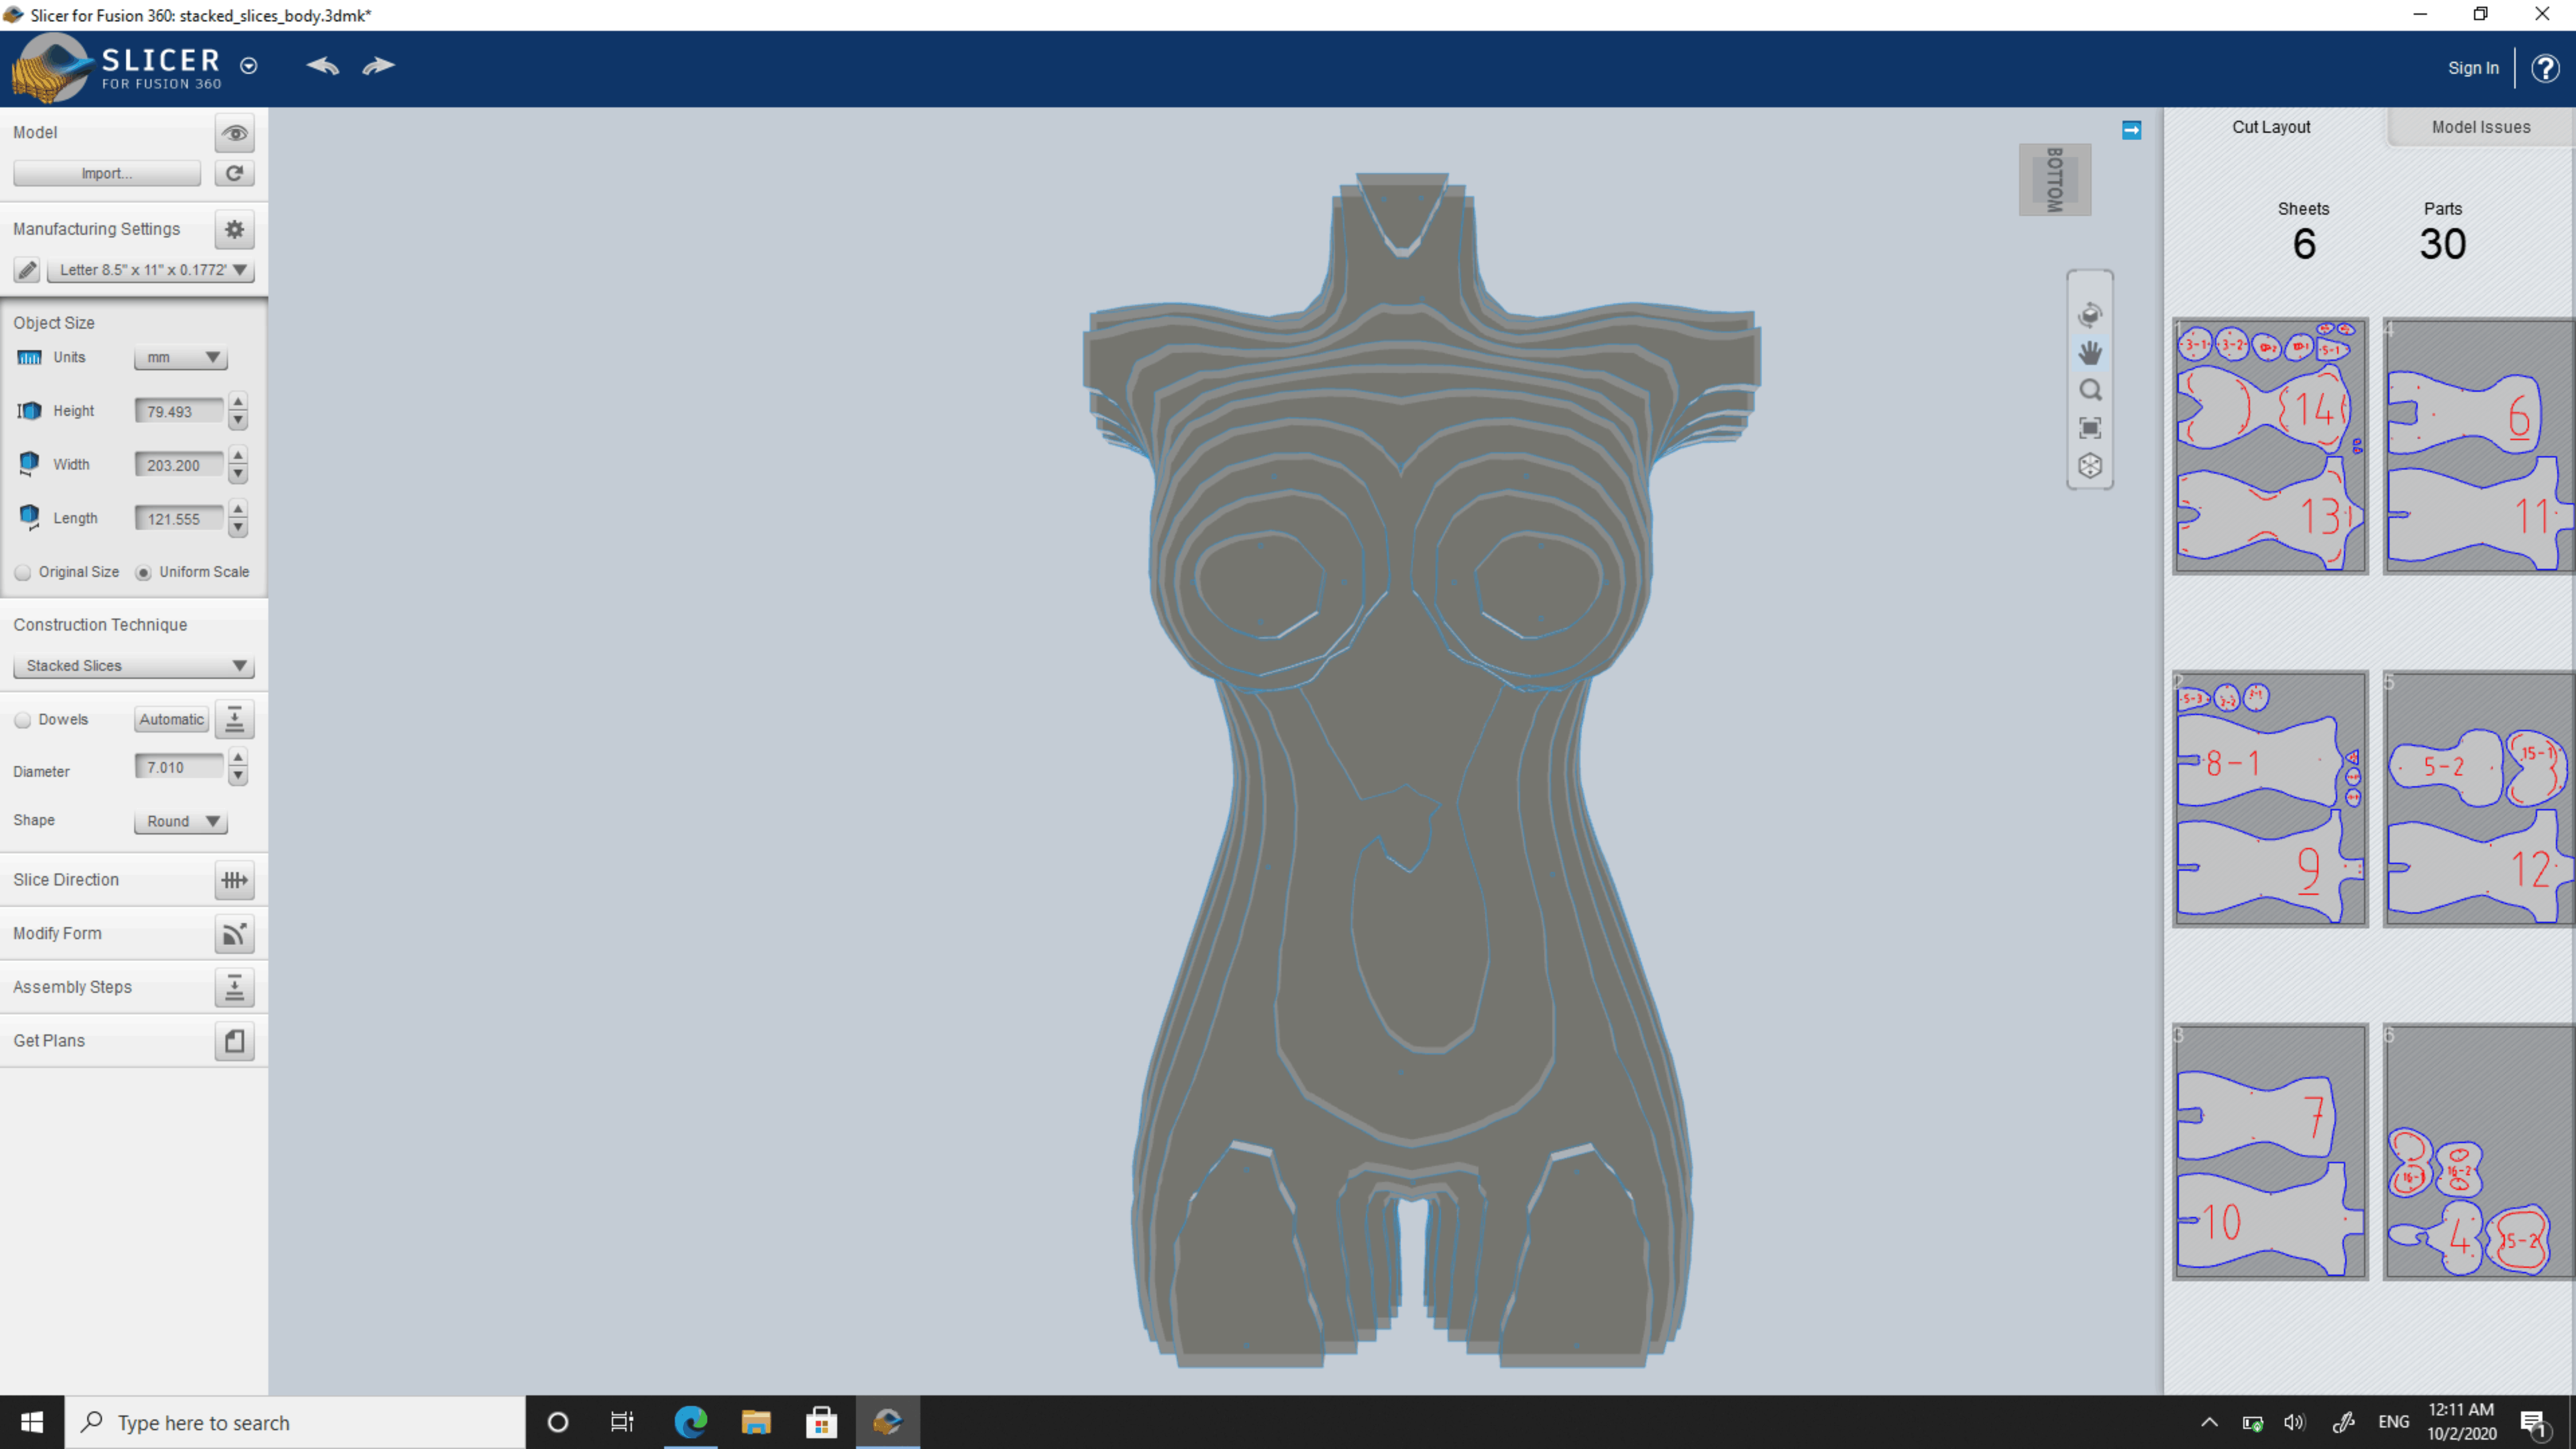
3D Slicer
I uploaded the saved file in 3D slicer and tried all of the different ways of slicing the body. I settled on the stacked slices. For the vinyl cutter I wanted to use the folded panels options so I could cut out each panel and then print or cut out different messages about the body on each panel but I struggled with getting this method to not have errors.
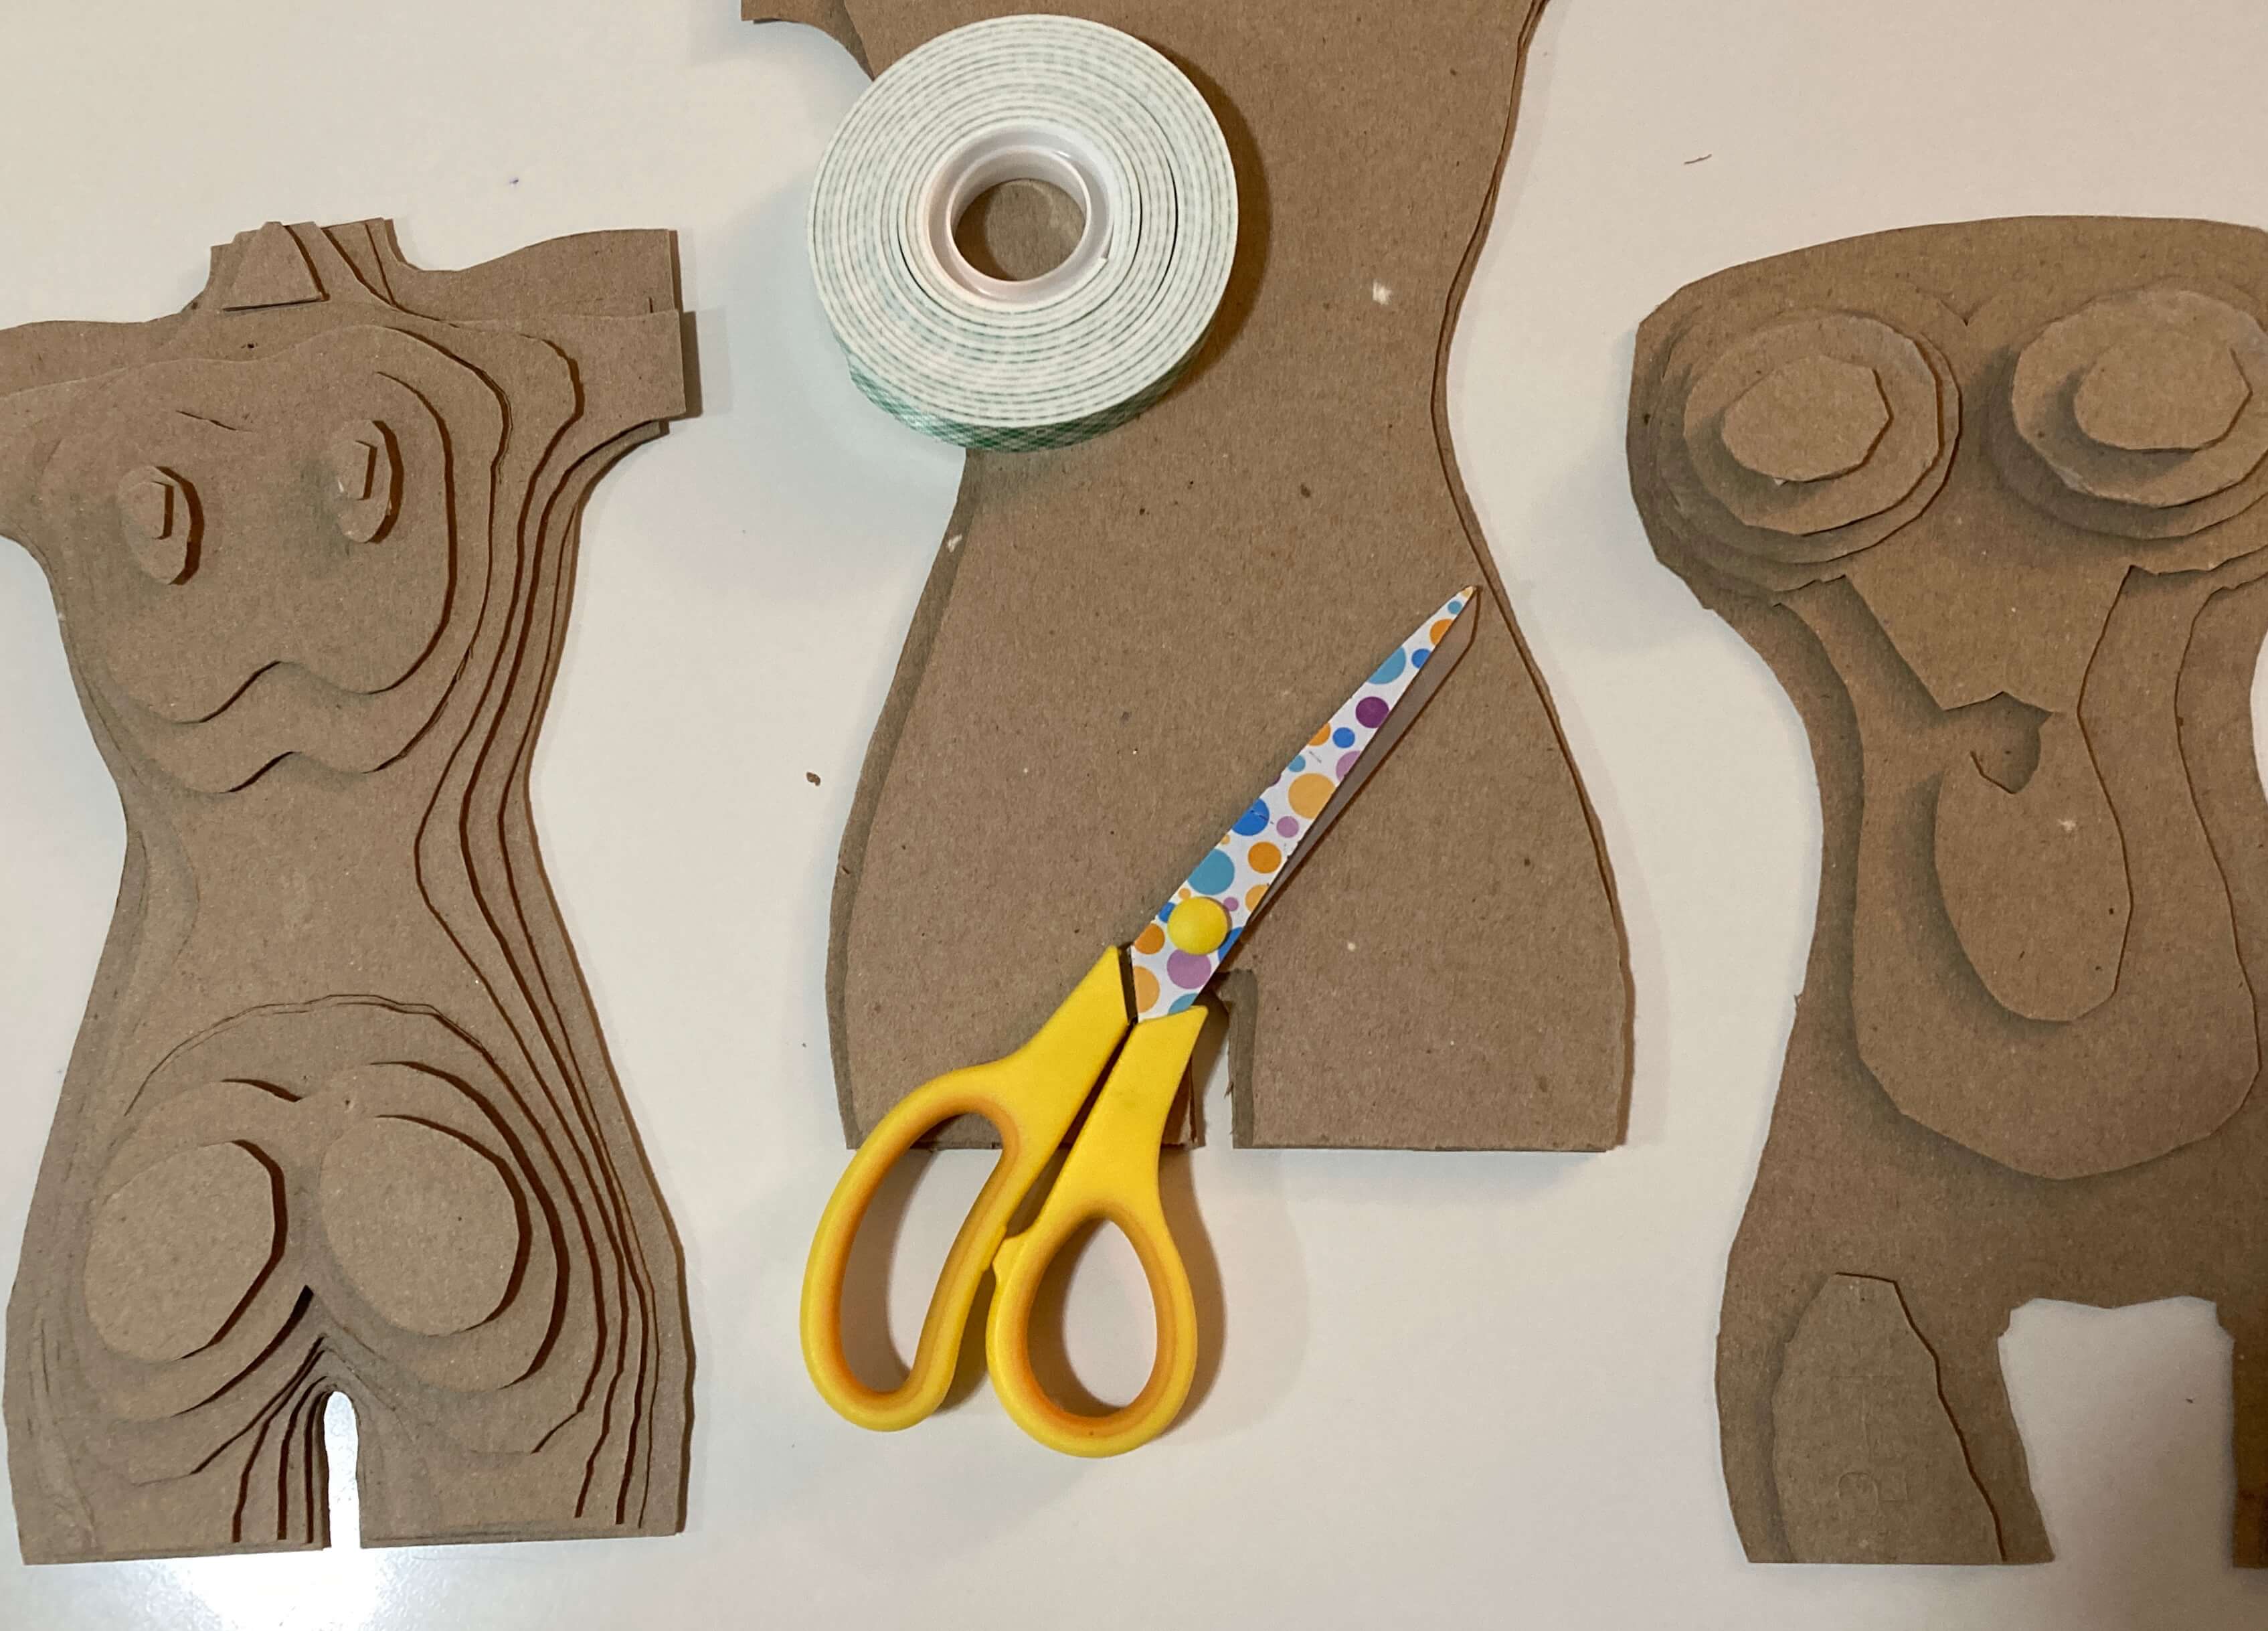
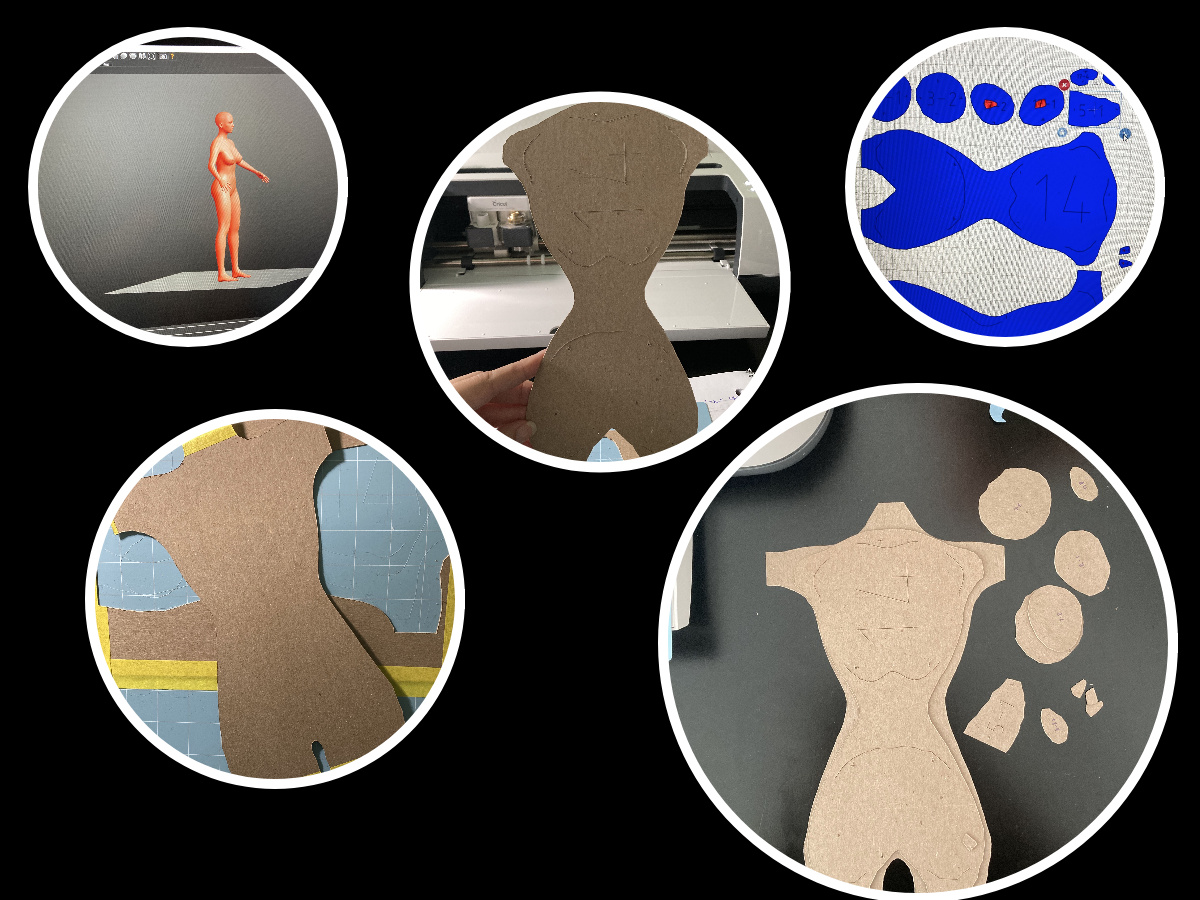
2D cutting with the laser cutter
I uploaded the saved pdf files directly into my laser cutting software and cut out panels in cardboard. I then glued all of the panels together to create a small 3D model of the body in cardboard.
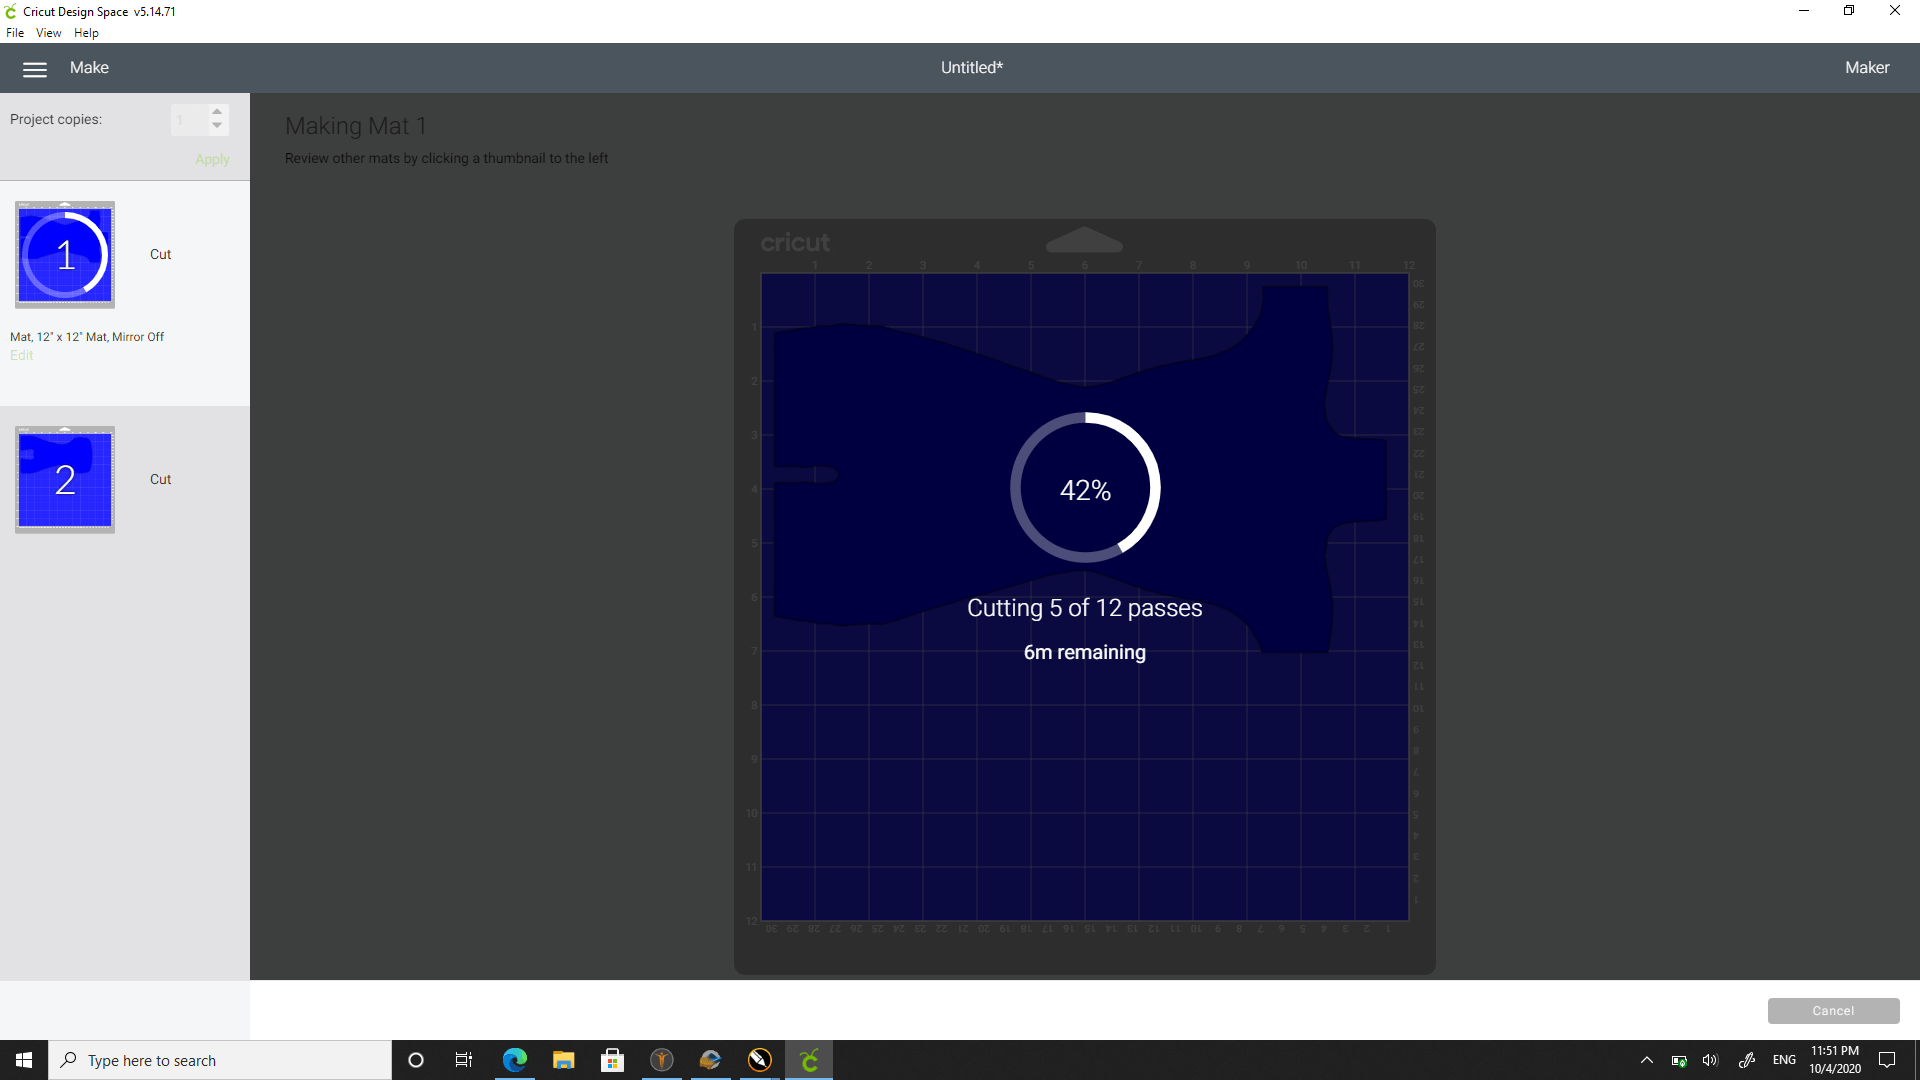
2D cutting with the vinyl cutter
I uploaded the 3D slicer panels in coreldraw and removed the numbers and saved each panel as a separate .svg file to input into the cricut design space.
The chipboard needs to be secured with tape otherwise the knife will drag across the surface and ruin your file.
The cricut can cut cardboard I started with a chipboard to see how the machine performed and will try cardboard soon to see what the performance is like.
3D Scanning
I don't have access to my lab right now where we have a kinect.
Here is a table of 3D scanning apps from the Apple store
| Description | Price | Notes |
|---|---|---|
| Scandy Pro | Free | Requires true depth camera, iPhone X or better |
| Capture: 3D Scan Anything | Free | Requires true depth camera, iPhone X or better |
| QClone 3D Scanner | Free | Requires registration mat, suitable for small objects |
| 3D Scanner App | $4.99 | Requires true depth camera, iPhone X or better |
| Bellus3D FaceApp | Free | Requires true depth camera, iPhone X or better |
| Heges 3D Scanner | Free | Requires true depth camera, iPhone X or better |
| Cappy AR 3D Scanner | Free | Requires true depth camera, iPhone X or better |
| Face Scan - BlendShapes | Free | Requires true depth camera, iPhone X or better |
| Matterport Capture | Free | Works with iPhone 6 and better to capture 3D images of rooms |
| 3DsizeME | Free | Works with iPhone 6 and up, saves body scans in proprietary format |
| Naked 3D body scanner and mirror | $1,395 | an inhome scale and body mirror for 3D scanning the body |
| NetteloPro for Business | Free | Works with iPhone 6 and up, scans bodys and takes body metrics, 3D files saveable as .obj and .stl |
Sodium Burn Creative did a 3D tour of the Aegean Idea Lab using Matterport 3D scanning software. It came out pretty well! Here you can walk through the 3D Tour interactively: Matterport Tour of Aegean Idea Lab
Video and 3D Tour Copyright Sodium Burn Creative
Lessons Learned
Reduce an image's file size on the Mac
In the Preview app on your Mac, open the file you want to change.
Choose Tools > Adjust Size, then select “Resample image.”
Enter a smaller value in the Resolution field. The new size is shown at the bottom.
- Always Tape down your material before cutting
- Remember to measure your material and keep design within dimensions
- Clean your surface area before each new cut
- Monitor your cut- watch your machine as it is cutting
- Be aware of dimensions when working with different programs
- Save files for cricut design space as .svg files
- I created accounts and uploaded videos to vimeo and youtube!
- I created photo collages on the photocollage website
3D Models
I created an account on sketchfab and uploaded my model. I played with the various lighting settings and added a wireframe mesh just because I like the way it looks! Such a nice resource!
Files