This week we will use textiles for composites, polymerisation, solidification, fabric formwork, crystallization, composites and biocomposites, agglomerates.Technical textiles have various applications, among which agrotech, building, clothes, geotech, sports. We focus on exploring techniques and applications of technical textiles in the industry. It introduces the concept of designing custom processes that require the design of a set of tools, processes and workflow.
Details of this weeks assignments
More information can be found on the textile academy program: Fabricademy Handbook: Class 9 - Textiles as Scaffold
- Document the concept, 3D model of the piece and document the design process
- Make two samples with 2 out of the 5 techniques to make a prototype of a textile form: fabric formwork with casting crystalization wood-textile resin-textile leather molding or other
- Document the process from CAD to CAMM, document how to use the CNC mill and prototype your textile composite
- Upload your 3D model and CAMM file
- Document the 2 processes you have followed step by side from design to machine and hands-on making, materials you used, your mistakes, failures and achievements
- Use 3D modeling software to simulate your fabric deformation
For this assignment you will require to build up your tools (container for molding, vacuum bag set up, frames, matrix, recipients) and process for your workflow.
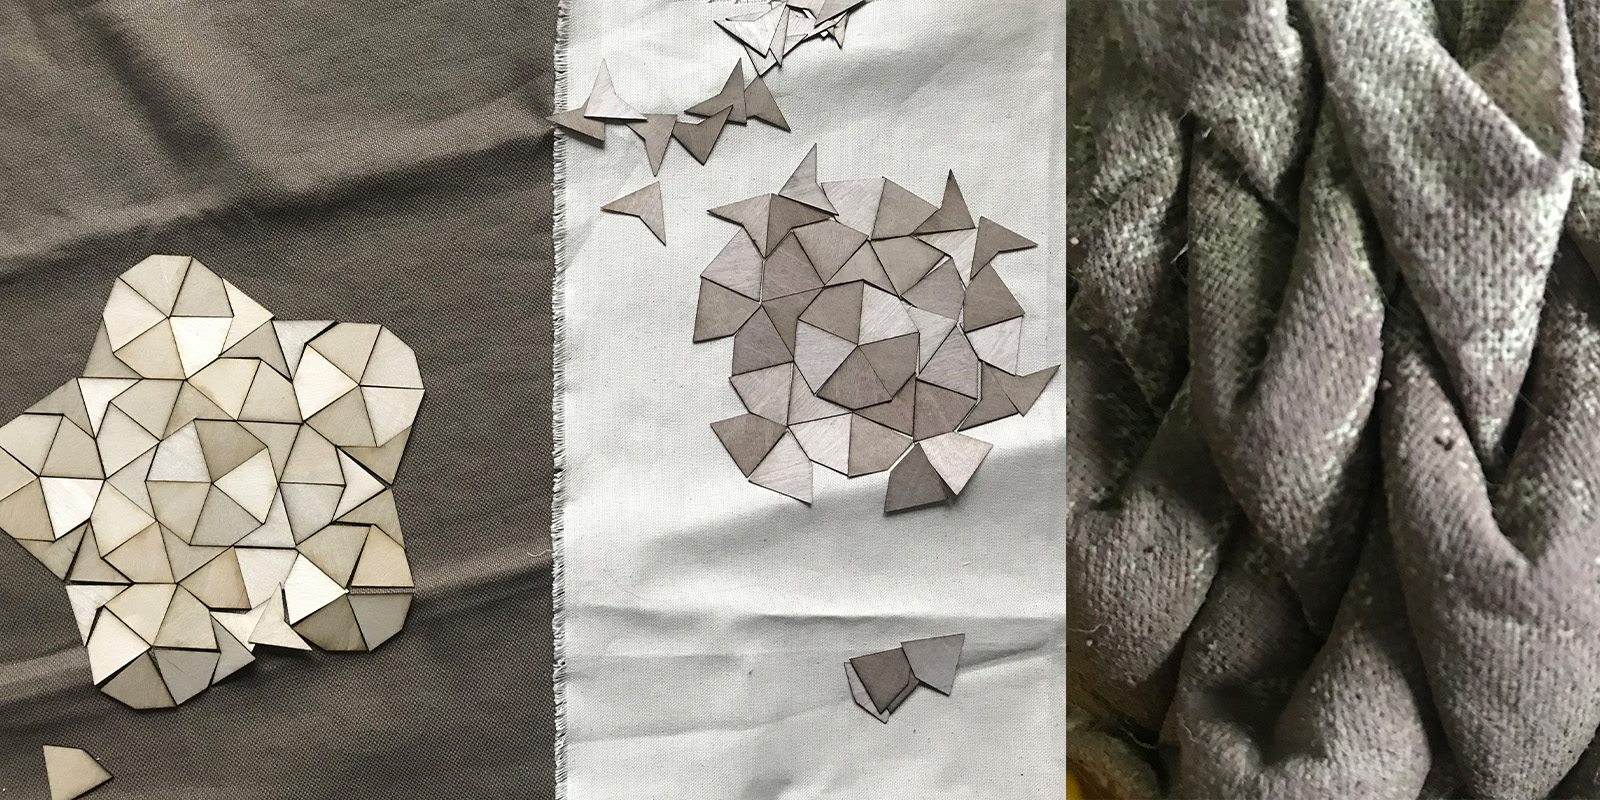
Textile + Wood
Inspiration and research
Main inspiration for the textile + wood scaffolding are the slides from this weeks lecture and the work of Eliza Storzyk
Design and design process
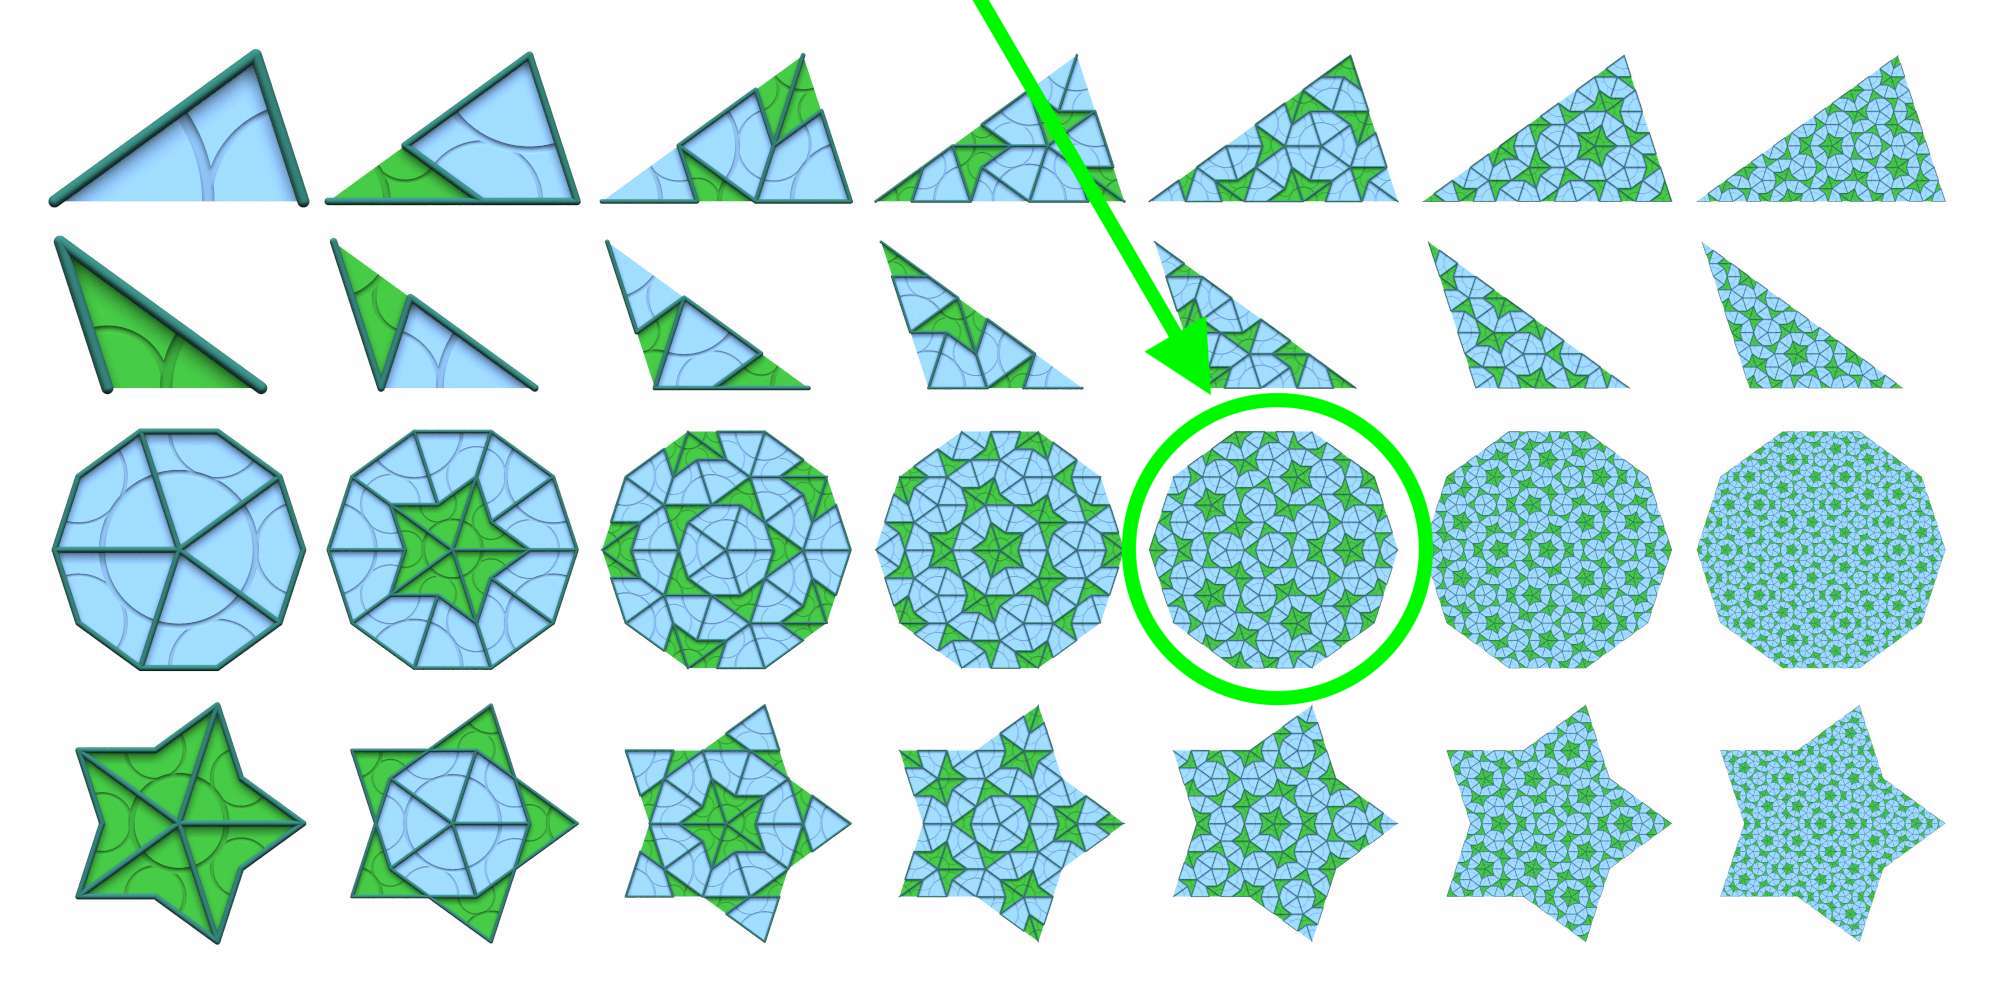
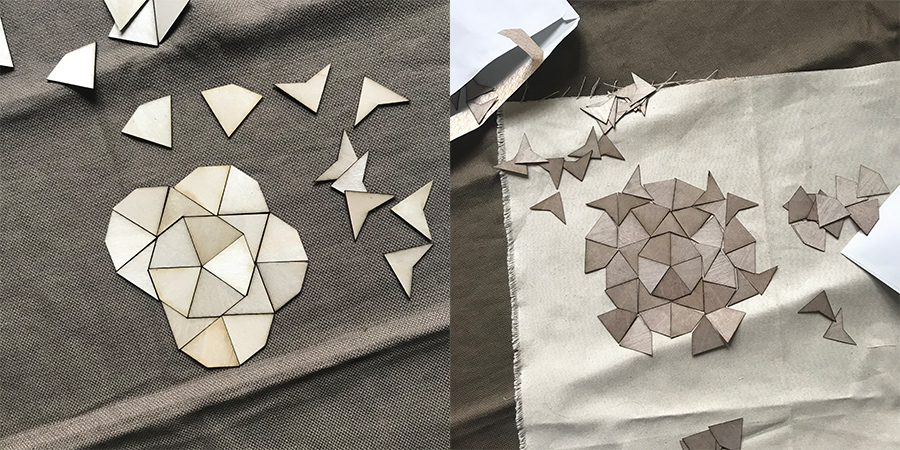
Inspired by the work of Eliza Strozyk I decided to create a wooden pattern with the design I used for my first masterclass about circular and open source fabric: The Penrose Tiles.
Sizes and pattern shape
I want to use this wooden textile as a throw over for my couch. So these measurements are the basic requirement which are approx 45 cm by 45 cm. So the first step was to define pattern shape as the Penrose tiling is non-periodical, the amount of pieces and the measurements of each piece and the shape of the pattern differs by each deflation. I used the below overview created by Samto find out which one to use and based on this I calculated the approx width of each piece.
- size of throw over: approx 45x45 cm
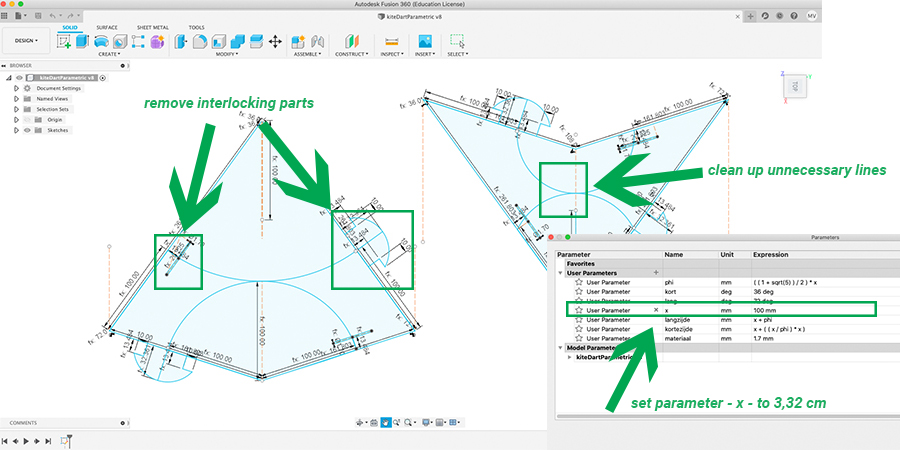
- size of the kite and darts: about 3.32 cm each
- ratio kites and darts: 110 kites and 175 darts
Cleaning up my own design file
I used the Fushion360 parametric design file from the first masterclass and removed the interlocking system. In the end I had to clean up a bit more in my file than I wanted.
Nesting and laser cutting
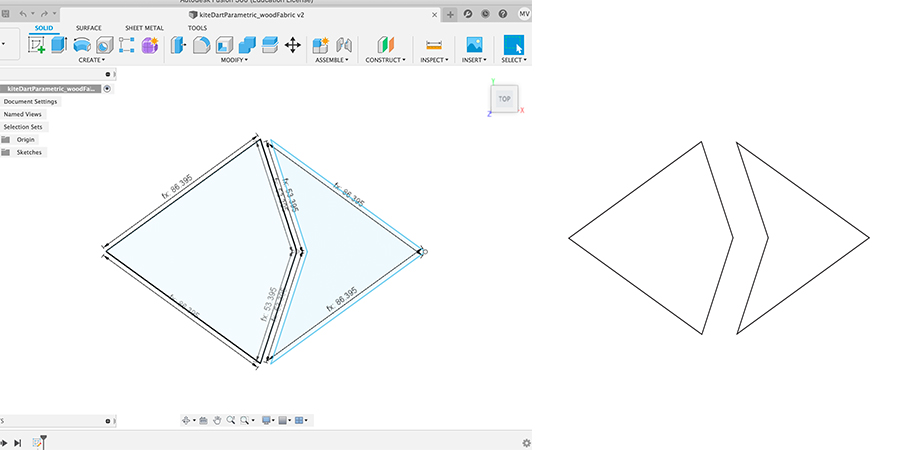
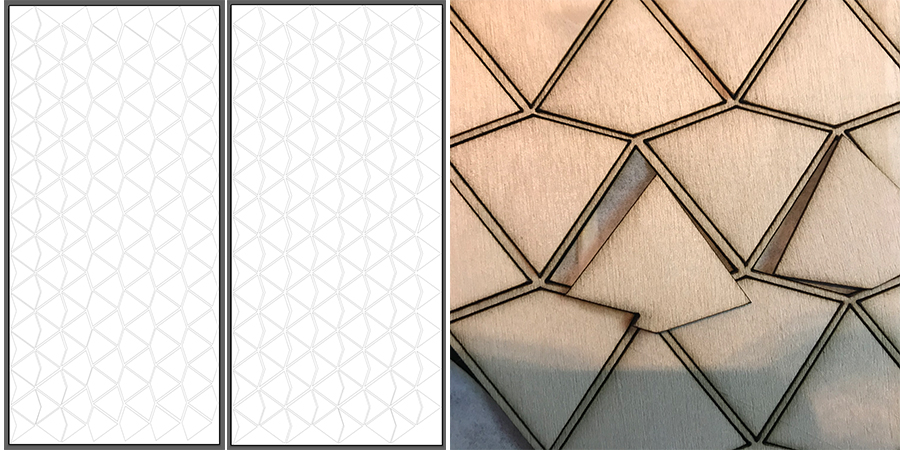
I used Adobe Illustrator for the nesting of my kites and darts to make sure I don’t waste too much material. I decided to do it by hand.
I use two different materials.
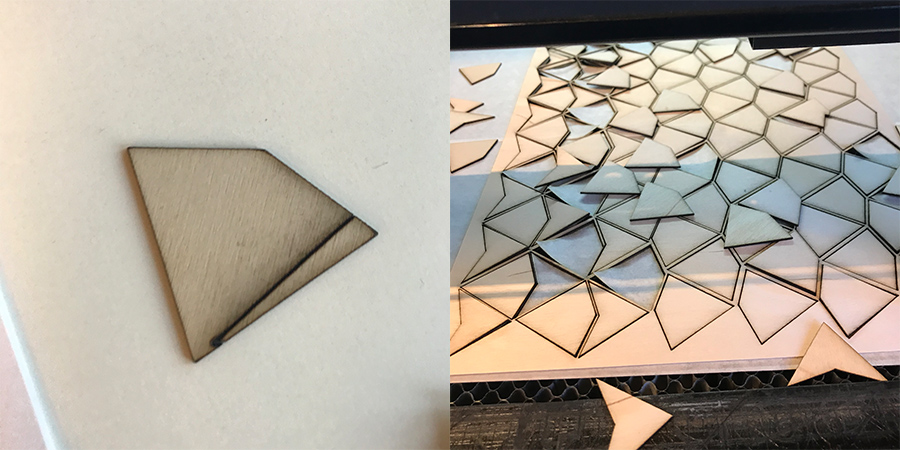
- 0.8 mm beech triplex which I will combine with thicker upholstery fabric
- 0.4 mm beech veneer which I will use with thinner cotton

The material is really thin so make sure to keep a close look while laser cutting. Pieces fly away due to the air flow. Pauze the laser and make sure to remove the ones in the way other wise they get cut twice.
placing the wood on the fabric
More to come.
Fabric Formwork
Inspiration and research
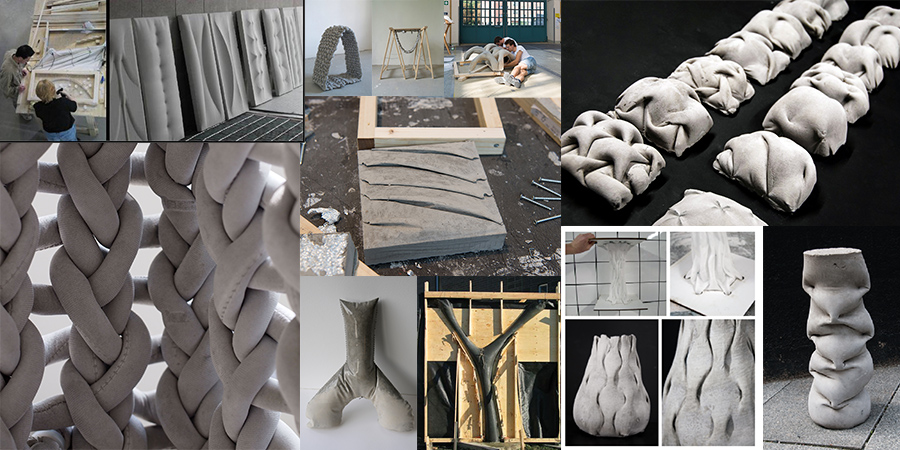
- Textile academy slides about Fabric Formwork
- Bureau Bakker
- Work by Anat Uziely
- Work by Annie Locke Scherer
- Research by Annie Locke Scherer - Concrete Form[ing]work: Integrating patterns in flexible formwork for cast concrete
- Crafted Technology by Tamara Anna Efrat
- Work by Anne-Kathrin Kühner
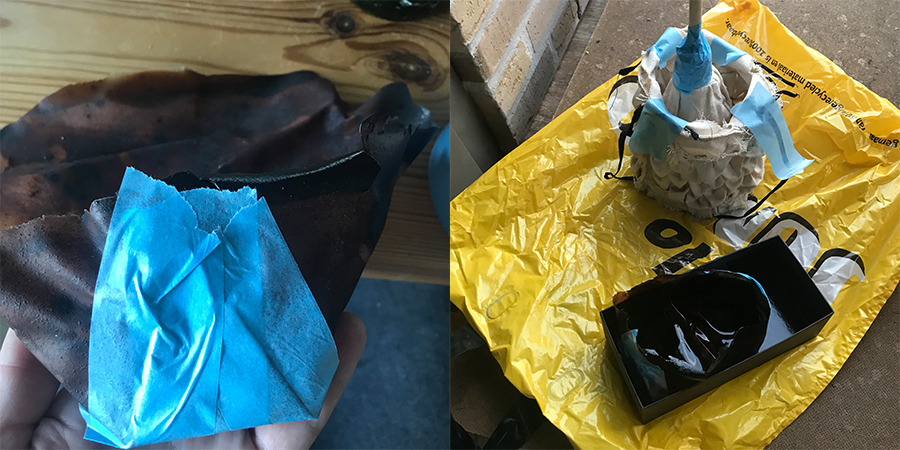
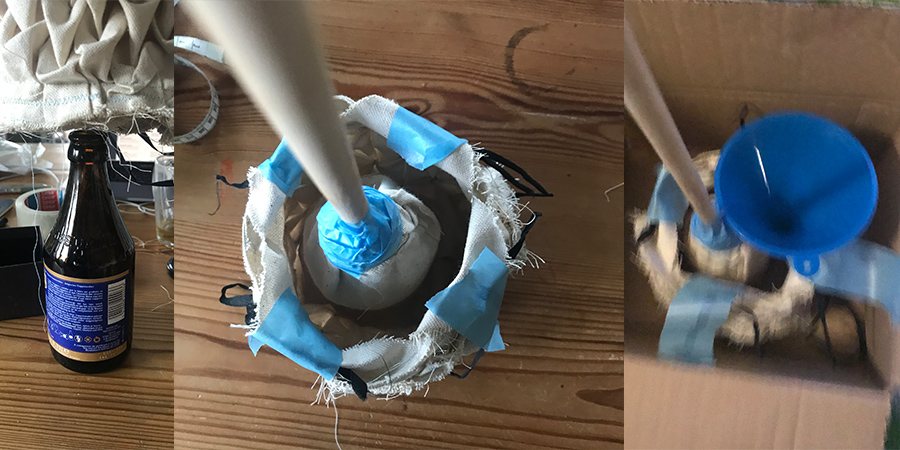
Based on this research and inspiration I want to make a small lamp using the smocking techniques as described in the research paper by Annie Locke Scherer.
Design and design process
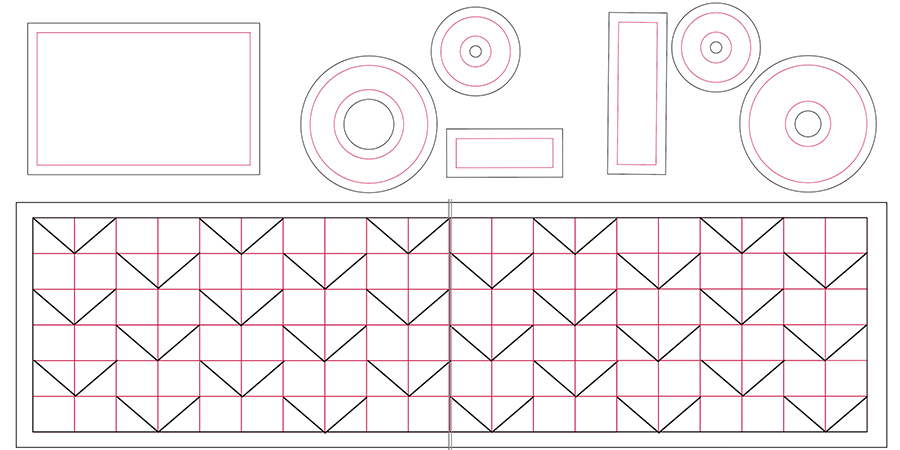
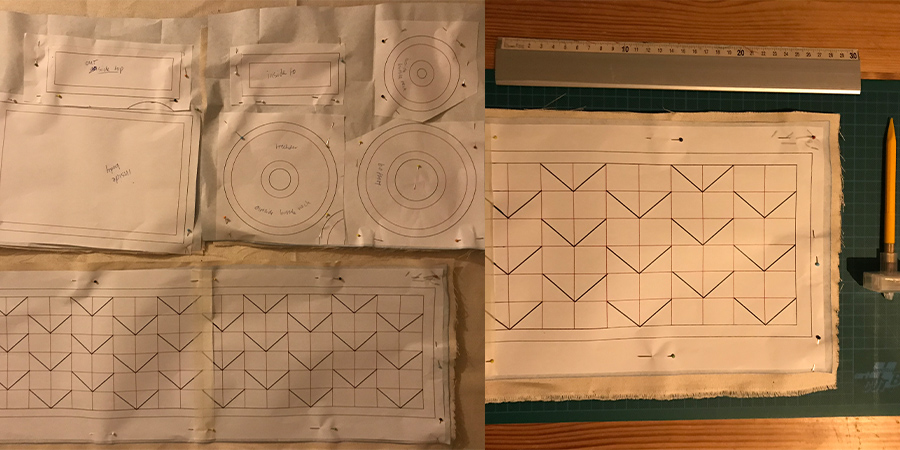
I have no experience in pattern design and not so much experience sewing so this was quite an adventure. My first step was to create the sewing pattern for my lamp to use as a mold for the concrete.
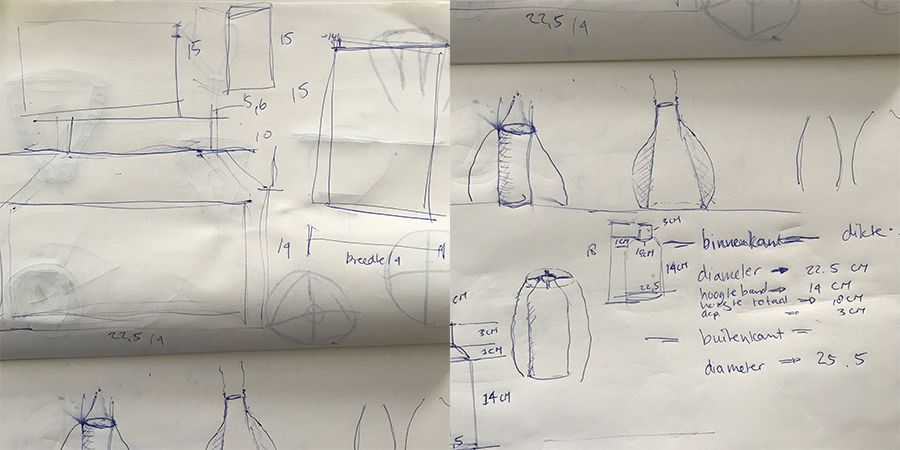
Design sketches in Adobe Illustrator so it would fit on one A4 because I was working from home and couldn’t use the laser to engrave or cut.
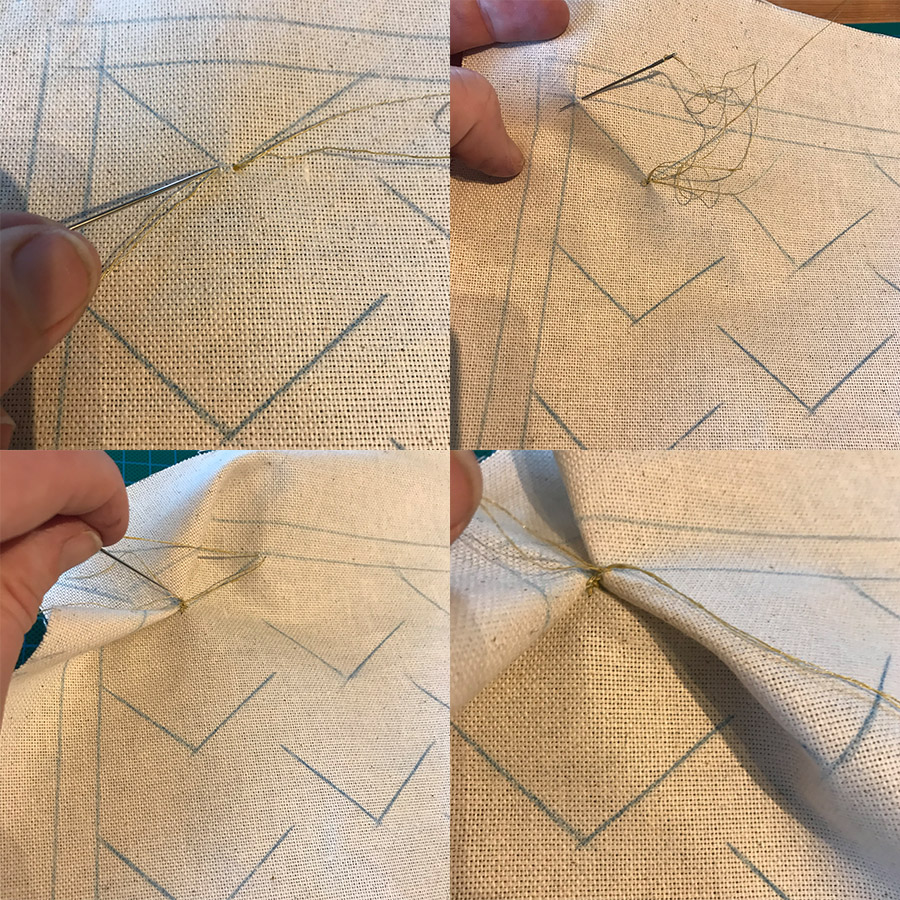
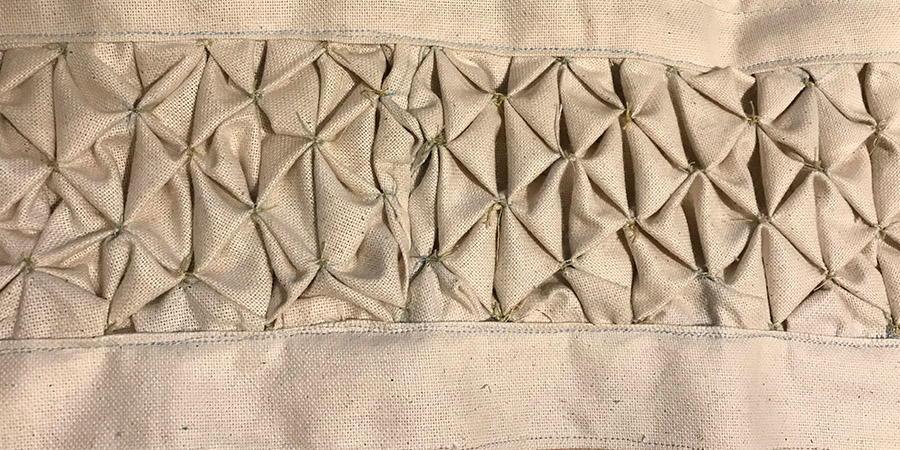
smocking
sewing

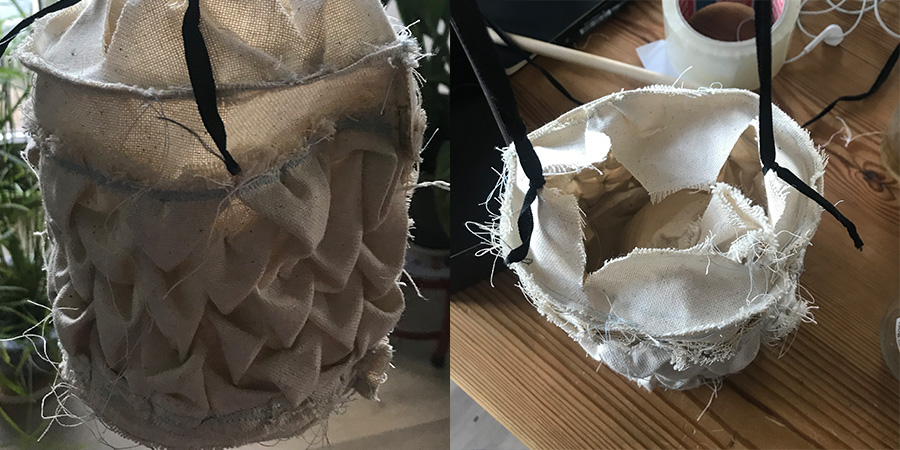
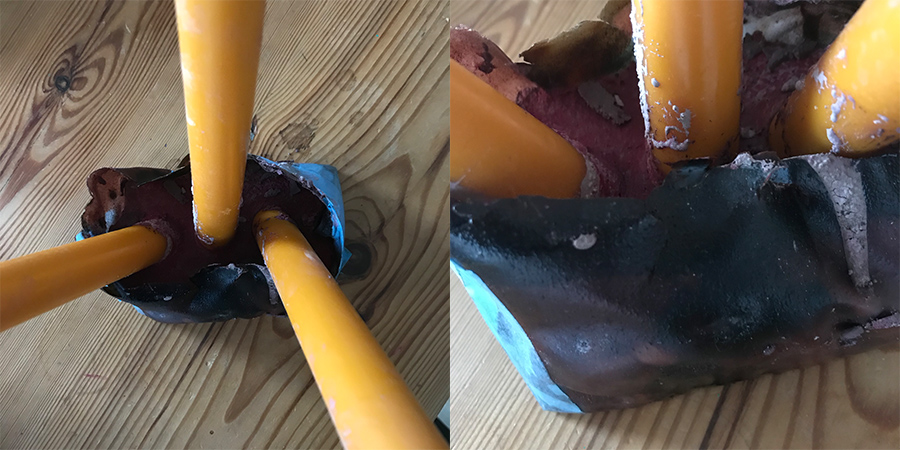
casting
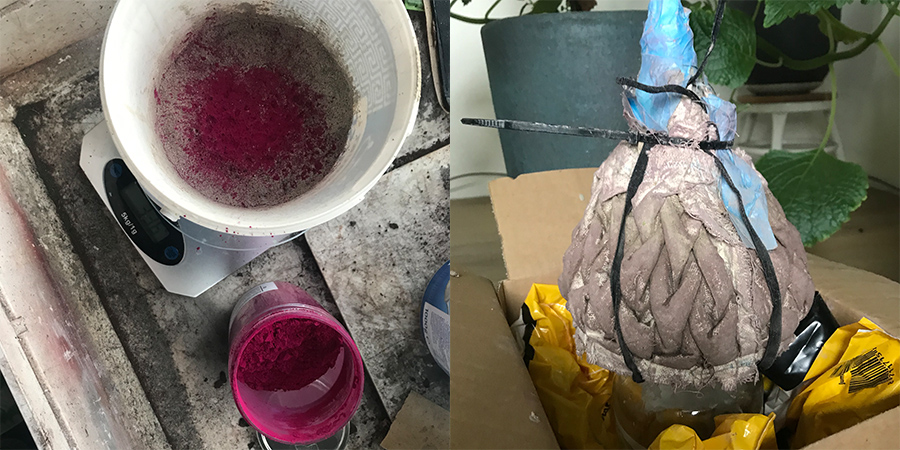
Last minute bioplastic formwork
While working with the concrete for my lampshade. I wanted to test if I could use the bioplastic from the biofabricating workshop as mold.