7. Computational Couture
Research & Ideation
This week was starting something new for me, I was never really using 3D softwares in my artistic practice. What interested me the most was to relate what I could do in Rhino with my practice, which is mostly weaving. I needed to build a loom for a workshop I organize at 19M, a place opened by Chanel for artisans and contemporary artists. I had to see which of the different technics I could use to make it. I needed a special piece that helps get the threads up and down. I had the wooden version of it. I then decided to try to make it with rhino with the few notions I was learning, in order to 3D print it. The problem was that it would take a long time to print, around 10 hours.
References & Inspiration
We had an online class by Aldo Sollazzo – Noumena
Parametric designs, Grass Hopper : codes to create deformation.
Some inspirations that he shared that I liked were :
- Noa Raviv fashion designer
- Behnaz Farahi
- Oleg Saroko
- Annie Zhang parametric design 4D printing on fabric
- Alessandra Sangermano 3D pen
- Seiran Tsuno
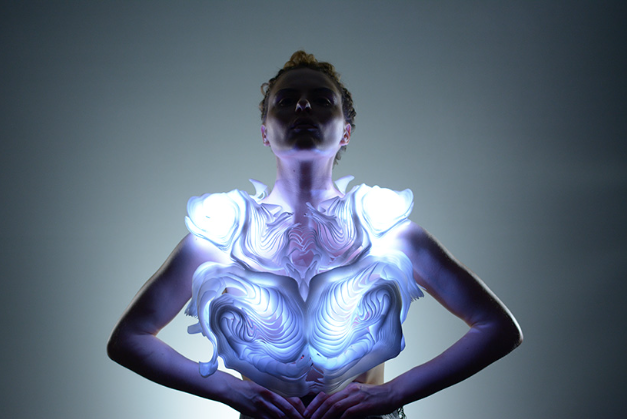
This is an inspiration I found interesting for a costume, the interactive led and 3D couture from Behnaz Farahi. (image on the left)
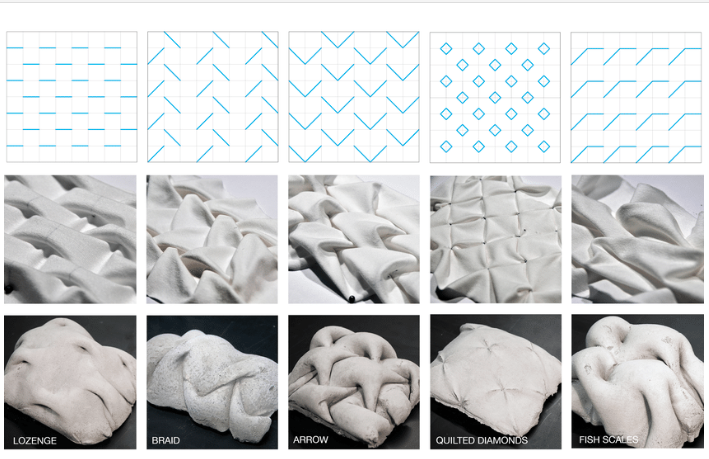
I found this image that helped me understand some materialization of parametric designs, uploaded by Annie Locke Scherer (image on the right)
Tools
- [Grasshopper](https://www.grasshopper3d.com)
- [Rhino3D](https://www.rhino3d.com)
- [Ultimaker](https://ultimaker.com)
Process and workflow
Rhino and Grasshopper
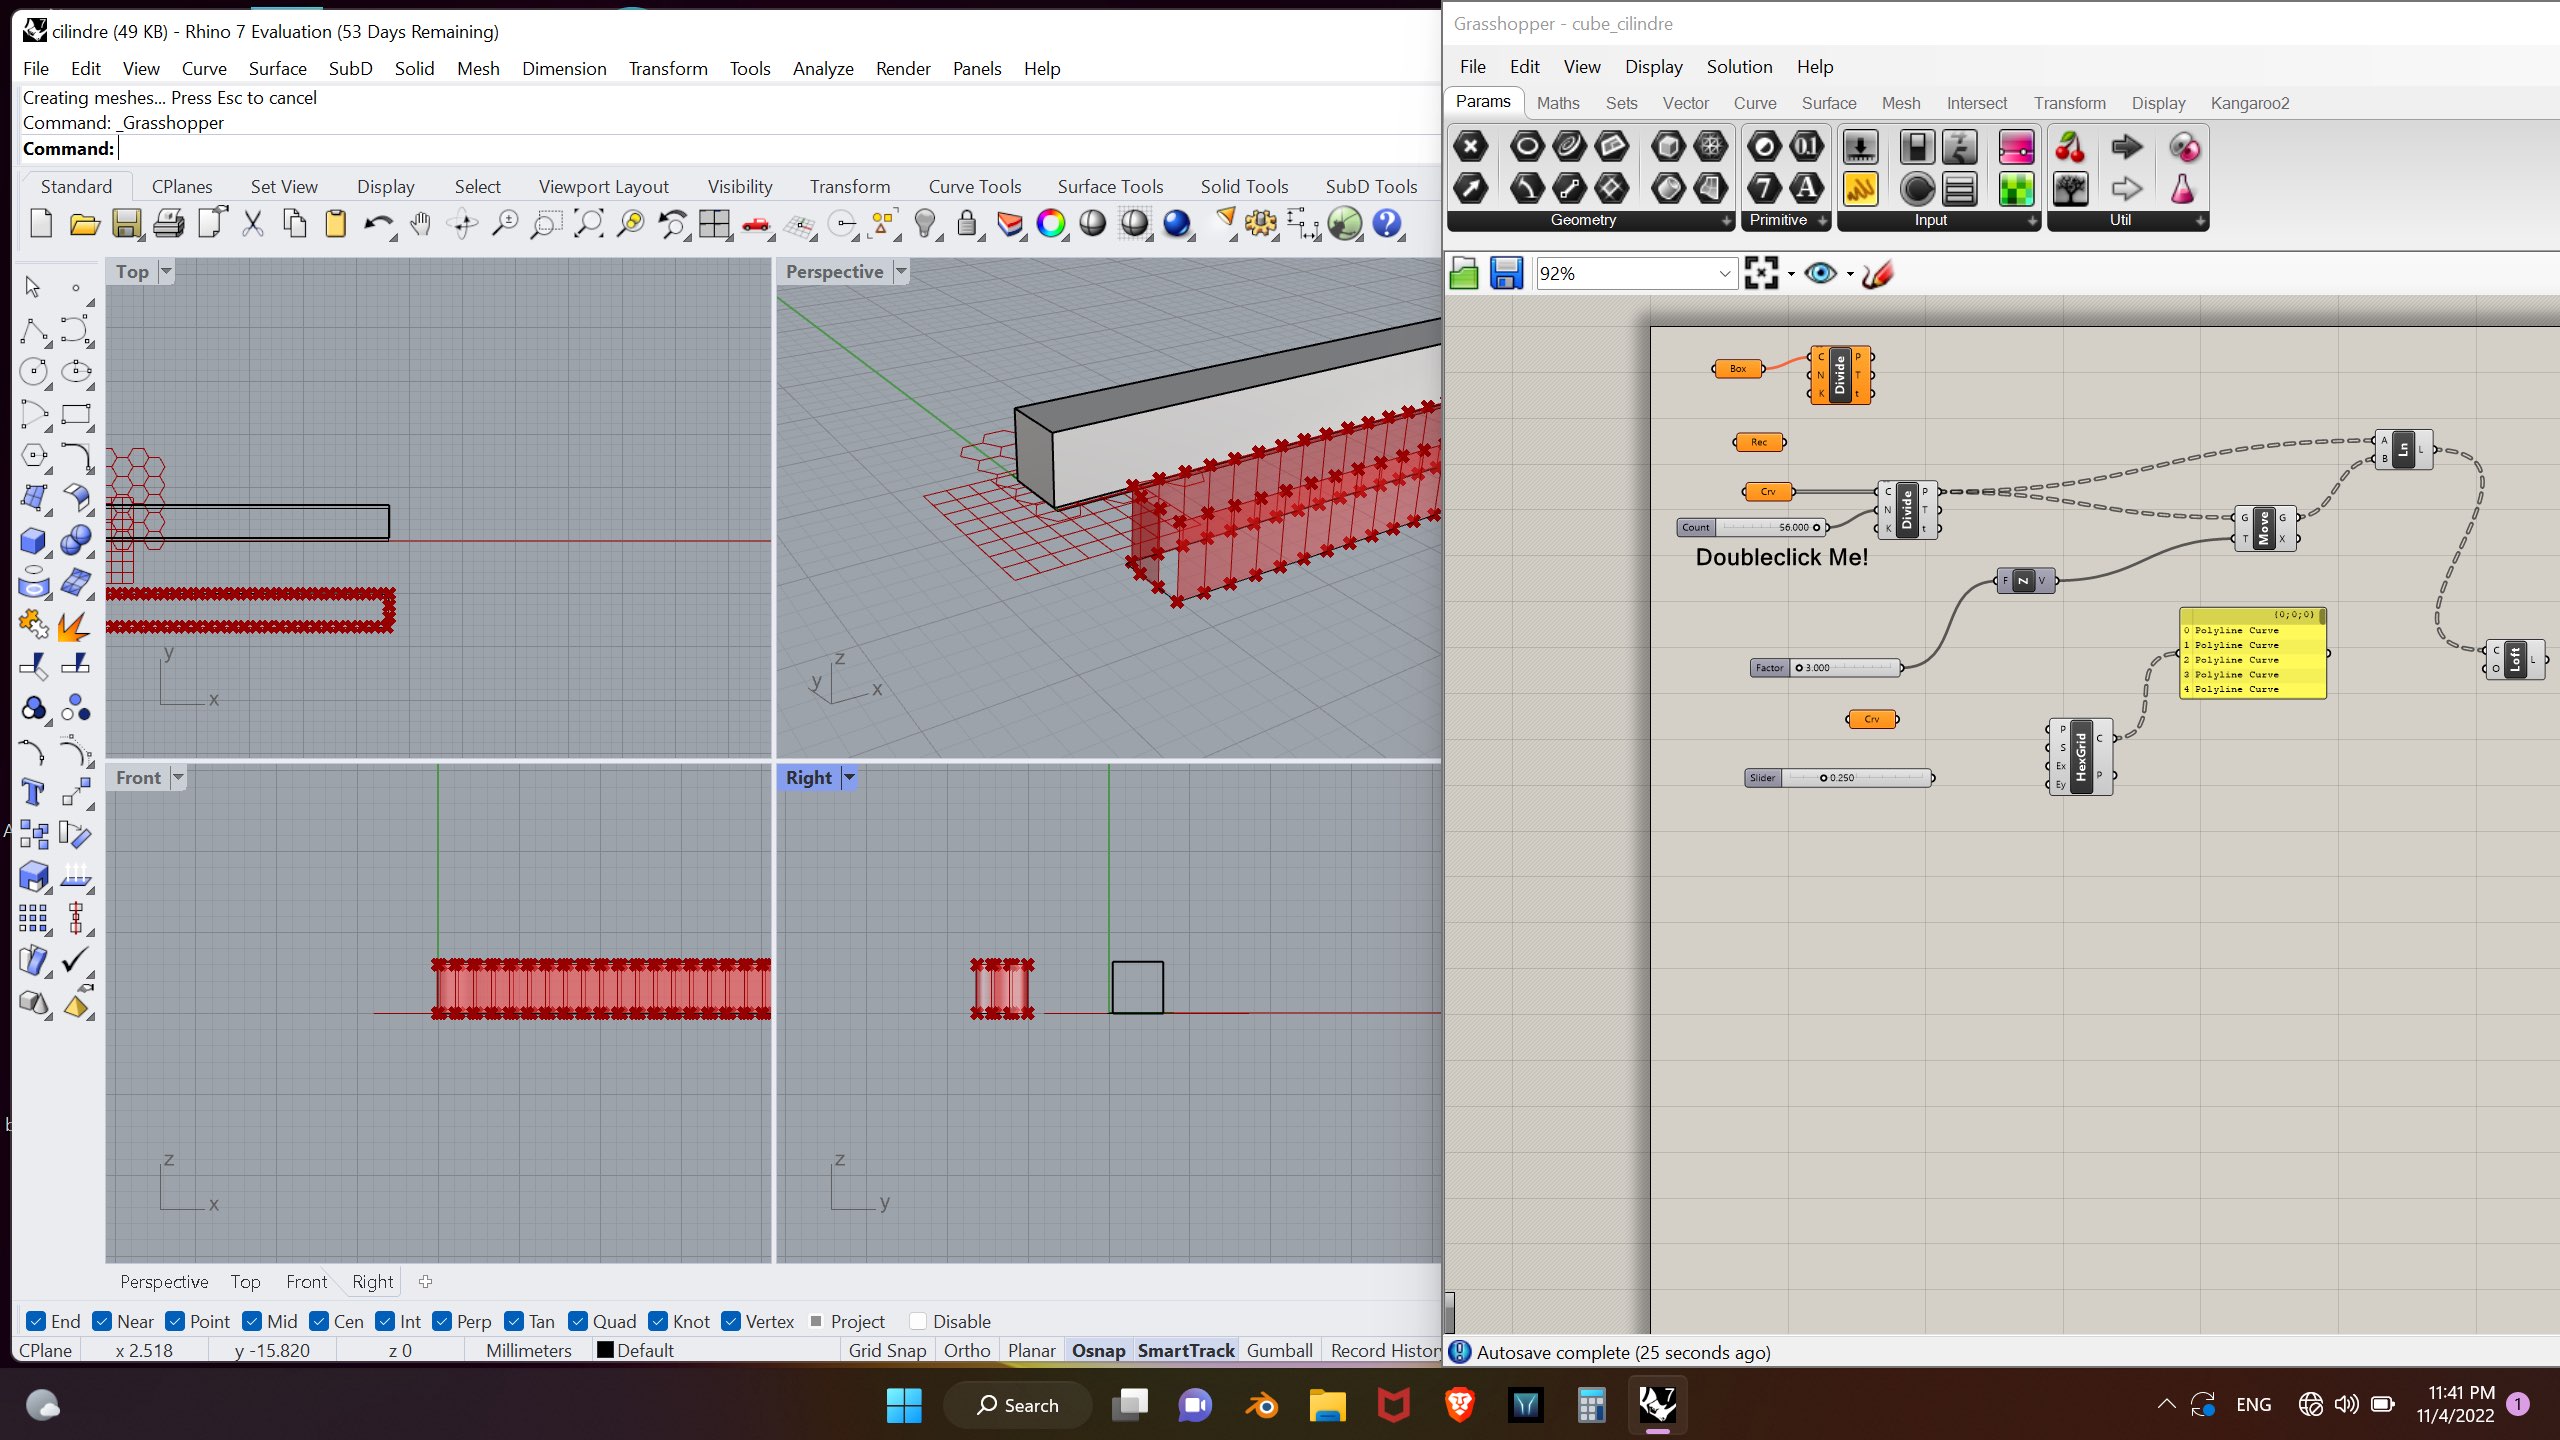
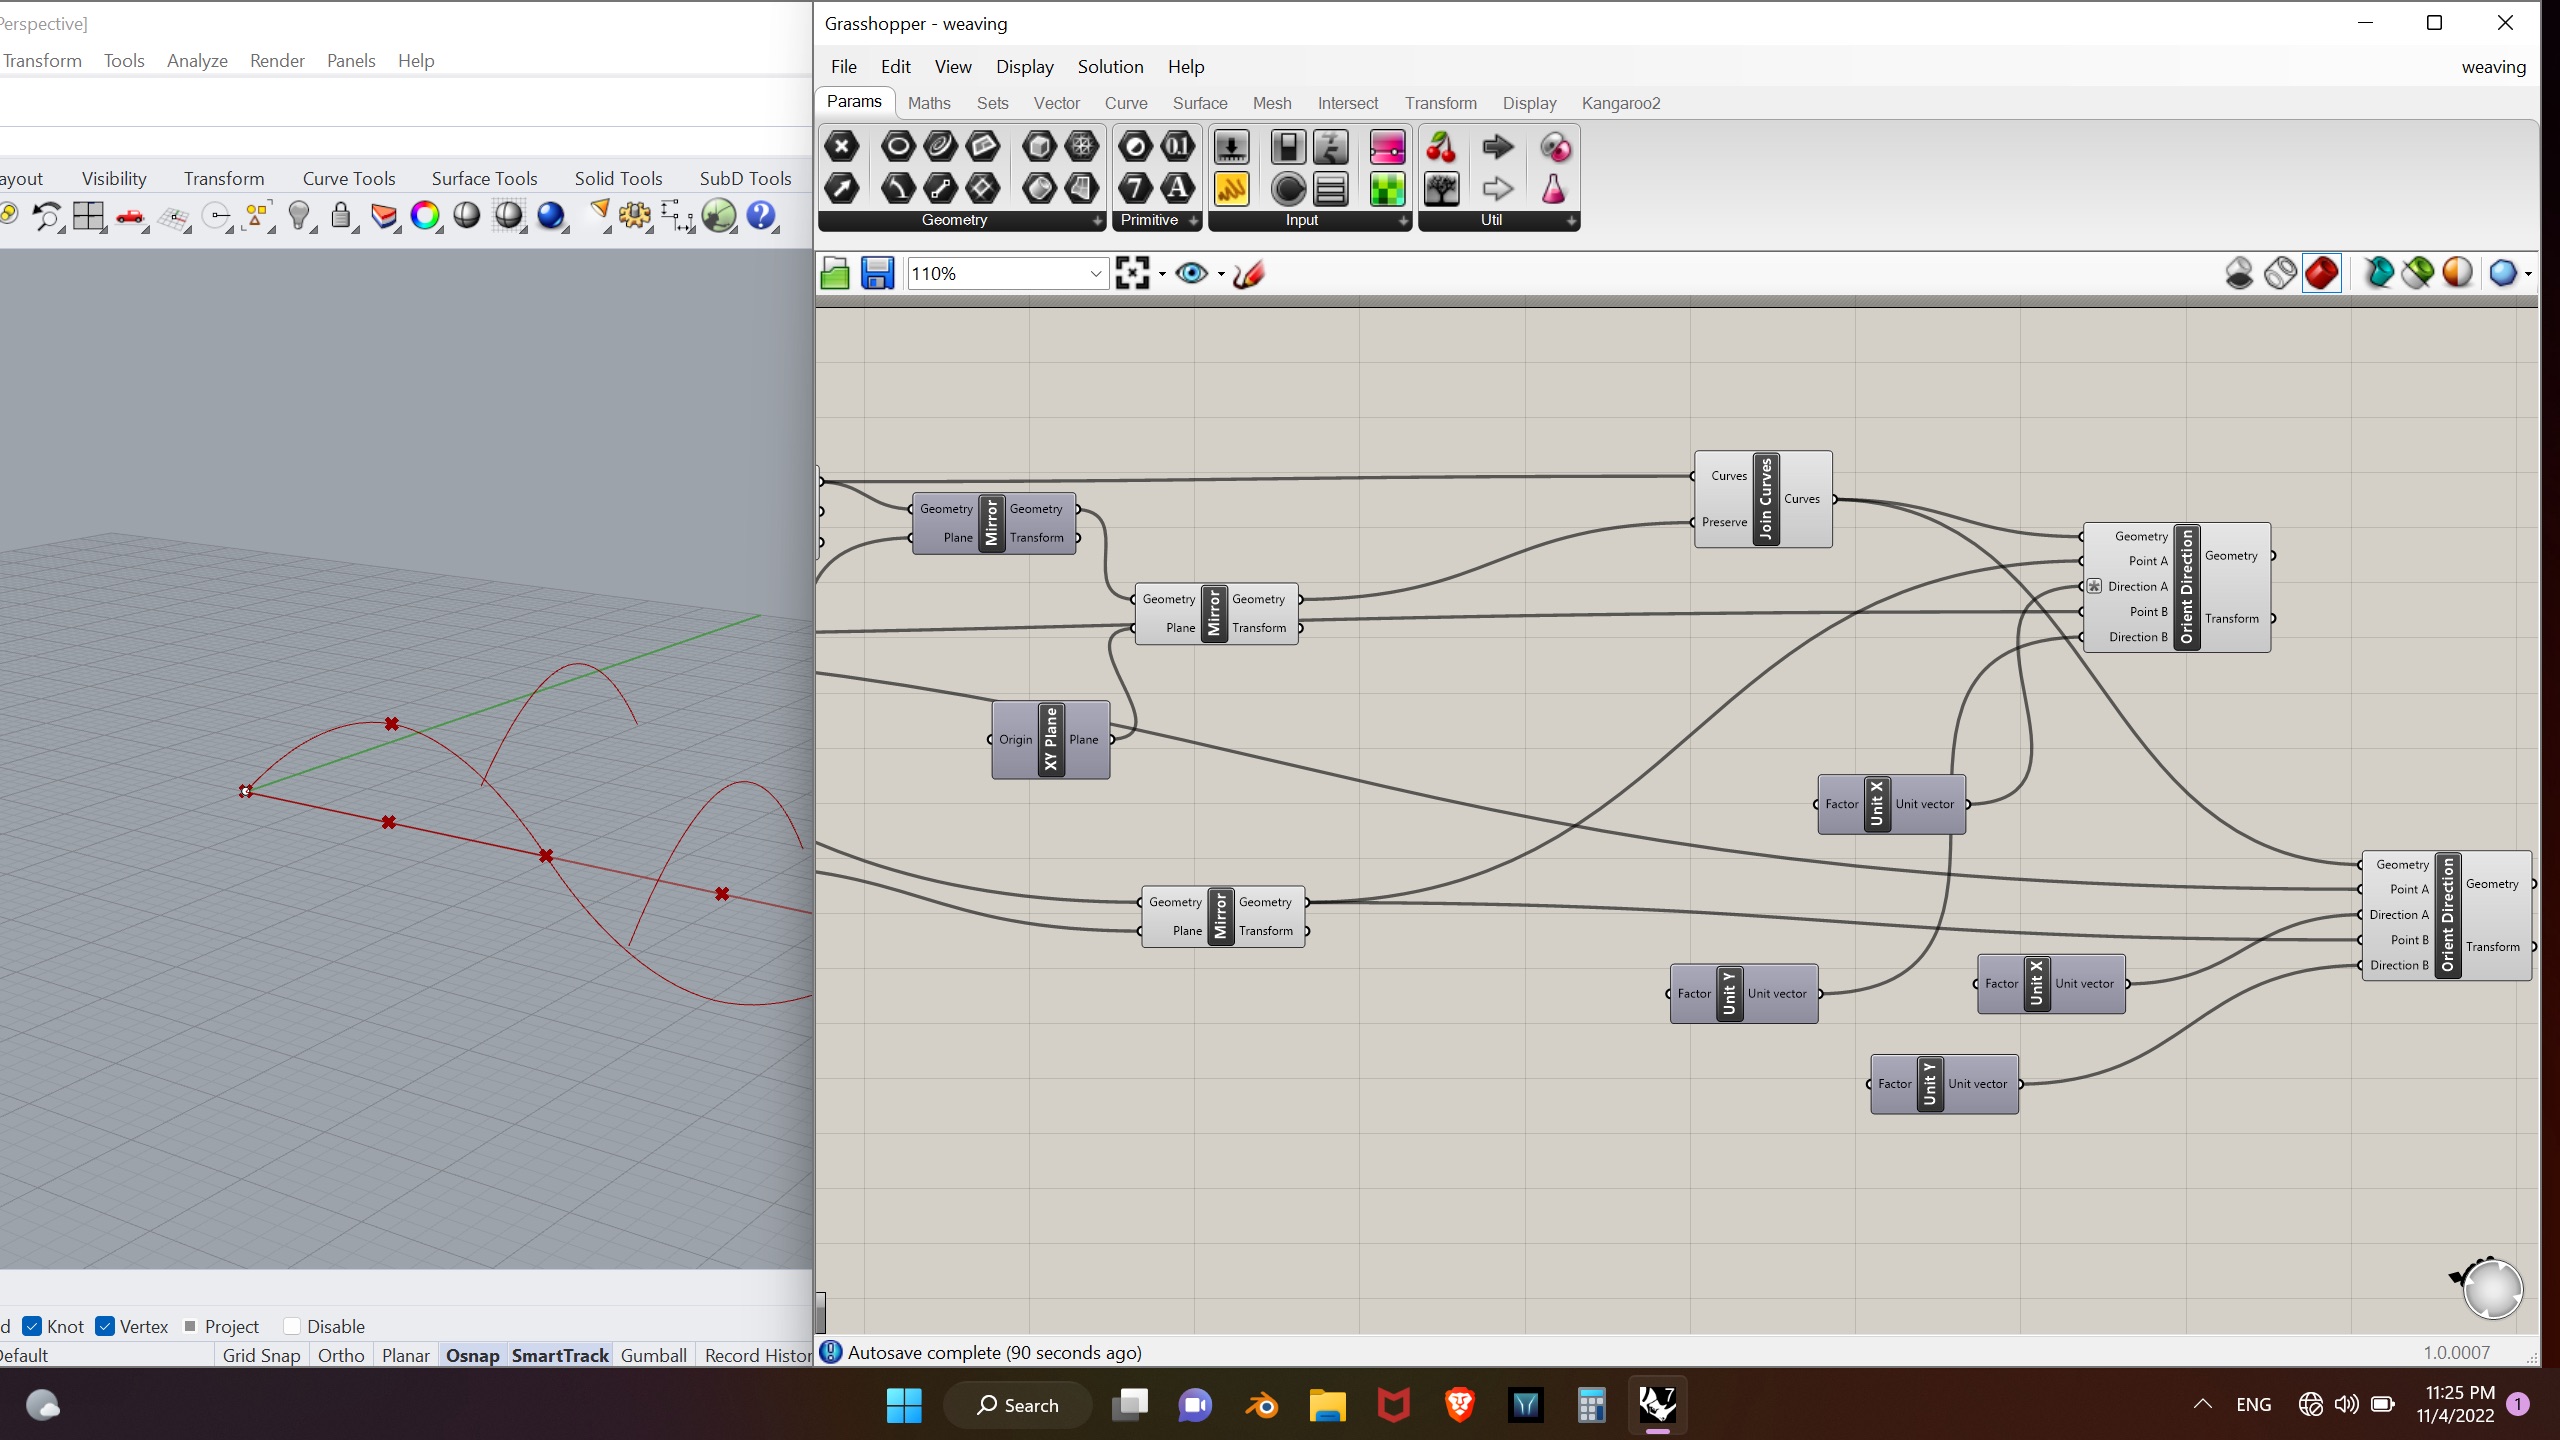
For this week course related to 3D modeling on Rhino, by using Grass Hopper, I decided to find a design on the website Parametric design. I then chose the 3D weaving design, which was more difficult than it seemed. When I was following the tutorial, I had to be careful of few things:
- Set a minimum and a maximum to the slider number
- Why Grass Hopper was useful in creating a design, even though it seemed that some shapes could be done more straight forward and easily, it was useful in order to change the parameters during the process of designing.
- Grass hopper helped dividing a segment or shape and changing the division later on without loosing the design process.
- We can add plugins on food4rhino
- we can add texts to organize the grasshopper better and have the whole words shown to see a bit what we do.
- We can switch the preview mode on different parts of the process by clicking on the green on the top right of the screen.
- We define objects point, curve, cube, etc on the different axes 0,0,0 = x,y,z
- on rhino Extrude command is to make a segment grow
Step
We started using the 3D pen with a demo of our tutor Diane, she showed us some tips to use it, even-though it was quite hard.
- Make a flat base for instance and then to go up wait until it dries a few seconds.
- Make the different faces of a 3d object on the flat.
- Marta Nijhuis Artist working with 3D pen on big surfaces
Step
We printed a few of the peoples design with the 3D printer. We had to follow the steps - upload the rhino file into the 3D printer software - chose the heat, the speed, the thread... - place the fabric on the machine with pinces - for the stretch fabric, such as stretch tulle, stretch it as much as you can to give effects with the 3d print on top of it - it prints layer per layer - you can do a sandwitch, printing a layer on the machine straight away first and then on top of the fabric.
Geometric designs were organically growing, thanks to this technic.
The final model for printing made by Diane is :
Step
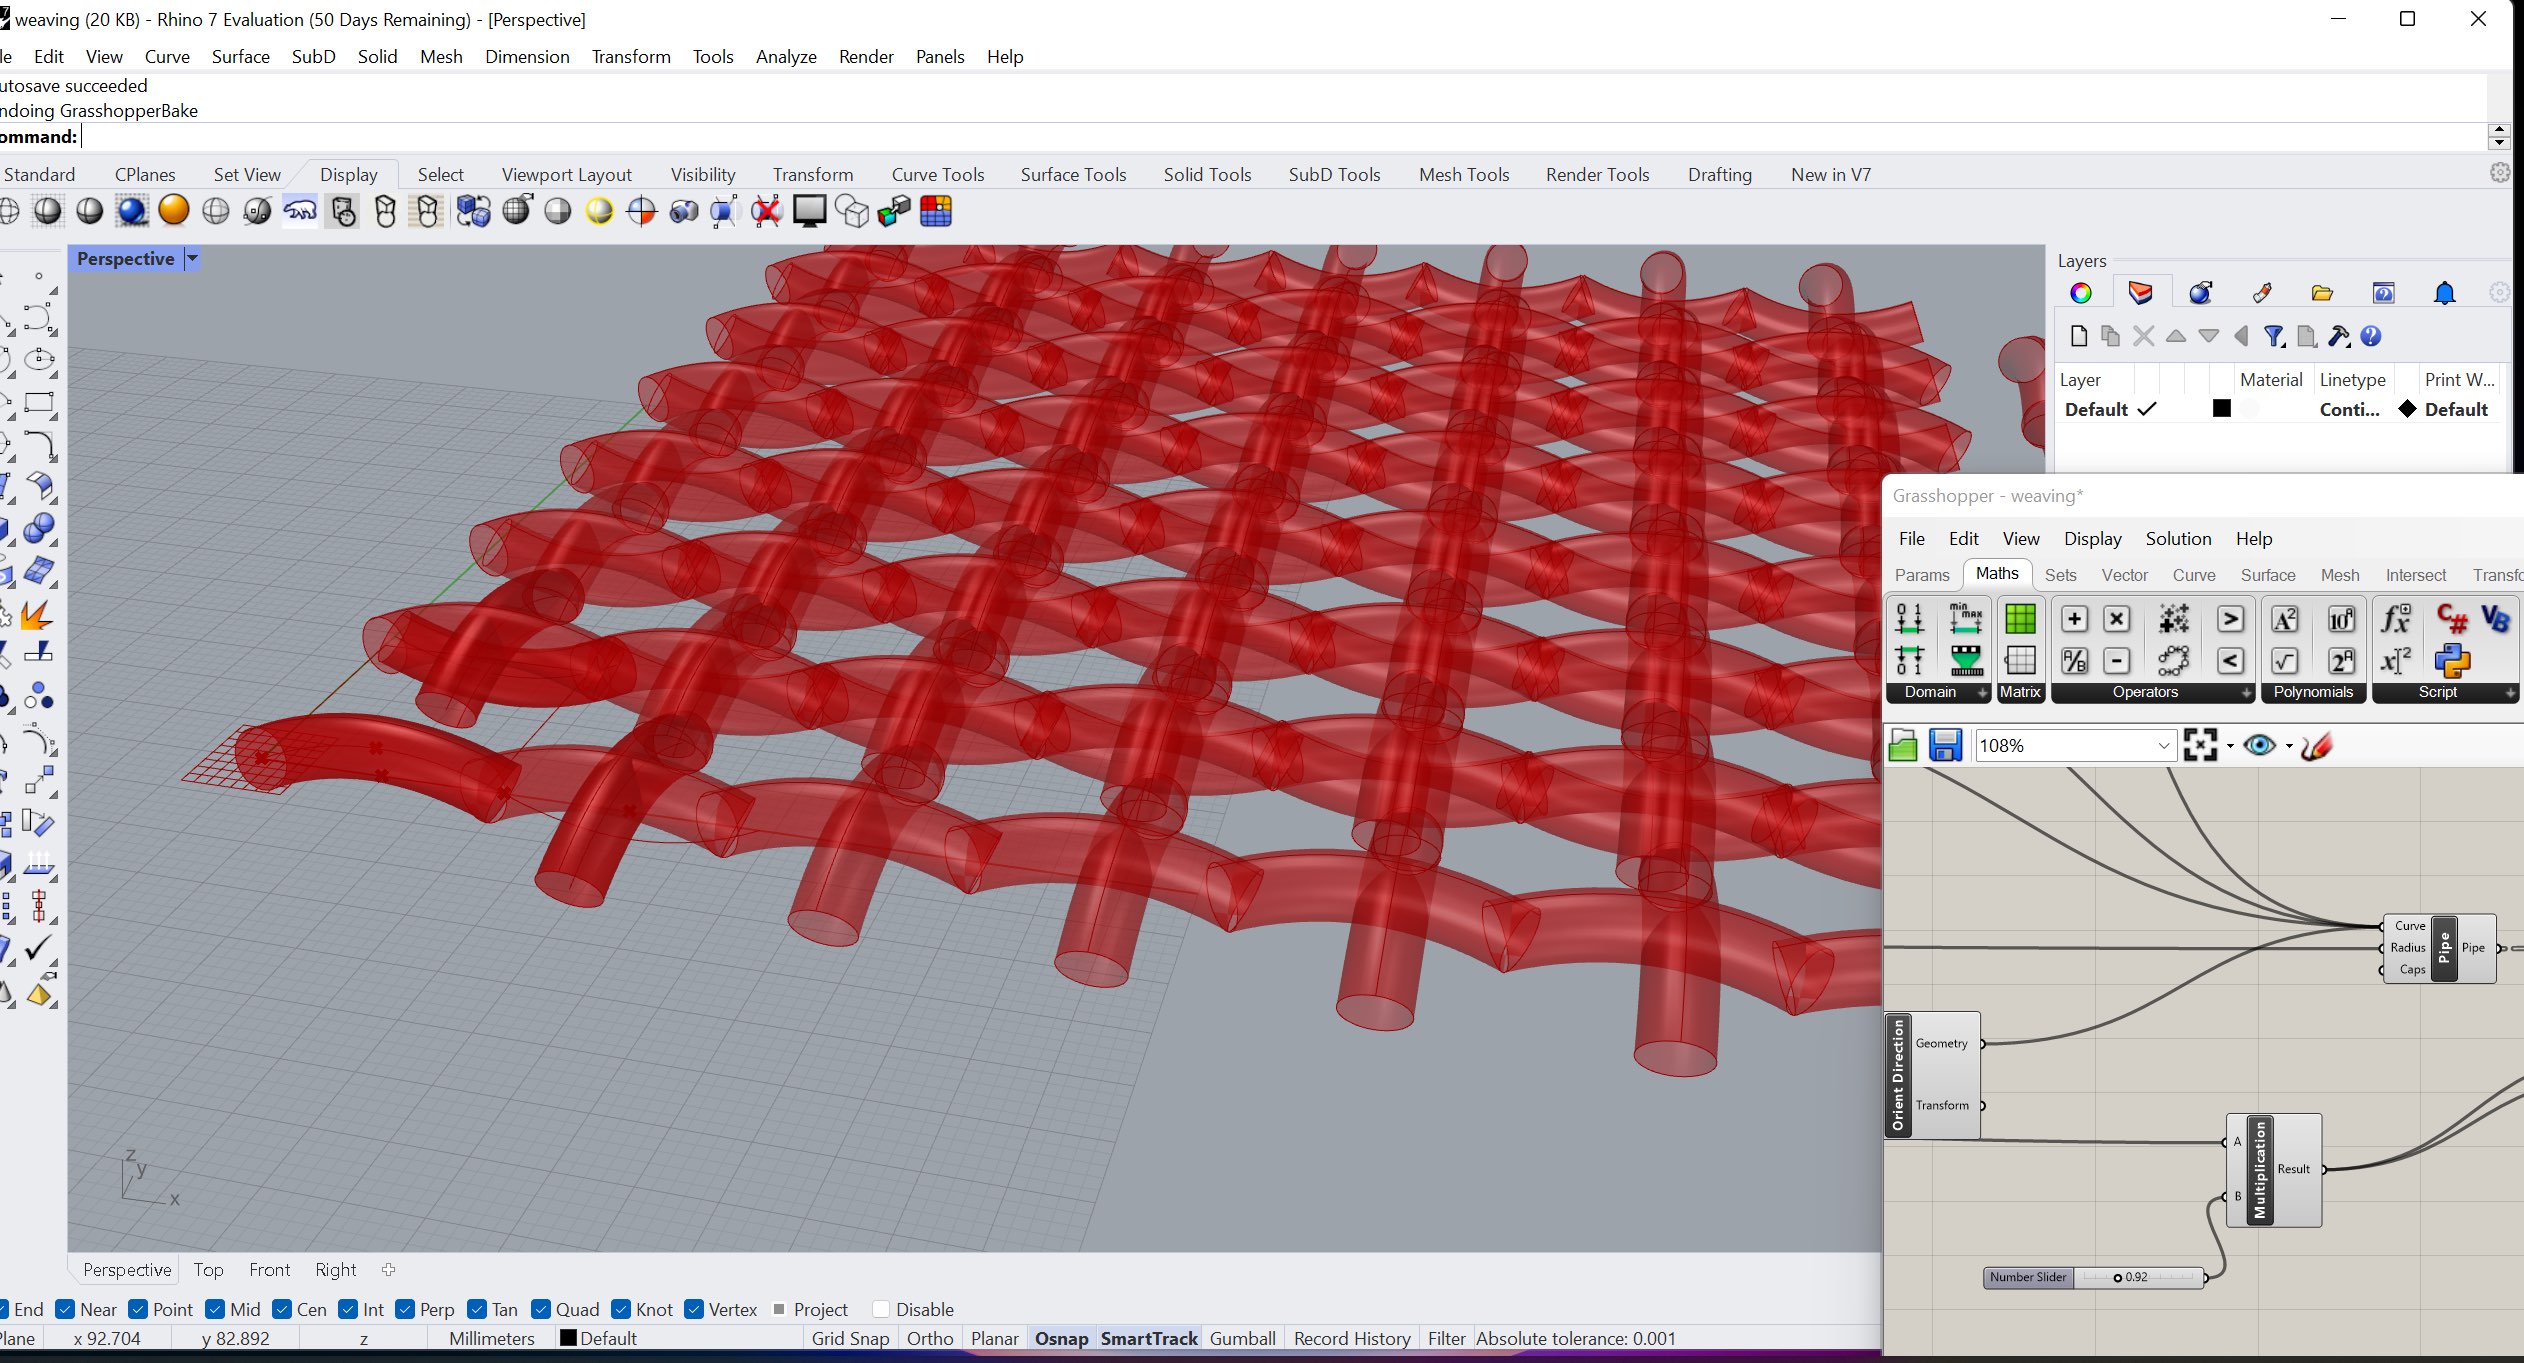
What I learnt by making the weaving on rhino with Grasshopper on the Parametric designs website thanks to the tuto
- set the first point in the middle 0,0,0
- on the tutorial from parametric design they don't say at the beginning to set up the starting point, this can be done straight away on Rhino and then associated with Grasshopper point
- set the different points and its directions
- set the first two lines in one direction by choosing the center between two points and make a point higher in the middle to create a first loop
- use mirror to have it upside down ⁃ settings of sizes and distances can be changed at any point because of the number sliders
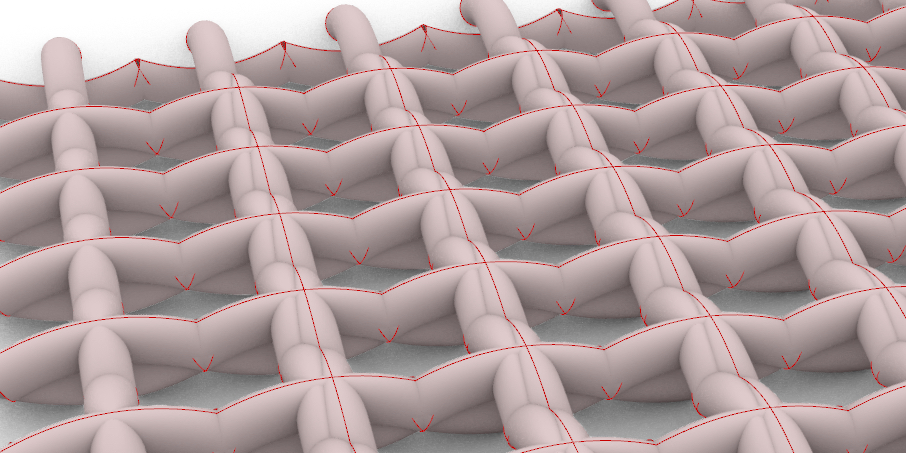
3D Models
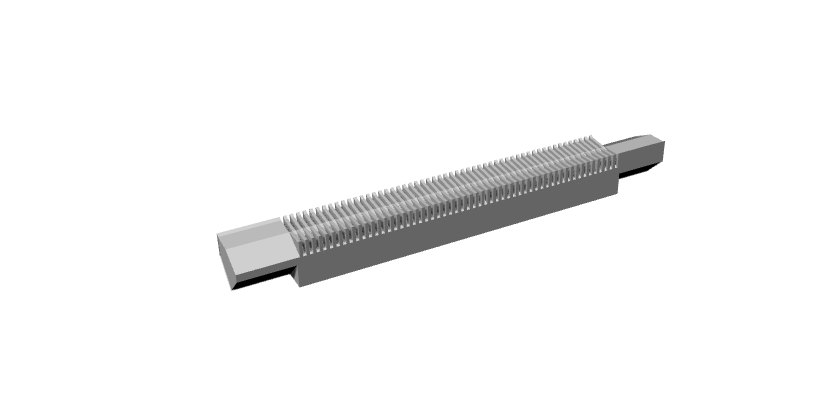
I decided to make a 3D weaving and I encountered some problems but I am getting there in order to get a file that could be printed soon.

Fabrication files
-
File: 3d modelling of mannequin ↩
-
File: 3d modelling of mannequin ↩