5. E-textiles
Research, Insiration and References
My introduction to E-Textiles came during the 2023 preview day to welcome new applicants to apply for Fabriademy. It was my first year as a Chevron Fab Lab manager and I wsa still seeing myself as a creator only within the garment and digital spaces. I was intimidated and decided that it was not the right time for me to explore Fabricademy as I was still adjusting into the role of lab manager which included a lot of training.
At the 2024 Fab Foundation conference in Puebla Mexico I was delighted to attend the 2024 Fabricademy Graduation. It was an amazing event and an extemely inspirational show. I was mesmerized by the artistic expression and dedication to historical storytelling. I felt very connected to my own journey into fashion design as I took in the work of that year's graduates.
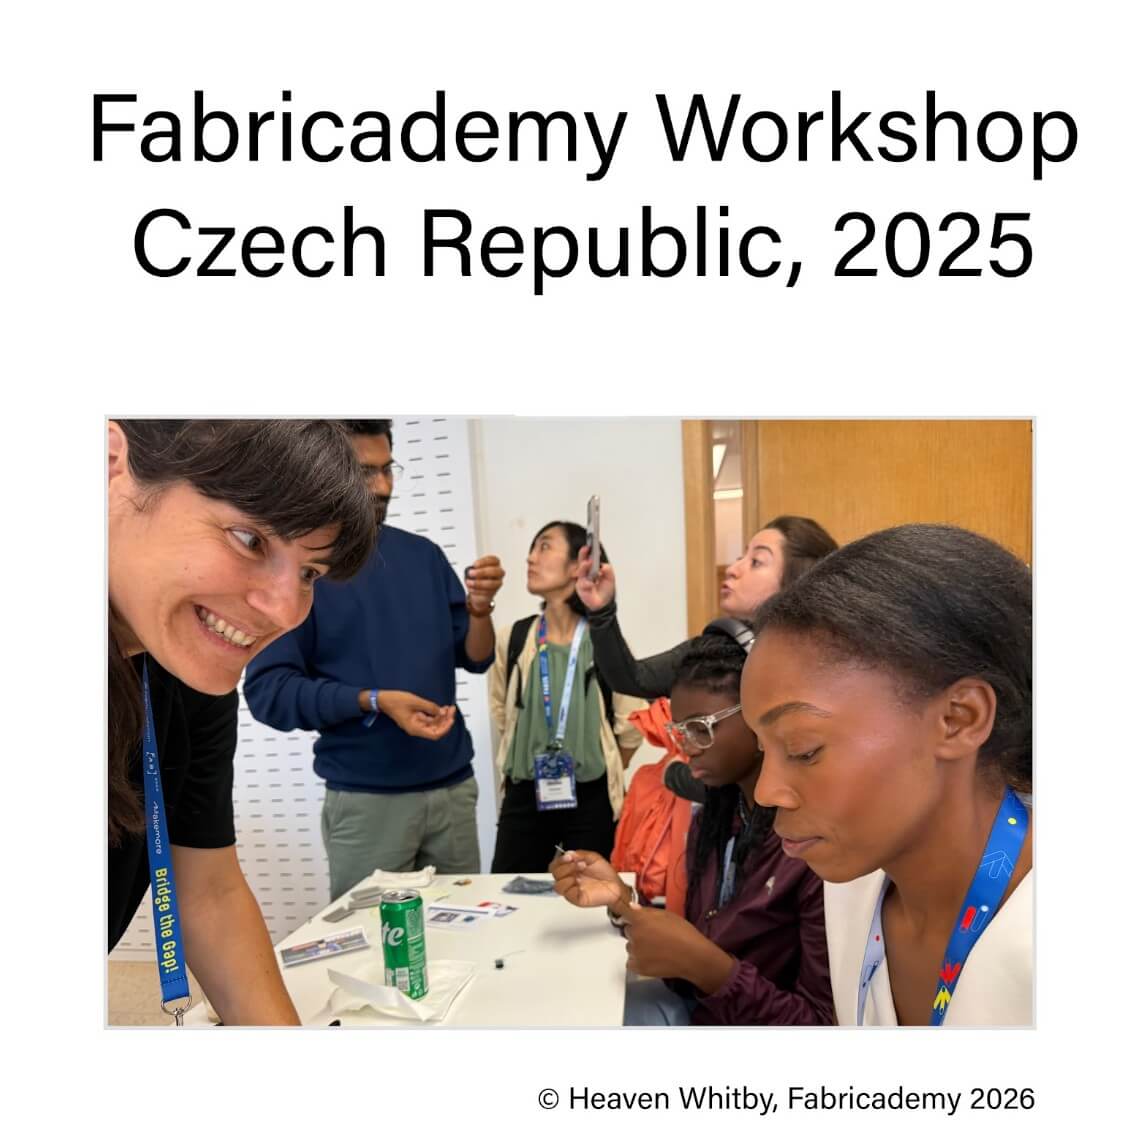
In 2025 at the Czechia Fab Conference in the Czech Republic I was finally fortunate to attend a fabricadcemy worksop with my favorite person, my daugher. I was truly changed by this workshop. Years of feeling like fashion and tech was just too far out of my reach felt completely irrelevant as I followed along wtih the instructors. I was shocked to see that the instructors would be the Fabricademy team and was grateful for their kindness and patience.
I honestly spent the Czech Republic workshop and more time afterwards attempting to shoot beyond the stars with the materials provided. It took my instructors during fabricademy 2026 to point out to me a pattern of slowing myself down (from completion of a simple activity) due to over action.
This week was the exact same. I thought I'd go above and beyond by utiliizing the "scraps" from the czech republic in my completion of this week's activity. Unfortunately, that just was not the point of this week. The point this week was to make a circuit that can be read by an analog sensor.
I have added below my first attempt at completing this week's activity, a two led circuit powered by a 3v battery and controlled by the pressure sensor provided in the czech republic. This circuit did not result in a powered LED. I hope to explore this further as we continue exploring wearble technologies.
Below are a few points I used to create my circuit:
Building The Circuit
Understanding Circuits and Textiles
This was my first attempt at creating an e-textile. In order to do so, I want to give myself the best chance of success by utilizing components that had already been tested and found to work effectively.
I still had components left over from the Czechia Conference and decided that utilizing them to learn and create my first e-textile would be best.
Process and workflow
Analog LED Light with textile switch
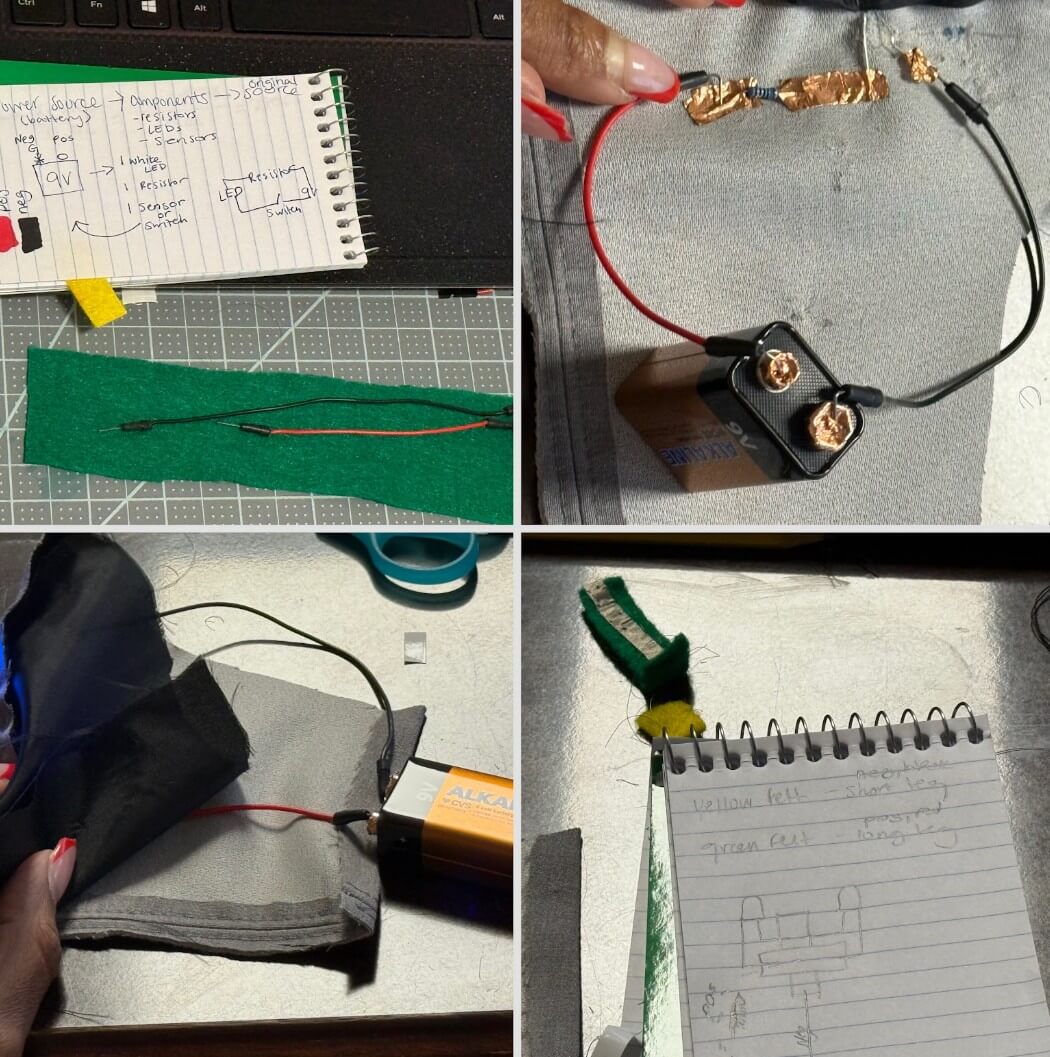 In the top left image you can see the sketch that I drew in order to organize my thoughts towards the build of the sensor.
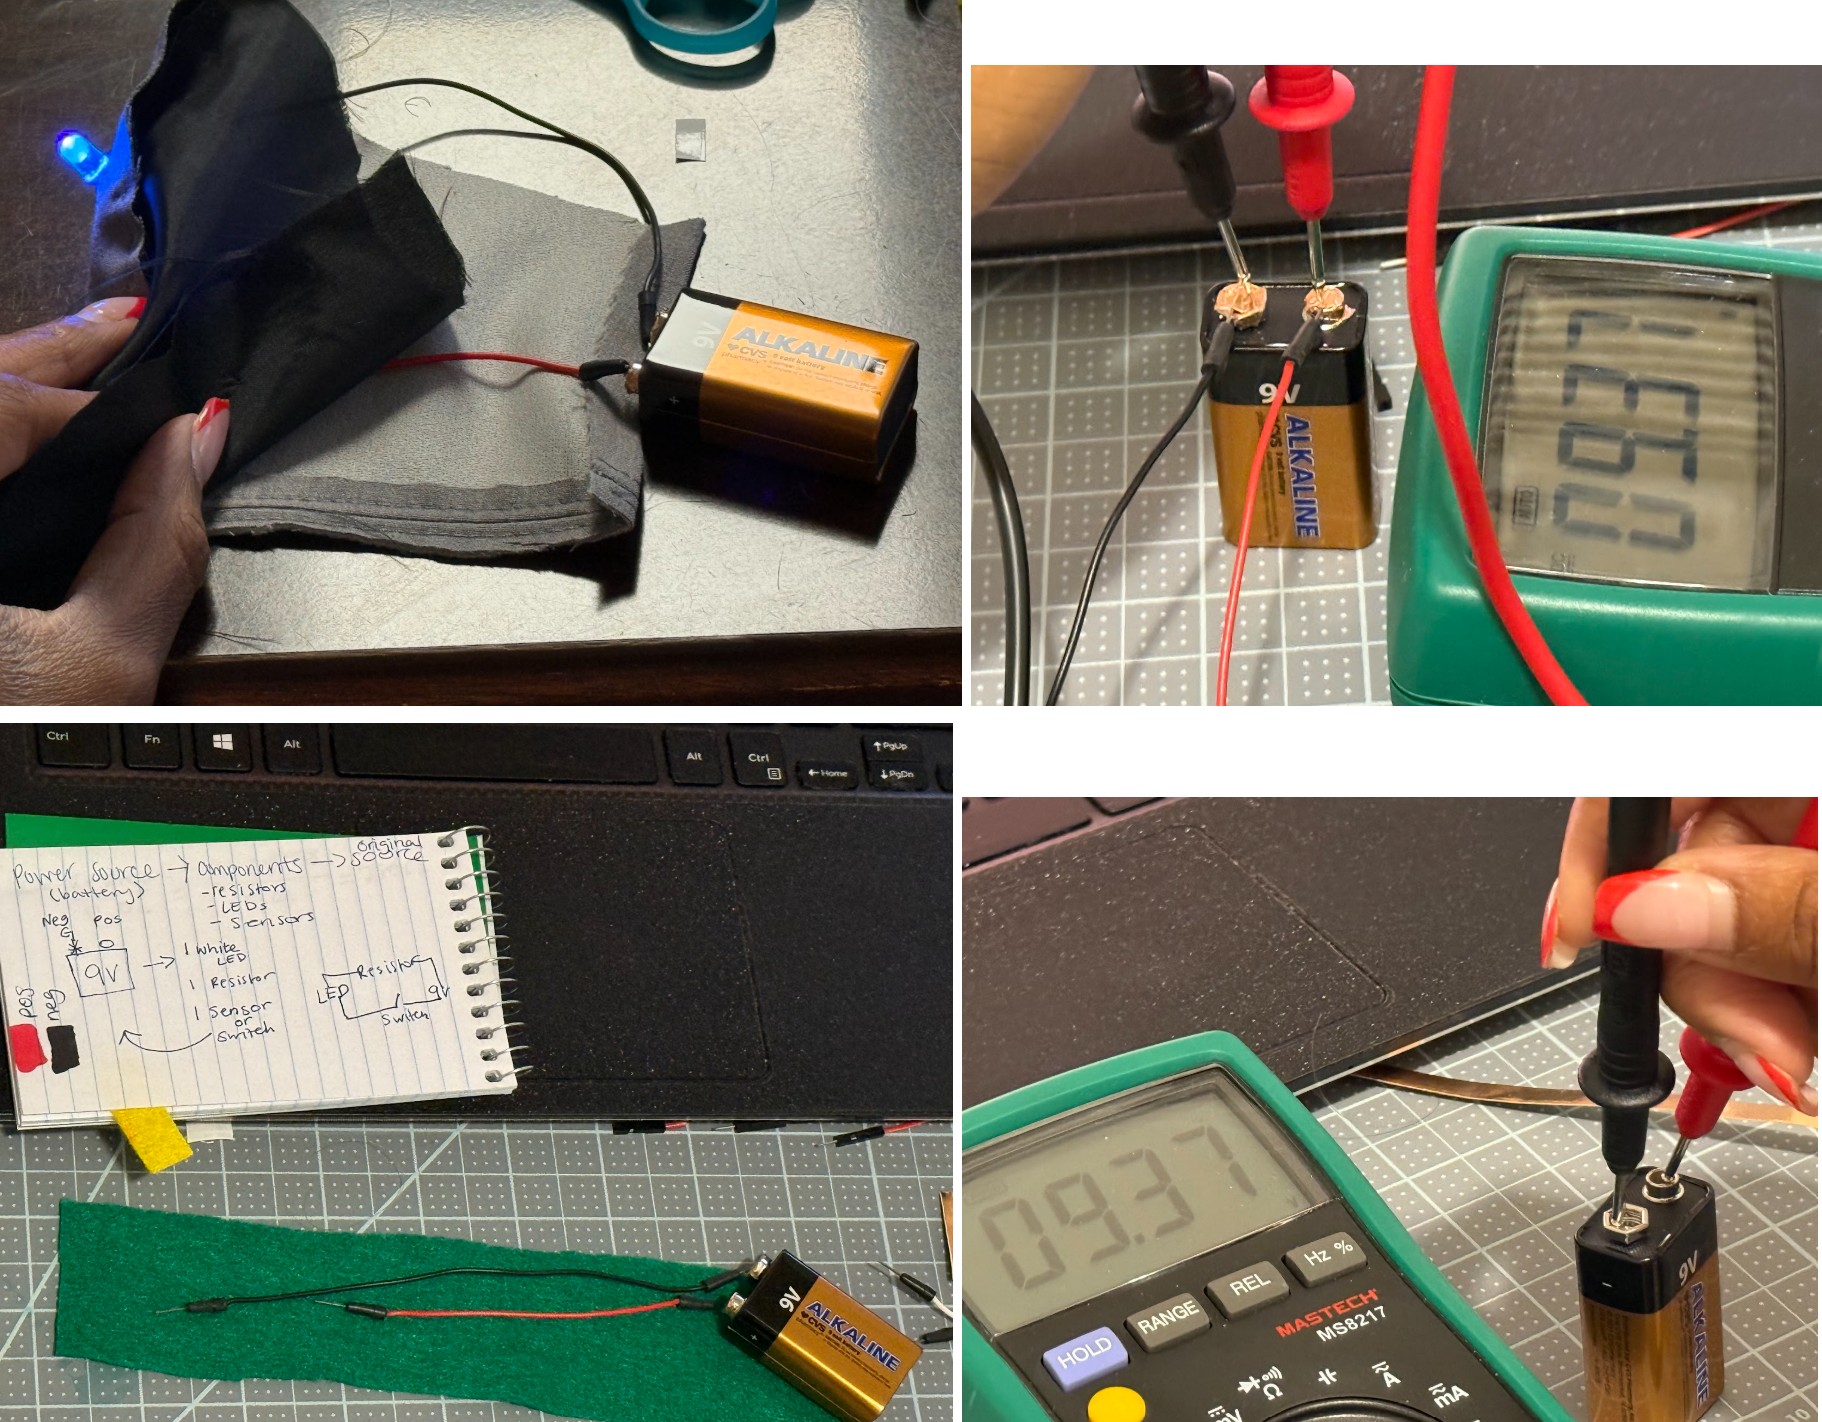
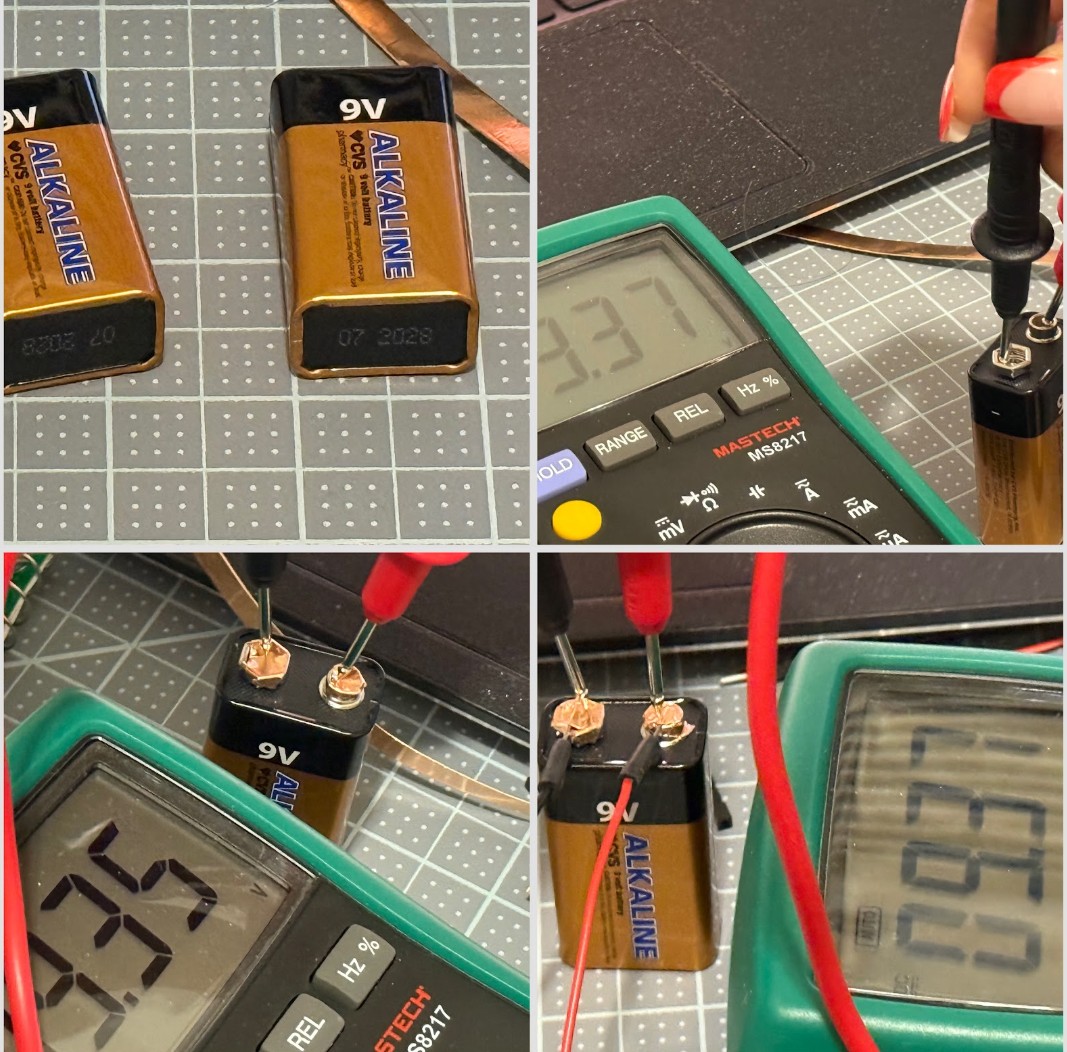
I had a 9V battery on hand so I began by understanding the capacity of the battery's input and output so that I could calculate what types of components could be used alongside it without harming the battery or other components. I learned in class that in some cases, a battery can be too powerful and harm a compoenet or not powerful enough and not provide any usable energy to the components it is meant to energize.
I also made a note for myself of which areas of the battery corresponded with the positive and negatgive terminals and also added color coding to keep myself on track.
Digital Pressure Sensitive LED light with Readable Data
In order to read the values digitally, I was able to use the board (FabriXIAO) that I got in the Czech republic and connect it via USB C to my computer and run the Arduino IDE to read the LEDs values once triggered by the pressure touch sensors (also recycled from the workshop at FAB 25).
I connected the pressure sensitive trigger to my LED configuration from the Analog set up (above) and connected all of this using copper tape and thin copper wire to the FabriXIA0 using pin D8 and A0. I then connected the 3.7V Battery via the built in battery connector ont he FabriXIAO. I'd like to note here that I had to hold the FabriXIAO in this area because the device had become fragile after a lot of manipulation of the device and travel. I then connected the entire system to my computer using the FabriXiao's USBC port (provided by the RP-2040 microcontroller).
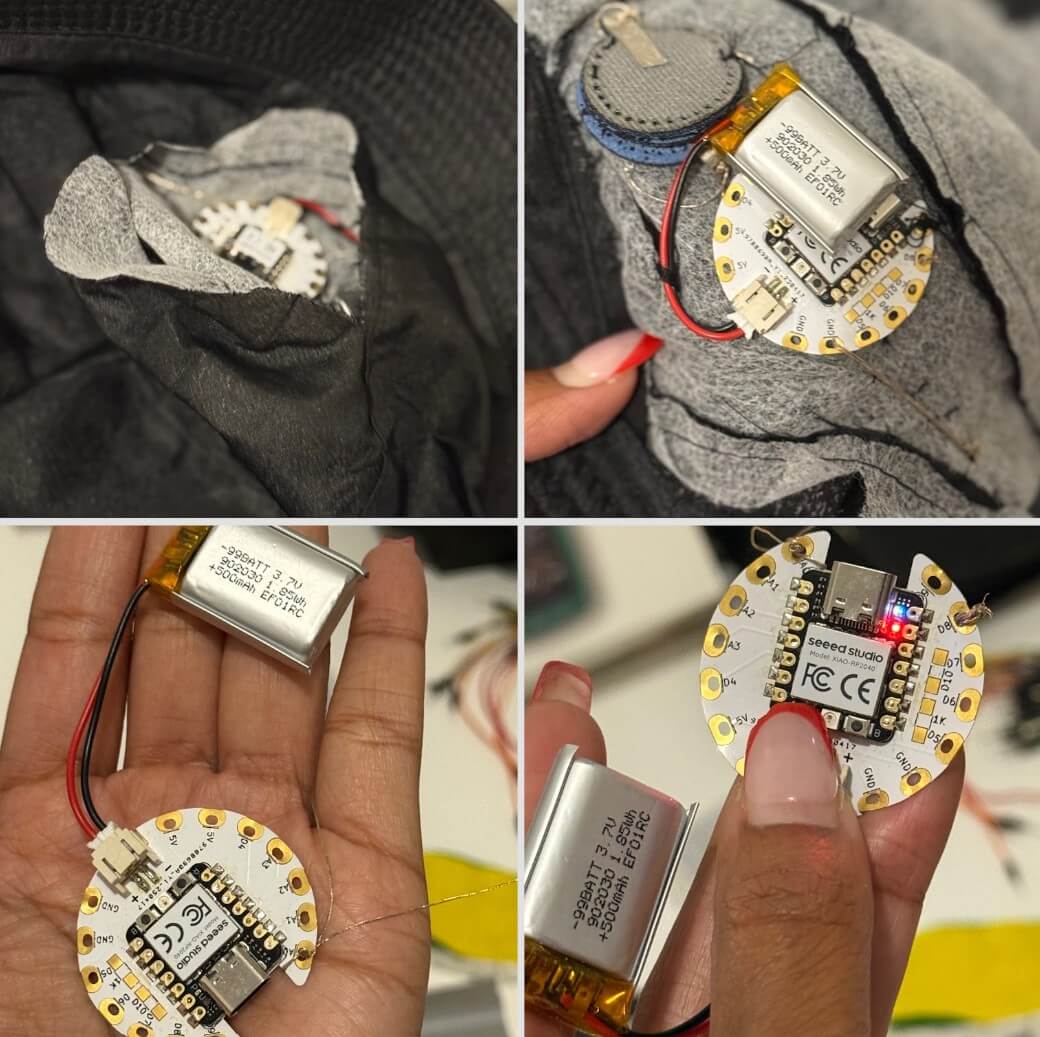
- Components that I plan to repurpose. These items were obtained during the 2025 Fab Conference in the Czech Republic.
Tools
- RP 2040
- [Arduino IDE](http://class.textile-academy.org)
- Battery (9V and 3.7v)
- copper tape
- velostat
- copper wire (thin)
- 3.3v White LEDs
- leftover fabric from home
- leftover felt from home
- Digital Multimeter
Arduino Code
Use the three backticks to separate code.
// the setup function runs once when you press reset or power the board
void setup() {
  // initialize digital pin LED_BUILTIN as an output.
  pinMode(LED_BUILTIN, OUTPUT);
}

// the loop function runs over and over again forever
void loop() {
  digitalWrite(LED_BUILTIN, HIGH);   // turn the LED on (HIGH is the voltage level)
  delay(1000);                       // wait for a second
  digitalWrite(LED_BUILTIN, LOW);    // turn the LED off by making the voltage LOW
  delay(1000);                       // wait for a second
}
Arduino
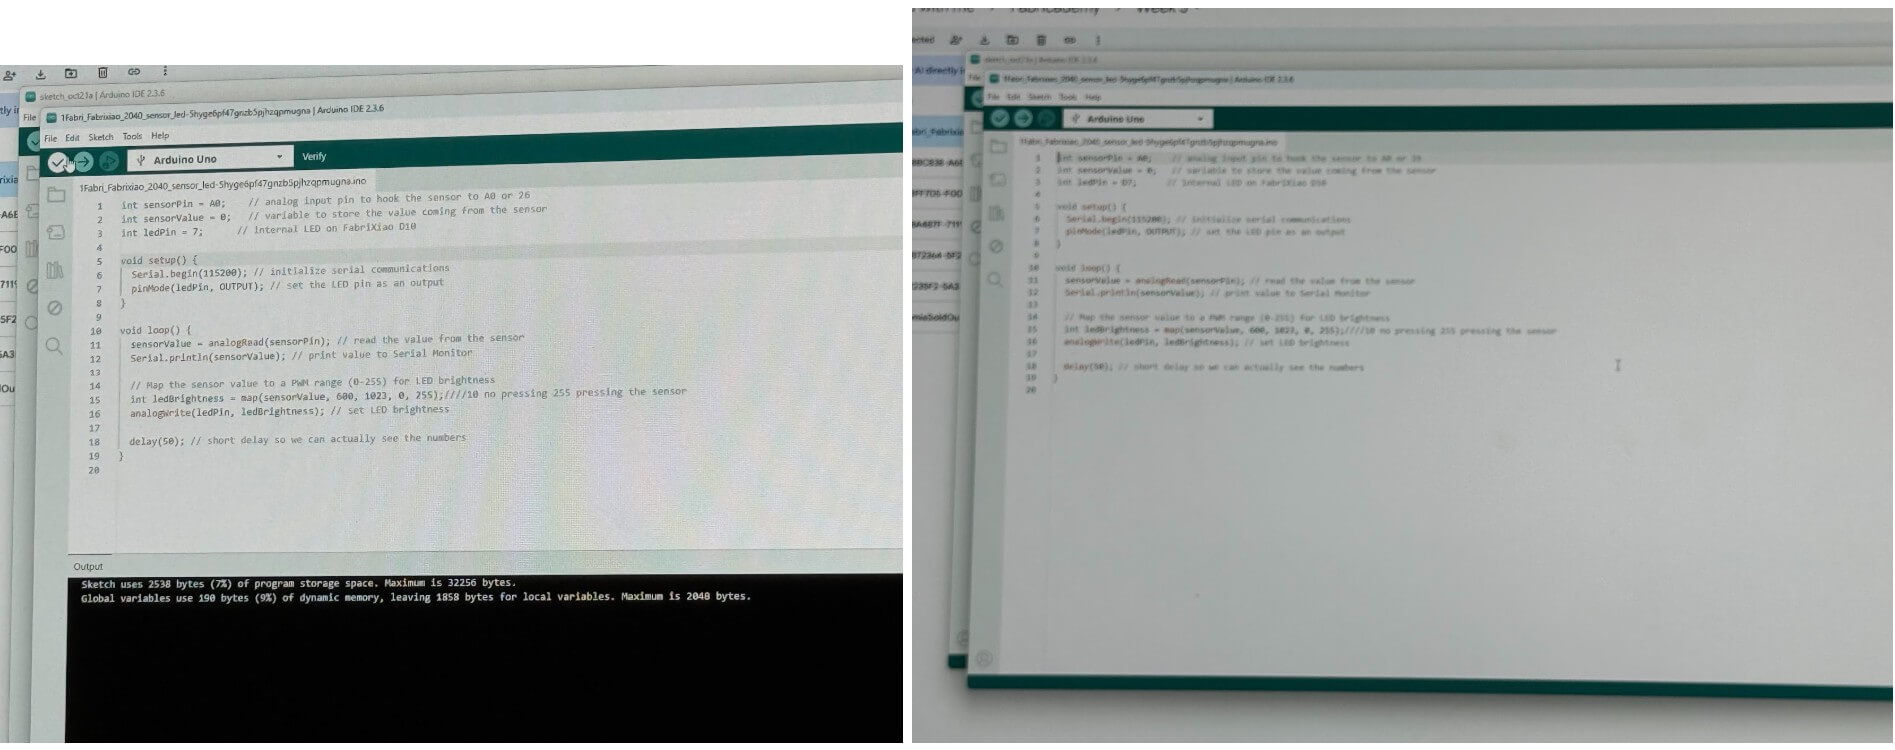
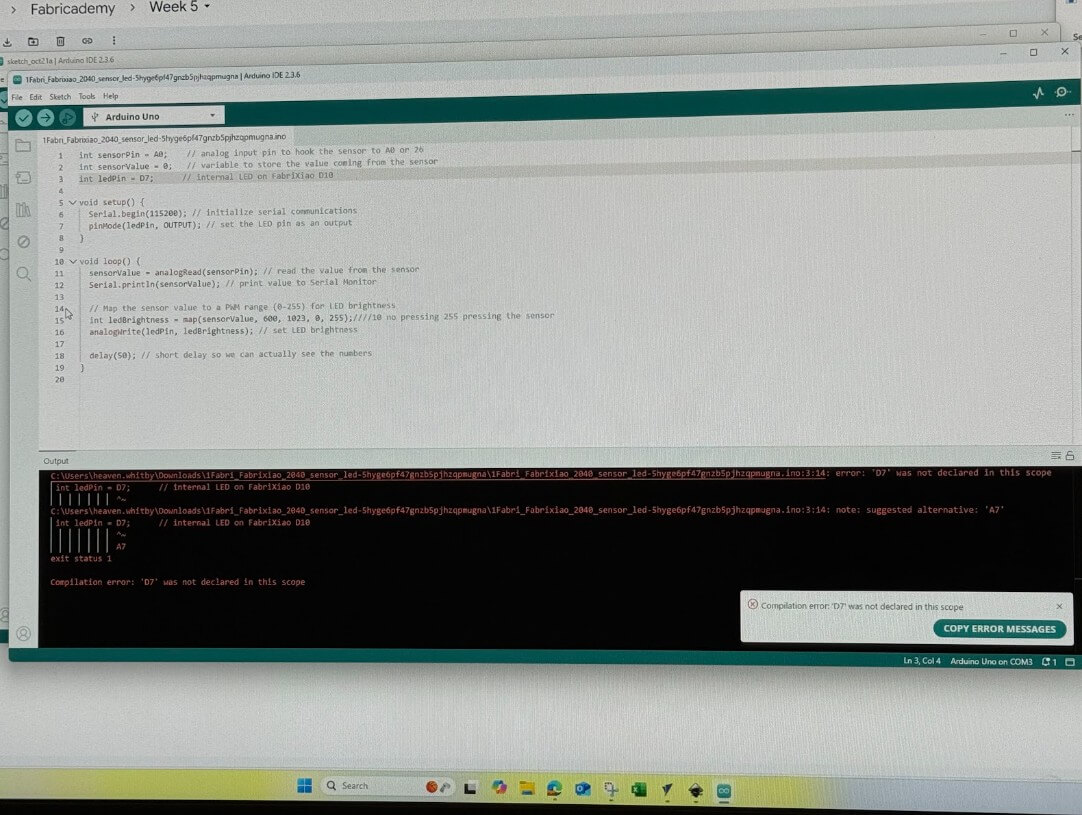
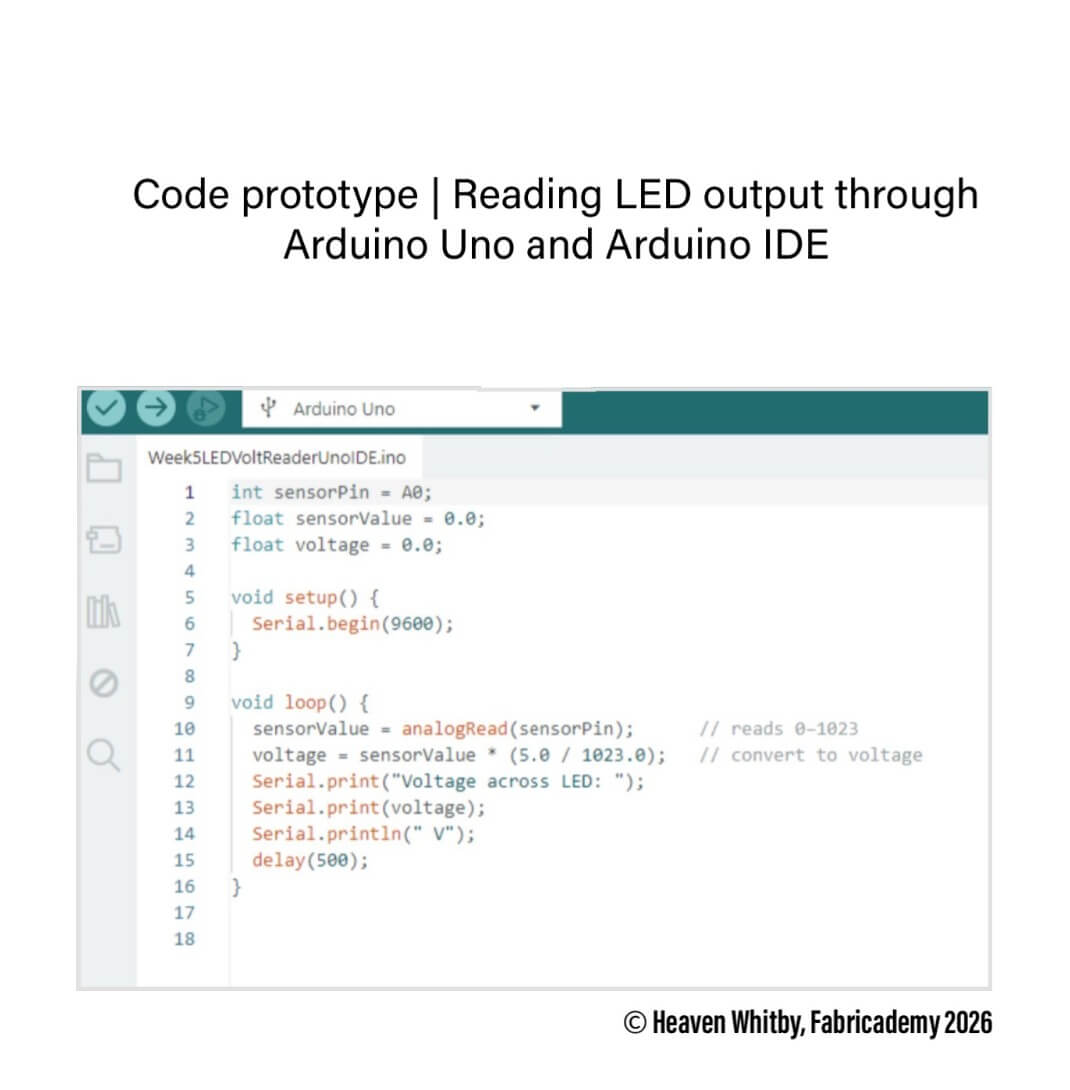
LED voltage being read in the ArduinoIDE
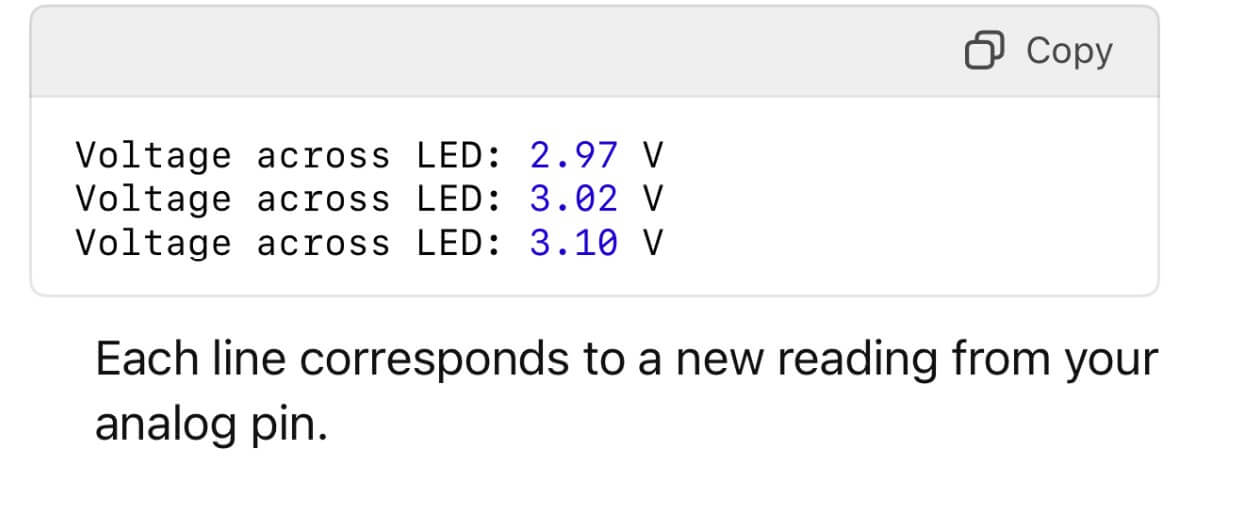
Results
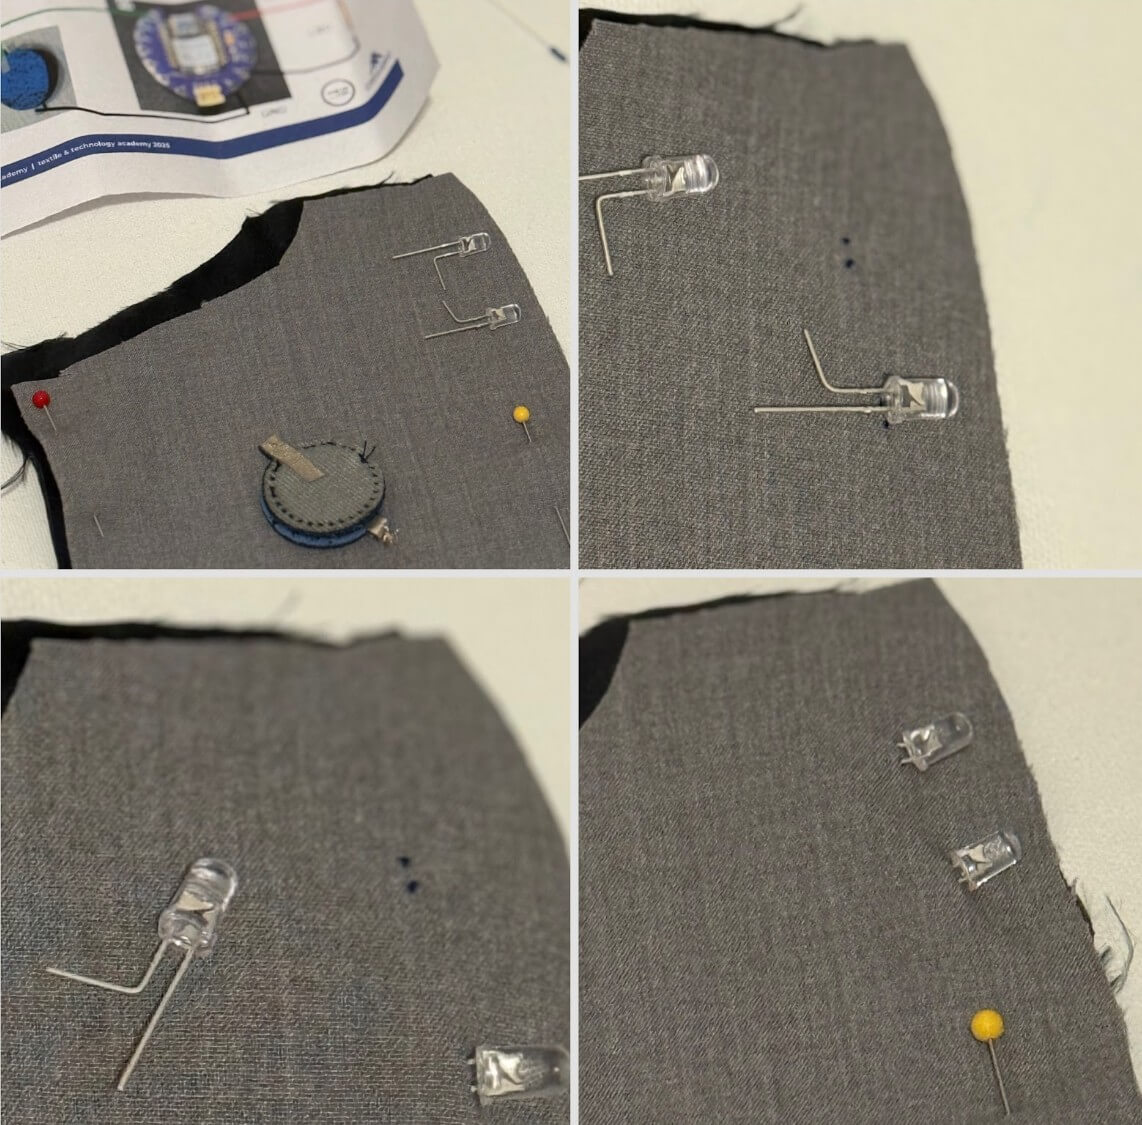
Placing the LEDs
Testing the Battery Voltage
Testing the LED connection to battery