Process
Ideation
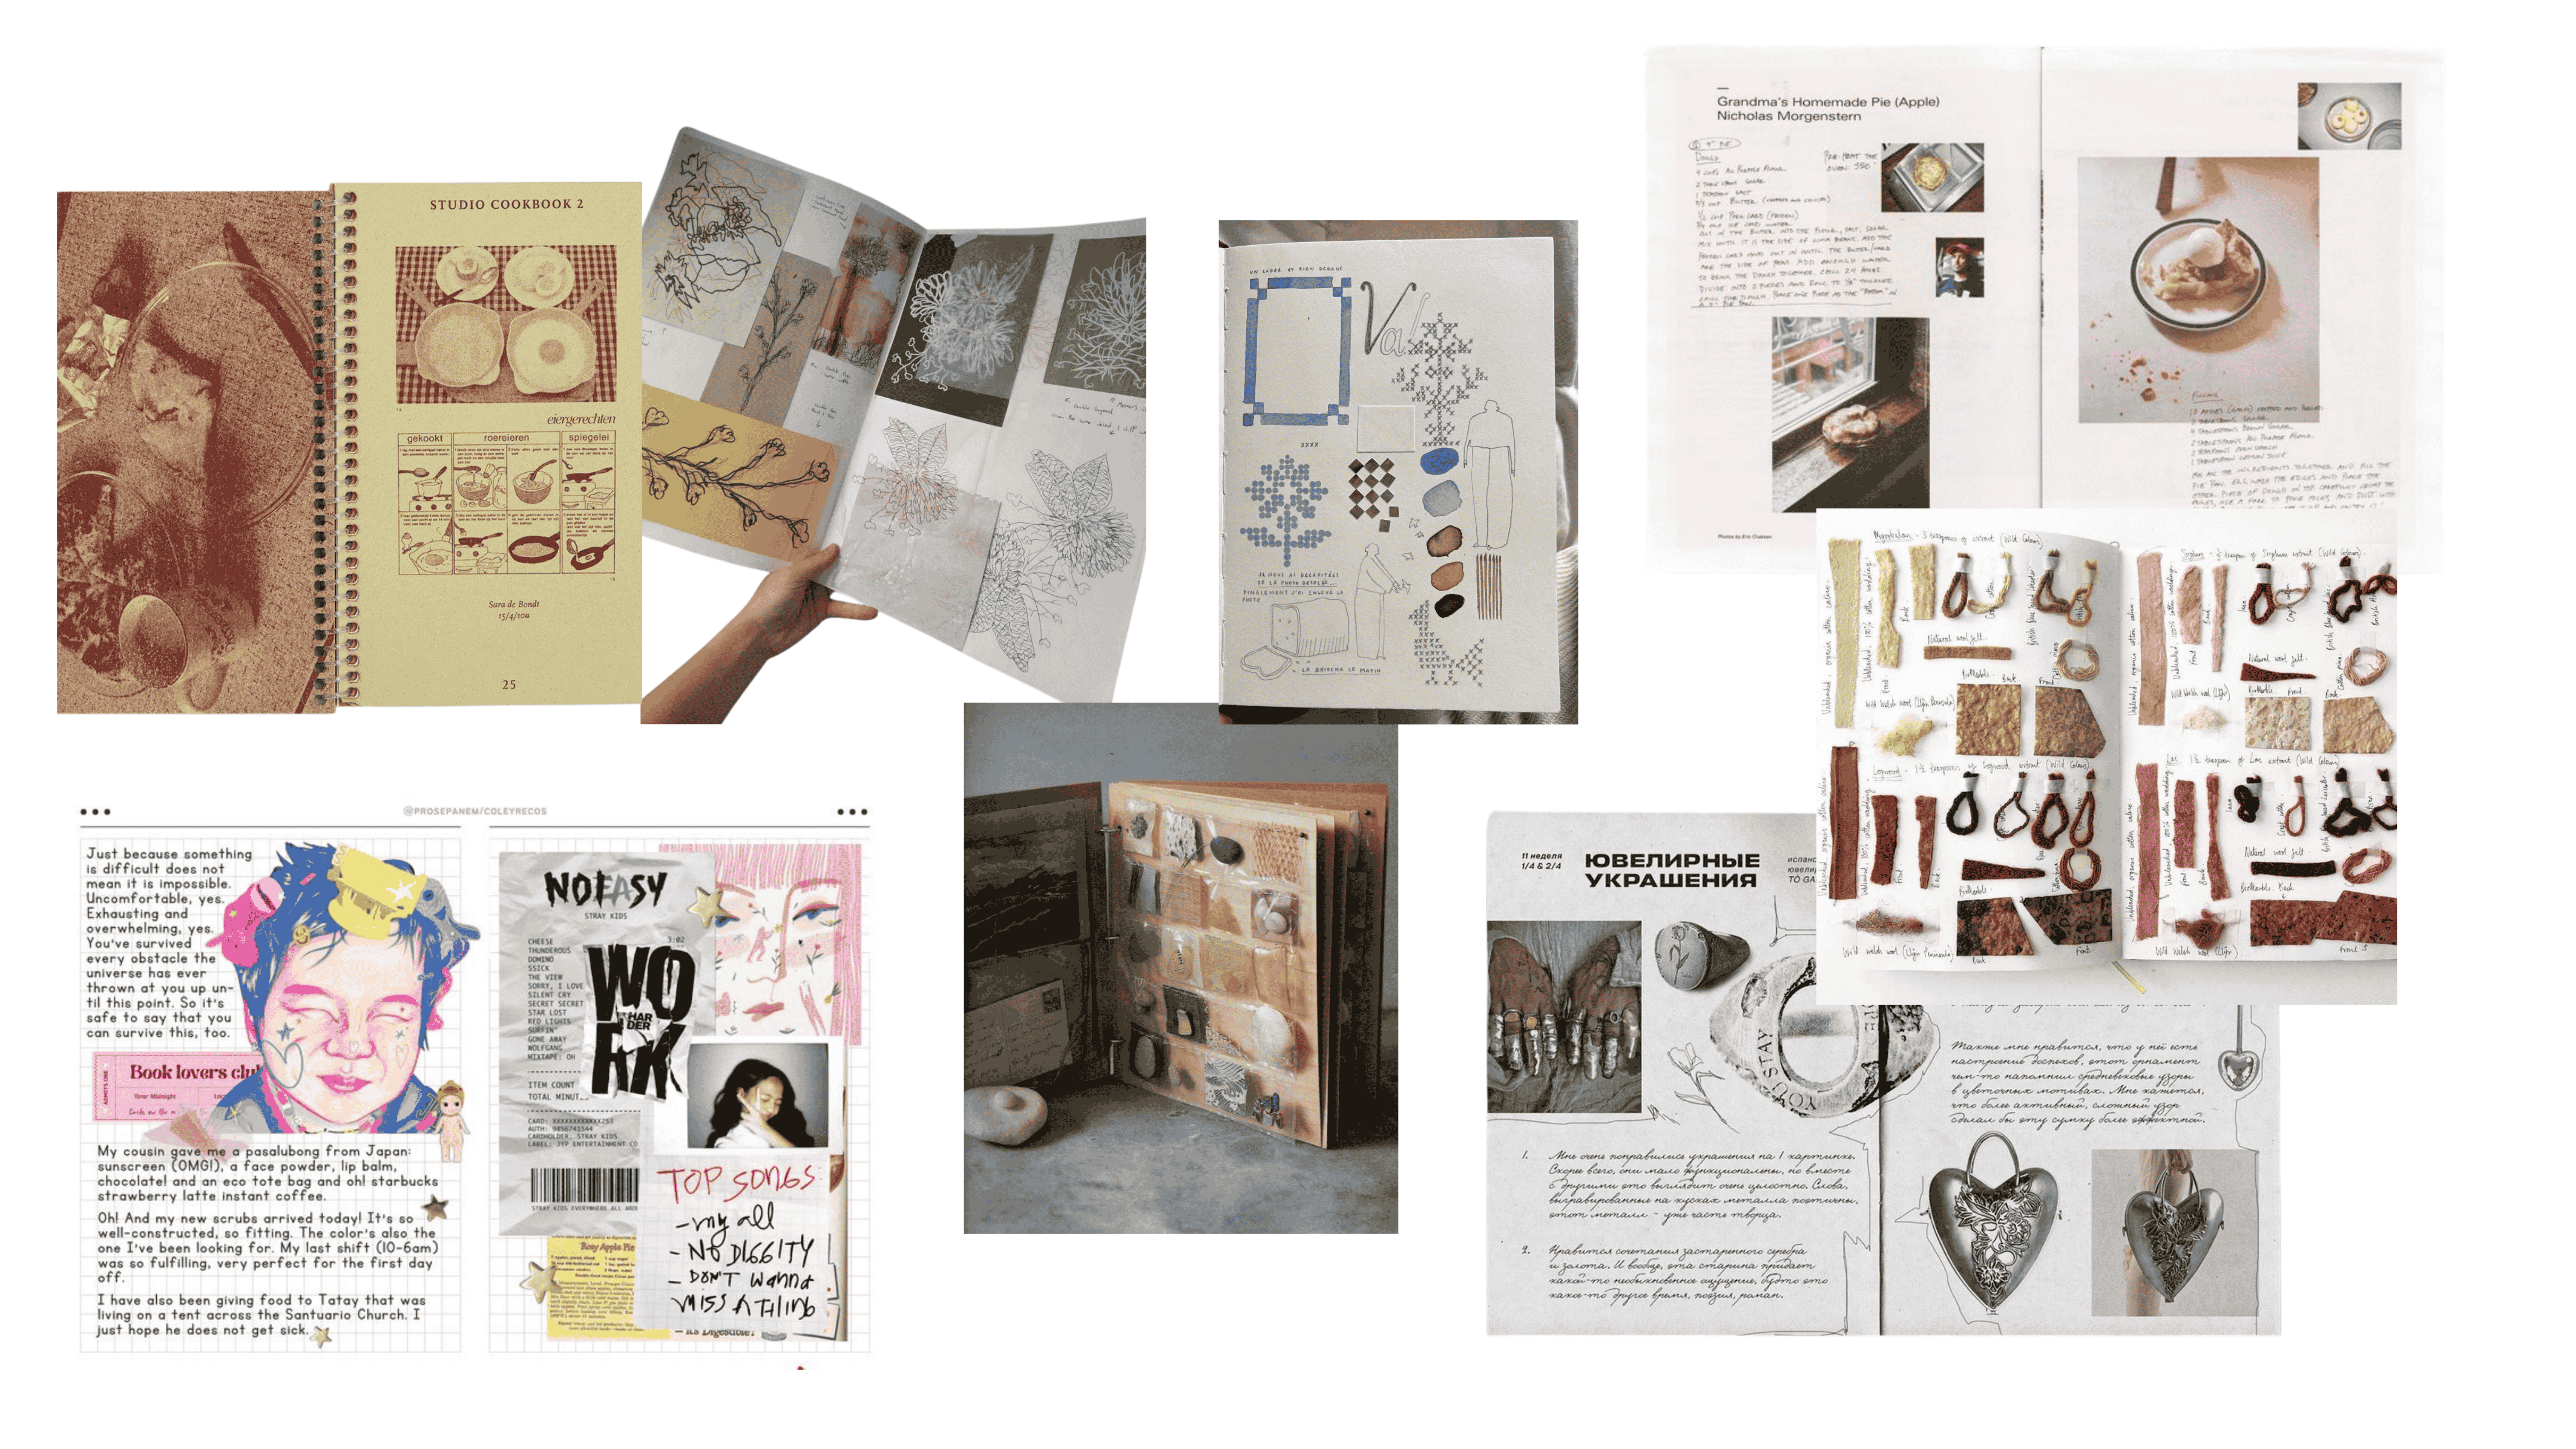
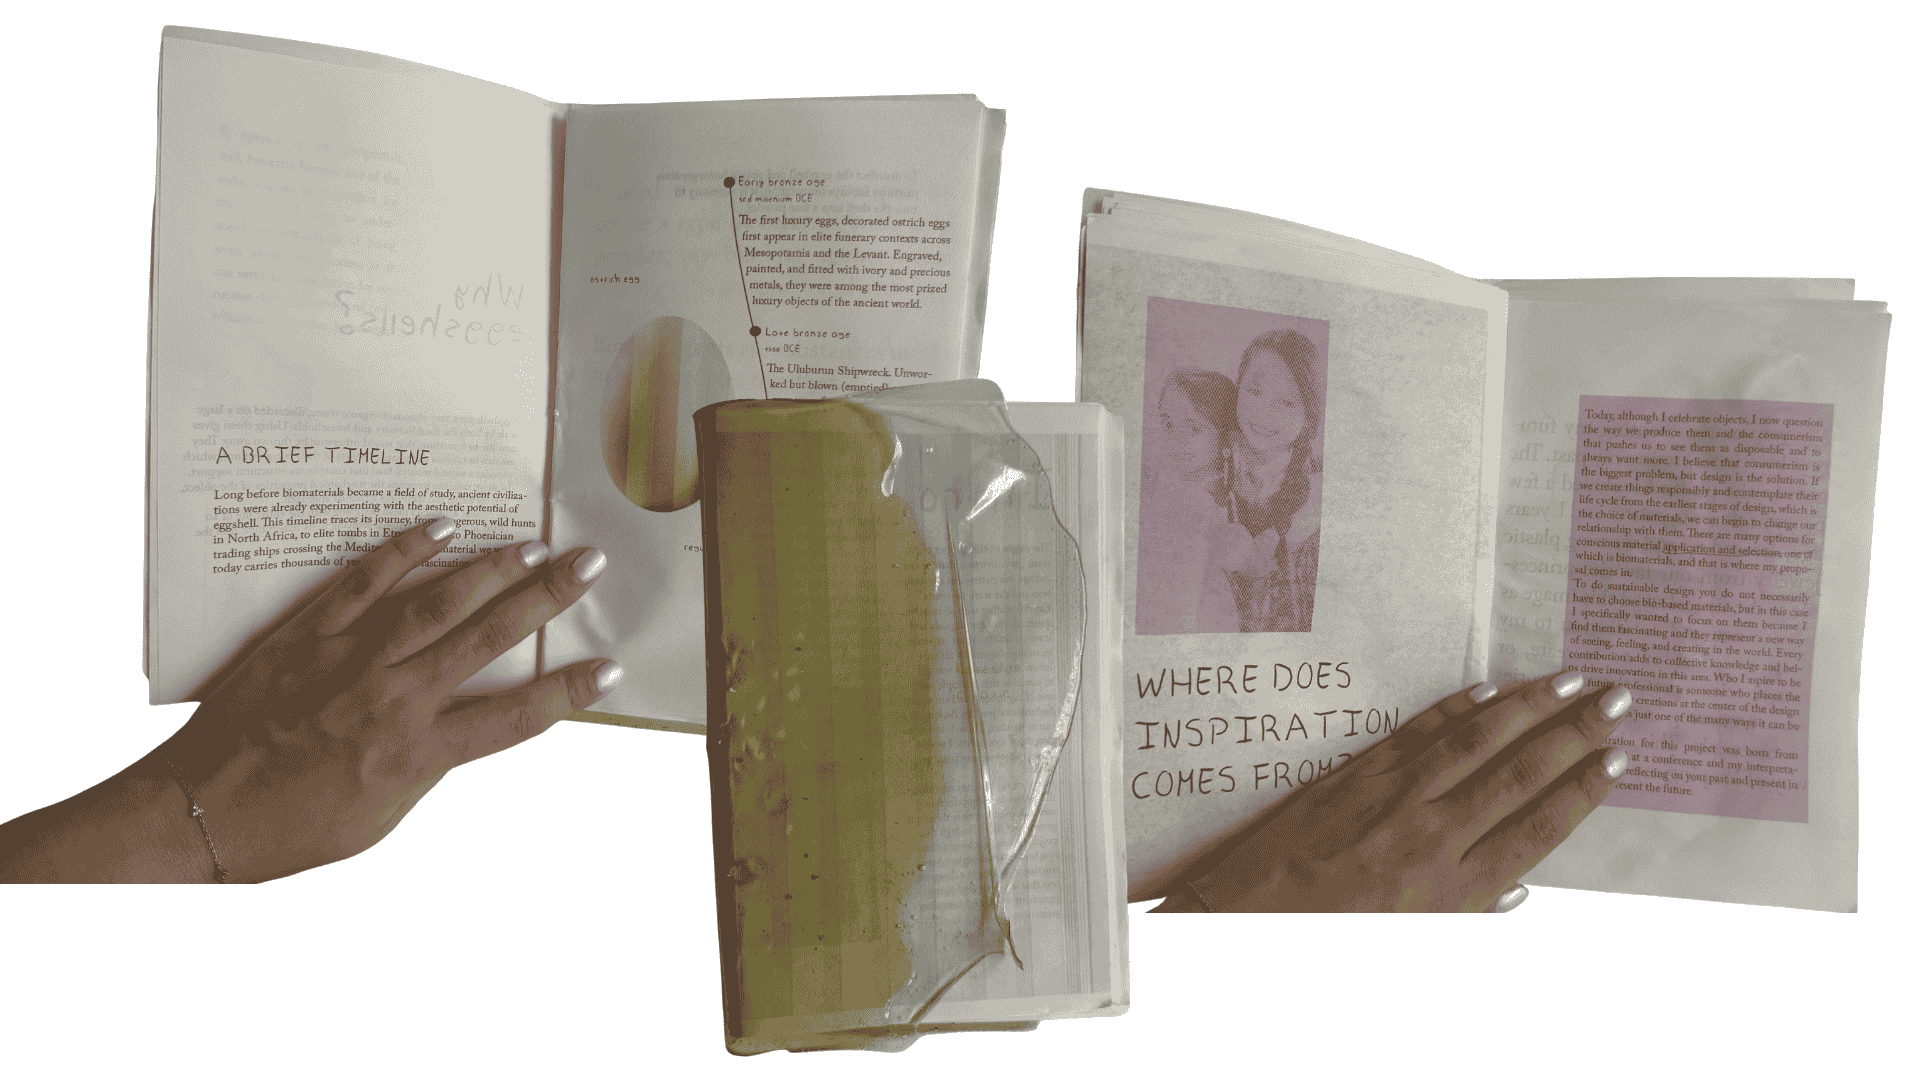
I wanted this book to feel a little like you were reading my diary, full of scattered notes that, by the end, all come together and make sense: an invitation into my mind. While I love the chaos and cross-outs of a diary because they feel personal, it wouldn't have been very clear to the reader, so I decided to give it an editorial style, like a zine (a small, self-published booklet, usually made independently and with a very personal or niche focus), so it would keep my personal style while still presenting the information in an organized way.
Images via Pinterest
Printing this diary was important to me, a way of making it tangible in some sense. I love the feeling of printed books, so I decided that adding interactive physical elements would bring a new layer of experience to the reader. For this, I drew a lot of inspiration from Kleis II, a work by Alessia Pasquini, you can see more details in my concept section.
Design & Fabrication

The way the book is narrated is entirely based on the order of the notes in my real diary, arranged more or less chronologically, following how the project developed. So it starts with material experimentation, recipes, observations, and an explanation of the jewelry collection concept and its inspiration, then moves into the modeling and printing of the molds, and finally the end result.
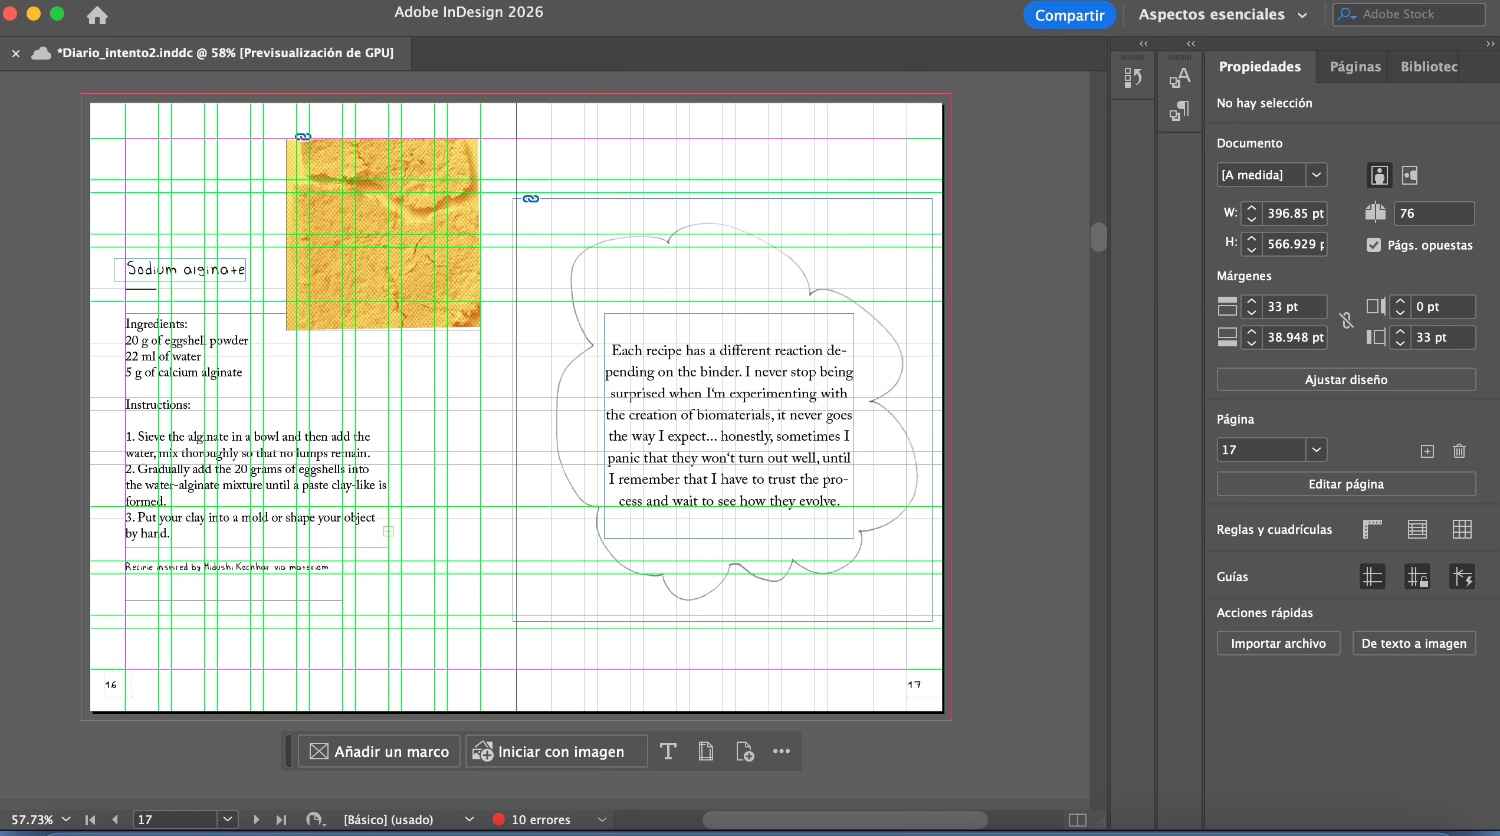
So I didn't start the book until all my notes were finished. Once they were done, I used InDesign, Adobe's editorial design software. It has its own level of complexity. I had never used it before, but since this course had already gotten me used to doing things I'd never done, I didn't hesitate to dive in. There's really nothing you can't learn on YouTube and TikTok. I had to learn the basics of the grid system to organize text in a way that felt harmonious, as well as all the keyboard shortcuts to get anything done. In my opinion it's definitely not as intuitive as Canva, but once you get the hang of it, I think it's worth it, the results are much cleaner.
By Samantha Sánchez (2026)
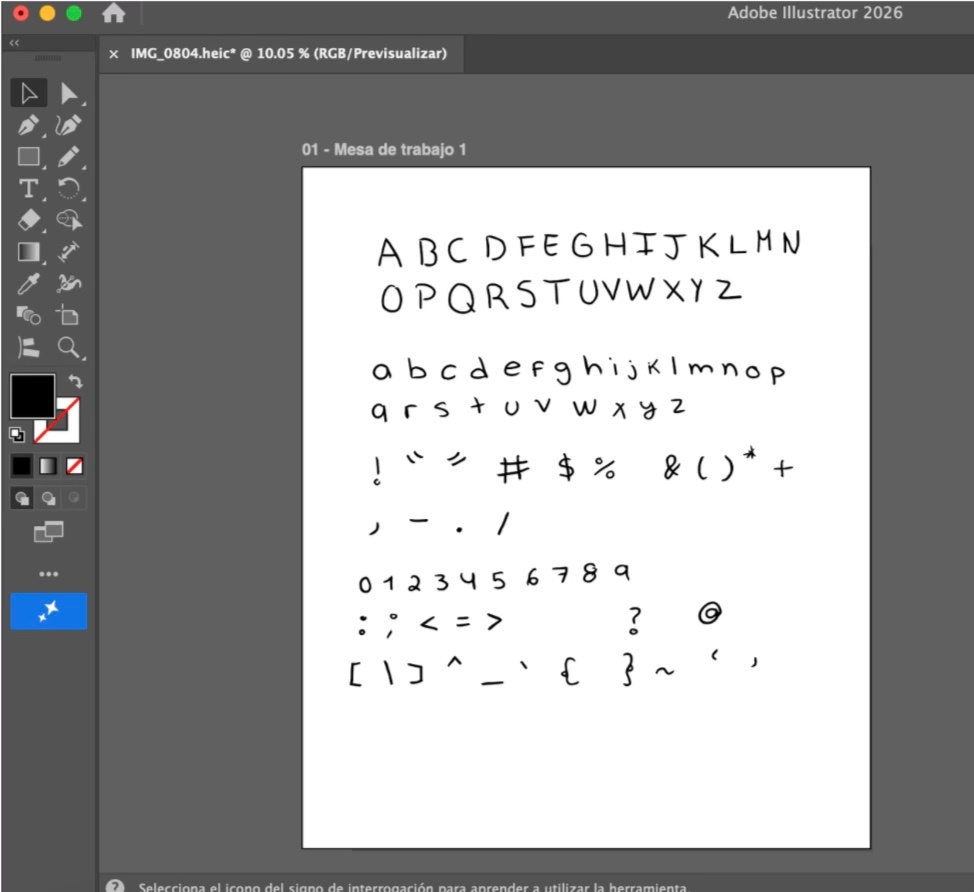
To make my book more personal, I turned my own handwriting into a font. I did this through a plugin for Adobe Illustrator called Fontself, it's a paid tool but a one-time purchase, and there's a student discount available. First, I downloaded and installed Fontself, then I handwrote all the characters needed for a complete typeface (letters, numbers, special characters), took a photo of them, and traced my letters in Illustrator. I arranged everything in the program, downloaded the .otf file, and that was it. It's compatible with all Adobe programs, and if you upload your .otf file, you can also use your font in Canva!
By Samantha Sánchez (2026)
Fontself tutorial:
To print a book there were two ways: one was to self-print and bind it (like a zine!), either with stitching or staples. Setting up a file for self-printing in InDesign its tricky, but I'm attaching a video that is very helpful.
@thedesignerfatma Replying to @Io How to print booklet in Adobe Indesign for staple binding #adobe #adobeindesign #printdesign #tutorial #graphicdesign ♬ More of My Time (Lofi) - Muspace Lofi
The second option is to export the PDF and send it to a print shop that specializes in this type of work, they take care of arranging the pages and also offer more cover options (soft and hard cover) as well as binding.
Note: For the printing of my book, I took into account that the final page count had to be a multiple of 4 in order to achieve a correct print.
Prototypes
Finding the aesthetic for my book took me a bit of work. In this first prototype, I wanted to pack the pages with information and images, the colors I chose were bold and not very cohesive, and I also wanted to use my custom font in every text box.

By Samantha Sánchez (2026)
I did a test print at home to make sure the page order was correct and to see if I liked the size I chose (A5). I also experimented with the possibility of making a cover out of bioplastic.
By Samantha Sánchez (2026)
Mentoring notes
Midterm presentation notes:
Troy: link
Cecilia:Try to embody teh different perspectives in your observations about the raw materials, if story telling is important in note fields - bring together the perspectives - find out funny facts about the ingredients. as an example - all the types of eggs on planet earth? their colors and sizes? pinterest image who uses egg shells? why? include QR codes - you can add small videos, images etc everything that doesnt fit in teh book If the material is leading for the process - tell the story of the material through your eyes, as you discover it.
Claudia:Is the journal going be digitally available as well? I like the idea of the journal that is connected with the tangible outcomes. Work on the narrative and how these elements are connected together. // Check out the project of alessia who also work on a book layout for her trendbook Kleis δύο, my materials research told through trends - Alessia Pasquini // For who are you making this project?
Louise: Thank you for your presentation Samantha, regarding the eggshells you can also check the work of Fabricademy alumna Alice Sowa as she has been working with moulding eggshells bioresin. I am wondering if you could embed voice recordings as well to make the journal more interactive?
Carolina:Hi Samanha, some minor suggestion - on the first table, you have calcium algin(’), do you mean sodium alginate? You should put the references to your recipes in the table caption. can you ake a sheme of the entirye process? It would look great. I really like the drawing and personal typography. Good work!
Martina:I really enjoyed your storytelling, the final picture with your sister is a concrete example of a real life moment that can be recreated through innovation. Congrats!