BioChromes
1. Objective
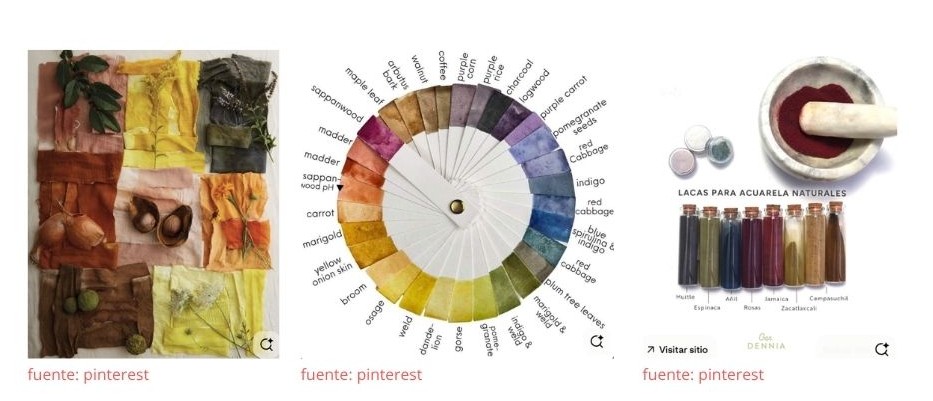
The main objective of this week is to dye cellulose fibers and protein fibers with various natural pigments. Additionally, three types of tests were carried out using three different mordants. The results will be documented in the following sections.
2. References, research & inspiration
The history of natural dyes dates back to 4000 BC in Babylon, where they dyed wool clothing. Even before 3000 BC, natural dyeing work was recorded in China using Rubia tinctoria, from which red dye is extracted. By 2500 BC, India had already mastered dyeing and printing, and clothing dyed with Indigofera tinctoria—the plant that produces blue dye—was found in Egypt. Around 2000 BC, Egyptian alchemists were already combining metallic salts to use as fixatives in order to make their colors more permanent. In Peru, the Chavin civilization, which gave rise to the Inca people, already utilized alpacas, llamas, and vicuñas, and possessed a vast knowledge of the use of natural dyes.
"Lorem ipsum dolor sit amet, consectetur adipiscing elit, sed do eiusmod tempor incididunt ut labore et dolore magna aliqua. Ut enim ad minim veniam, quis nostrud exercitation ullamco laboris nisi ut aliquip ex ea commodo consequat. Duis aute irure dolor in reprehenderit in voluptate velit esse cillum dolore eu fugiat nulla pariatur. Excepteur sint occaecat cupidatat non proident, sunt in culpa qui officia deserunt mollit anim id est laborum. Lorem ipsum dolor sit amet, consectetur adipiscing elit, sed do eiusmod tempor incididunt ut labore et dolore magna aliqua."
Caption for the left image
Caption for the right image
-
Download references Links to online reference files, PDF, booklets
-
or embed your own PDF as:
- Video references: Vimeo (only when not yours)
- Video references: Youtube (only when not yours)
3. Tools
4. Process and workflow
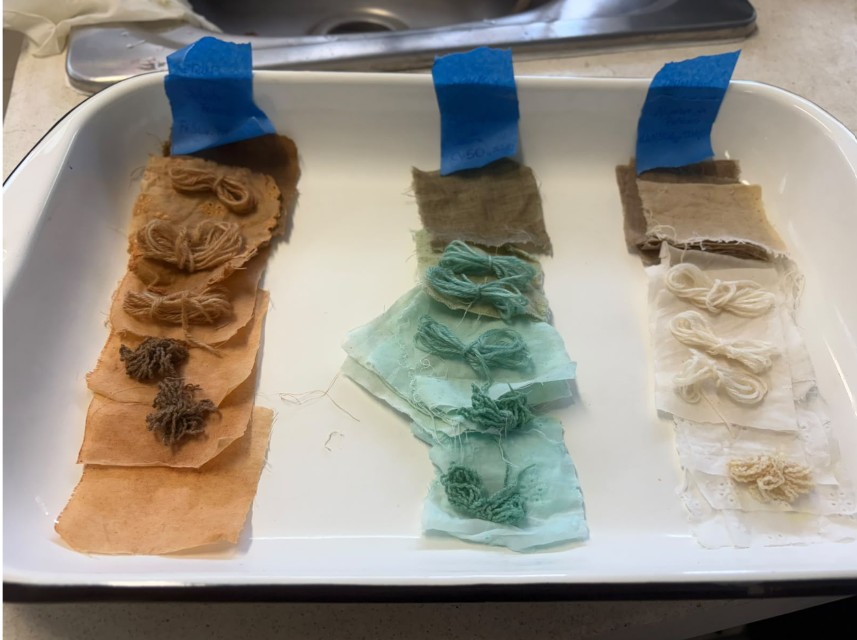
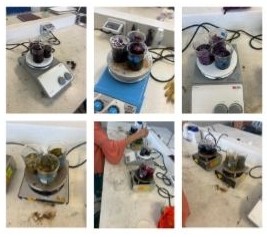
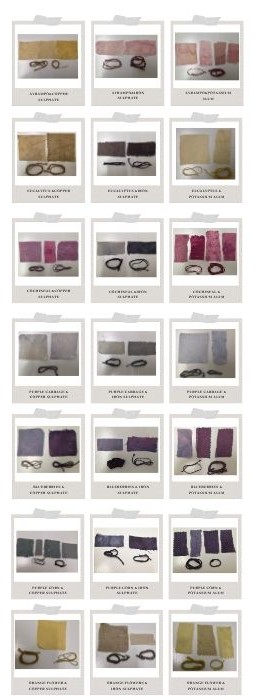
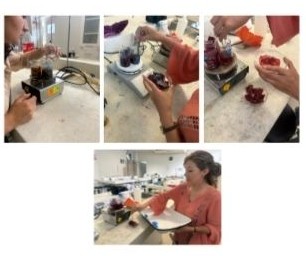
"According to the class guidelines, the ESAN FabLab group began by using the three mordants discussed in class: copper sulfate, ferrous sulfate, and potassium alum. We boiled the protein and cellulose fibers for one hour, and then left them to soak for two days. " "To initiate the process, we divided the mordants into Group 1 (potassium alum), Group 2 (ferrous sulfate), and Group 3 (copper sulfate). Following this, we used nine different types of plants and an insect to dye the fibers, which included: red cabbage, cochineal, molle, yellow flower, orange flowers, purple corn, blueberry, airampo, and bougainvillea."
4.1 Step 1
This model 3 was obtained by.. Lorem ipsum dolor sit amet, consectetur adipiscing elit, sed do eiusmod tempor incididunt ut labore et dolore magna aliqua. (../images/week04/grupos1,2,3.jpg )
4.2 Step 2
The laser cut nesting 2 was created using.. Lorem ipsum dolor sit amet, consectetur adipiscing elit, sed do eiusmod tempor incididunt ut labore et dolore magna aliqua.
4.3 Step 3
...
5. Results
Results & documentation
- Don’t forget to document the outcome including:
- Upload the photos & files on oscircularfashion
- Final result
- Photos from different stages
- Videos of movement or interaction, show how a material moves, something was assembled or the interaction
- Include measurements or a reference object to give a sense of scale
- Describe the (material) properties of what you made
- Comparison between attempts, if you did multiple experiments or generated multiple files before fabricating / deploying. You can use a table as shown in week 4
5.1 Documenting experiments in a table for comparison
- example from the documentation of Petra Garaiová FabTextiles Barcelona 2021-22
| Material name | Fabric composition | Breathability | Moisture-wicking abilities | Heat retention abilities | Stretchability | Washing temperatures |
|---|---|---|---|---|---|---|
| Silk | Animal fibers - silkworm insect | Highly breathable | High | Low | Low | Cool or warm |
- Two ways of showcasing and comparing results with images below
On the left an image of a sample made by xxx with xxx. On the right, an image of a sample made by xxx with xxx and xxx.
6. Weekly reflection & critical thinking
- What did I learn? What did I personally find interesting or surprised me?
- What would I do differently? If something "failed" do I know how else to tackle it now?"
- How does this connect to my final project or my learning trajectory?
- What are implications and possible applications, think also from the ethical or environmental aspect, how it could connect to your practice and project?
NuEval — final step
Go to NuEval and fill in the checklist, when not complete notify your instructor.
7. Recipe files & References
-
Recipe: download my recipe booklet here ↩
-
Recipe: Dye recipe pdf ↩
-
Reference: Author; Title; Source; year ↩