Digital bodies
Week 2
Modeling human
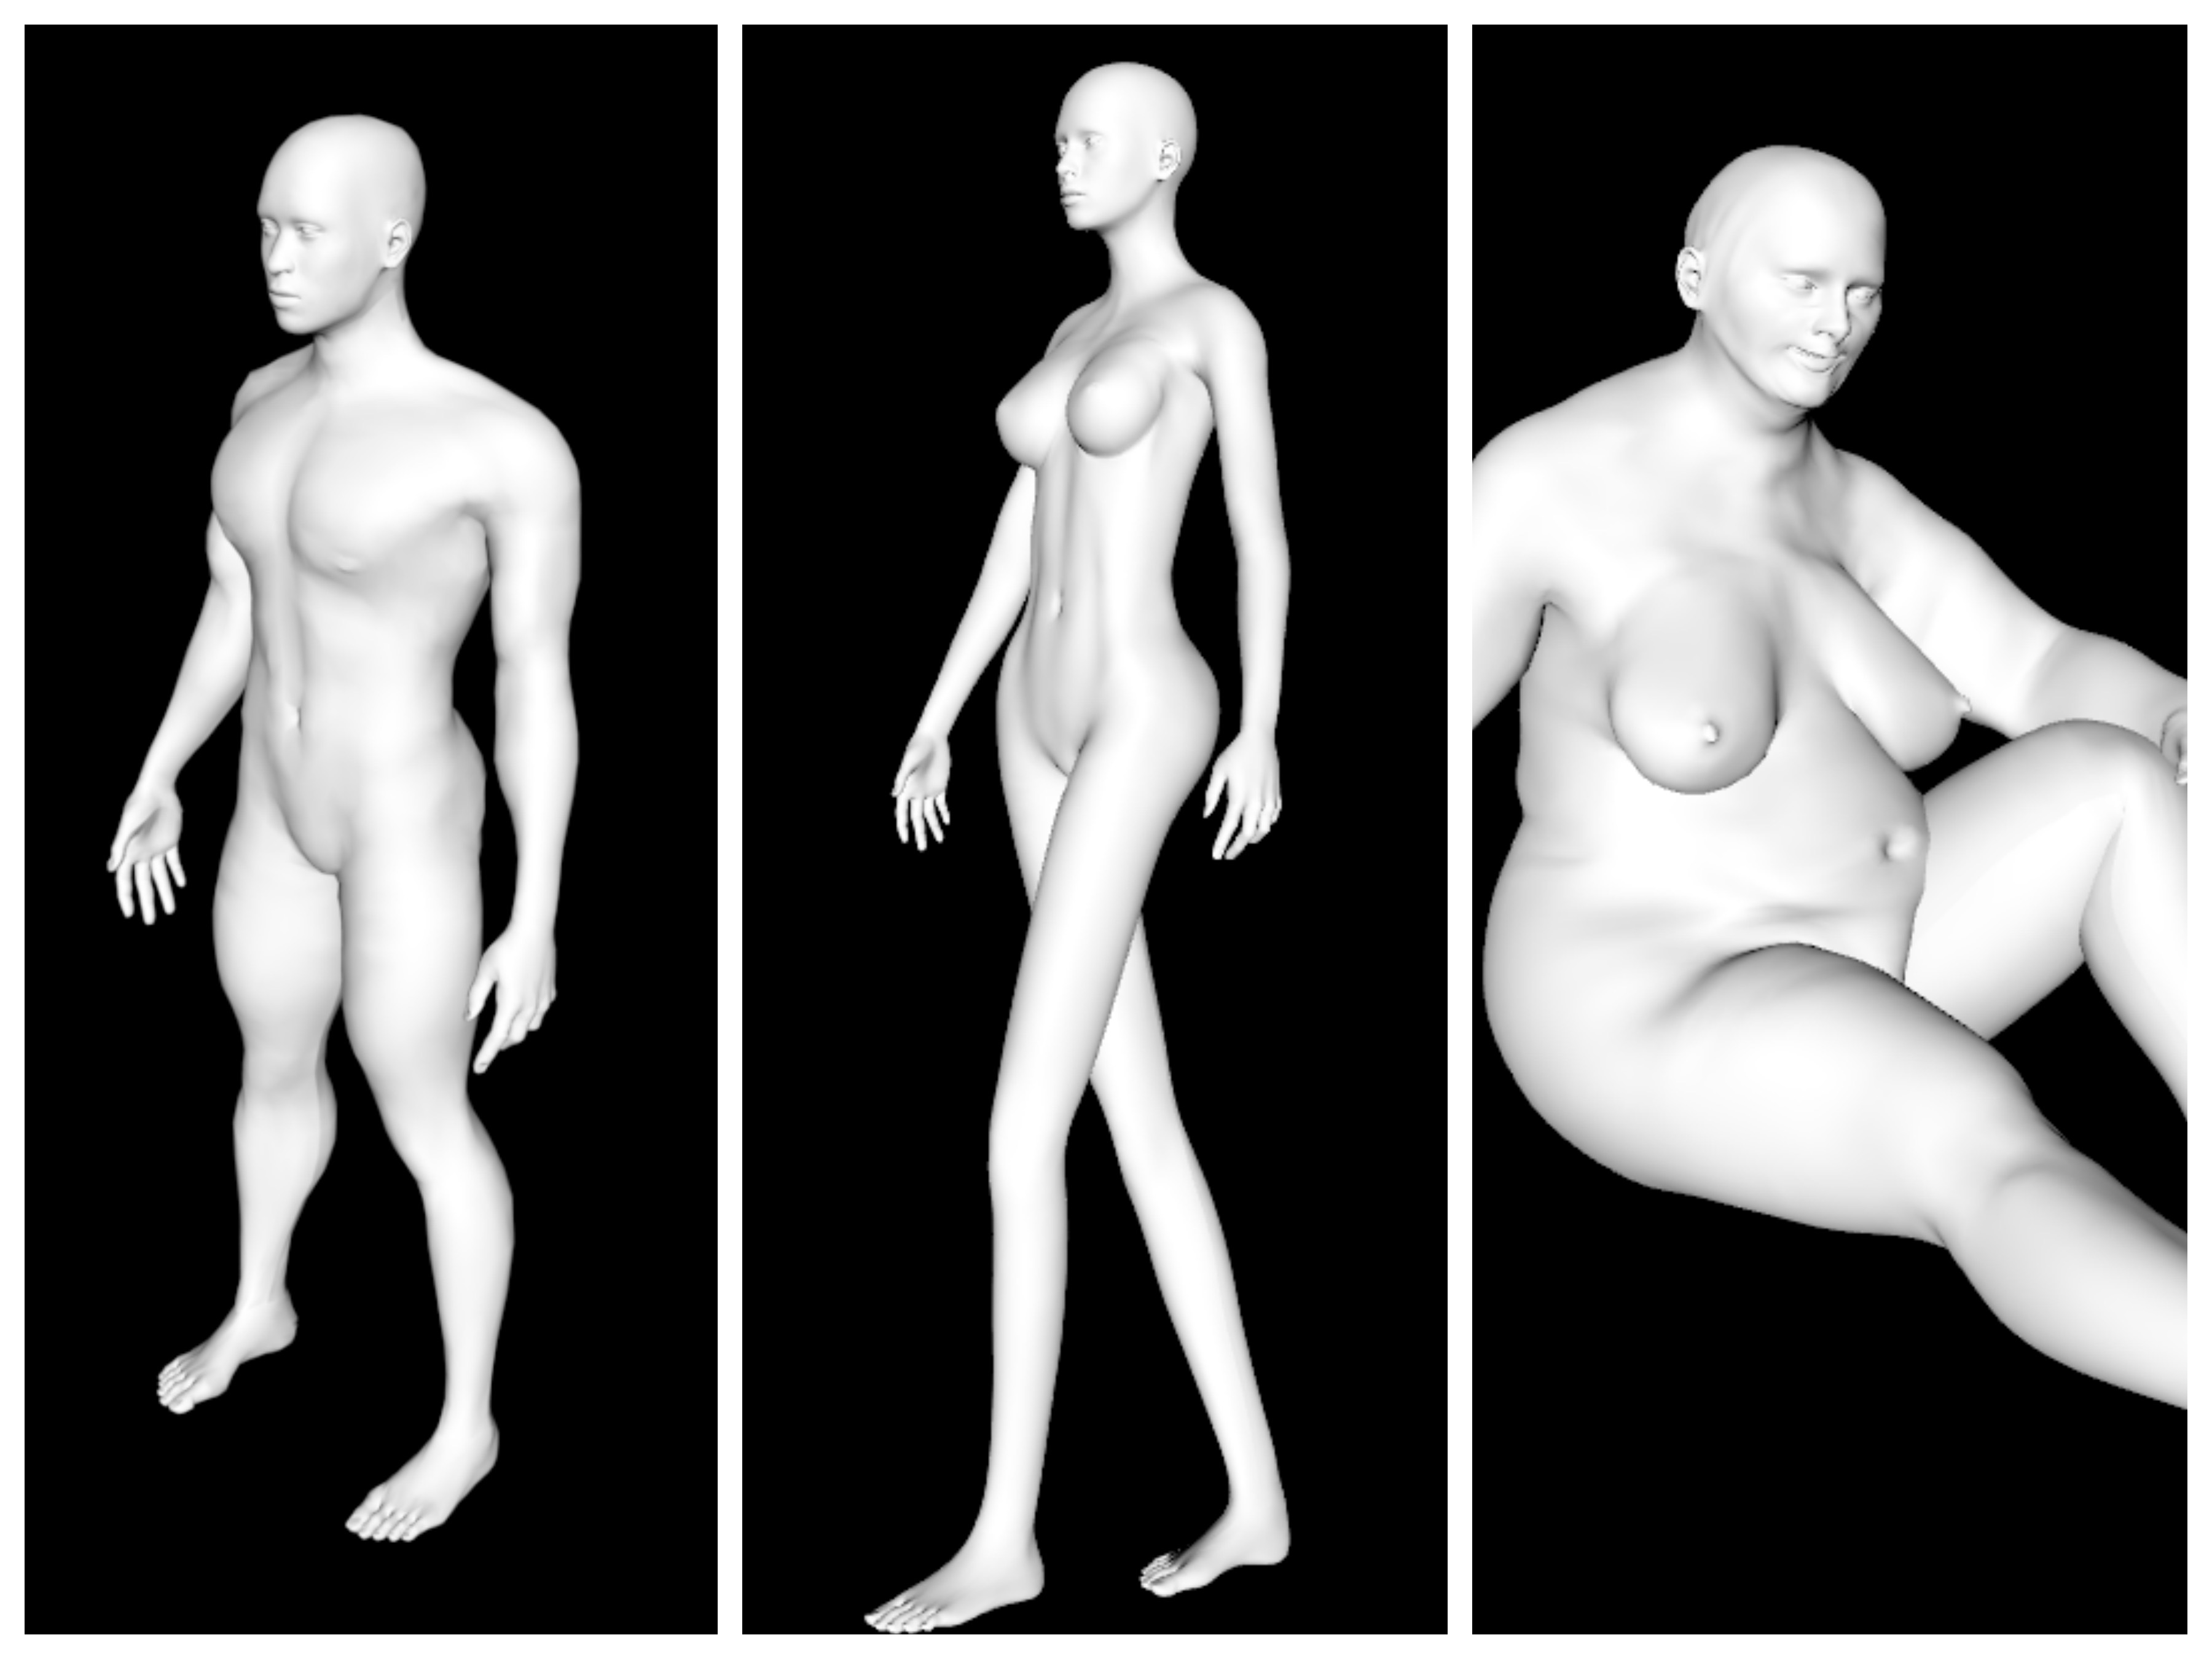
Make human
I have been modeling the human body for many different occasions since Fabricademy 2017. The software MakeHuman is definitely nice and easy. It works very well. For the .stl files generated (that I export with it), it's just a simple task of editing with another software to modify it for the needs that I have. Usually, I like to use Fusion360 for all my CAD work but in this case, the files generated with MakeHuman have too many triangles for Fusion to handle. Meshmixer does the job very well. It's often just a question of cutting legs/head/arms.
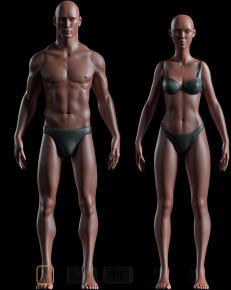
Models bank
There are also many model banks I thought that it'd be nice to look at some of them. Most of them have disappointing free choices but good ones around 20US$. But I found a very nice model on Turbosquid that'd work very well for the purpose.
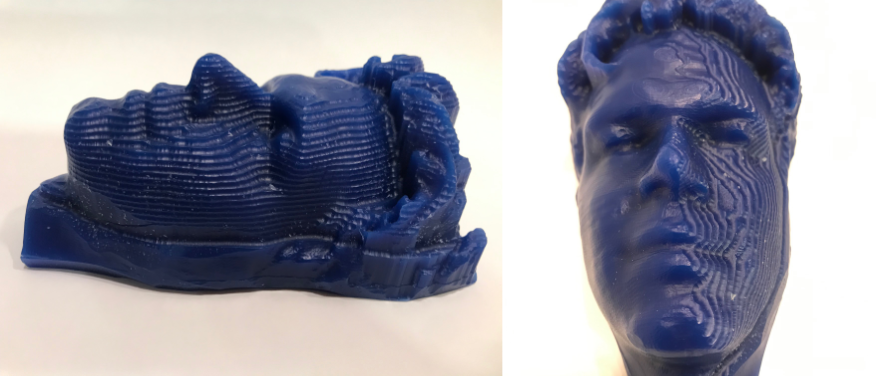
Scanning
At the lab, we use the scan Sense by 3D Systems and have been using it at échoFab too. Overall, it's a nice machine for the price. It prefers a soft light and a contrasting background. It also works perfectly for bodies but medium-size objects but does work well with very small objects.
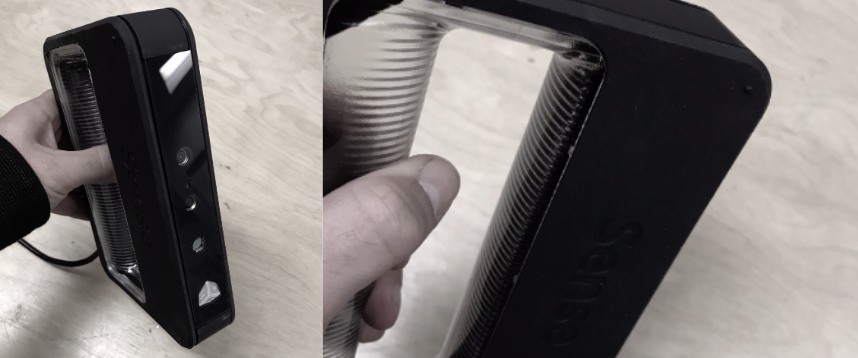
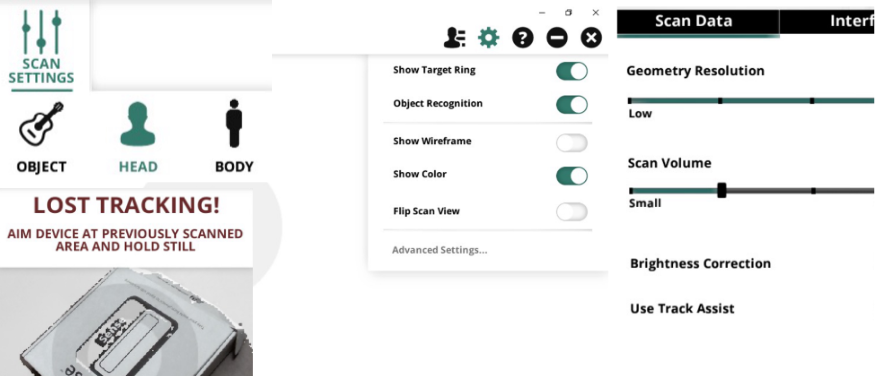
The scan is very easy to use. Be careful to set the right object size in the setting section because the box created by the software will constrain you. Also, it's very easy to lose track so go slowly, very slowly. The more time you pass on parts the better it'll get. For this exercise, I decided to scan a colleague's forearm.
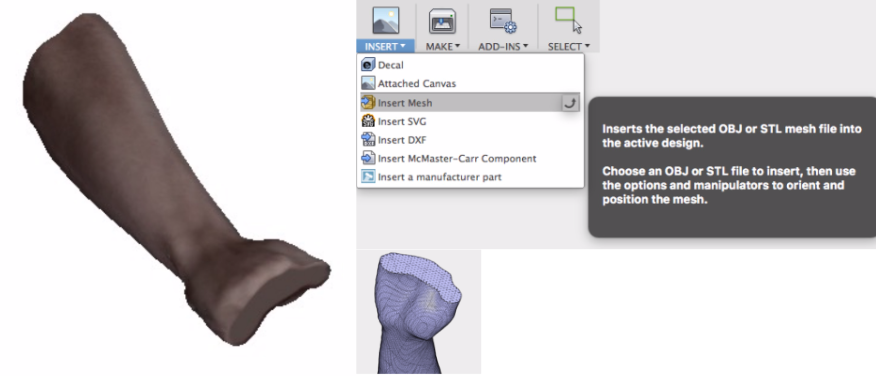
The result was pretty clean. The skin is scanning very well. In the end, I just filled the scanned arm and clean just a little bit with the existing tool.

Finally, I imported it to Fusion360 and followed the same step I'll go in the next section for the mannequin.
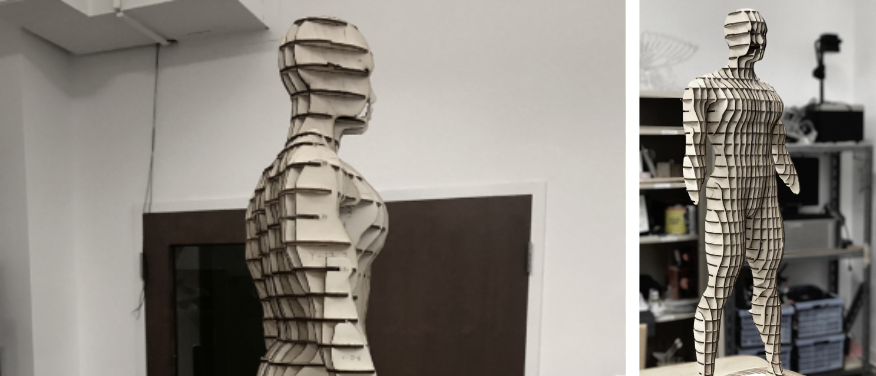
Making a mannequin
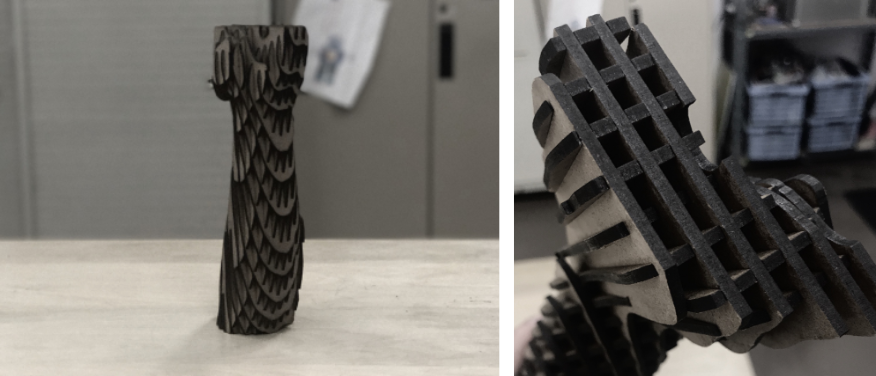
A quarter size manneqin
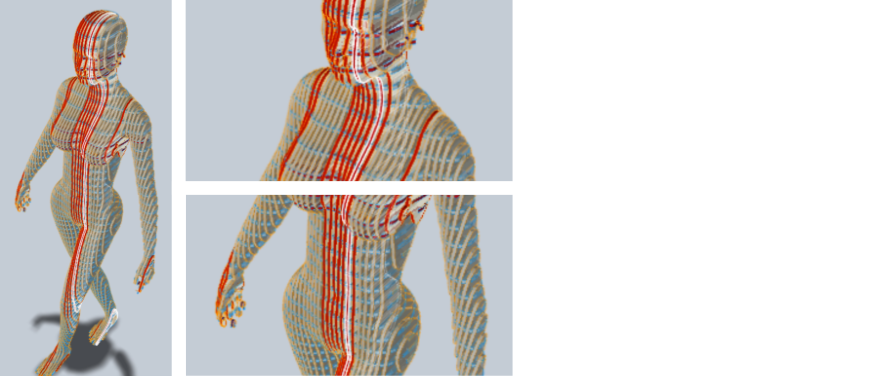
The first step is to upload the model in Fusion360, which is the CAD software I like to use. It's important to upload a .obj file because the .stl will be all scattered. As I said, Fusion has a hard time with mesh files. Then, I used the Slicer for Fusion 360. In the end, I realized that I could just open the file in the plugin without passing by Fusion360.
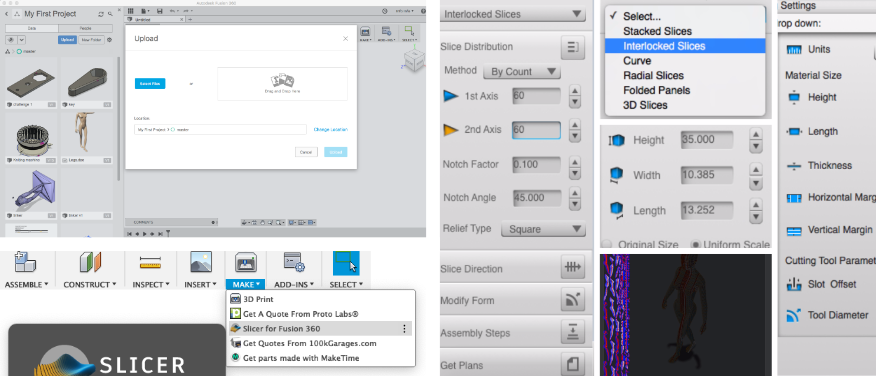
There are two things I need to specify. First, regarding the material canvas, I set it oversize. I do that because I don't like the nesting that the software produces automatedly. There are always too many spaces between the pieces. Also, you'll see that the final model as errors in it. Looking closely at them, it seemed to me that they were not important and very small. So I decided to do it anyway. In brief, don't trust the nesting and the error marks, look at them yourself.
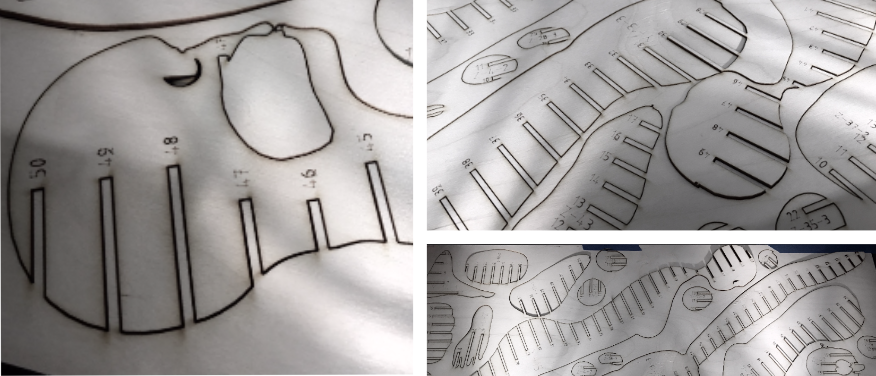
The next step id to laser cut the whole thing. It took me 4 birch wood plates of 17"x29" to fit the project using the Speedy 300 60 watts that I have in the lab. I set the power at 85/100, the speed at .6 / 100 and the frequency at 500. Then, I assembled the pieces. It took a long time but it wasn't difficult. I usually do those structures with cardboard which is much more flexible. Plywood is stronger and easier to assemble. The result is very nice.

Other projects