FABRICADEMY WEEK6 ASSIGNMENT
-Document the concept, 3D model of the piece and document the design process
-Make two samples with 2 out of the 5 techniques to make a prototype of a textile form: fabric formwork with casting crystalization wood-textile resin-textile leather molding or other
-Document the process from CAD to CAMM, document how to use the CNC mill and prototype your textile composite
-Upload your 3D model and CAMM file
-Document the 2 processes you have followed step by side from design to machine and hands-on making, materials you used, your mistakes, failures and achievements
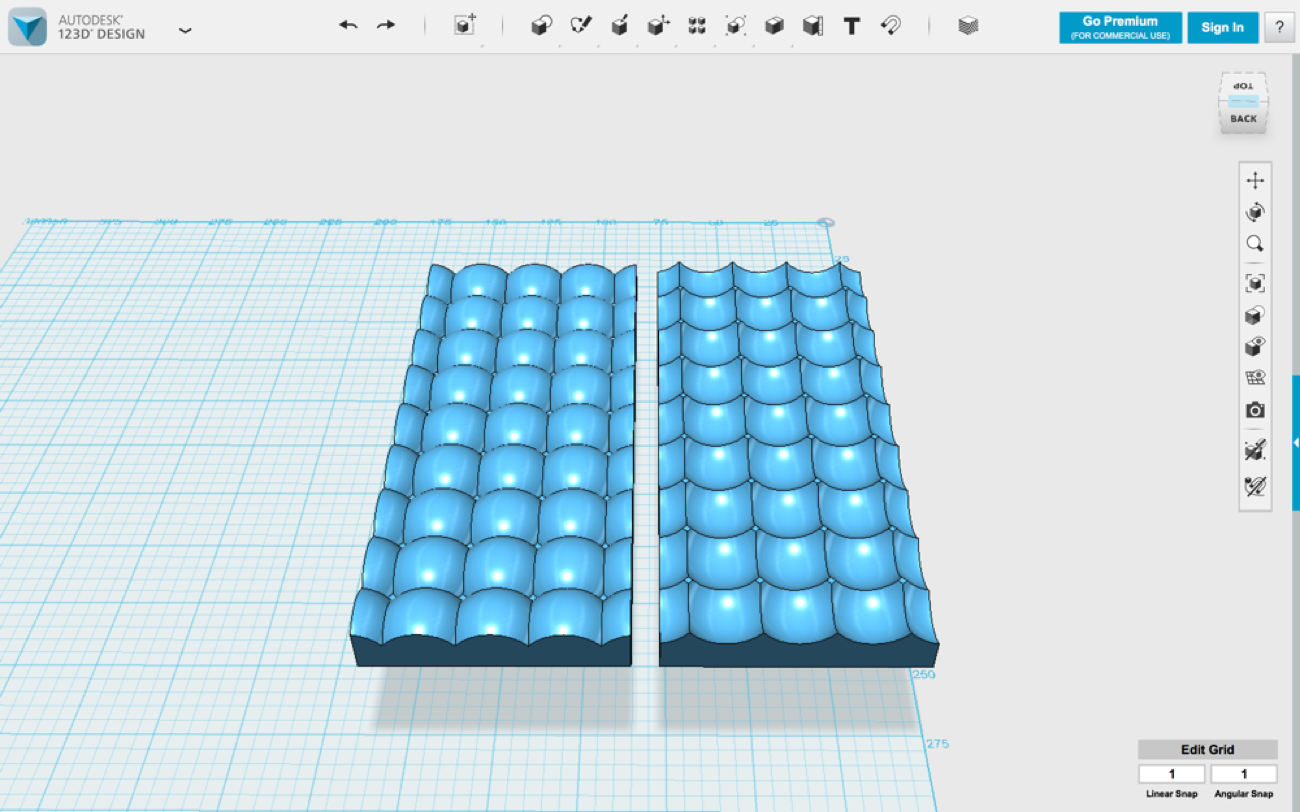
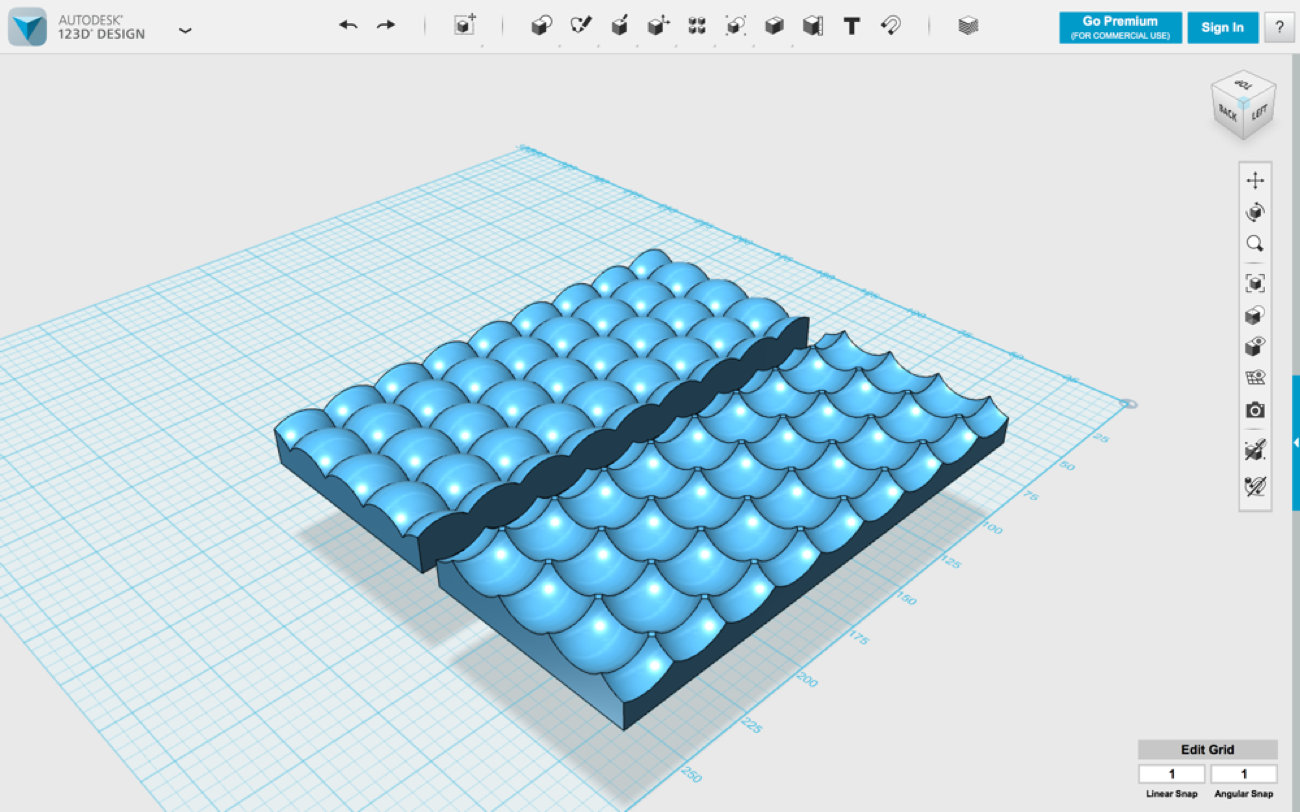
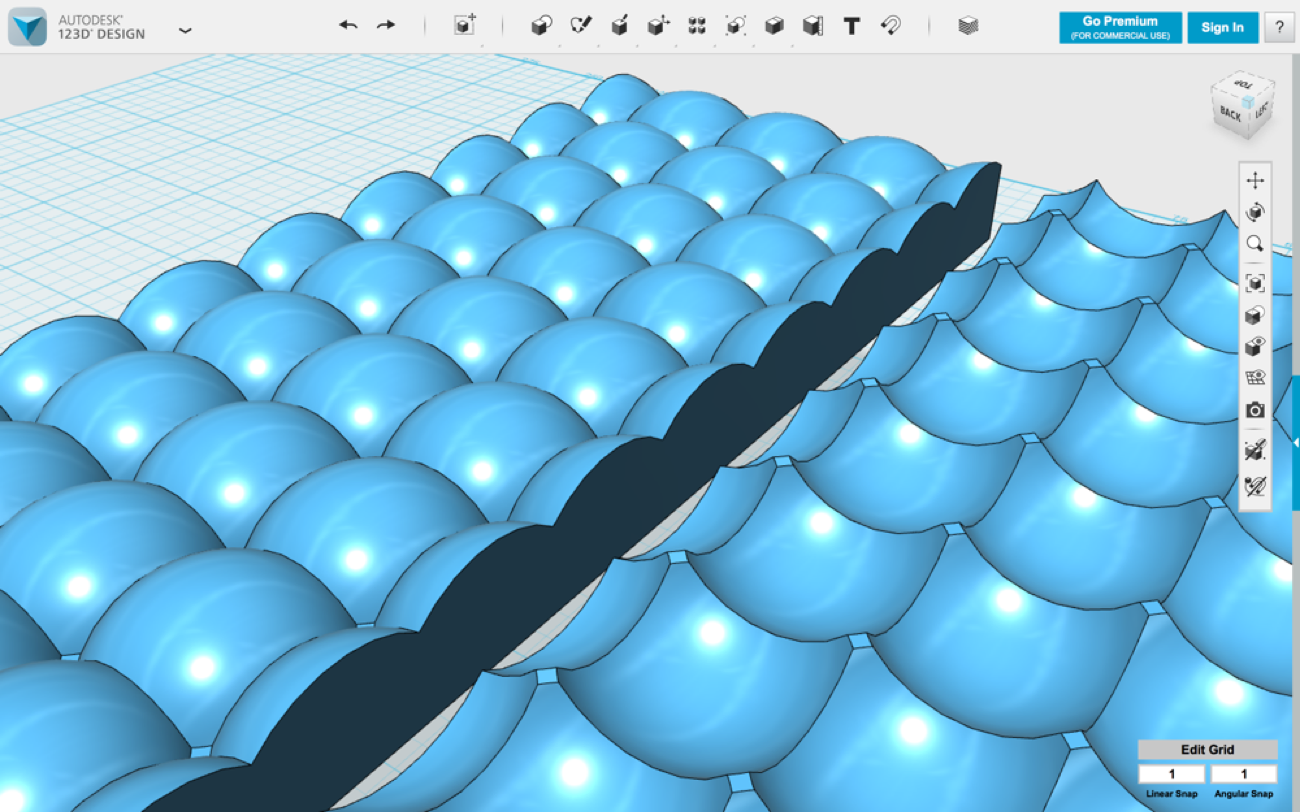
-Use 3D modeling software to simulate your fabric deformation
-For this assignment you will require to build up your tools (container for molding, vacuum bag set up, frames, matrix, recipients) and process for your workflow.
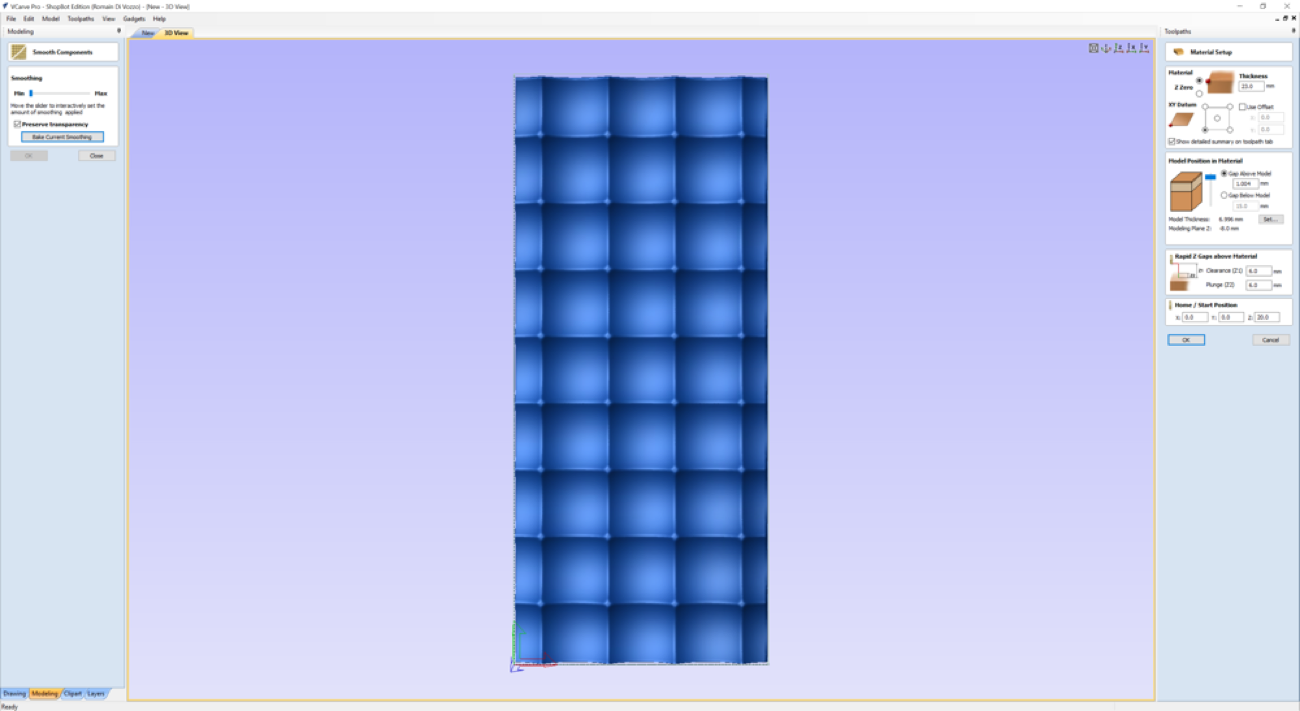
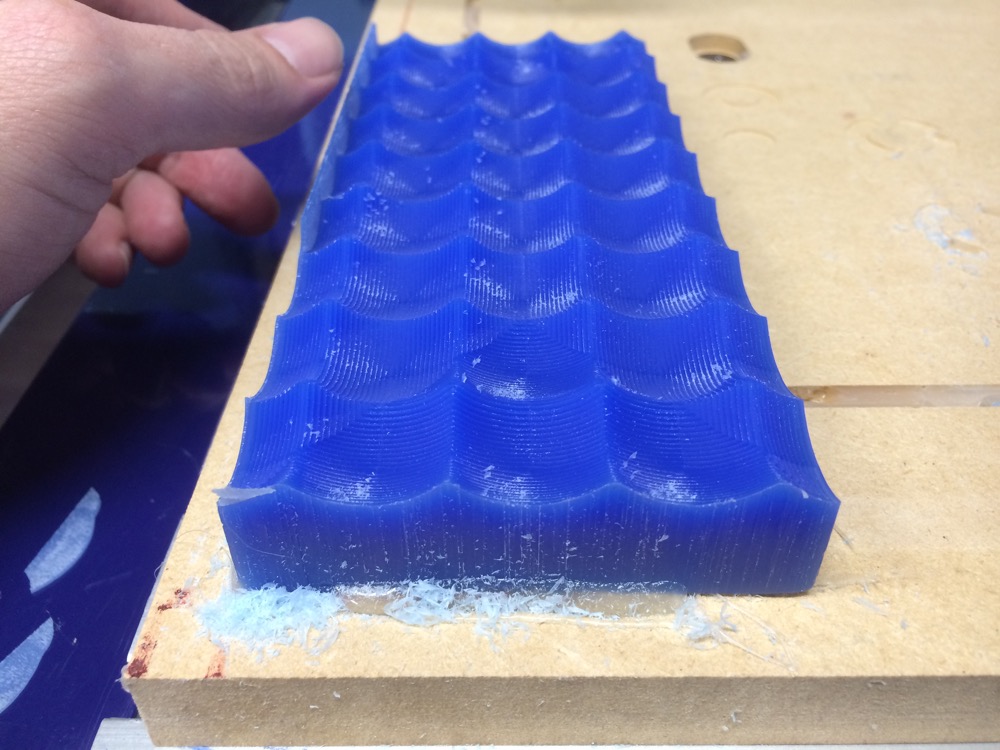
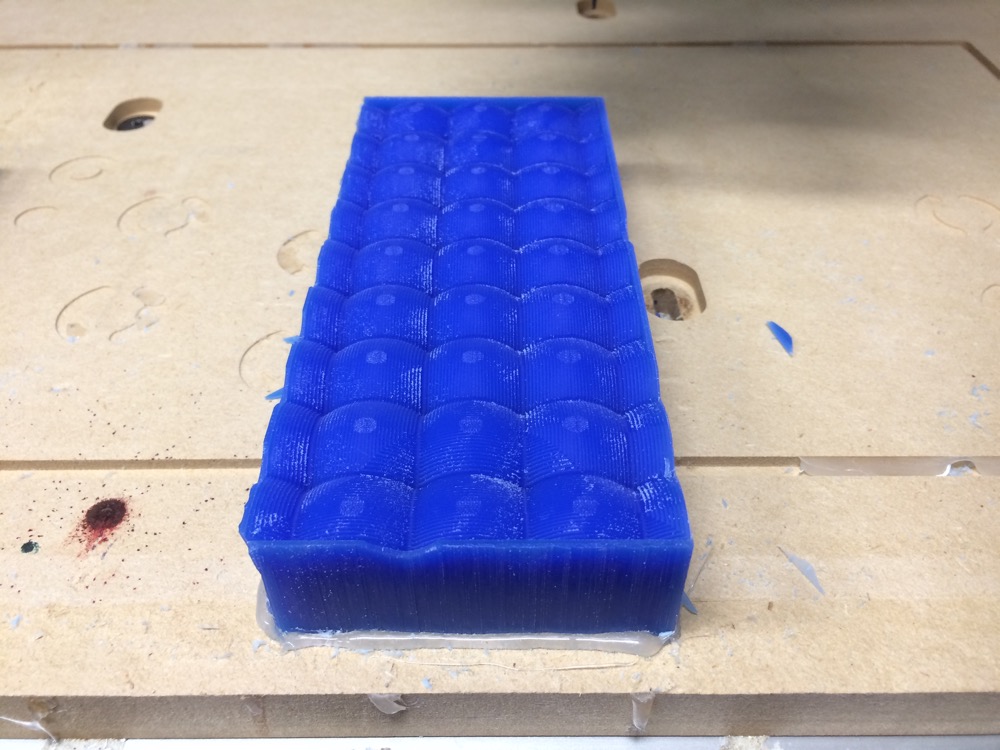
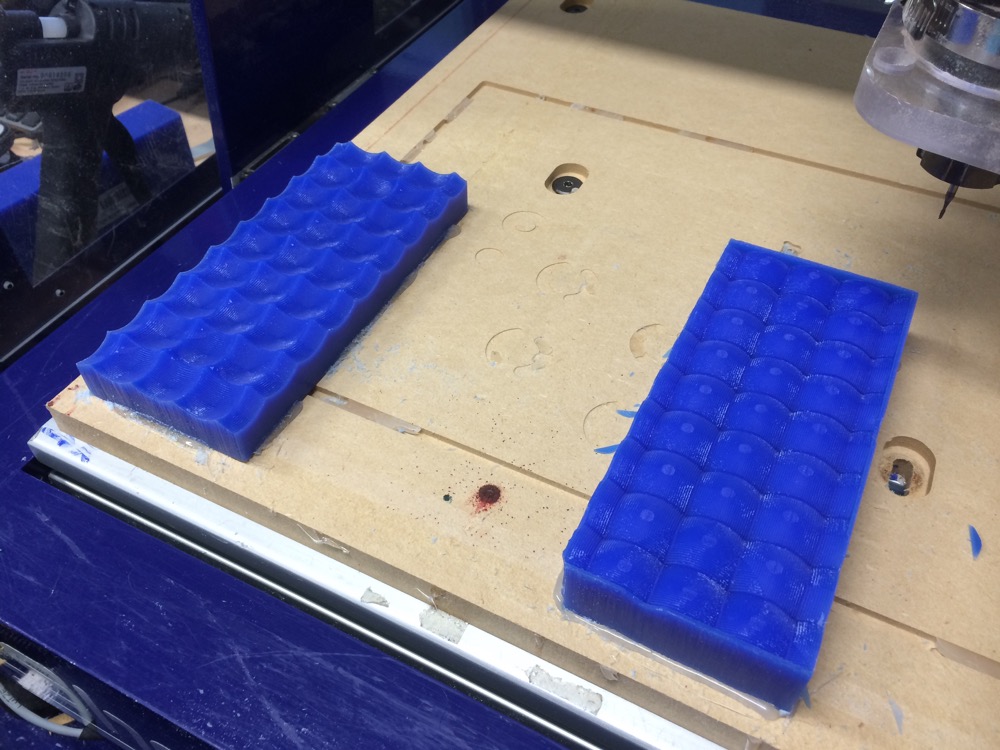
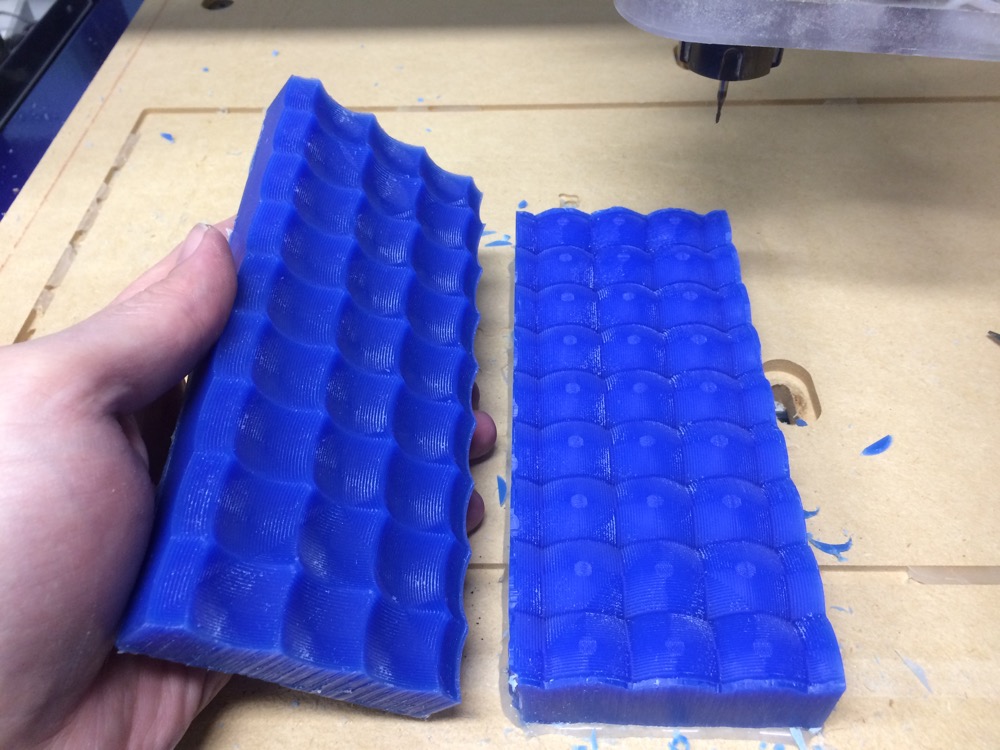
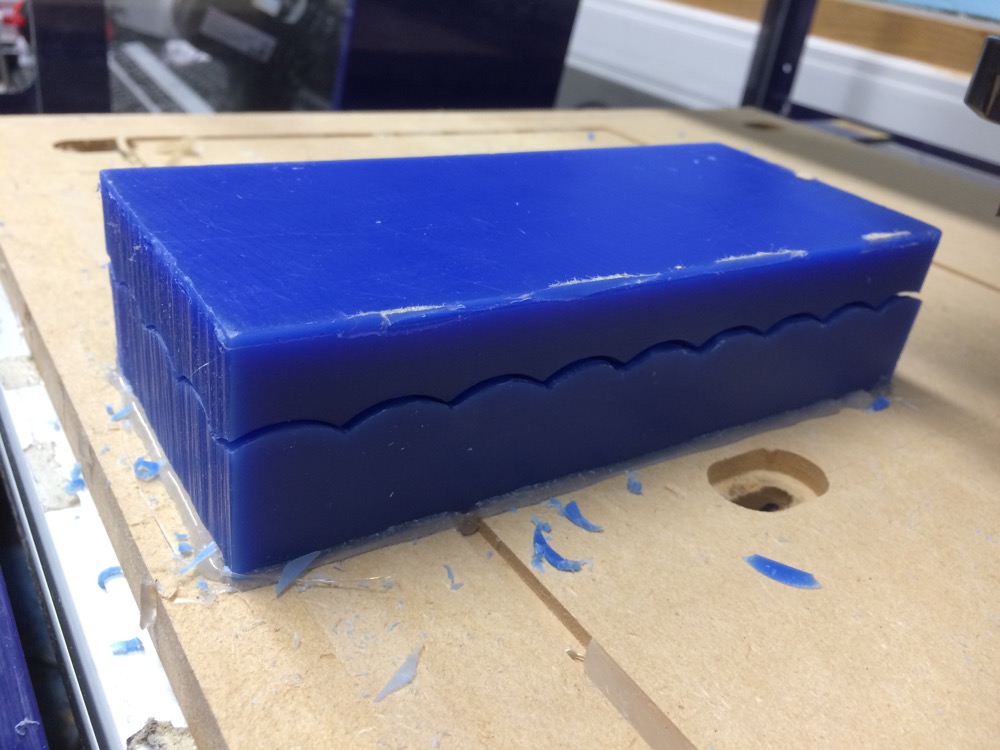
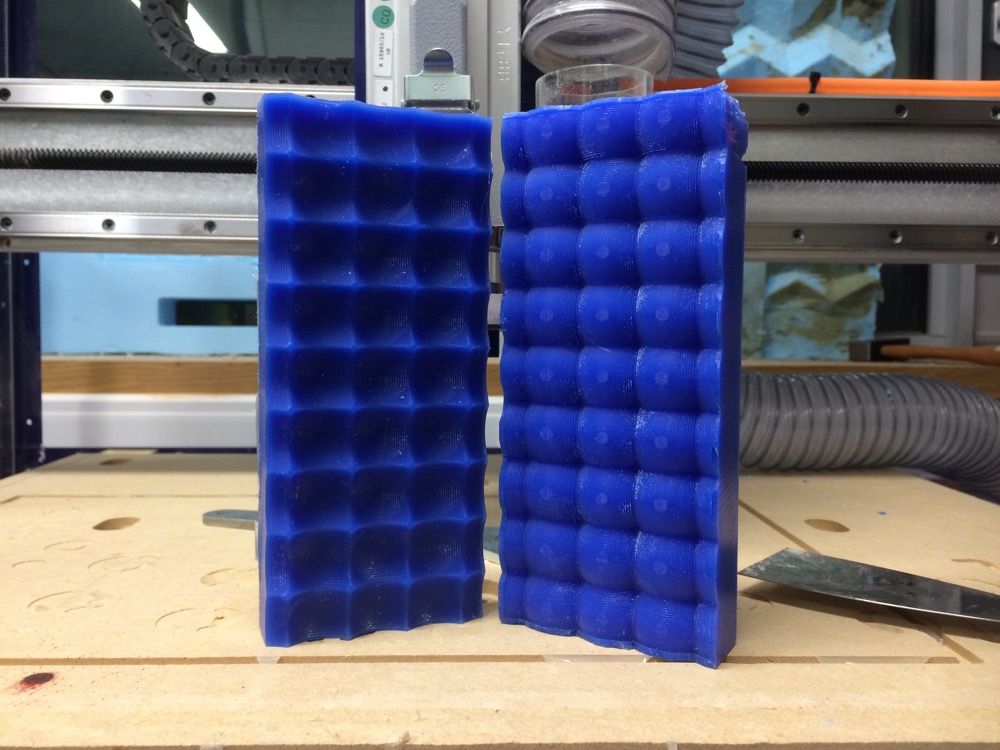
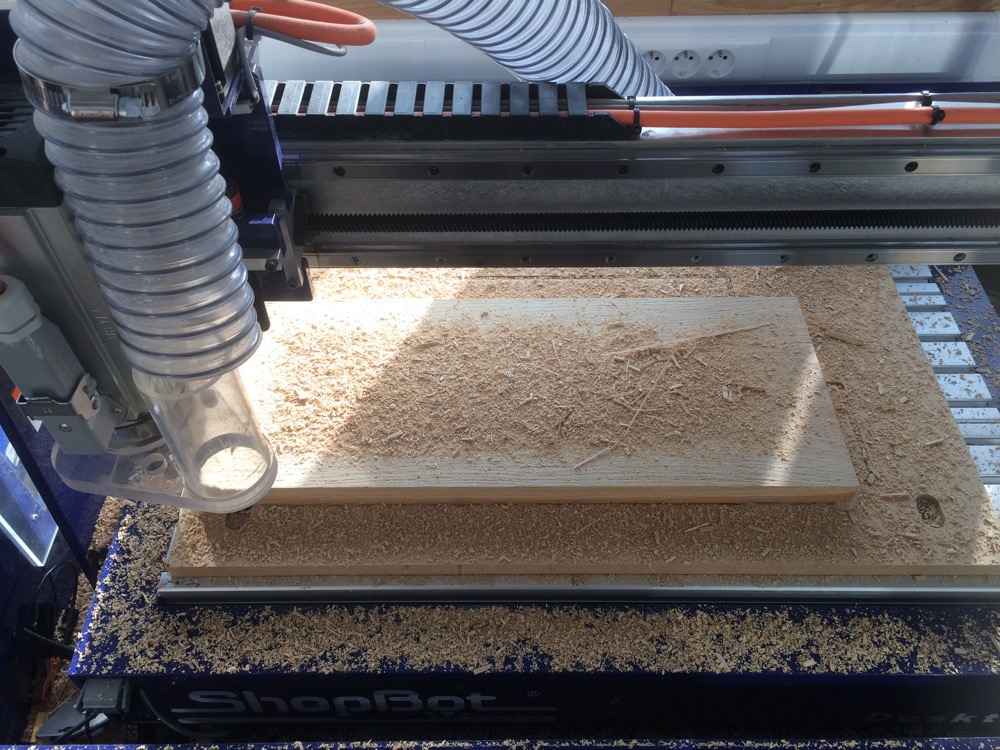
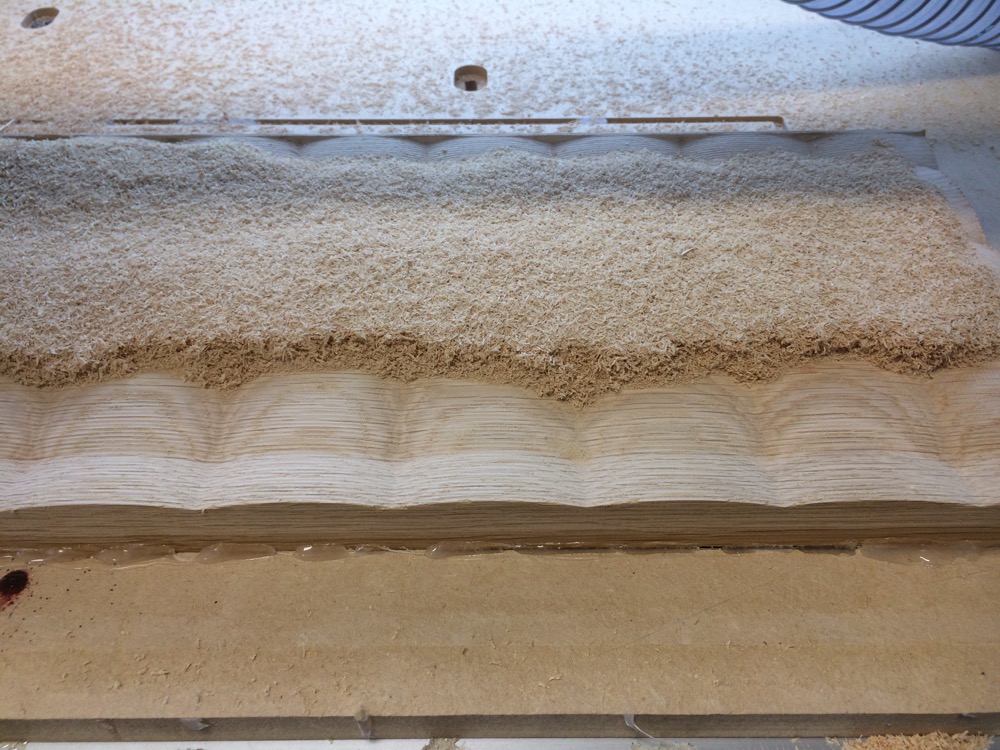
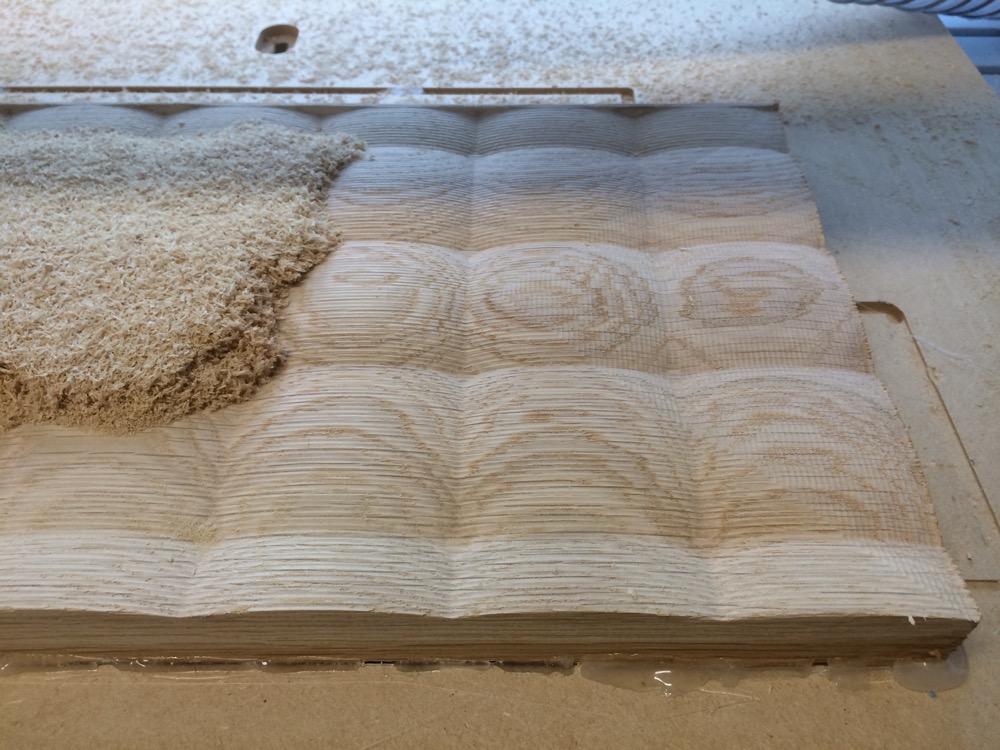
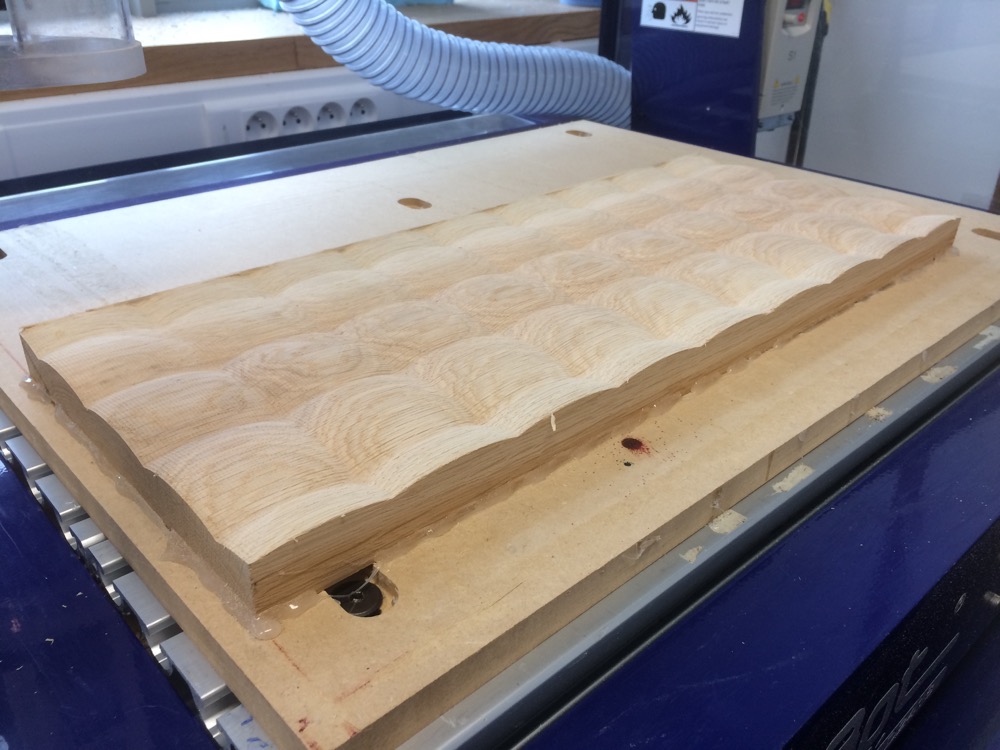
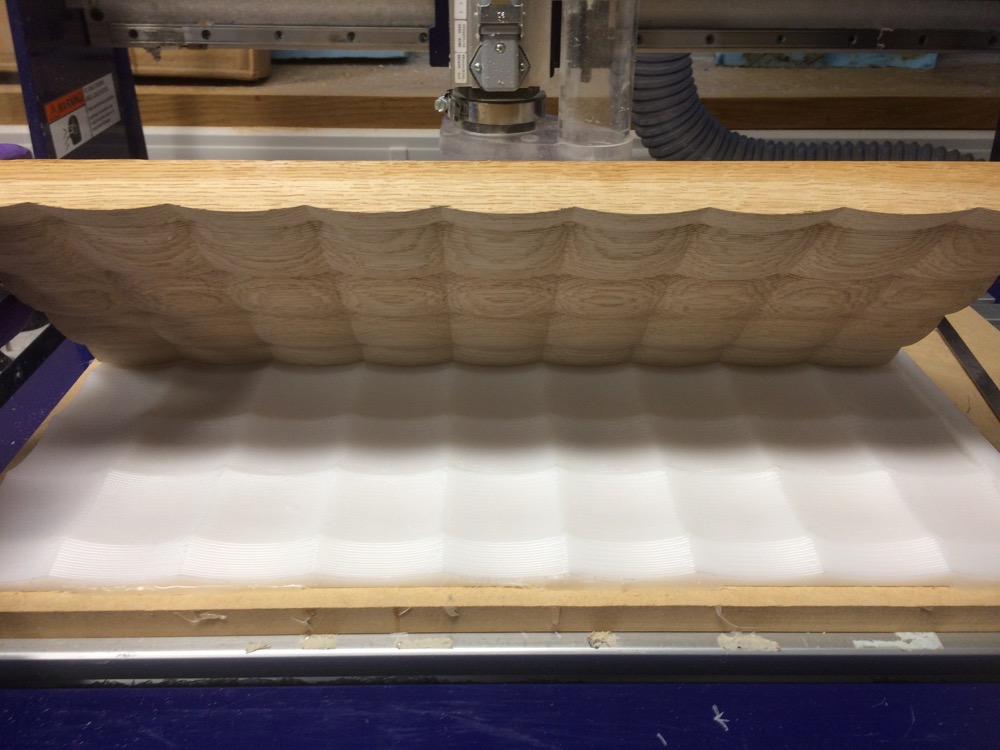
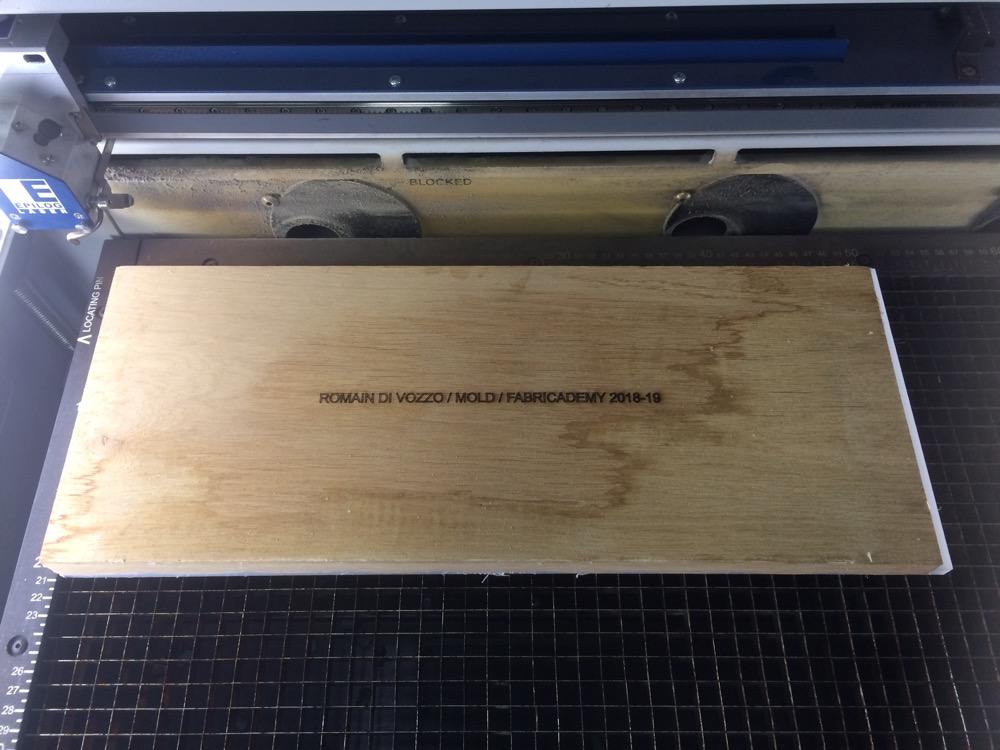
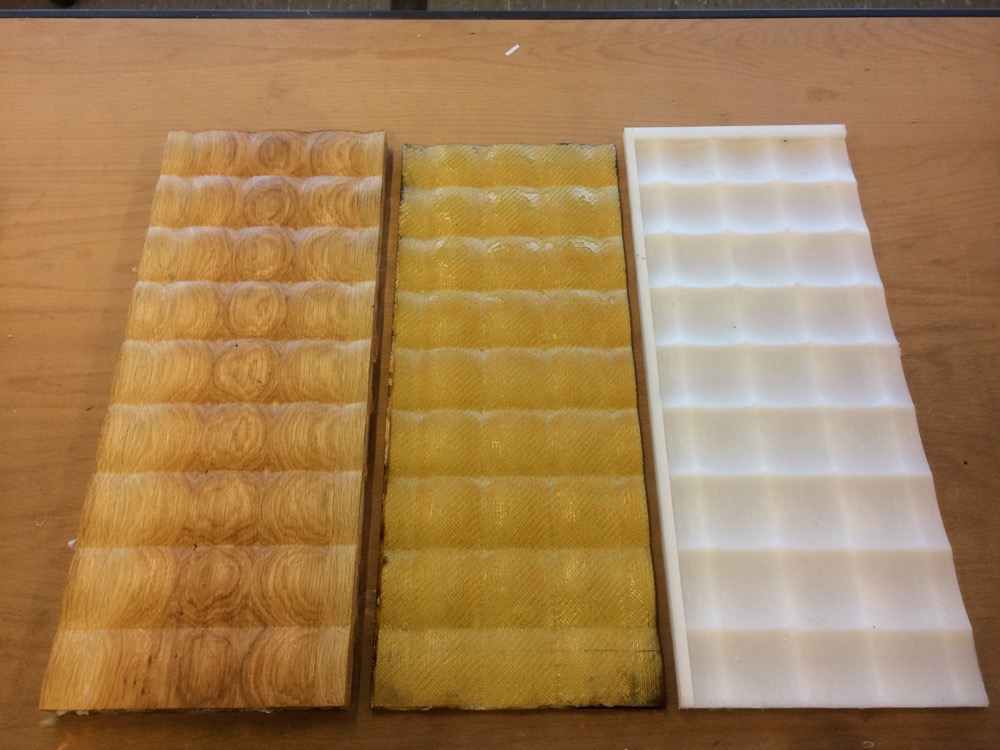
If you want to make a compression mold, you need a strong material. Blue (machinable) Wax, while compressed strongly, would probably deform inside, especially if your design is precise. Hardwood will be better as it will resist compression without deforming.
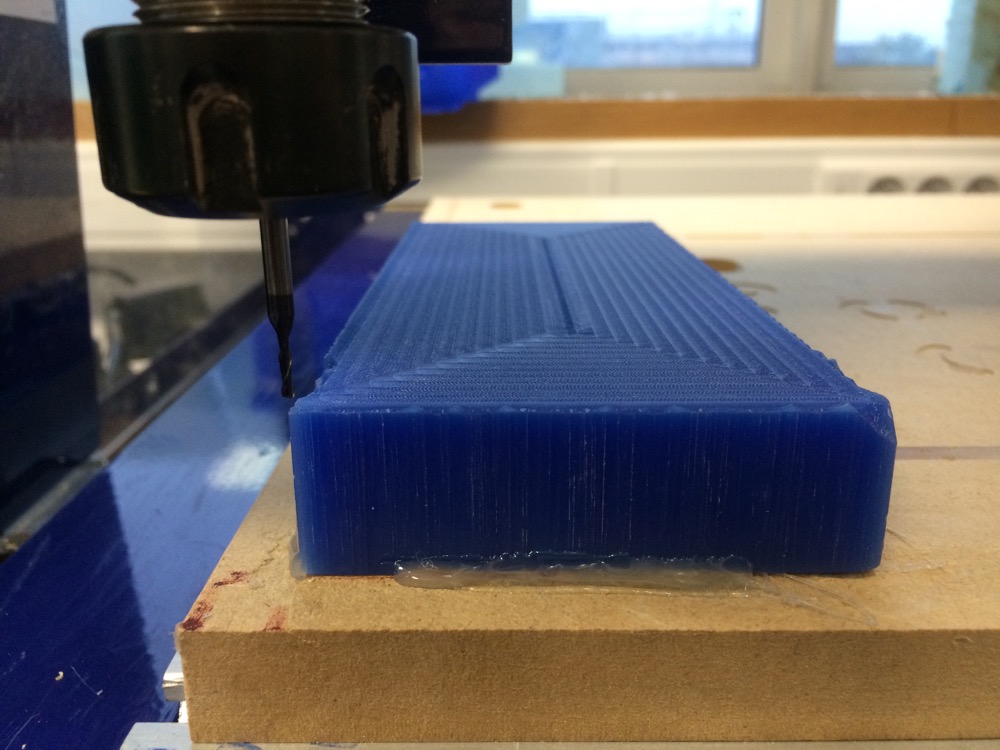
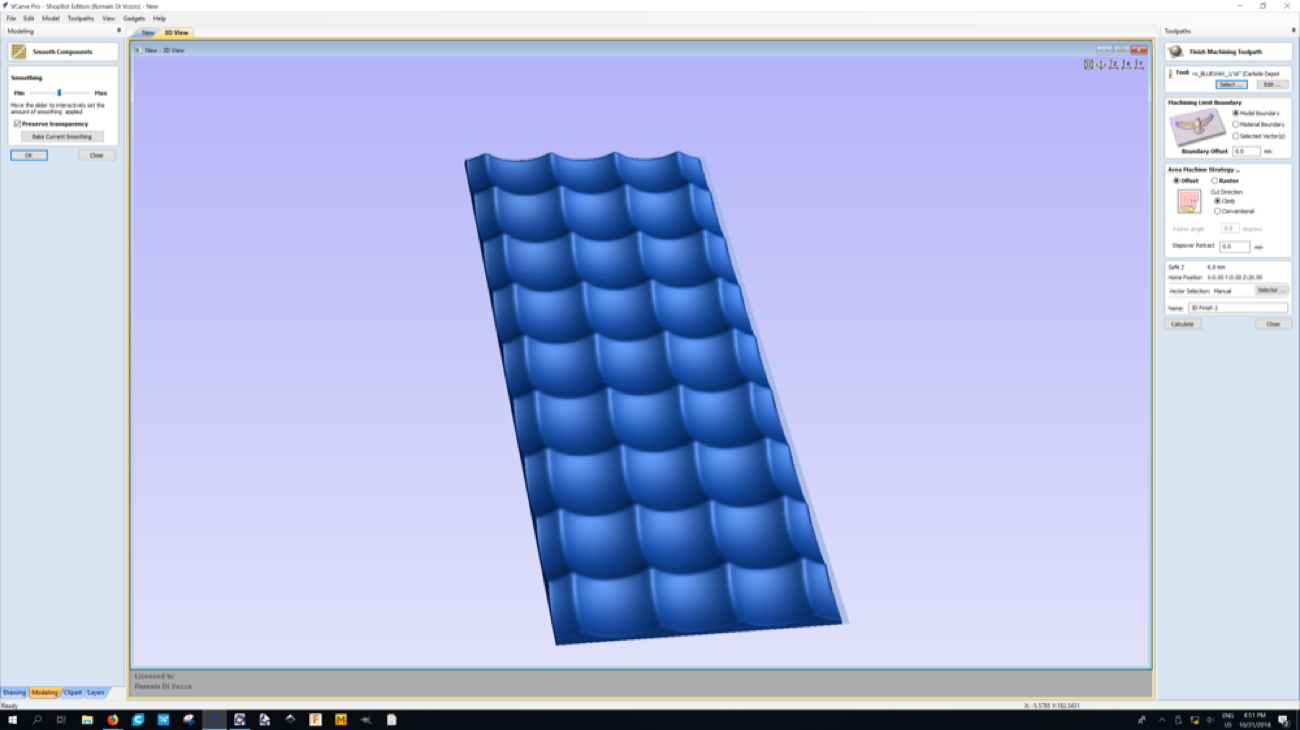
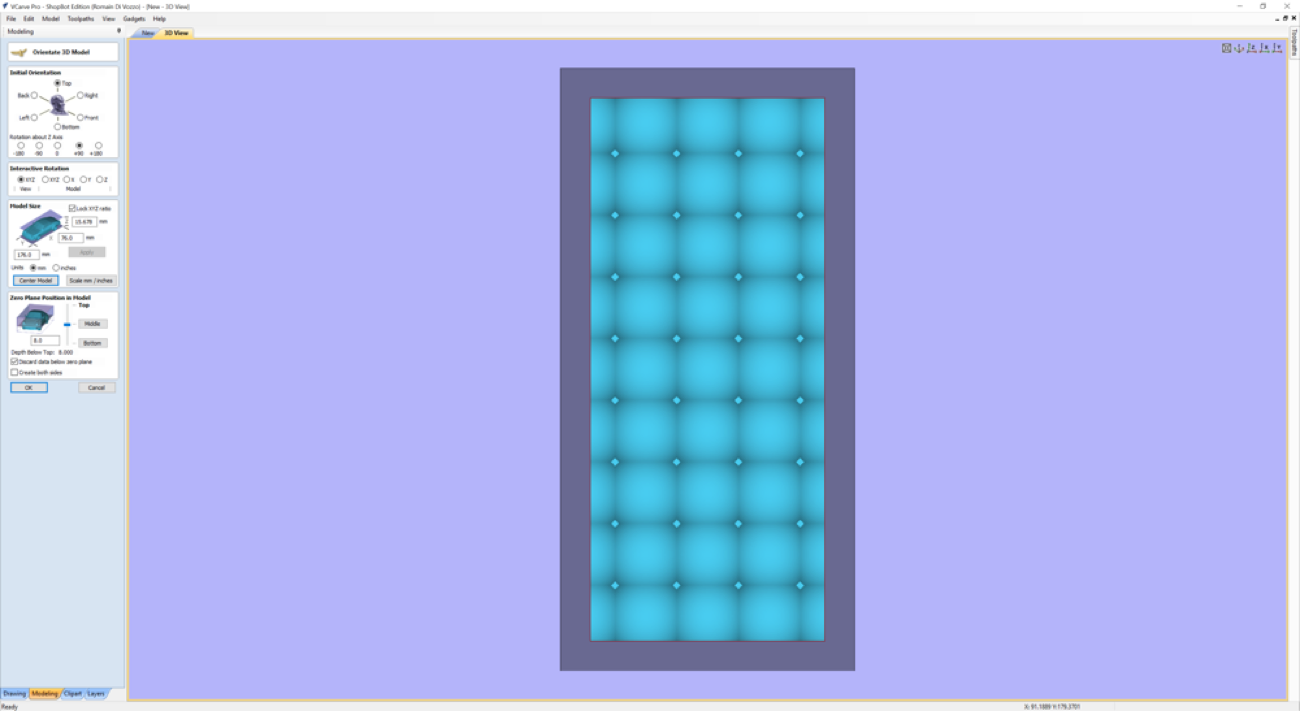
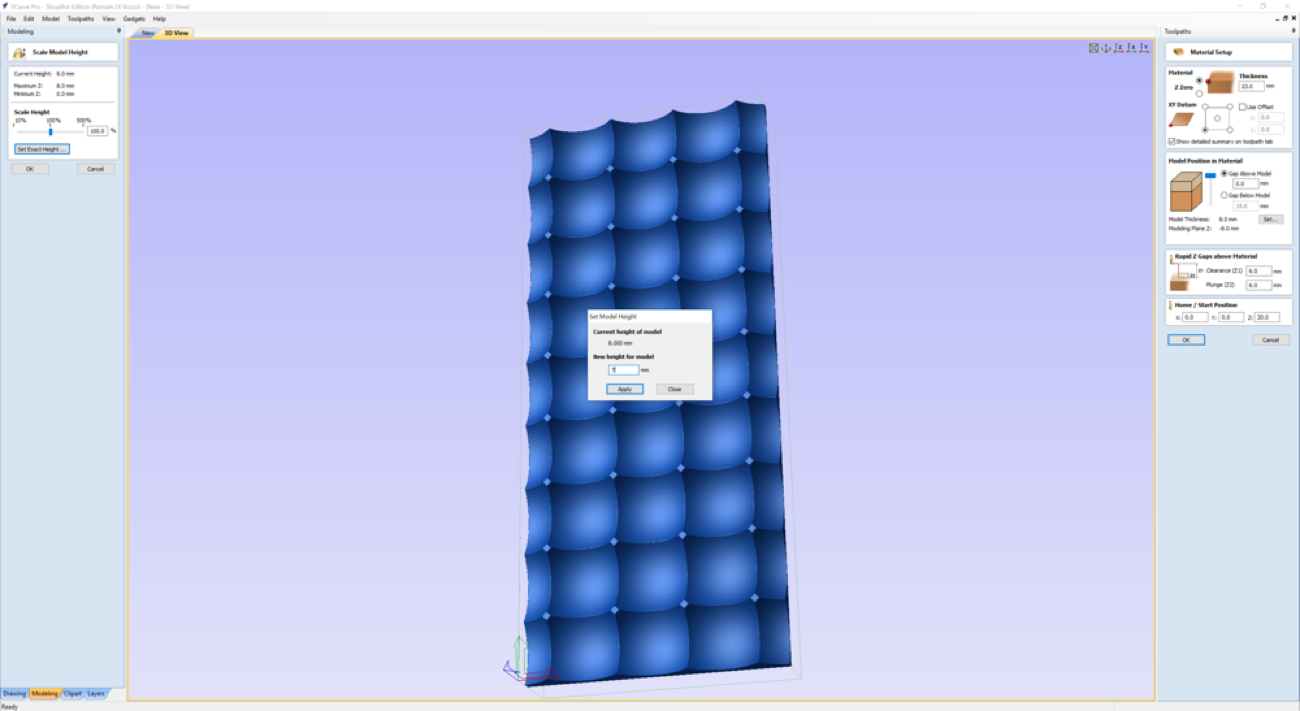
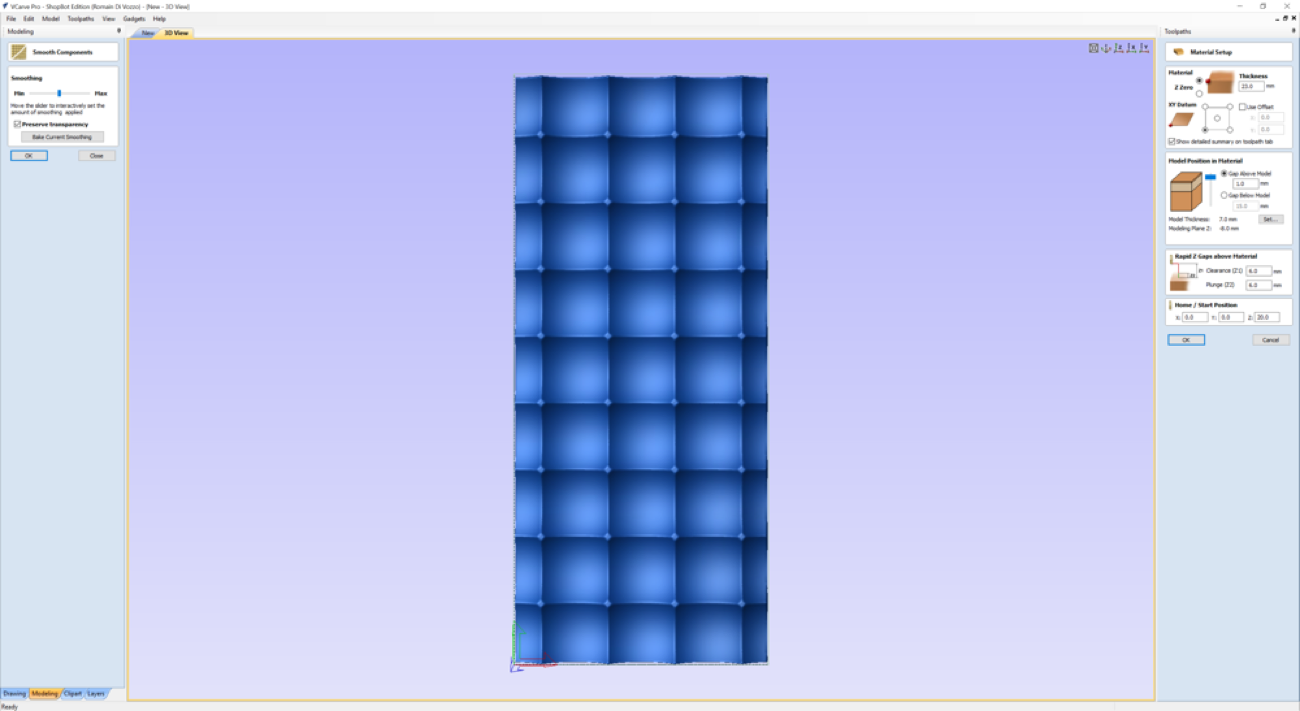
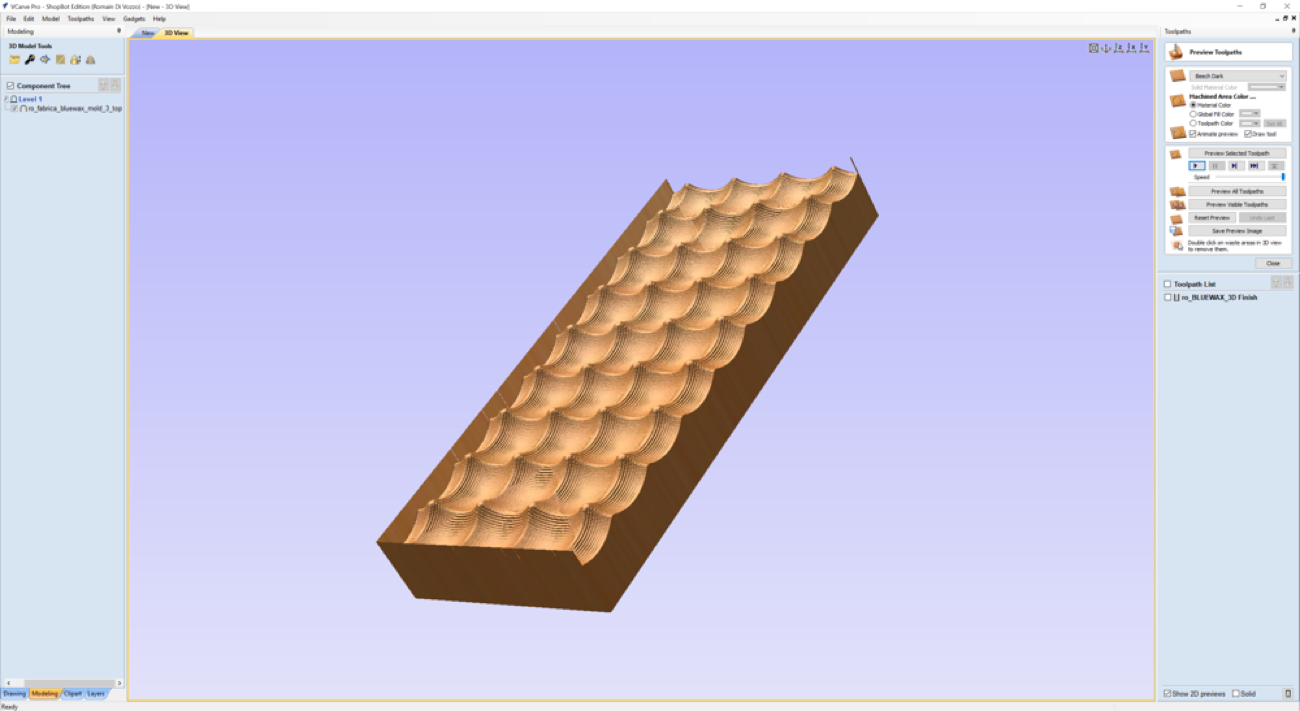
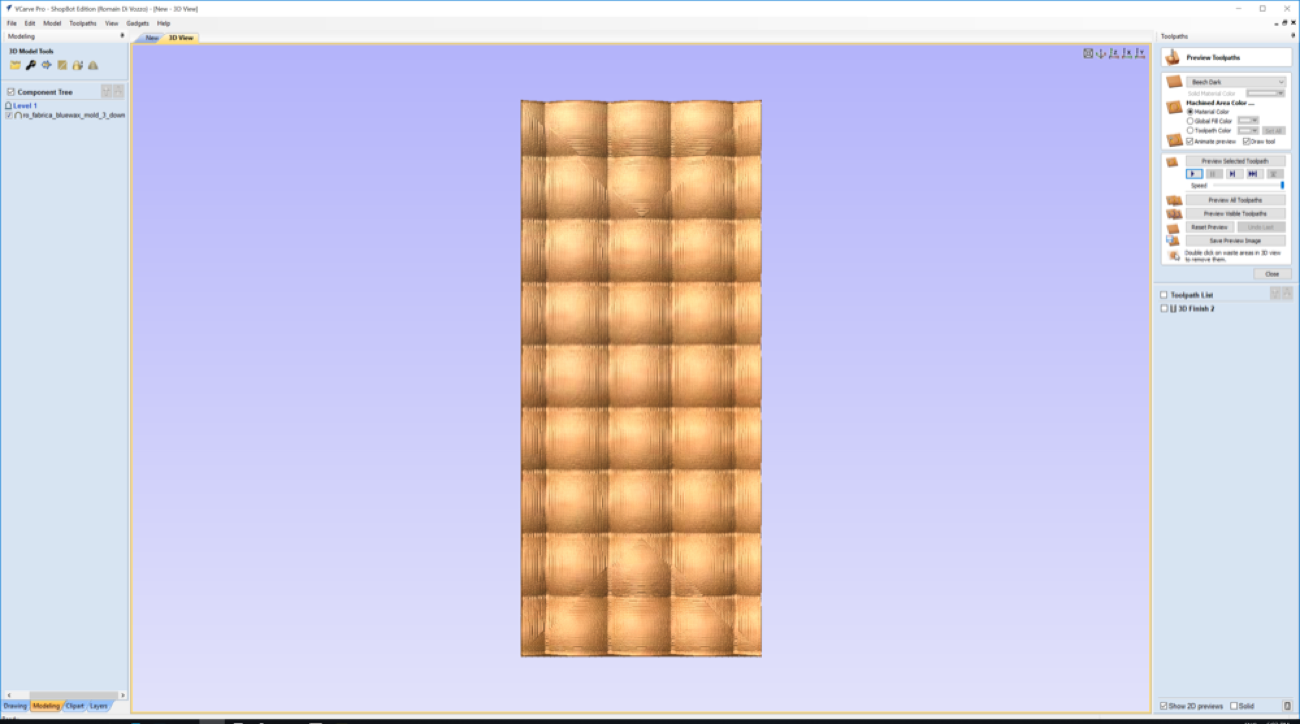
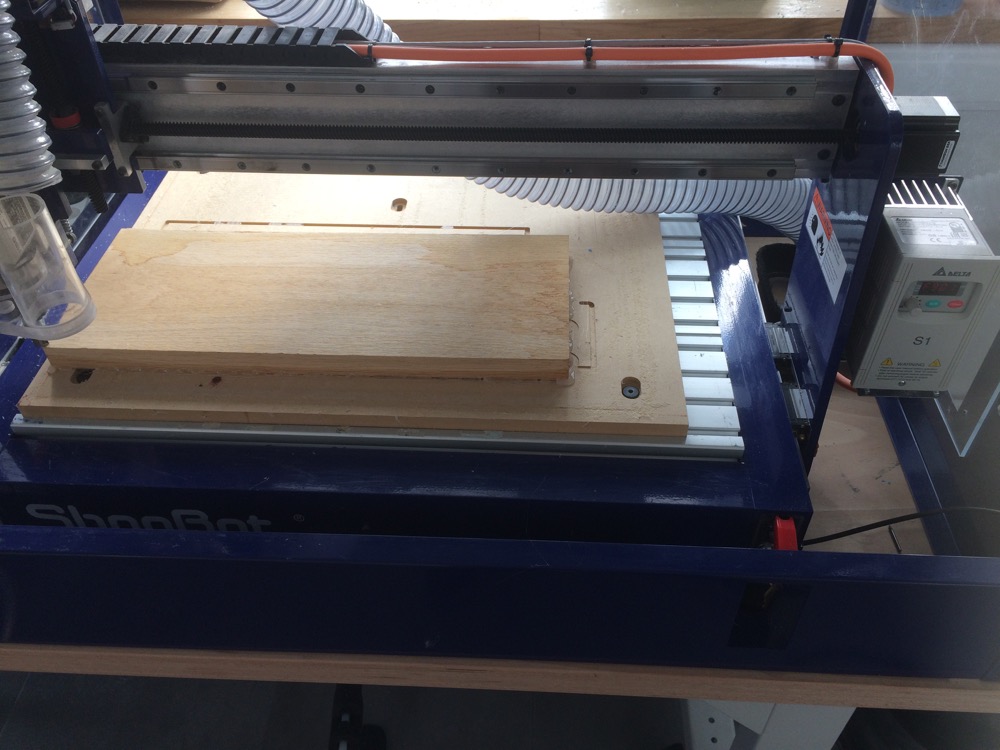
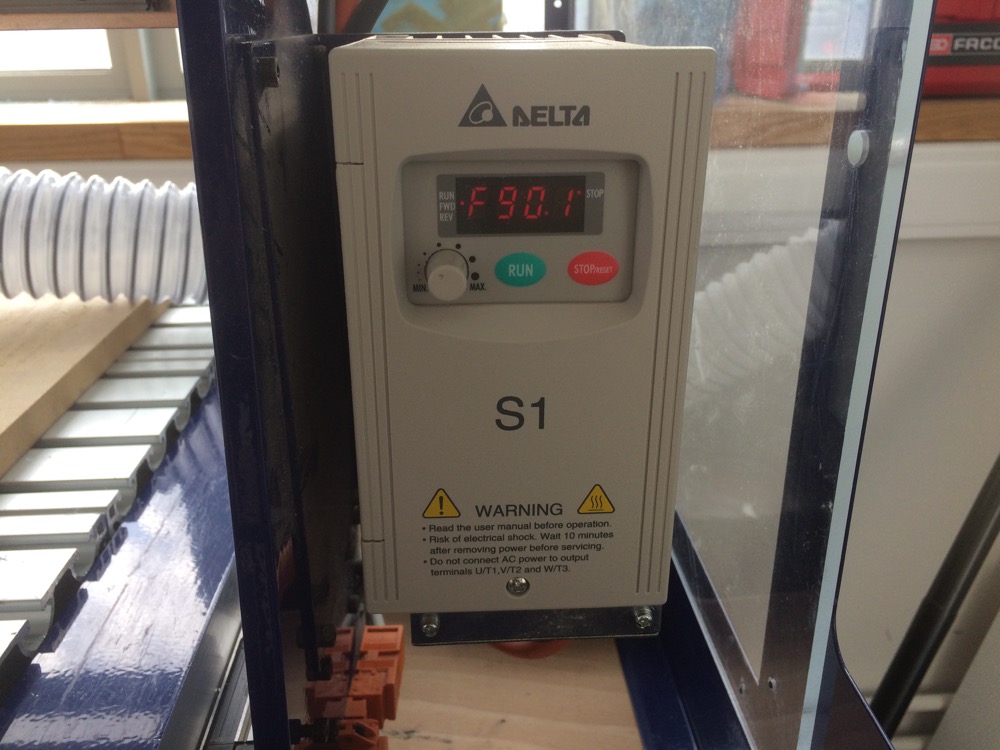
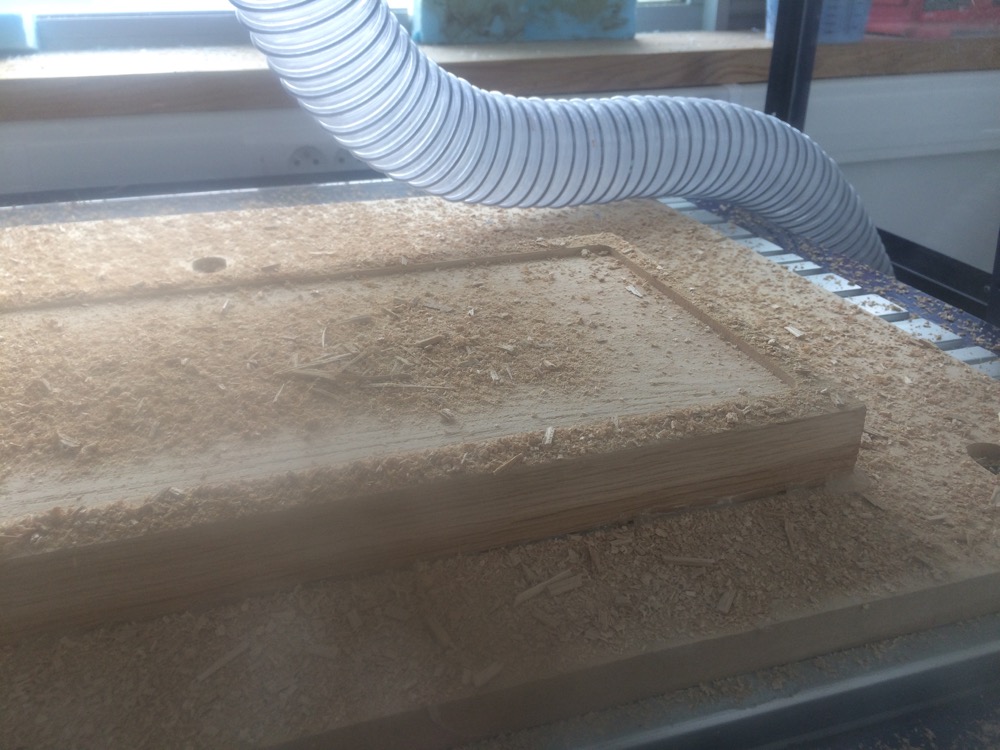
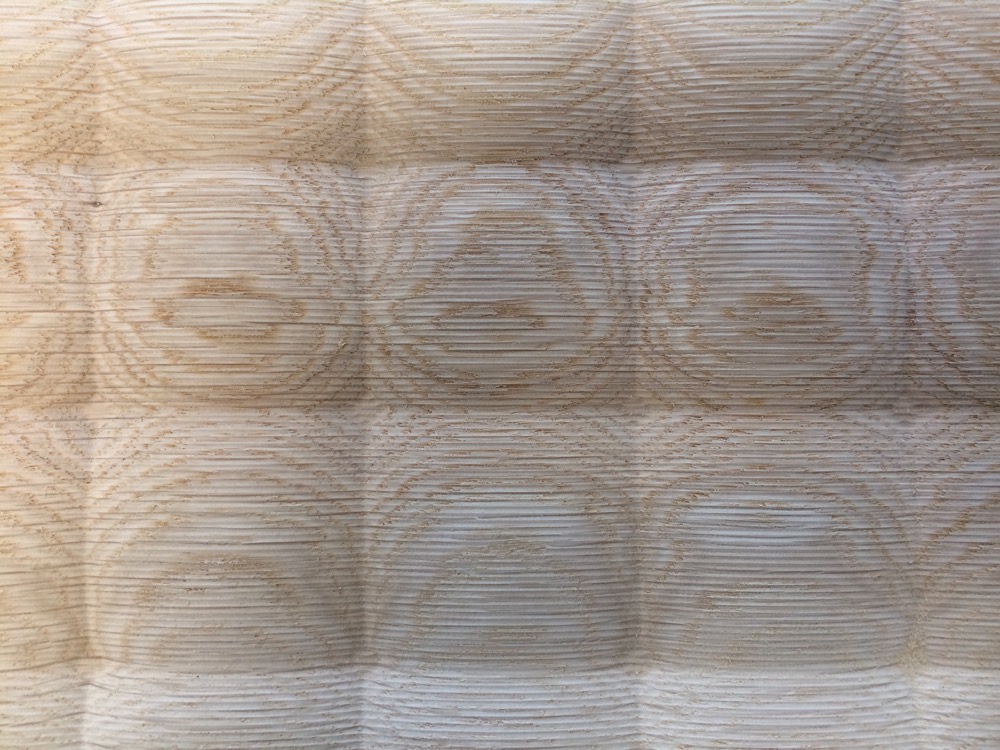
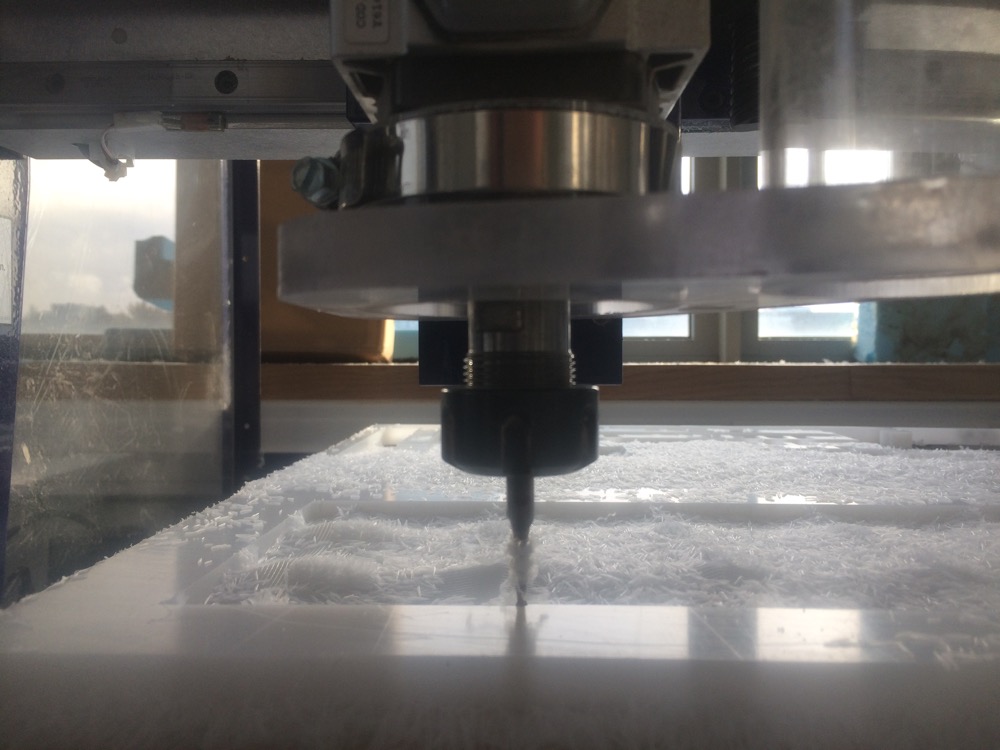
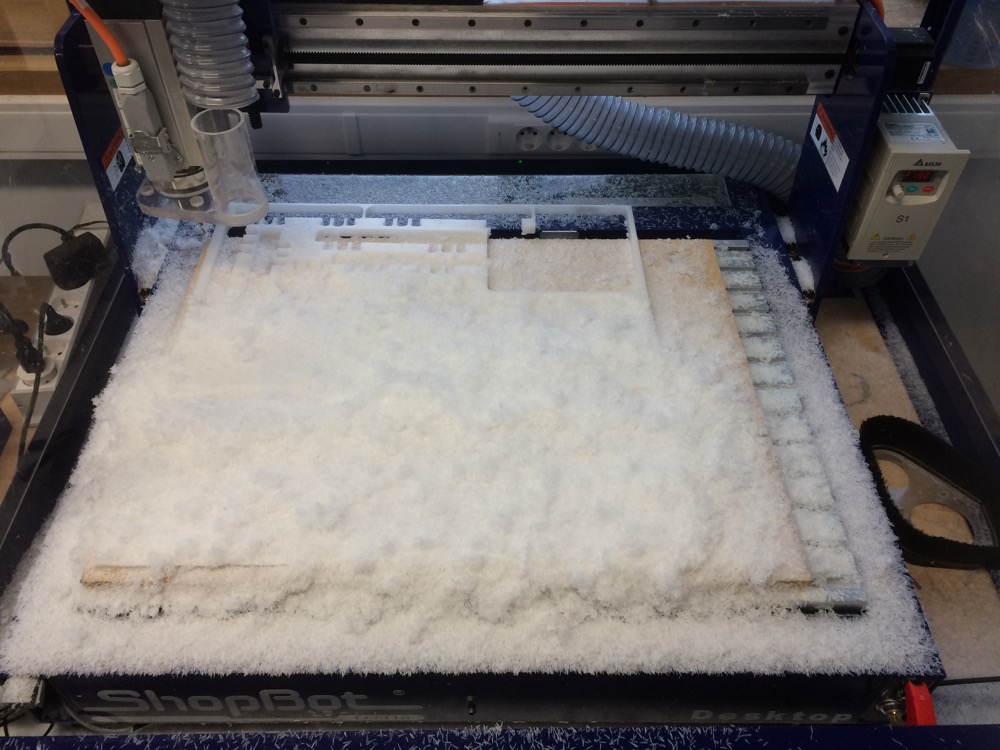
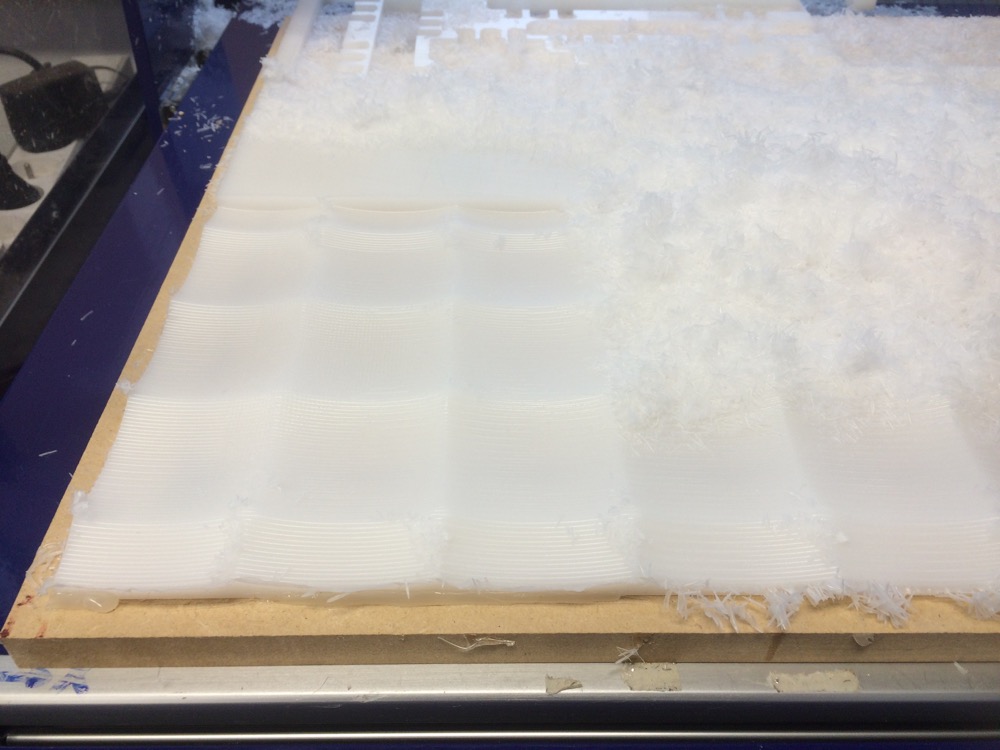
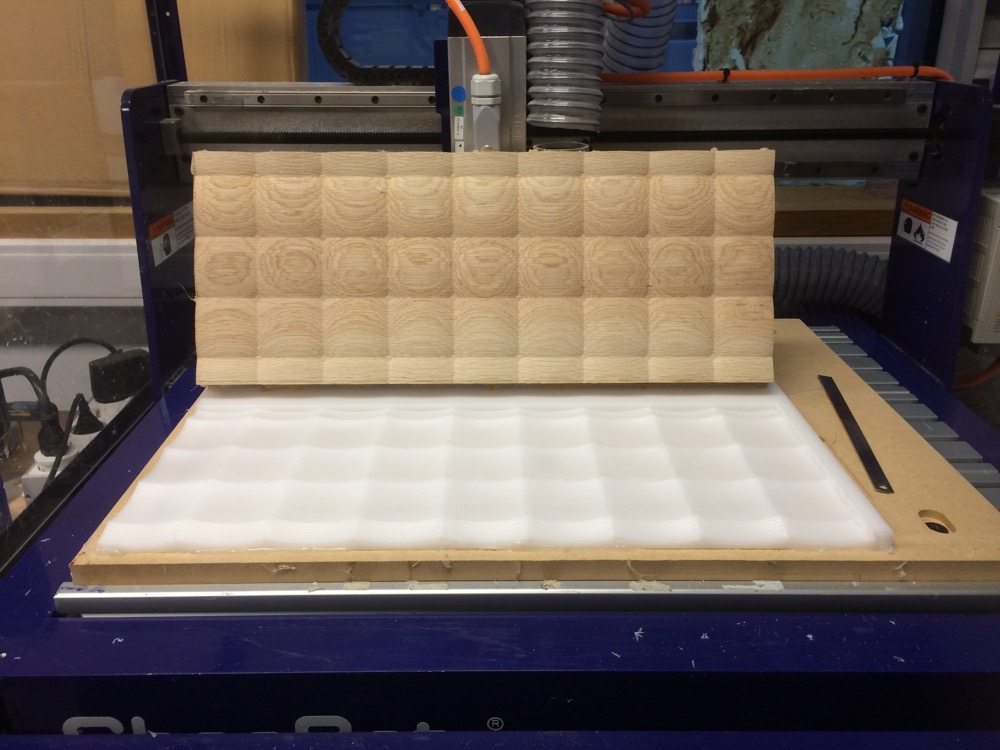
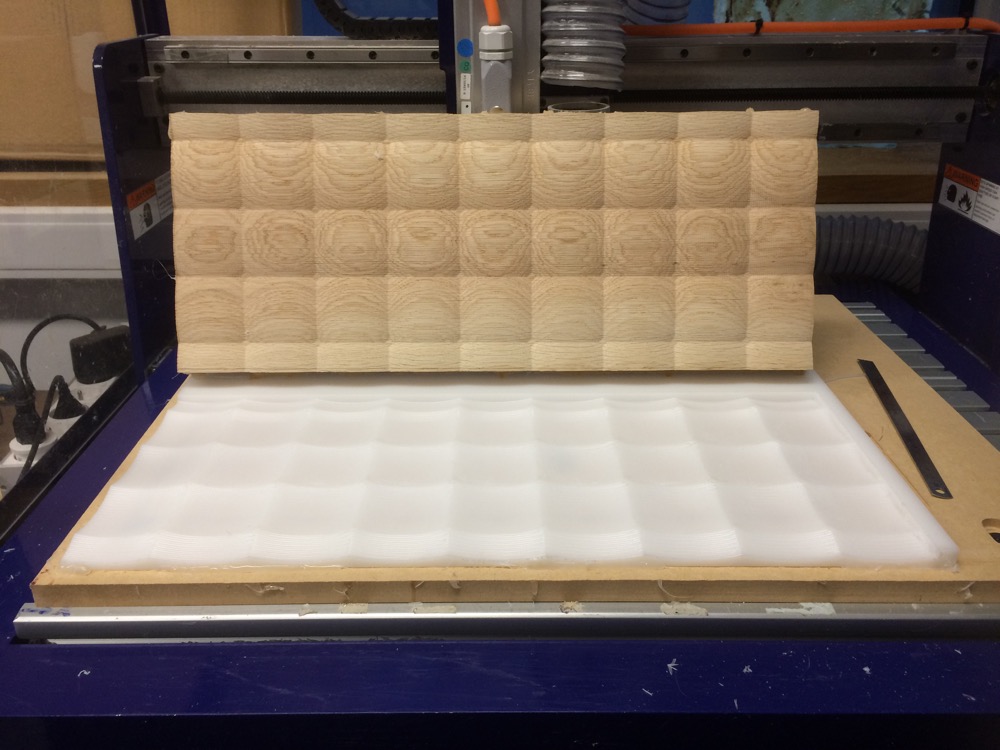
Milling a Compression Mold in Hardwood (surfacing)
Milling a Compression Mold in Hardwood (surfacing)
Milling a Compression Mold in Hardwood (surfacing)
Milling a Compression Mold in Hardwood (surfacing)
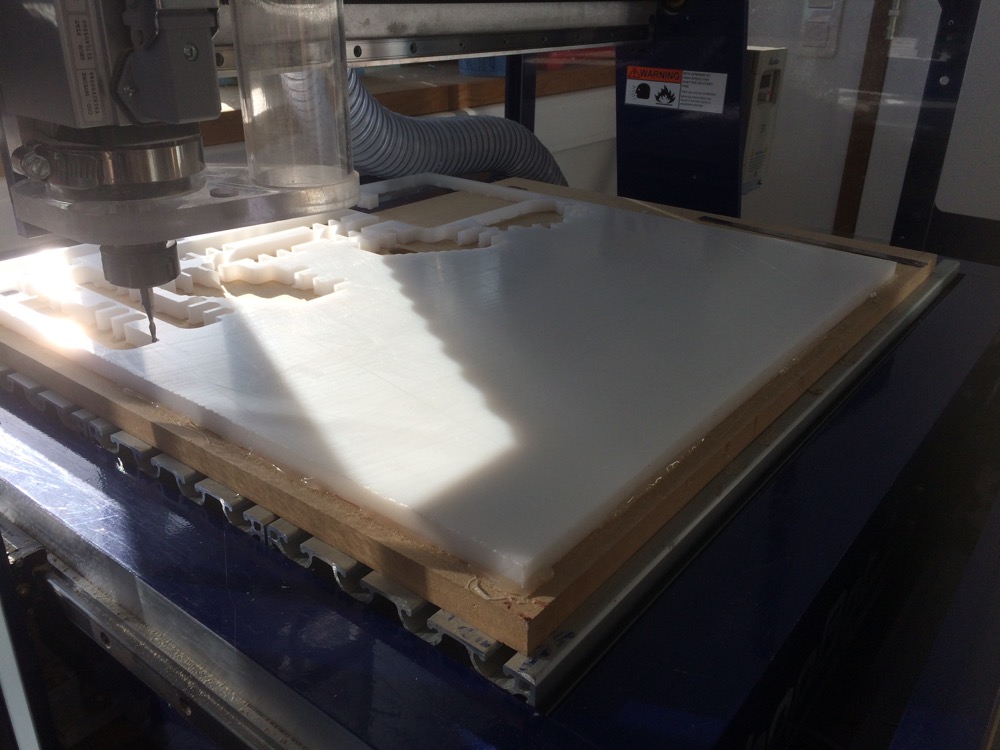
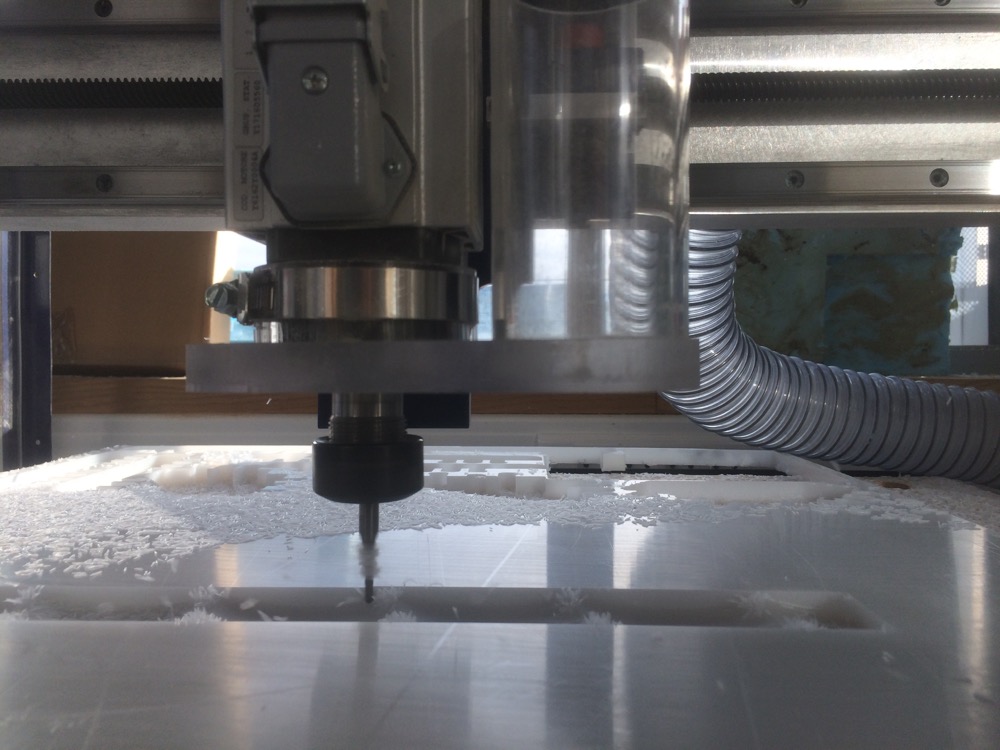
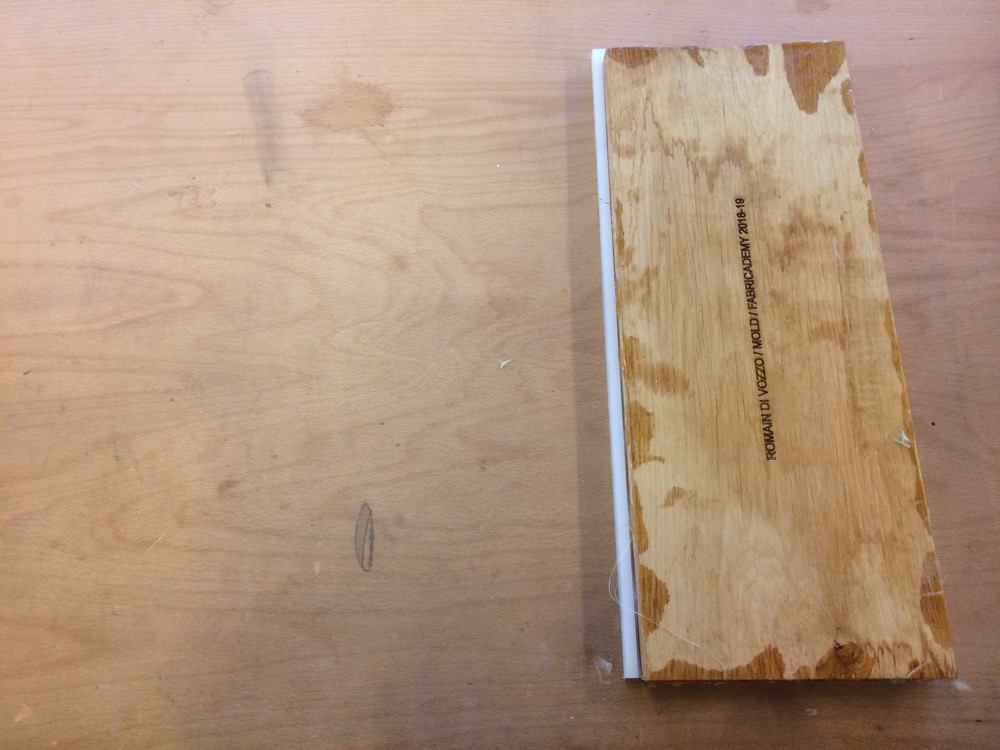
I had to use another material than wood to mill the counter-shape of my mold because I discovered that the wood sheets I have have some cavities here and there…so I grabbed leftovers of a machine design left by my Fab Academy students and found a Delrin sheet.
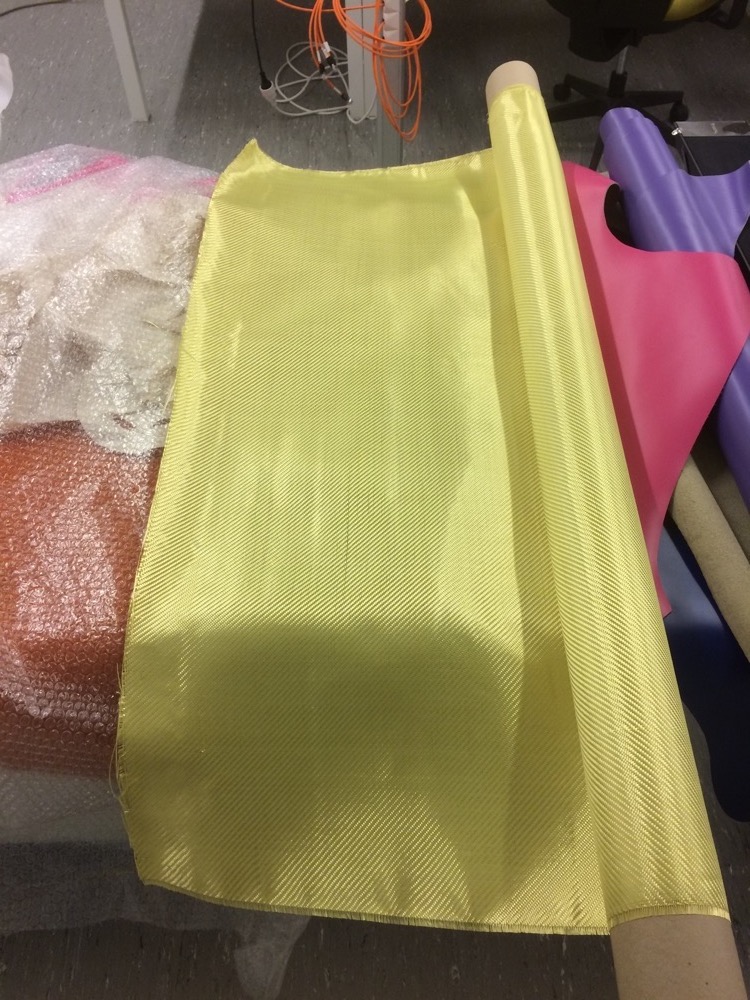
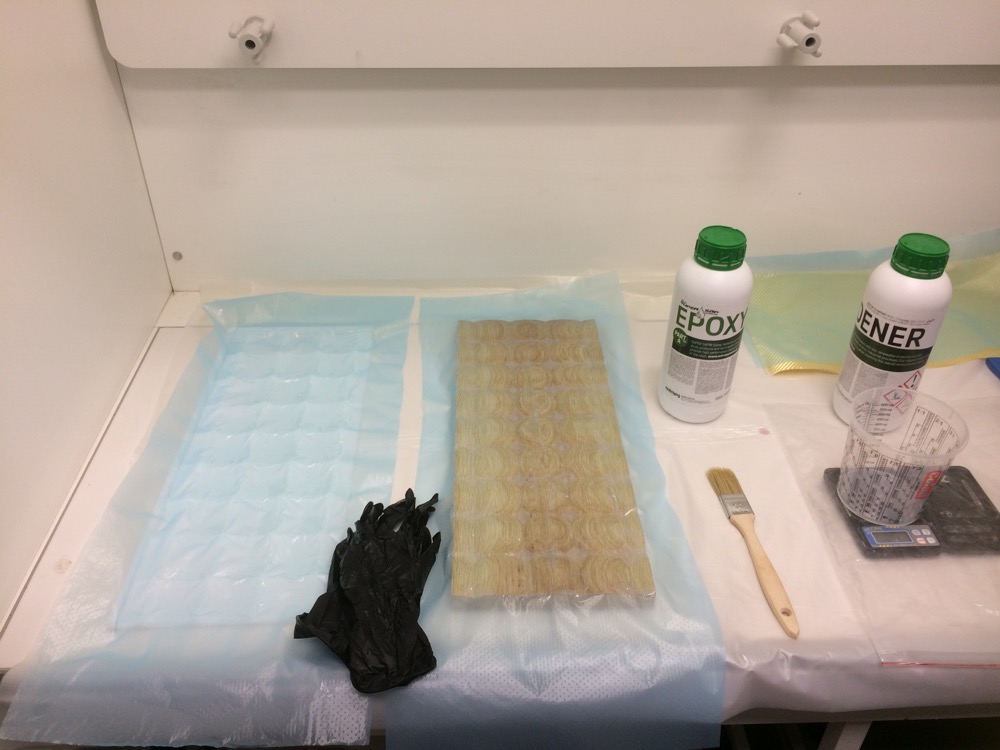
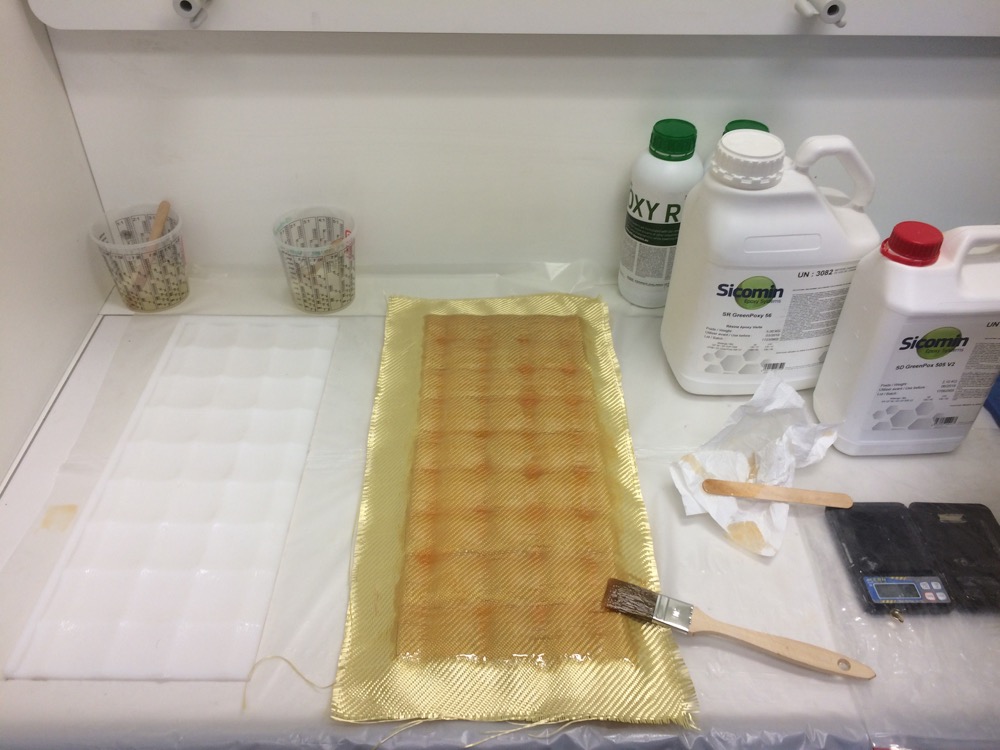
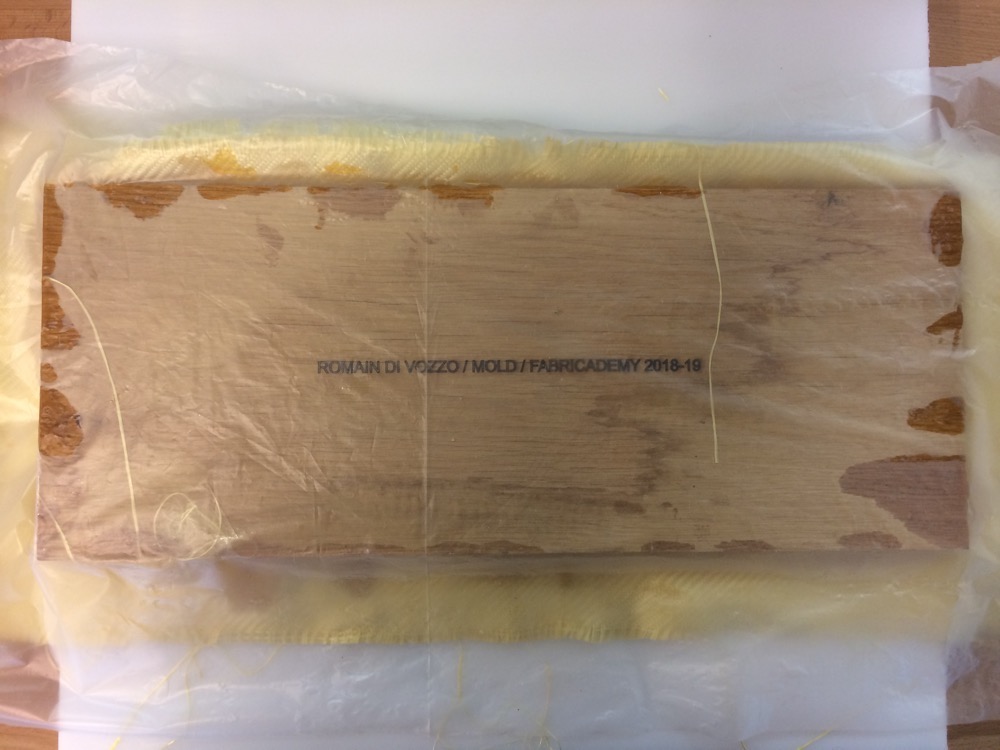
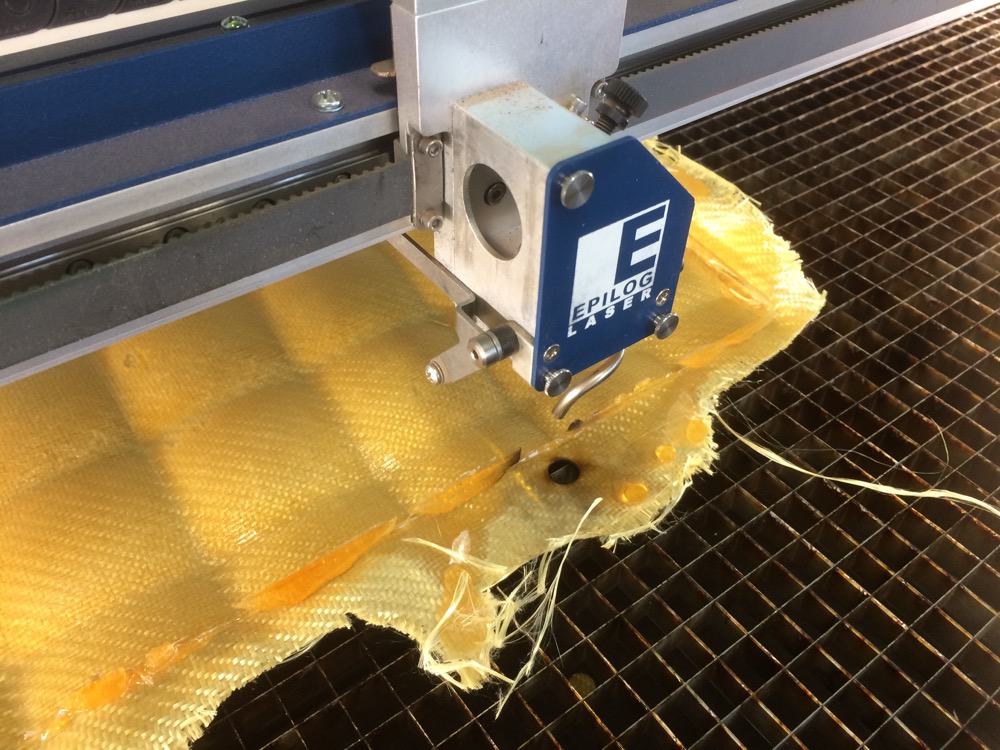
9 | Assembling the compression mold with Epoxy Resin and Aramid under the Hood in the Bio/Chenical Lab |
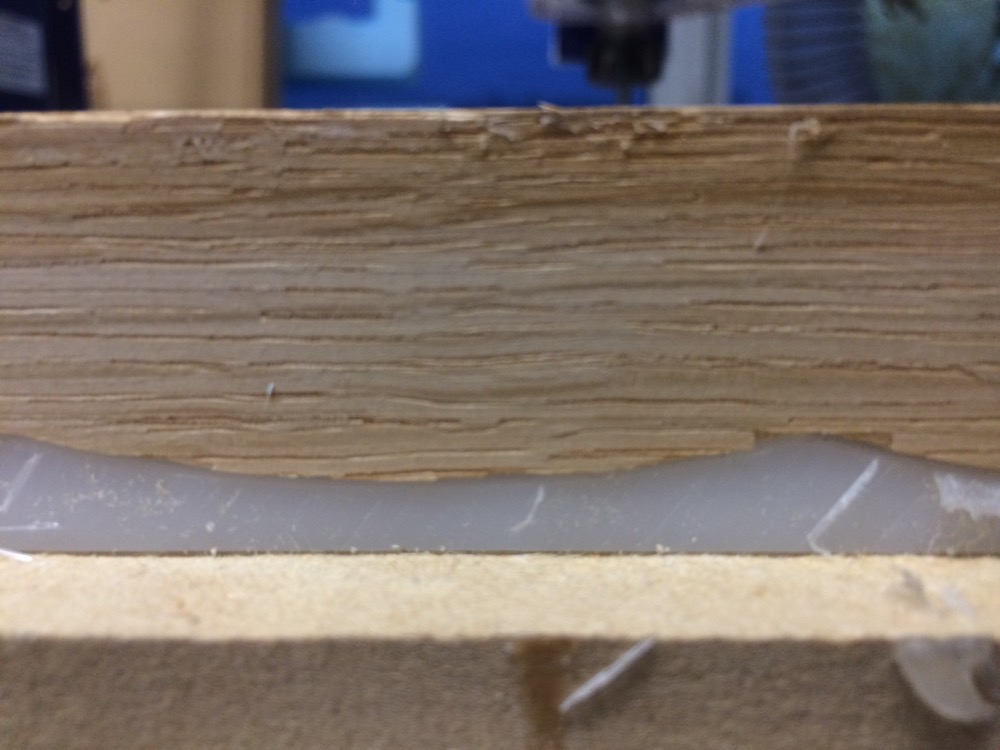
I left the vaseline and the blue Flex… on the wood over the week-end, but I finally removed the Flex to keep the resolution of the pattern as high as possible. Then, I Applied the Aramid on the wood directly and the Epoxy Resin on top of it, with a pemcil.
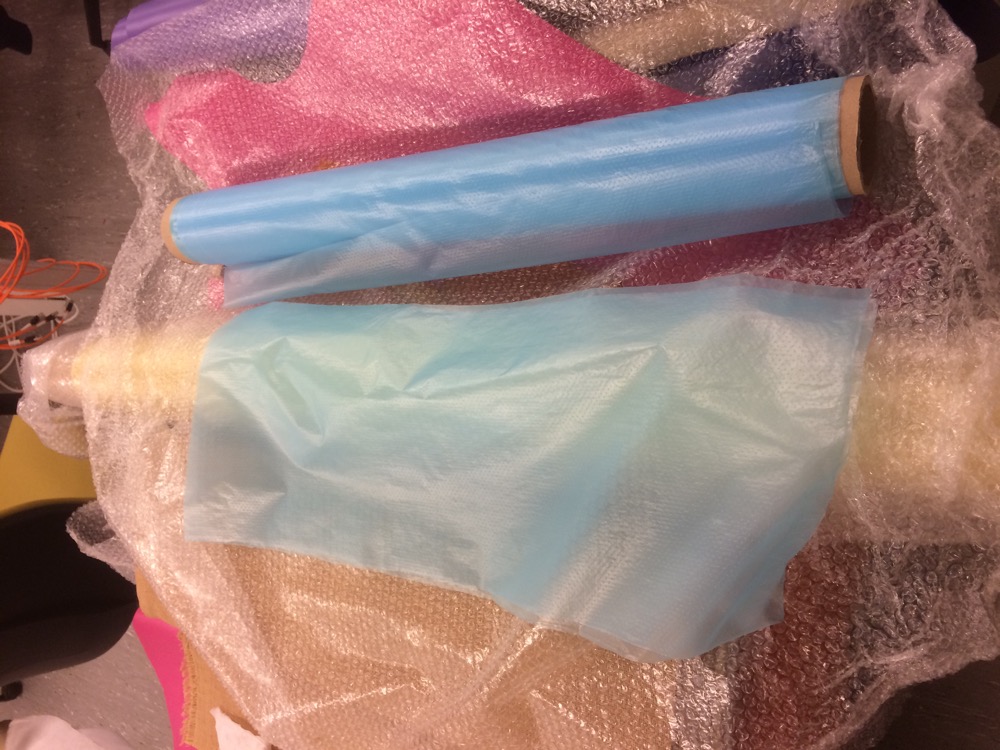
Vaseline and Flex on the wood and on the Delrin
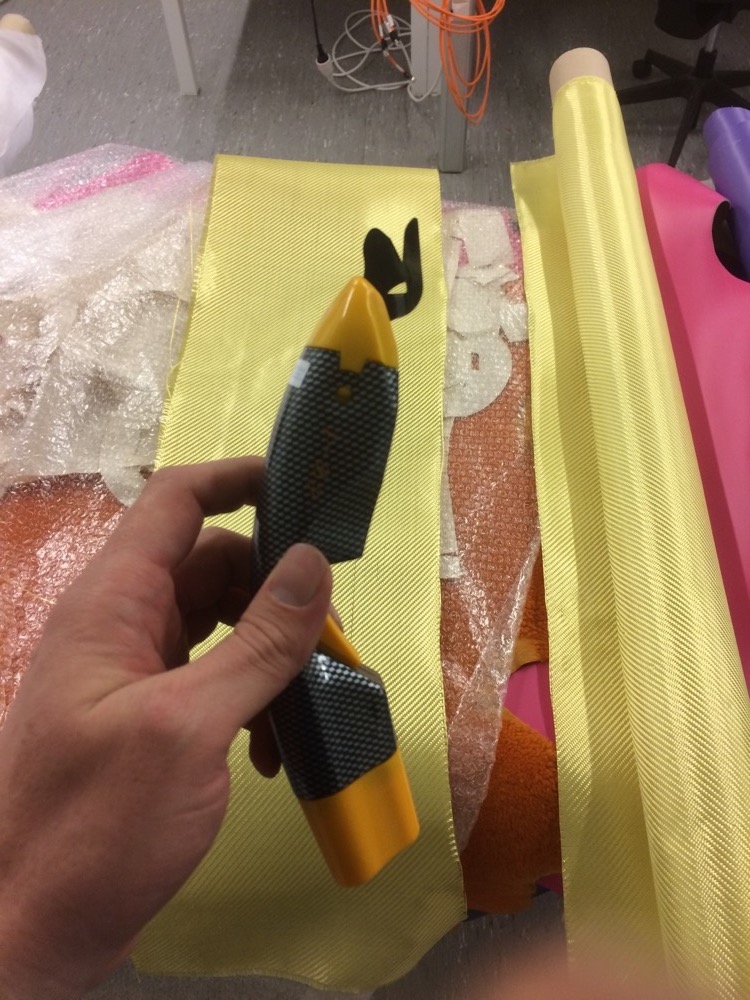
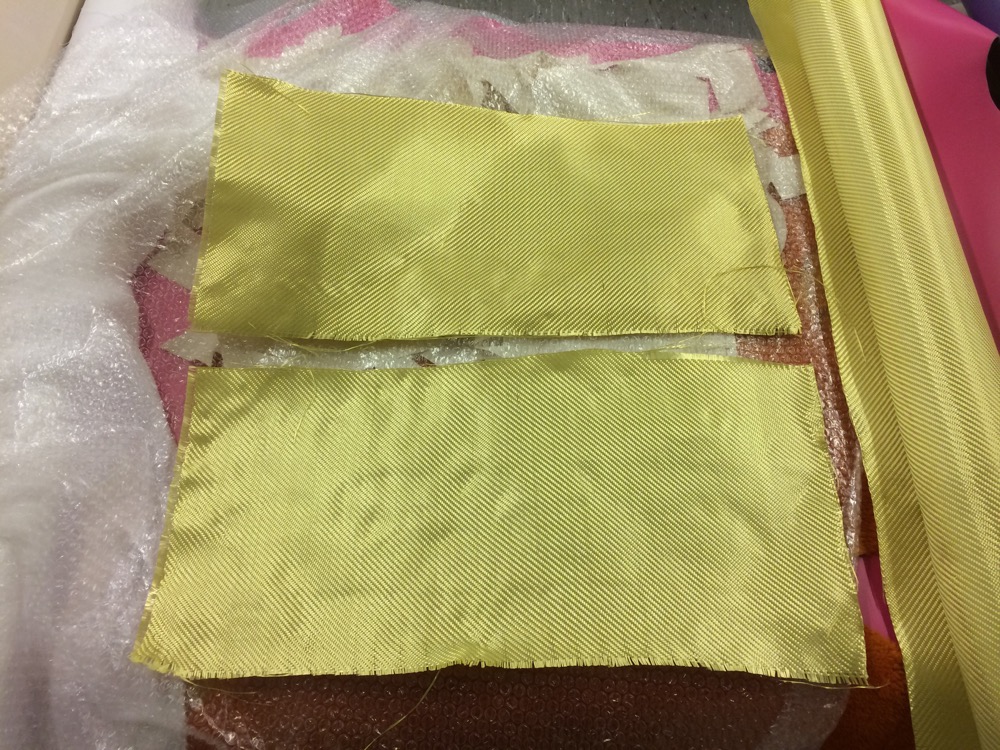
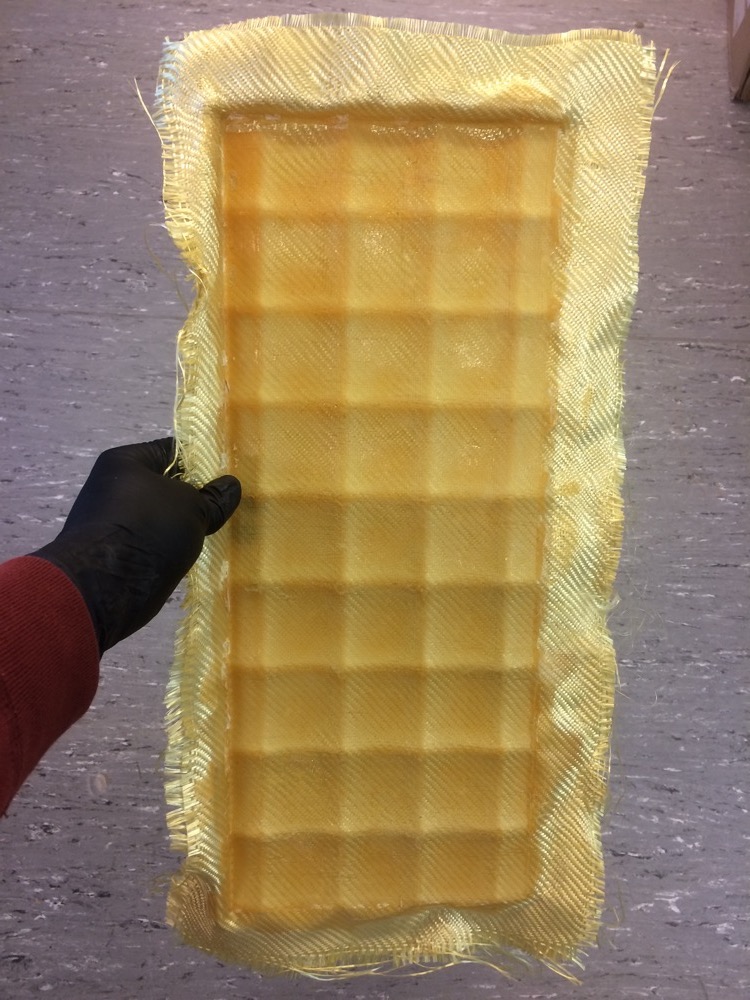
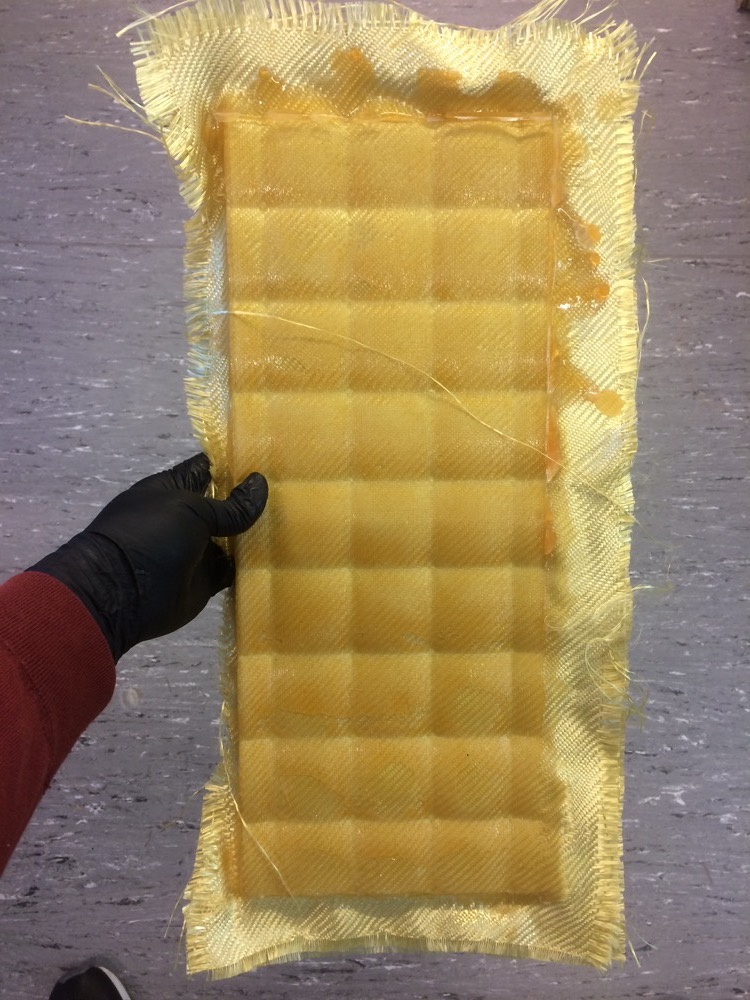
Applying the Aramid and the Epoxy resin
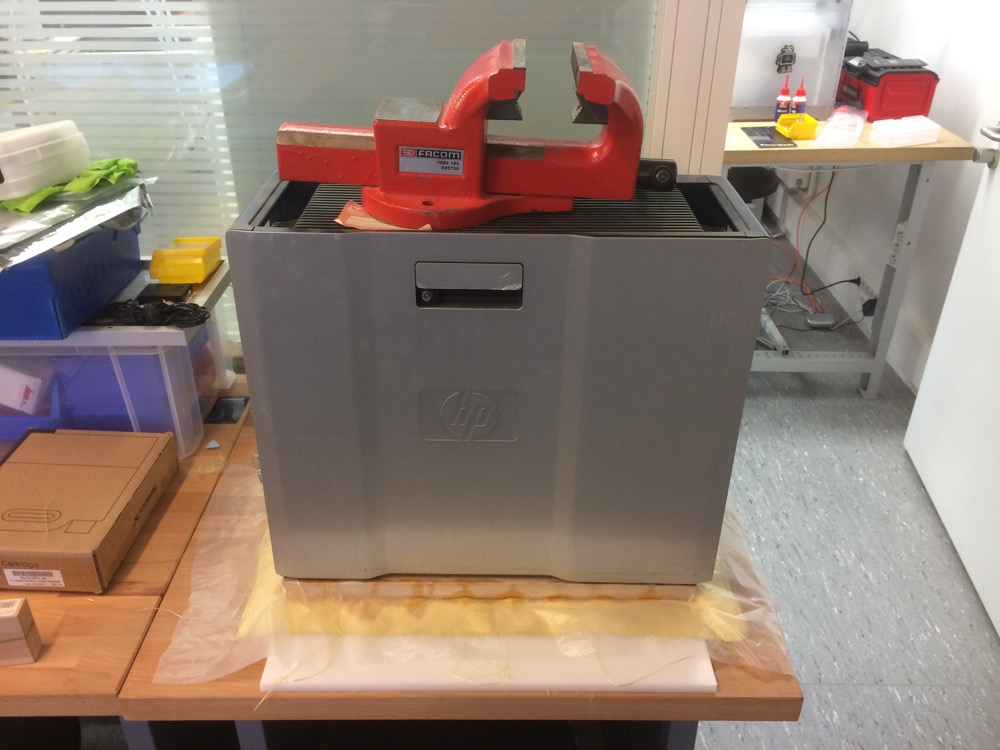
Then I used a heavy computer to press the mold
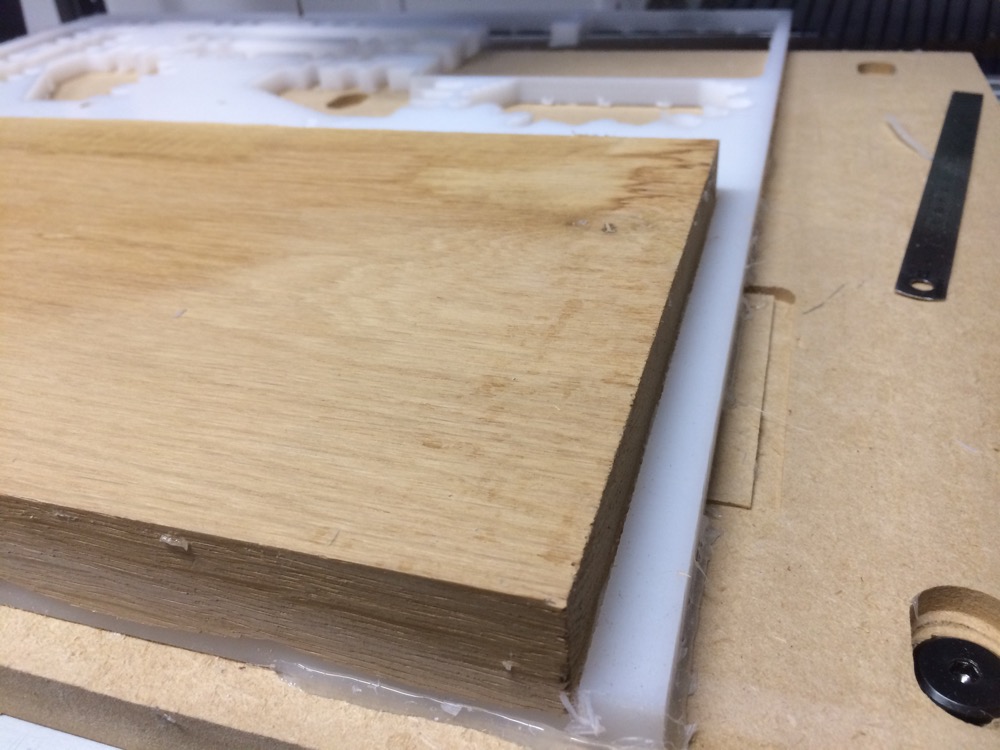
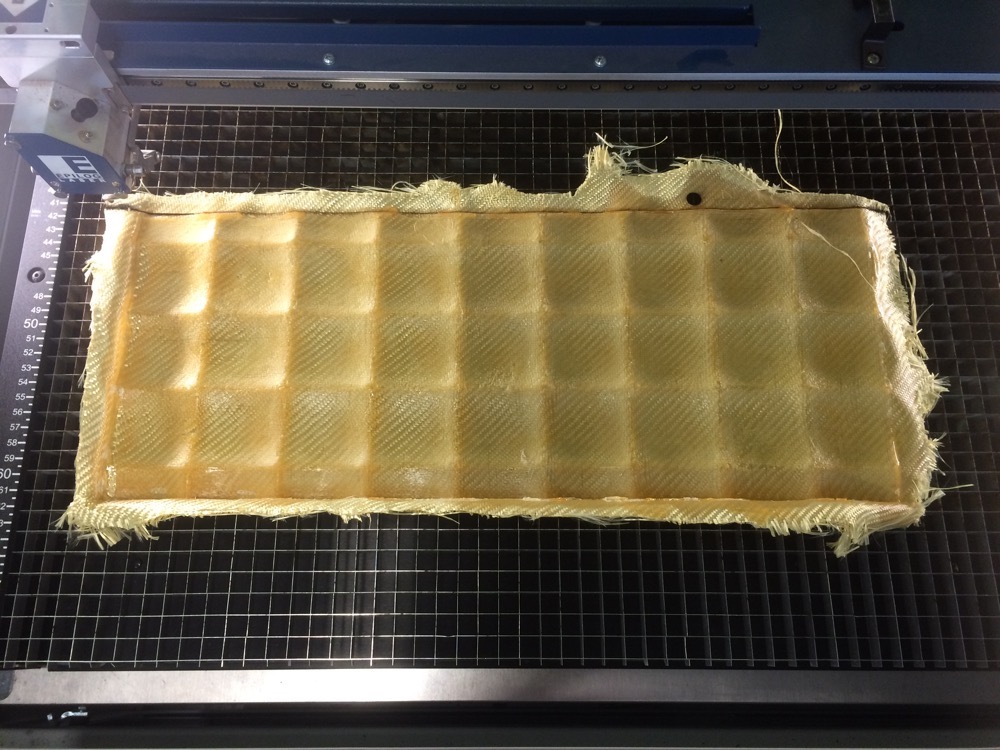
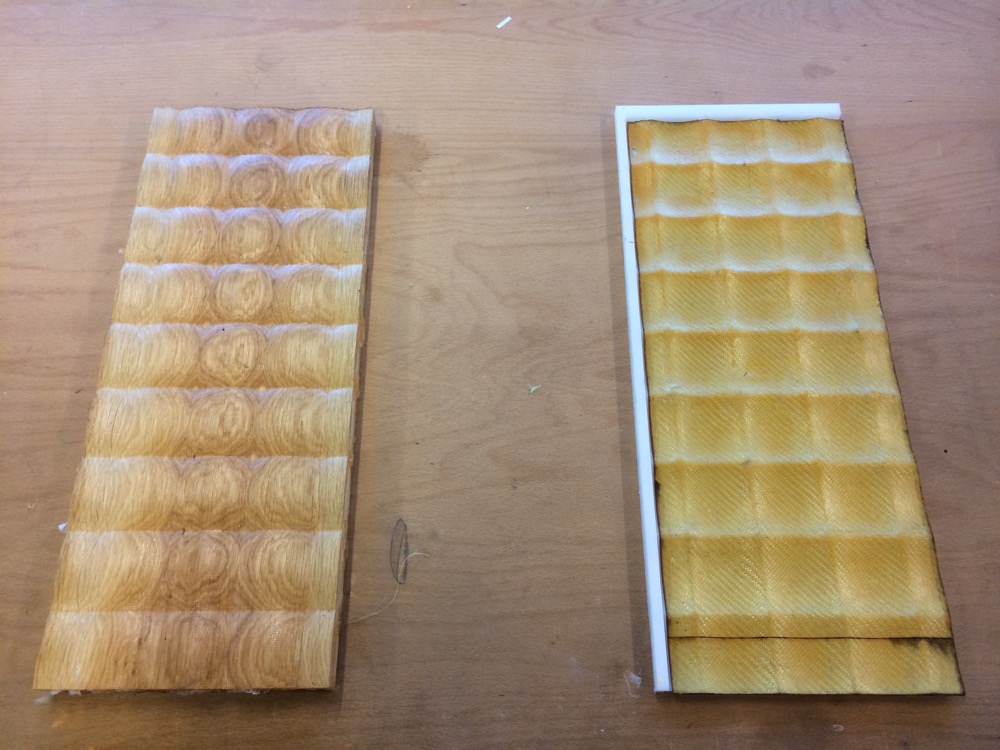
The day after it looked like this
Down-side of the part
Upper-side of the part
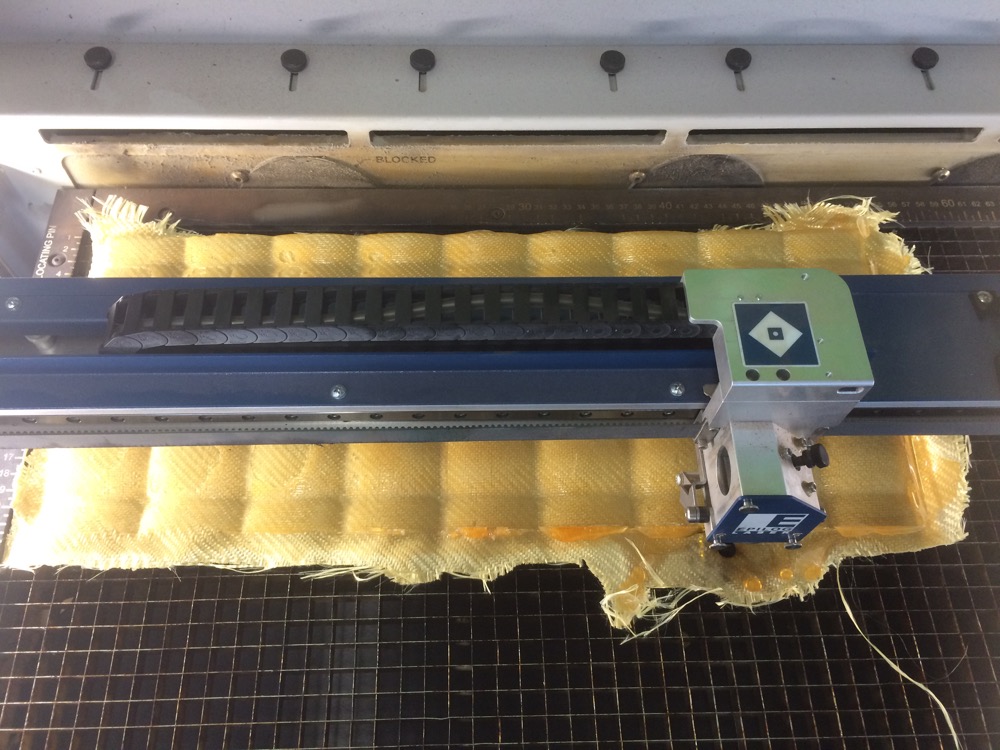
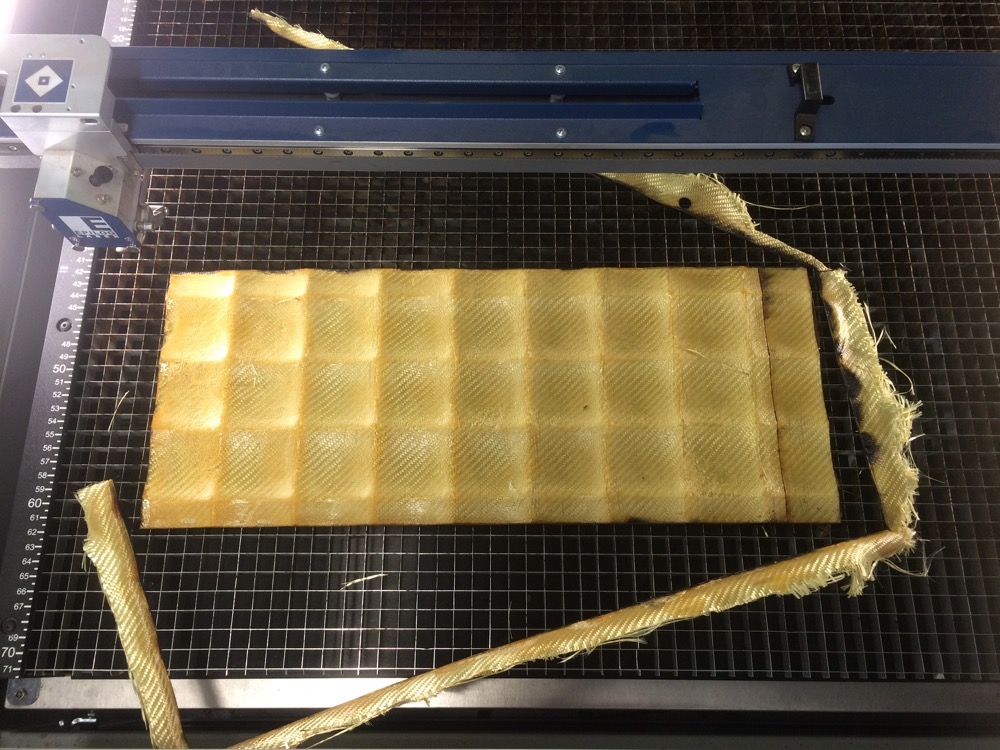
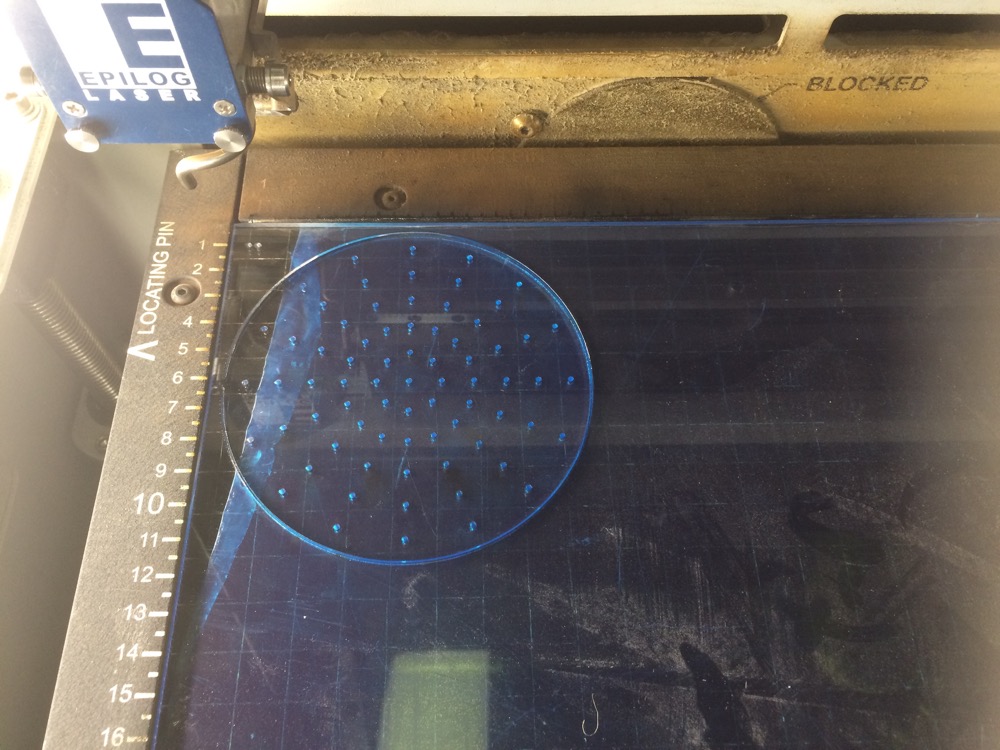
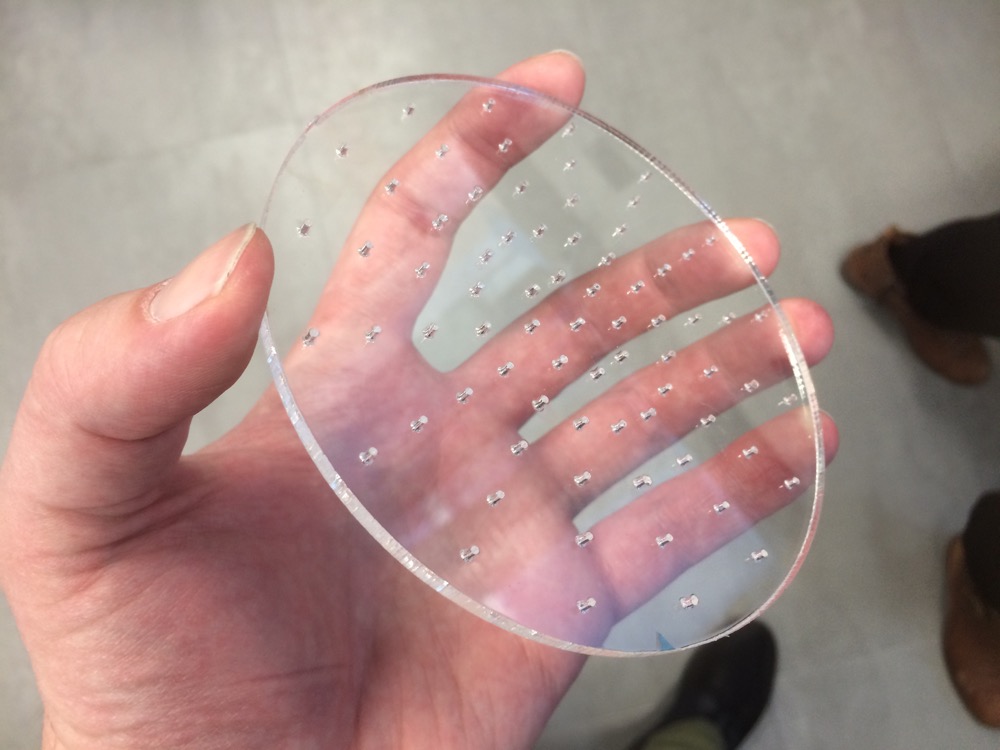
Testing Laser-cutting the part
Very easy
Time to take more risk and laser-cut the part clean
After a few passes
Mold re-assembly
Mold re-assembly
Mold re-assembly
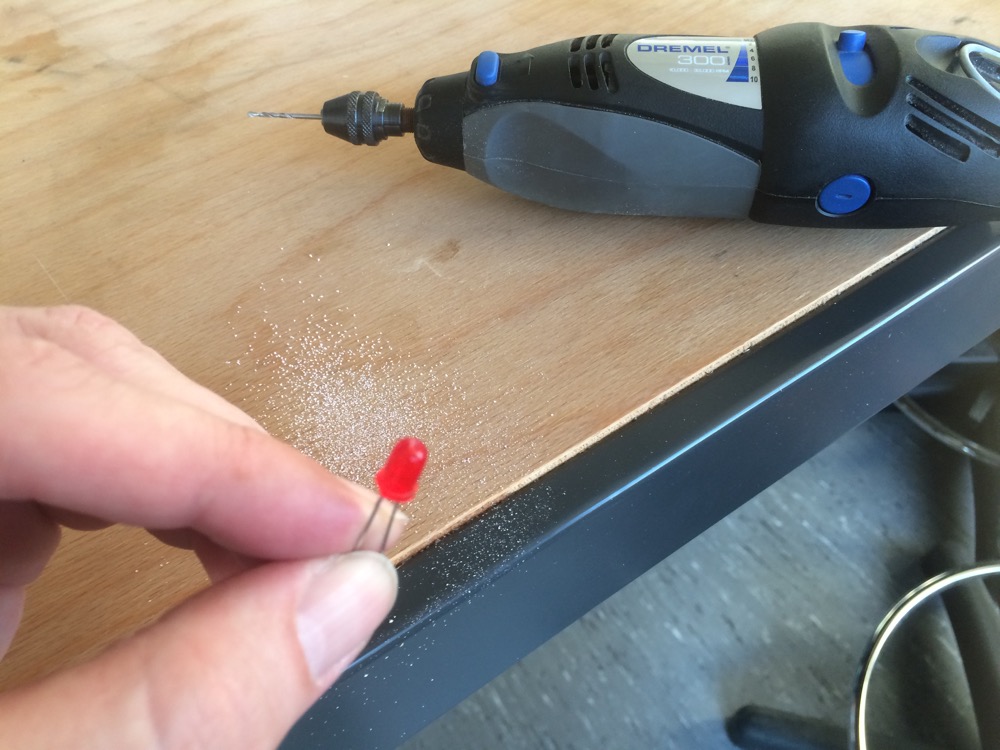
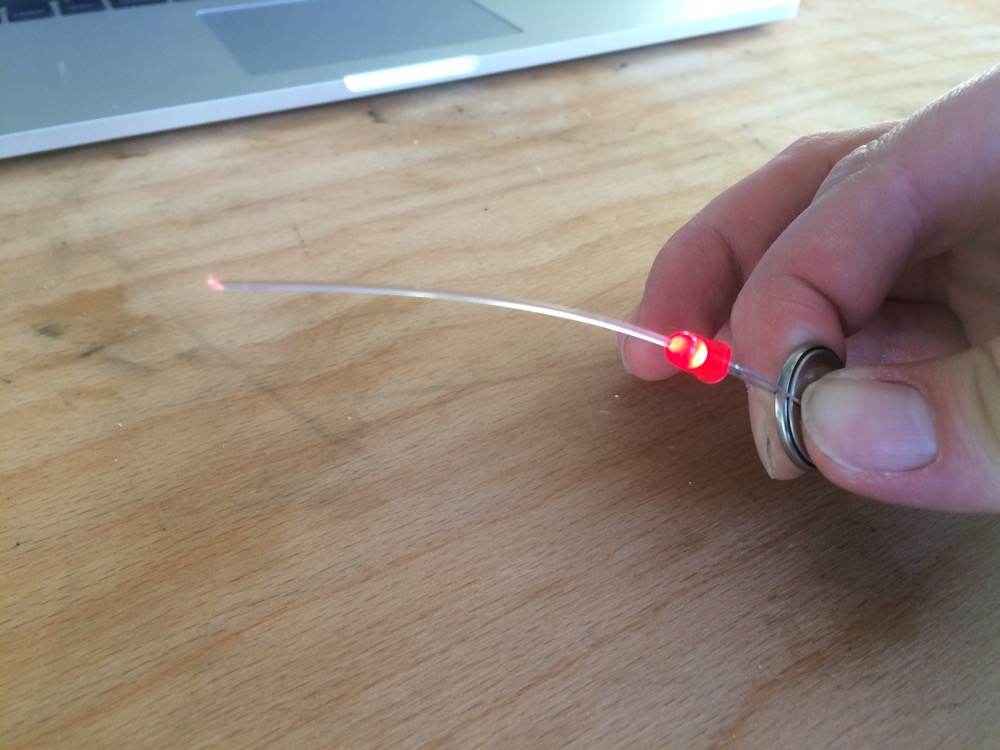
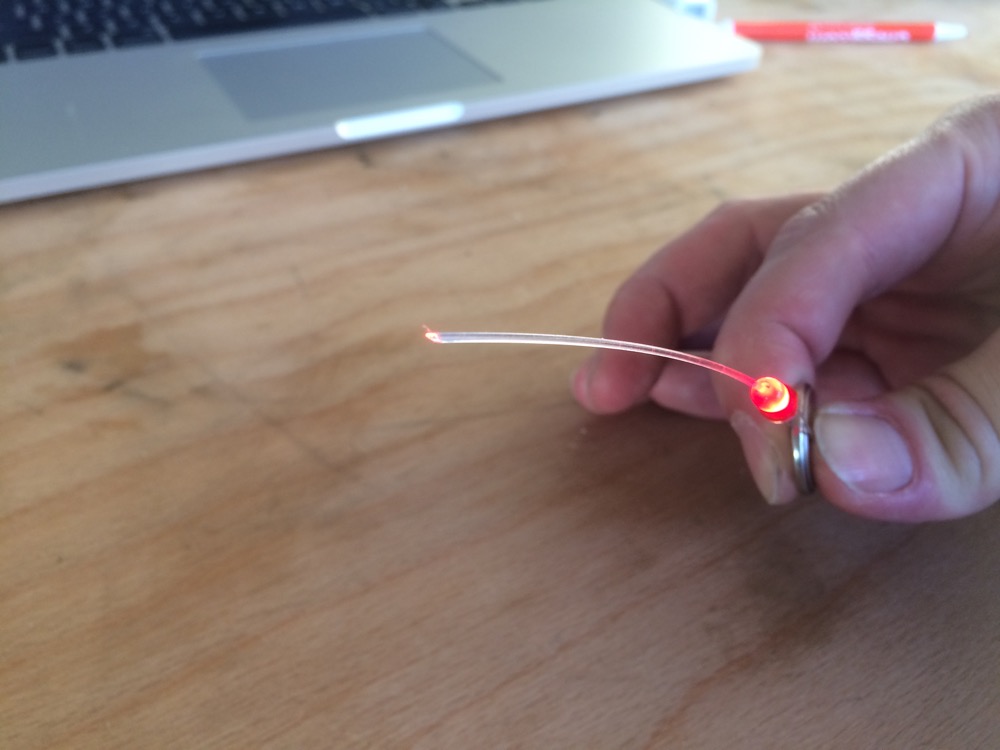
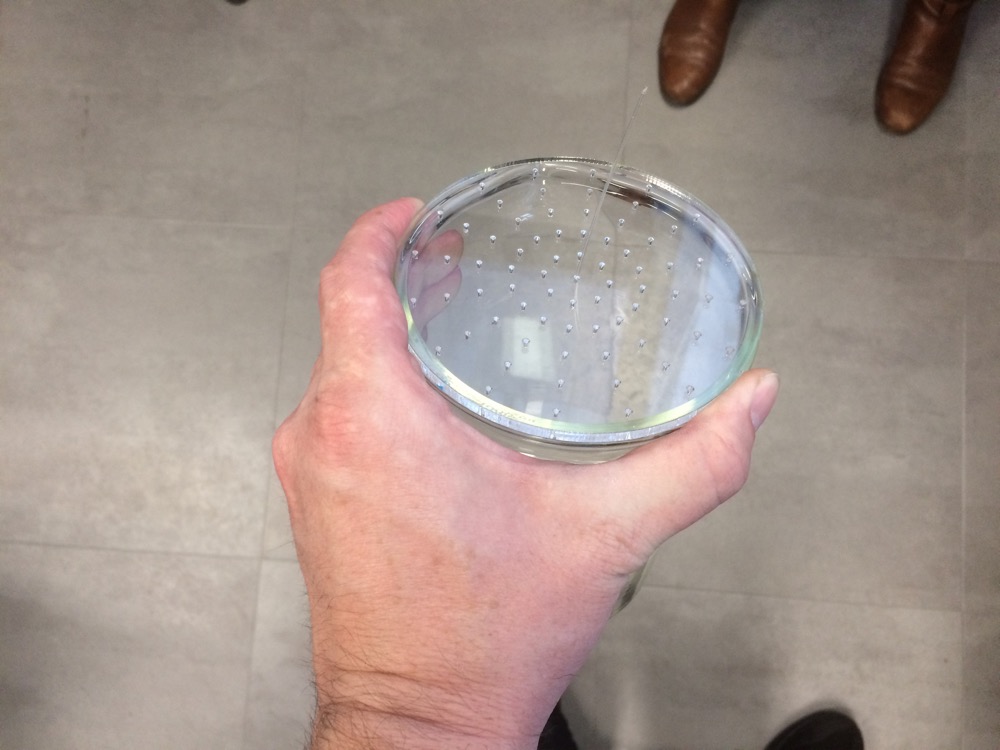
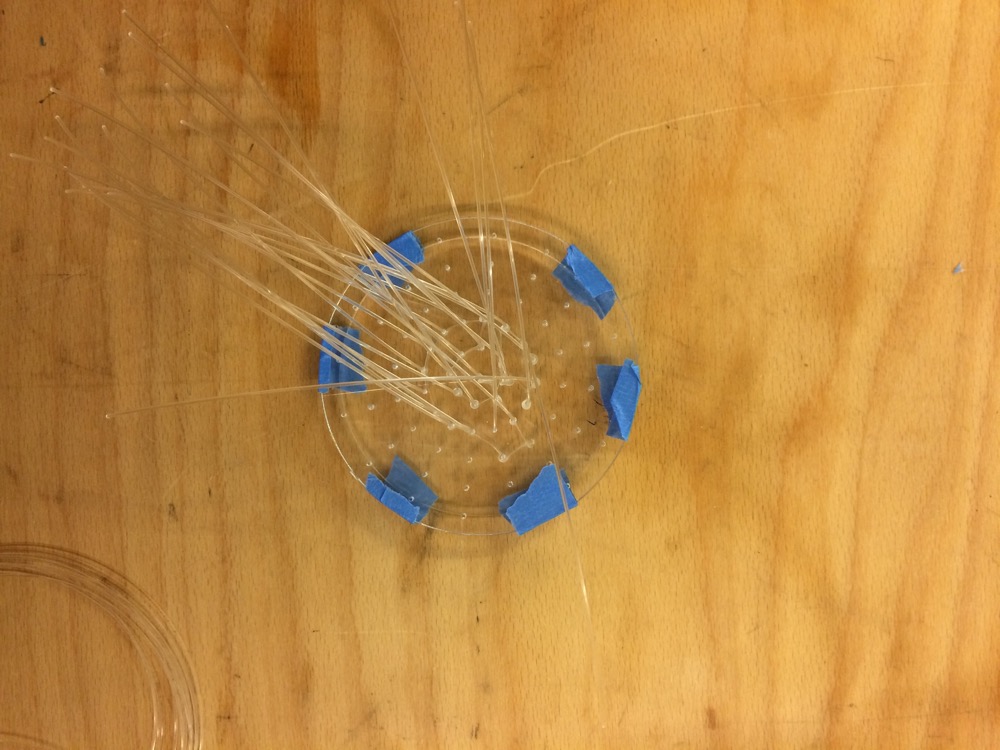
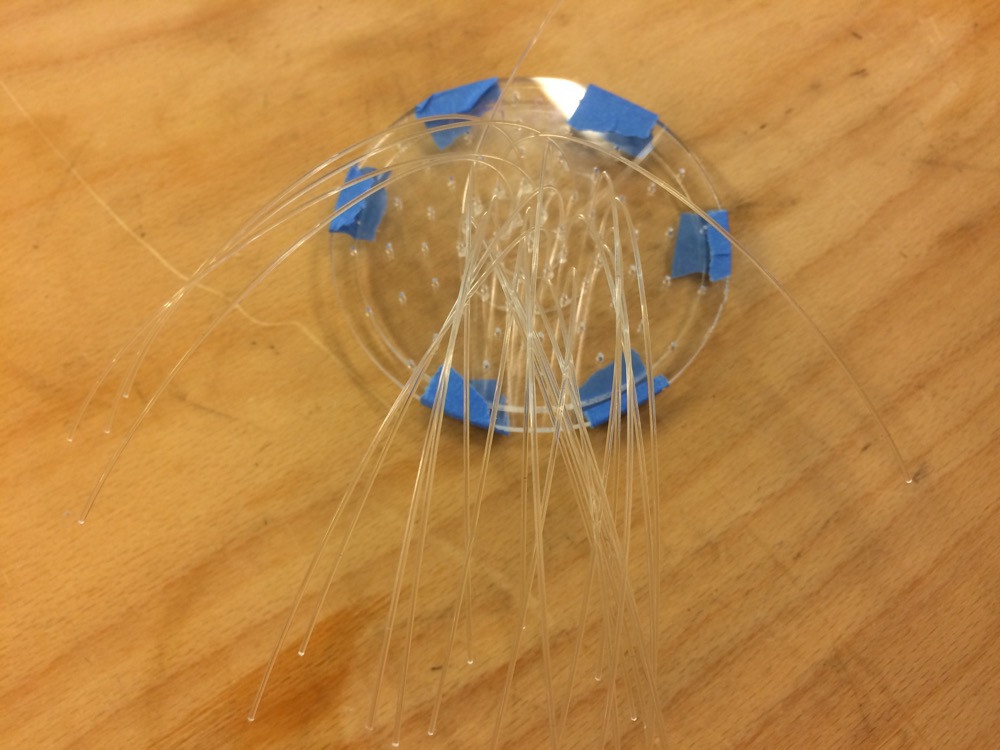
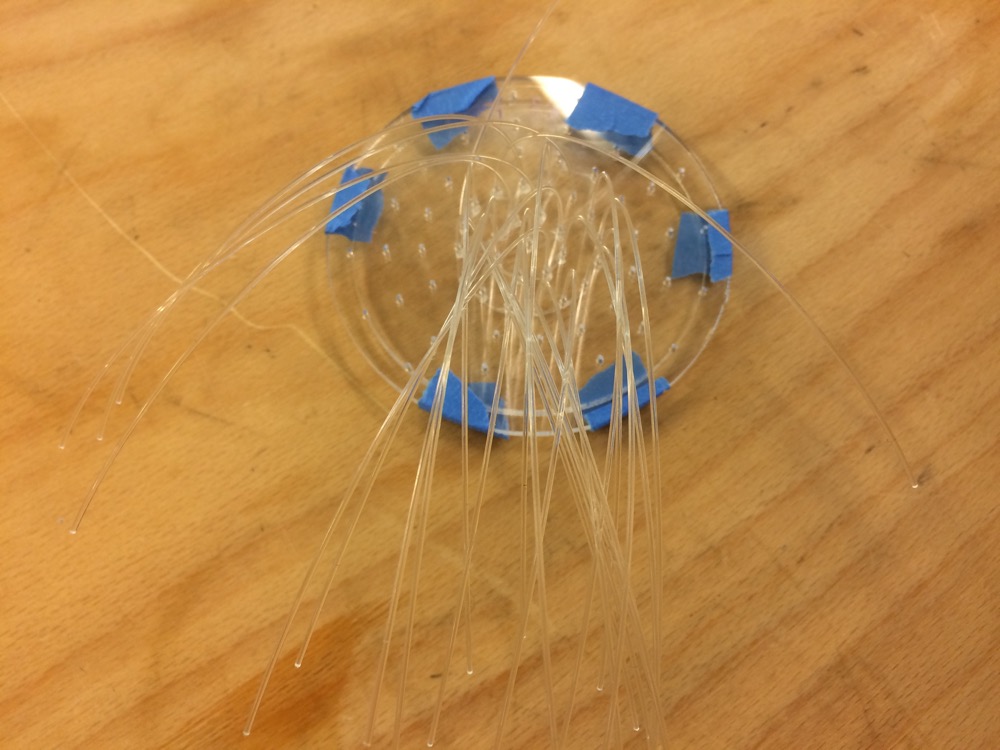
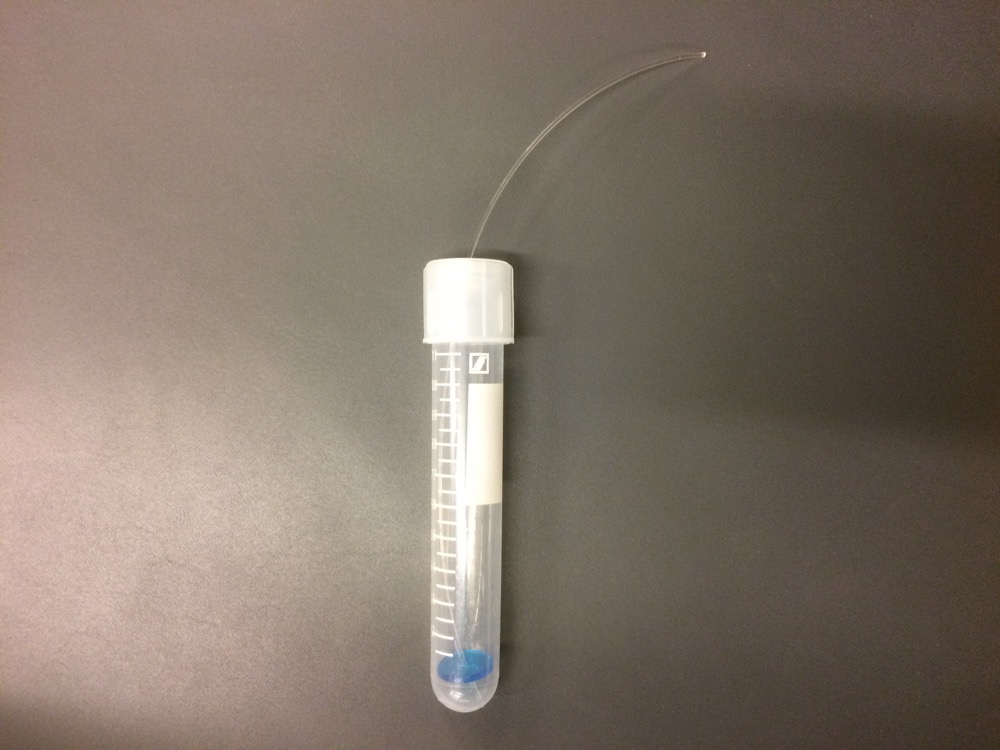
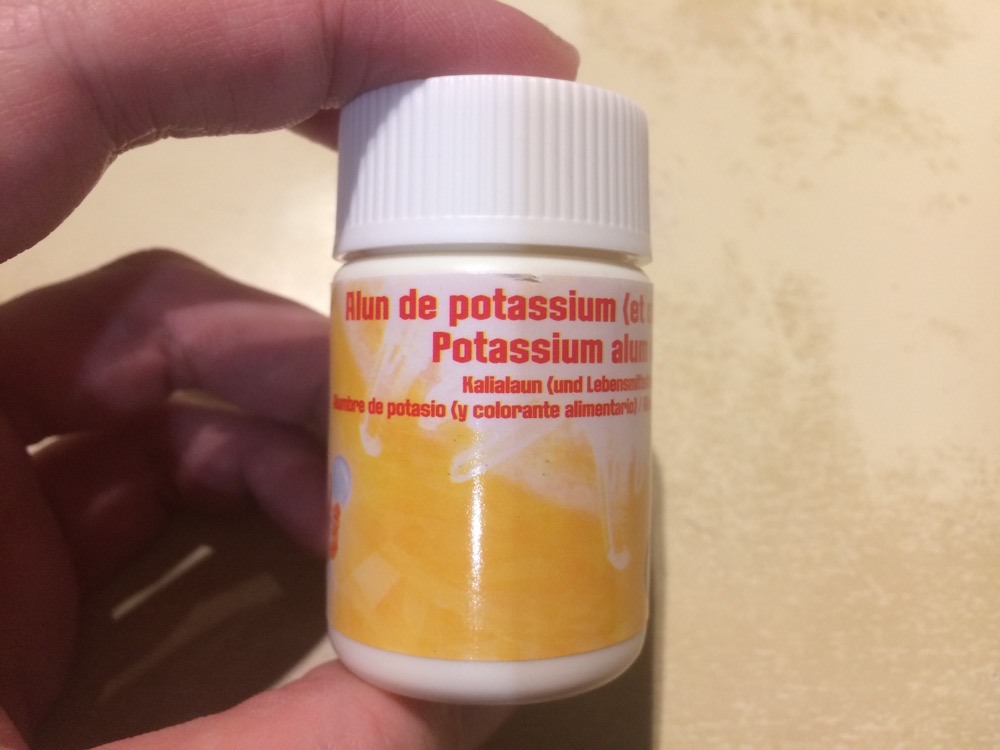
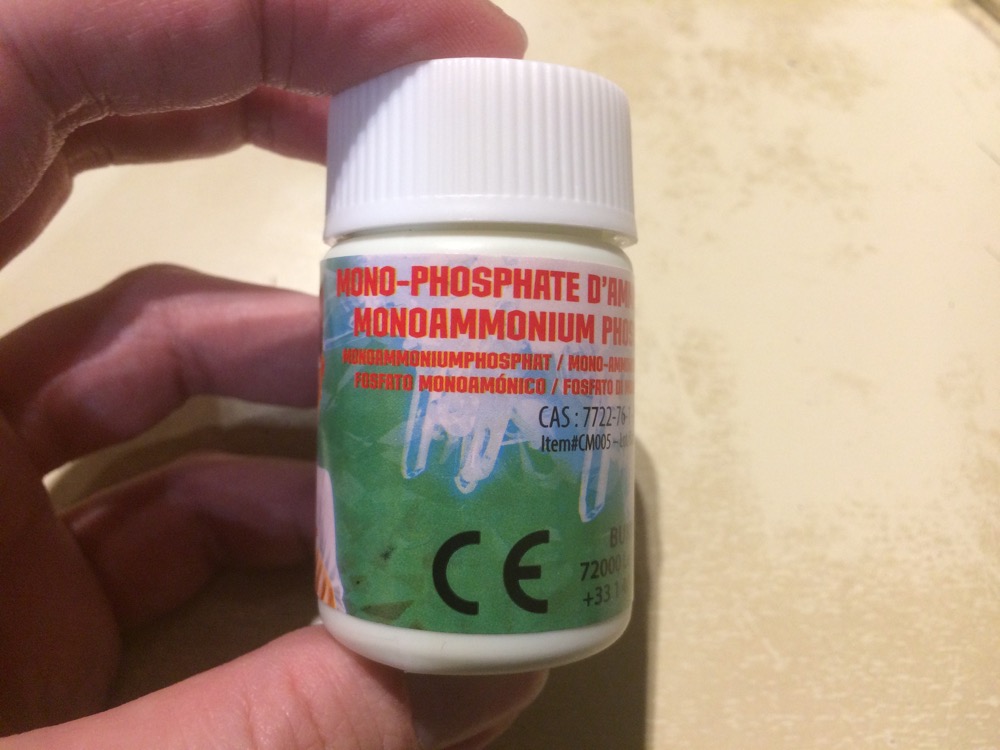
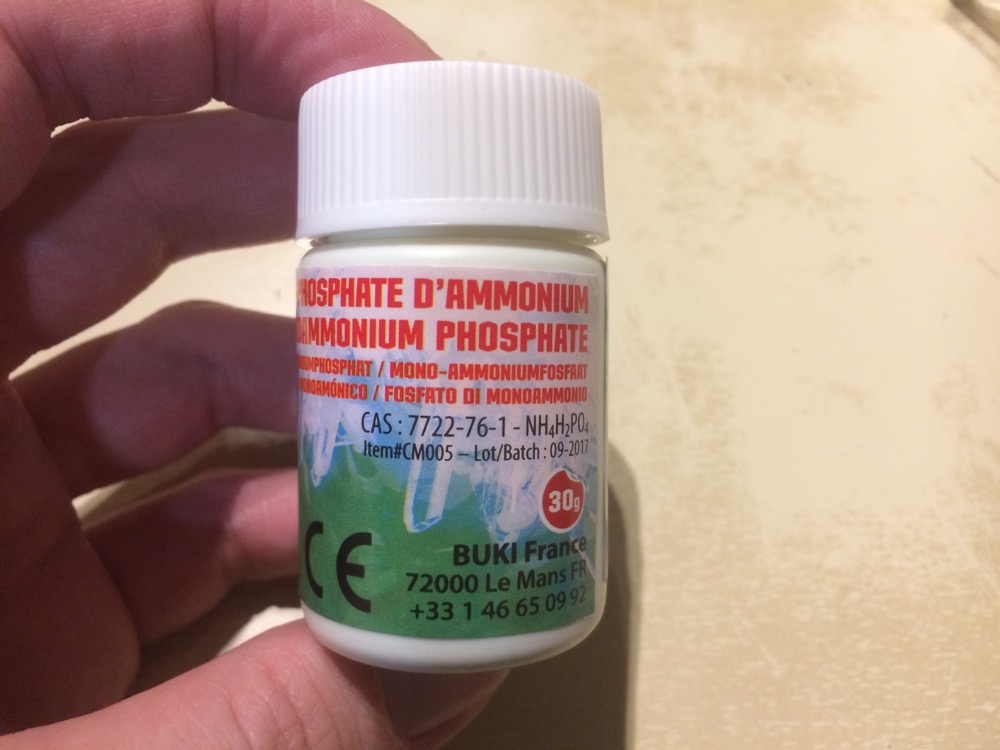
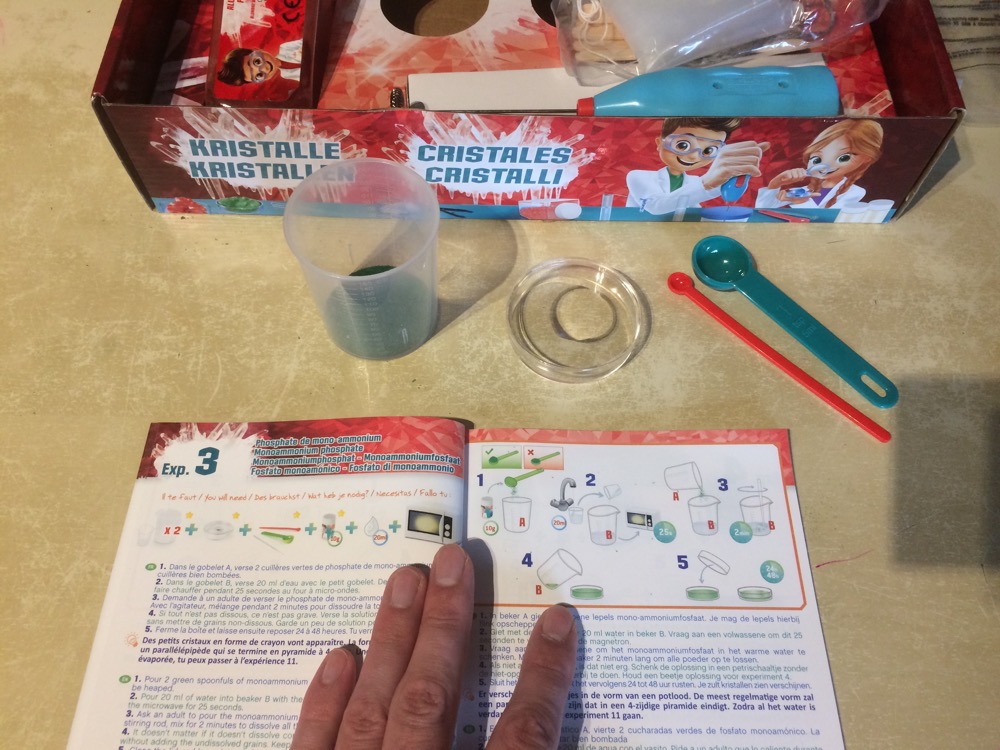
10 | An attempt to use Optic Fiber as a crystalisation fiber |
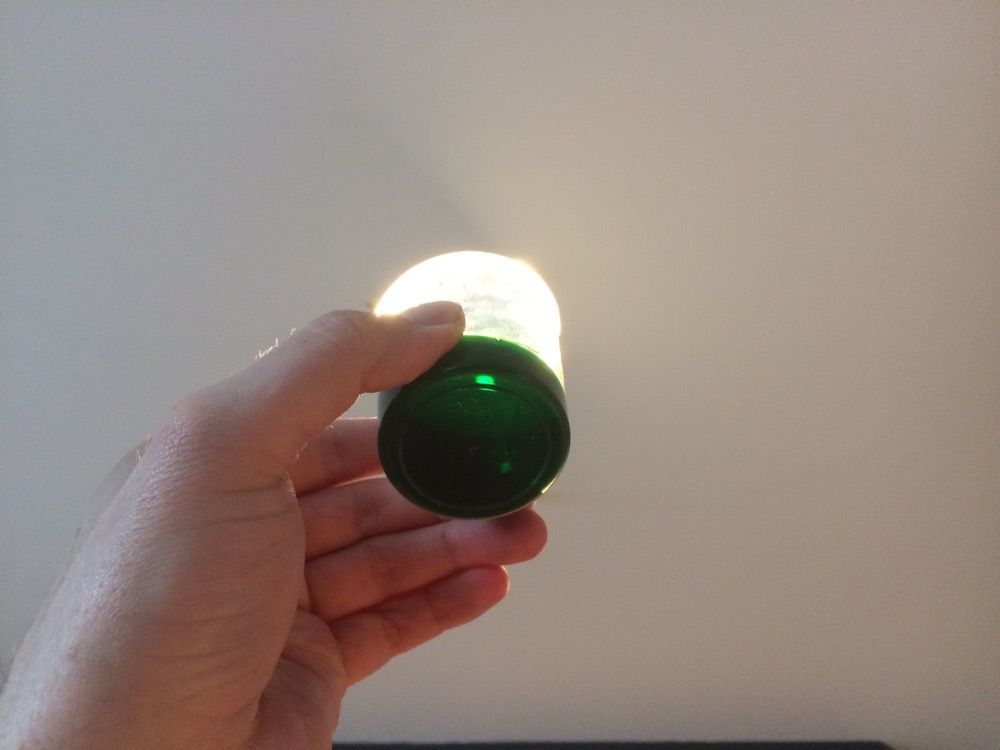
I wanted to bring pentahydrate copper sulphate to agglomerate on the surface of an optic fiber - an optic fiber is a 1mm thick or so (diameter) polymer bulrush that can transmit light all along itself, like on the picture below.
After a few tests, we concluded that no crystal would be able to grow on an optic-fiber using this method.
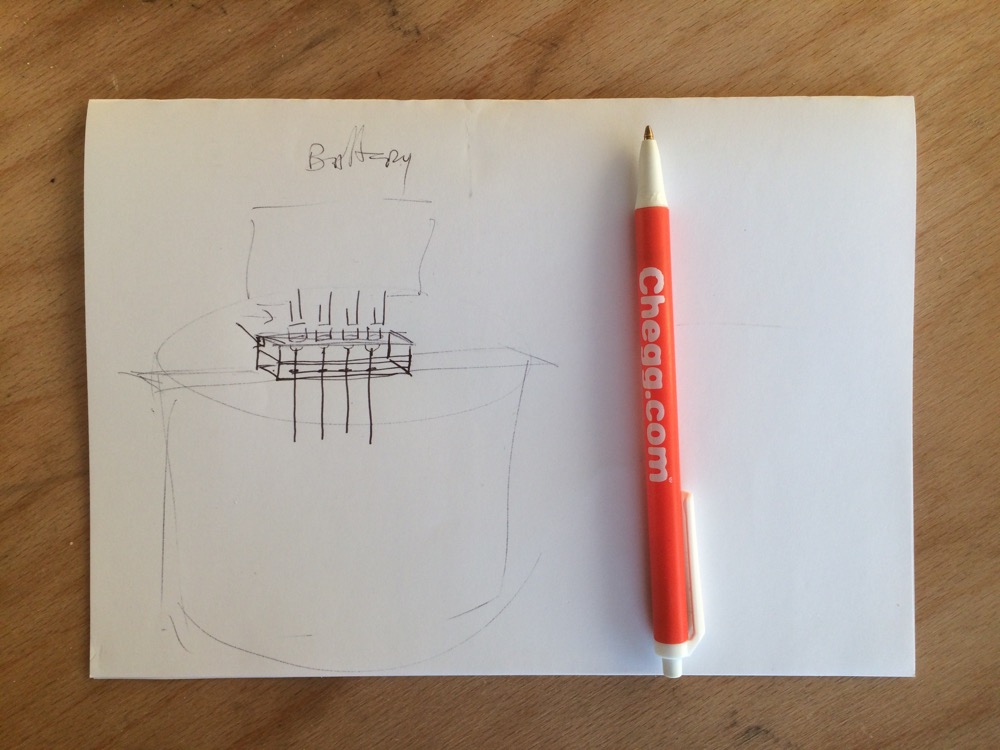
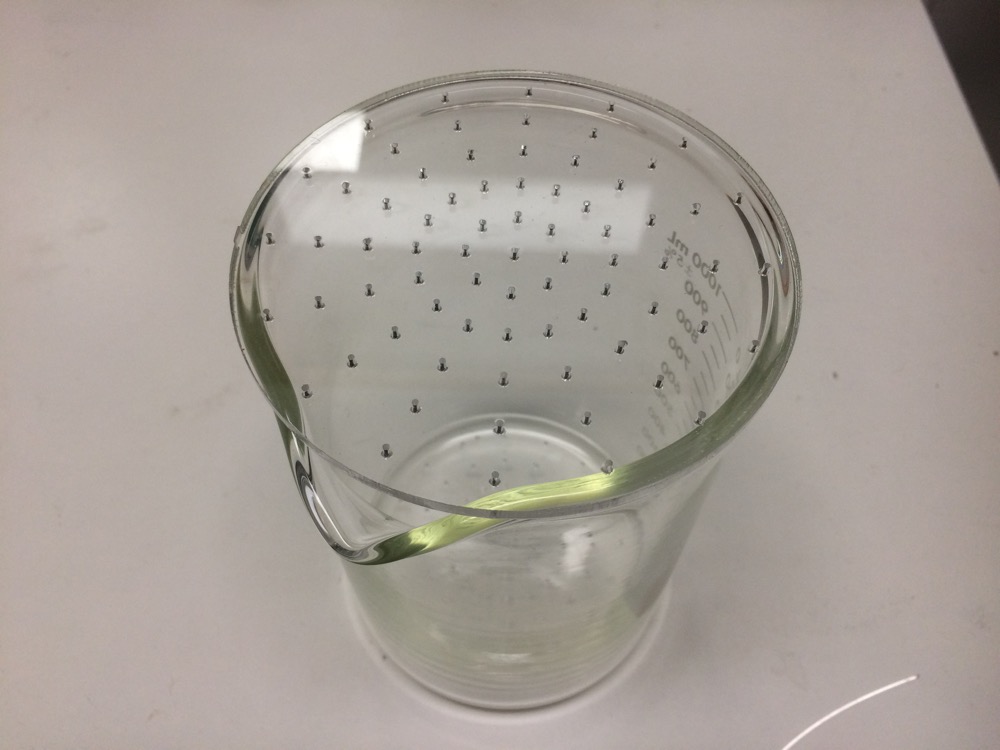
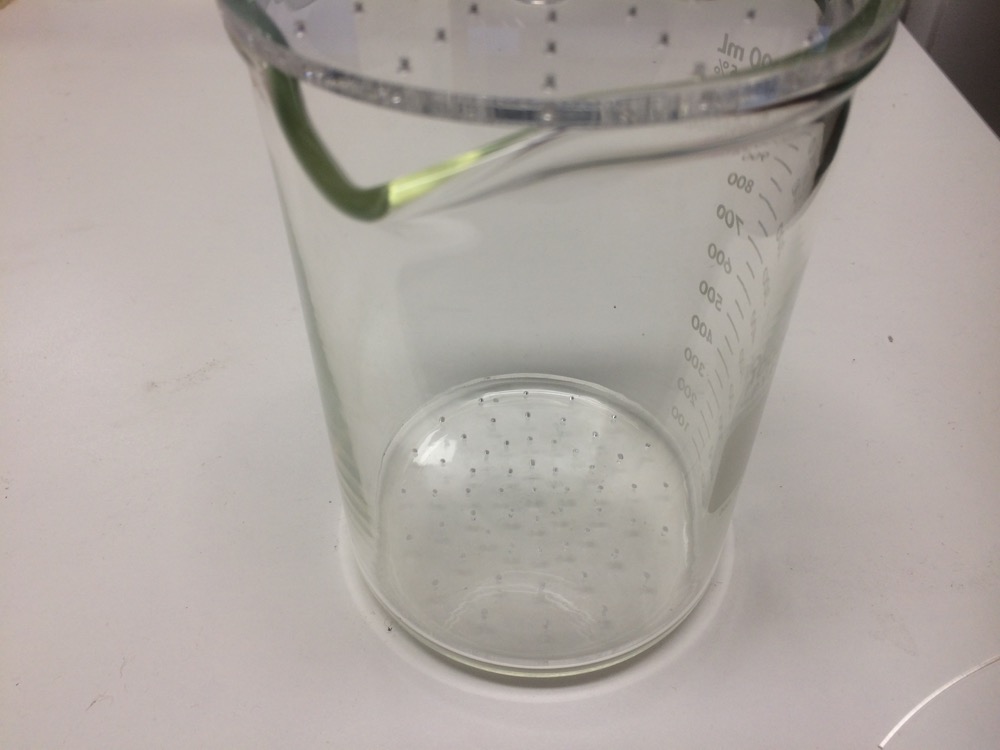
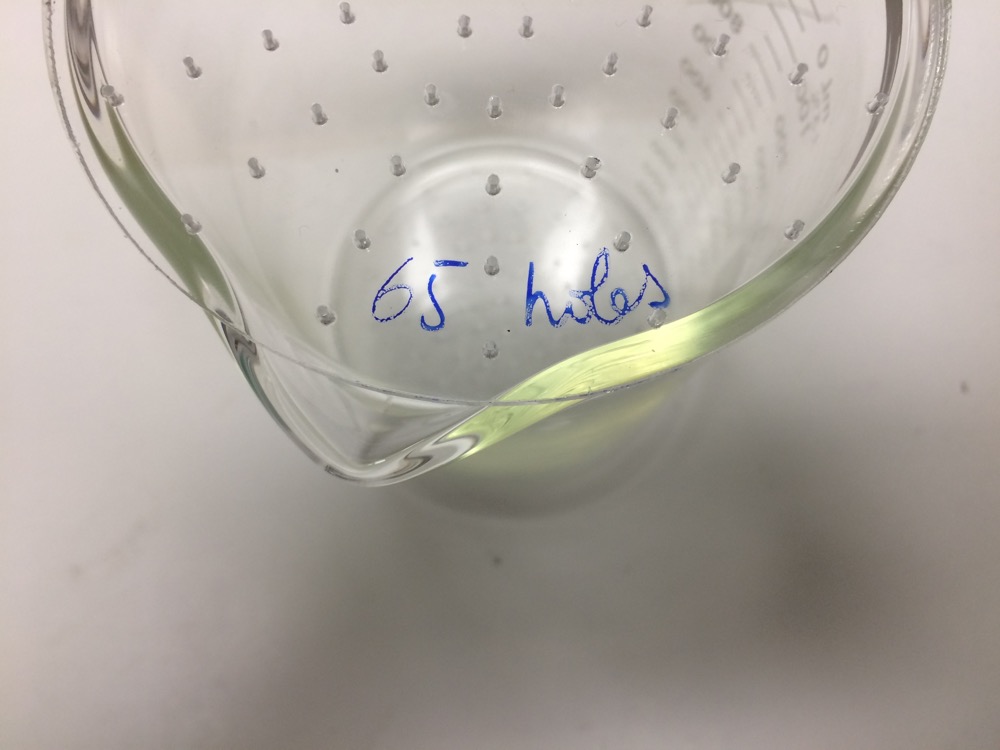
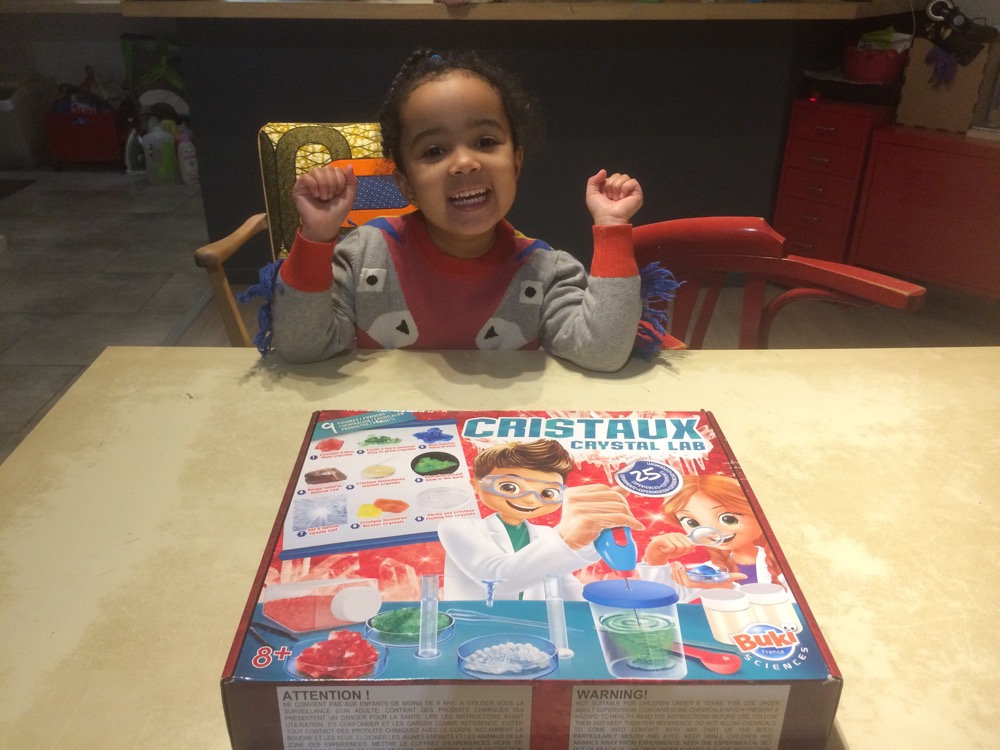
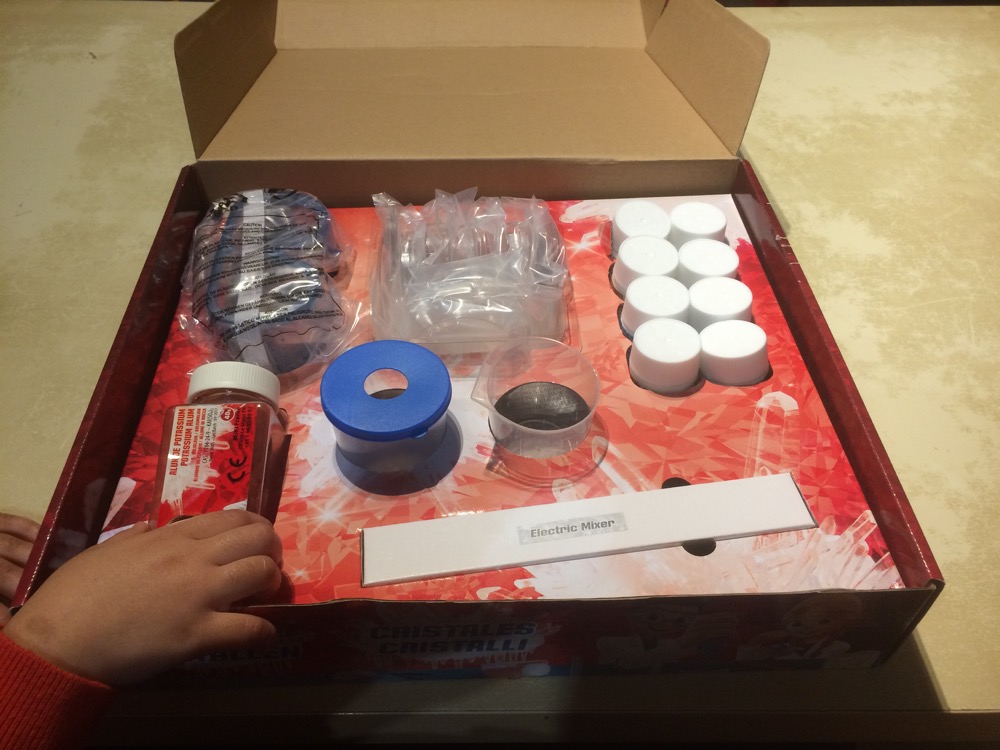
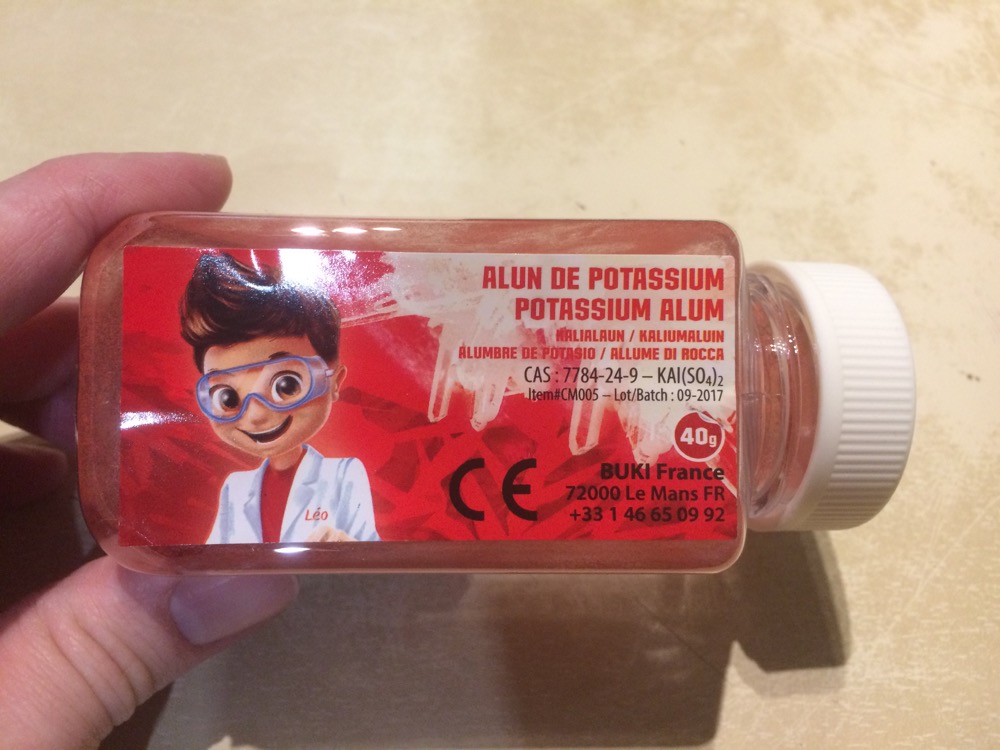
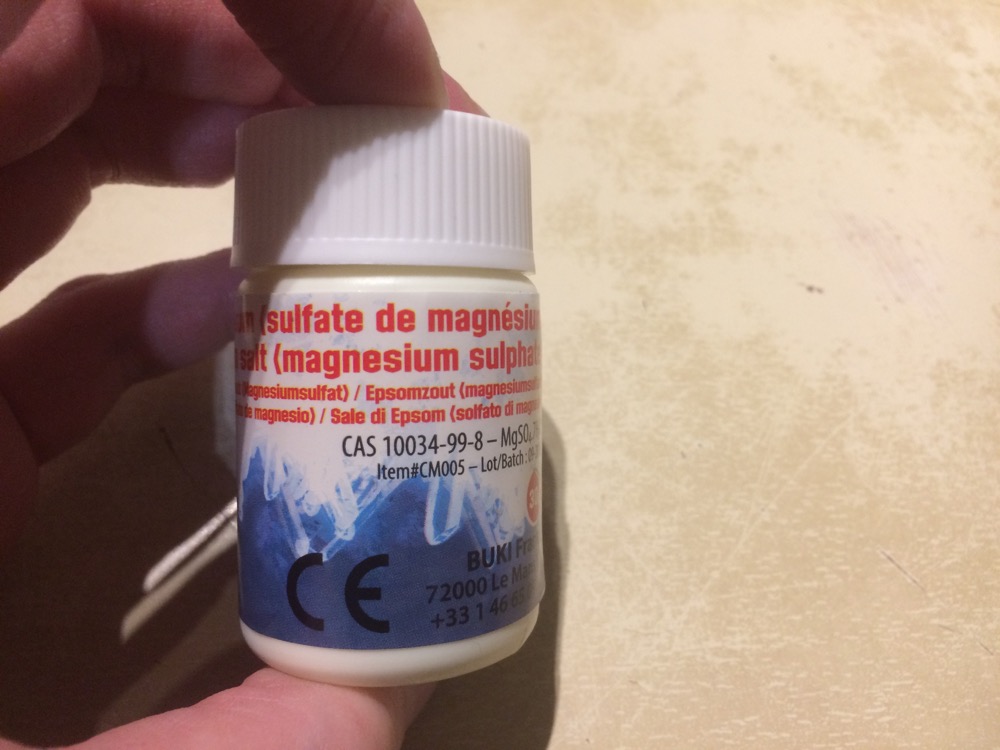
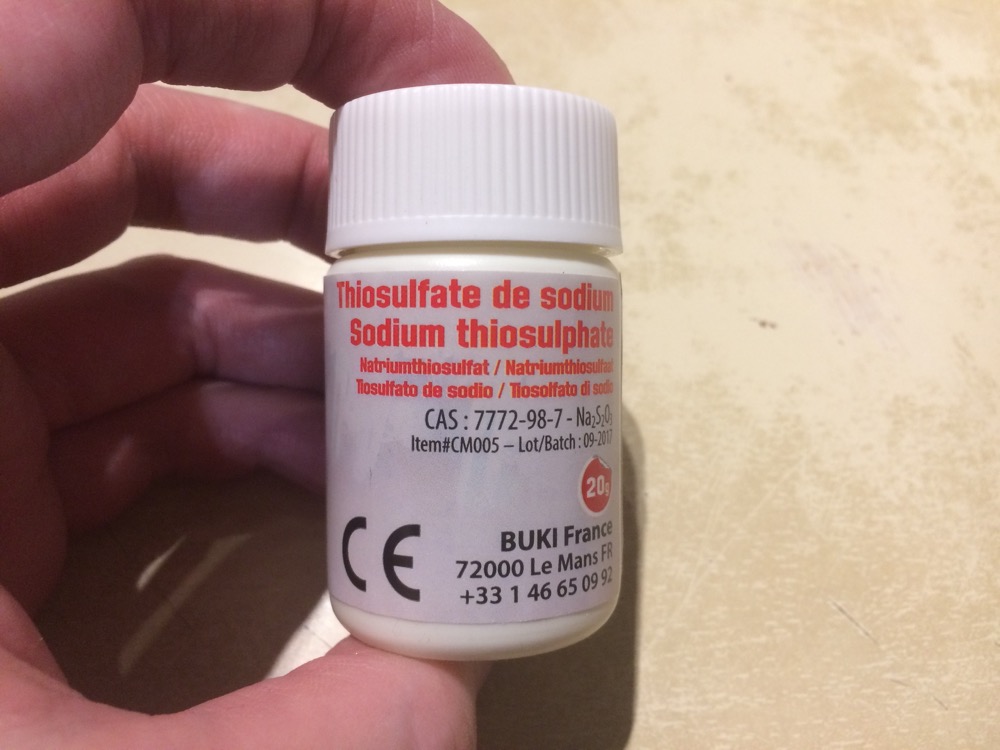
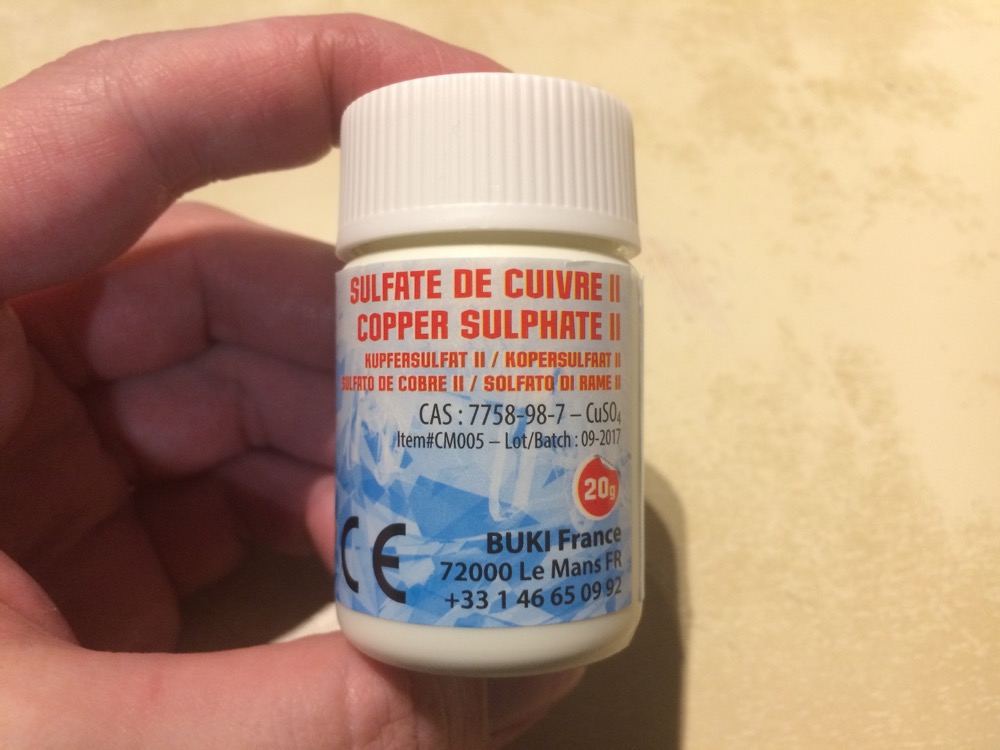
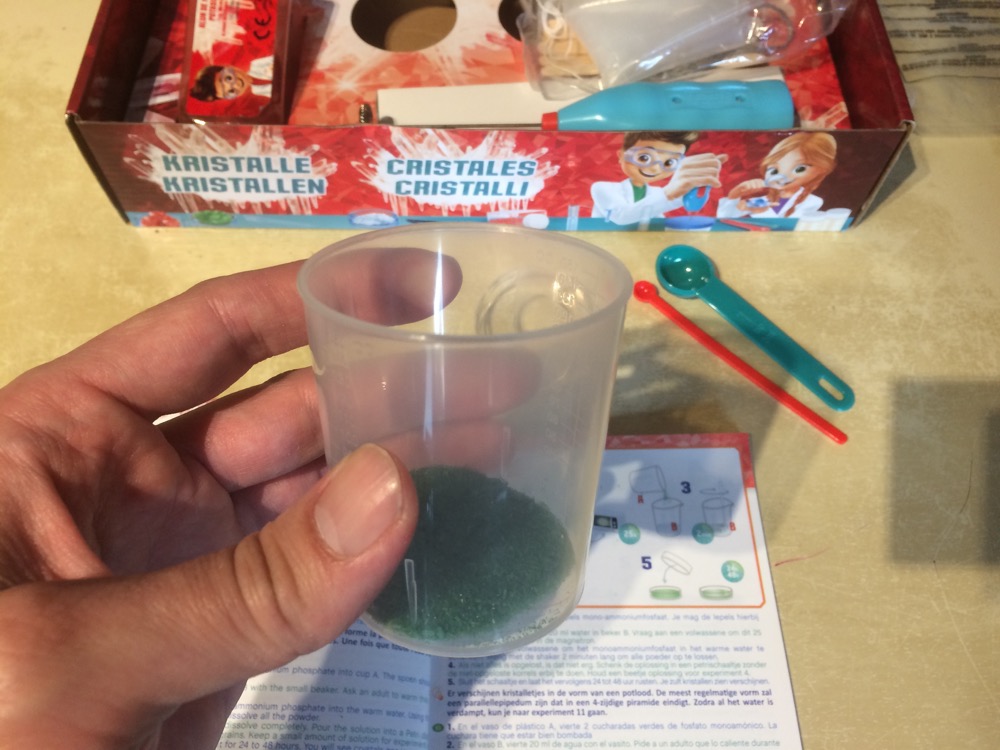
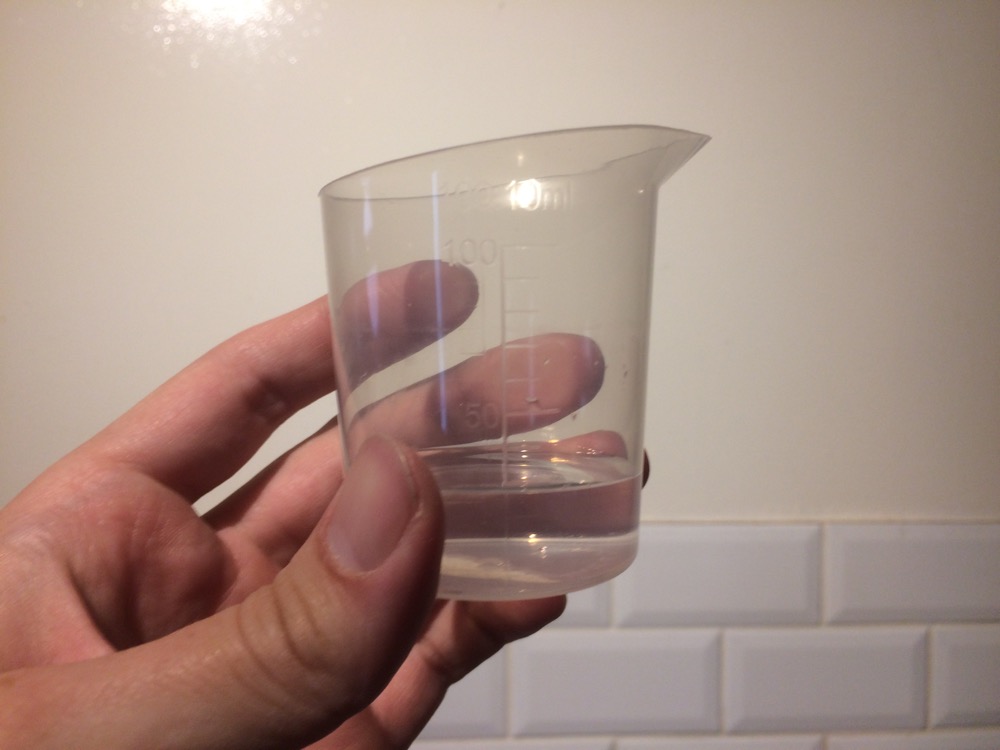
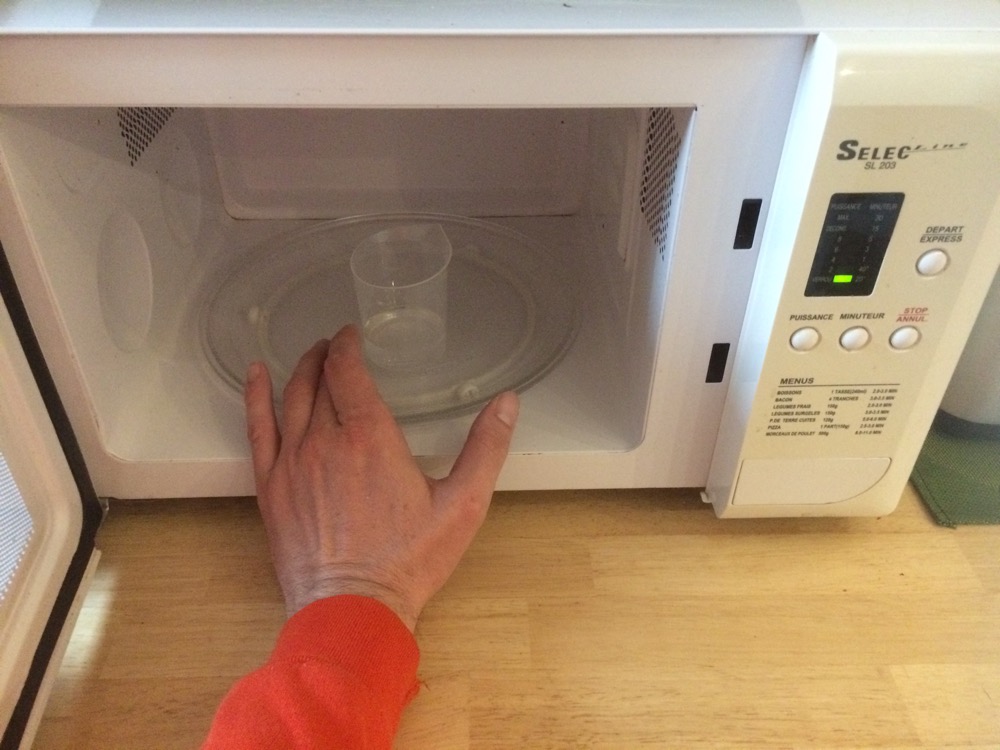
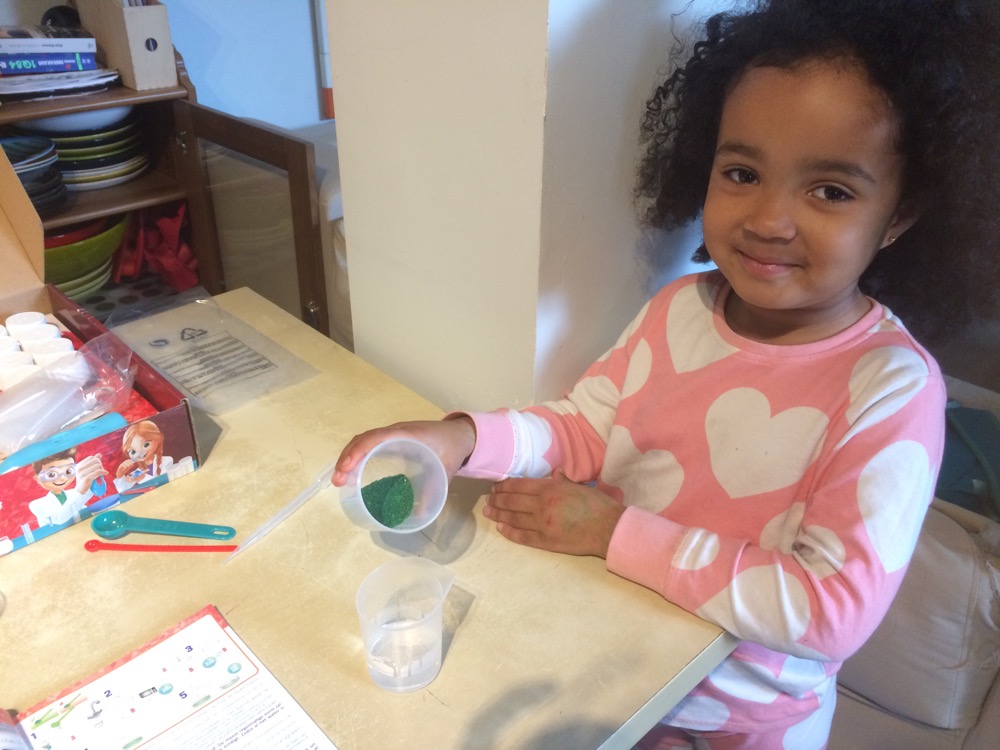
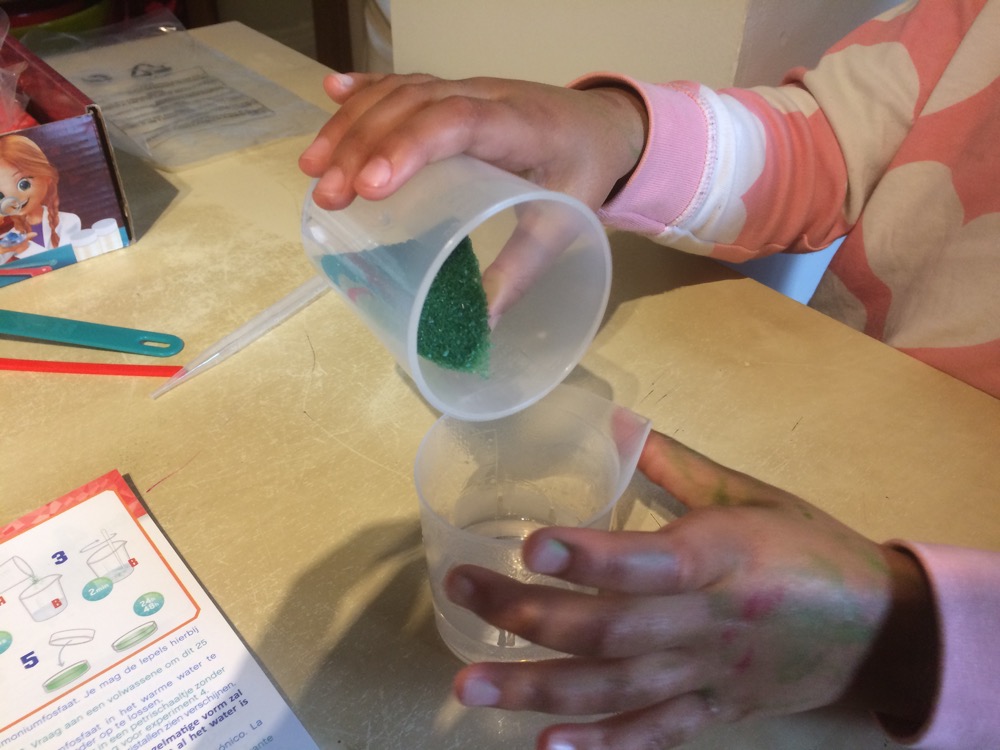
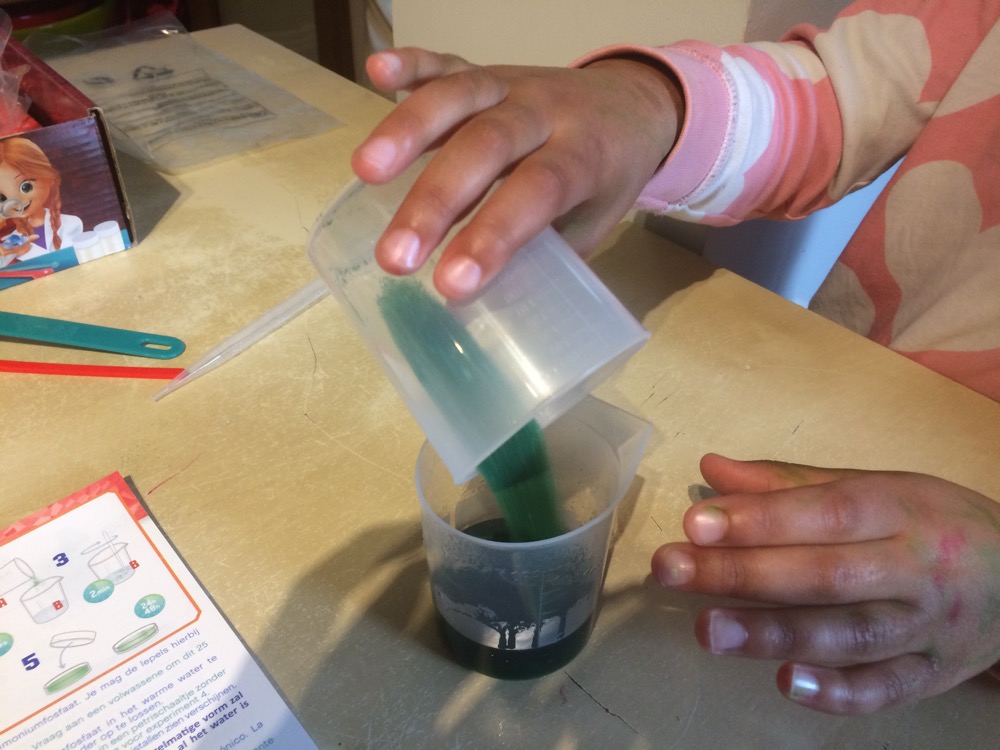
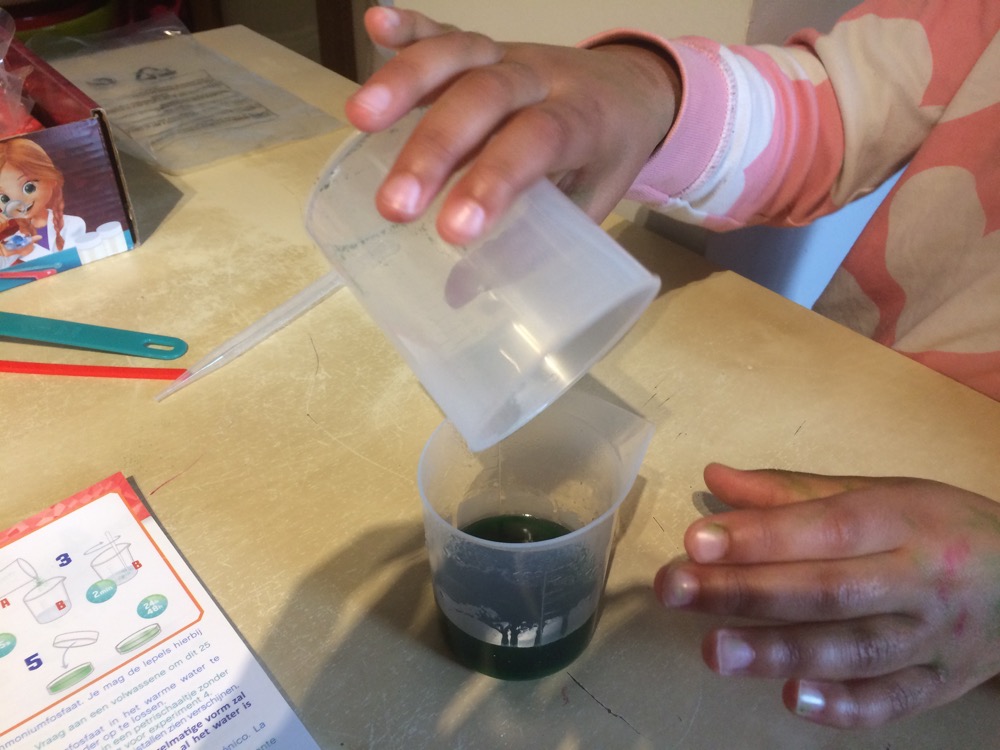
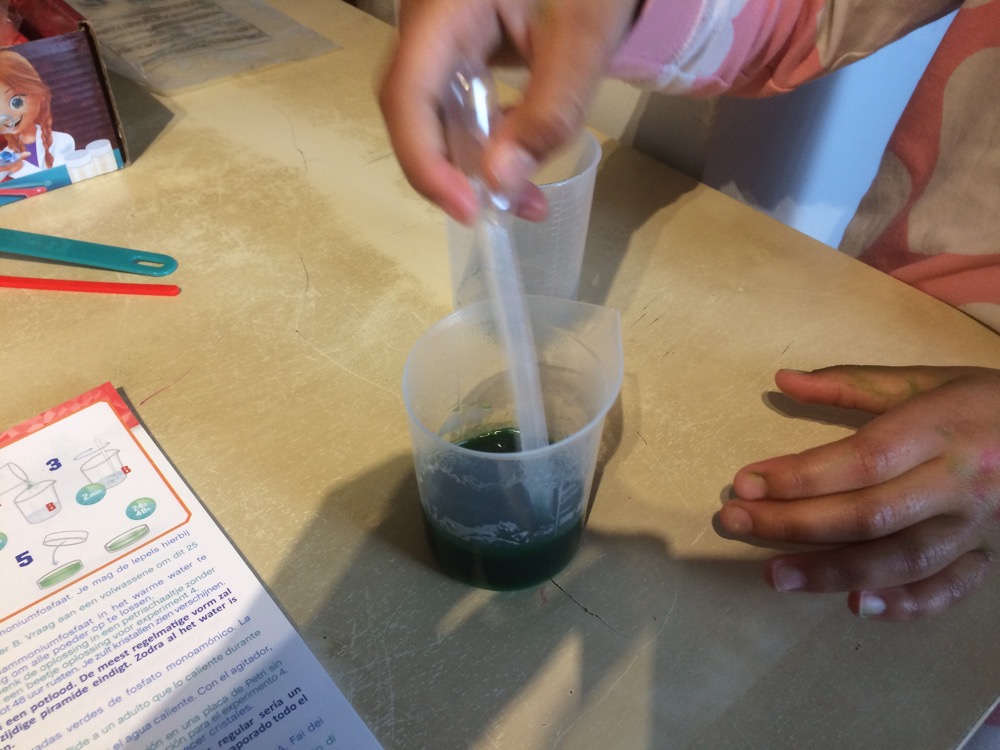
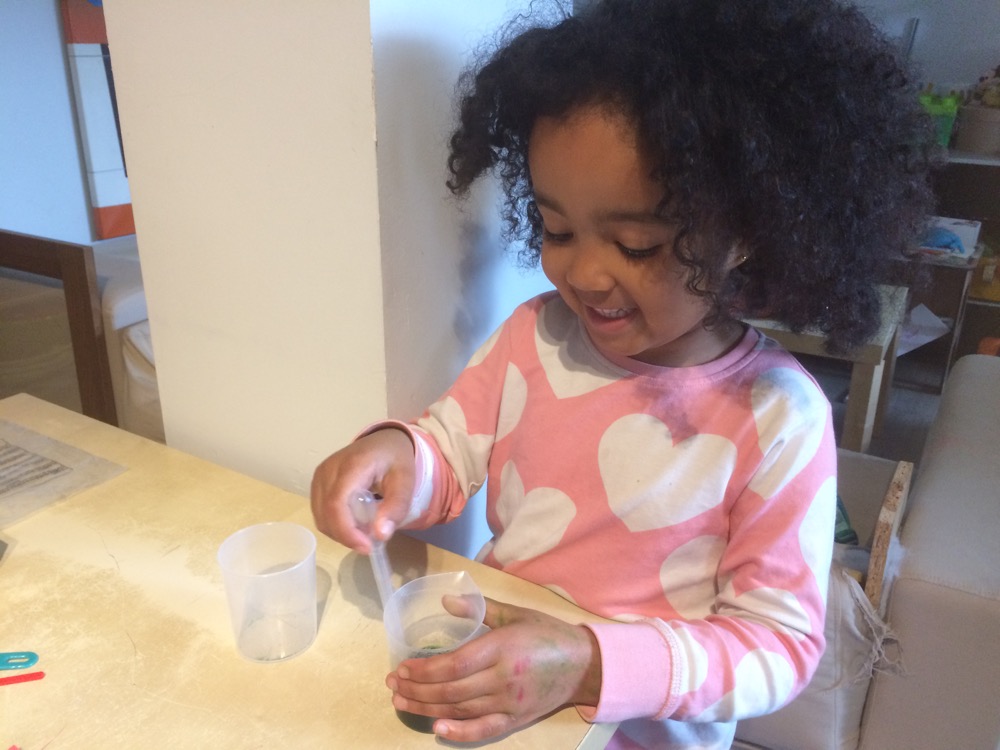
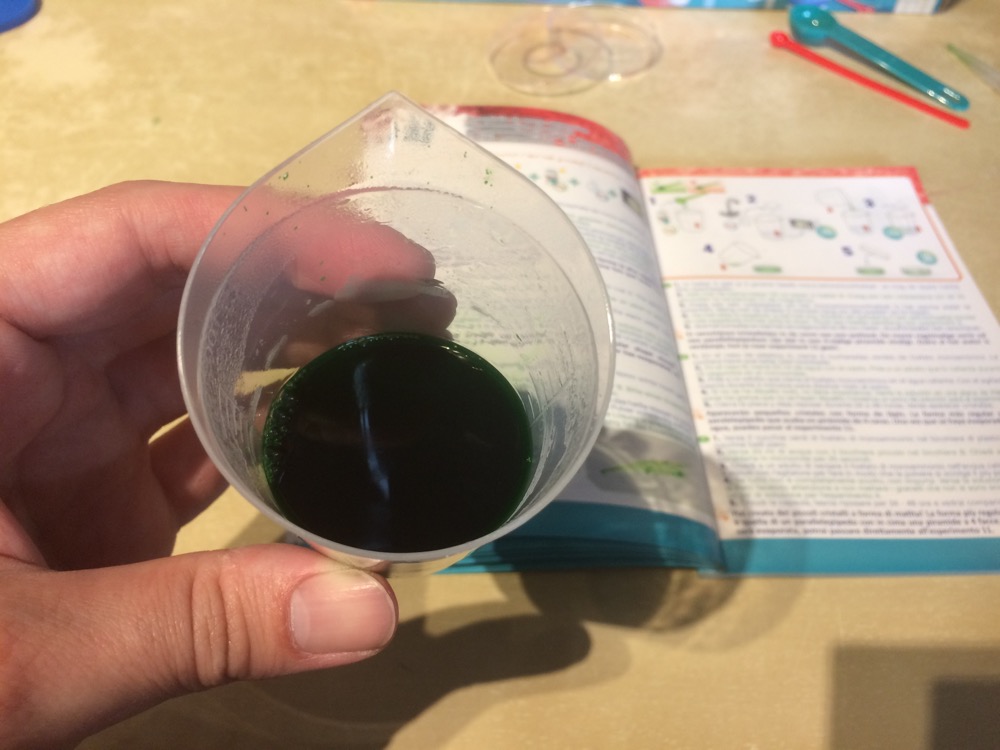
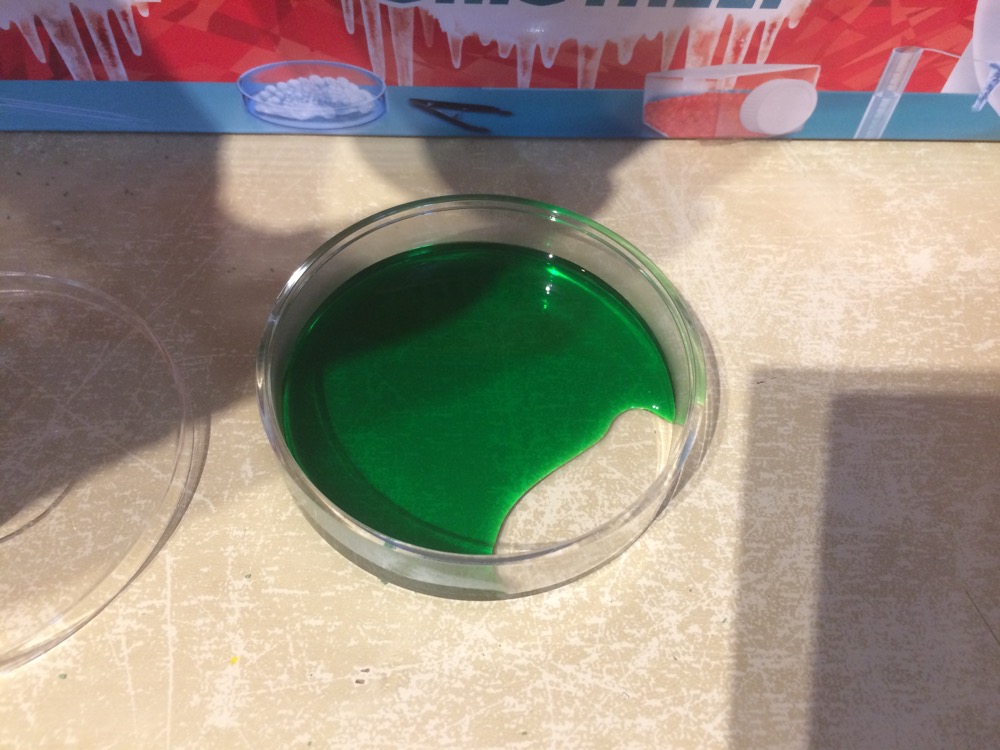
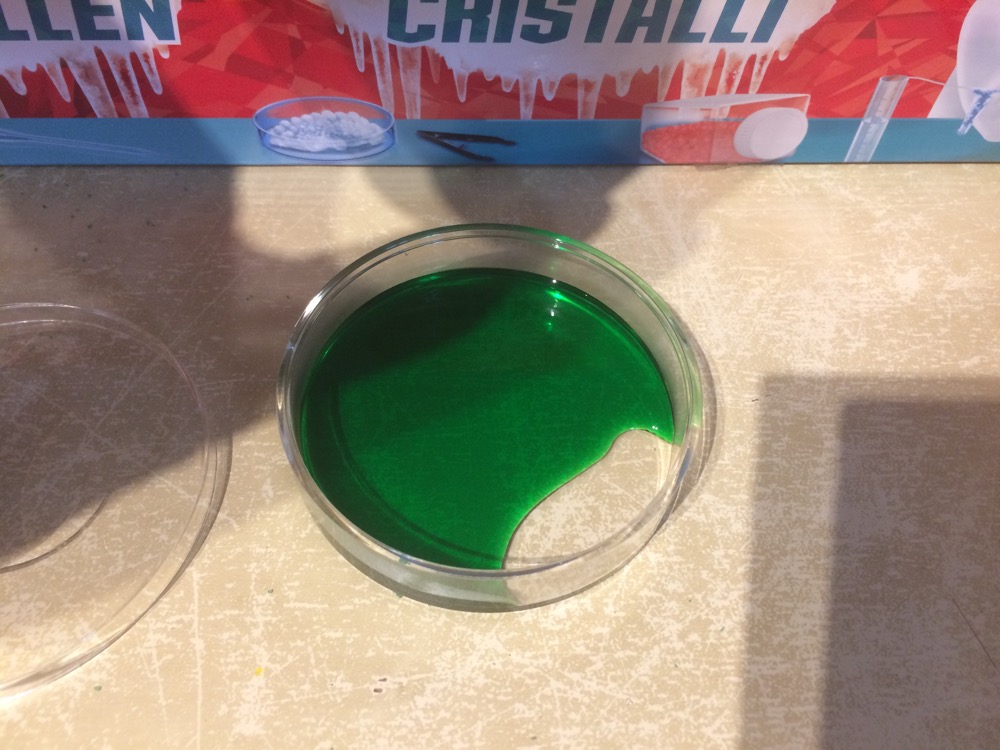
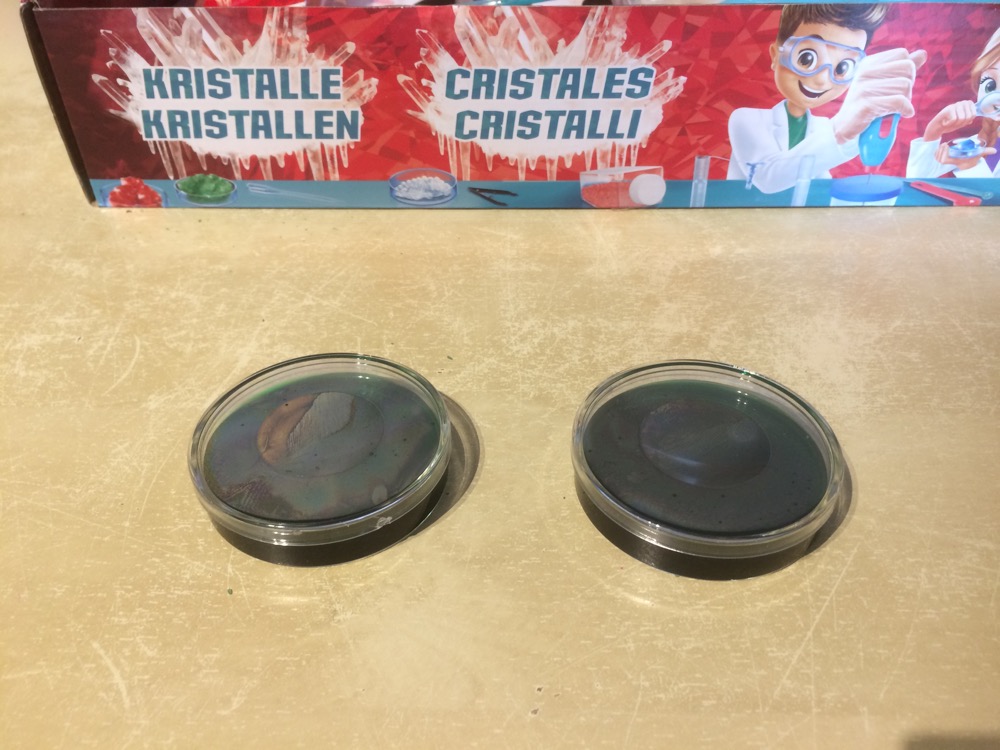
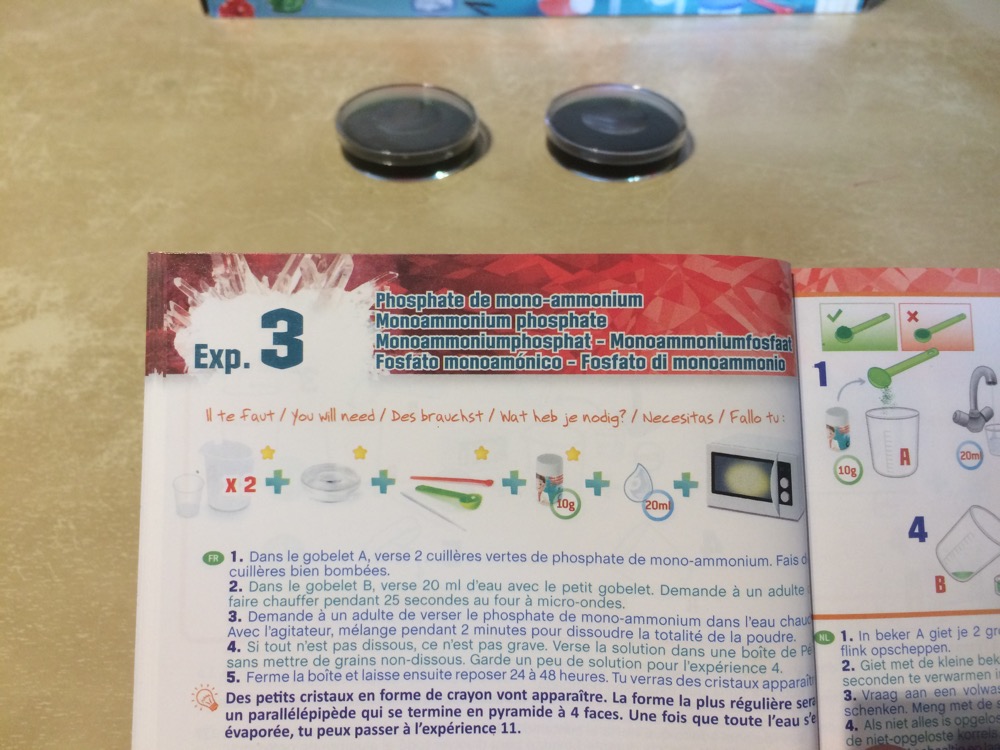
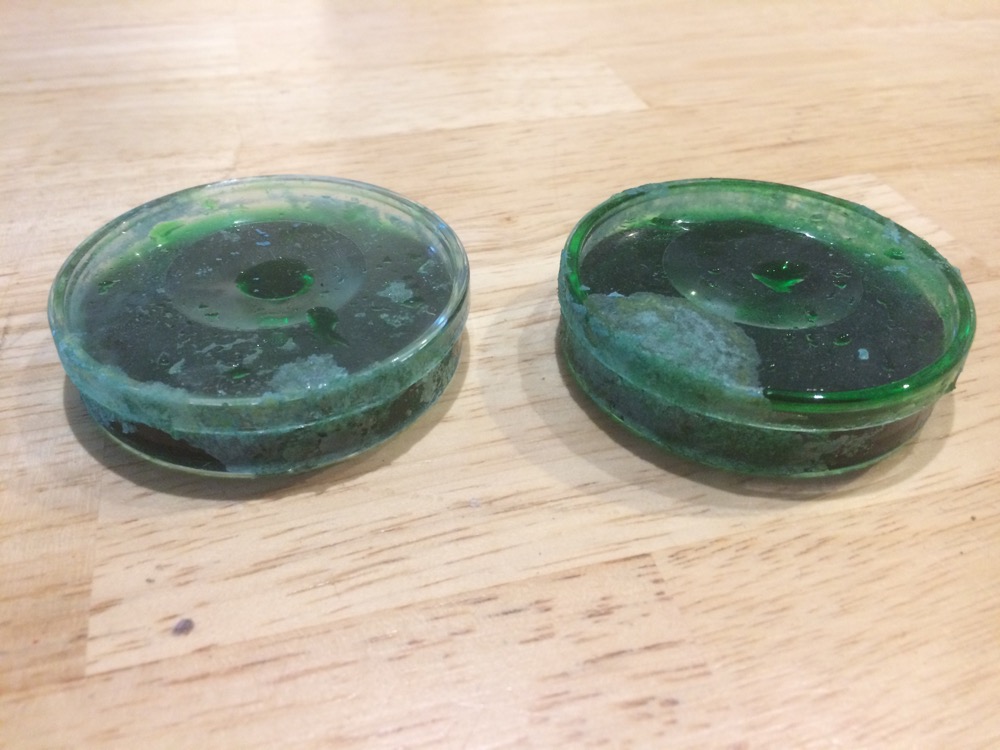
The first time I did copper-sulfate crystals I was 8 or so. I wanted to do it with my daughter Zola this time. To avoid any risk for this first attempt with my kid, I’ve bought a box of chemicals that is bit similar to the one I had as a kid. The experiment didn’t work. No crystalisation happened inside the petri dishes whereas it happened outside of the it (Zola kept touching and moving them and some green liquid came out of them). Did the contact with air helped ? Next time i’ll do it at the lab.