FABRICADEMY WEEK12 ASSIGNMENT

-Document the concept, sketches, references also to artistic and scientific publications
-Design a skin circuit:
-Build your own version of the “Skin masquerade party” project or
-Build your own version of the “Twinkle Nails” project
-Document the project and included all source files and all materials used
-Make a video with your skin electronic working
-Make a performance of your project functioning
To start this assignment I had a 3D scan of my face captured by Camille. I want a mold to place something interactive inside a “mask”, and I want to play with layers and the thickness of it.
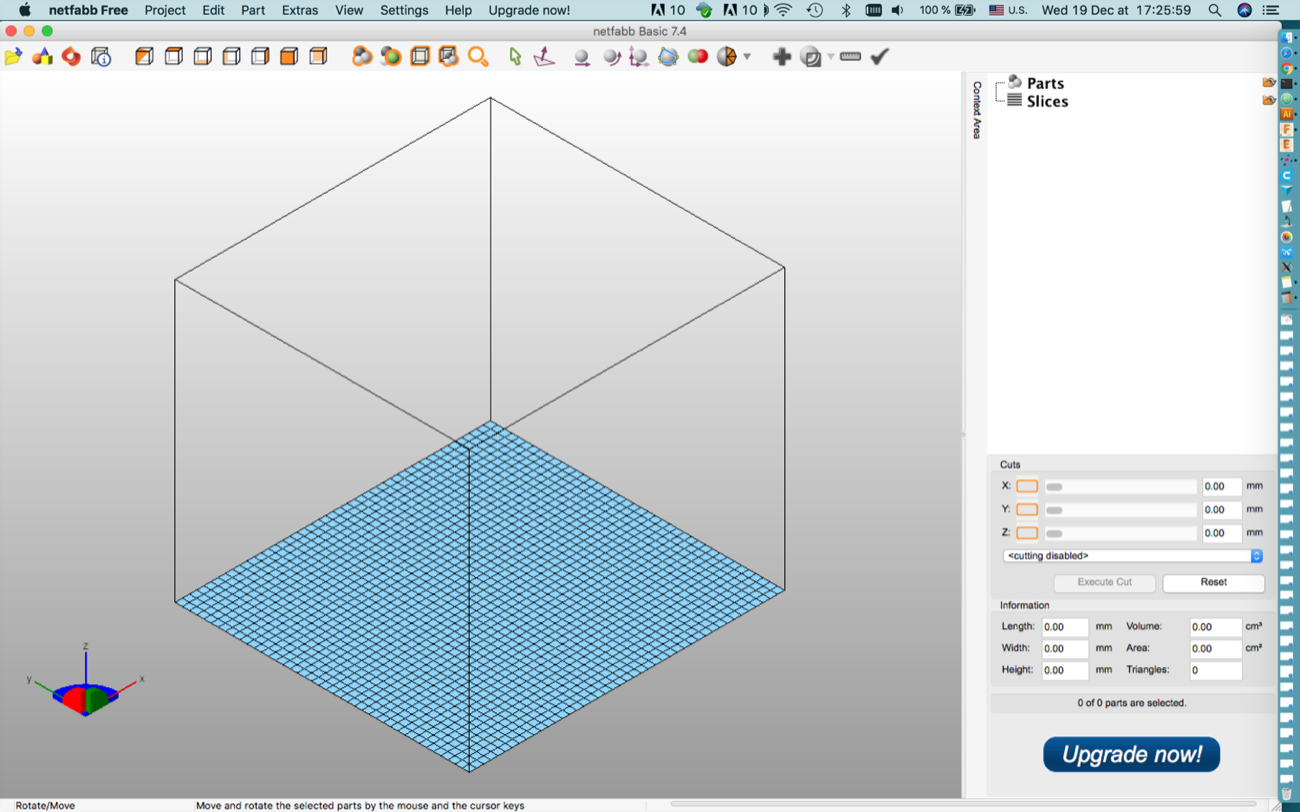
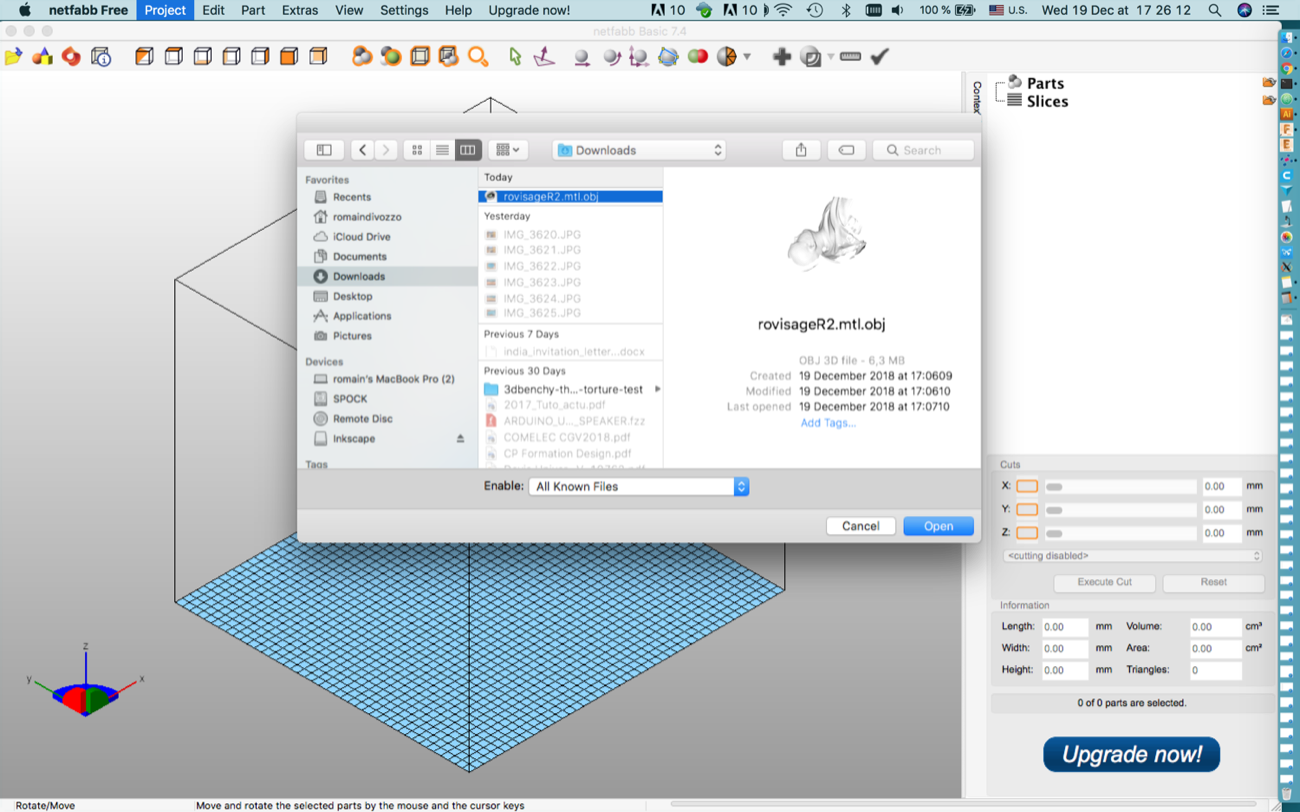
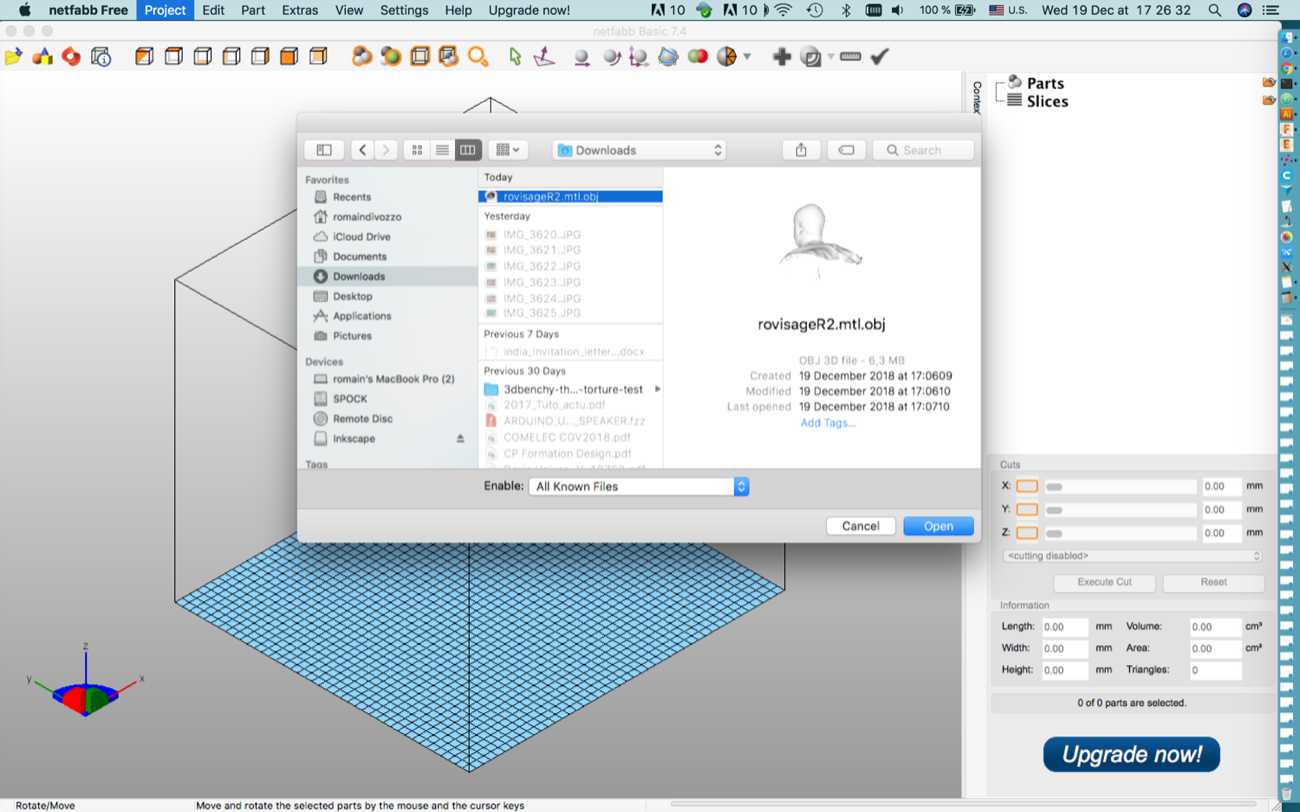
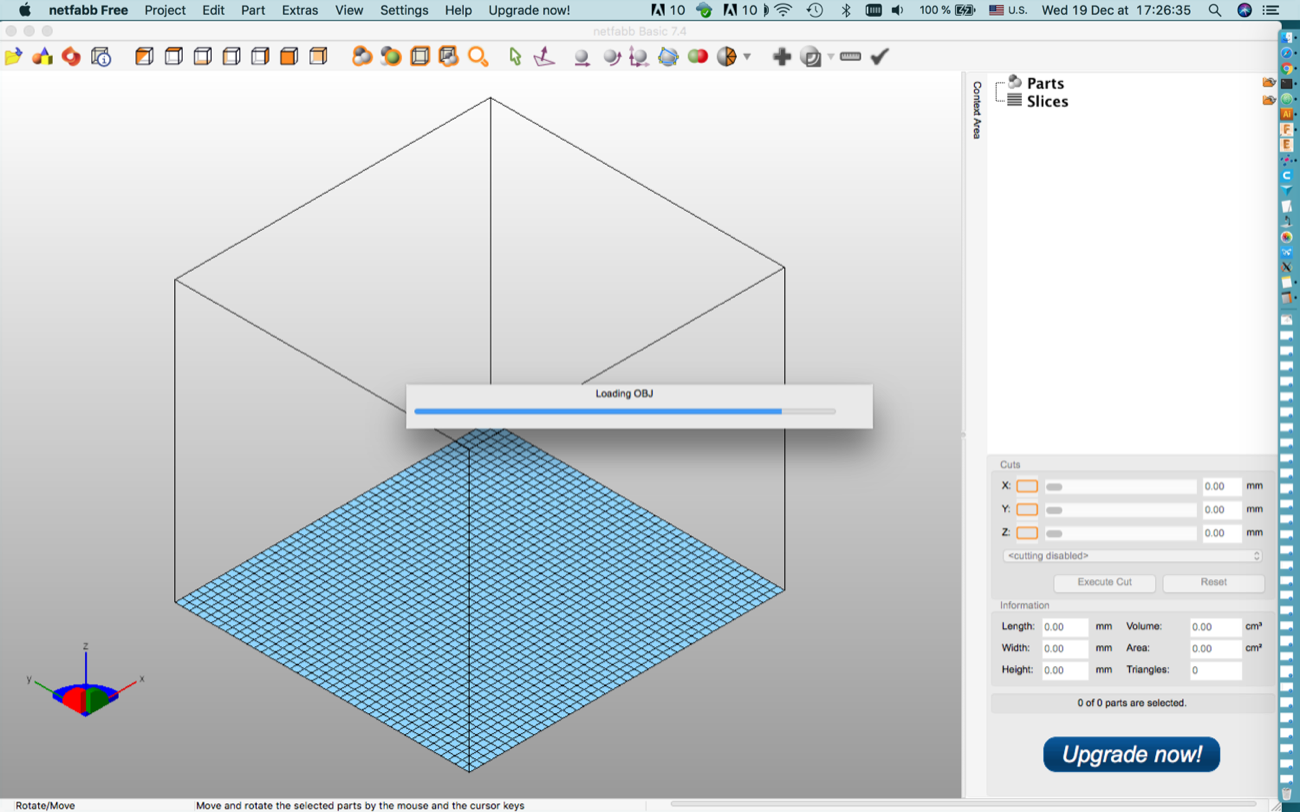
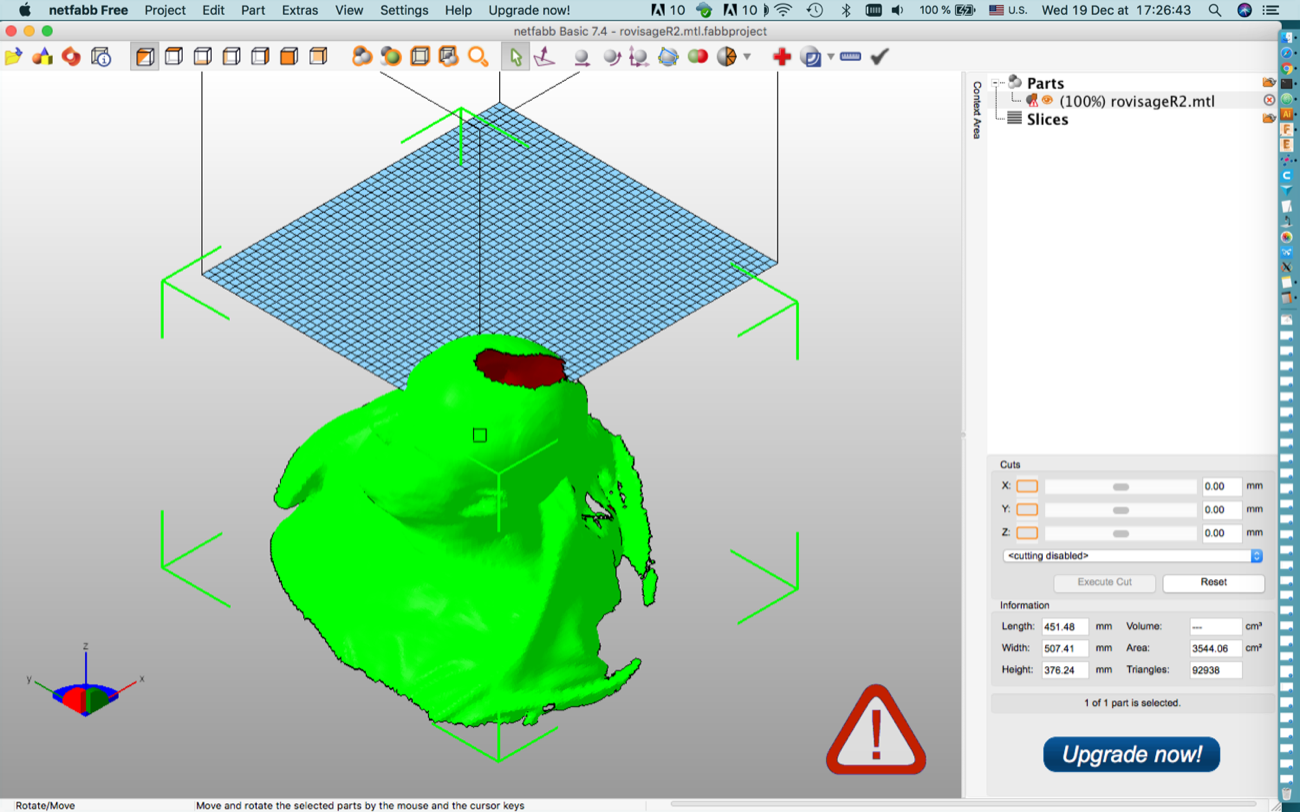
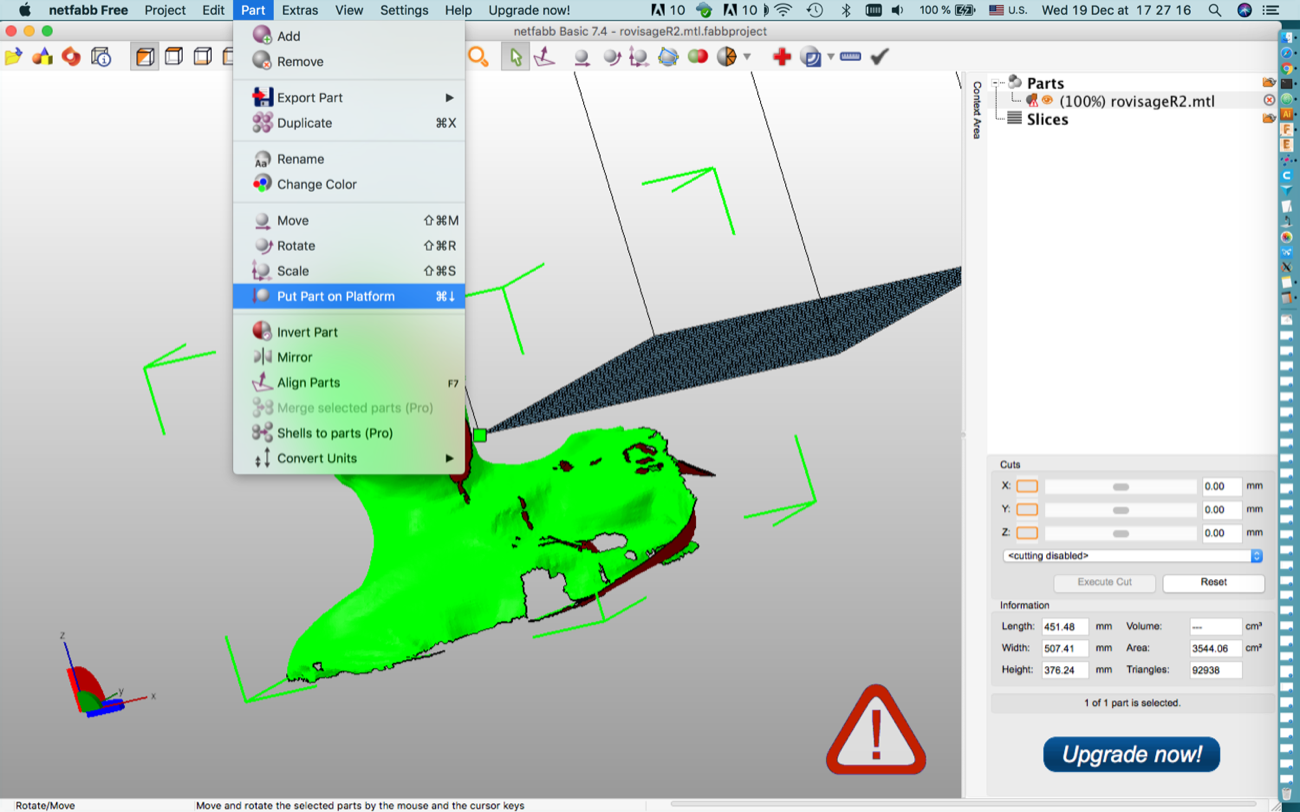
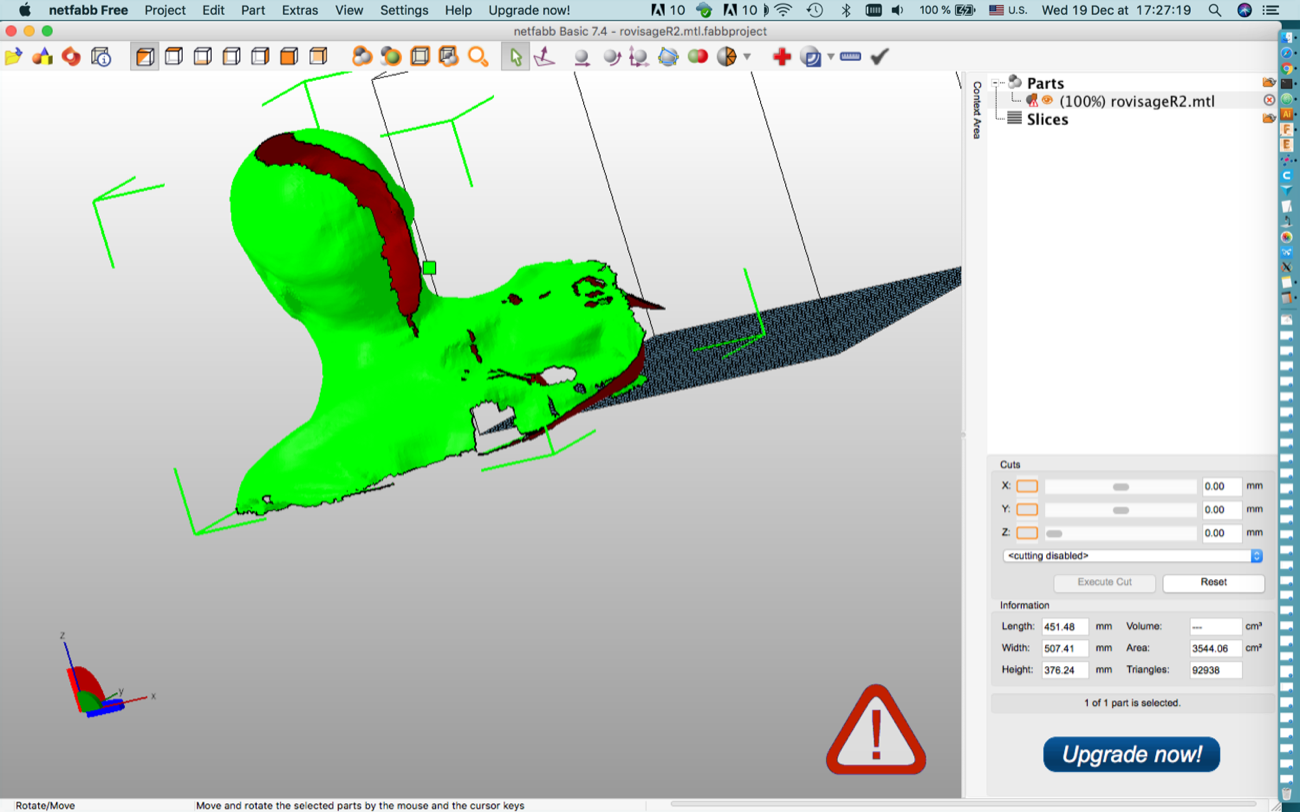
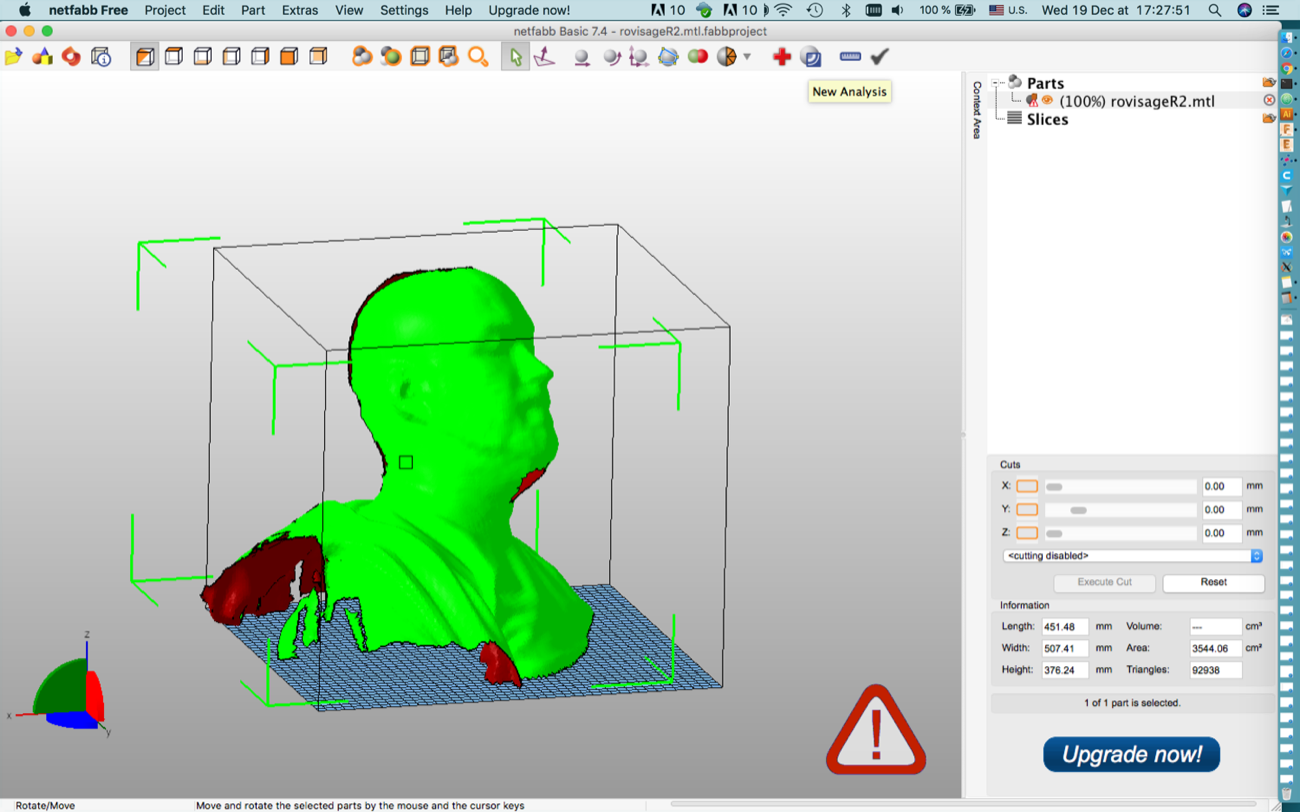
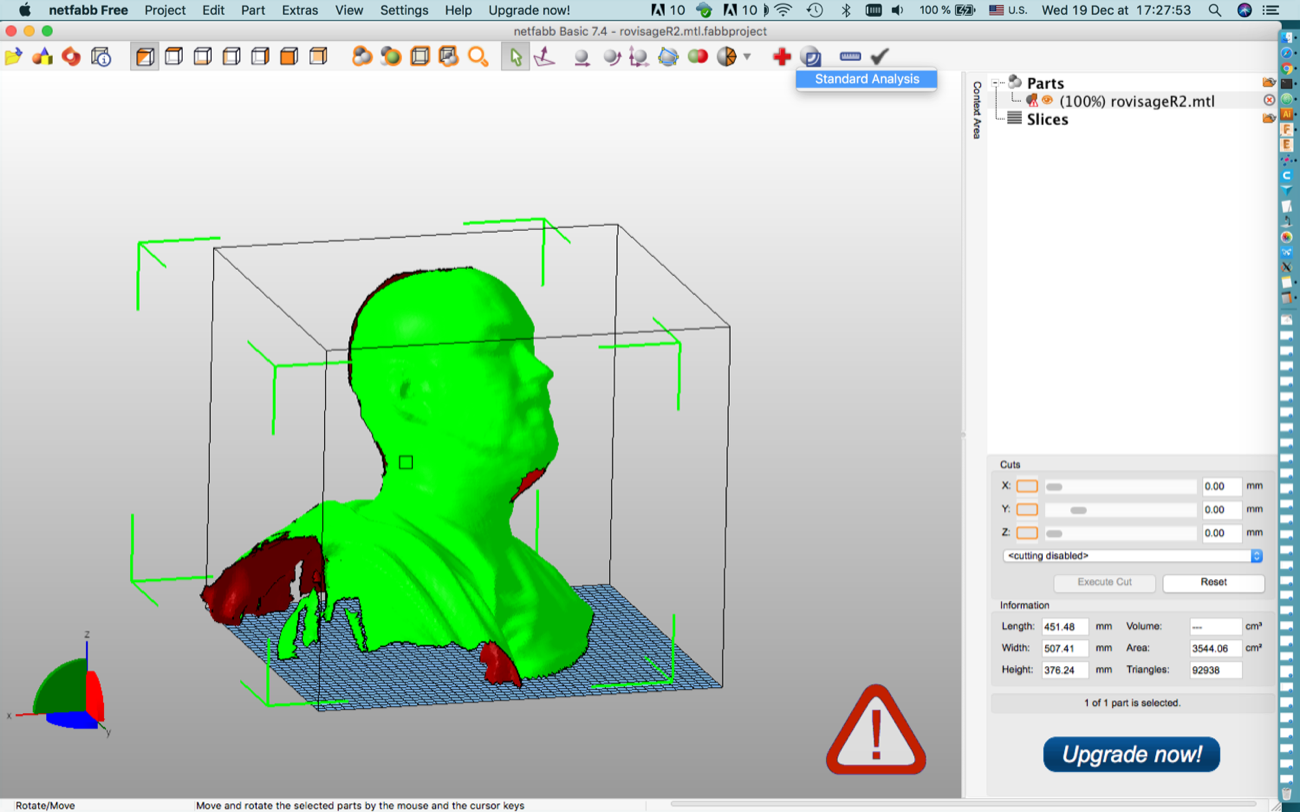
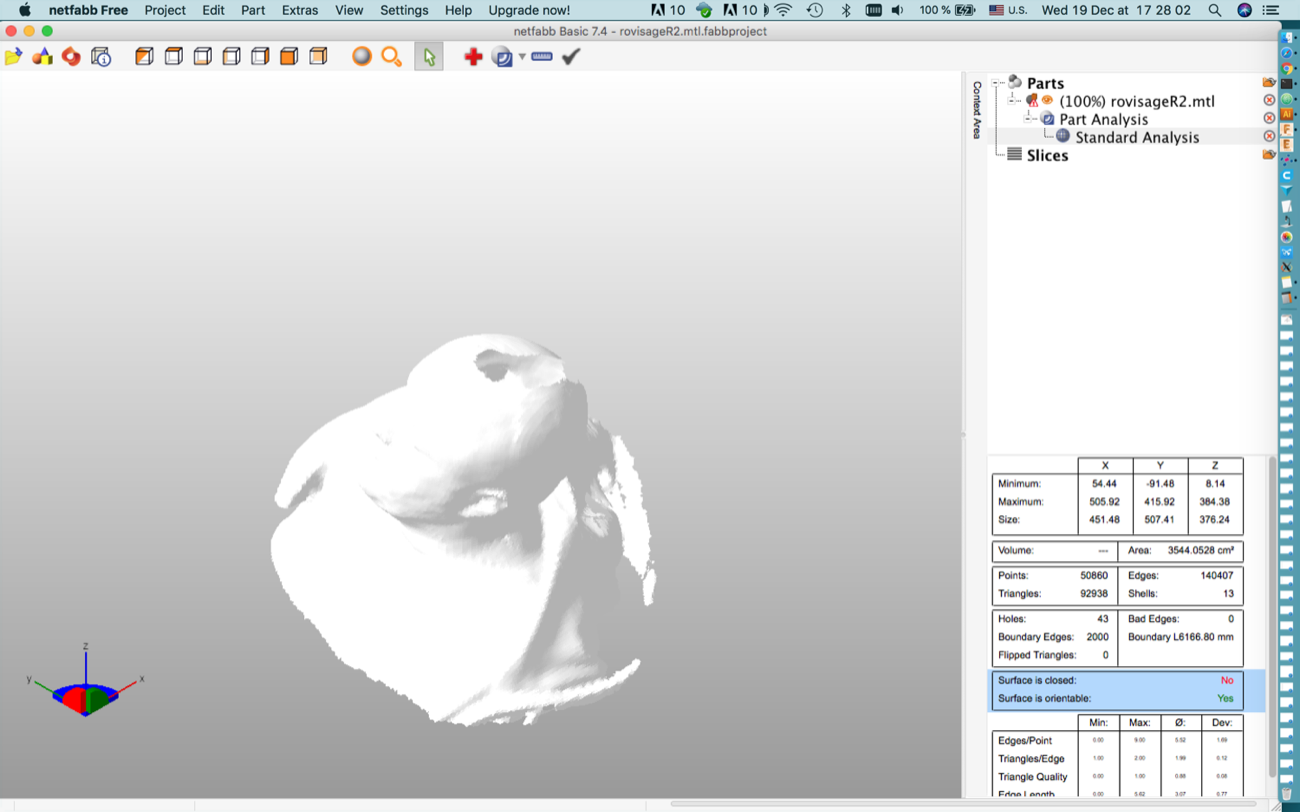
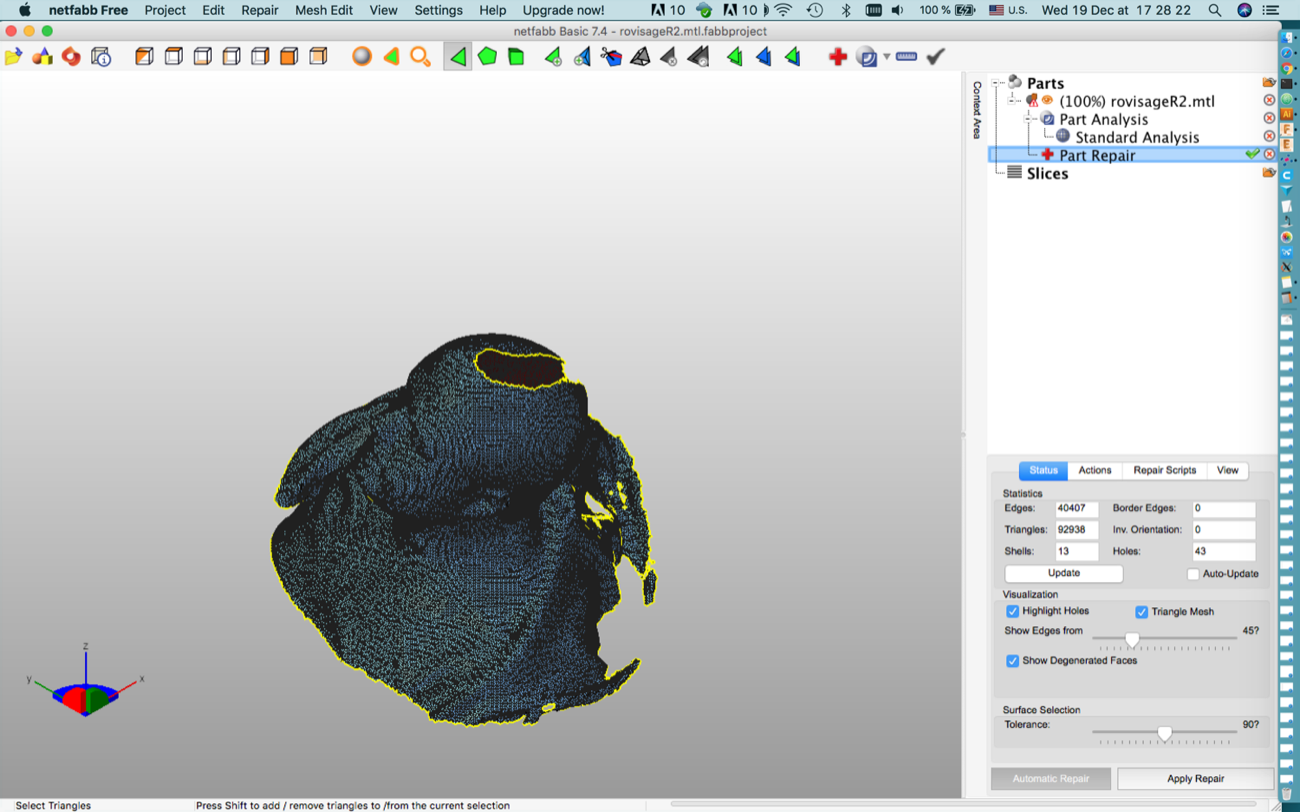
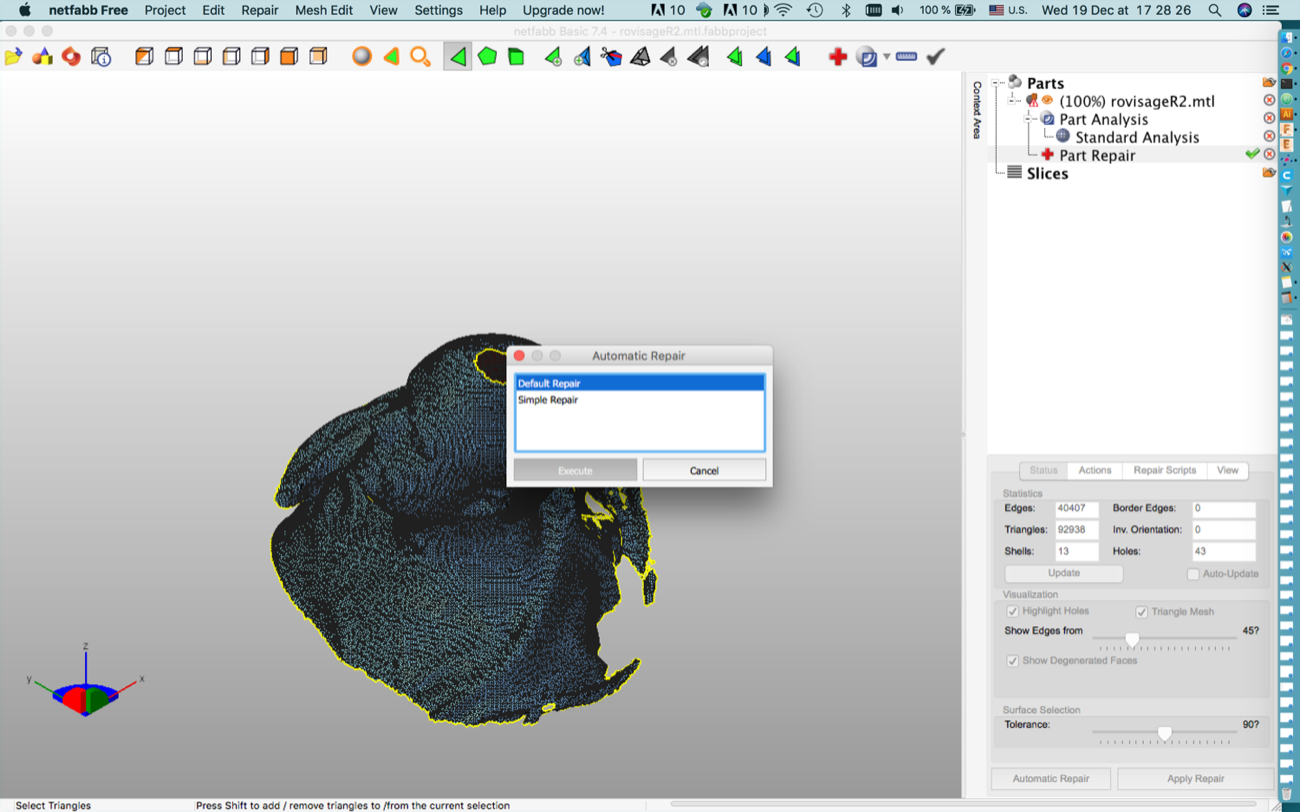
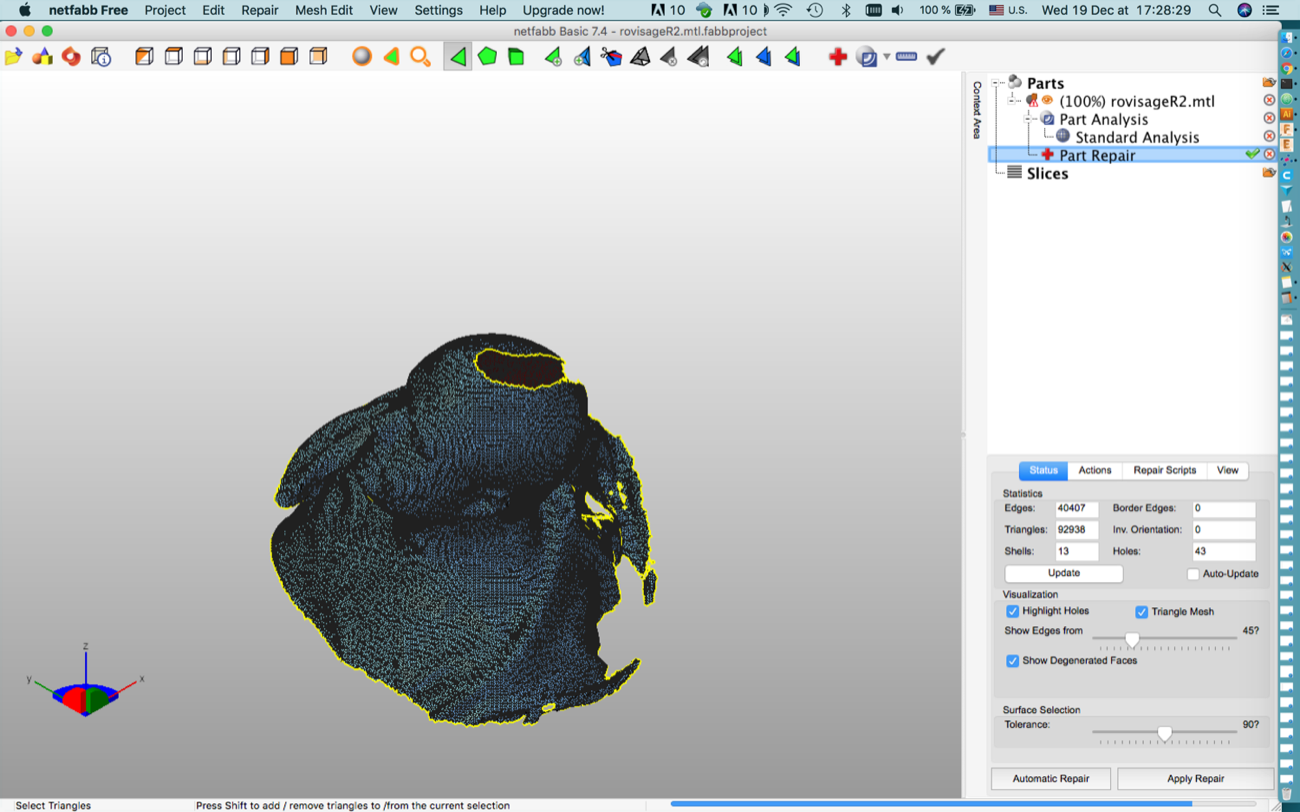
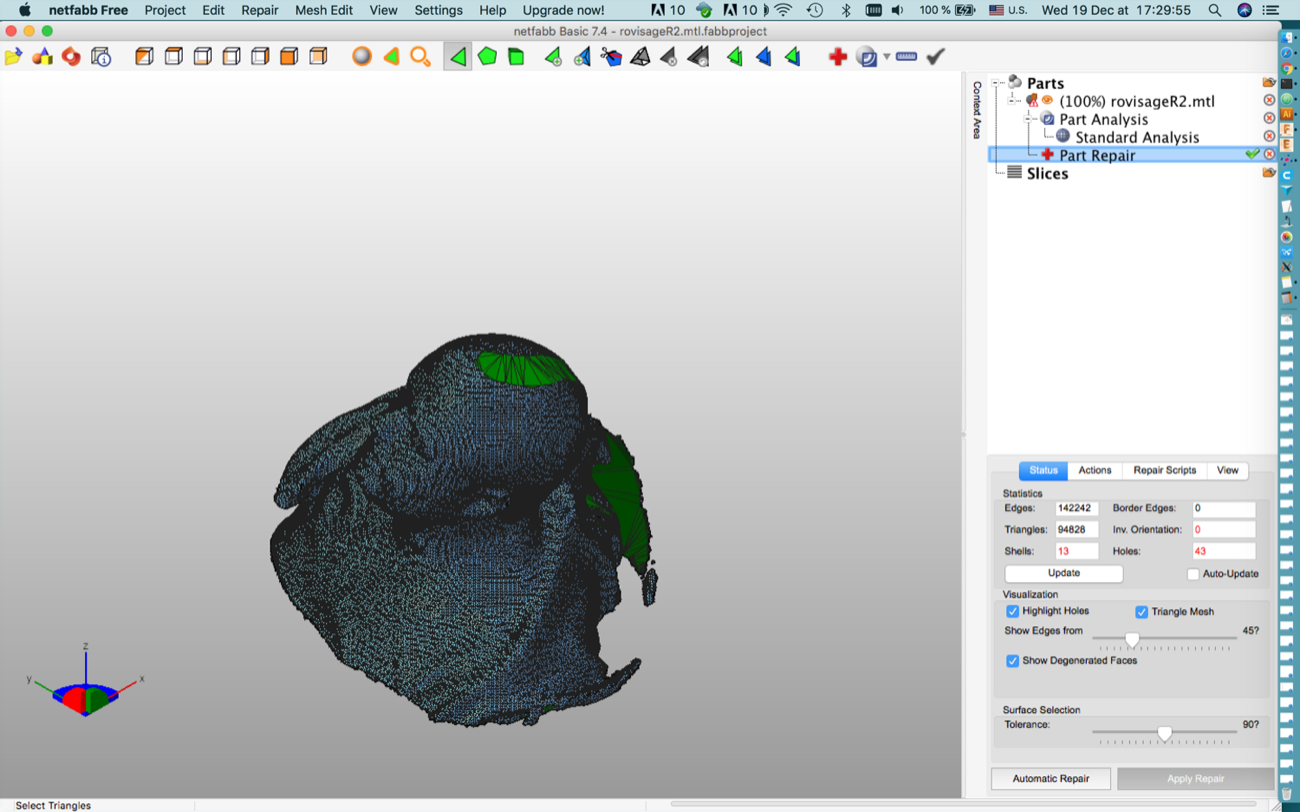
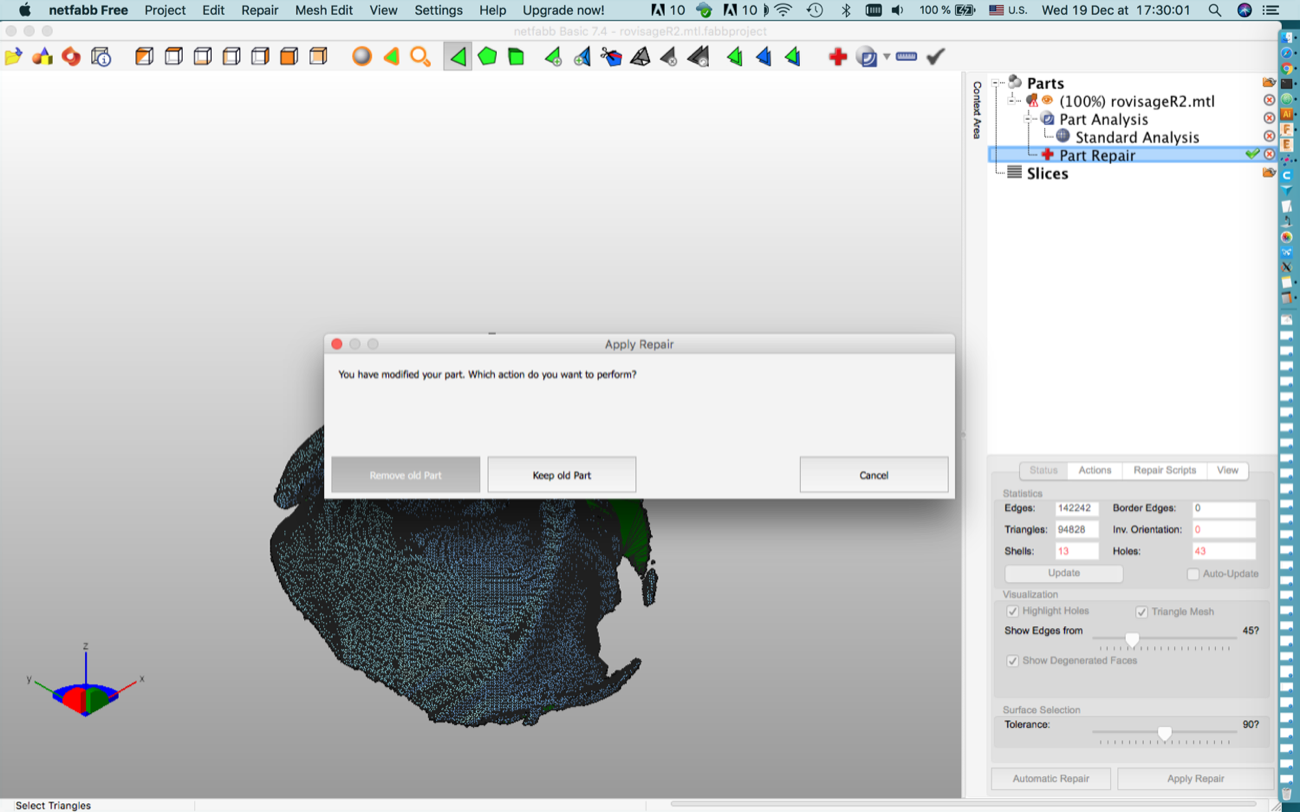
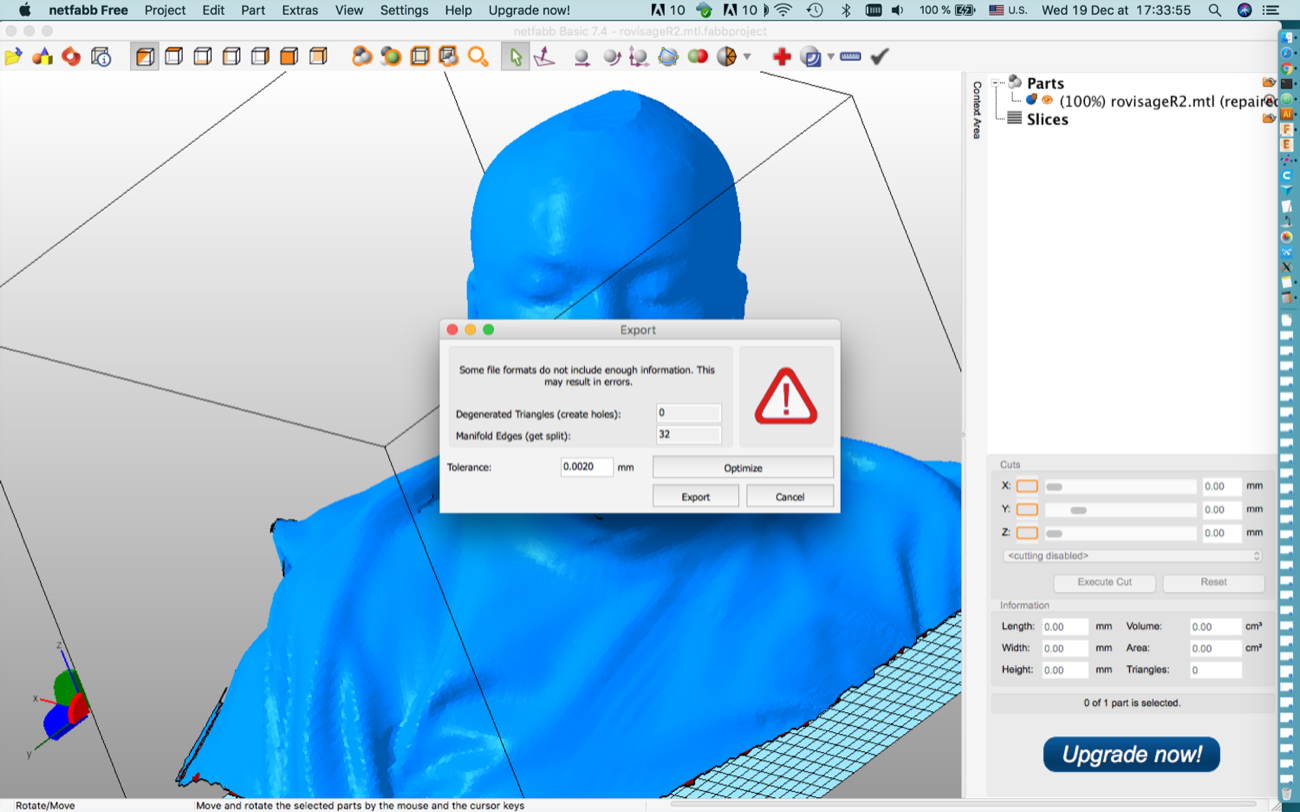
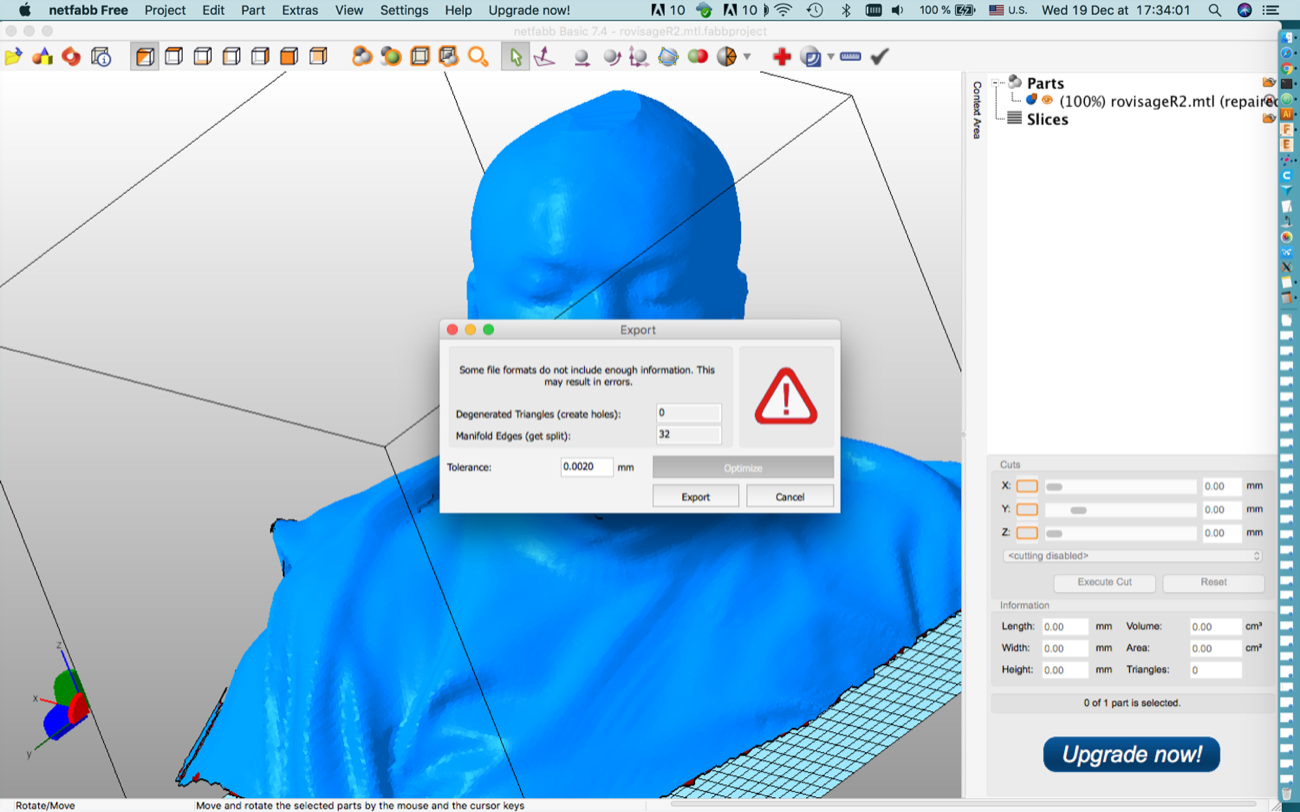
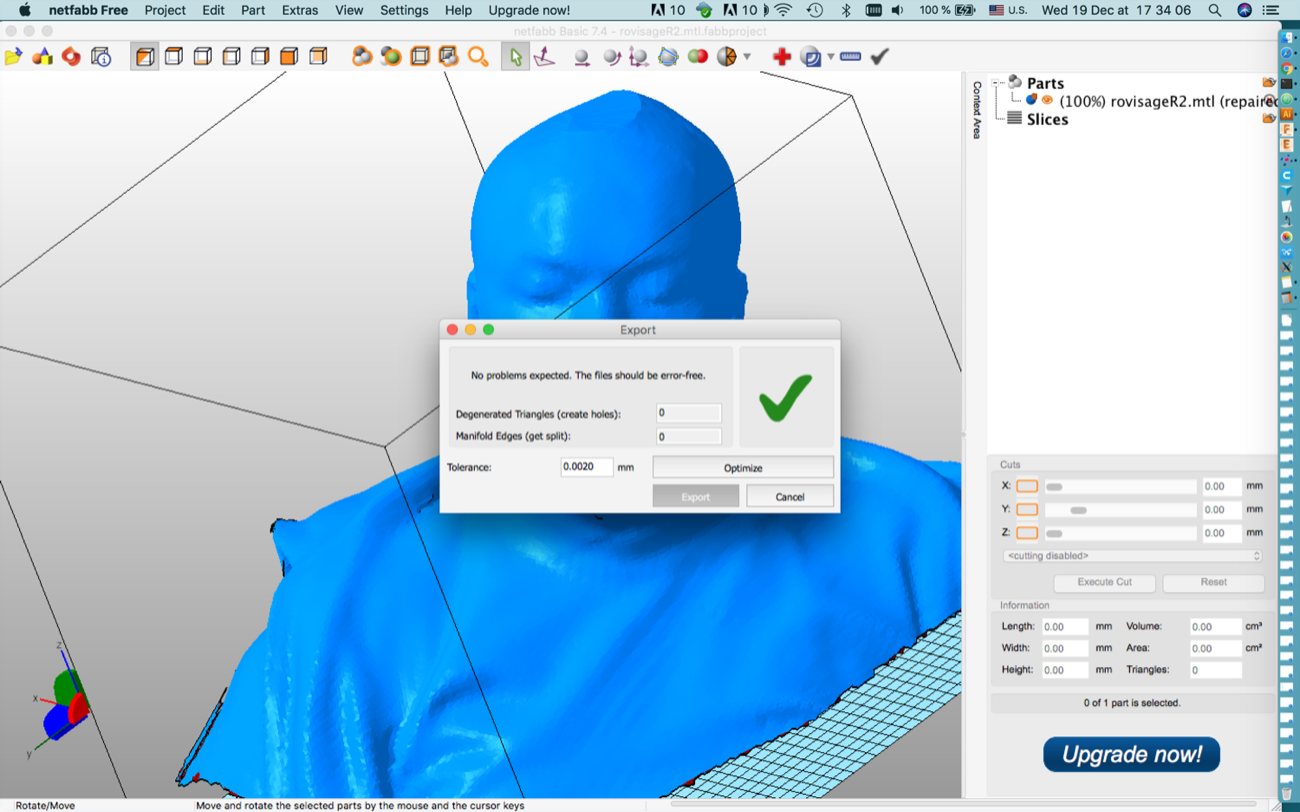
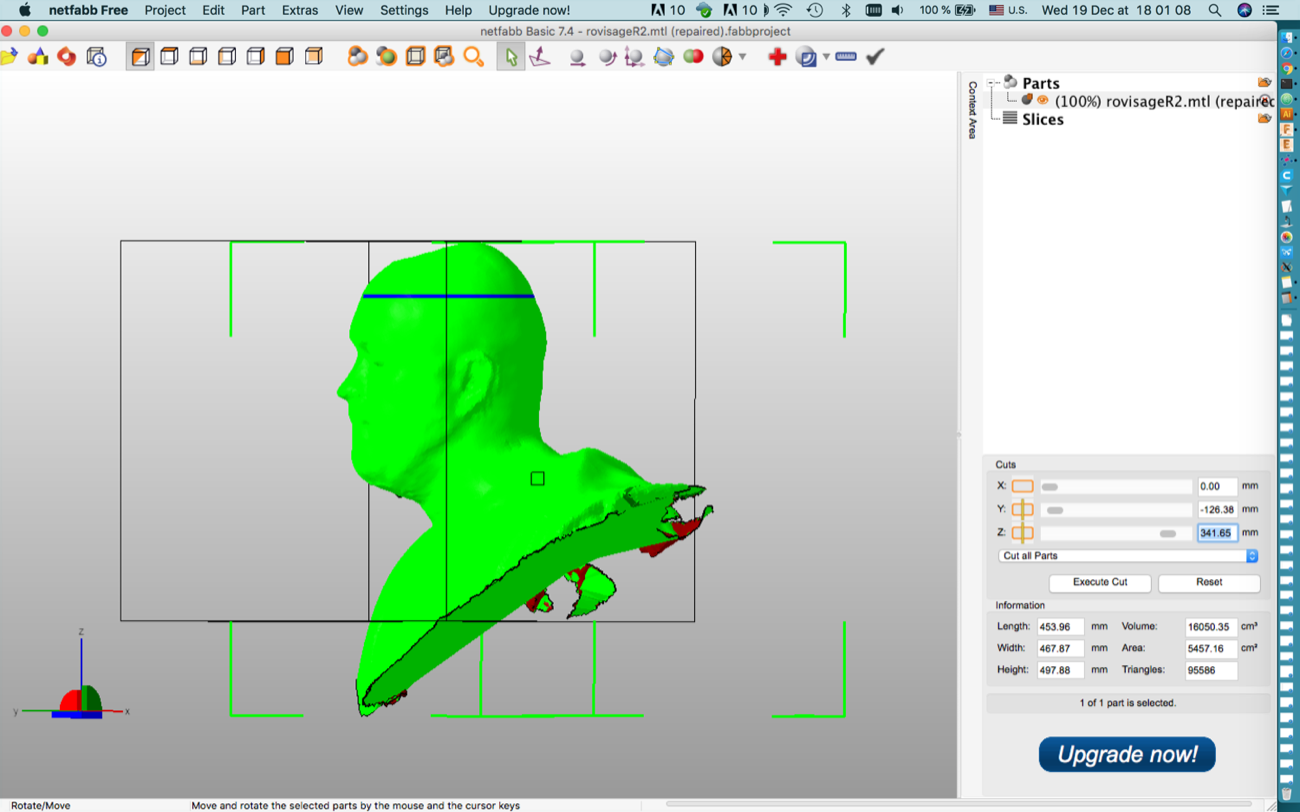
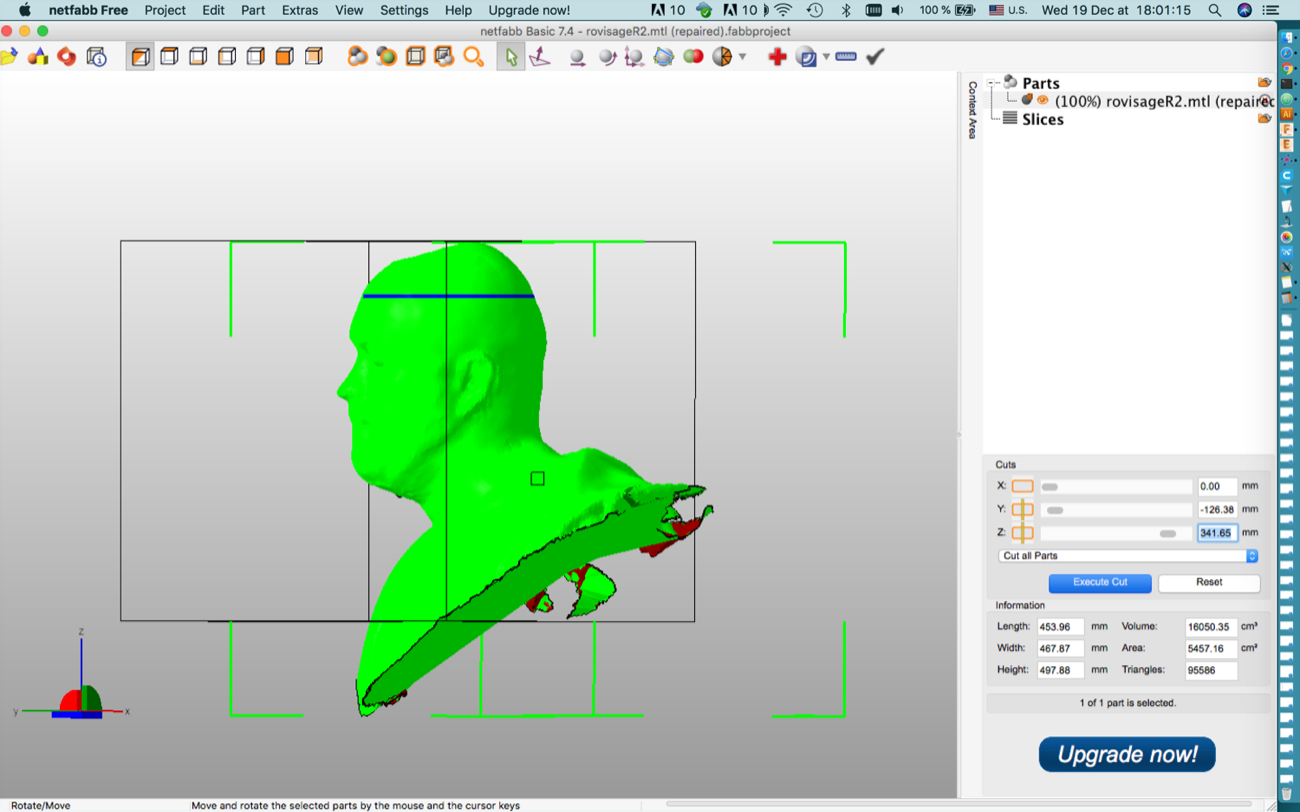
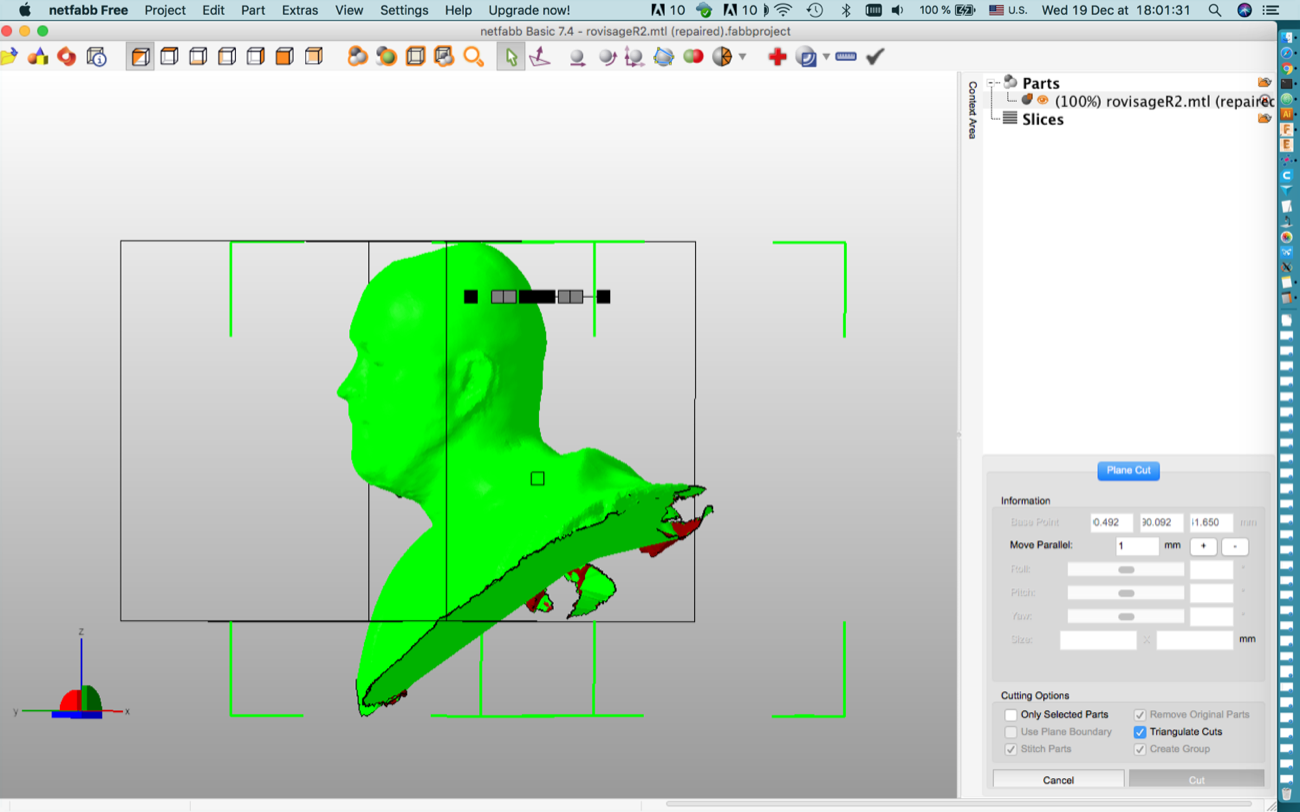
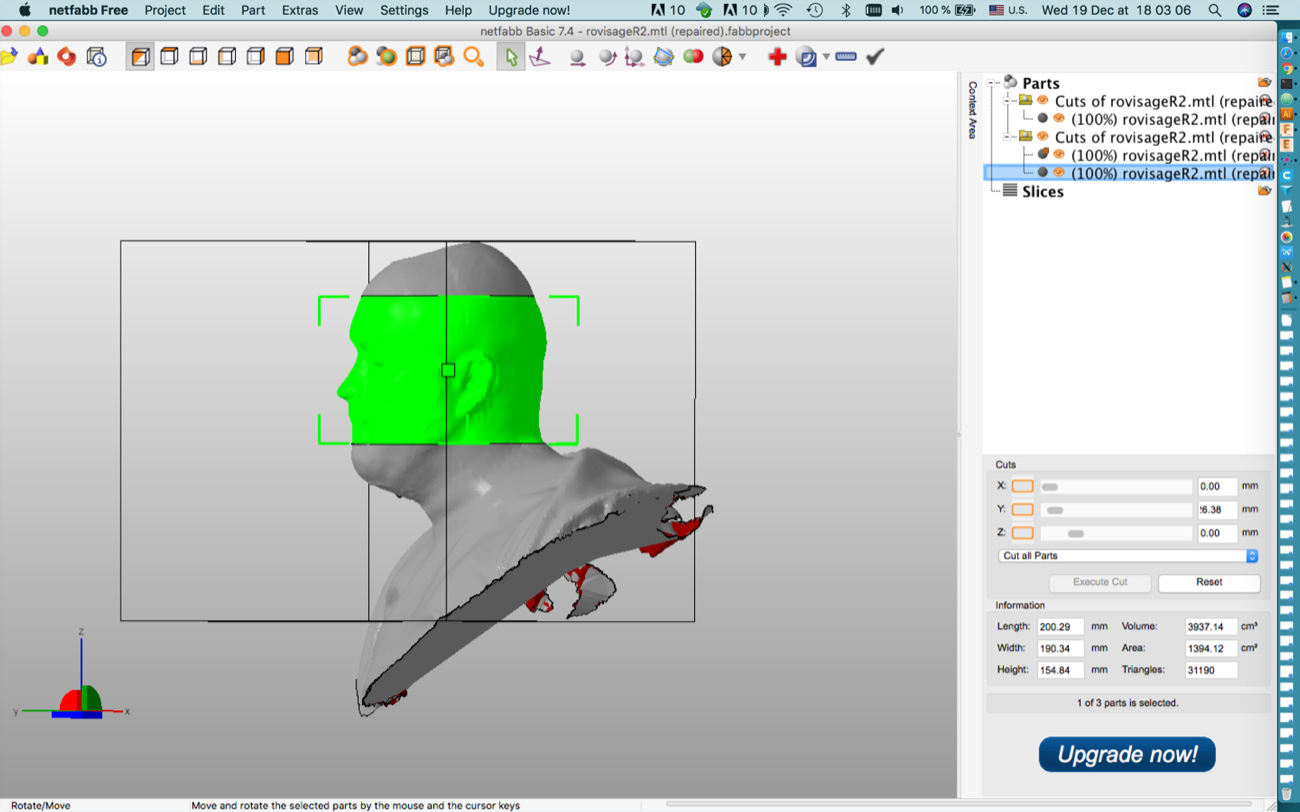
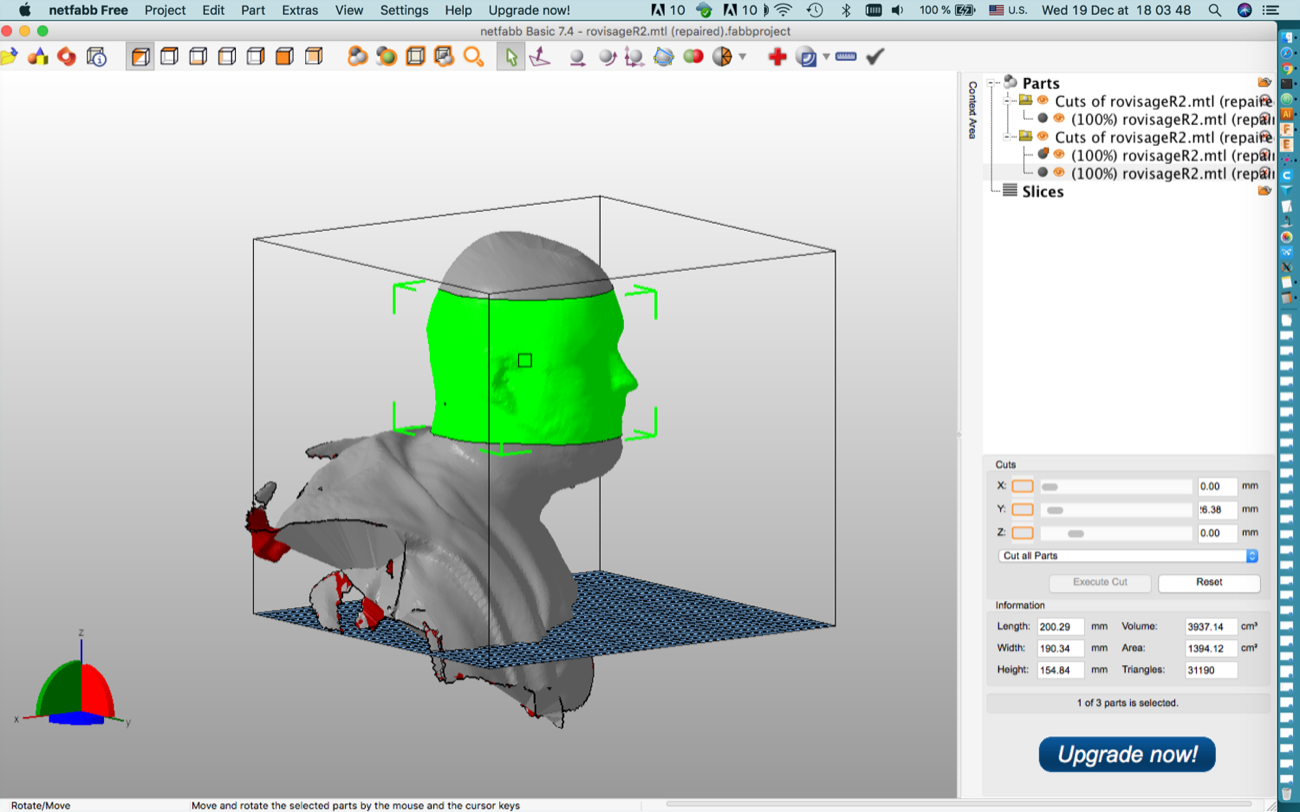
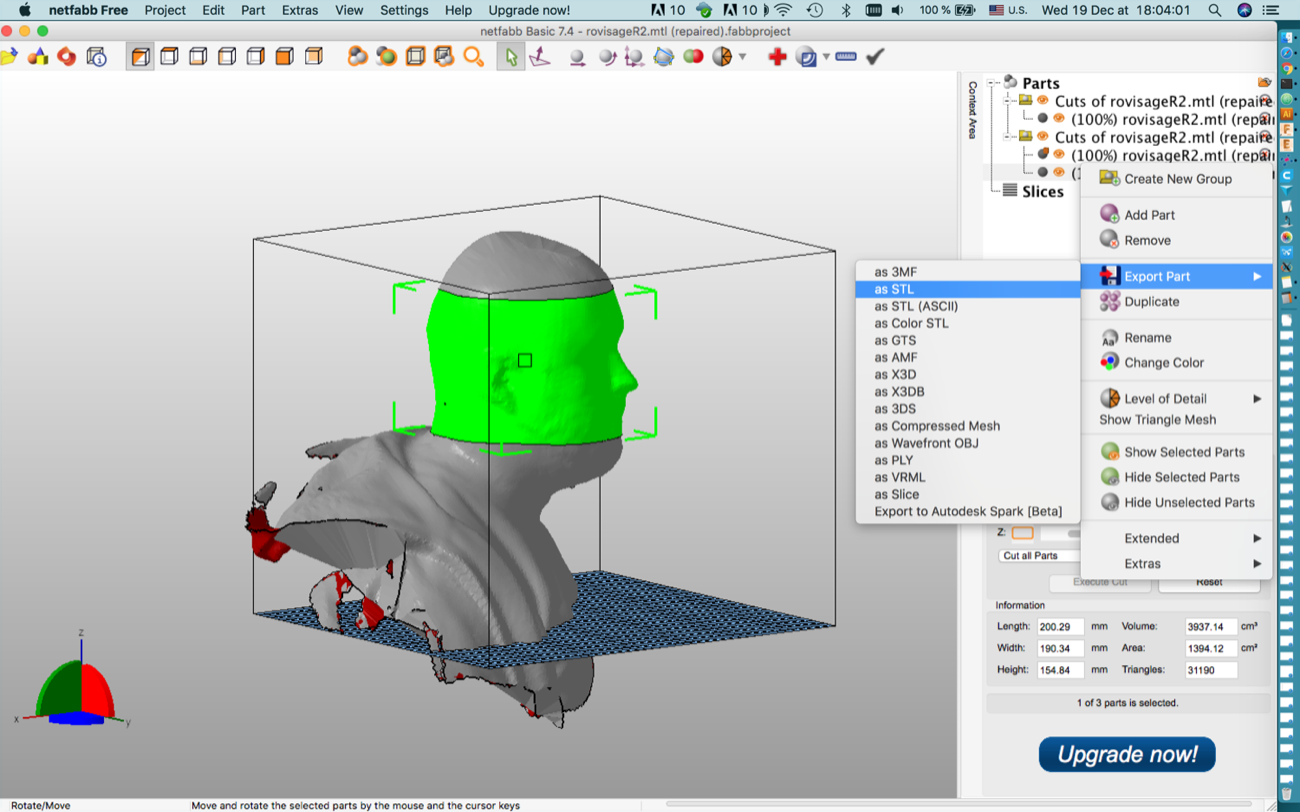
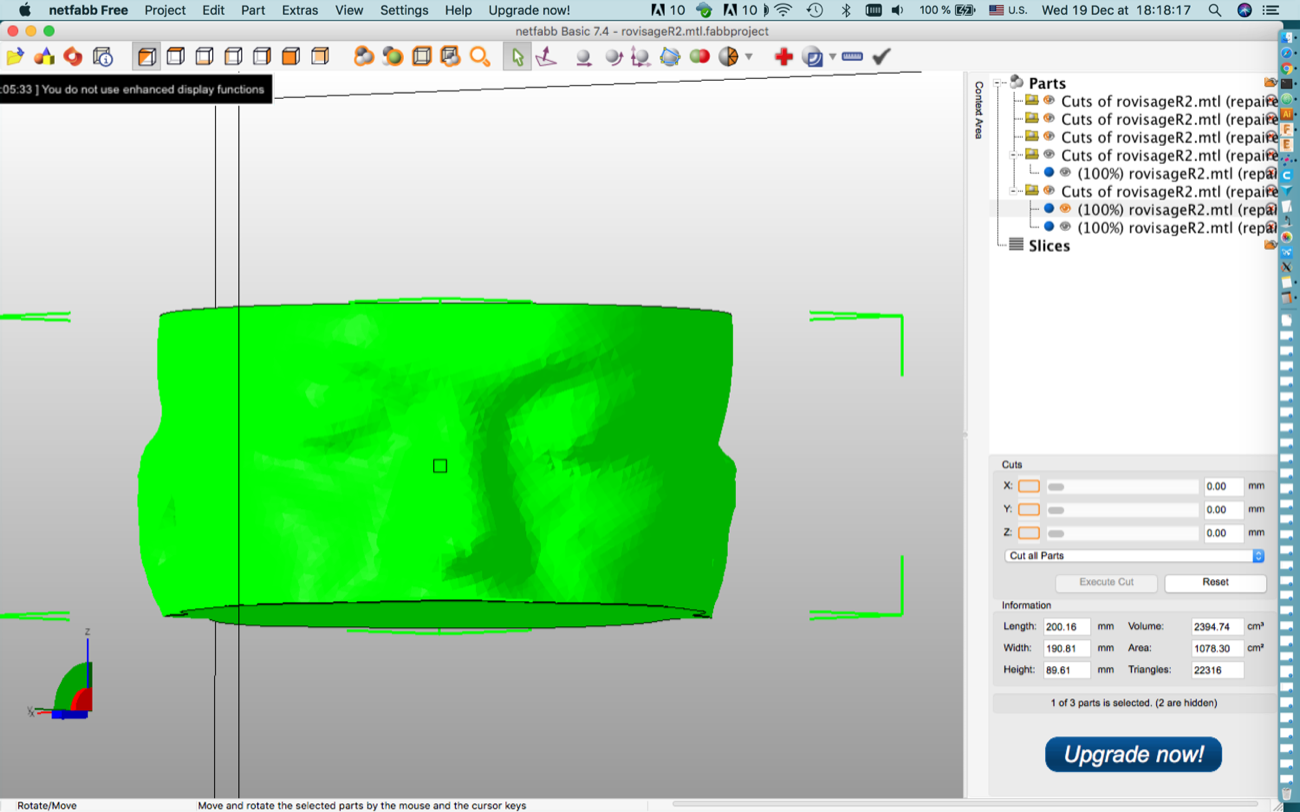
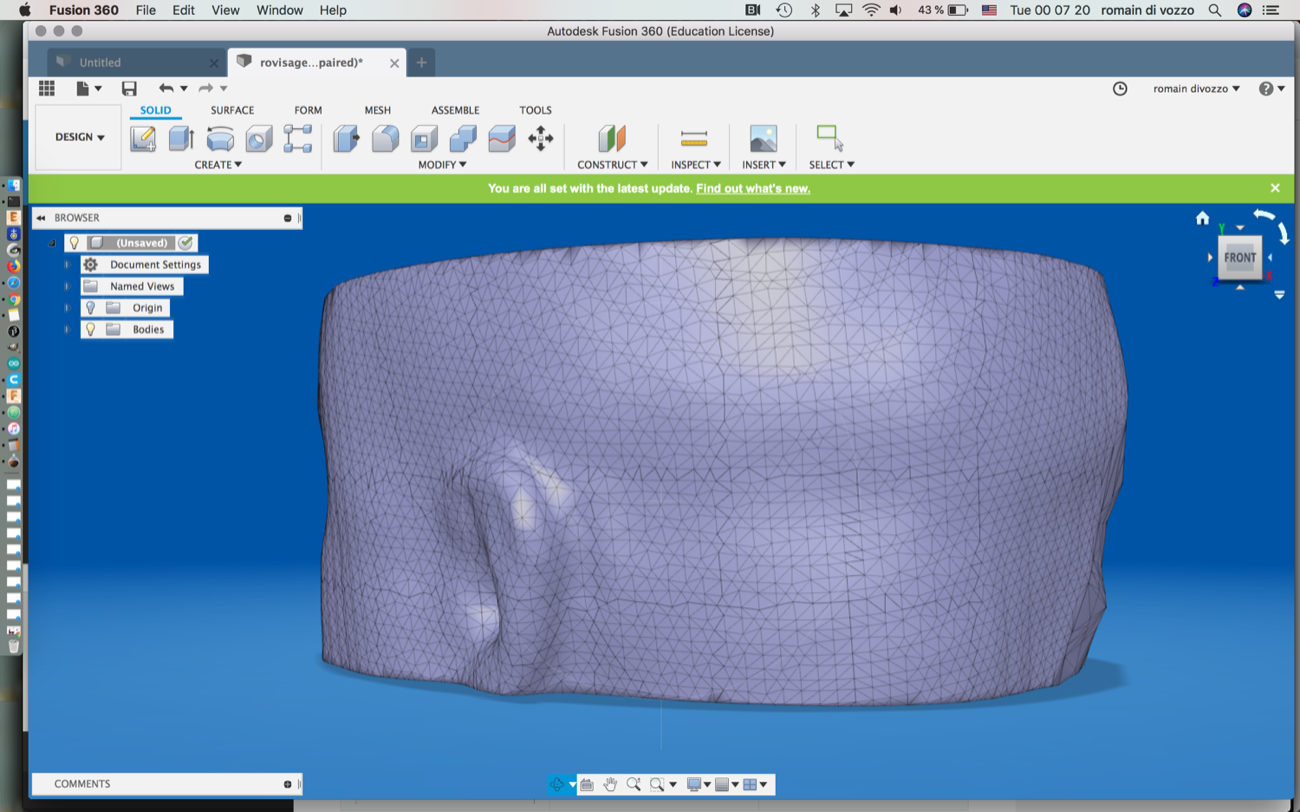
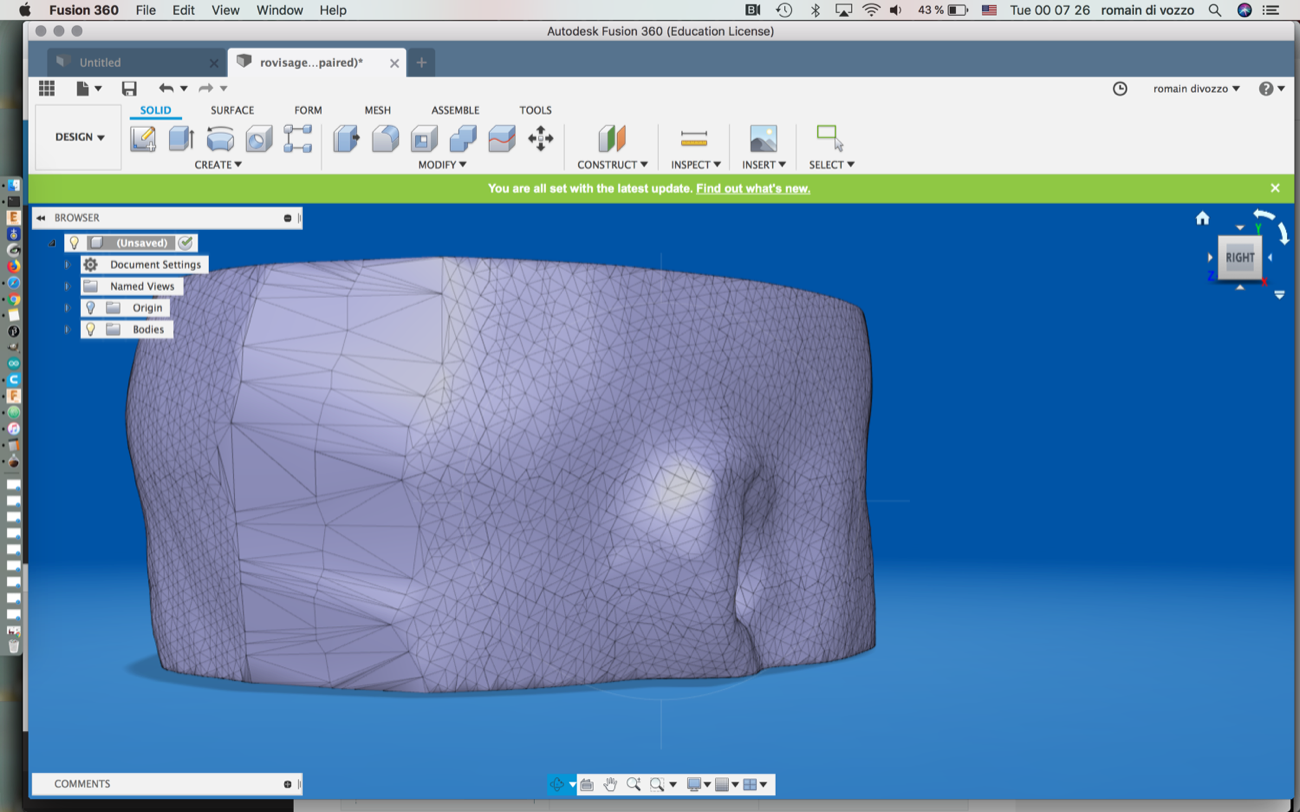
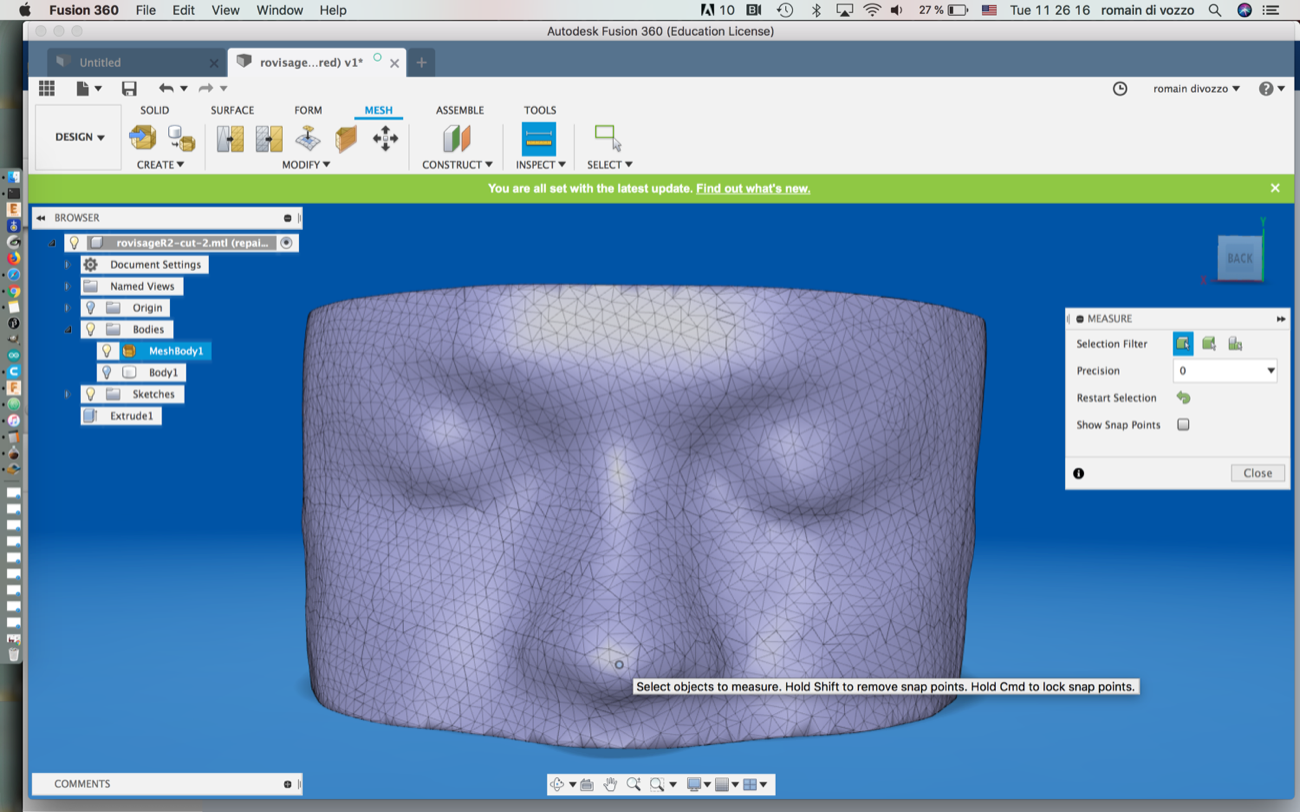
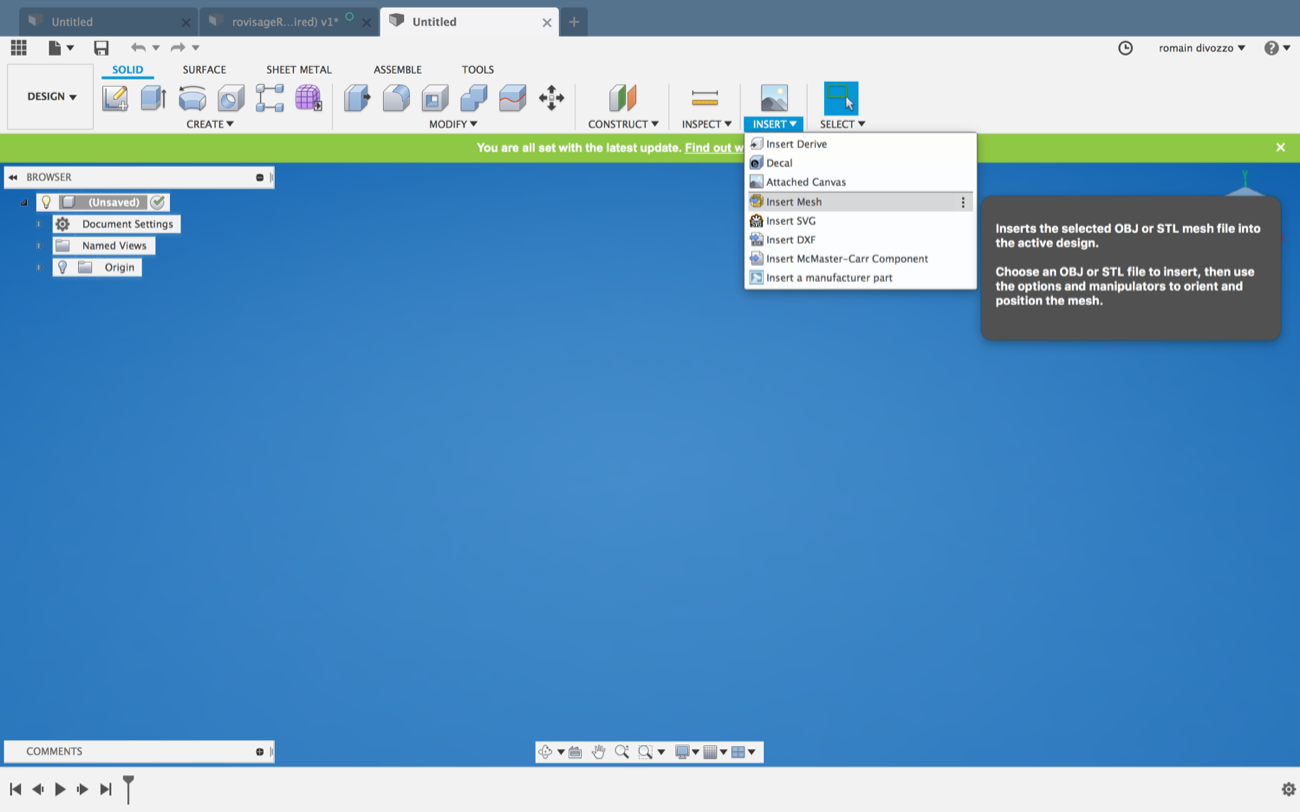
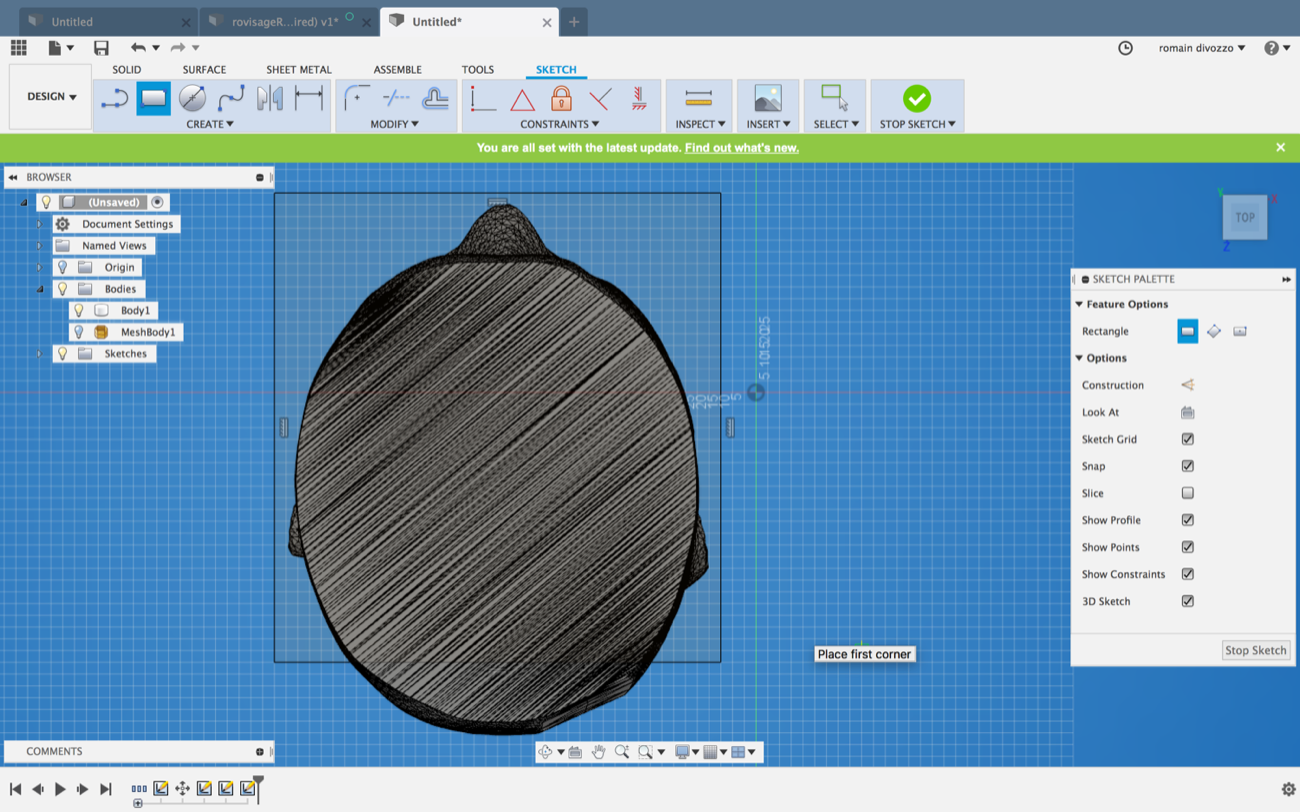
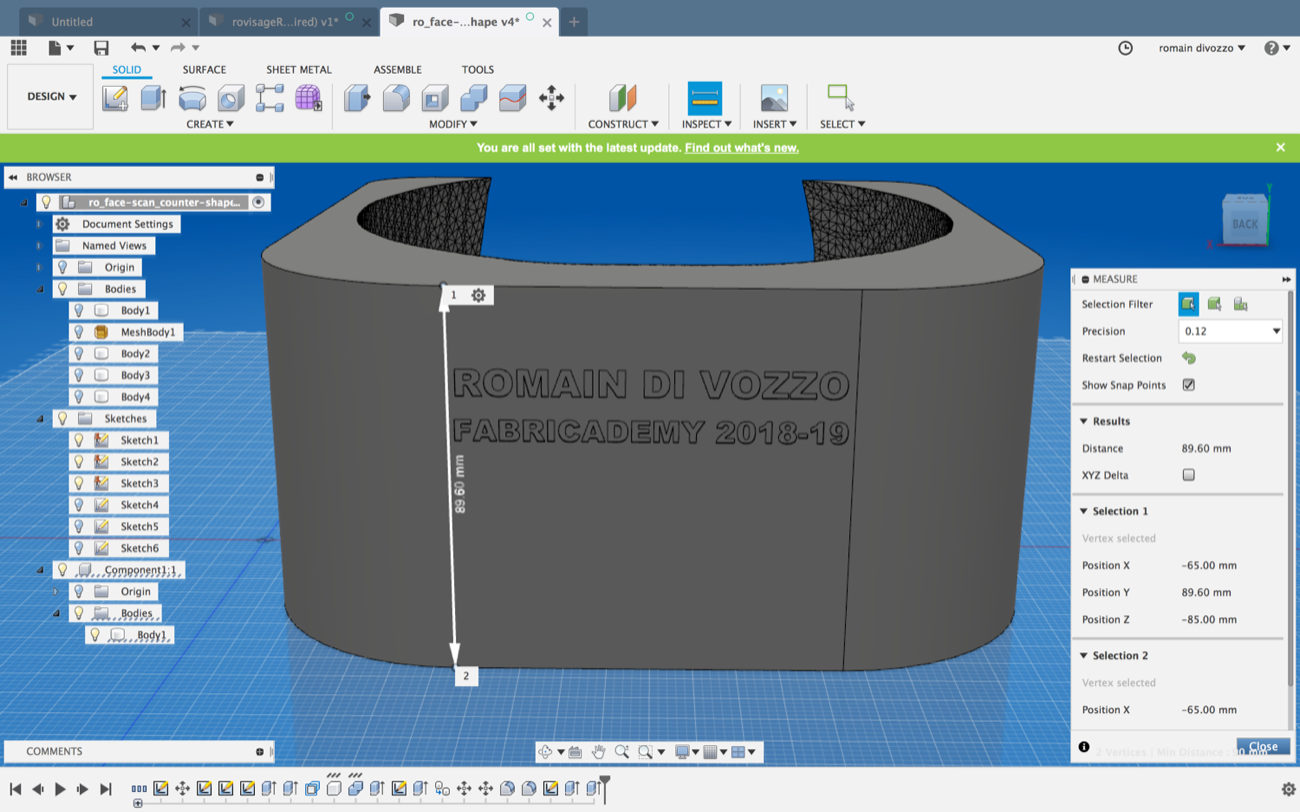
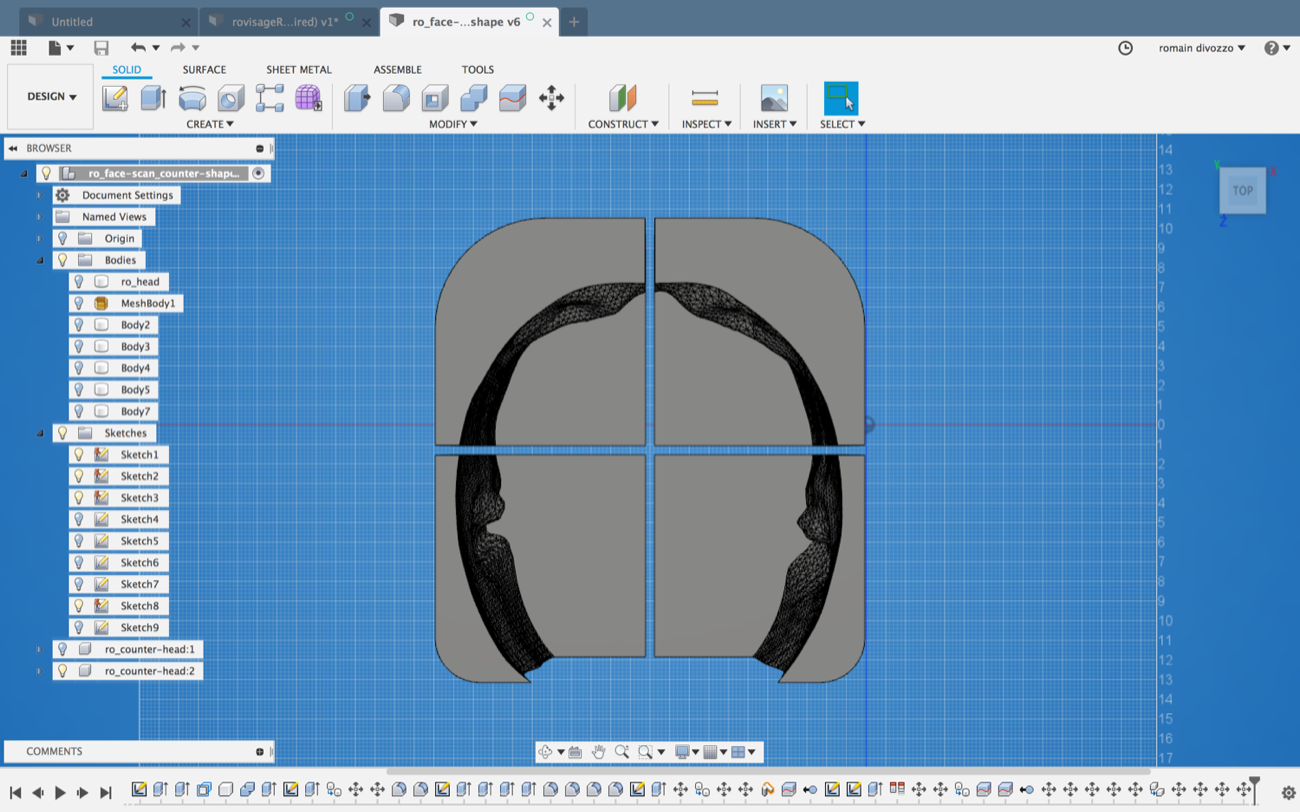
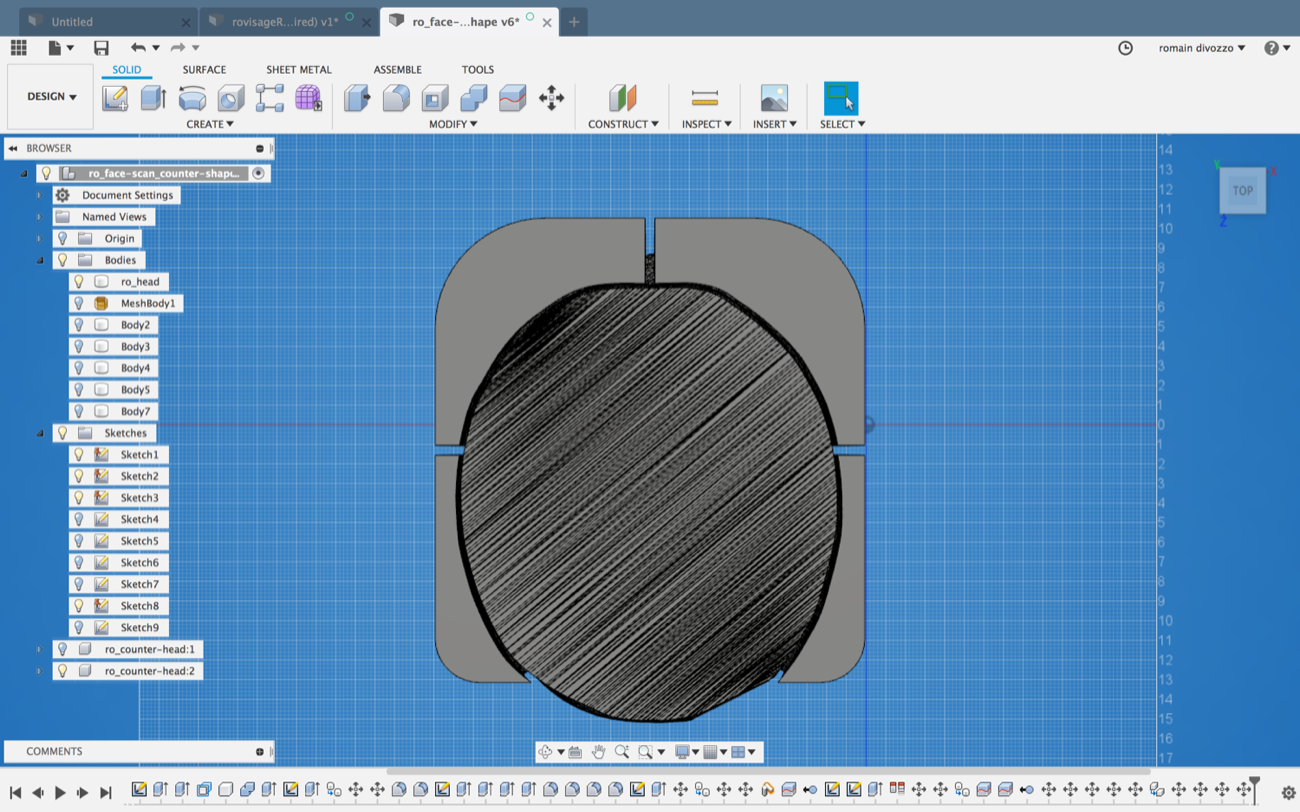
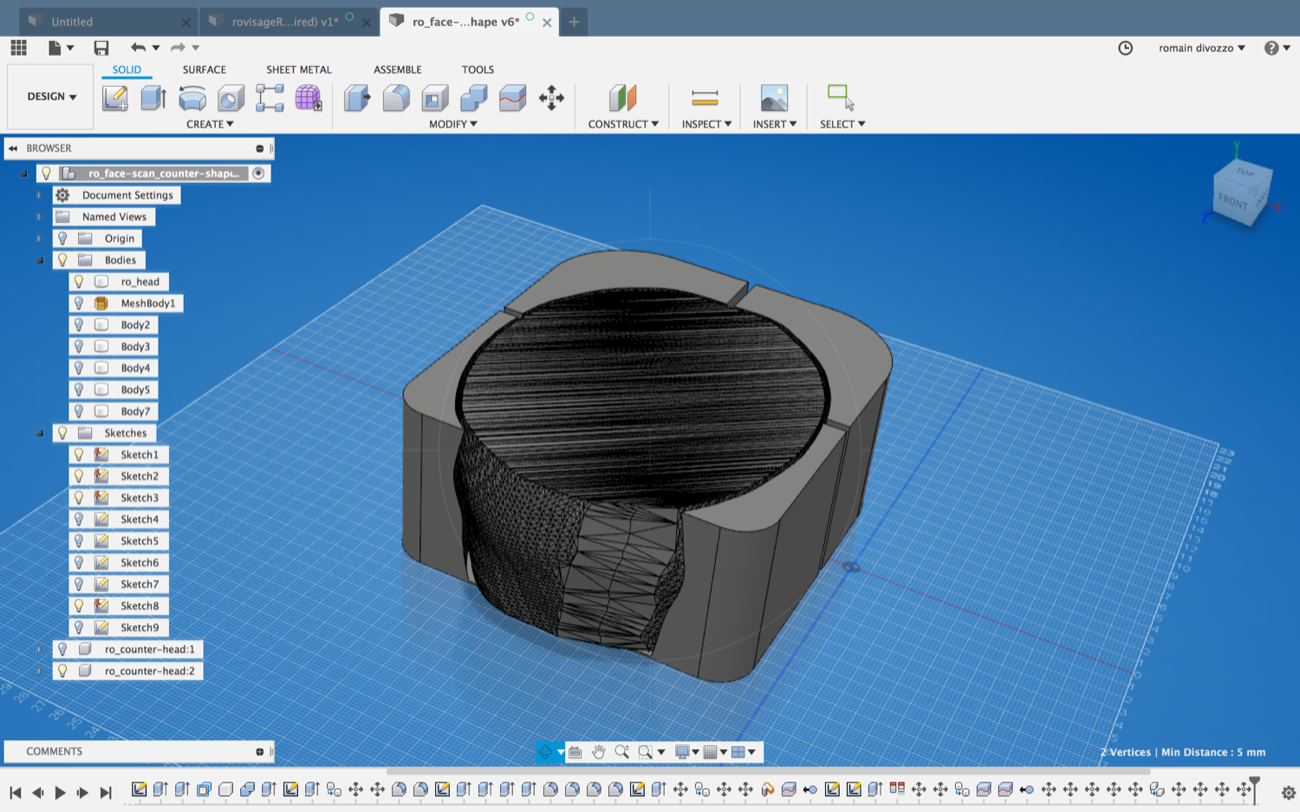
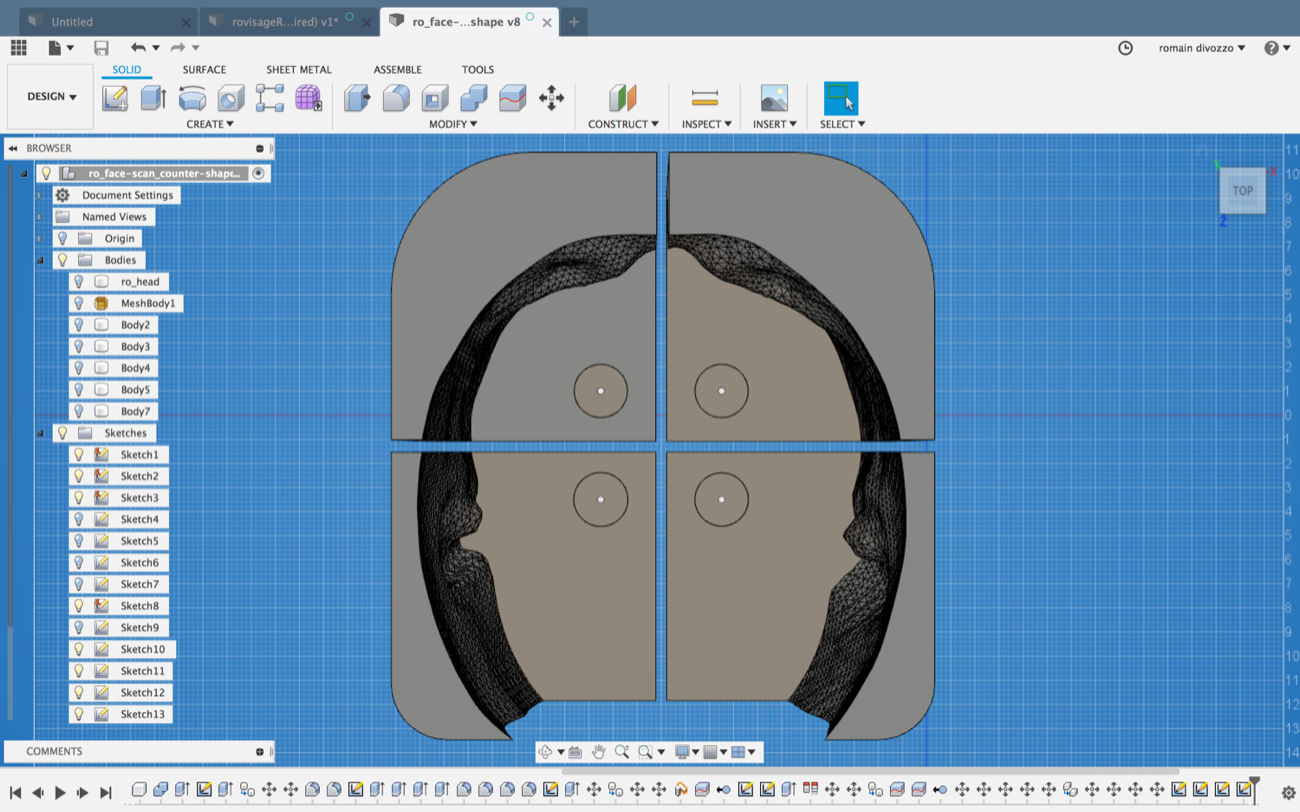
The 3D Sense App crashed several times but she managed to do it. My intention is to mold a part of my face, say, a slice that includes eyebrows, eyes, and nose till the sides of my head including the ears. I will use this mold for later experiments on glasses-making. For now, I want a two-parts mold to pour silicone in between and get a sheet of material that has the shape of my face and that I could work on with different processes afterwards. So I used Netfabb Basic to clean and cut my file.
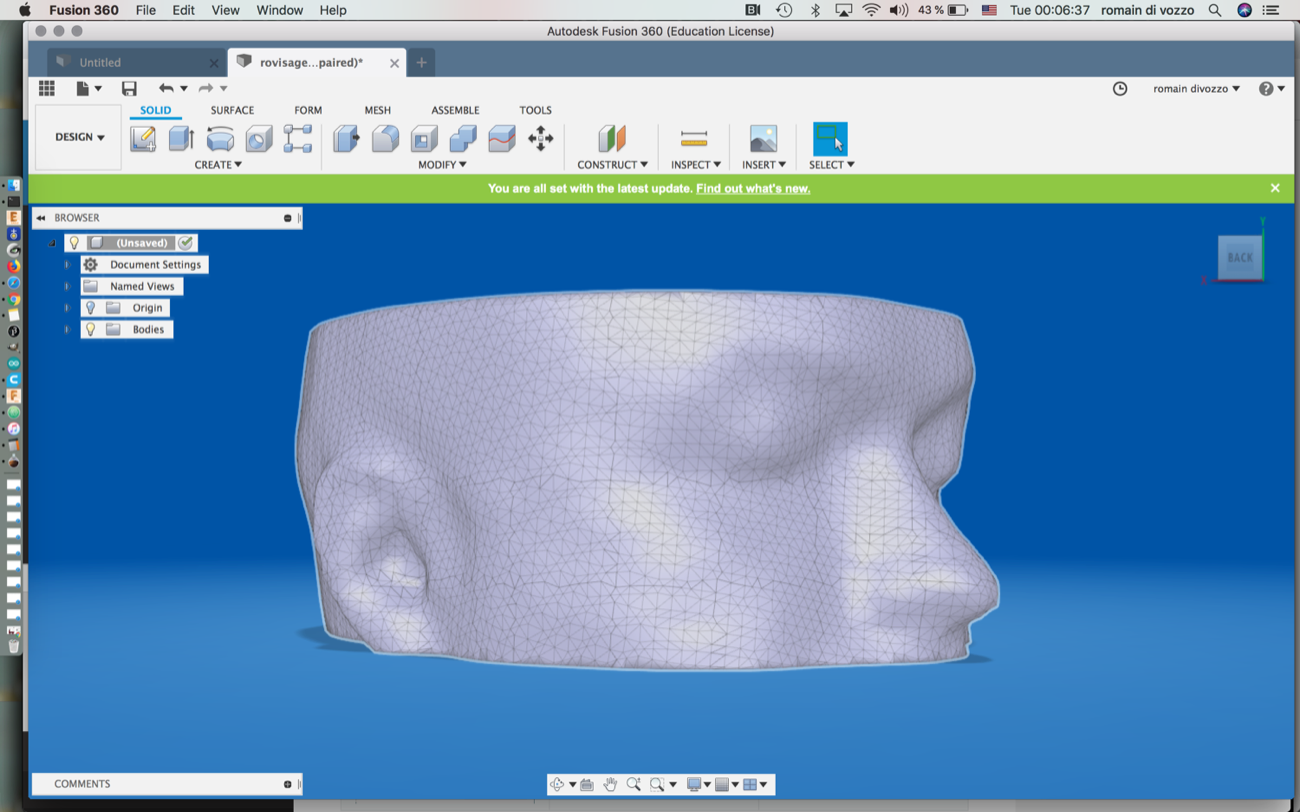
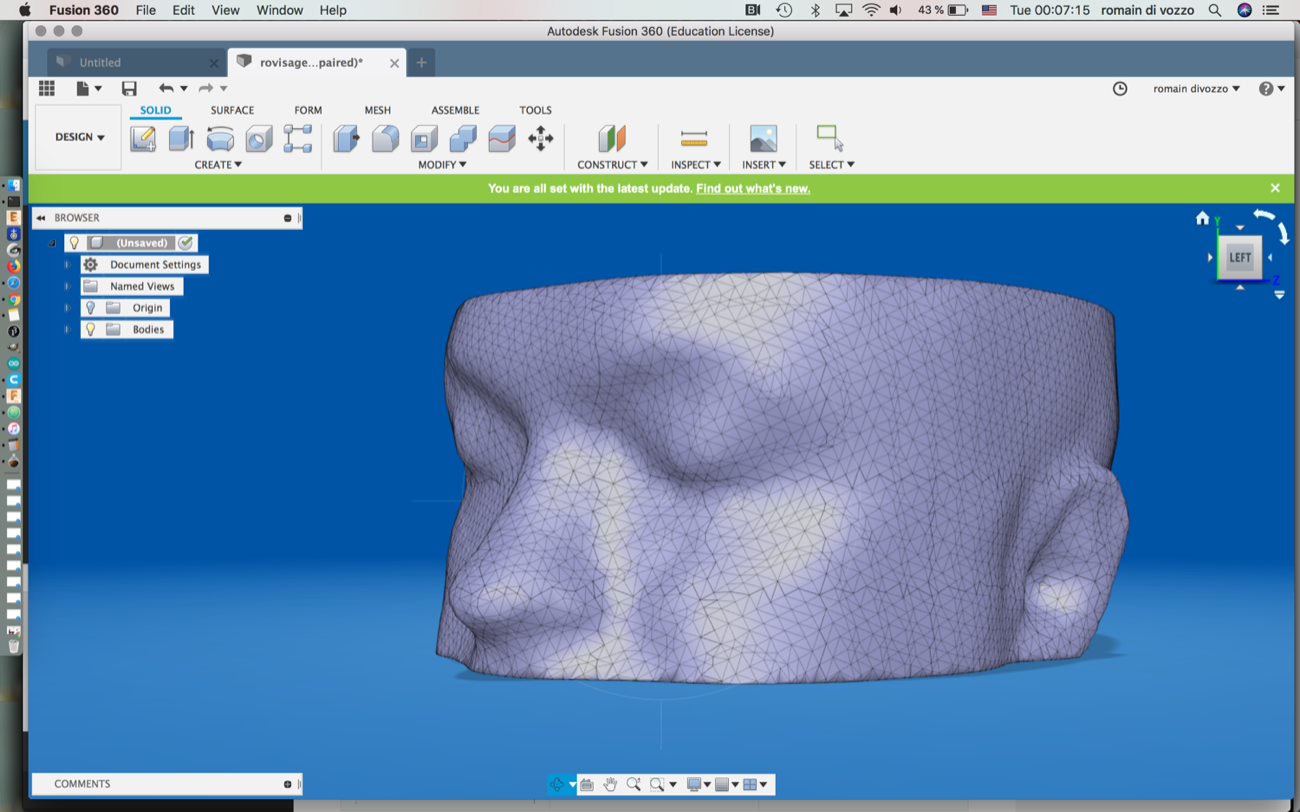
Working again with Fusion 360 was exciting…but the big amount of triangle of the .stl file of my face and the fact that software is somehow connected online made me lose a lot of time, like x10.
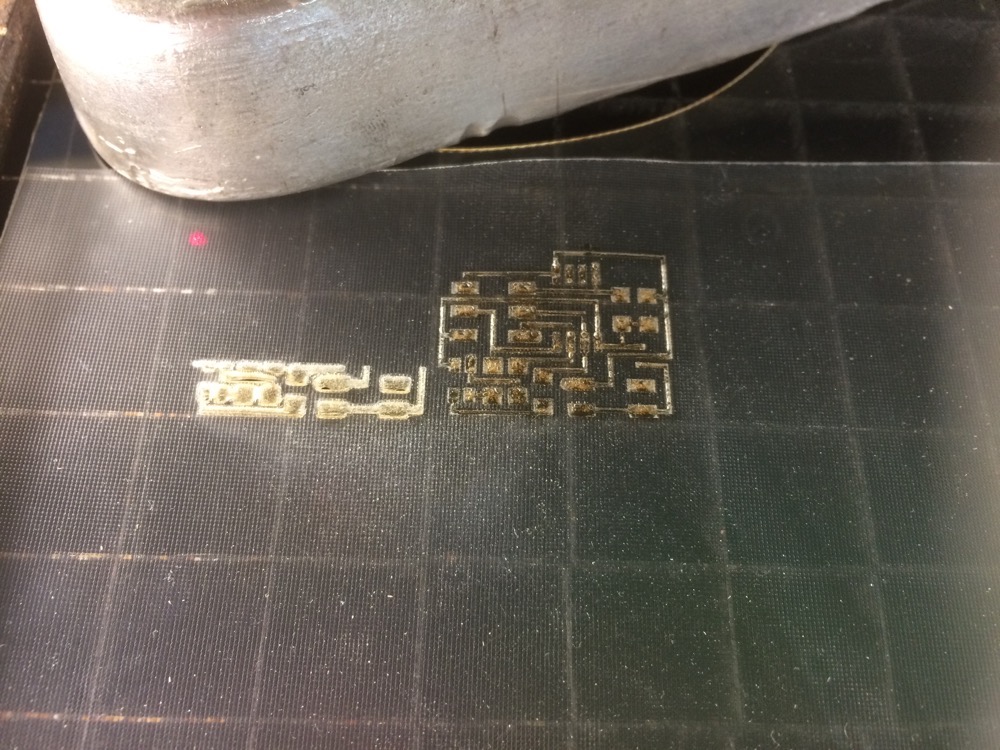
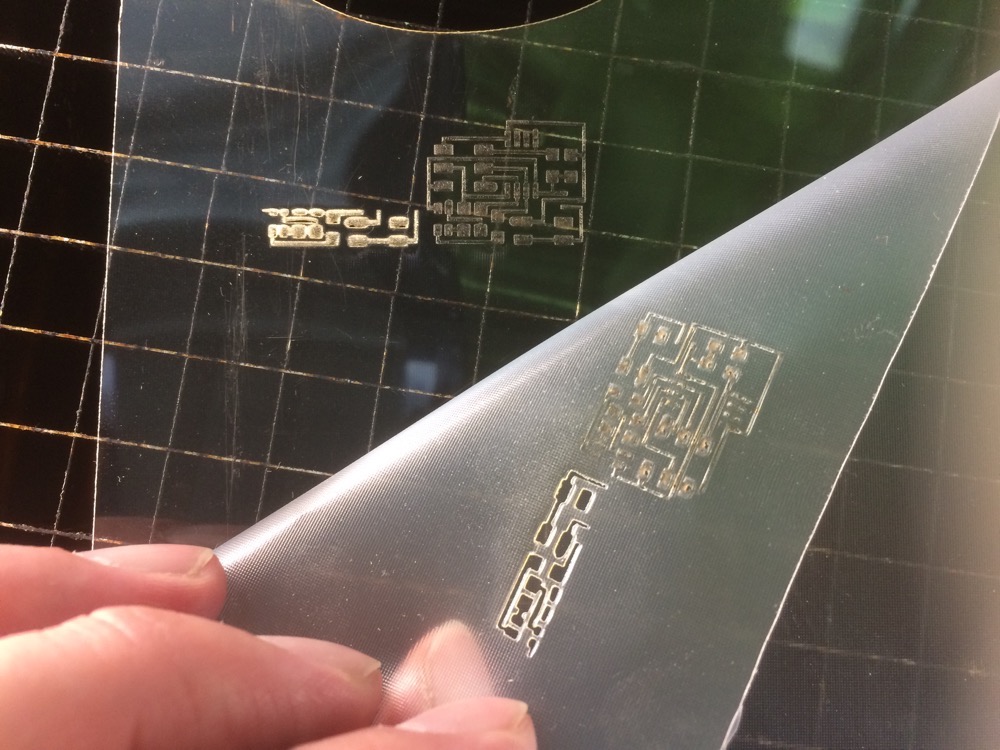
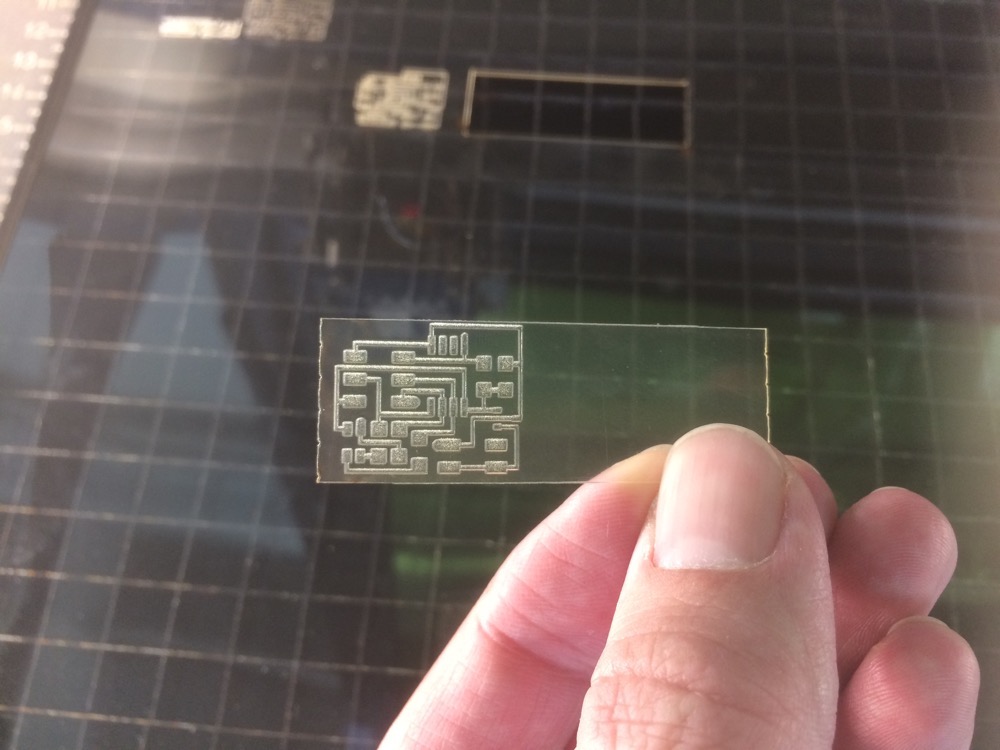
1 | Cleaning, filling-in, cutting 3D scan of myself with Netfabb Basic |
Cutting 3D Scan of myself
Cutting 3D Scan of myself
Cutting 3D Scan of myself
Cutting 3D Scan of myself
Cutting 3D Scan of myself
Cutting 3D Scan of myself
Cutting 3D Scan of myself
Cutting 3D Scan of myself
Cutting 3D Scan of myself
Cutting 3D Scan of myself
Cutting 3D Scan of myself
Cutting 3D Scan of myself
Cutting 3D Scan of myself
Cutting 3D Scan of myself
Cutting 3D Scan of myself
Cutting 3D Scan of myself
Cutting 3D Scan of myself
Cutting 3D Scan of myself
Cutting 3D Scan of myself
Cutting 3D Scan of myself
Cutting 3D Scan of myself
Cutting 3D Scan of myself
Cutting 3D Scan of myself
Cutting 3D Scan of myself
Cutting 3D Scan of myself
Cutting 3D Scan of myself
Cutting 3D Scan of myself
Cutting 3D Scan of myself
Cutting 3D Scan of myself
Cutting 3D Scan of myself
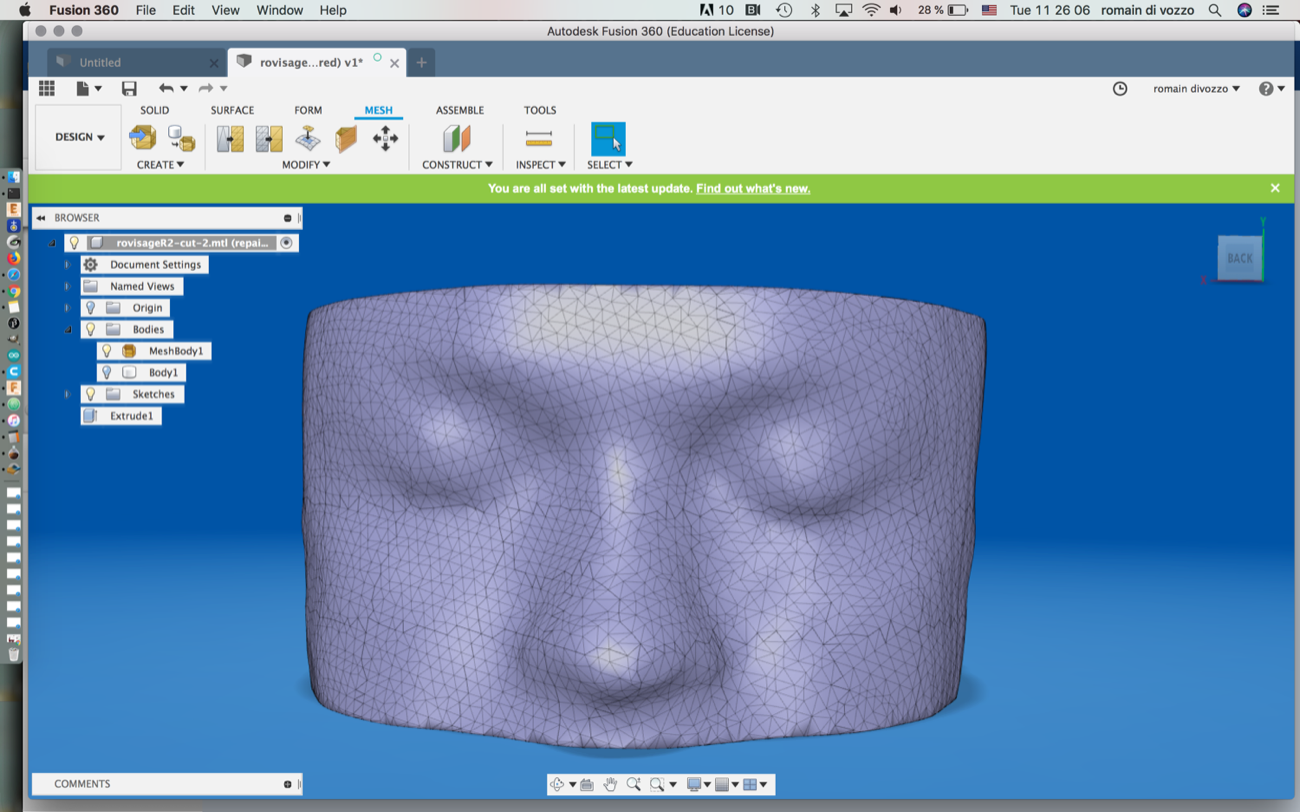
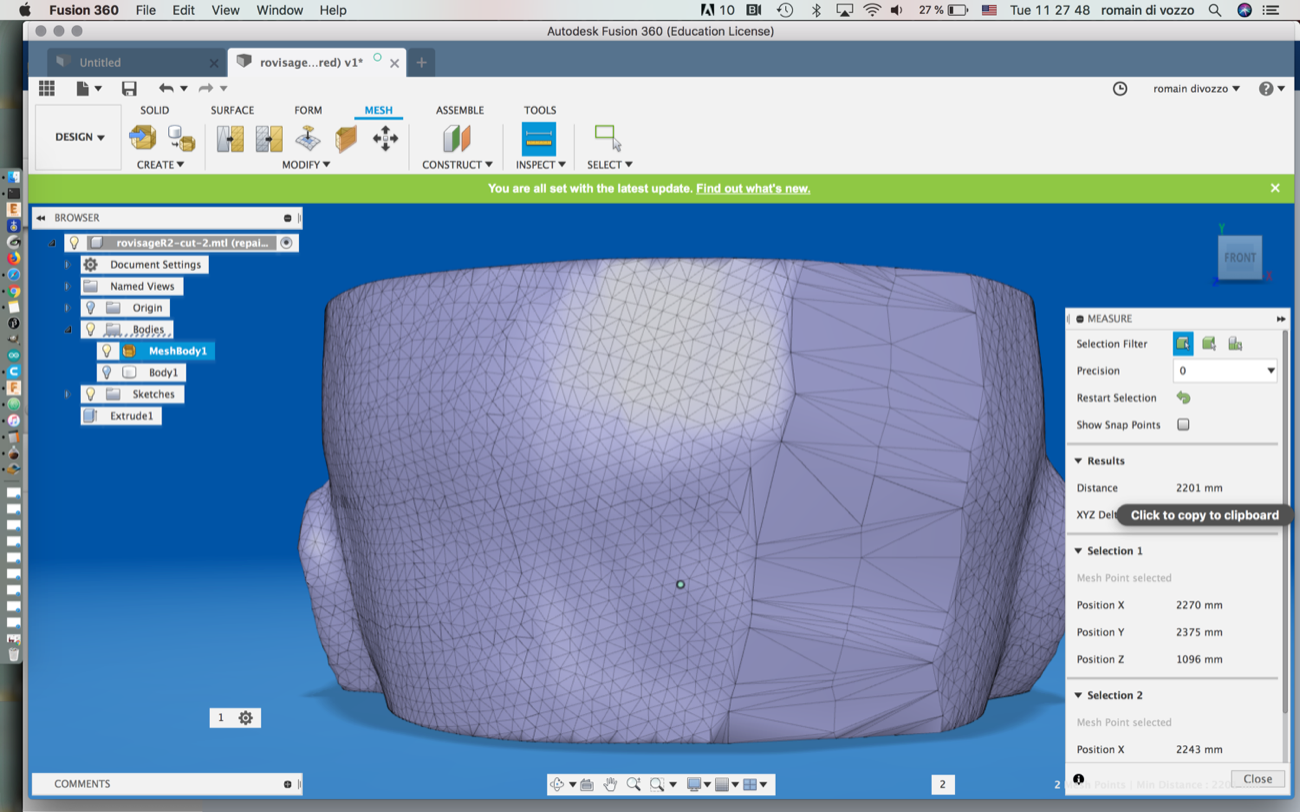
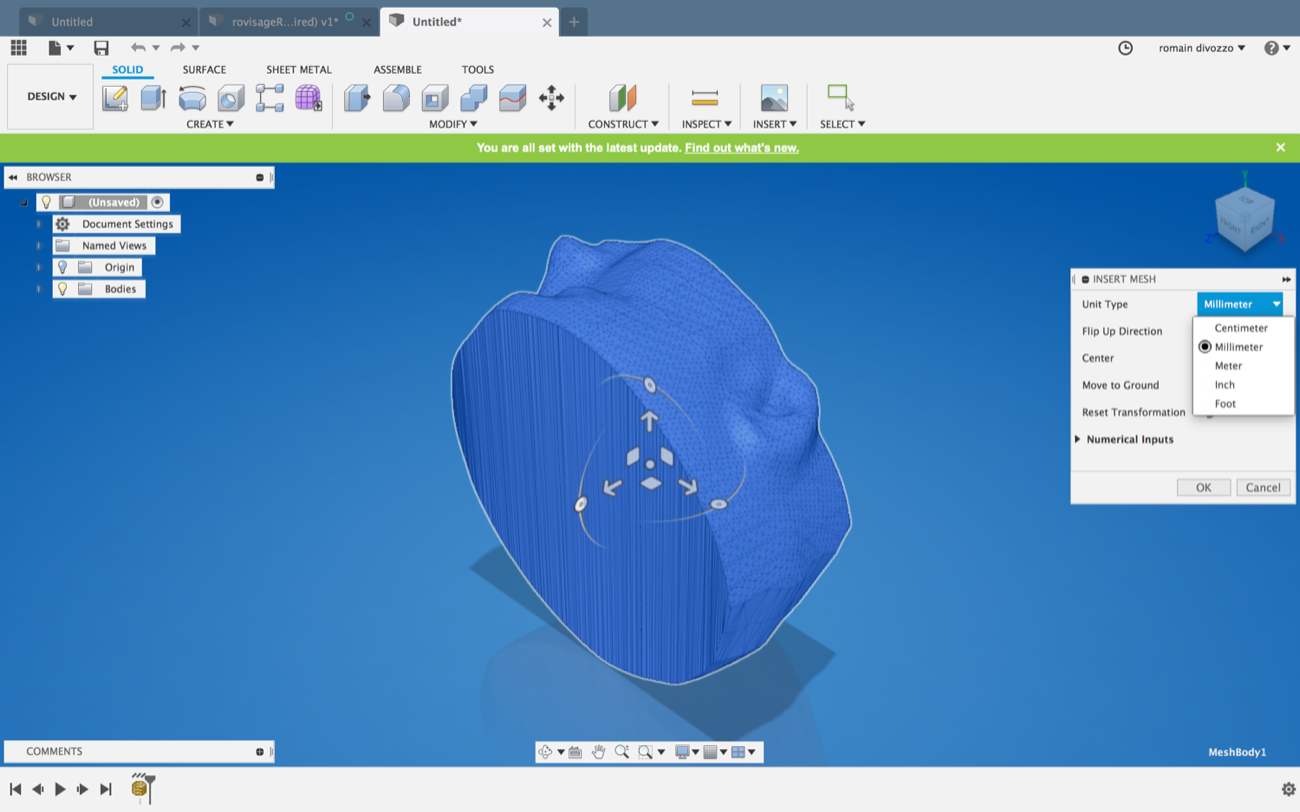
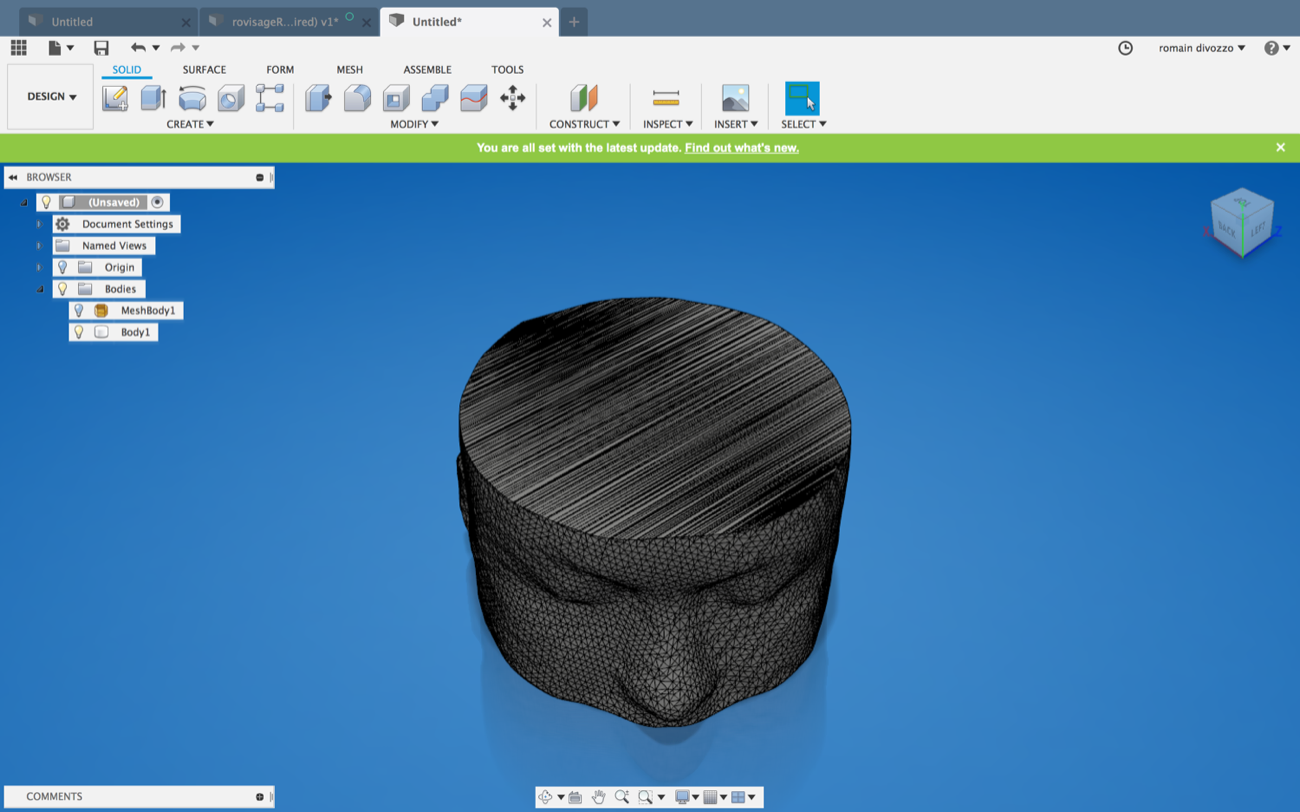
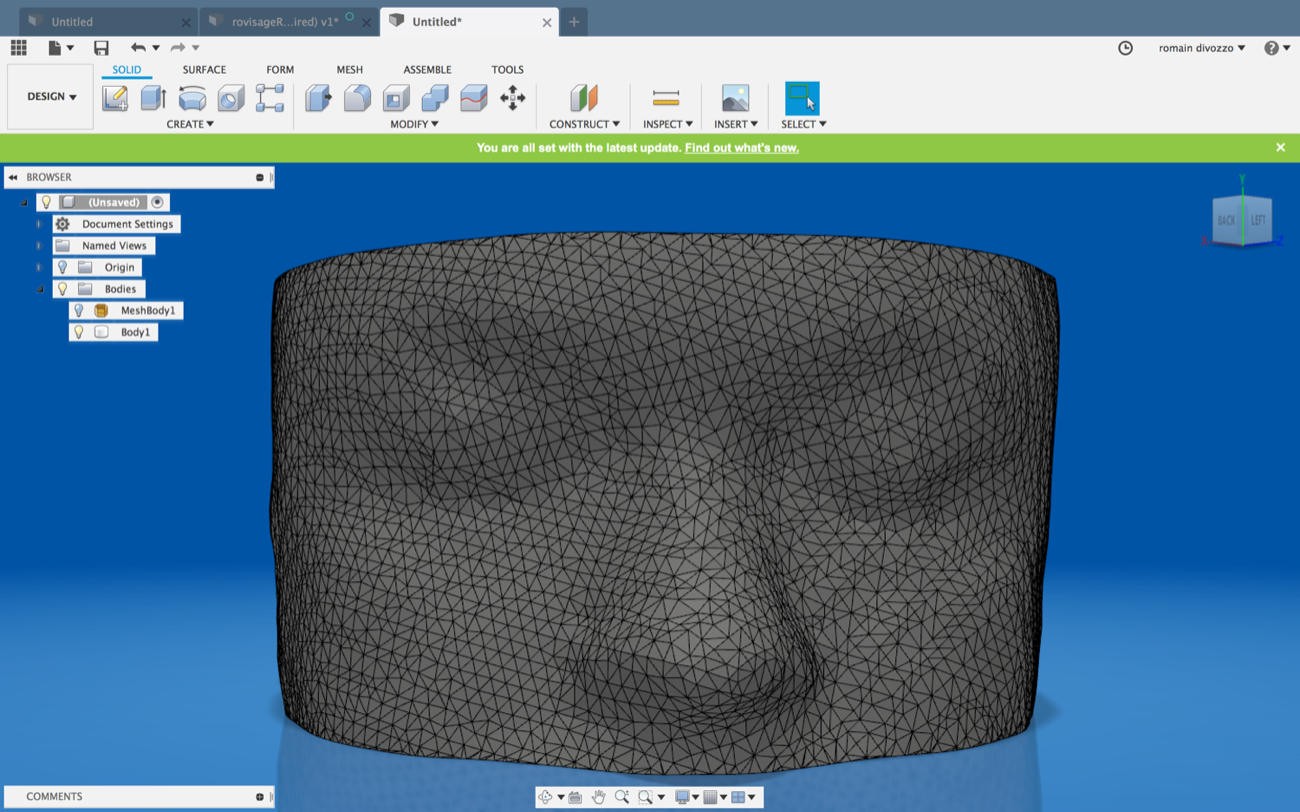
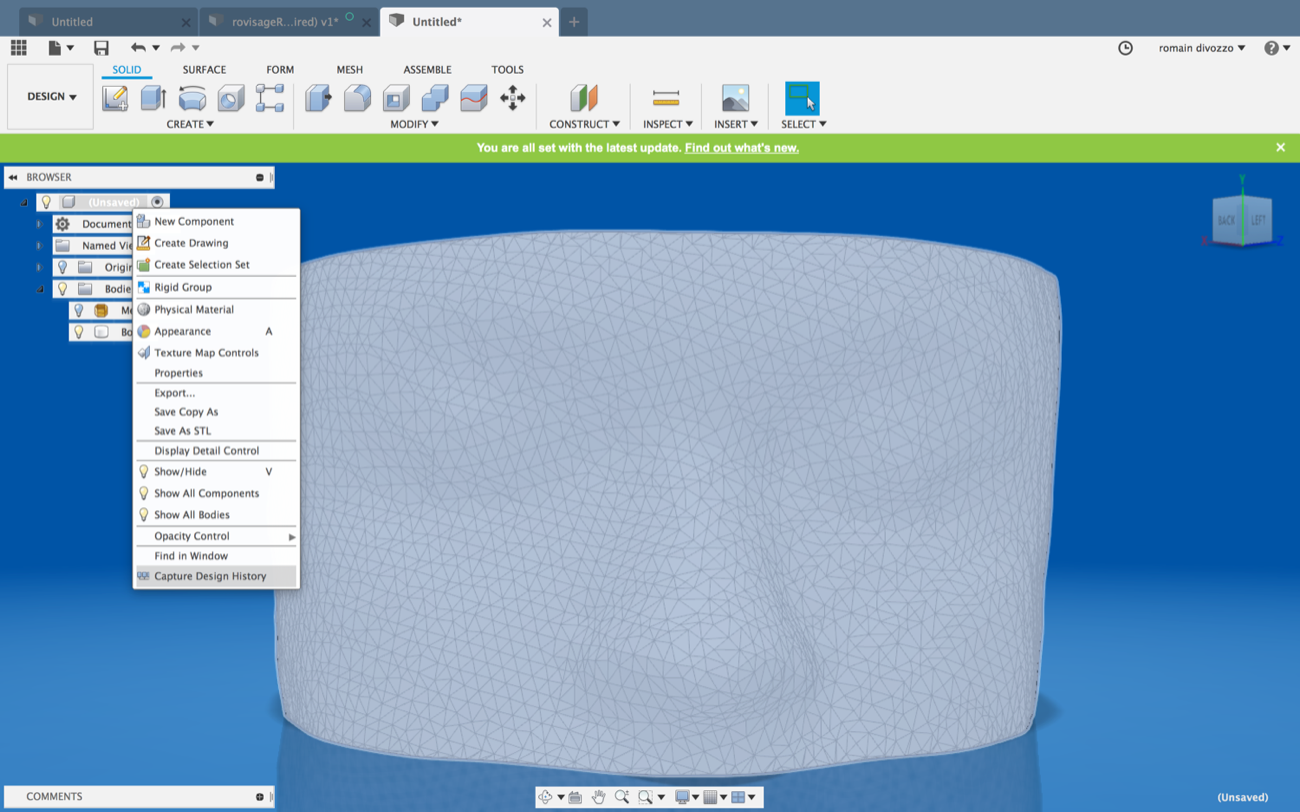
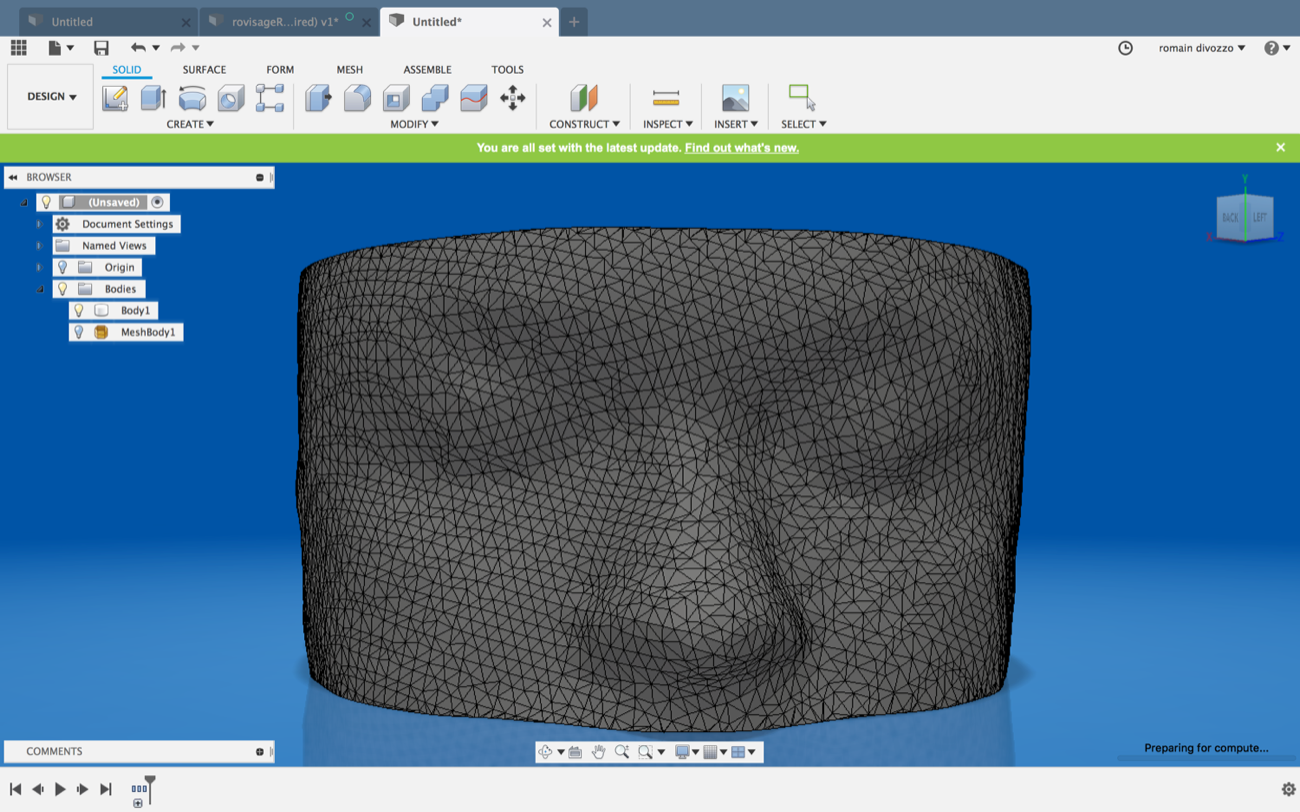
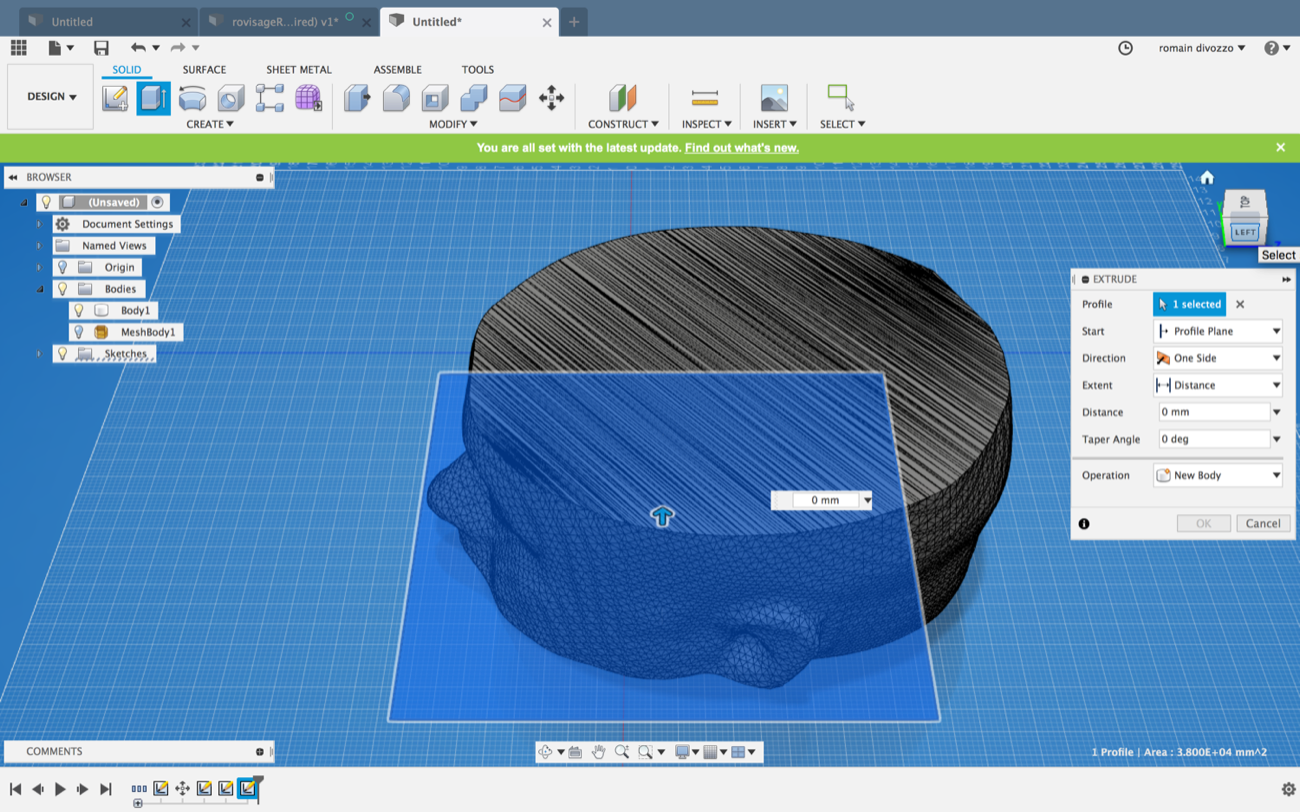
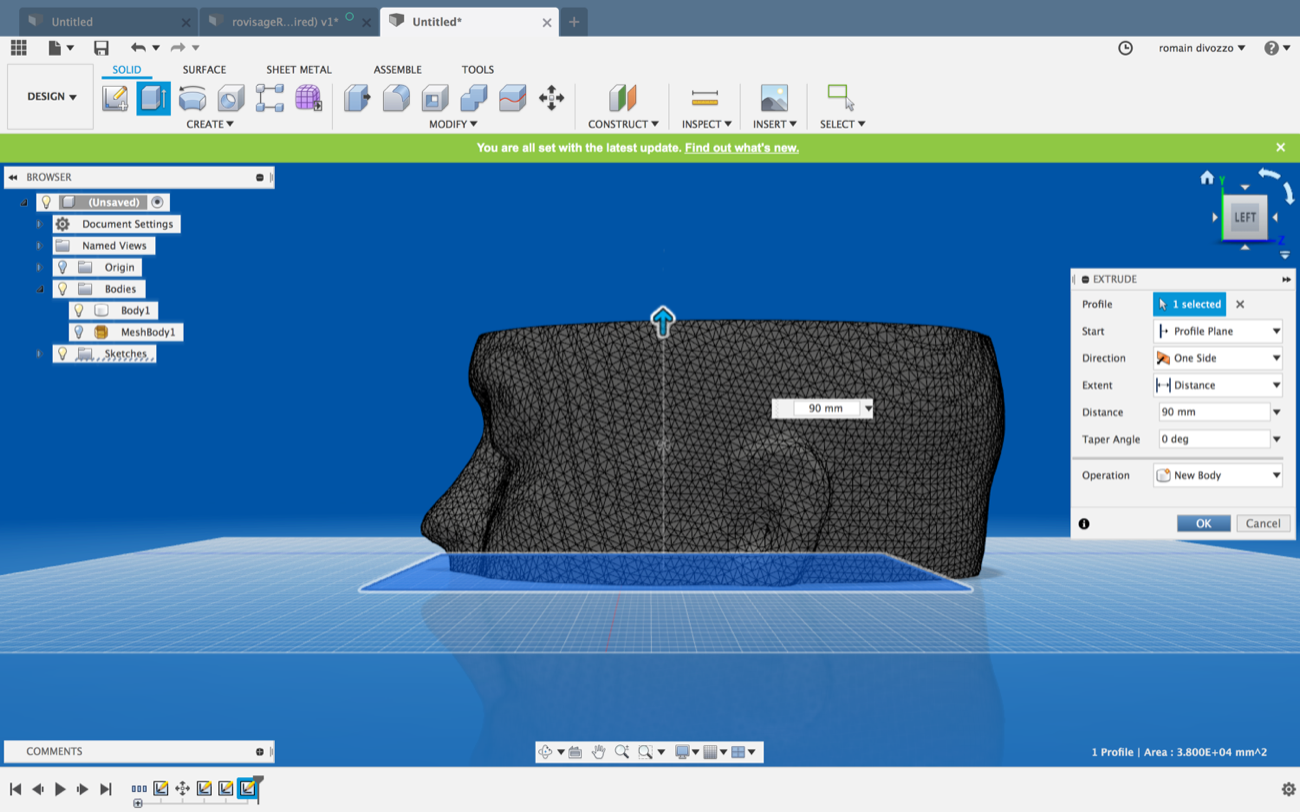
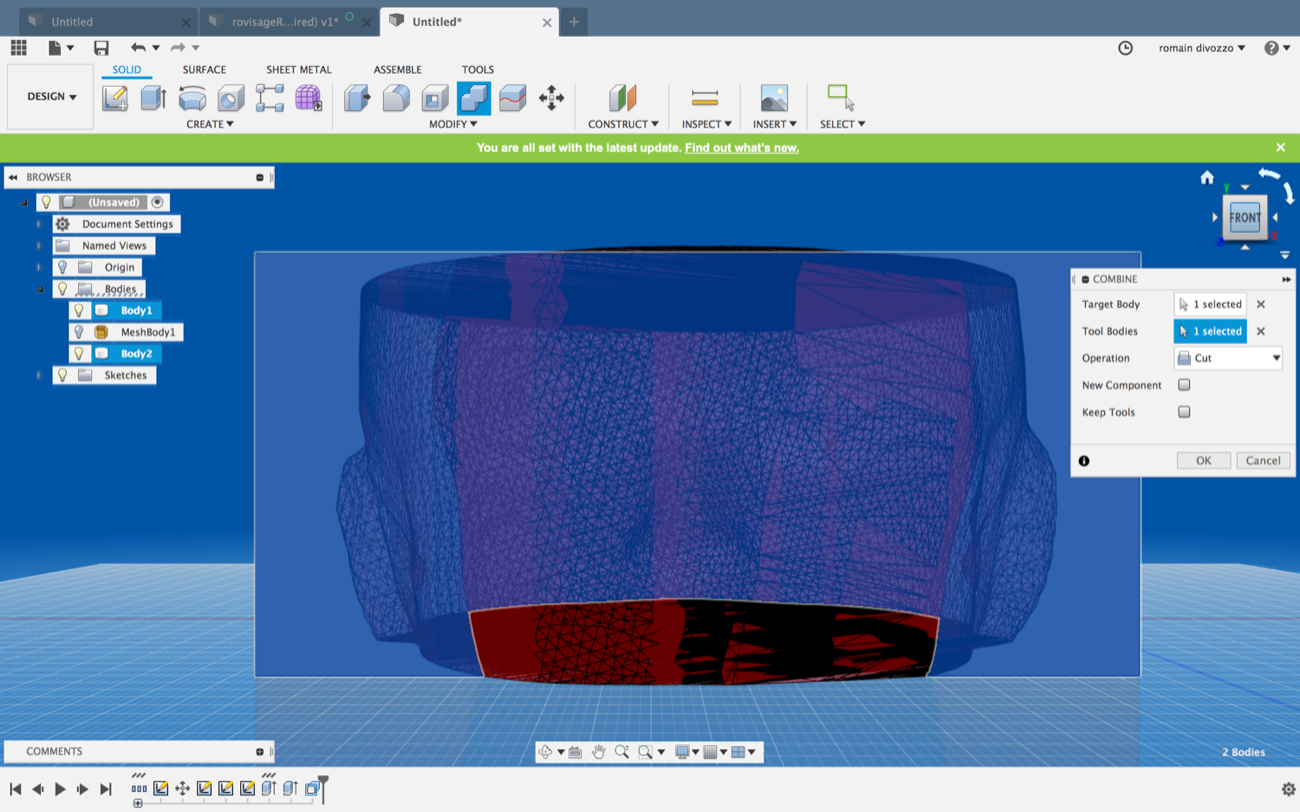
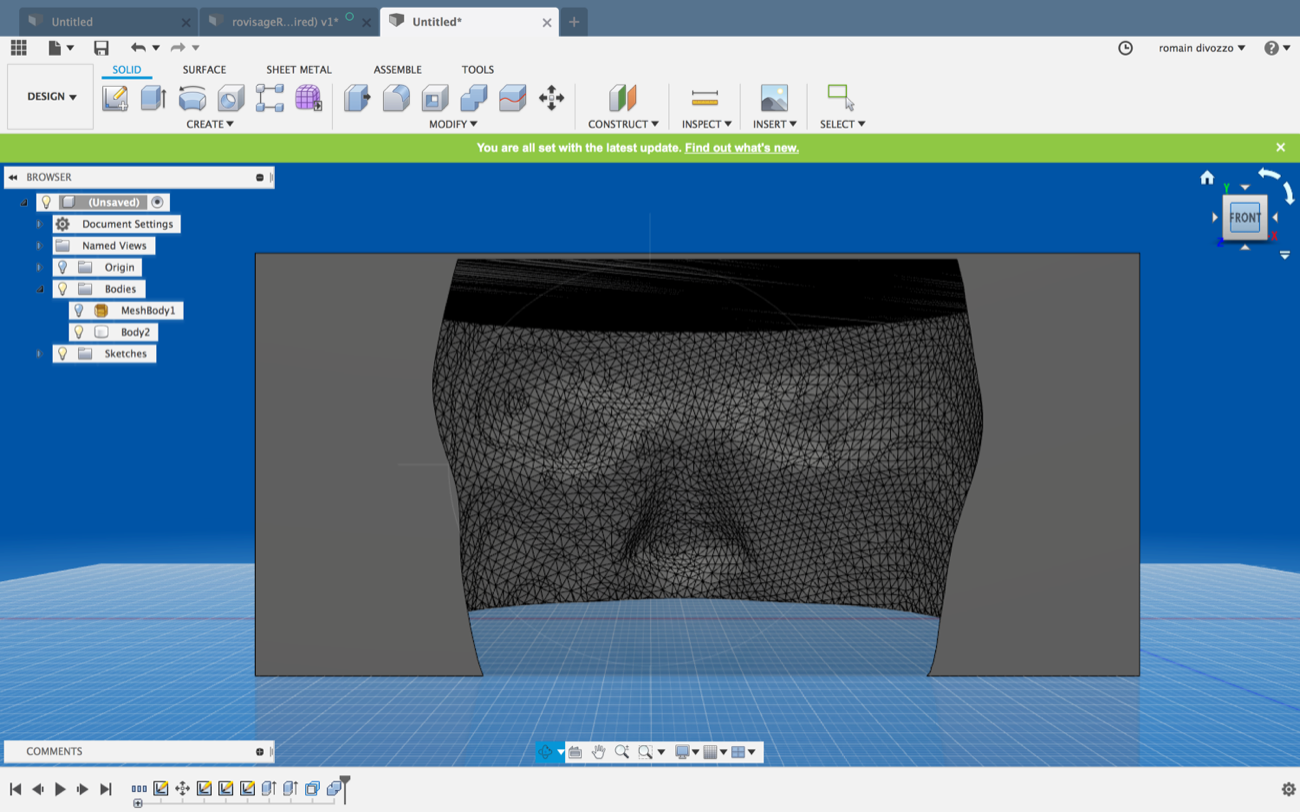
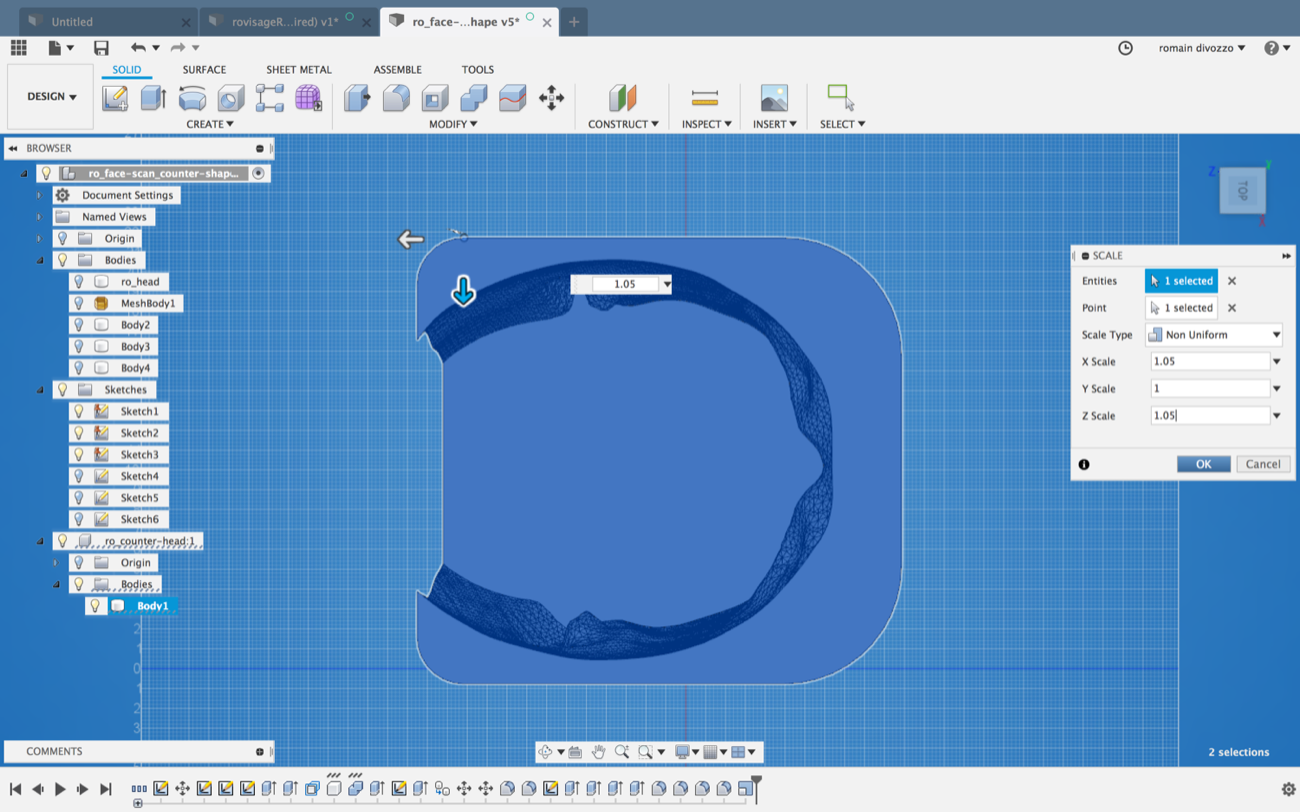
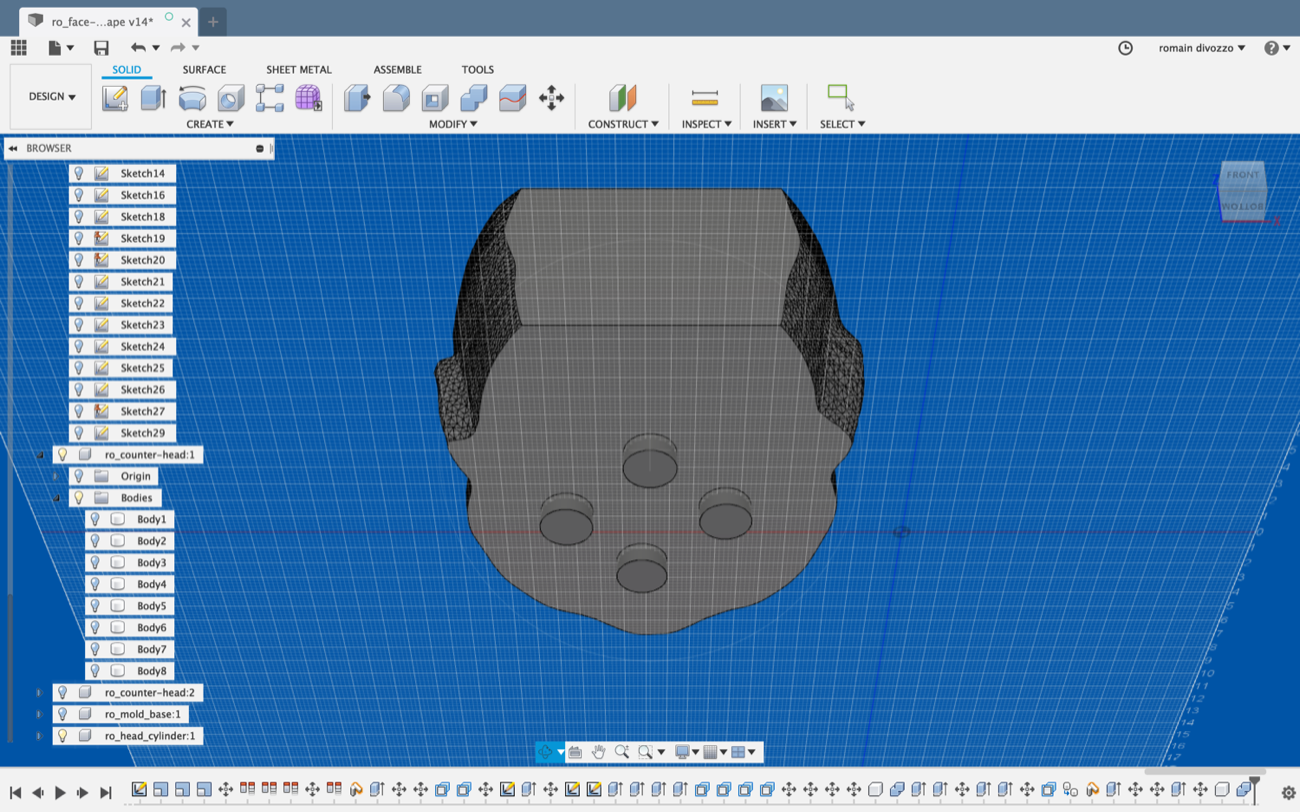
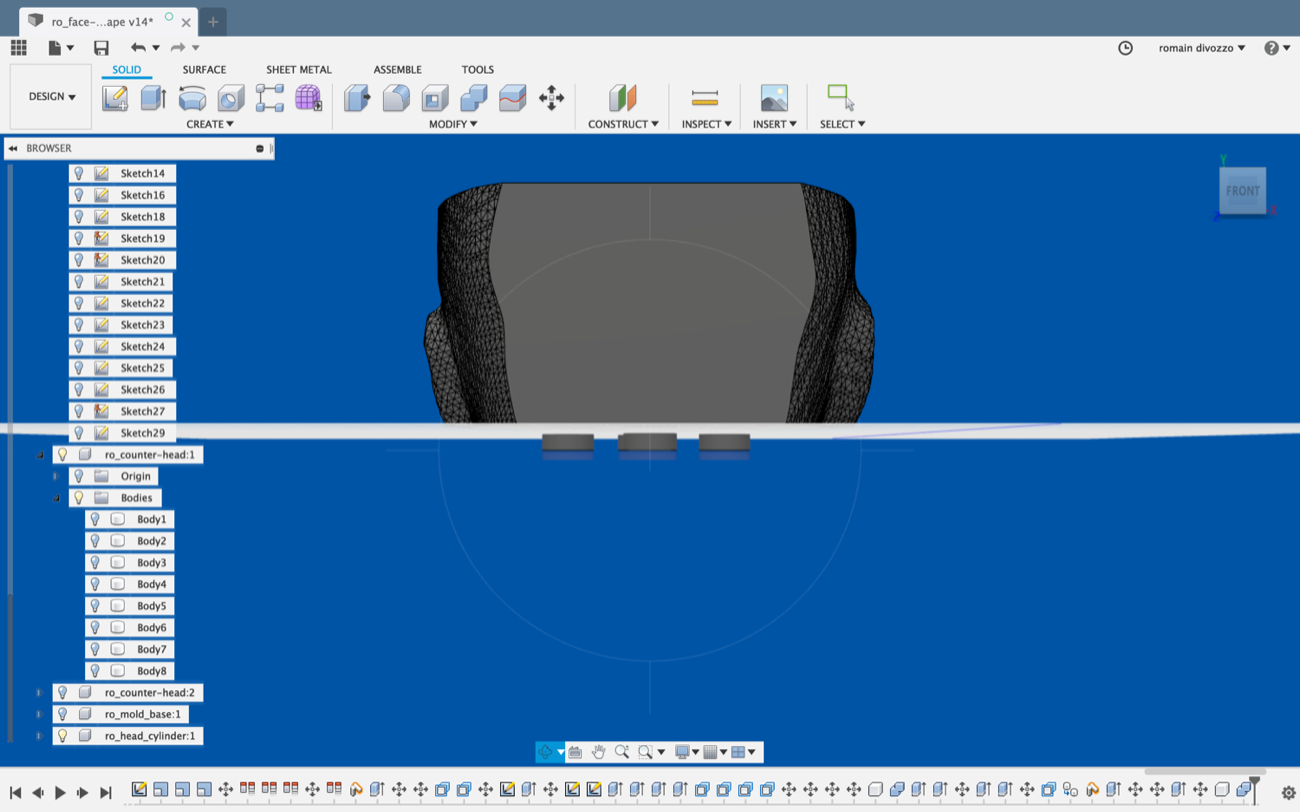
2 | Scale issues when importing .STL scan into FUSION 360 |
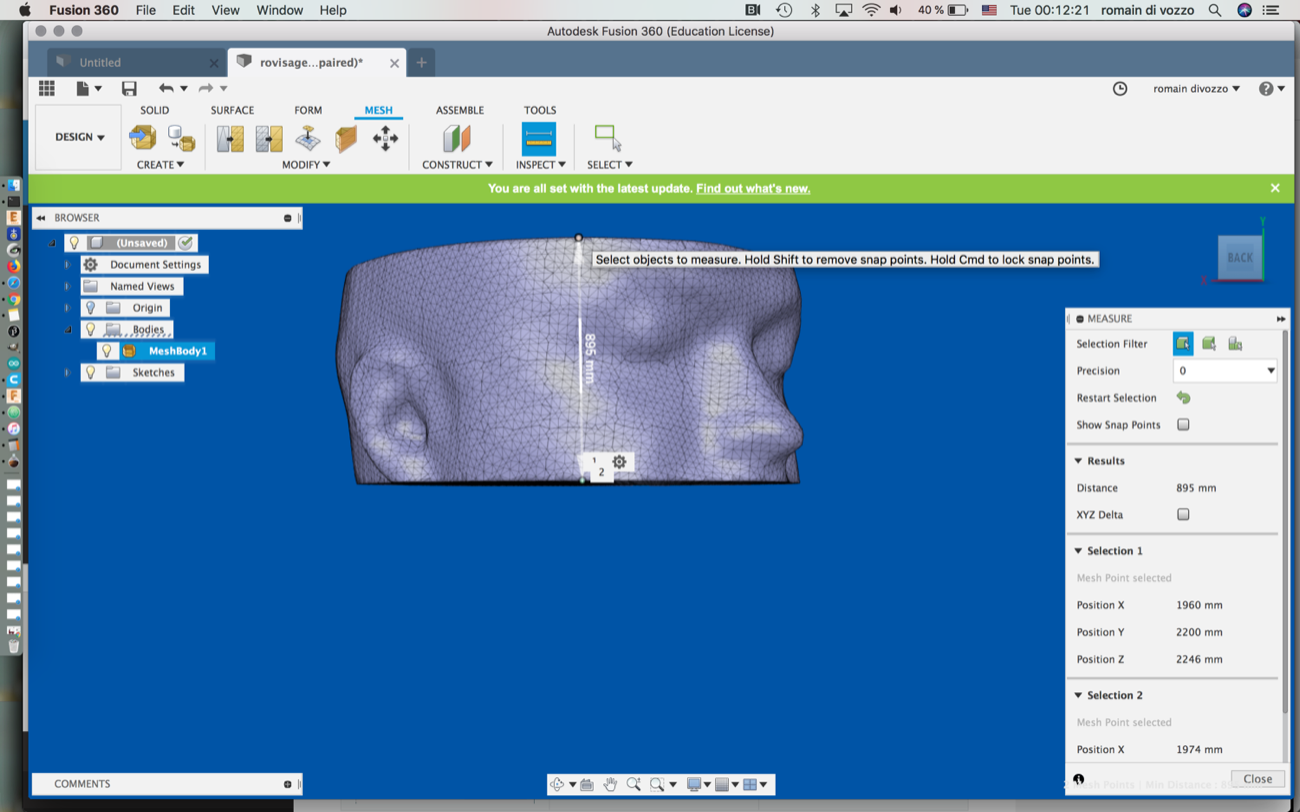
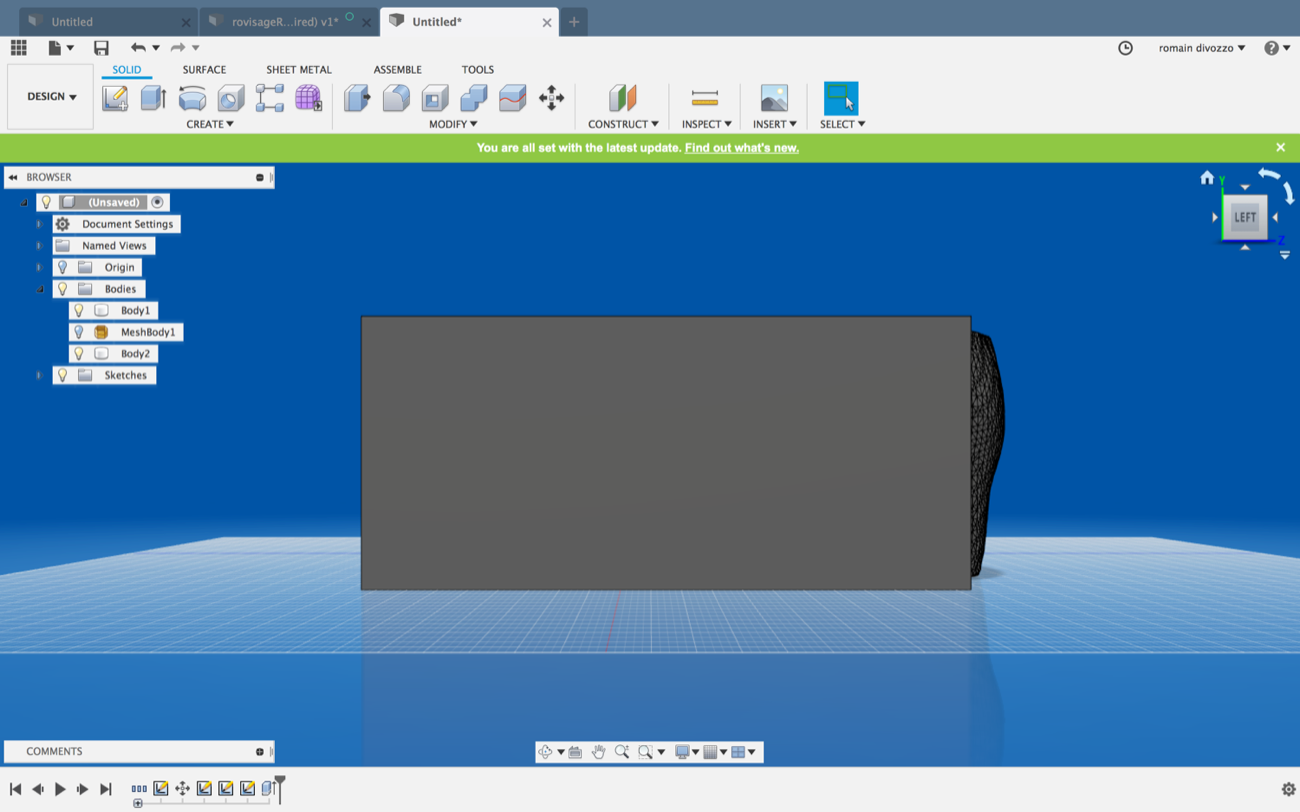
My intention is to design a mold out of the 3D scan of my head. But when opening the .STL file in FUSION 360, the size of my head is extremely large - like more than 2000mm.
Scale issues in FUSION 360
Scale issues in FUSION 360
Scale issues in FUSION 360
Scale issues in FUSION 360
Scale issues in FUSION 360
Scale issues in FUSION 360
Scale issues in FUSION 360
Scale issues in FUSION 360
Scale issues in FUSION 360
Scale issues in FUSION 360
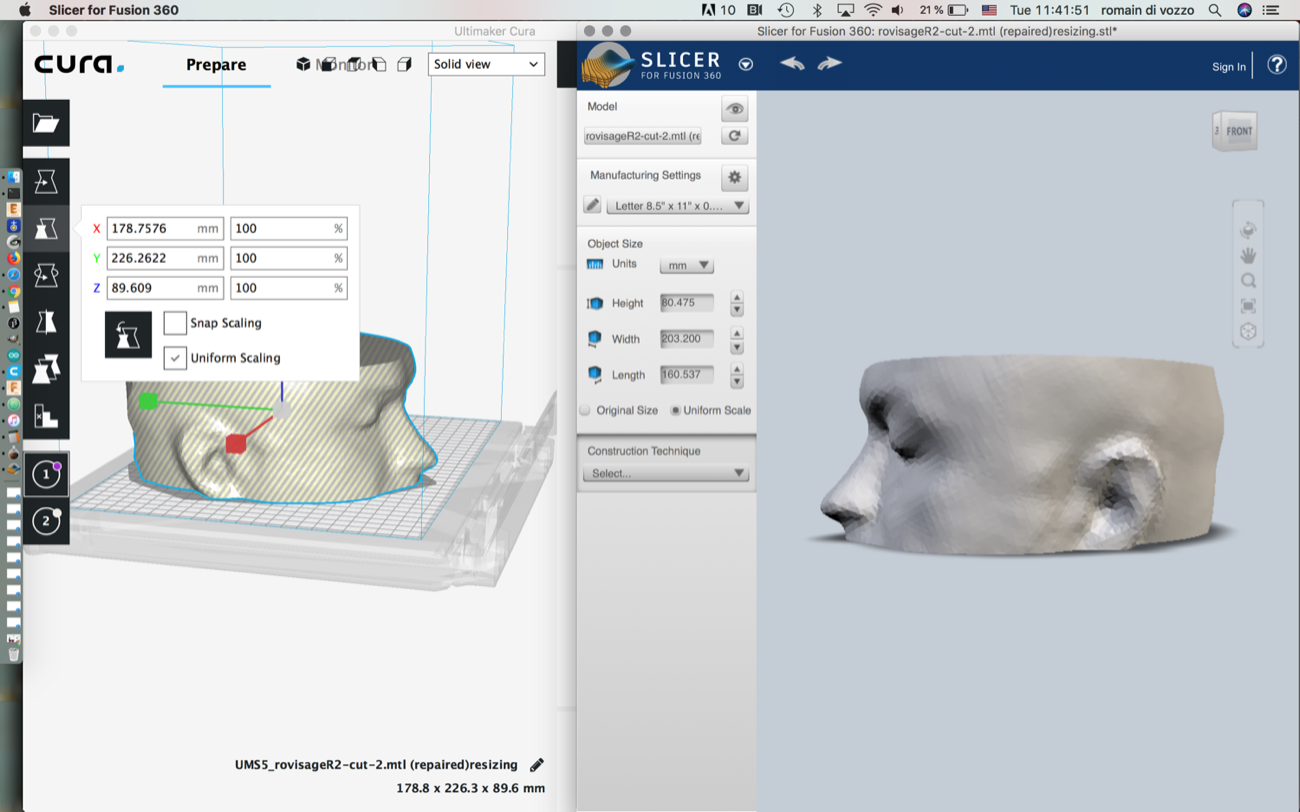
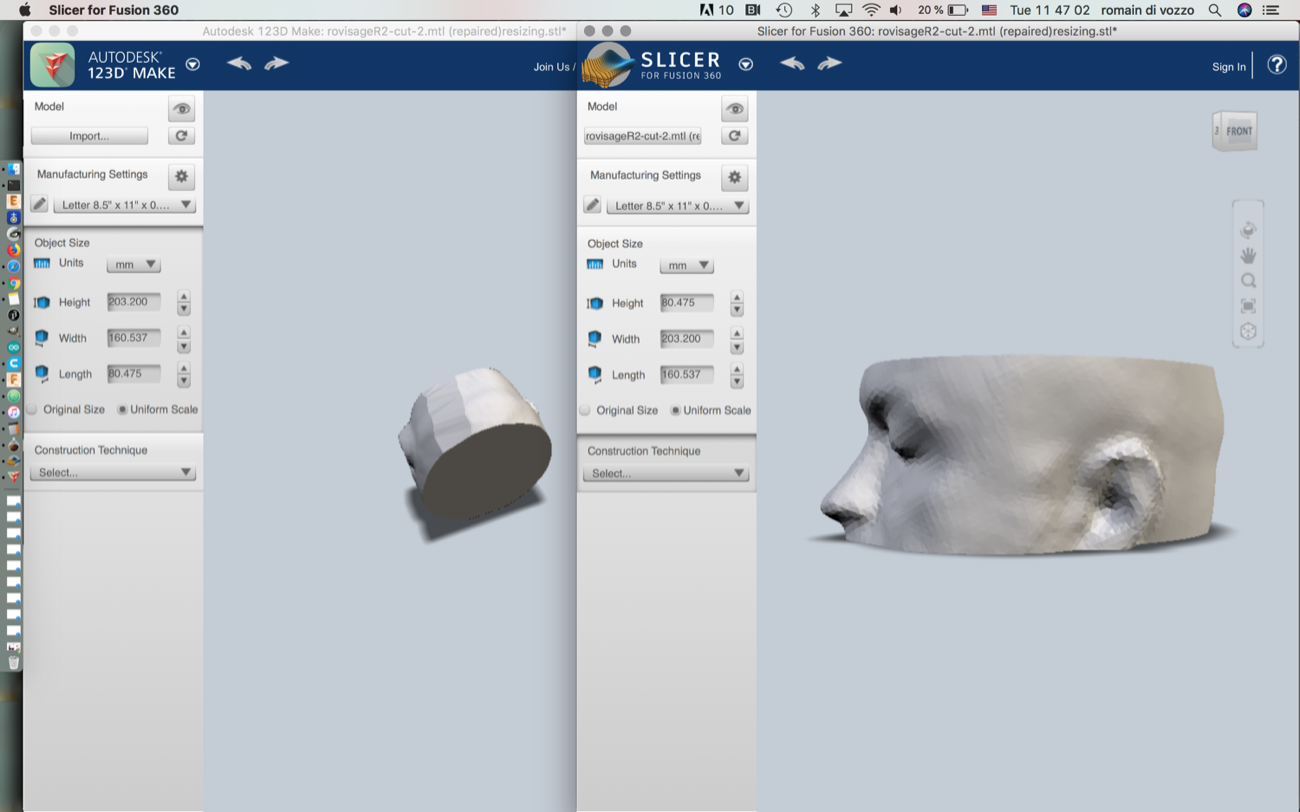
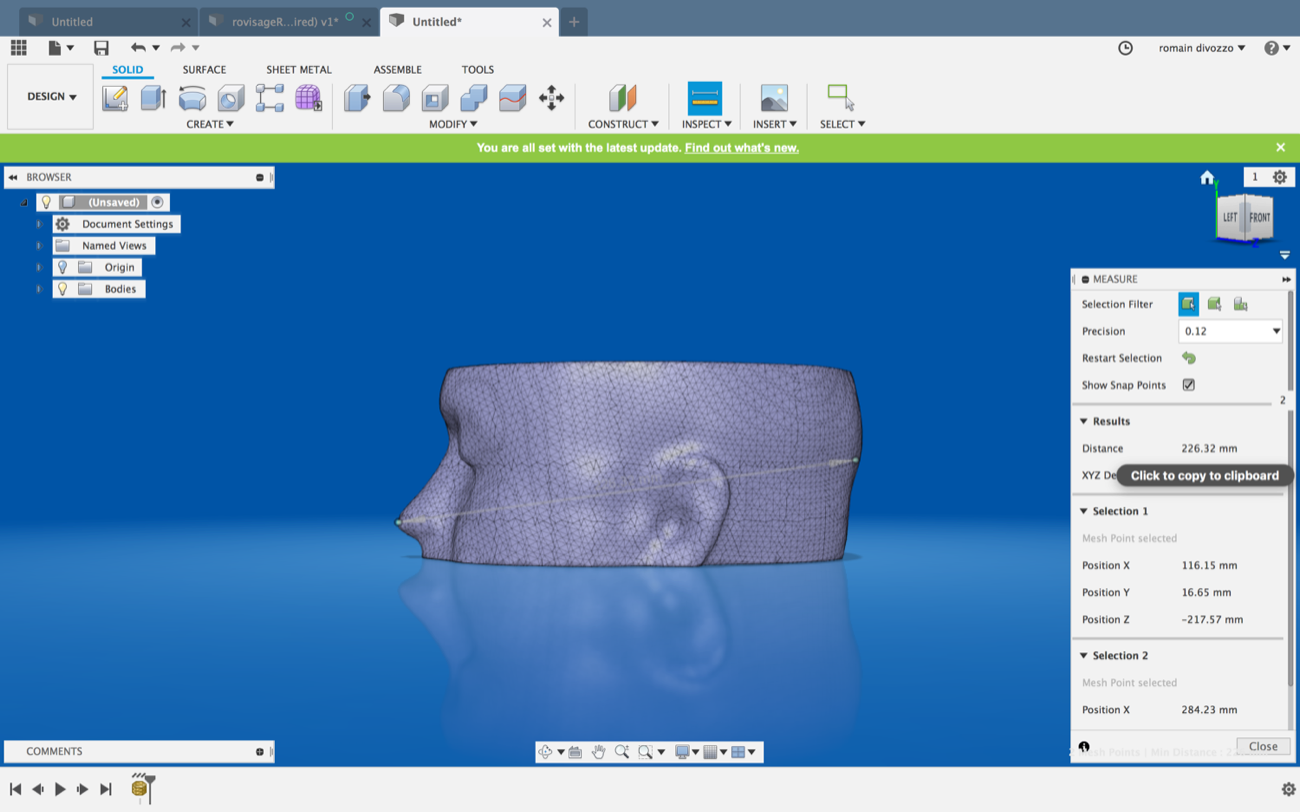
Other softwares were showing different measurments as well. Ultimaker Cura would disagree with Slicer, but Slicer and 123DMake - both from Autodesk - would agree on my file’s size.
Comparing File Scale in Softwares
Comparing File Scale in Softwares
Here is how I solved this issue. In fact, if you don’t follow the process below, FUSION 360, by default, imports a file into inches and kind of converts the inches into mm if this is your set-up in FUSION 360.
Importing File with Correct Scale in FUSION 360
Importing File with Correct Scale in FUSION 360
Importing File with Correct Scale in FUSION 360
Importing File with Correct Scale in FUSION 360
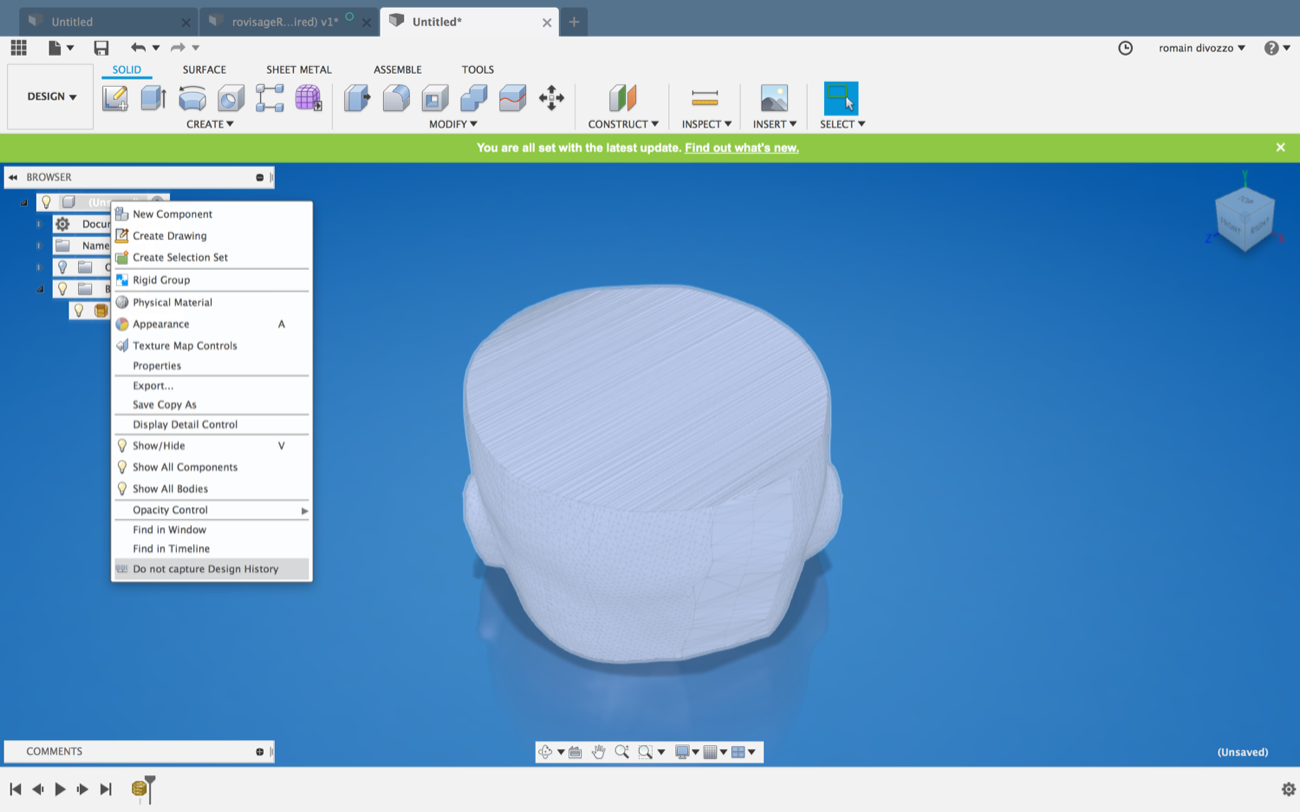
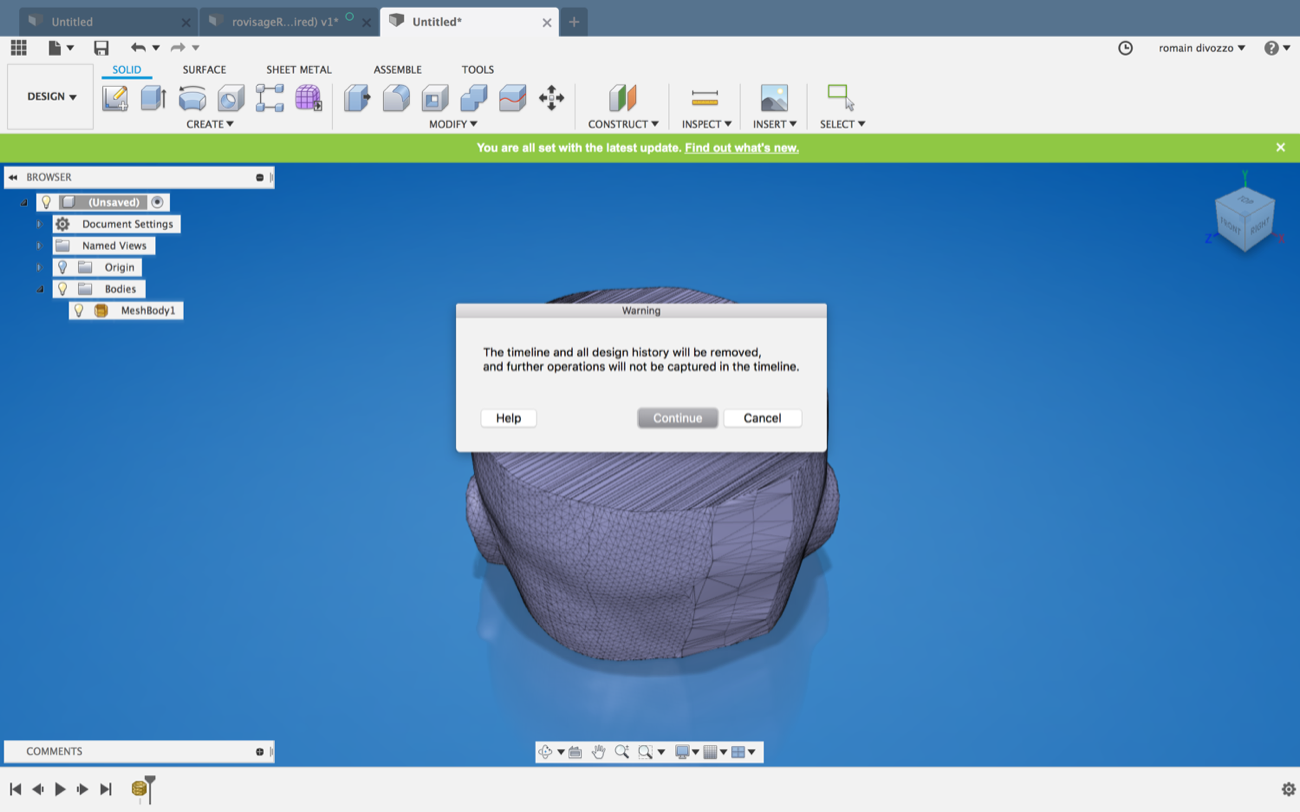
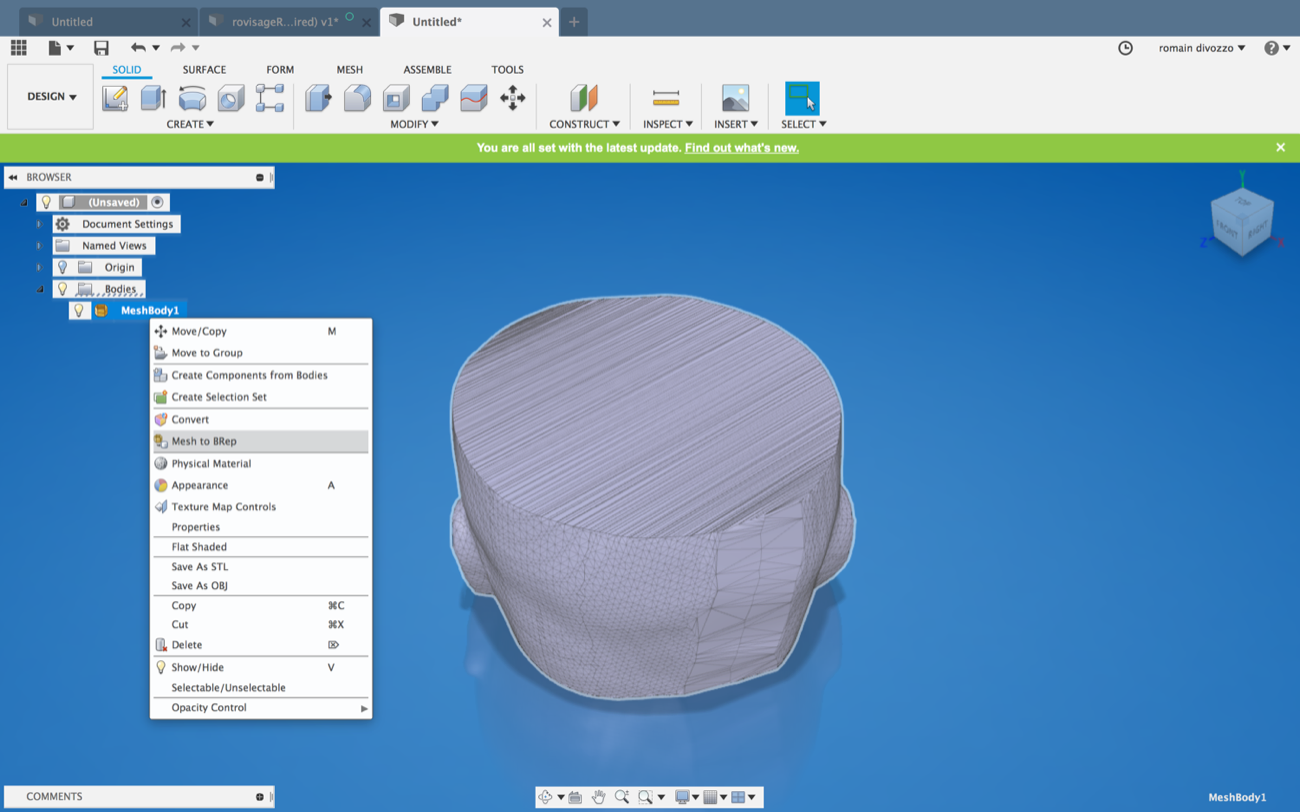
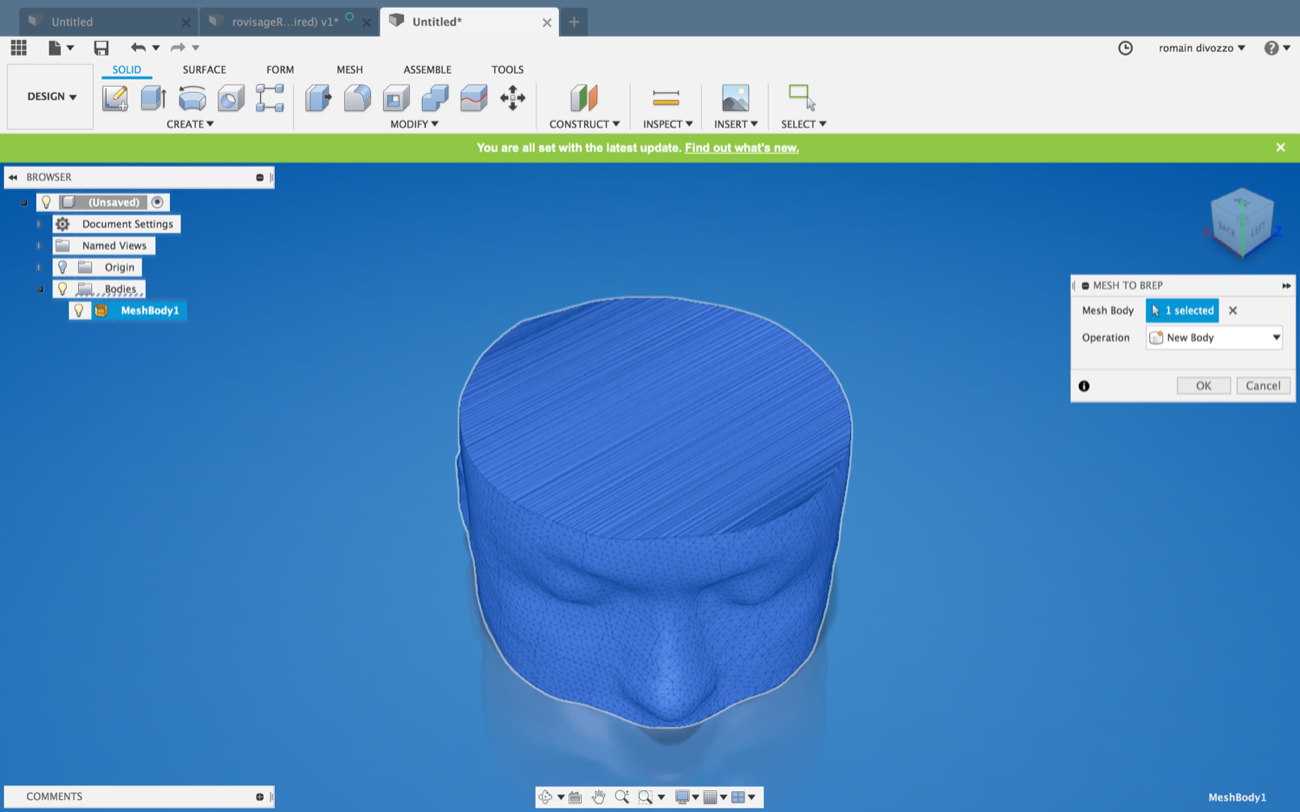
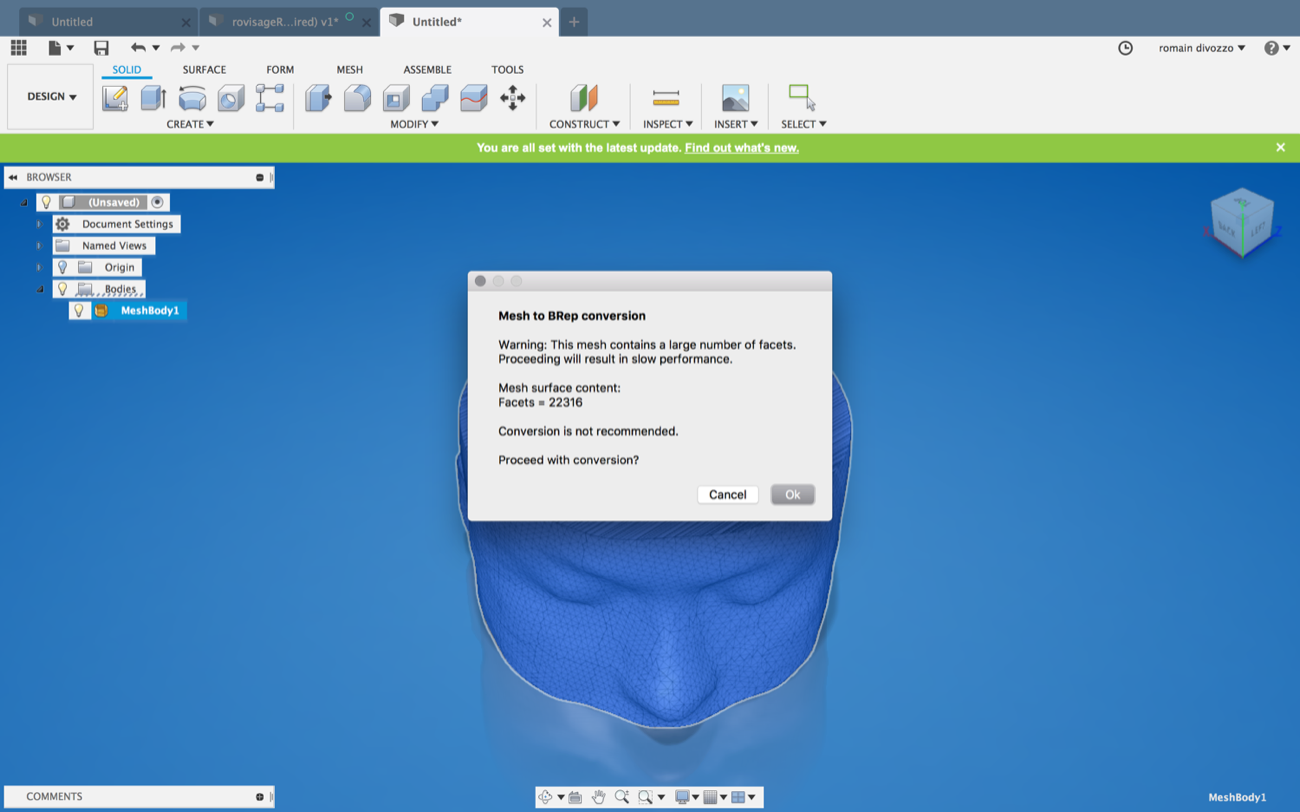
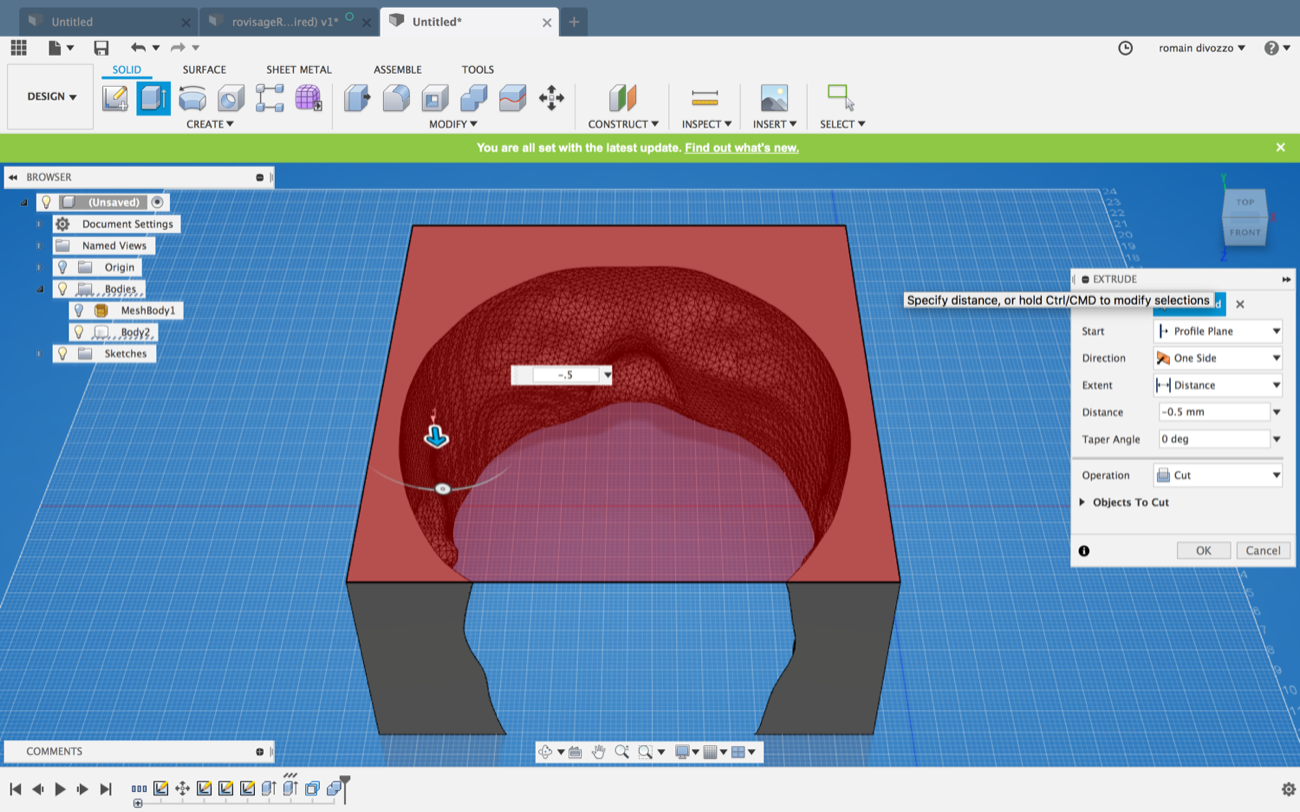
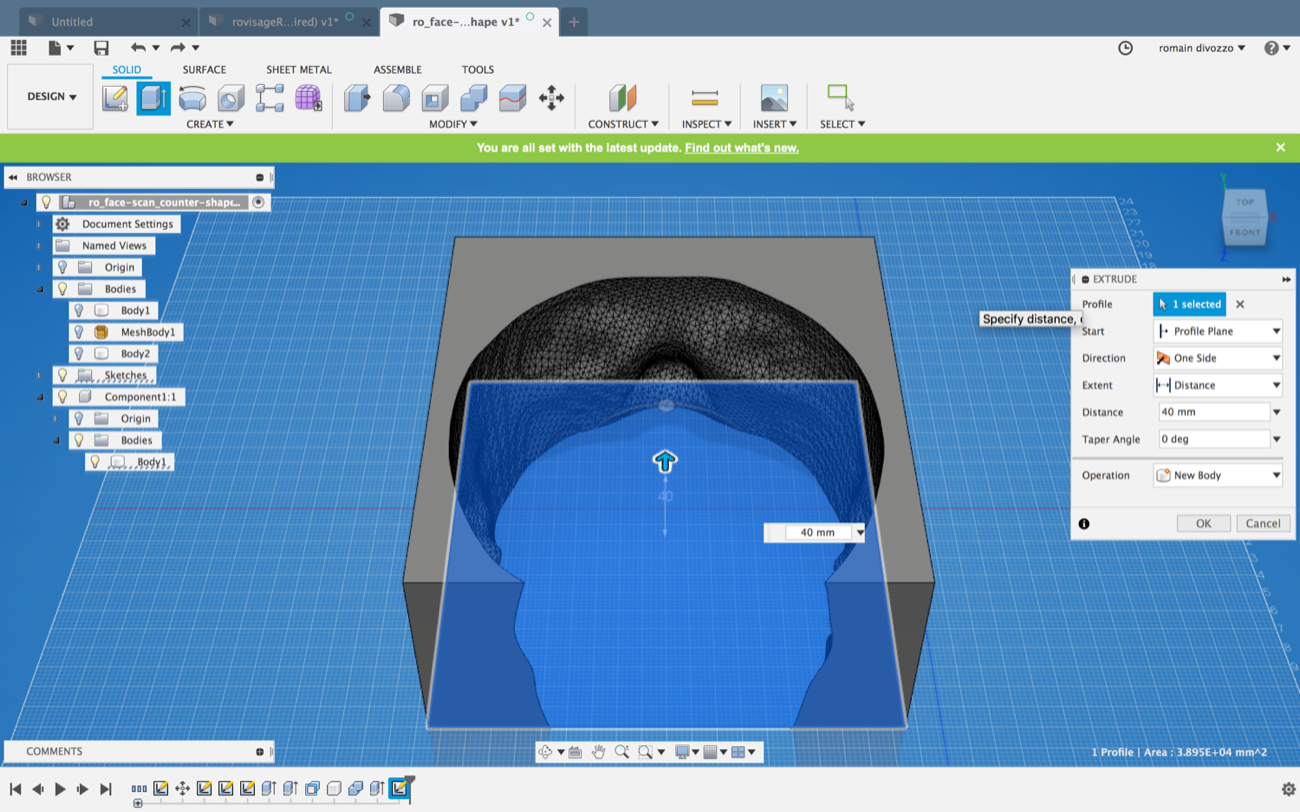
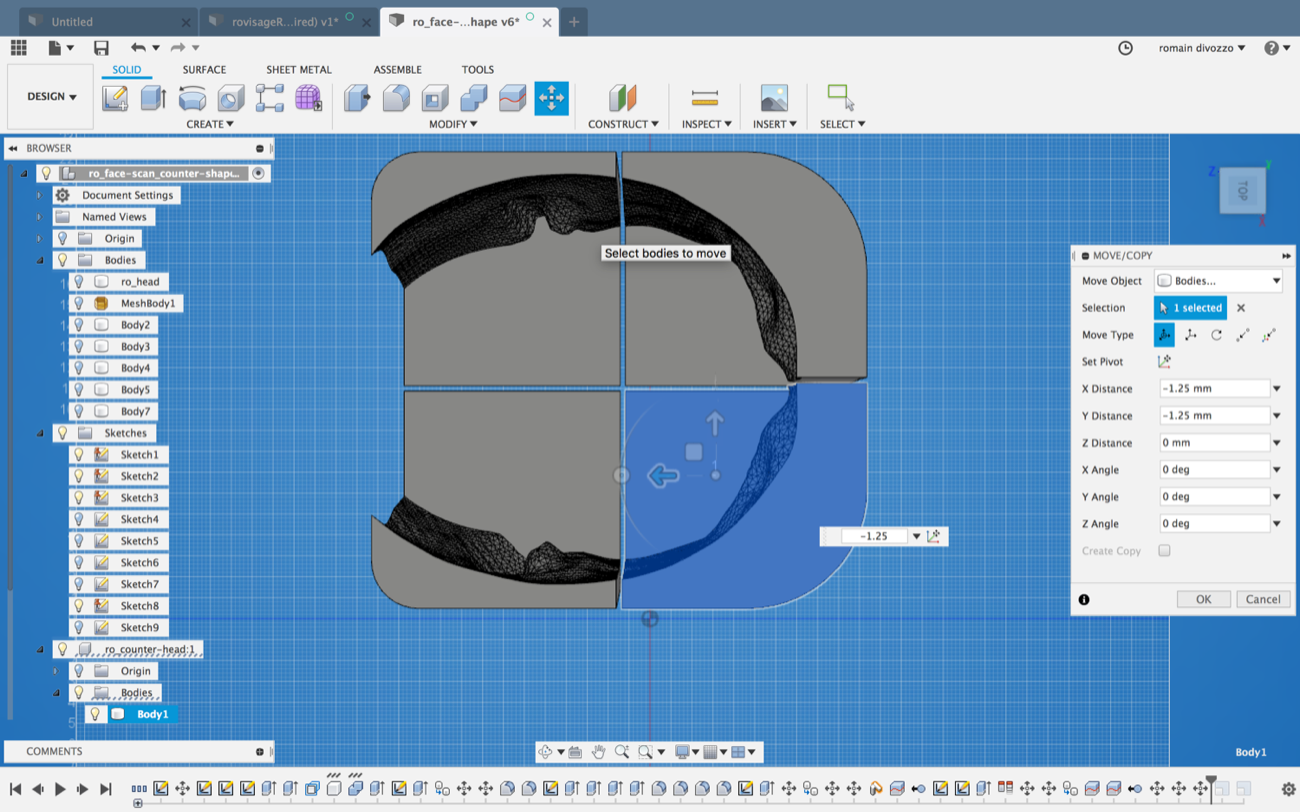
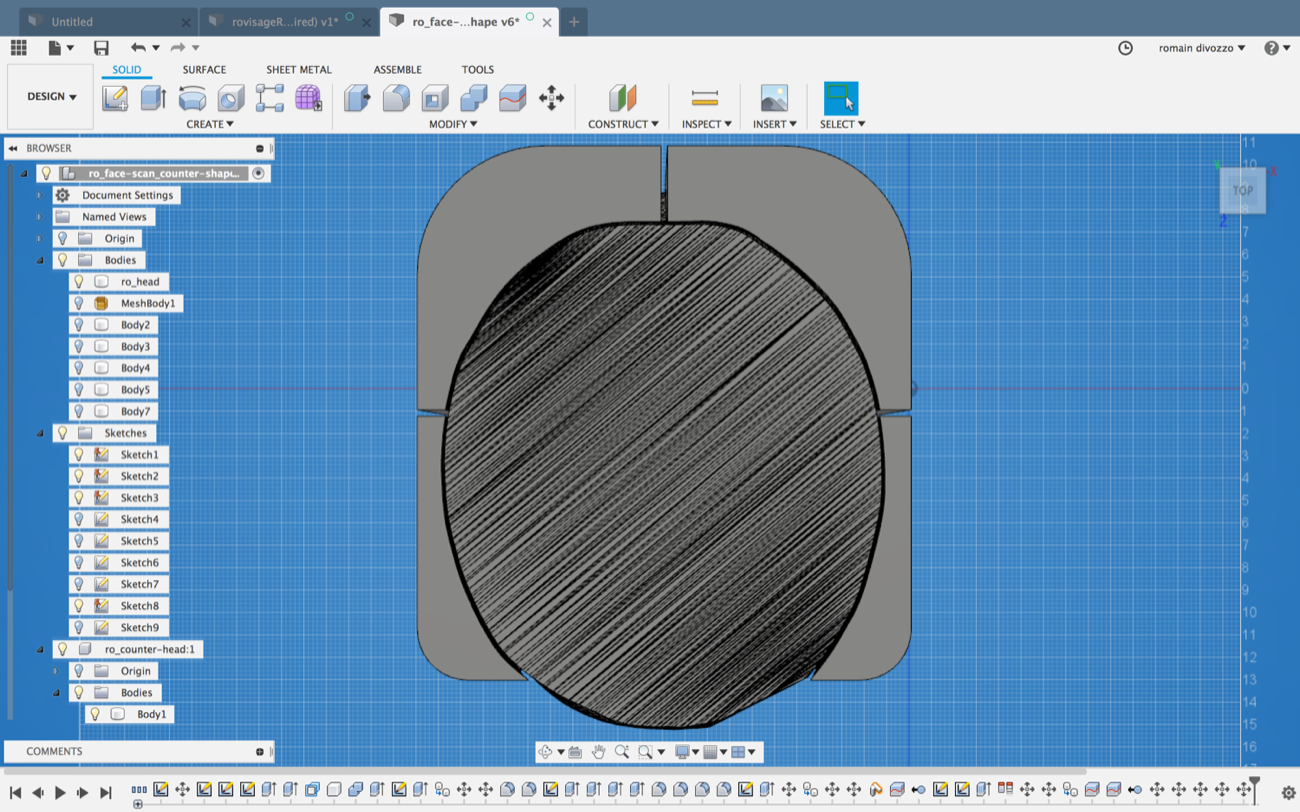
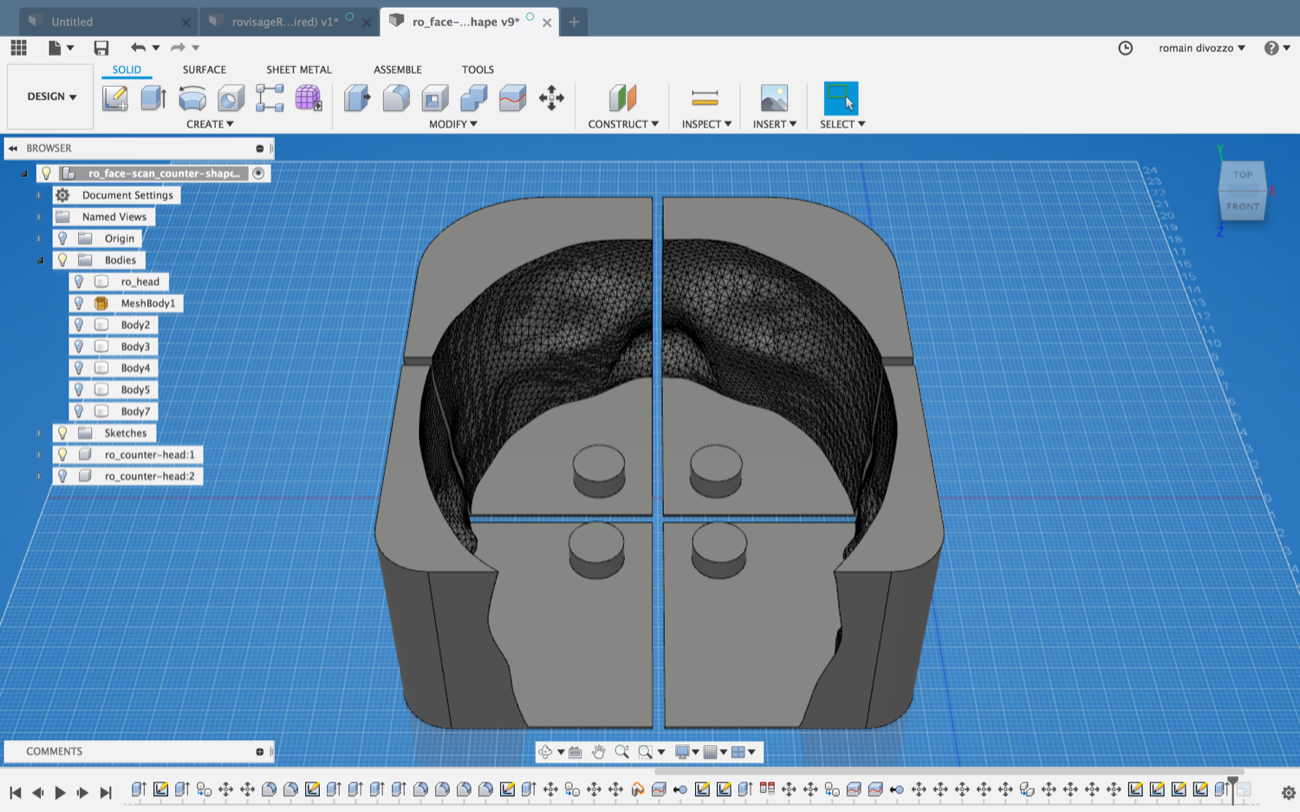
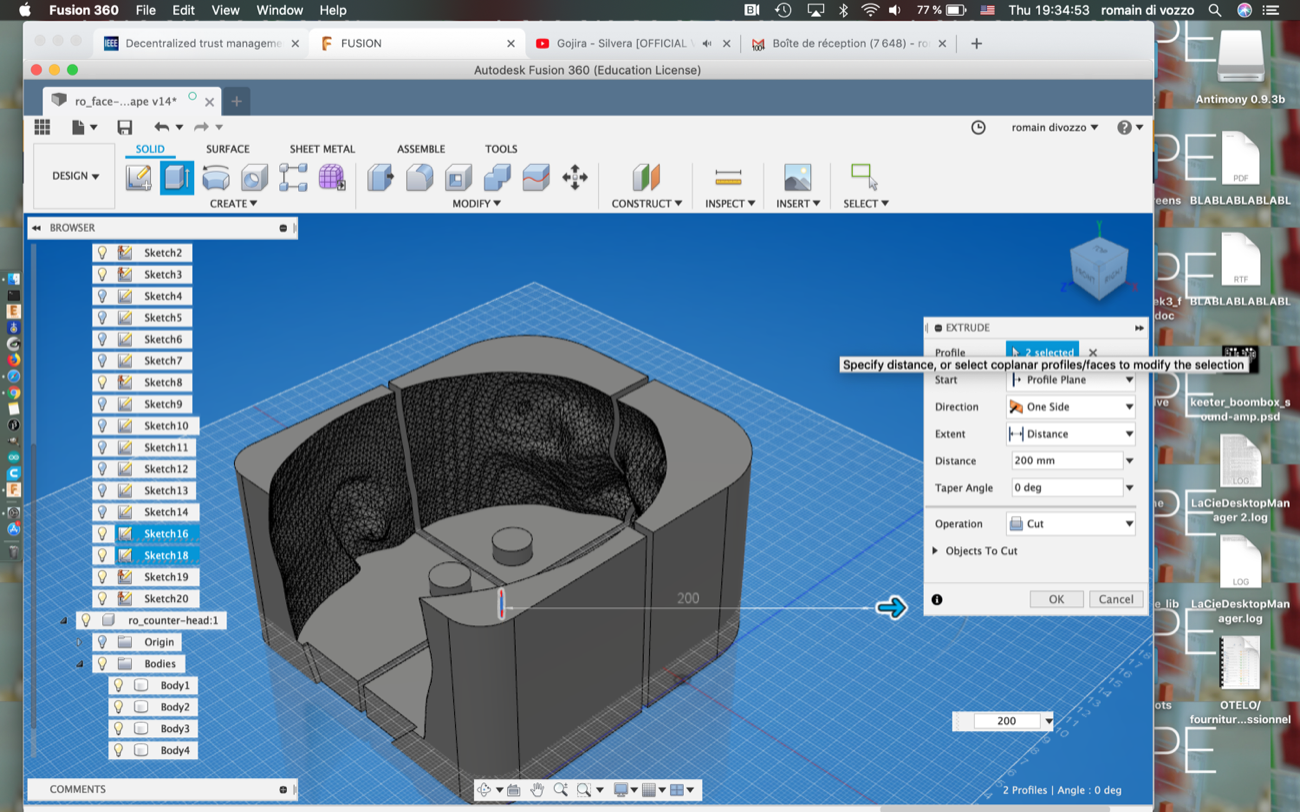
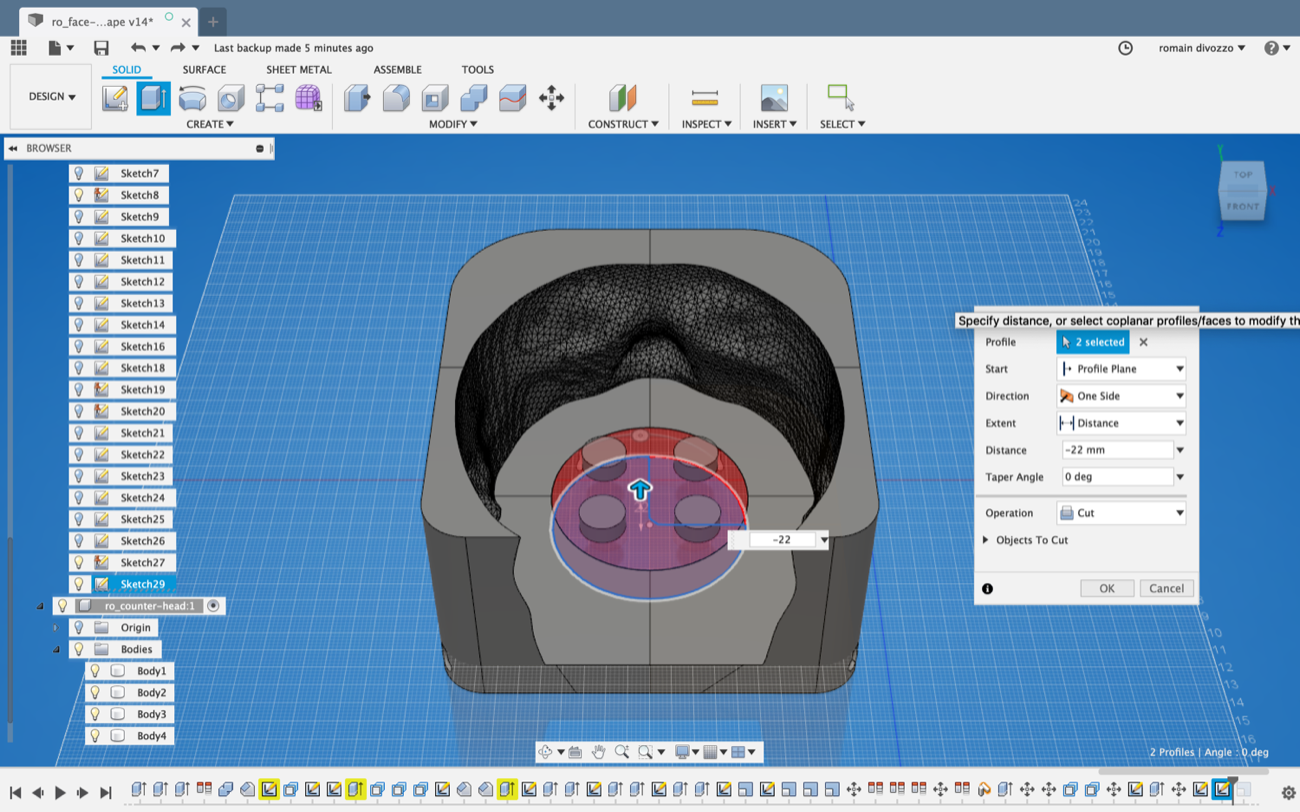
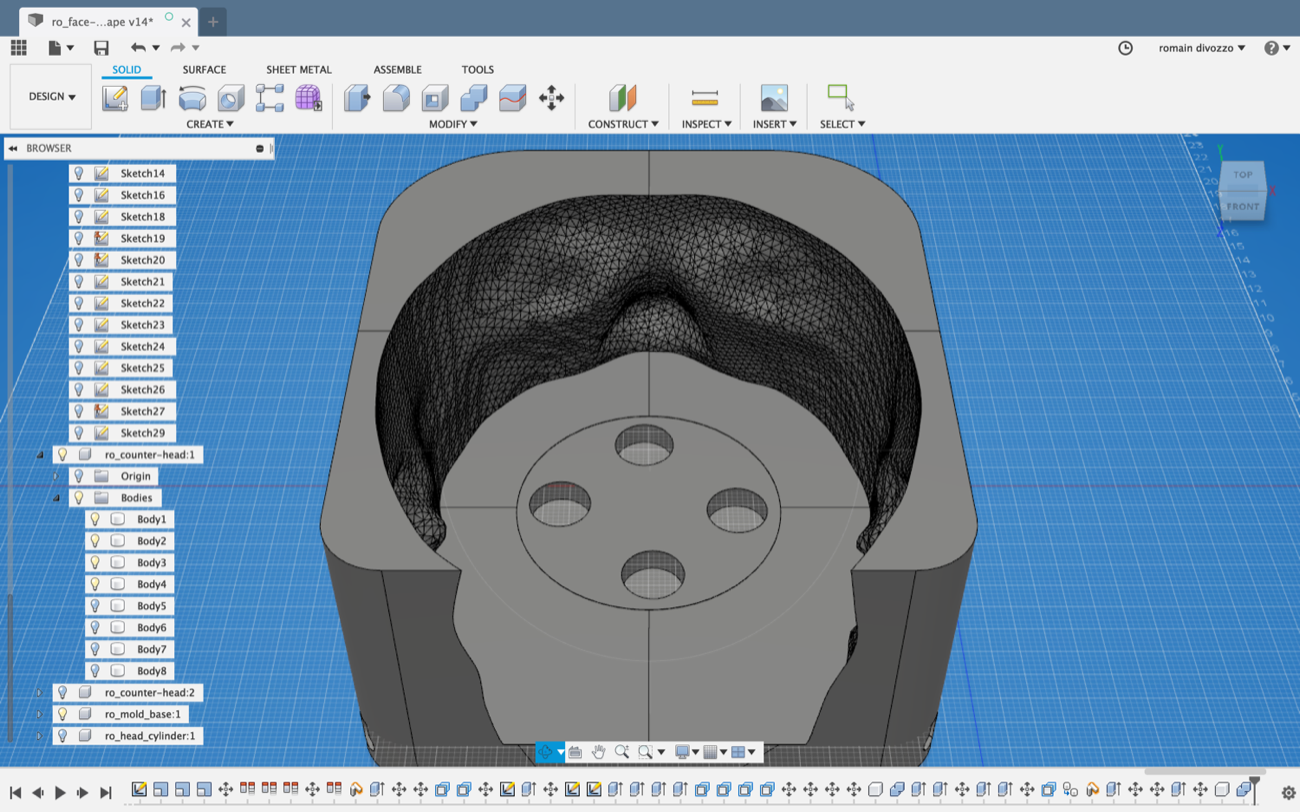
ADD SCREENSHOTS OF MOLD DESIGN PROCESS HERE (THEY ARE ON COMPUTER 2)
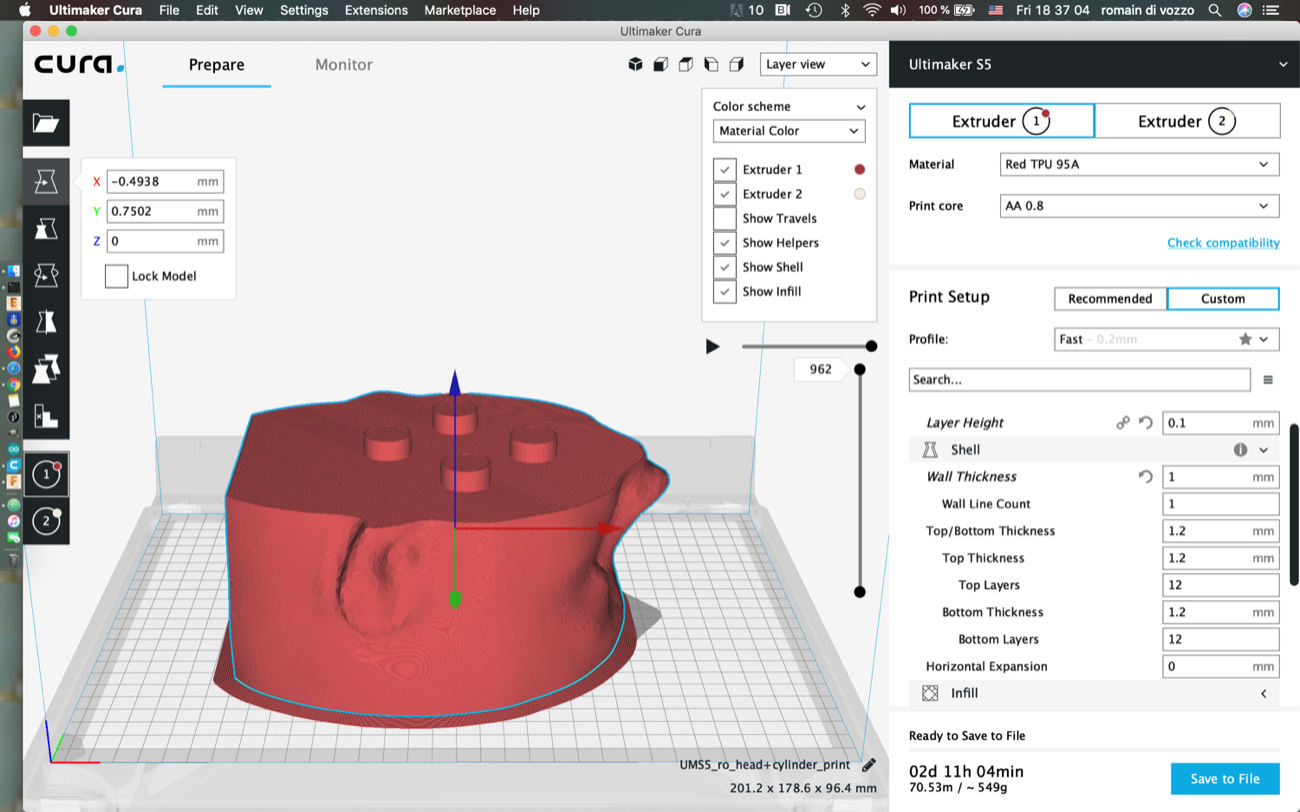
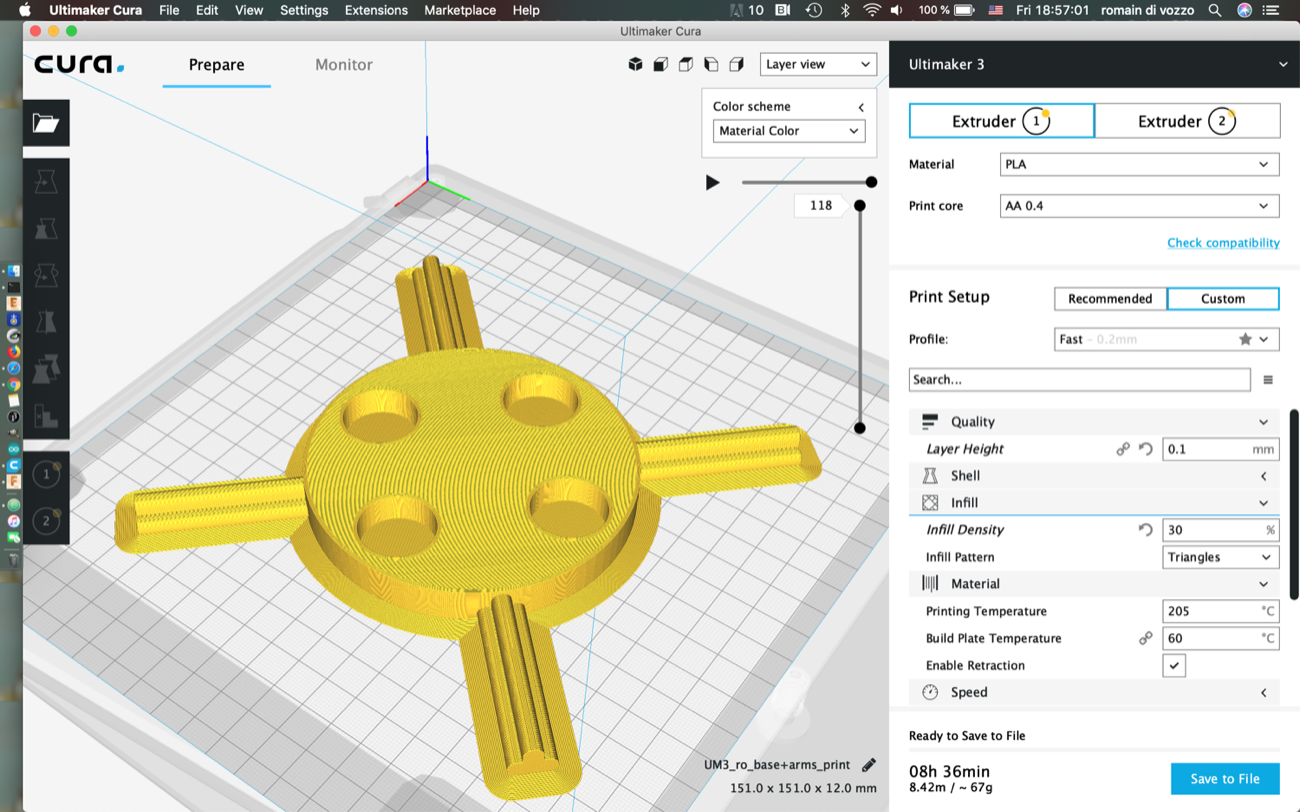
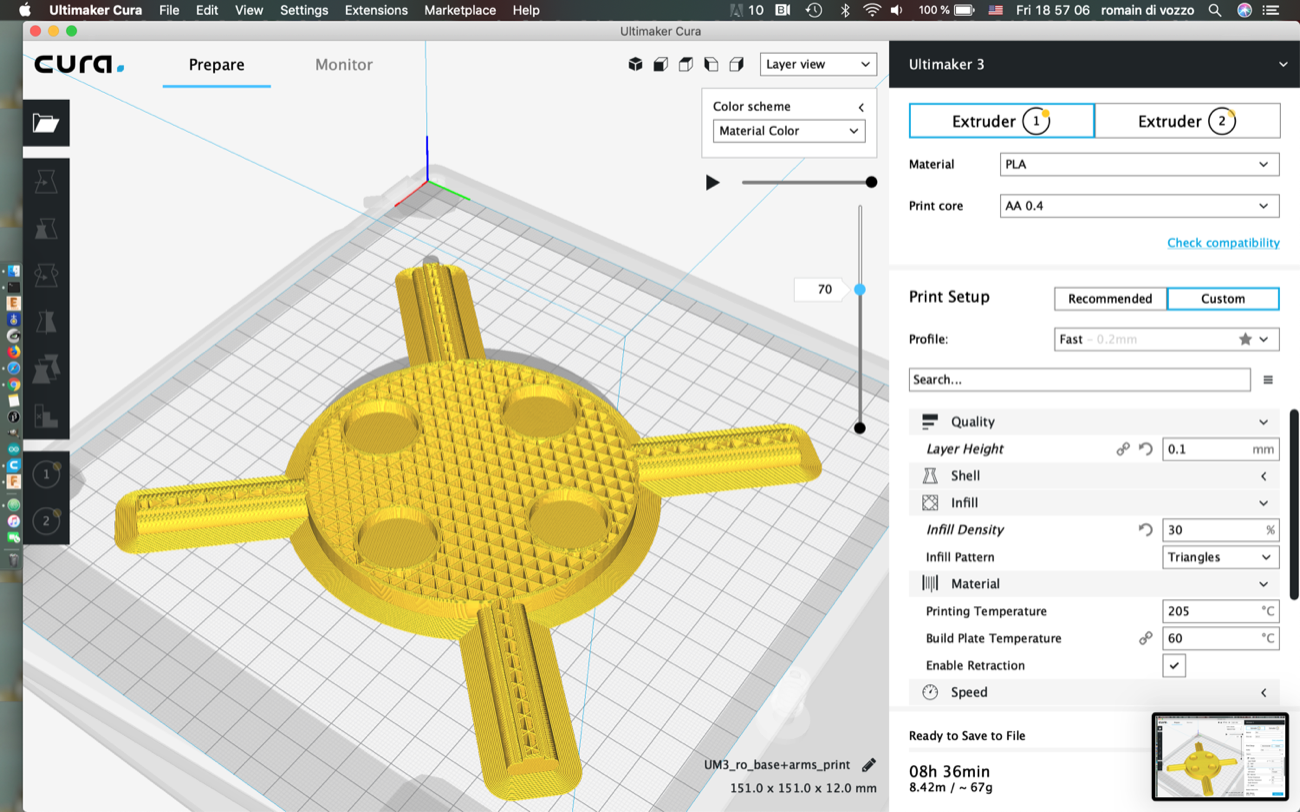
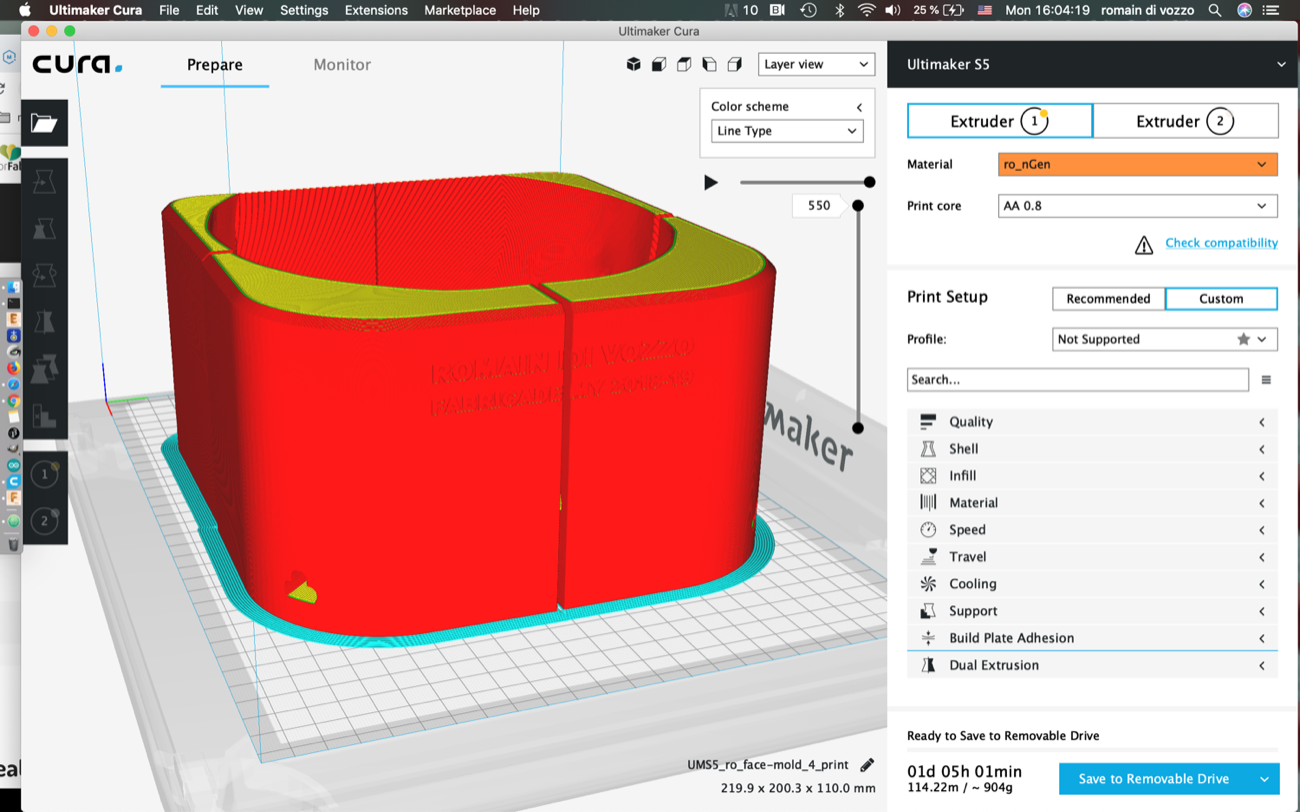
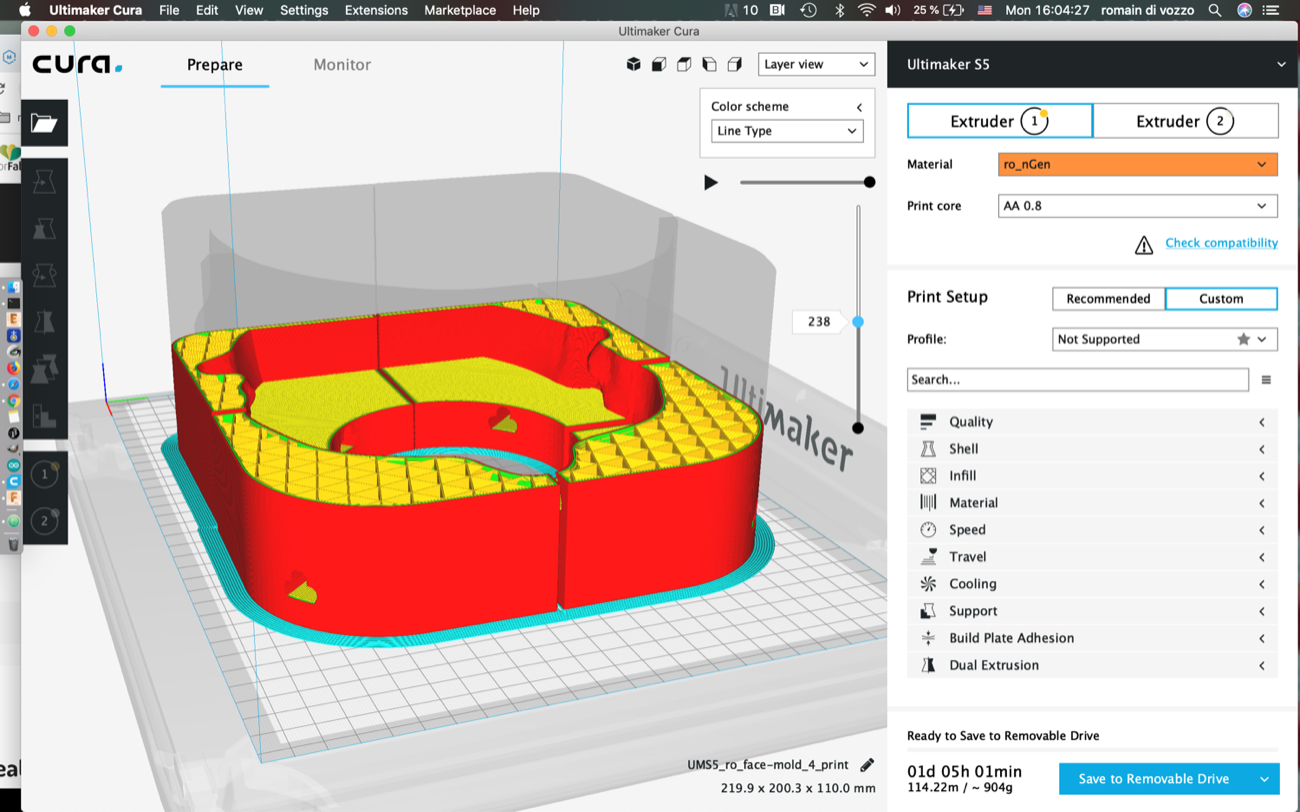
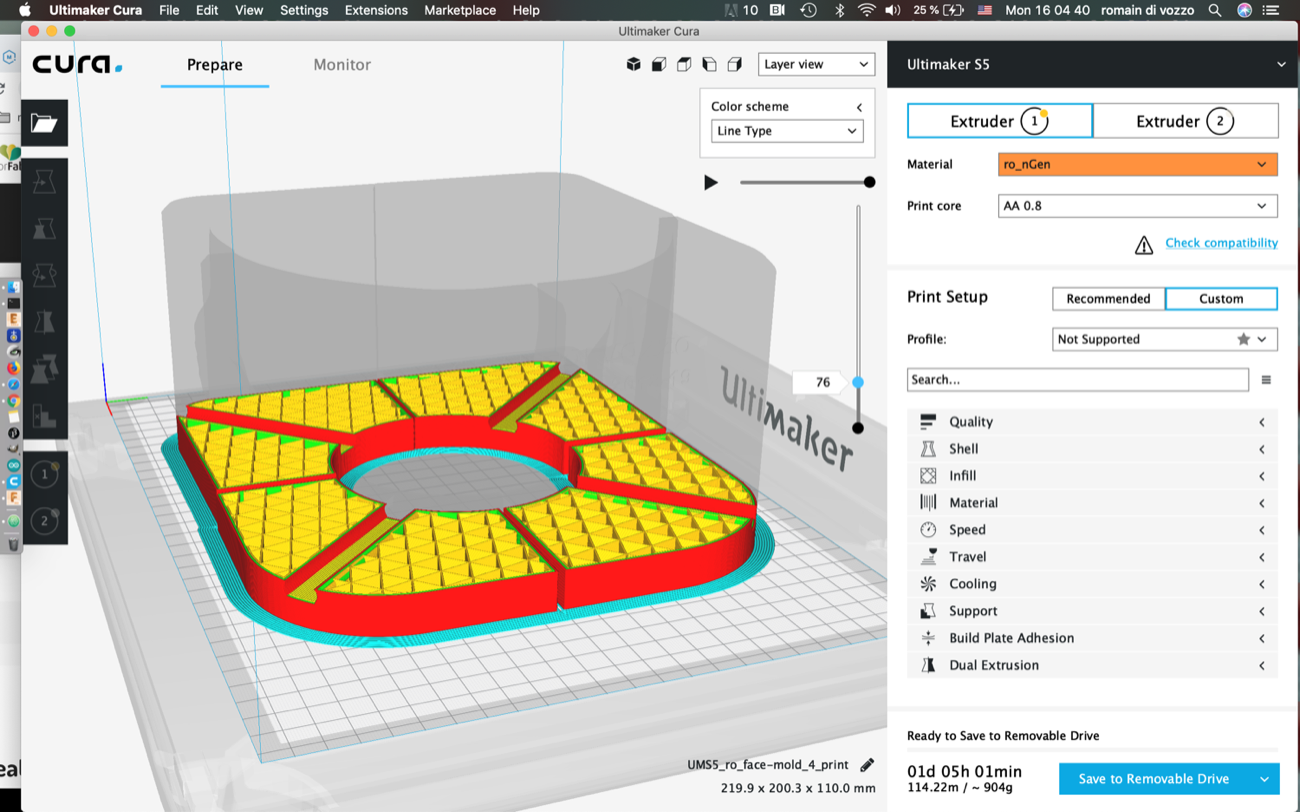
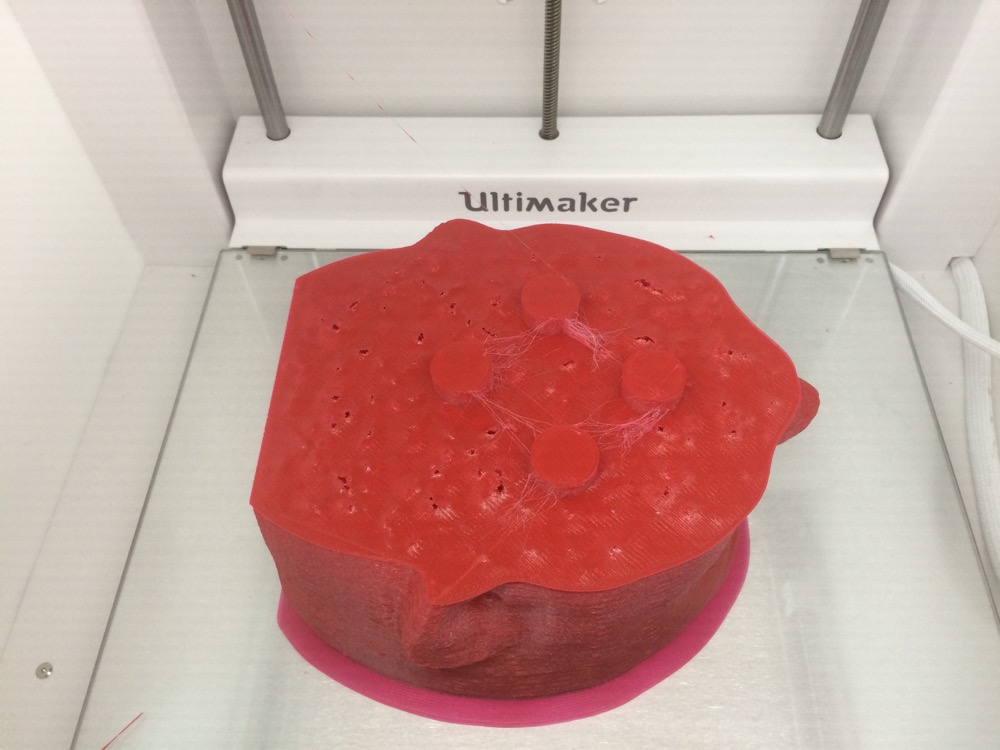
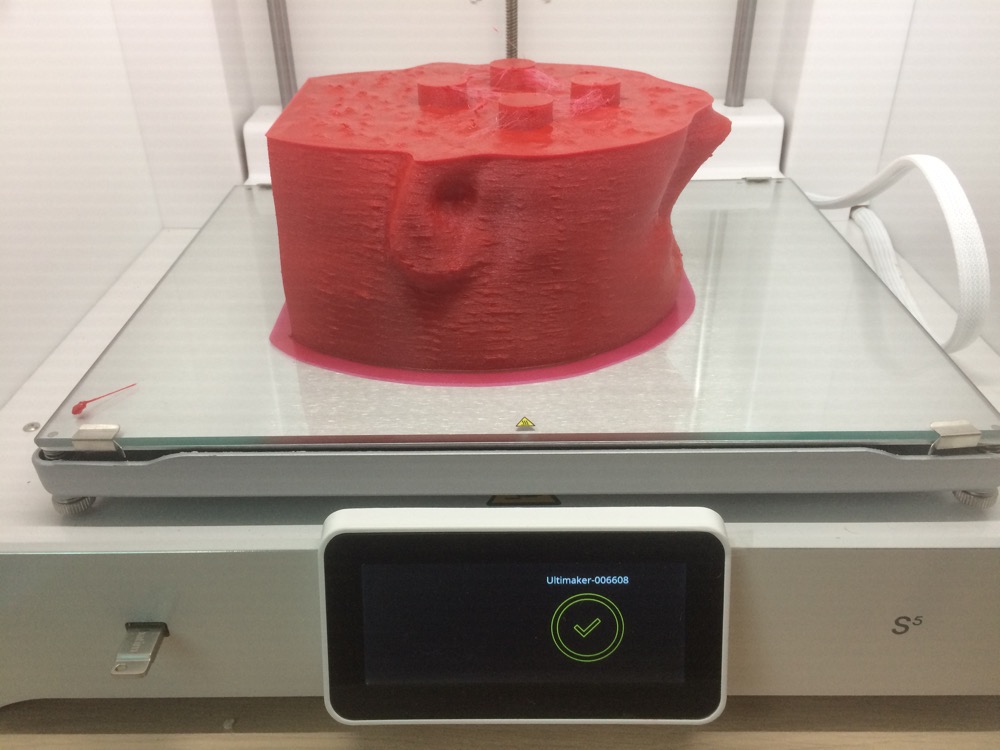
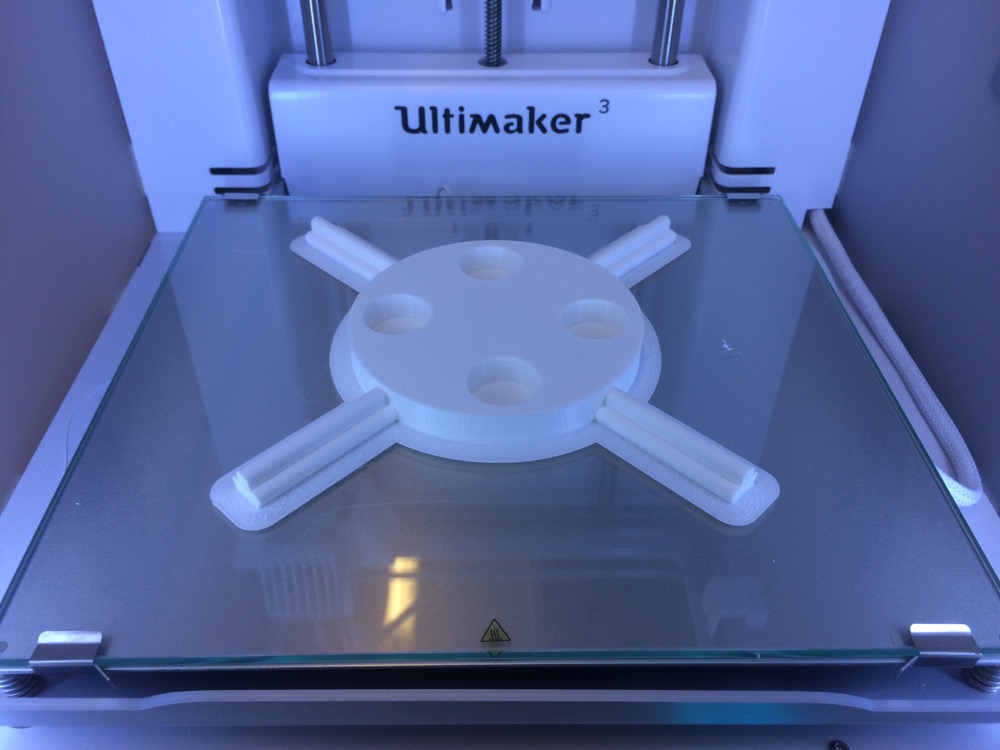
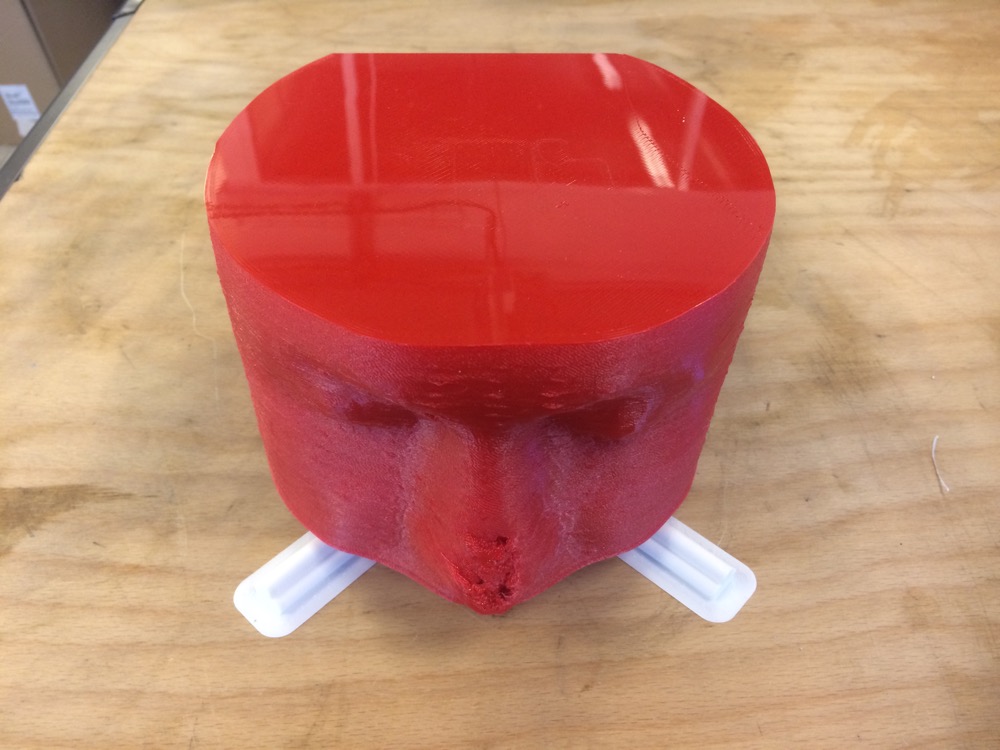
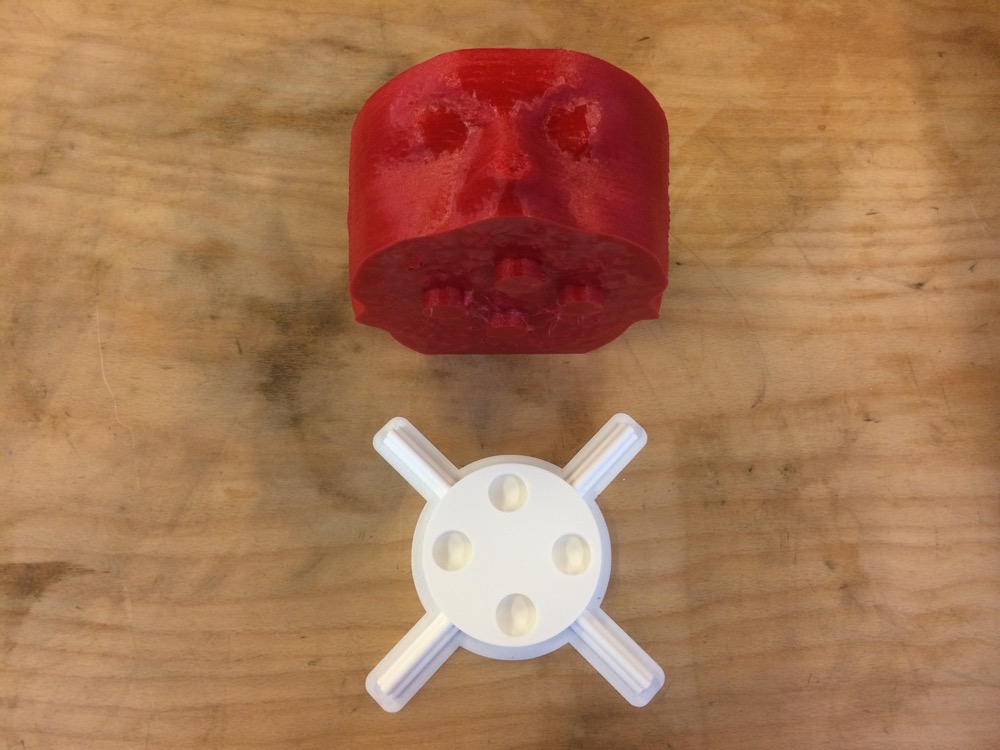
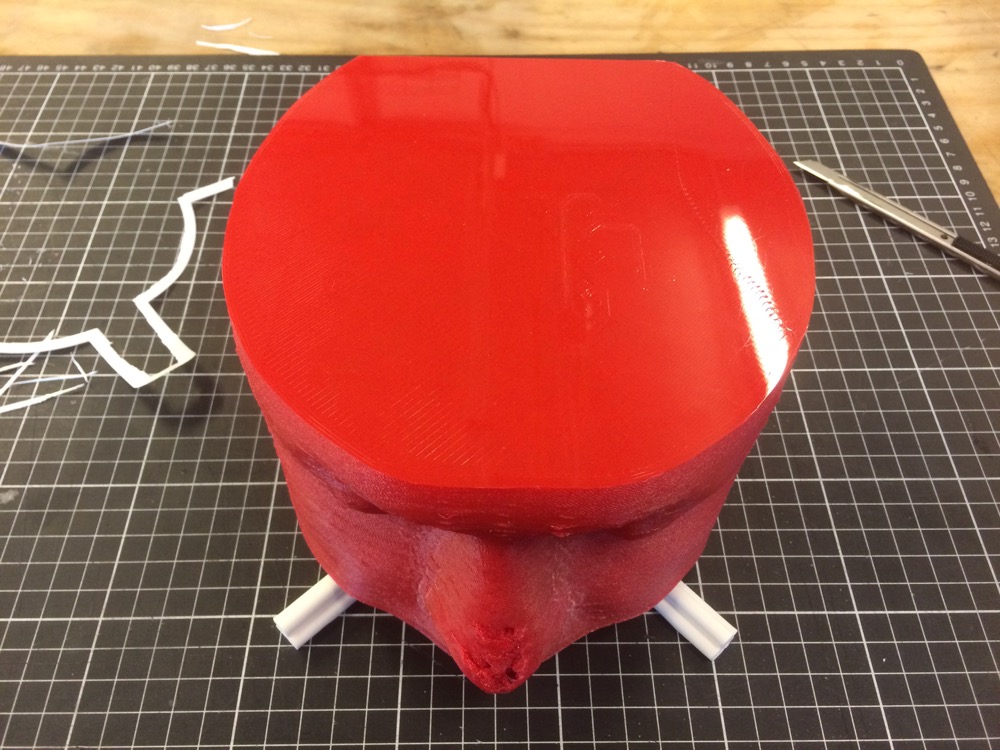
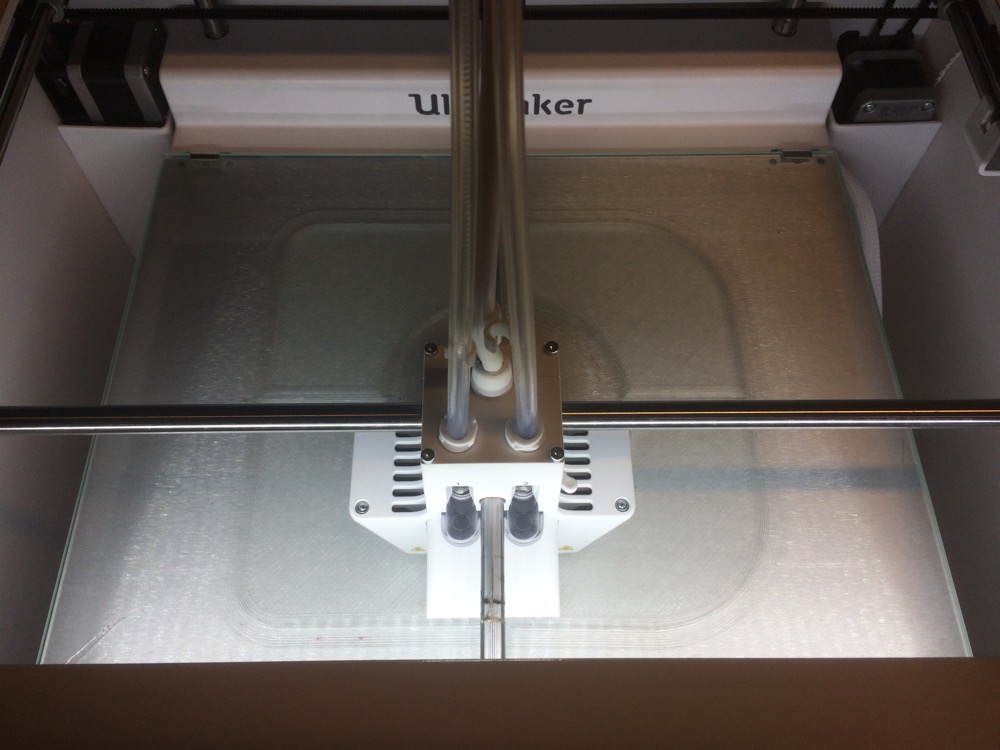
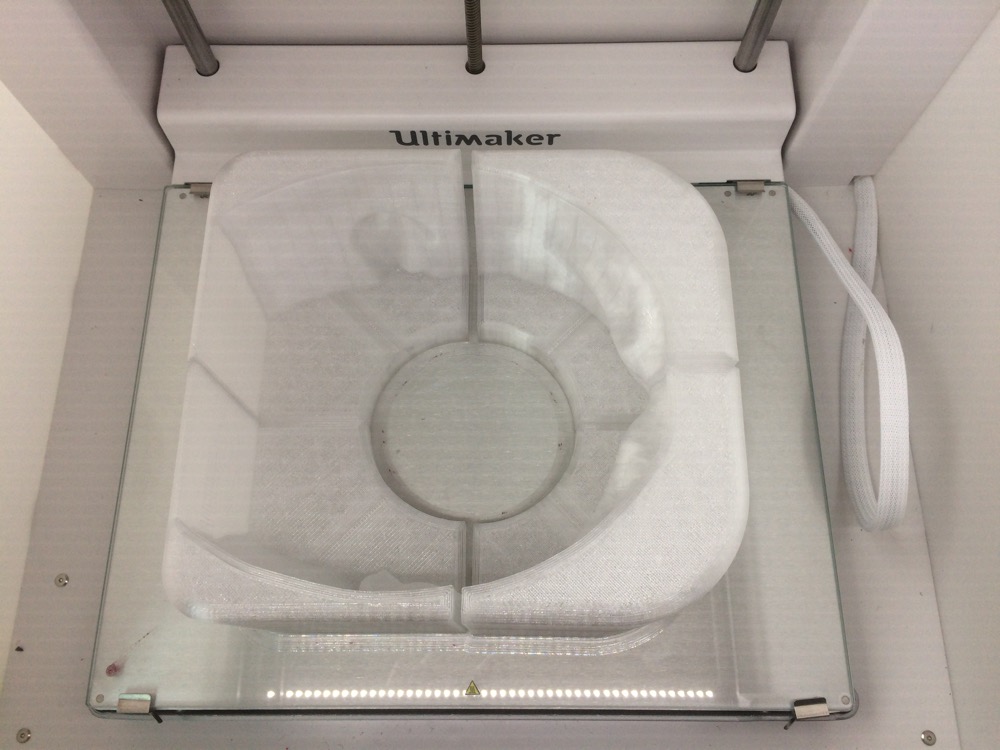
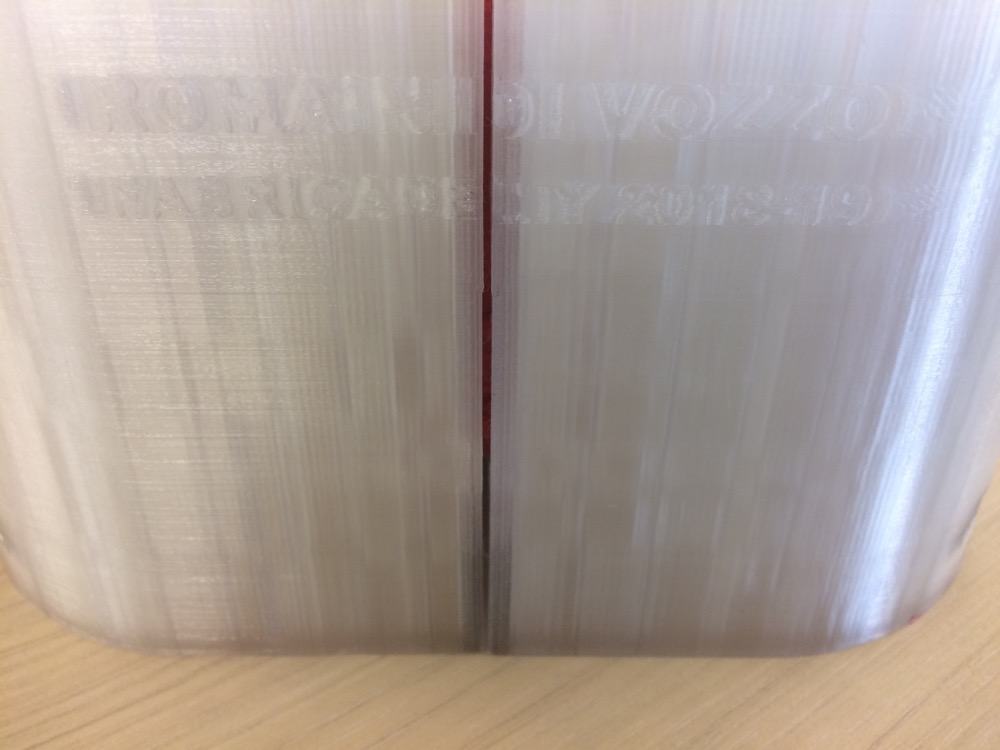
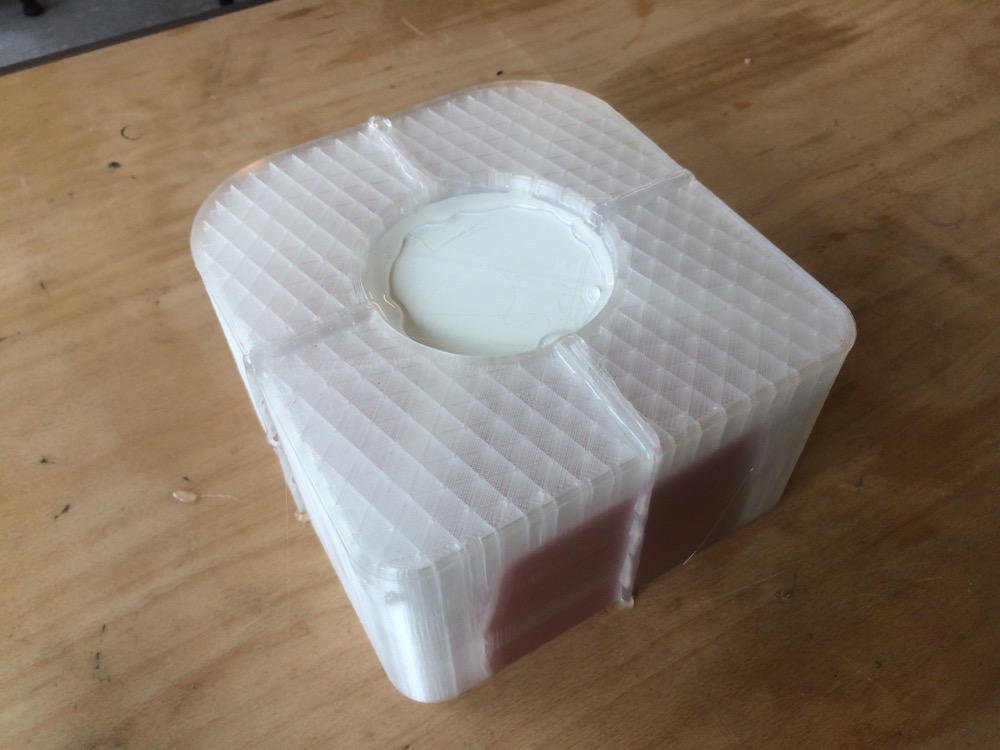
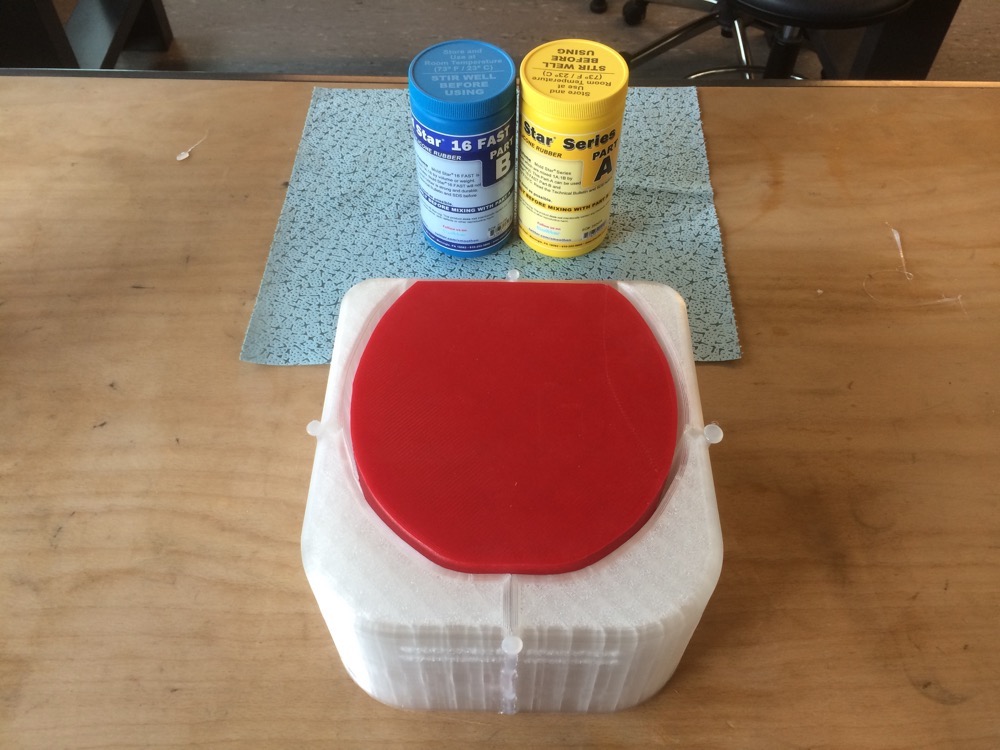
I must admit that I would have loved to mill this mold. But our Shopbot’s power-supply just died. The head part took 2 days to print or so. It is actually soft and flexible - printed in TPU95. The base part is common white PLA. The Enclosure is printed with nGen Co-Polyester from Colorfabb so we can see trhough it when pourring liquid silicone in between the two parts of the mold. I could have printed those with Formlabs for a better surface and transparency.
3D printing part of the Mold on Ultimakers
3D printing part of the Mold on Ultimakers
3D printing part of the Mold on Ultimakers
3D printing part of the Mold on Ultimakers
3D printing part of the Mold on Ultimakers
3D printing part of the Mold on Ultimakers
3D printing part of the Mold on Ultimakers
3D printing part of the Mold on Ultimakers
3D printing part of the Mold on Ultimakers
3D printing part of the Mold on Ultimakers
3D printing part of the Mold on Ultimakers
3D printing part of the Mold on Ultimakers
3D printing part of the Mold on Ultimakers
3D printing part of the Mold on Ultimakers
3D printing part of the Mold on Ultimakers
3D printing part of the Mold on Ultimakers
3D printing part of the Mold on Ultimakers
3D printing part of the Mold on Ultimakers
3D printing part of the Mold on Ultimakers
3D printing part of the Mold on Ultimakers
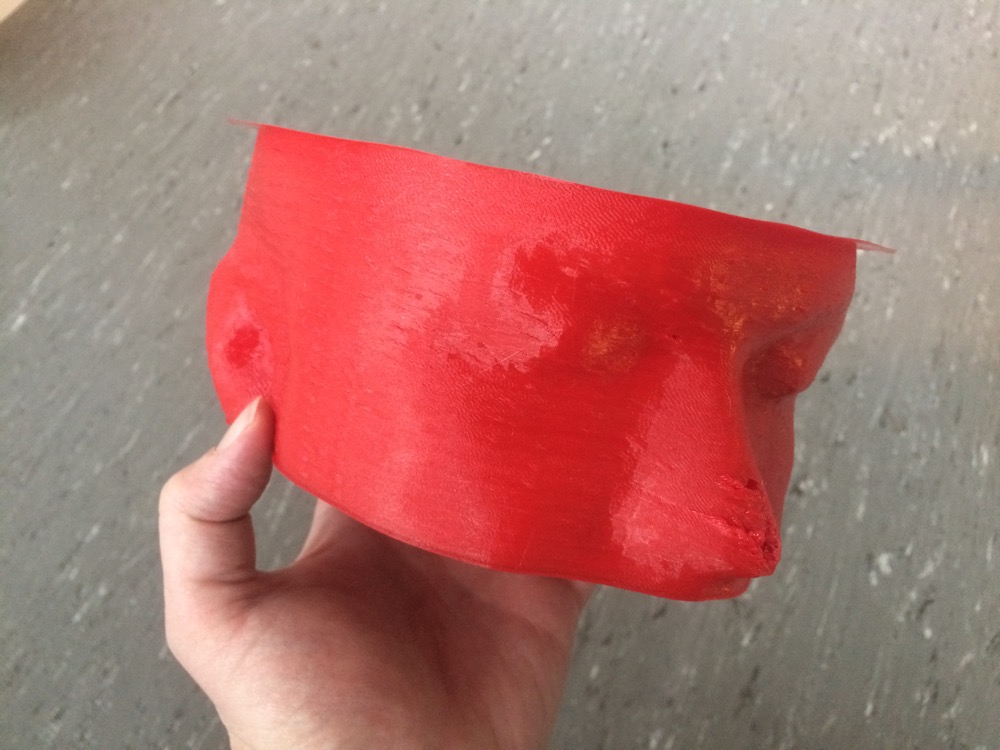
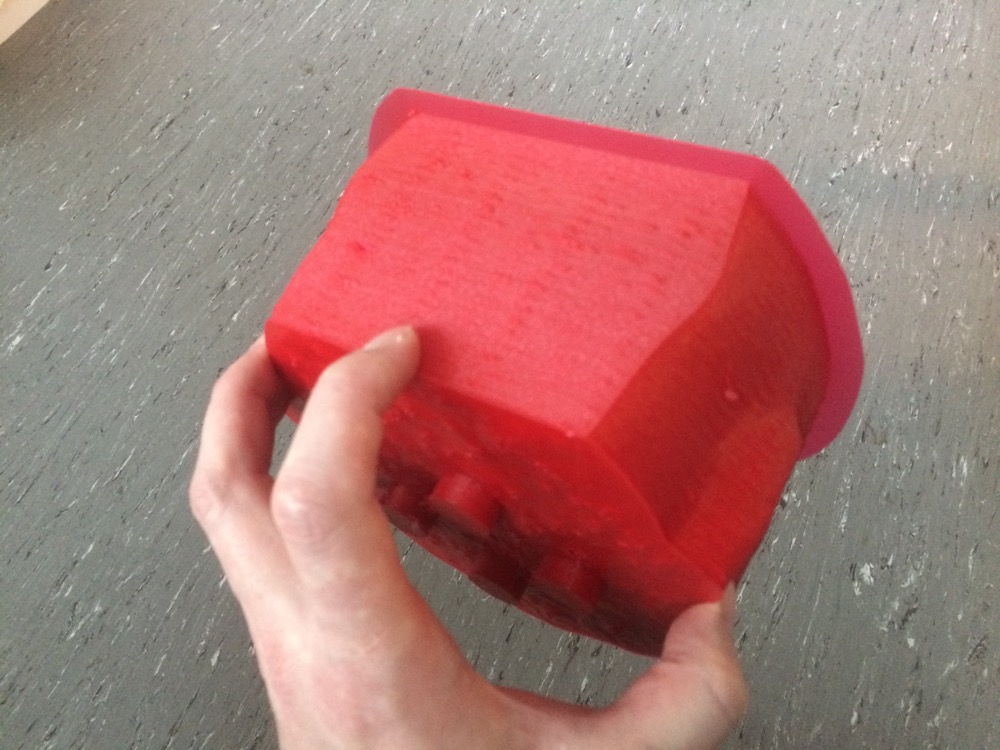
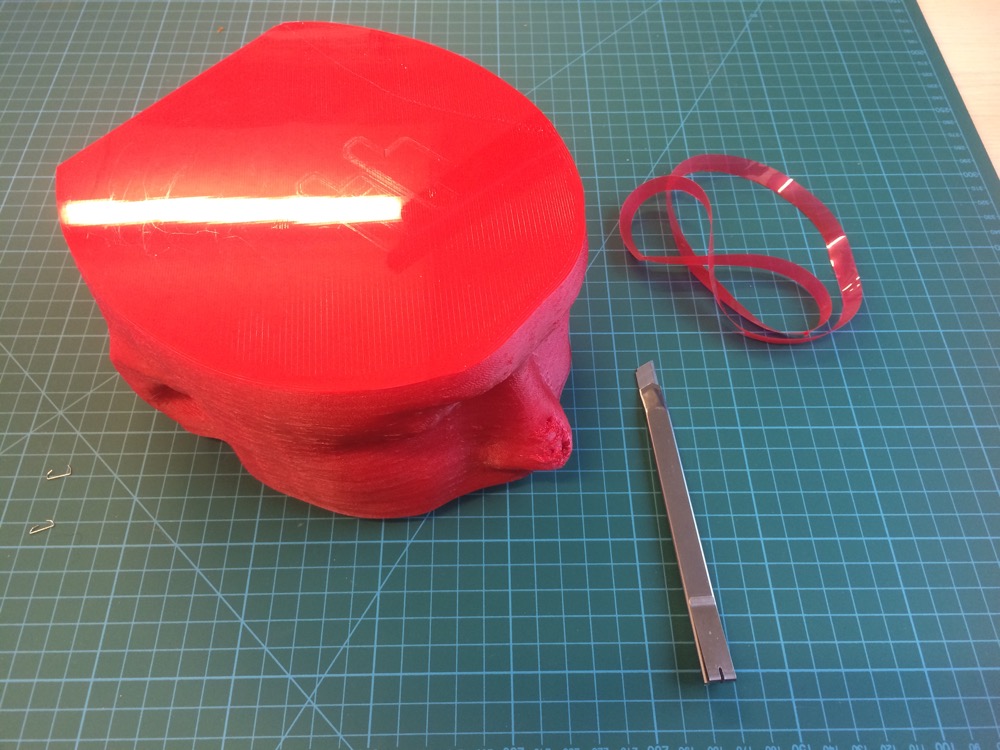
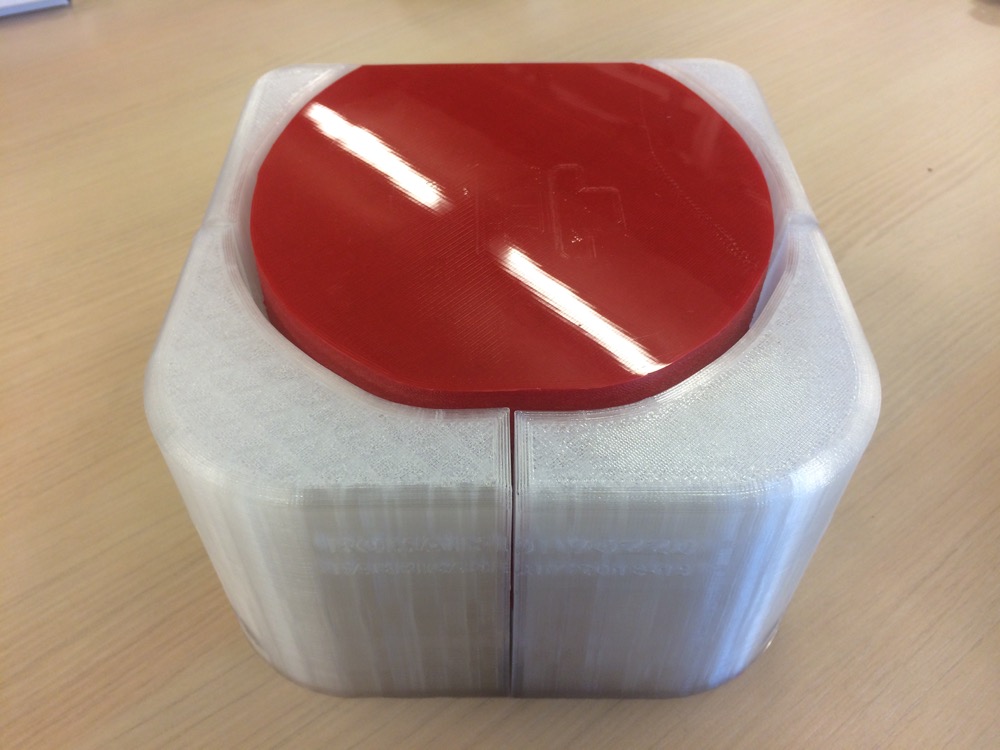
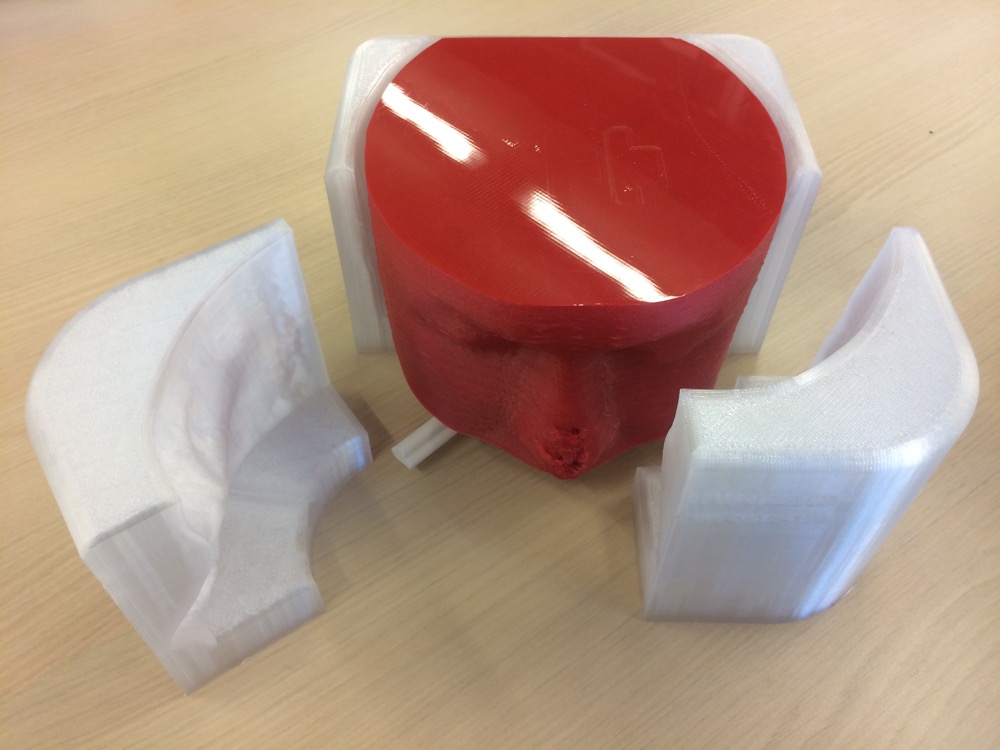
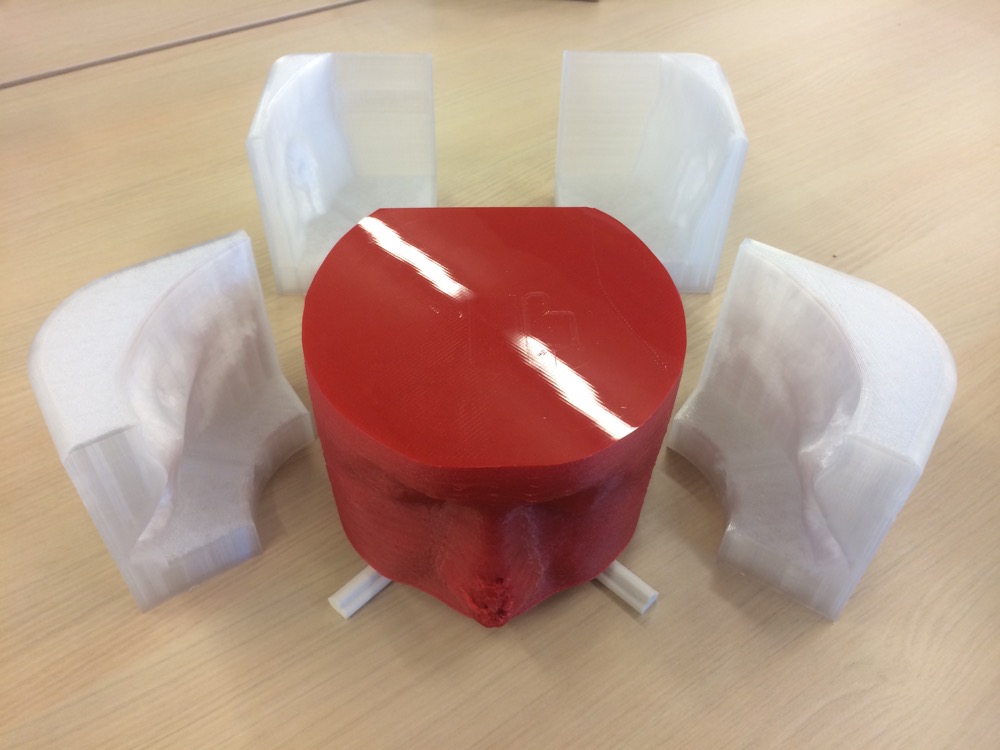
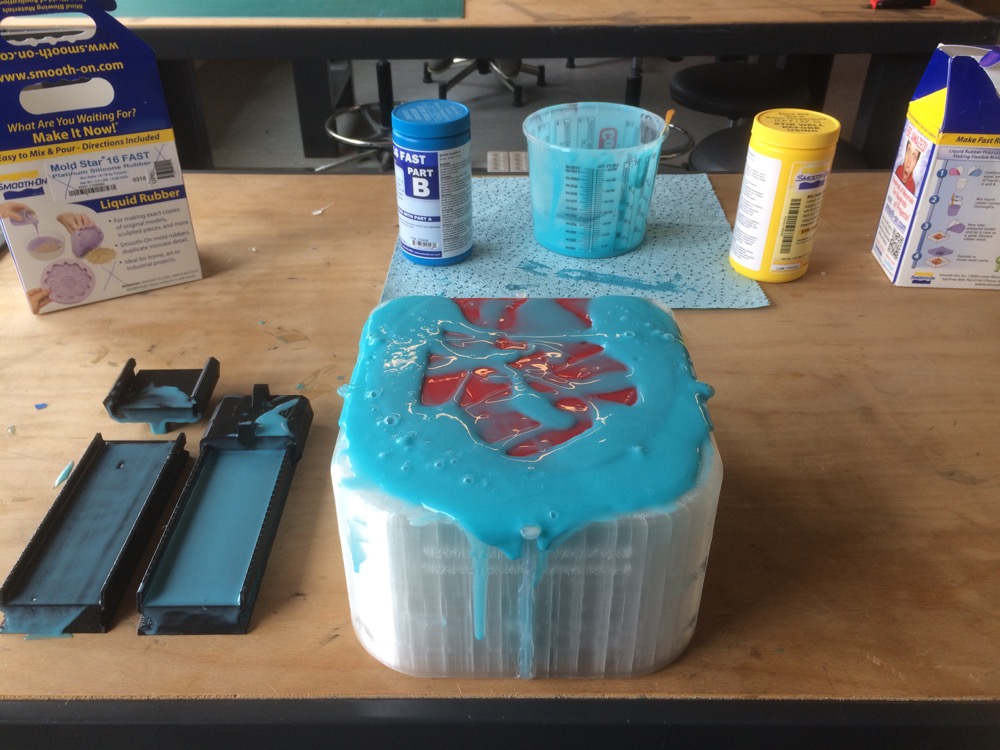
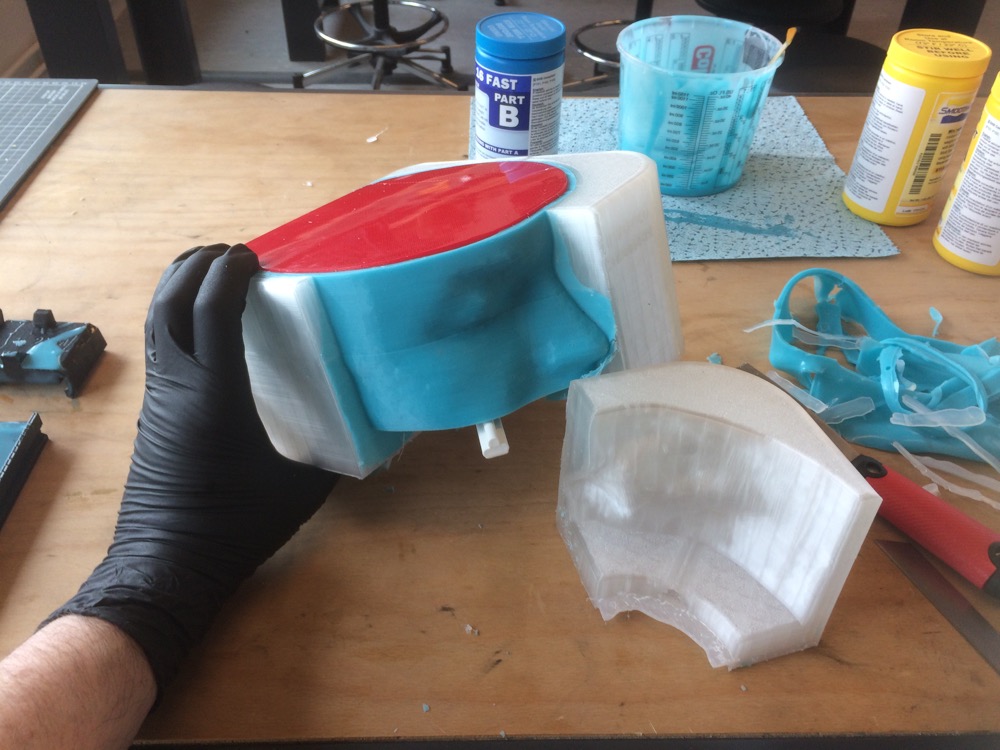
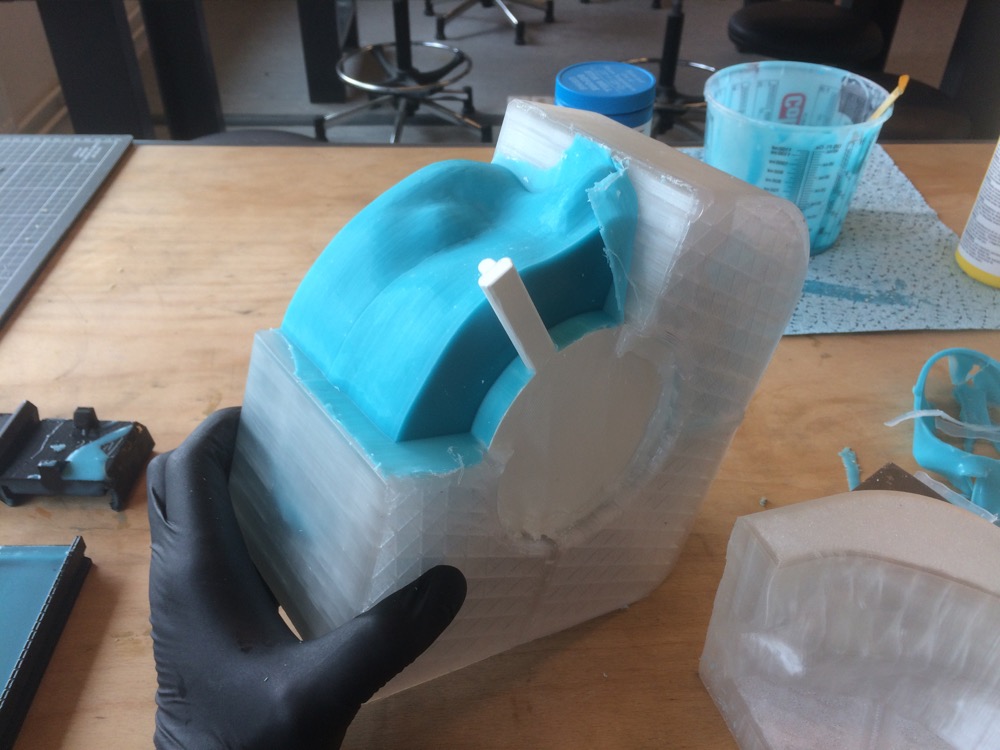
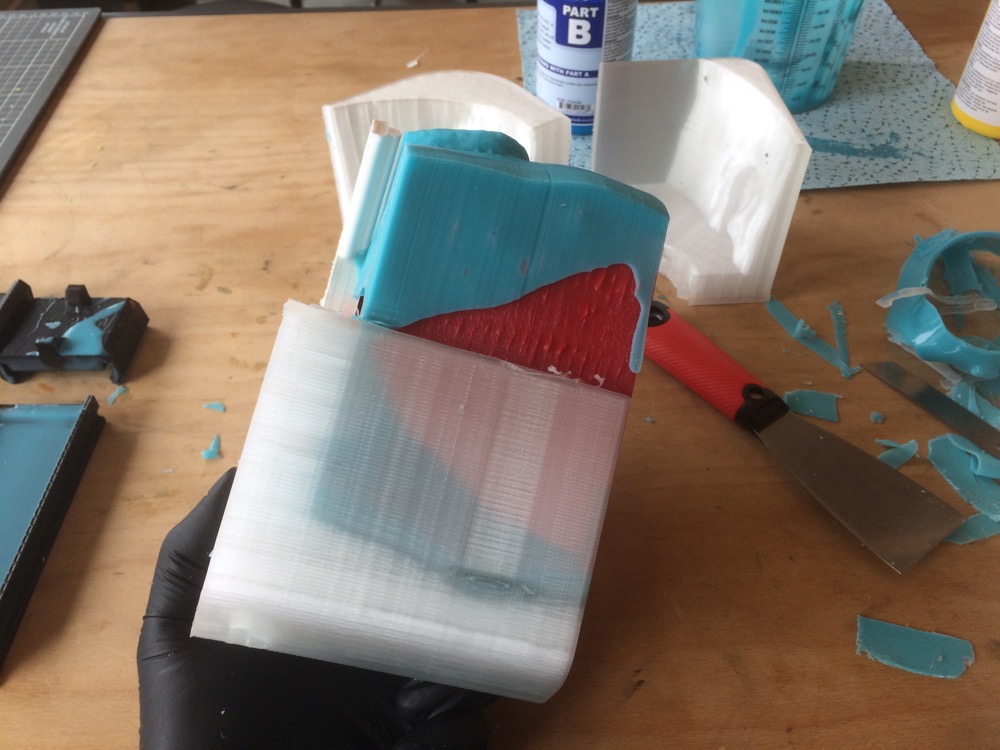
7 | Silicone Casting of the 6 Parts-Evolutive-Mold |
Finally…I’ve found the time to cast my favorite siLicone - The Mold Star 16 FAST - into my mold. I filled-in the 3mm gap I had left with this blue-ish silicone to make a mask of parts of my face and my head. Pot life 6min. Curing Time 30min. I wish that thing were biodegradable so I could use it more.
I was in a hurry so I roughly estimated that I would need around 400ml to fill it in. 300ml would have been enough but I needed to make sure I could fill it in in one shot. It worked.
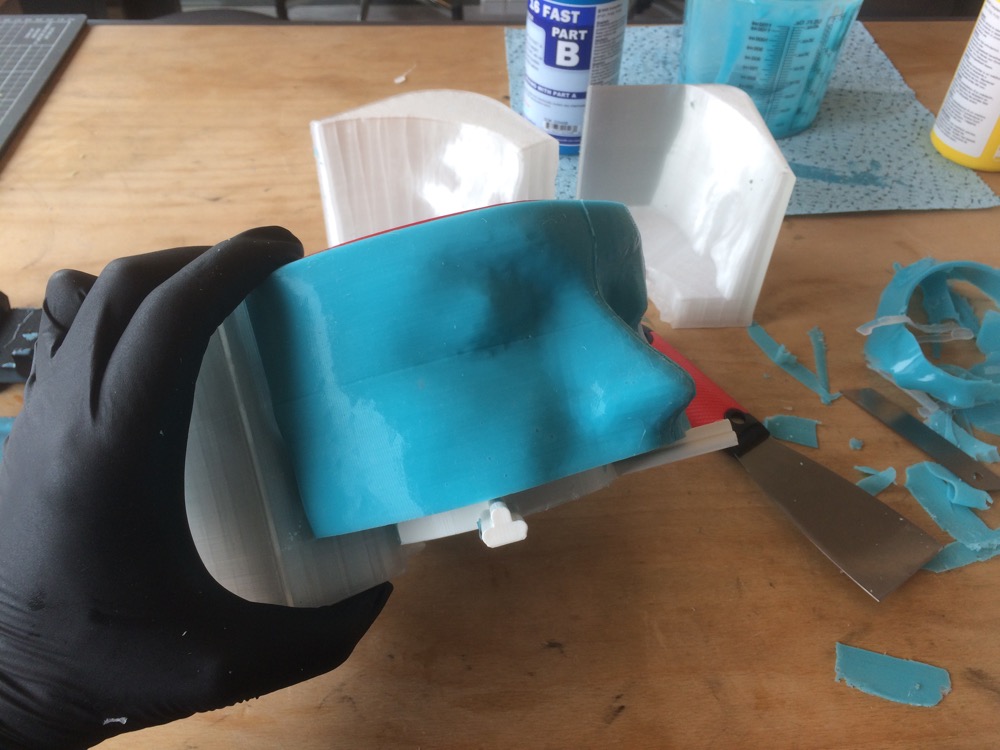
But first I had to seal the parts of the mold together to make sure that there would be no leak when starting the cast. The HotGlue gun works very well for this.
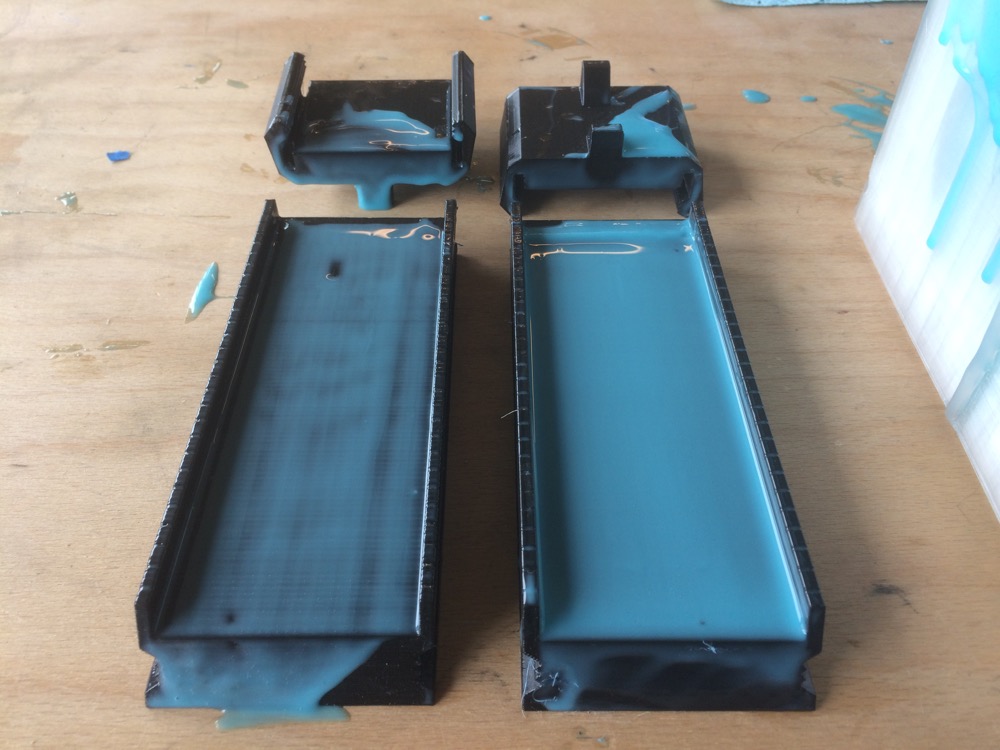
Sealing the Mold
Sealing the Mold
Sealing the Mold
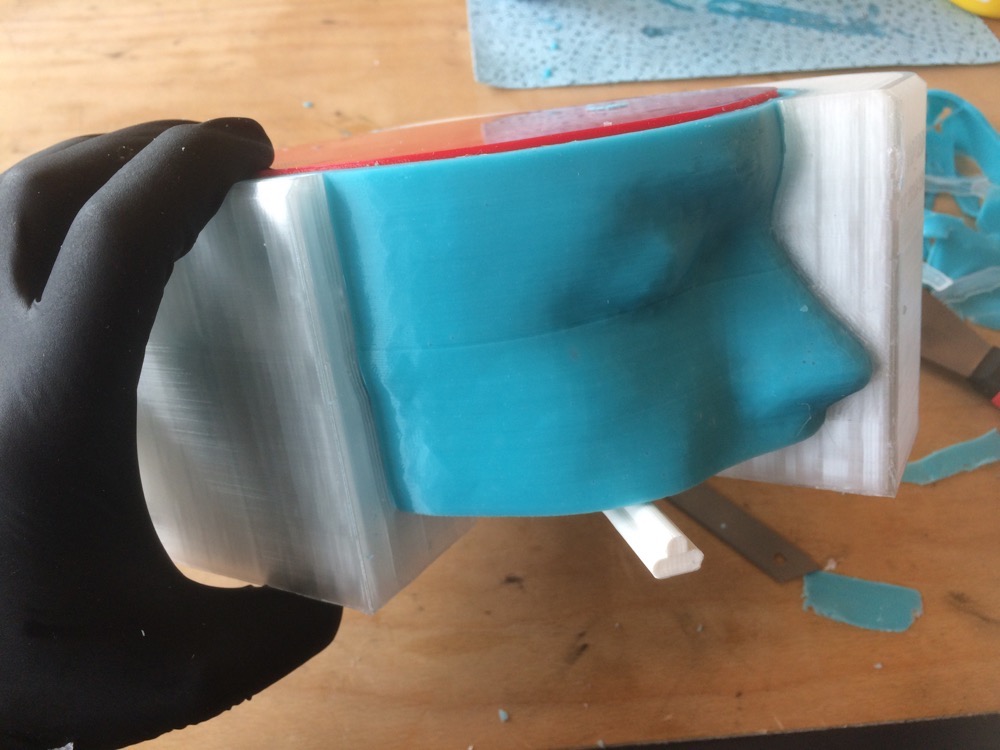
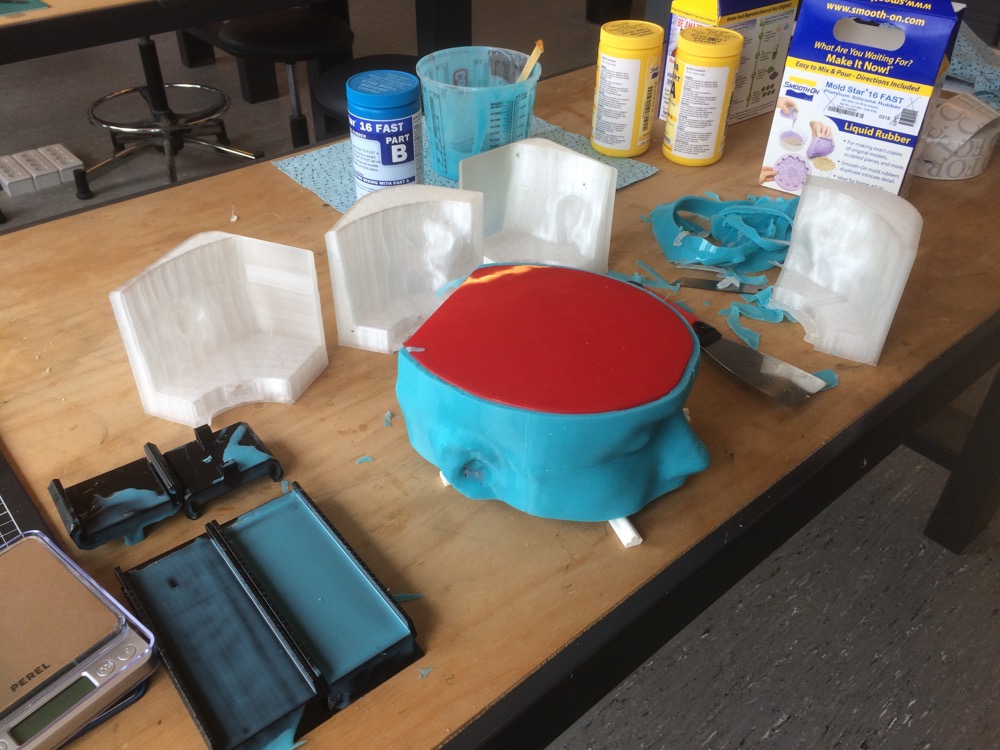
Casting Process
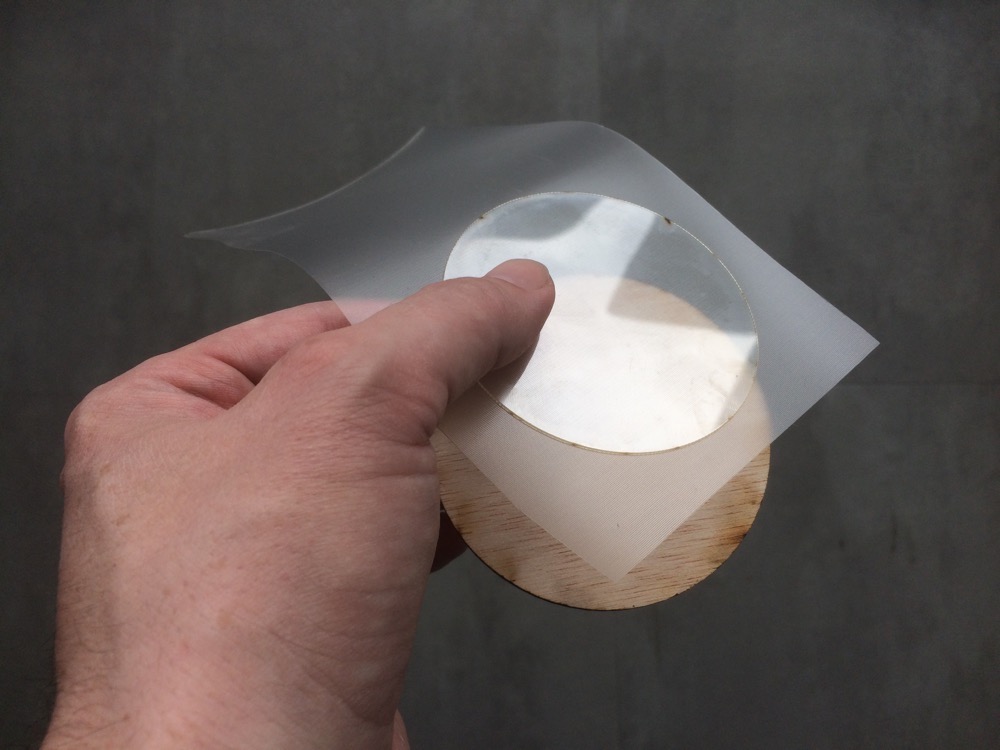
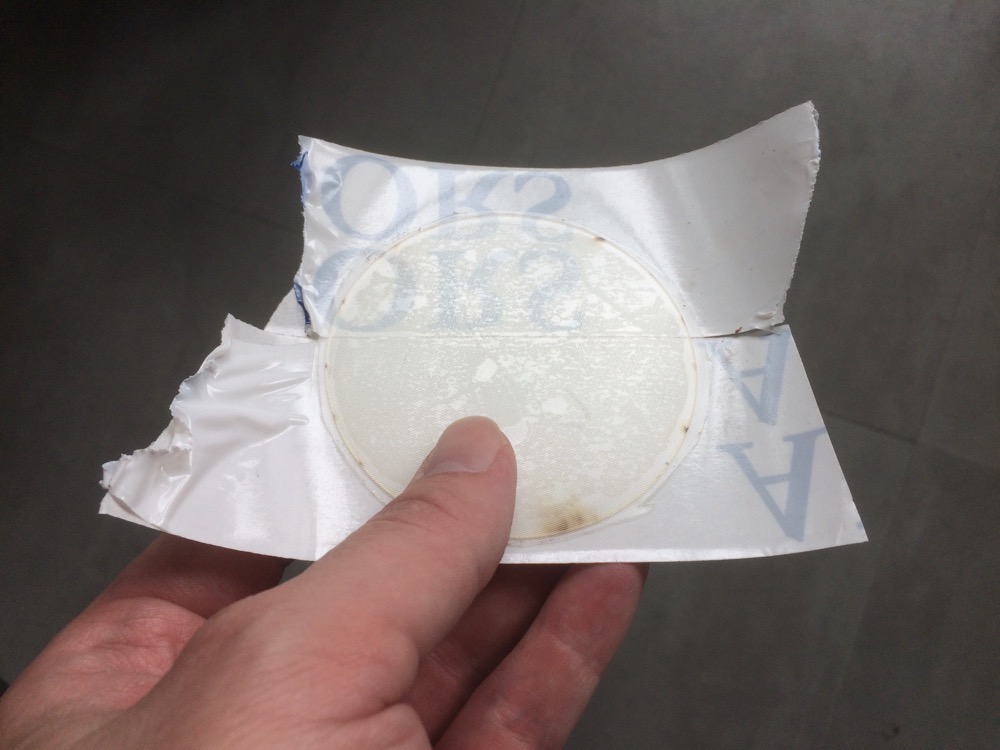
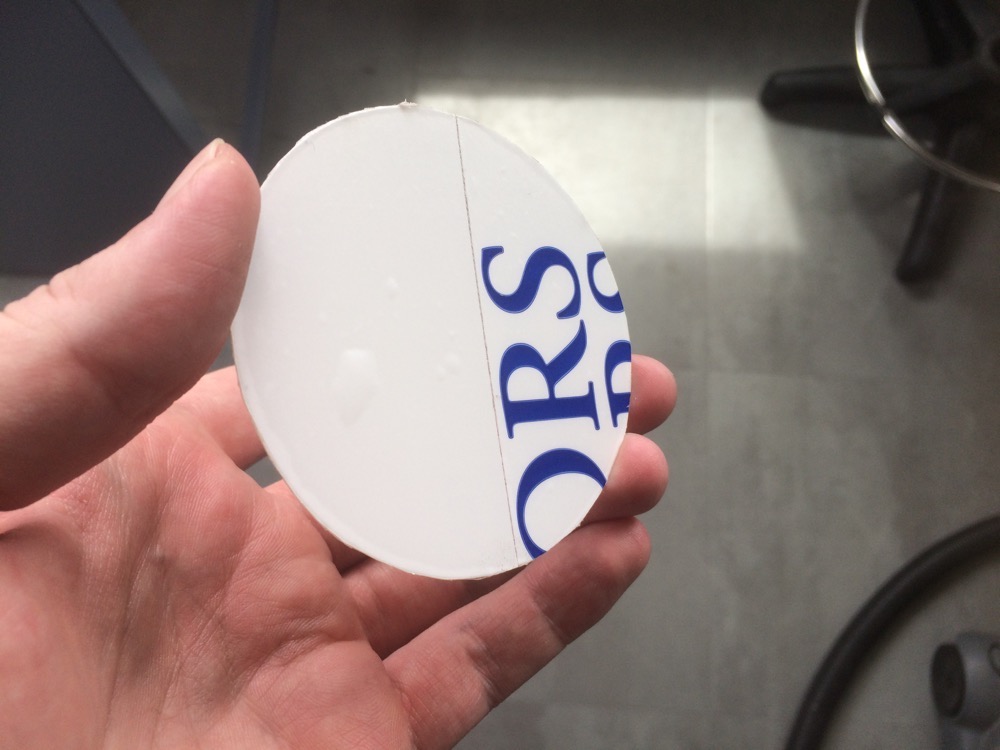
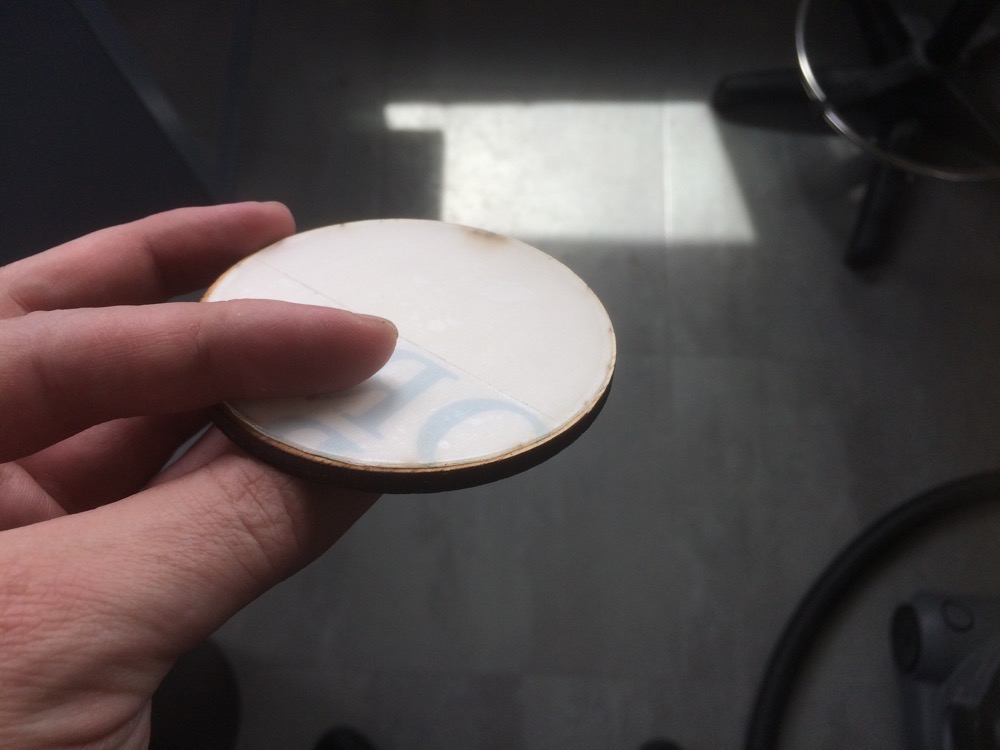
Film Applicator Side Job
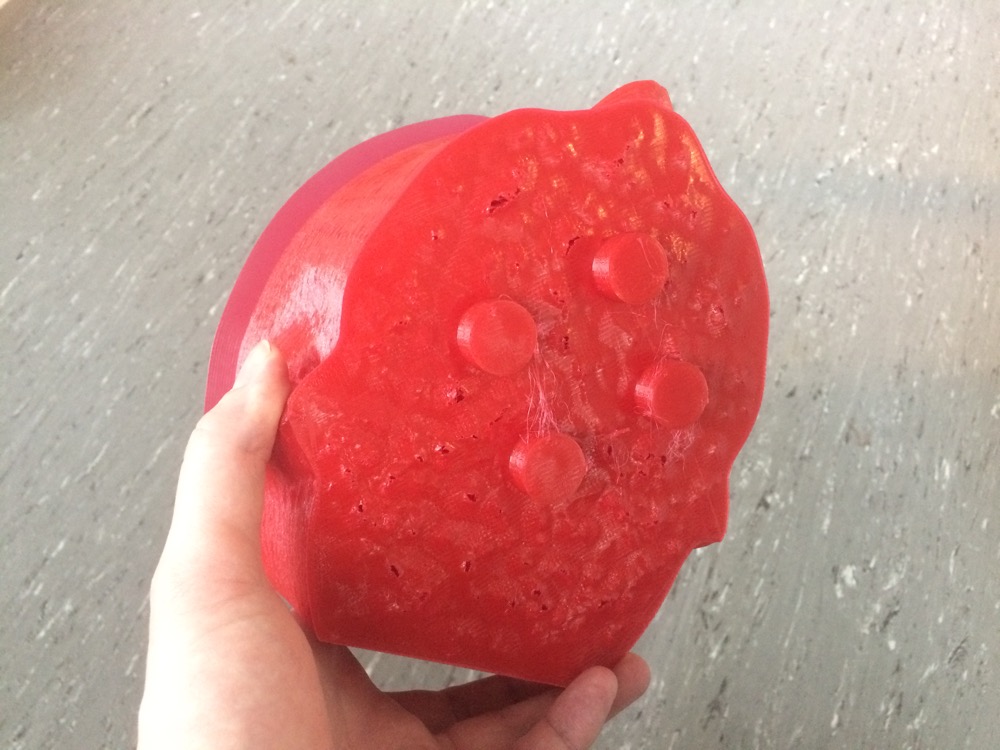
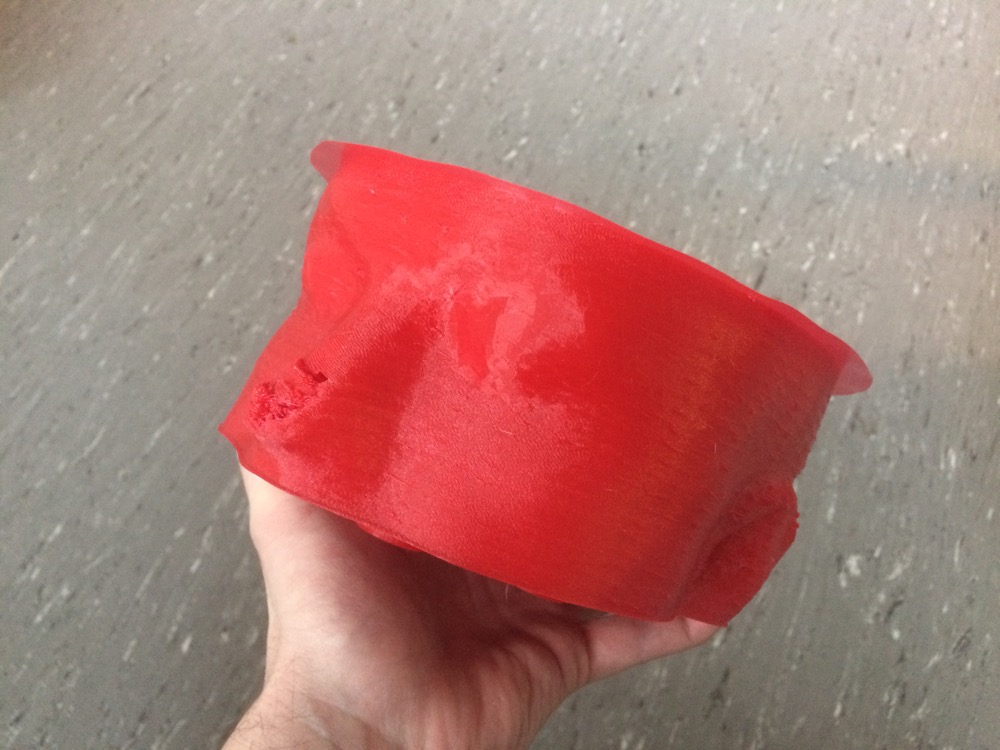
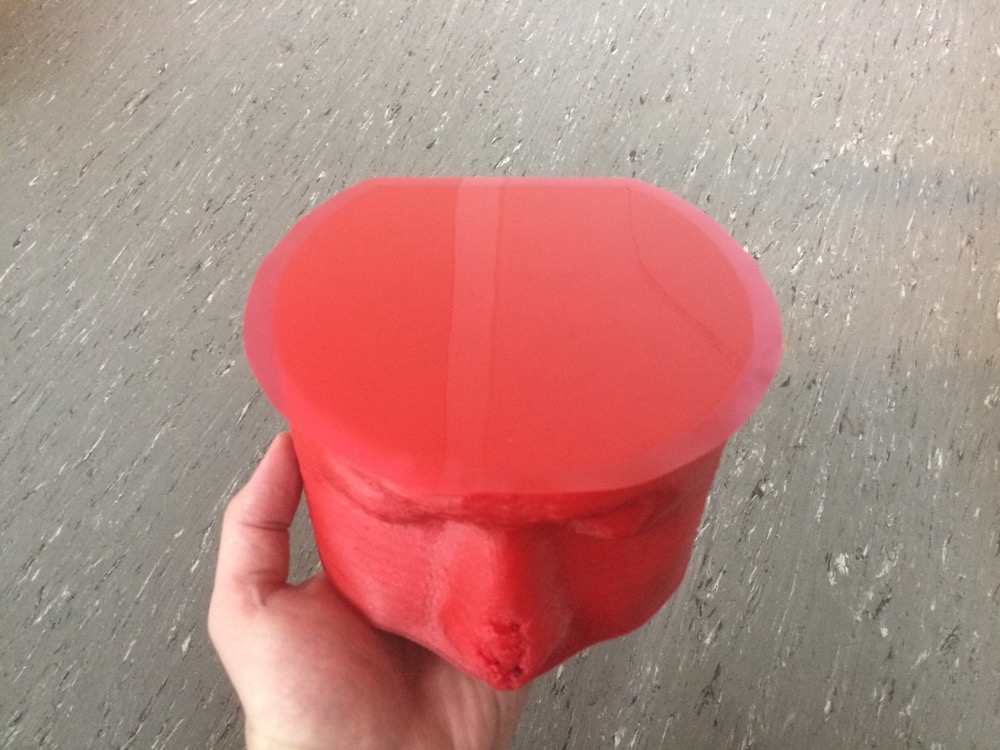
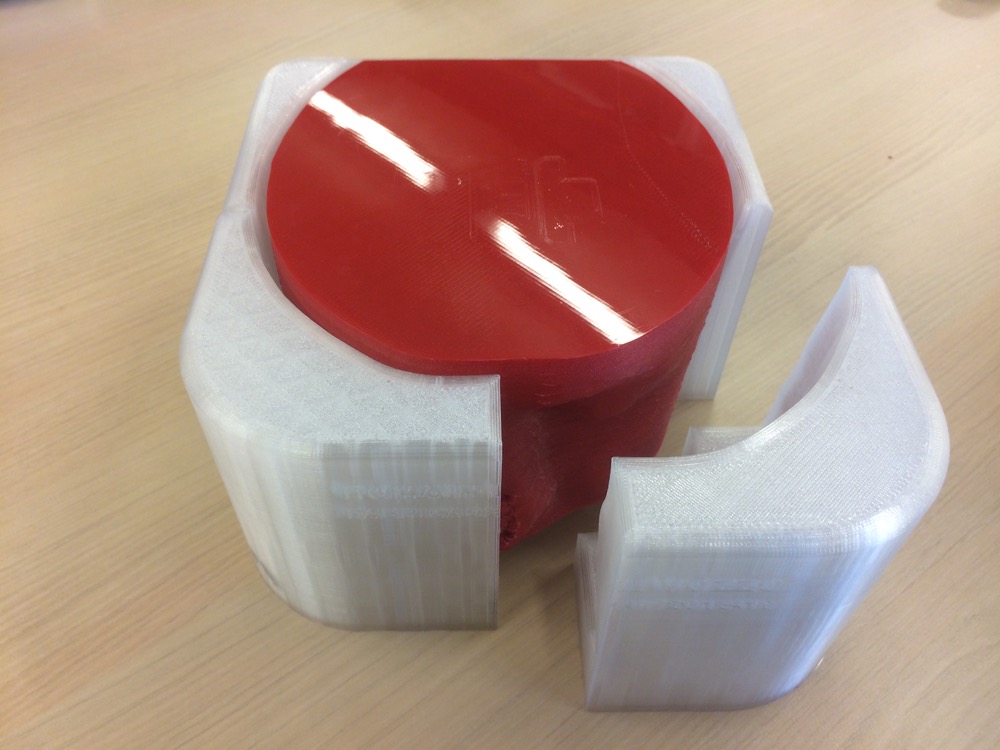
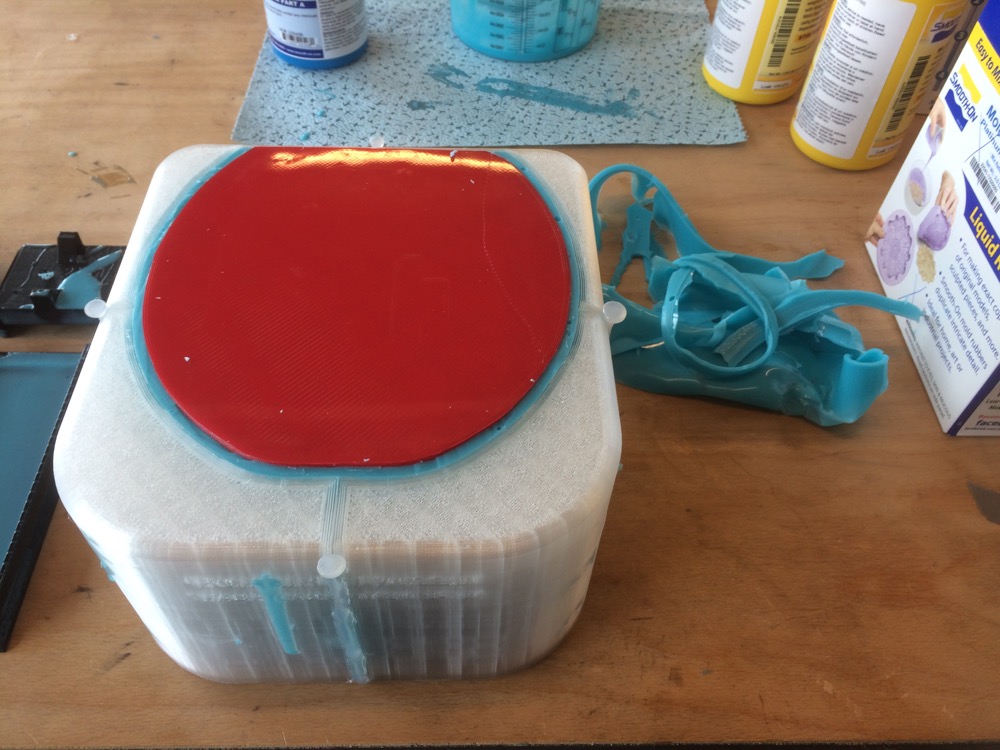
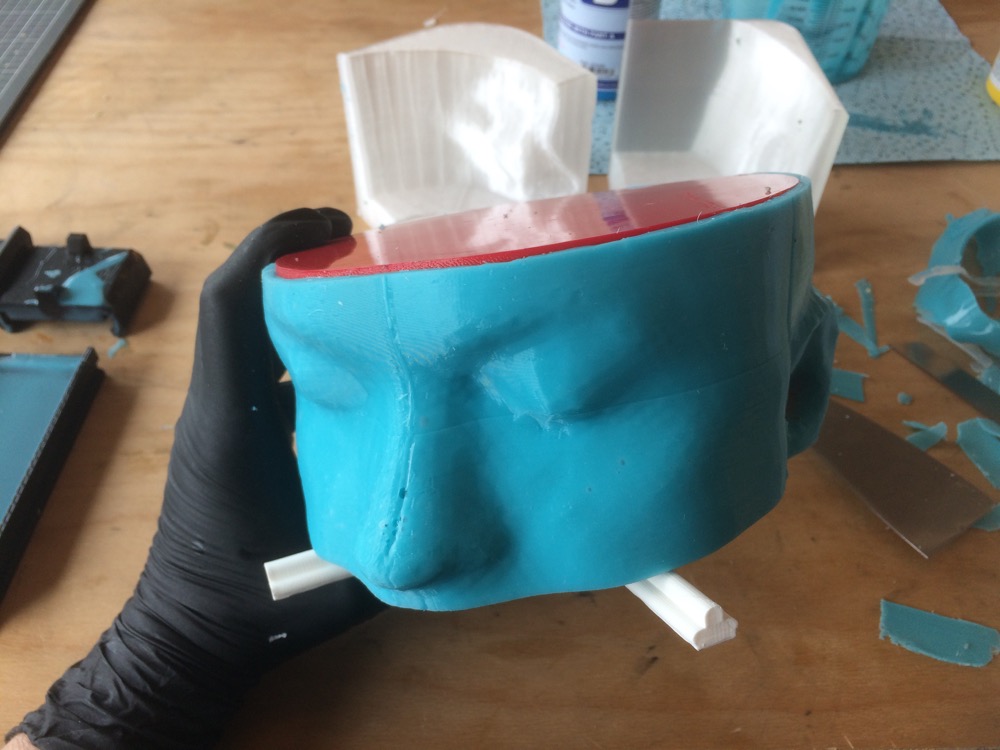
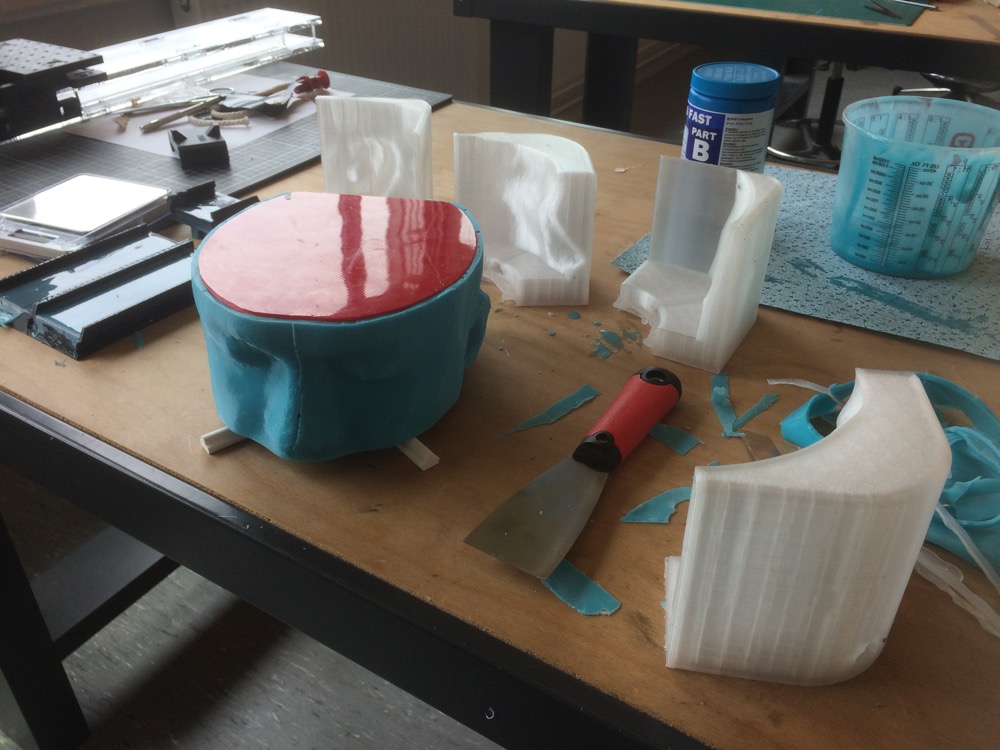
Demolding Process
Demolding Process
Demolding Process
Demolding Process
Demolding Process
Demolding Process
Demolding Process
Demolding Process
Demolding Process
Demolding Process
Demolding Process
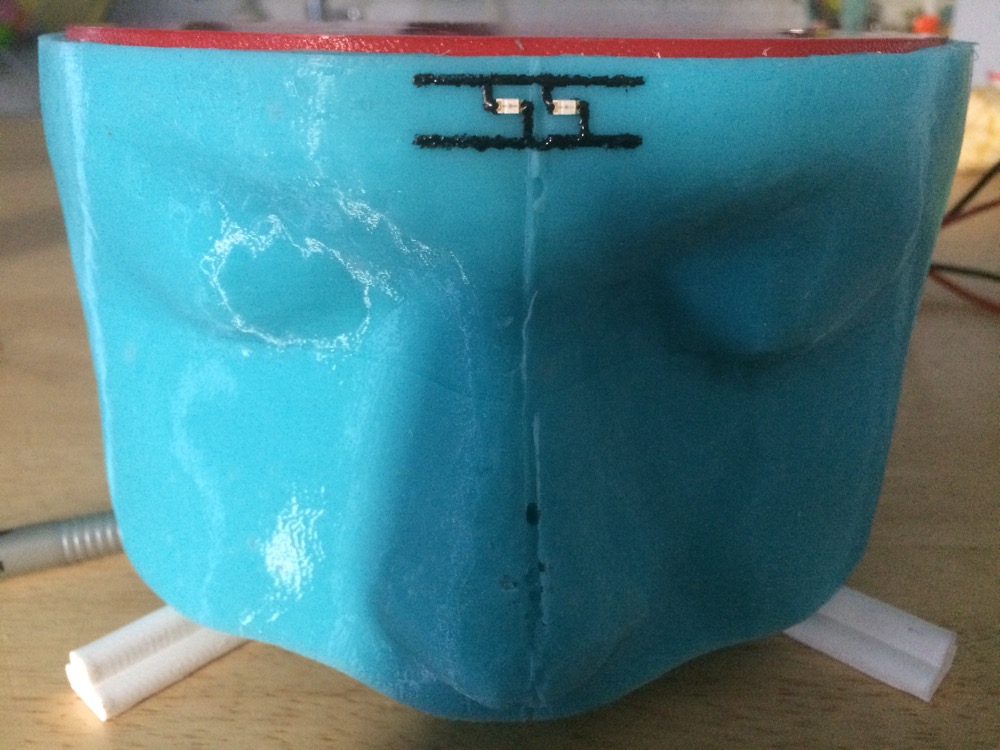
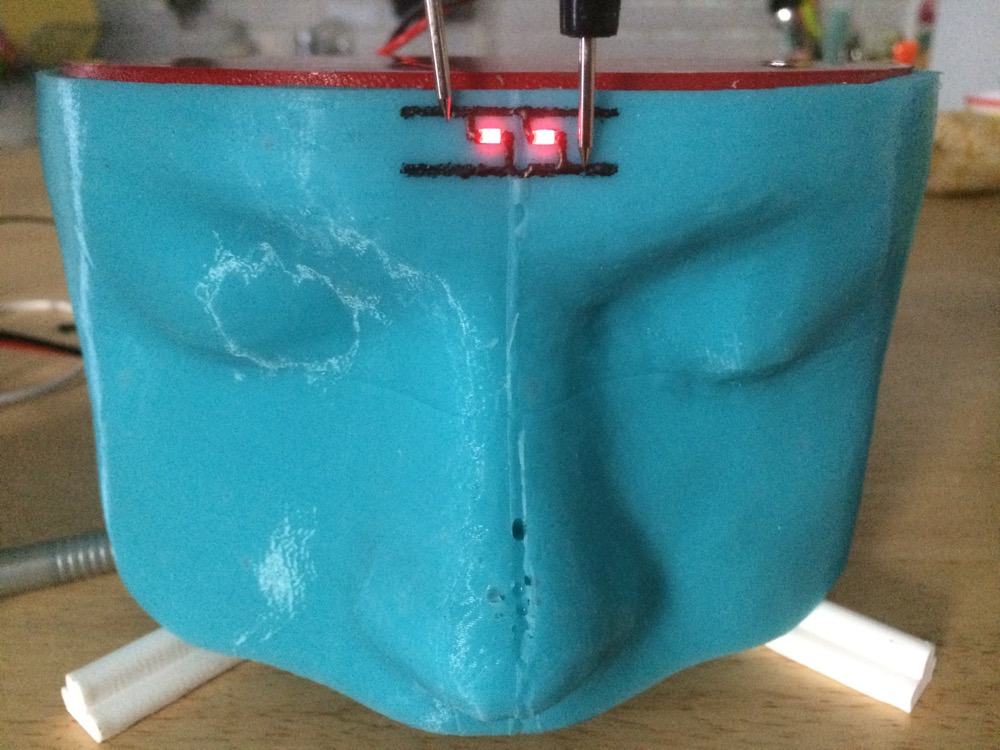
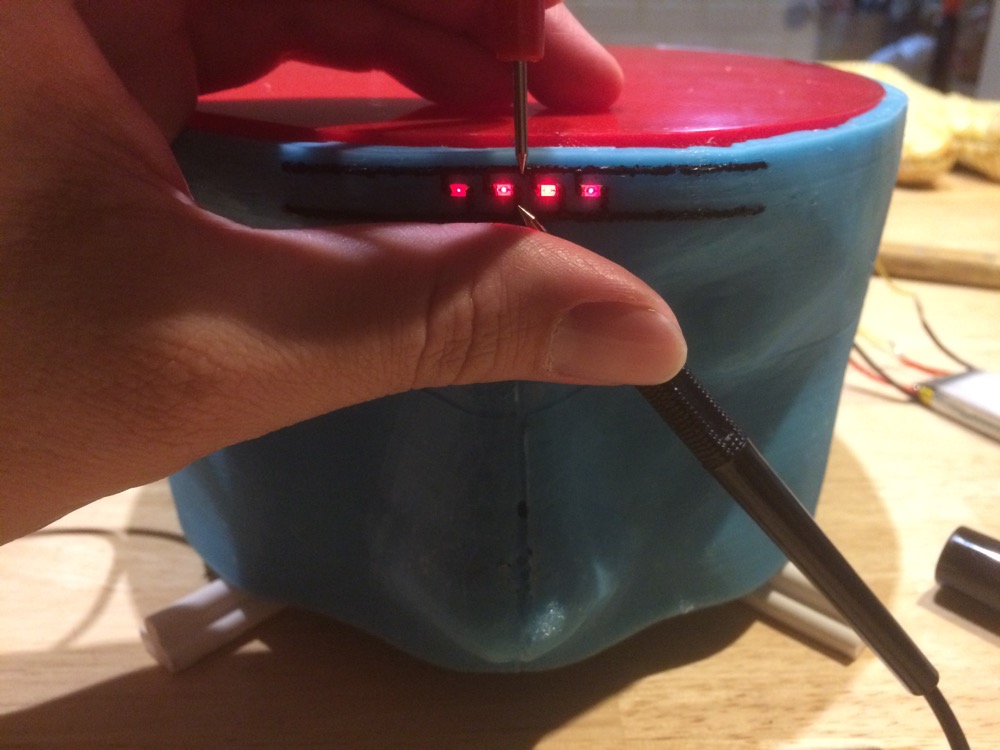
Now I have a mask where to apply conductive materials.
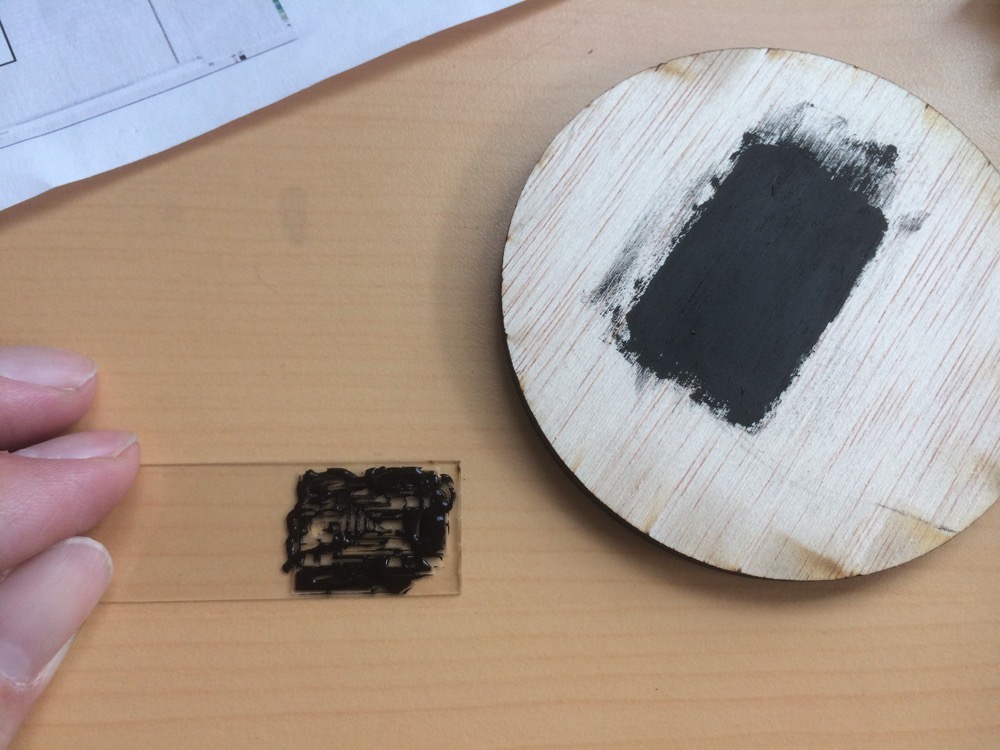
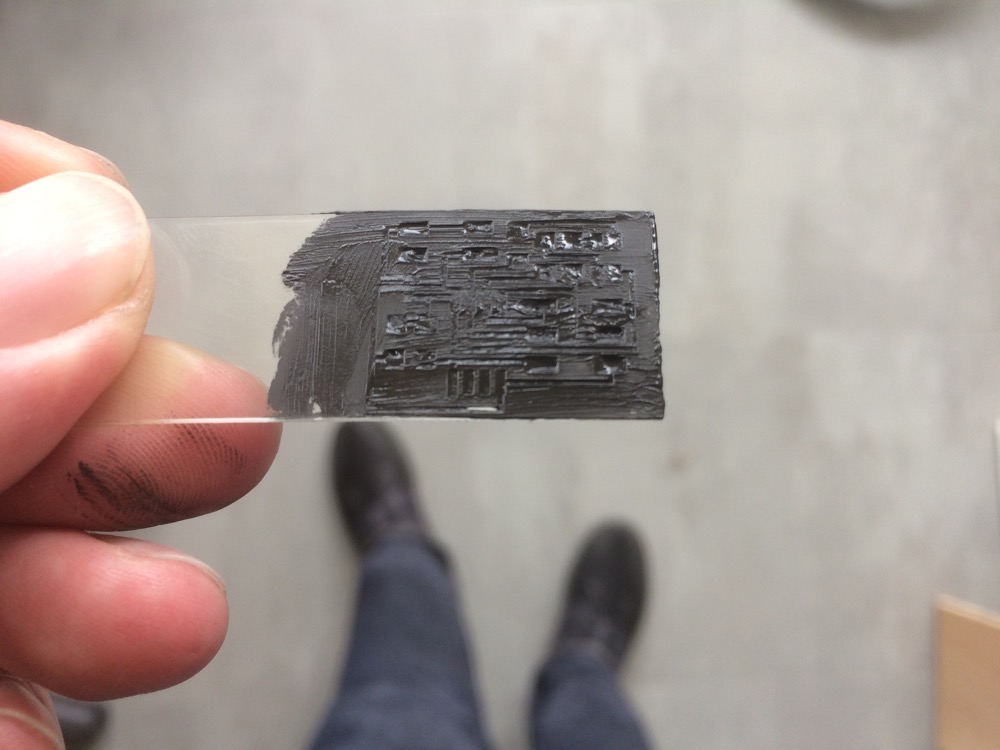
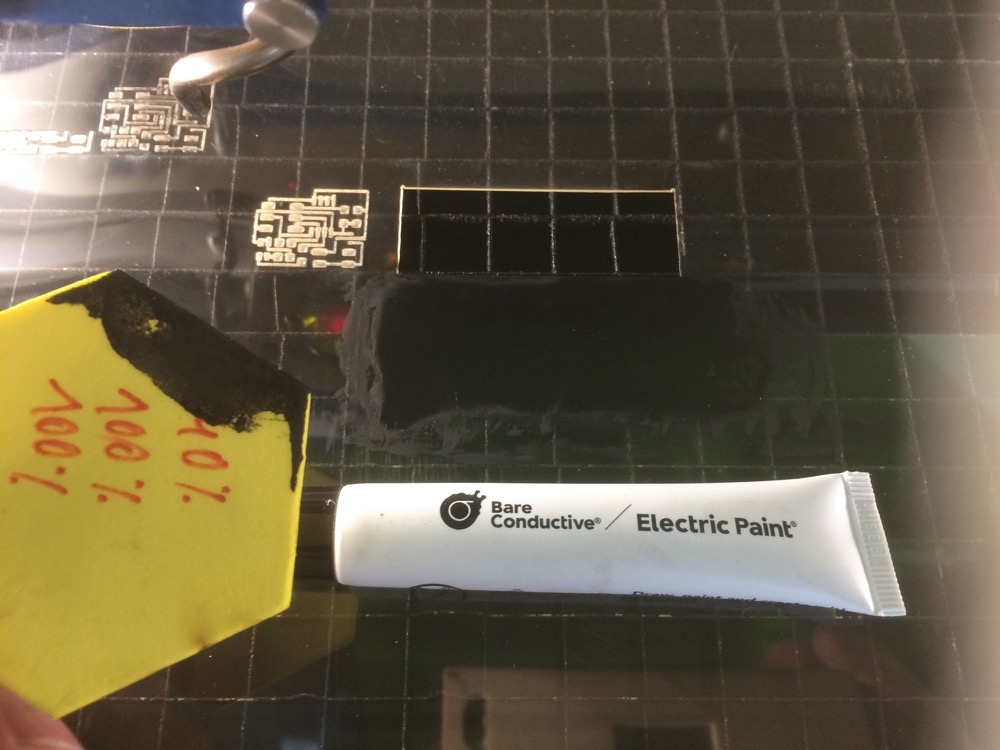
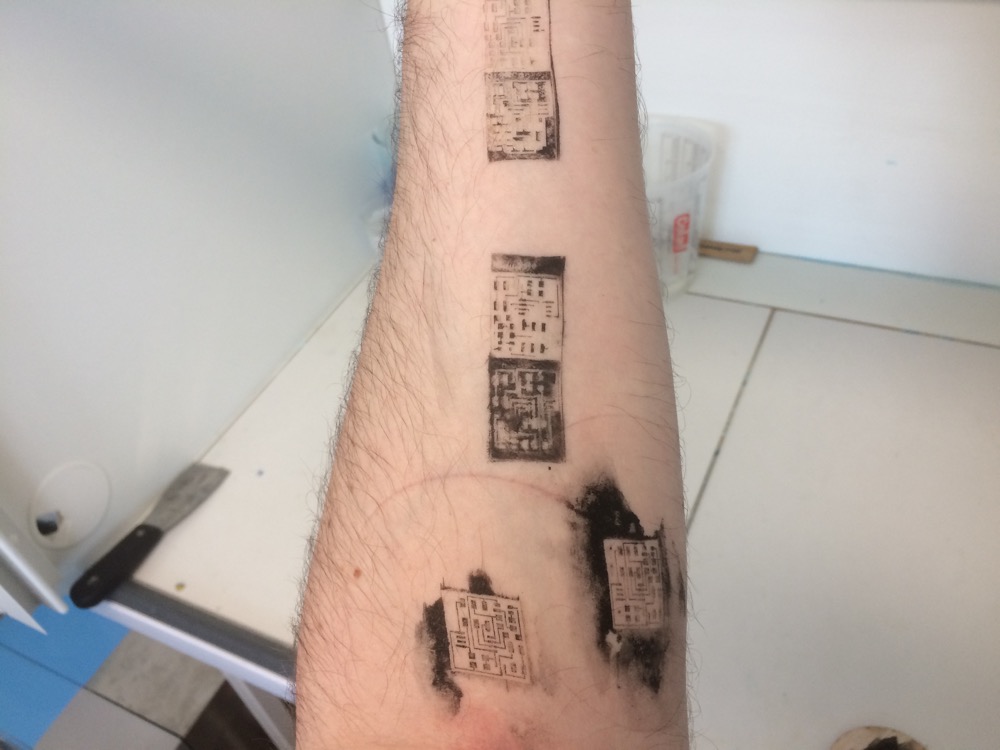
8 | Conductive Ink Experiment for On-Skin Transfert
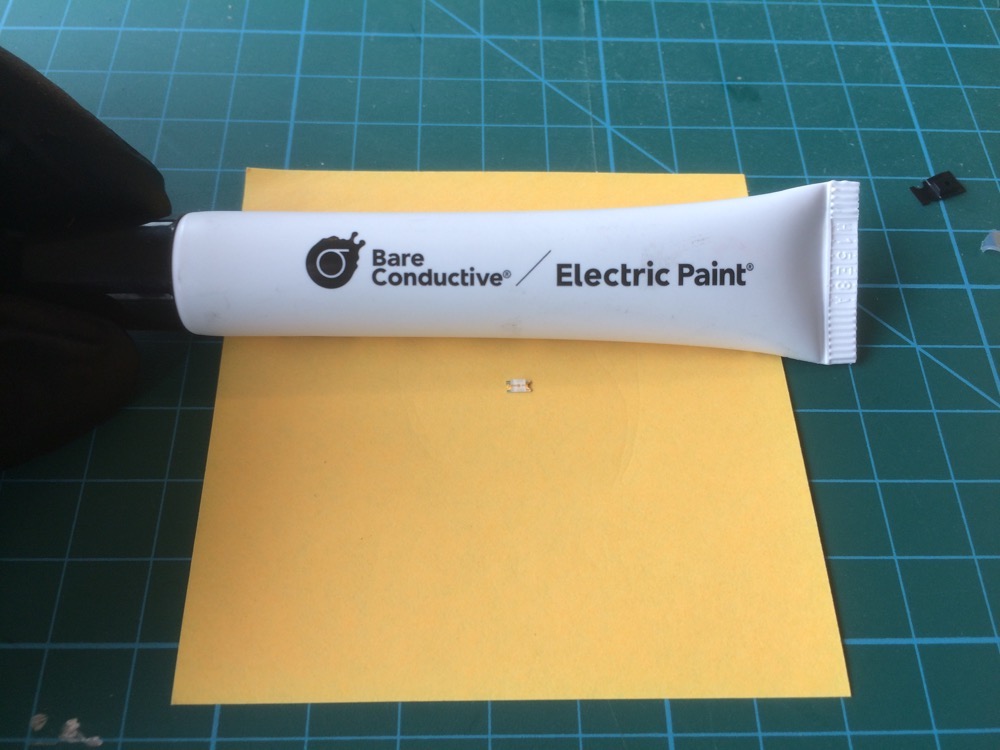
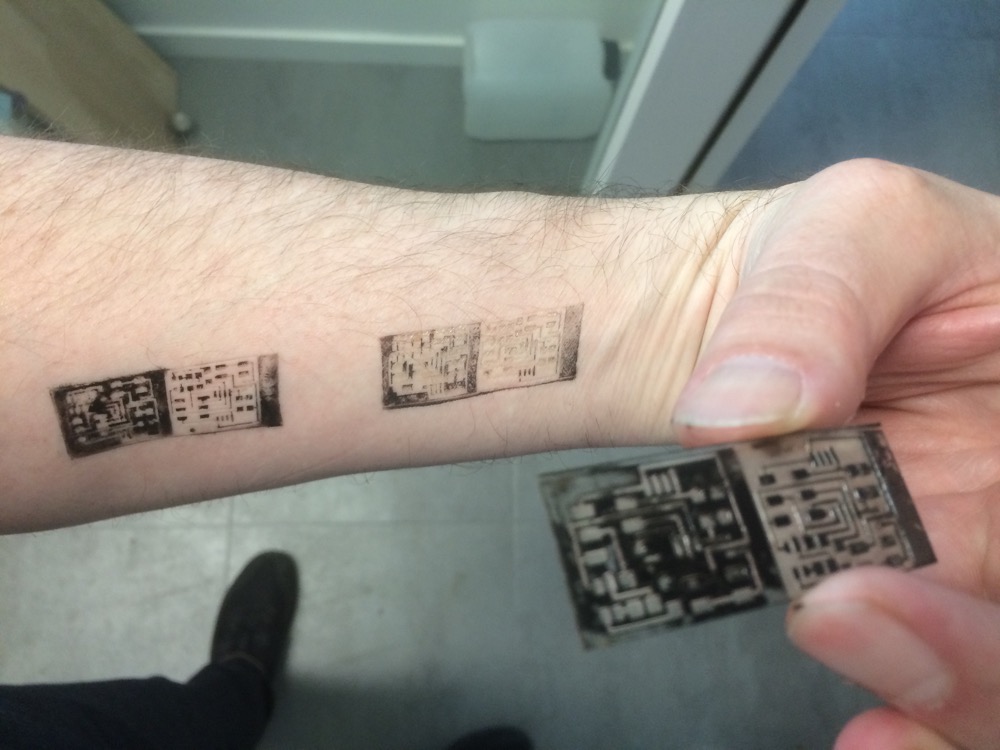
Until today, it seemed obvious to me that any conductive ink would be toxic for the skin. So I didn’t investigate on the one I had bought, the BareConductive one. And while searching for information on the best ways to use it I decided to have a look on internet to see if anyone had applied the Bare Conductive Ink on its skin. And ti my surprise, some people did and this way I found out that this conductive ink has no silver or copper it. They say it is non-toxic and it can be applied on your skin…I couldn’t resist. Here is what happened:
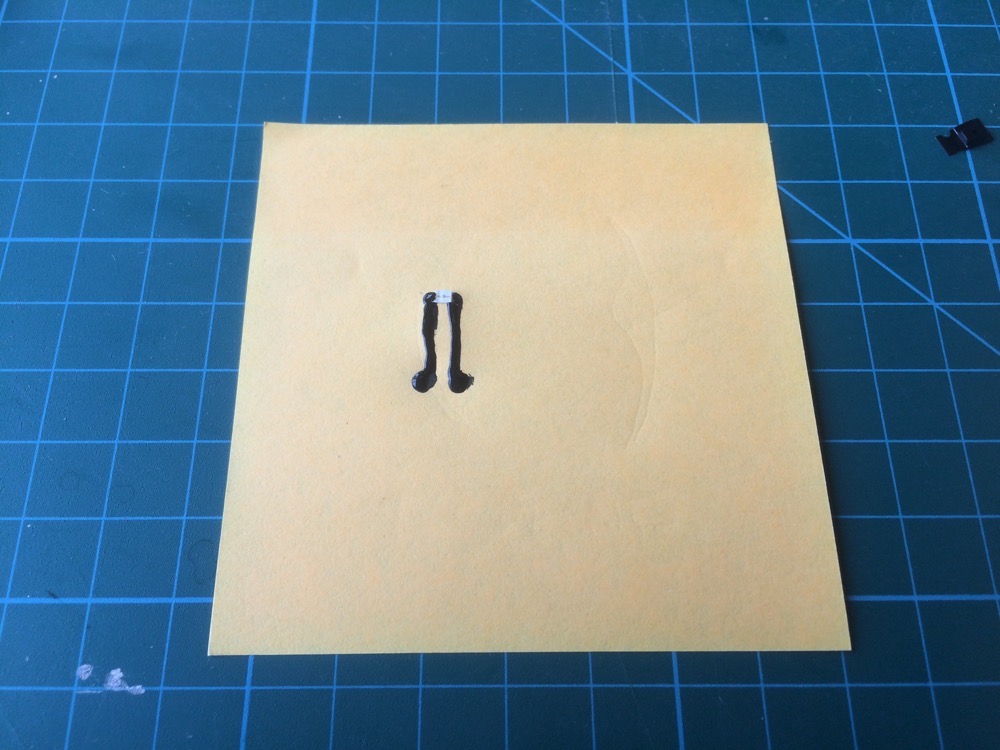
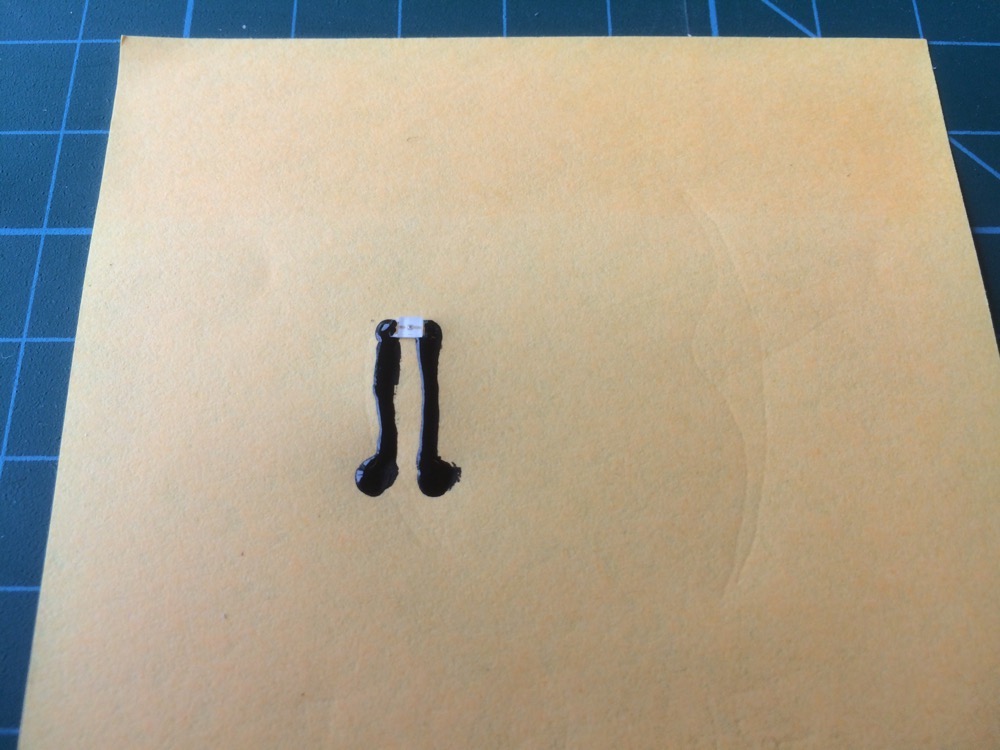
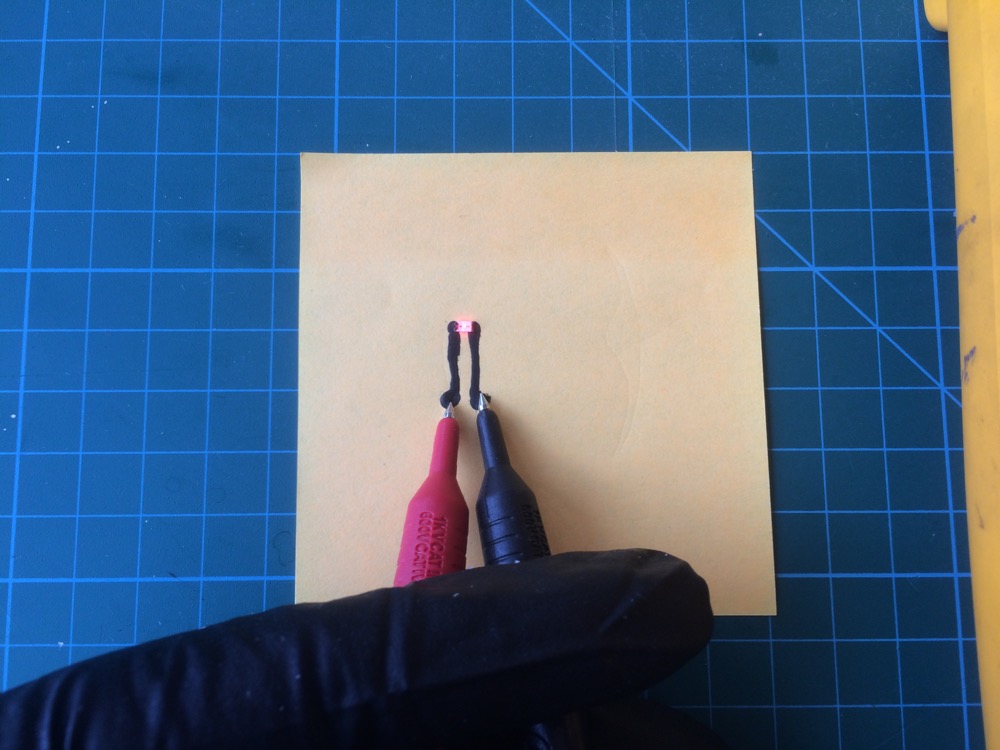
I first started on paper to feel the viscosity of the product and see how conductive it is.
Conductive Paint
Conductive Paint + LED
Conductive Paint + LED
Conductive Paint + RED LED
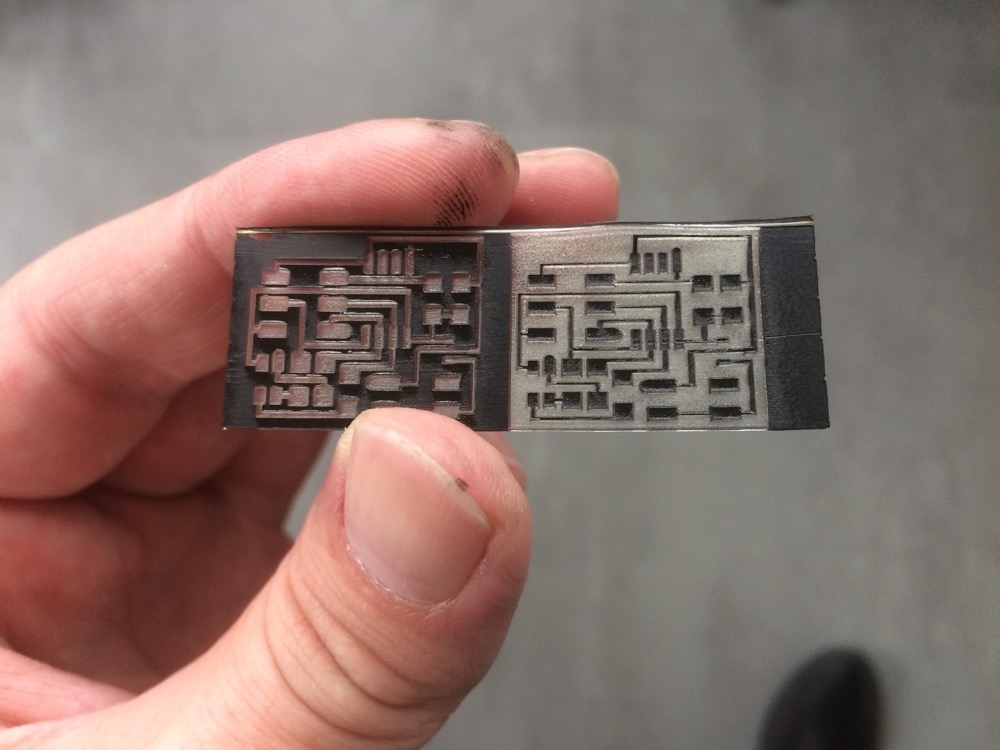
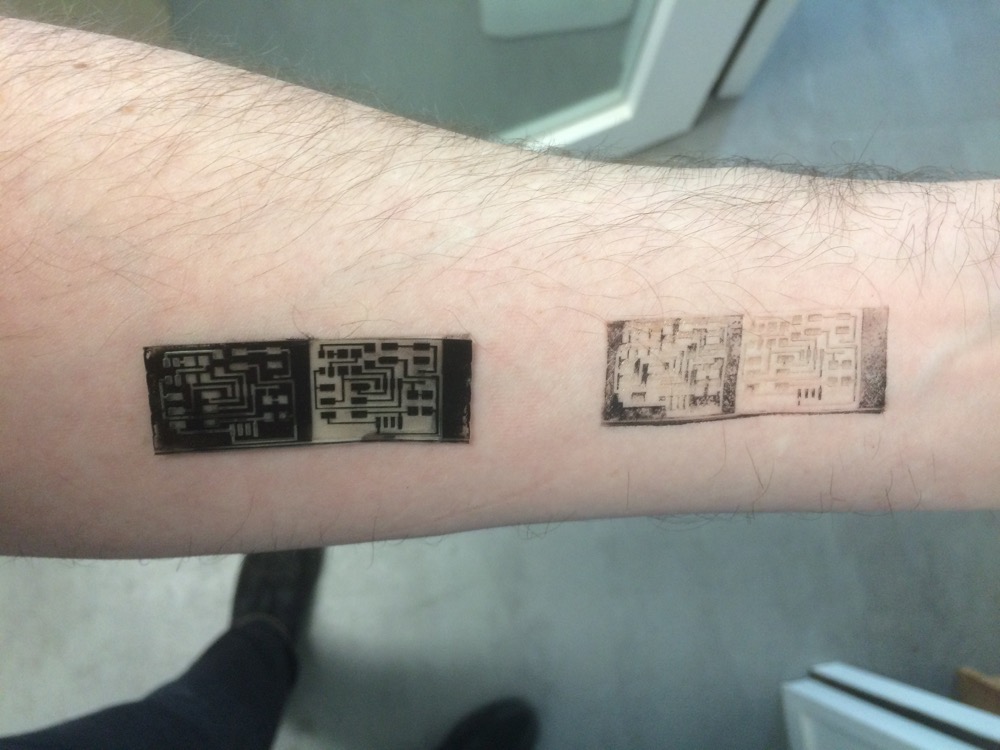
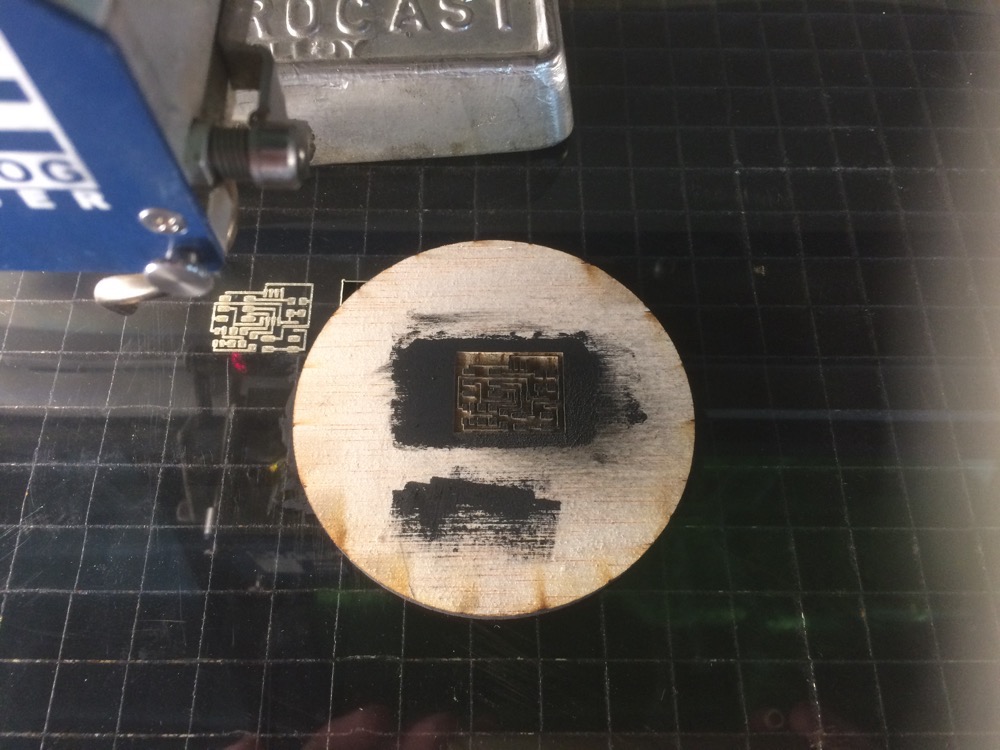
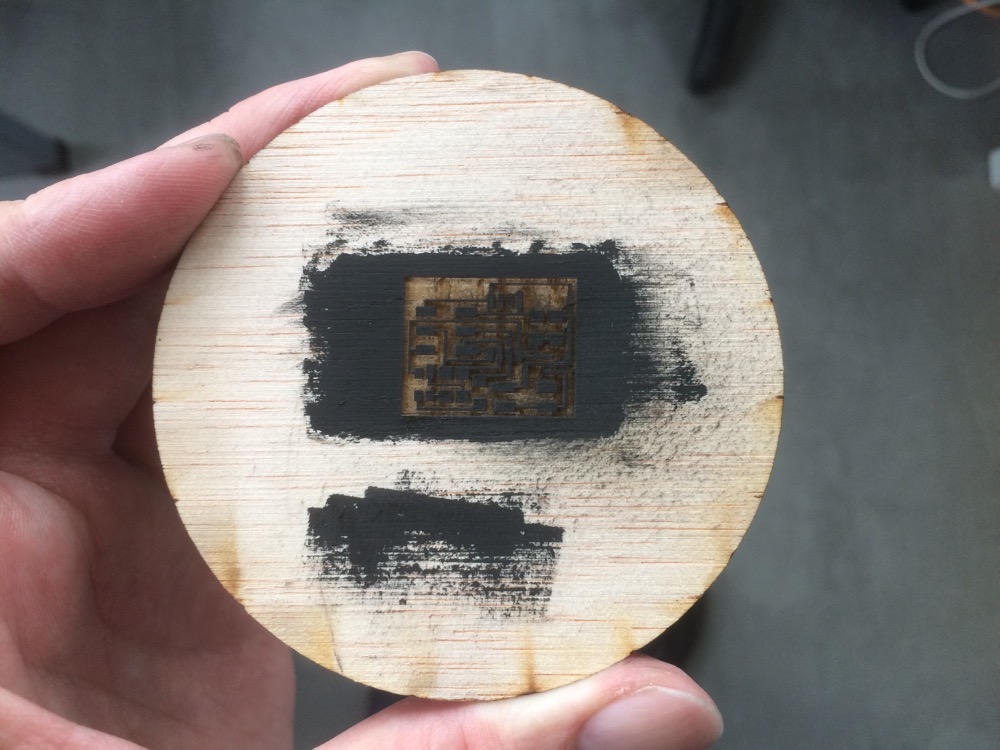
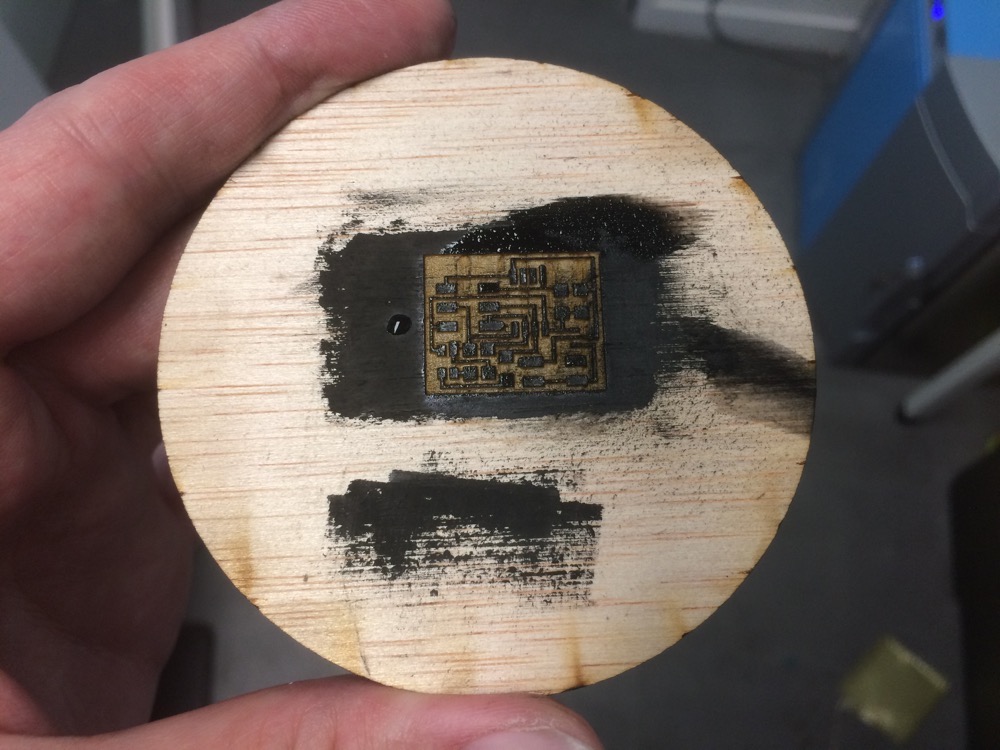
Then I started to experiments ways to transfer the ink on my skin as a temporary tattoo. I was totally fascinated. I laser-cut, laser-engraved, assembled plastics, tape, wood to find the best way to transfer the ink on my skin in a reliable way.