WEEK 9. Textile as scaffold
NOTES: Lecture
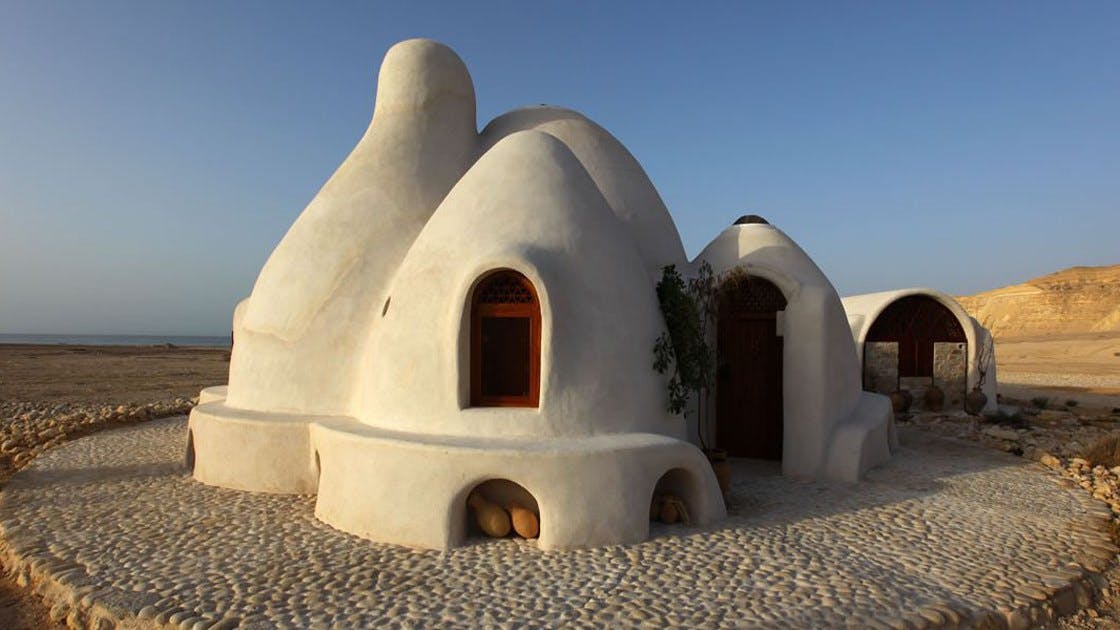
Adobe/Mud-bricks
Five years I went on a building course with Cal-Earth we made a smaller version of the Super Adobe (picture below).
The combination of material was beach sand (12% Clay), Gravel and Limestone.


References
Back to week 7 -> Vacuum !!
What Nia and I learnt in Week 7:
- Air loss involves the box having equal faces.

Leather Molding
-Vegtable tanned leather recommended for moulding
Fabric Foamwork
2016 TUTORS: AA DRL WORK SAMPLES

Concrete structures using fabric formwork

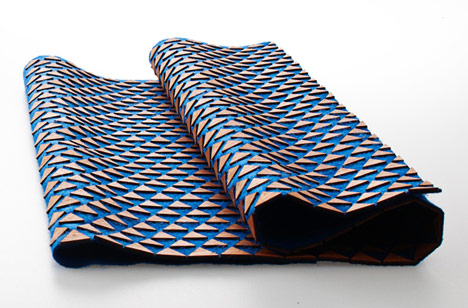
Wood and Textiles
Eliza Strozyk Eliza Strozyk ArchDaily

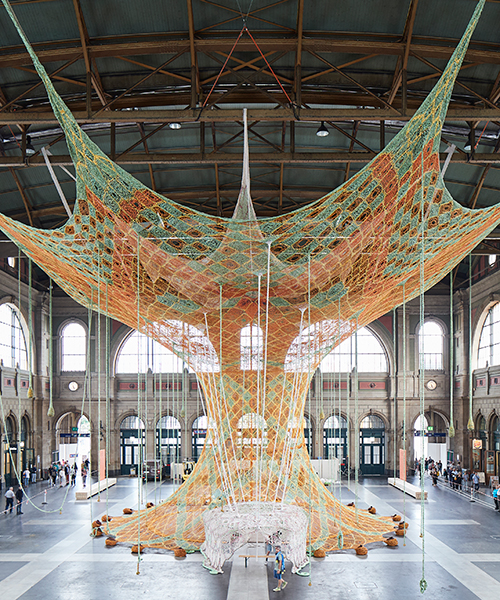
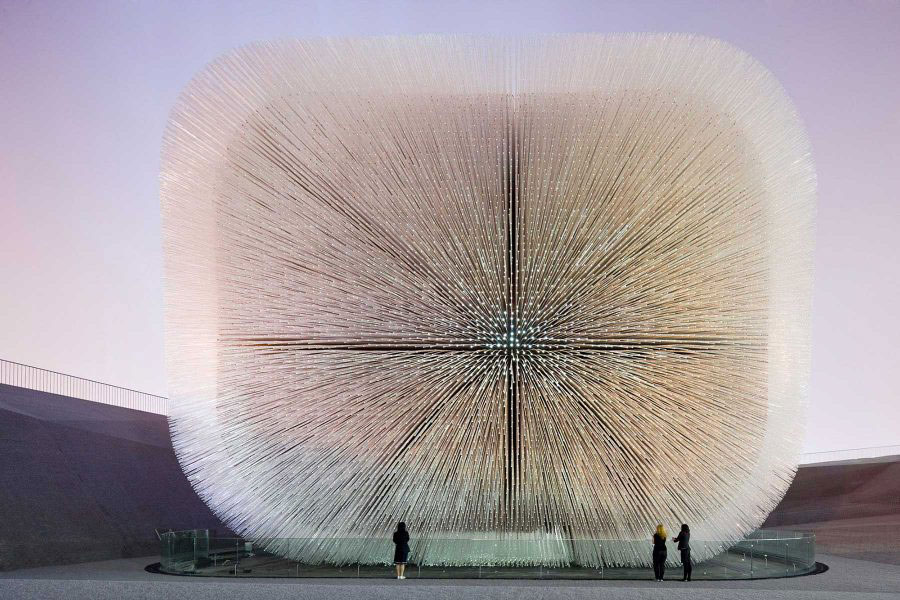
Crystallization
Shanghai Expo Thomas Heatherwick
Images from Anastasia's class 20/11/2019
At the moment we are practicing curve to surace functions.These include Extrude, loft, Surface from Planar curve, Sweep 2 rails etc. Just realized that the "Rebuild" command is even useful for curves.Rebuild the curves will help to produce a smoother surface with less vertices. Don't forget to use the Osnaps such as End,Int,Project and Mid.


In the case of this surface(image below), we see that the Sweep1 rail didn't construct well. They are options to realign the points, but in this case I would rather Sweep2 Rails or use an alternative Surface constructor. Use "History" to record your commands.

Surfaces don't have thickness, hence cannot be 3D printed.With a CNC machine, one is allowed to work with polysurfaces and open objects. First image is that of the Sweep2 rails surface.


Lofting can only be done between two curves. The order of selection for the Loft is important like with a square you can't cross over points. Finally the last images demonstrate the cap command. This covers the empty faces of the surface or you can say it is the lid of the box.


The mirror places the object on the other side, with the same distance to the mid point as the other object. Use the Mid OSnap and draw a straight line down for a 180 degree rotation. Draw line down from Mid to Perp.


For the mould we created with a 15mm height infill (space above ground) and we substracted Spheres(placed on box) and used the Boolean difference to substract these solids from box. And we got a mould.


Pre-Mould vs. Mould:


Revolve Surface creator:
Makes a rotating/revolving surface.


Drape: Like forming a fabic around the body and leaves the folds.

Projecting Curves onto a surface;


Use the three backticks to separate code.
// the setup function runs once when you press reset or power the board
void setup() {
  // initialize digital pin LED_BUILTIN as an output.
  pinMode(LED_BUILTIN, OUTPUT);
}

// the loop function runs over and over again forever
void loop() {
  digitalWrite(LED_BUILTIN, HIGH);   // turn the LED on (HIGH is the voltage level)
  delay(1000);                       // wait for a second
  digitalWrite(LED_BUILTIN, LOW);    // turn the LED off by making the voltage LOW
  delay(1000);                       // wait for a second
}
Gallery

Video
From Vimeo
Sound Waves from George Gally (Radarboy) on Vimeo.