3. Circular Open Source Fashion
Previous research & Ideation
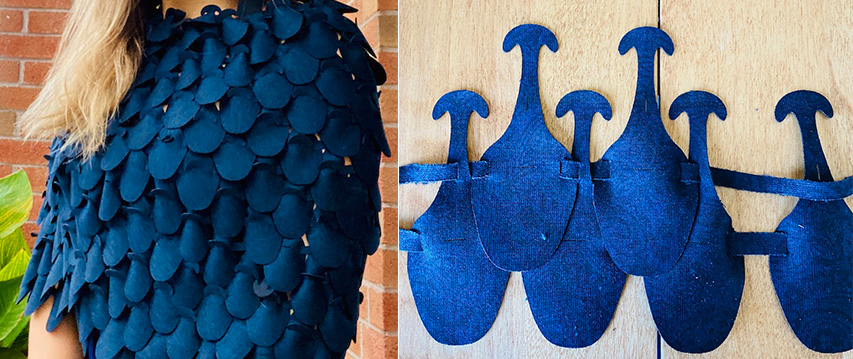
When I first approached tessellation in Geneva, I immediately thought “how can I exploit this technique and the seam-less design practice for accessories"?
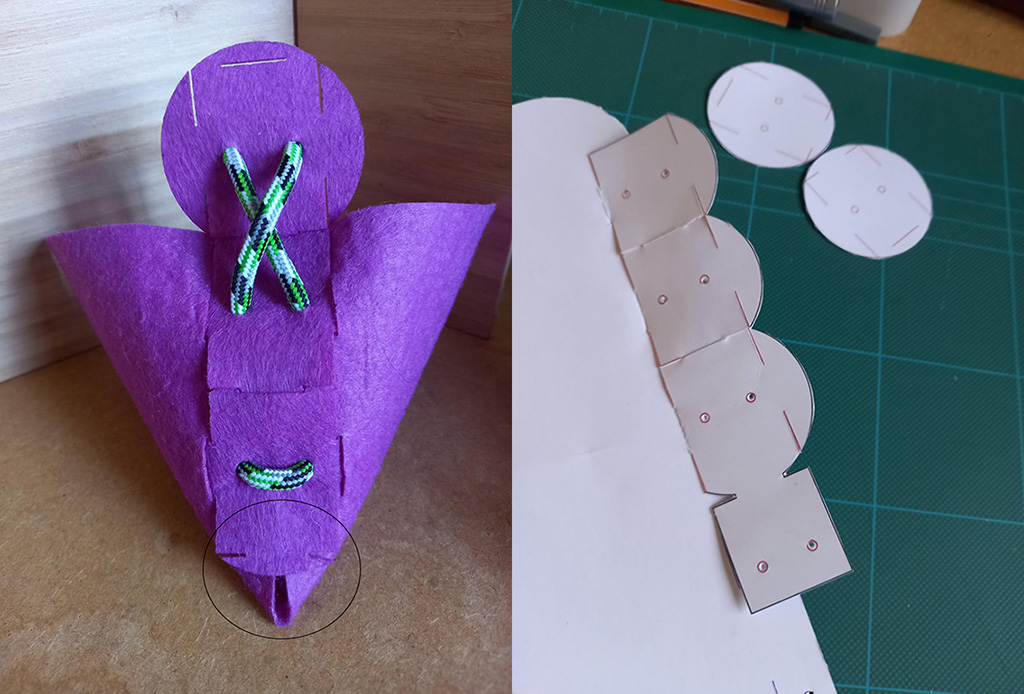
My reasearch at the moment is technical rather than aestethical and I did some first attempts with my favorite form, the circle, cutting a 100% polyester - 1mm thick felt and I add what I called “safe joints” cutting out holes to later embed studs or strings and give strength when bag is filled. In the fashion industry we are used to test the tensile strength of handles, fasteners and seams as there are high standards to be achieved in order to go out on the market.

I came back from the bootcamp full of ideas but I first started correcting weaknesses and simplifying forms abandoning my beloved circle form and most of all, thinking about a complete design of a women bag with its features and requirements.
The connected bag proto
I experimented with a synthetic feltro (100% polyester-3mm thick) that seems to be perfect in terms of cut-ability: after several trials I tested that, in order to cut it, a speed of 15 and a power of 100 it's appropriate.
I saw that this material is a bit too thick when layers overlap (a 2 mm thick version would be ideal) and then a wool feltro (100% wool, 1.5 mm thick) that seems to be too limp and of course it smells badly when lasered. It has an interesting colour change of borders when lasered that can be a design plus.
Weekly assignment inspiration
This course week allowed me to explore some new ideas and I was inspired by the modular project *A second nature skin by Annie Ferlatte on OS circular platform. I presume that this structure applied to a bag probably deforms when filled.
Idea
Hence starting from this consideration I designed 3 elements:
1-THE PANEL PATTERN: a solid folded rectangular base as holder (the body of the bag) to do the "dirty" job of carrying weights with 2 cut out handles. To experiment I prepared 2 squares to resemble a smaller part of the bag.
2-MODULE A: a non functional module as decoration on the front and back side of the holder.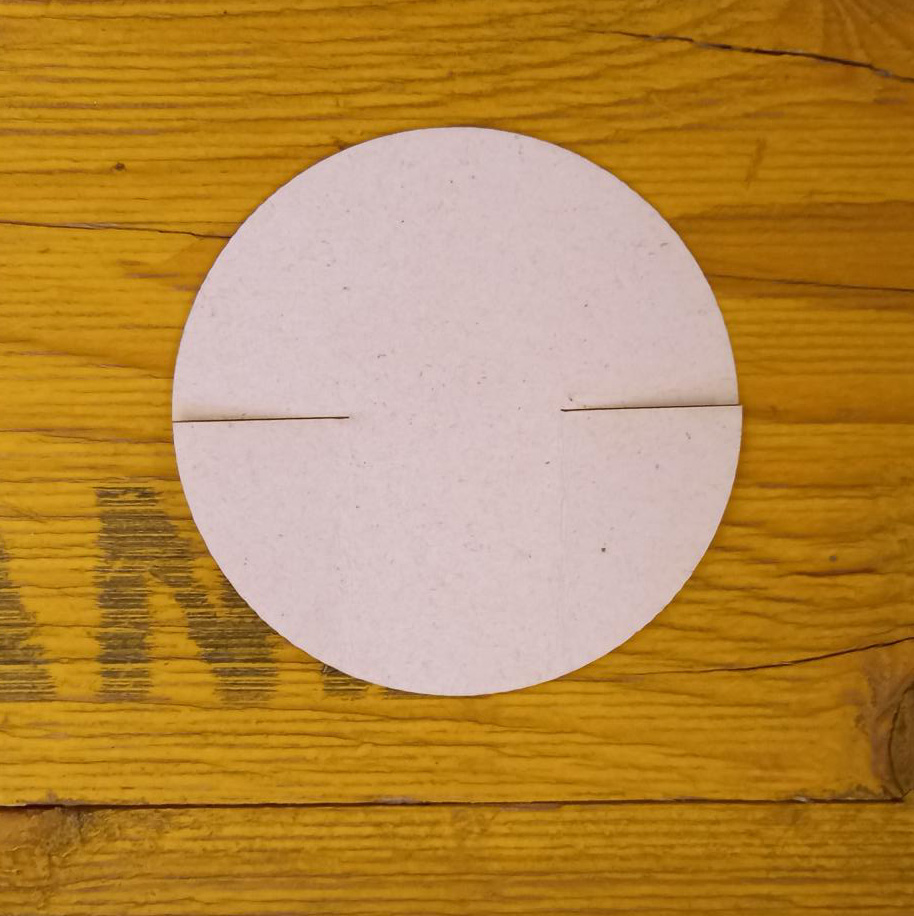
3-MODULE B: second type of module to close holder’s sides.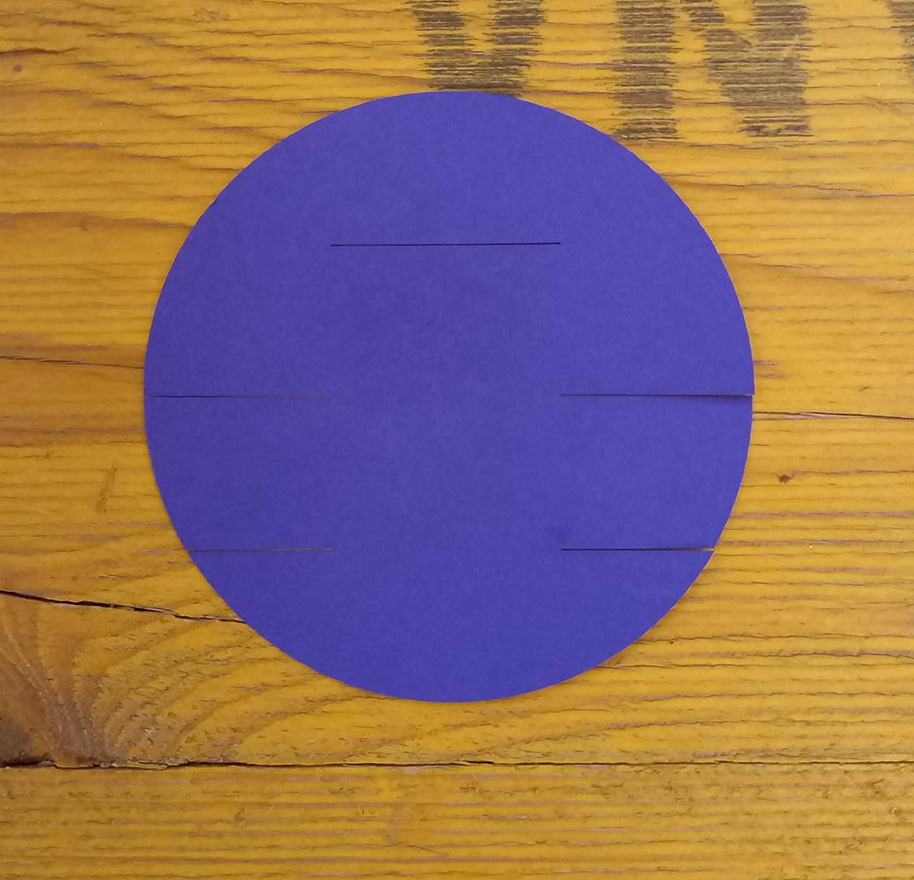
Steps and considerations
Step 1
I made prototypes of modules A and B as well as the 2 squares (portions of the panel pattern) with pale white cardboards first and then I used coloured once to enhance the tessellation itself. A good thickness might be 100 gr and I set the lasercutter with speed 15 and power 70.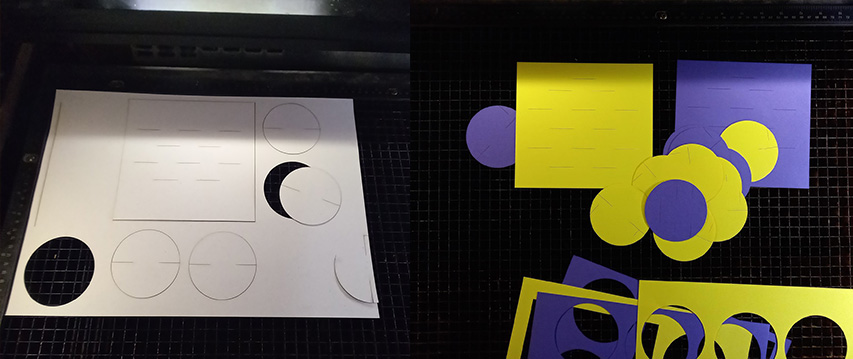
Step 2
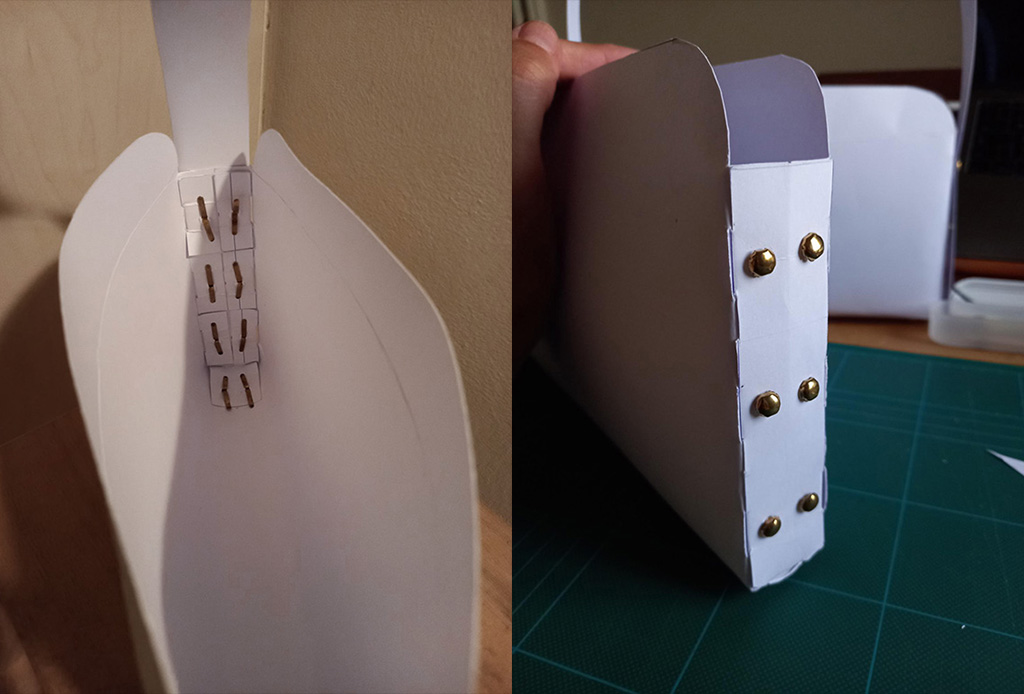
I assembled MODULES A + 2 front and back panels first.
I noticed that the nice petal effect visible from the outside turns into a waste of material internally and in addition to that it might be hindrance when searching something.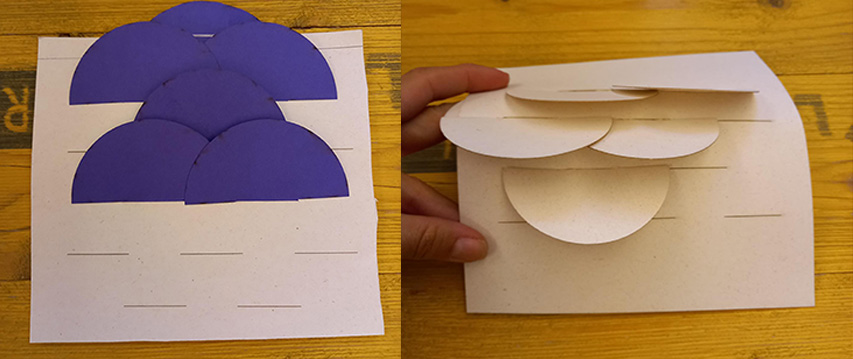
Step 3
Then I assembled MODULE B + 2 front and back panels to close sides. Below you see I did a first test with smaller rectangular panels.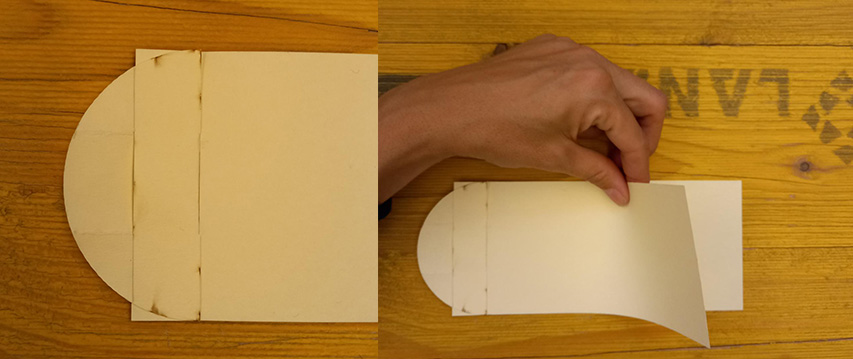
Step 4
I tried to better connect the internal parts of the modules adding extra joints to MODULE A itself but I am not satisfied.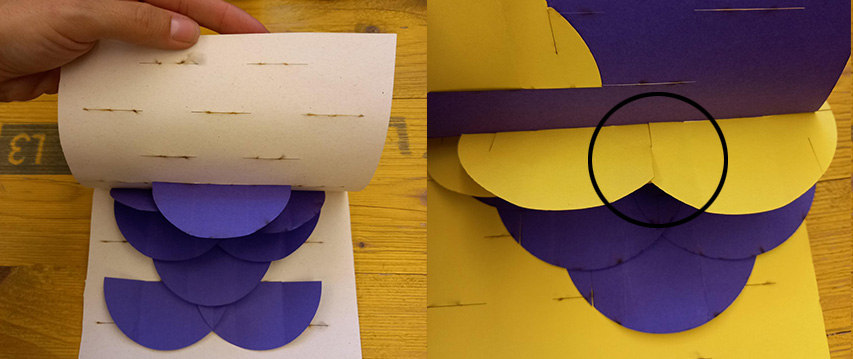
Conclusions
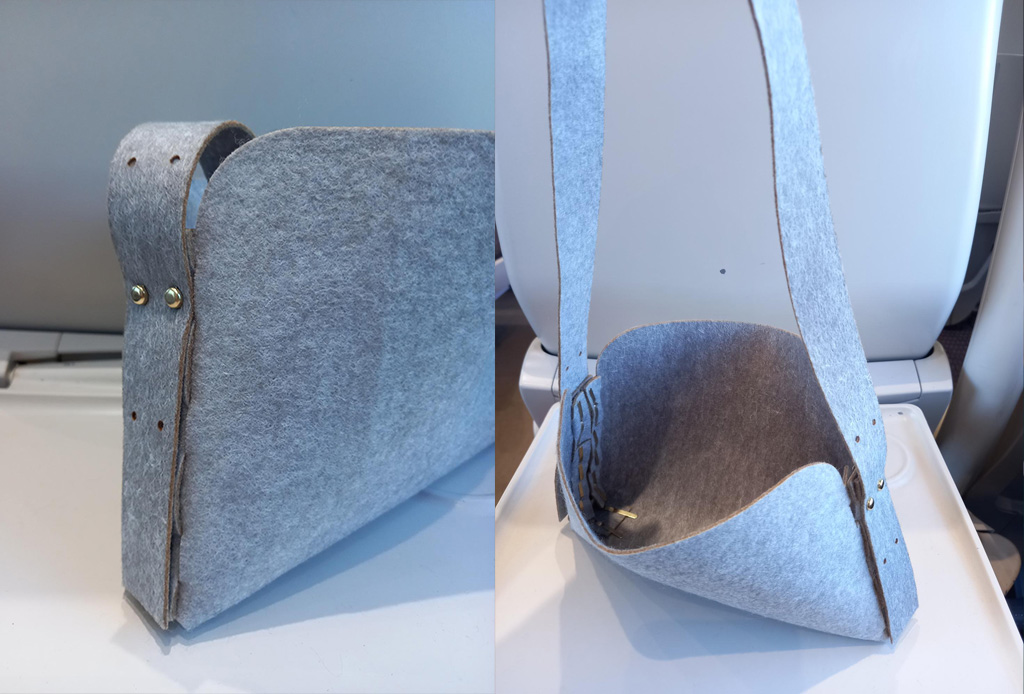
Module B turned out to be a nice and quite safe substitute of a stitch, once the bag is set I would like to test performances.
I am thinking to redesign MODULE A to obtain a more compact result when assembled to the PANEL PATTERN.
To reduce waste it's possible extract some modules from the cut off parts of the handles as shown in the drawing below.
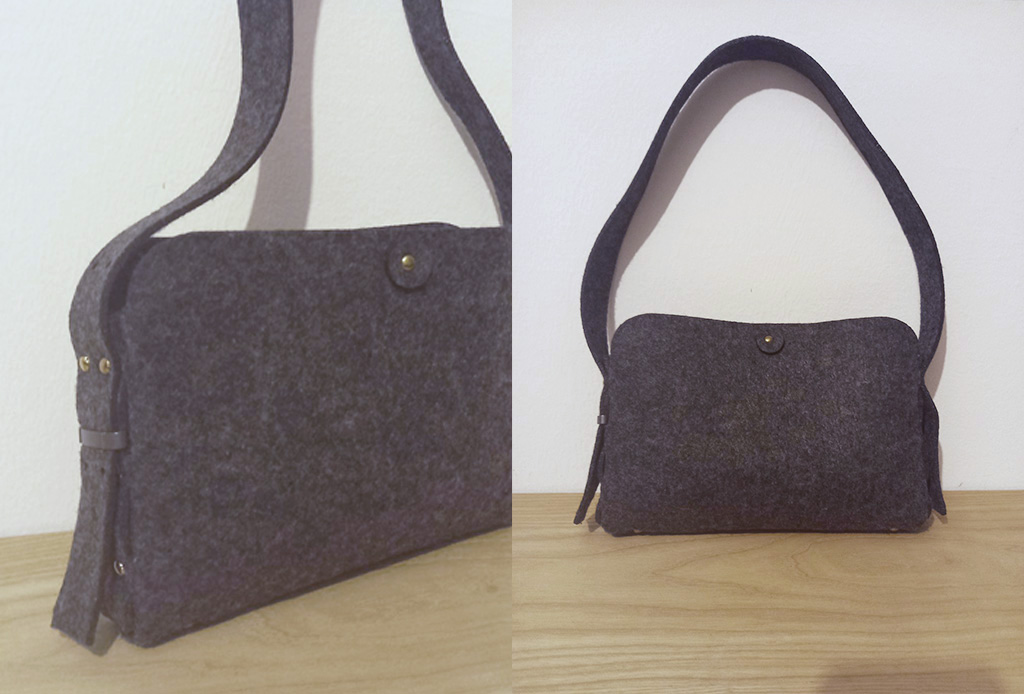
I would like to test materials as felt, leather and neoprene.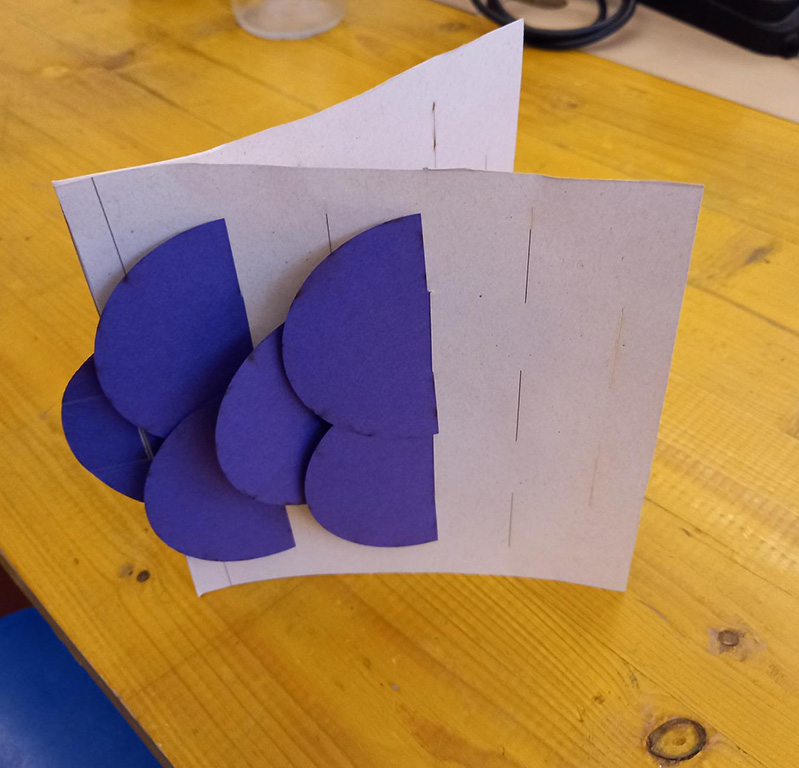
I hope I will be able to make realise my first bag during next weeks after practicing a bit with these new technologies and design methods. Stay tuned and meanwhile you can download modules down here
Fabrication files
-
File: Modules ↩