4. BioChromes
Intro
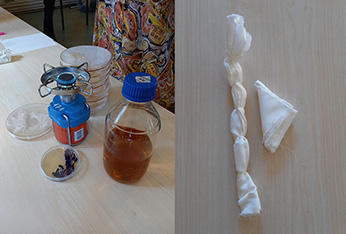
Before starting the documentation on my biochromes experiments, I would like to show you some samples from the Geneve fabricademy bootcamp where we have worked with bacterias ( Janthinobacterium lividum tbc) and you can see the resulting 2 pieces of silk dyed, on the left the one that was knotted and on the right the one wrapped. I'm setting up my lab at home to make new trials on my own.
References & Inspiration
After the biochromes lecture I decided to try to fix my personal colour references, I mean those things that inspired, influenced or just stroke me the most. I'm sure that the environment and the culture we live and lived deeply draw our perception of colours, from cultural background to the type pf sunlight we enjoy every day.
For sure there's my childhood house where black was always present.Lots of things have been said about black,to me black is the father of colours, profound, elegant and irriverent at the same time, never out of place. I need it as much I need white.That's probably why I ended up to dye with some black chickpeas I had in my pantry.
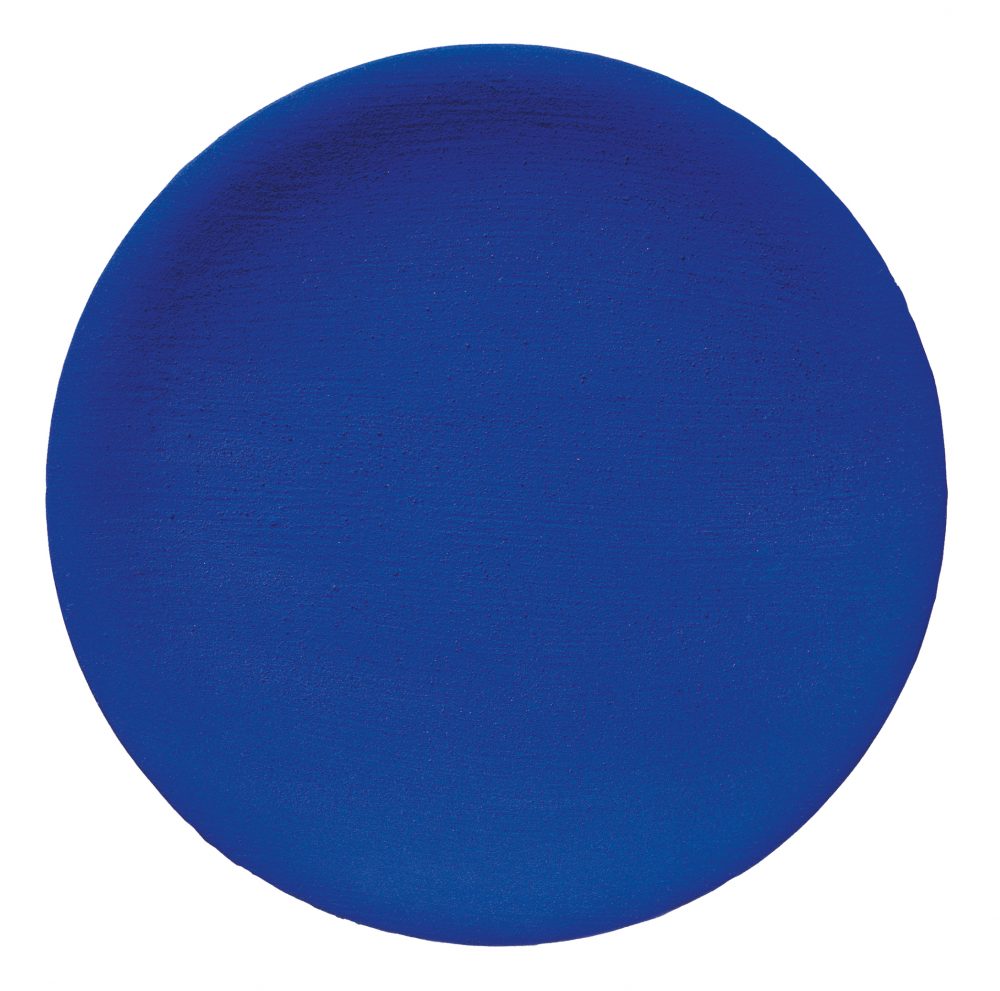
Then there's Yve klein's blue that impressed me during my university studies and it was somehow the confirmation of my love for pure, absolute colors and I will soon try to dye with indigo.
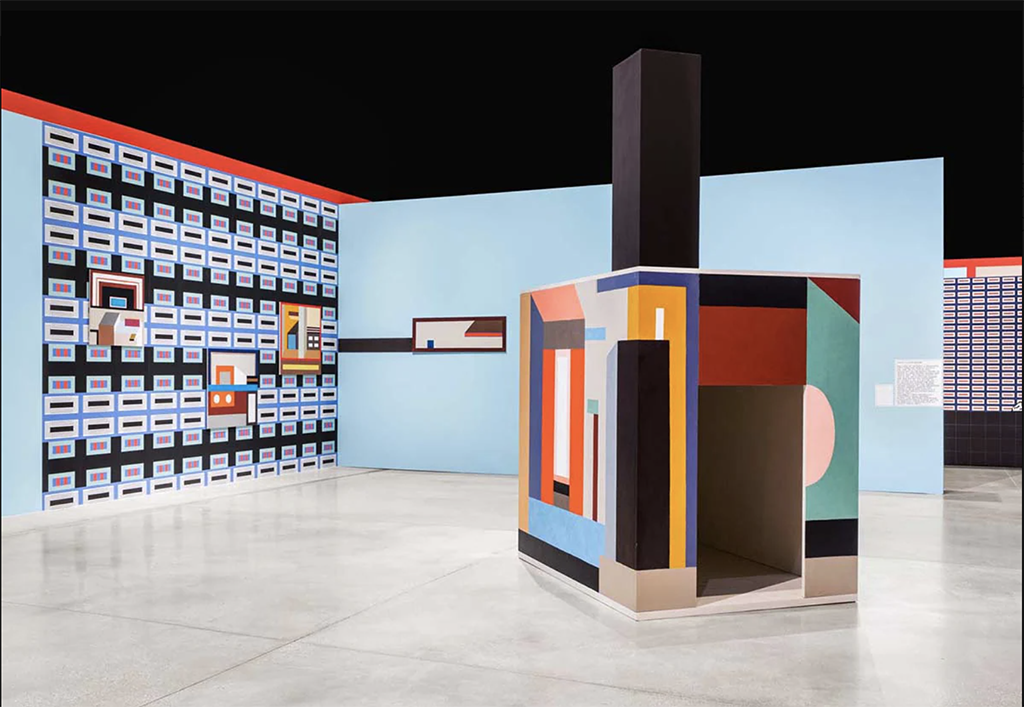
Another inspiration was Les corbusier colour studies which was a recent discovery visiting the Firminy Vert, a group of building in France. But I could mention many more,from many japanese artists to Mark Rothko or the amazing Alberto Burri, or contemporary artists as Nathalie du Pasquier. To sum up I would like to experiment with my favorite colours, that are part of the graphics I use to communicate.
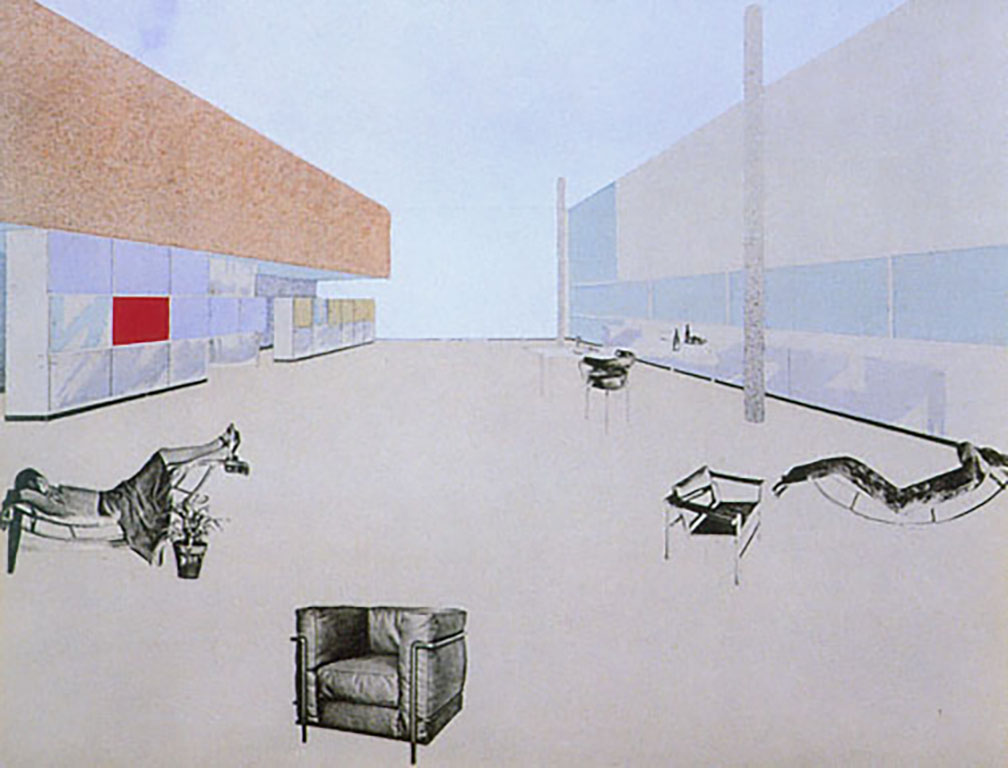
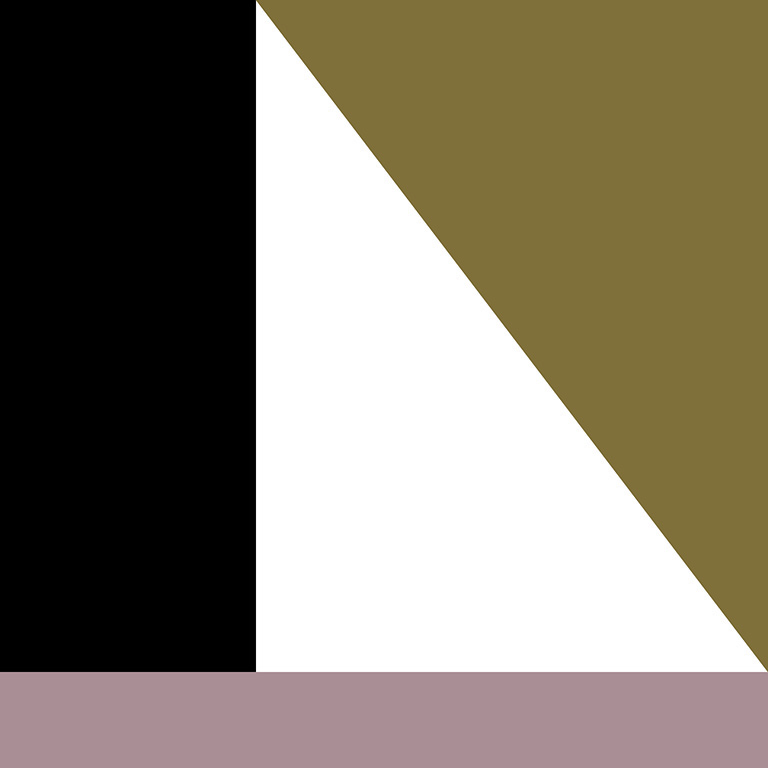
From top left clockwise:
L'Architecture vivante, 1930, Le Corbusier, Charlotte Perriand and Pierre Jeanneret;
© Yves Klein, Adagp, Paris /VEGAP, Madrid, 2015;
View of the exhibition “Campo di Marte” at the MACRO museum in Rome, Natalie du Pasquier;
My palette (Linda Zamboni, 2021).
Tools
-TEXTILE DYEING TUTORIALS by Cecilia Raspanti 2022
- NATURAL Colors-FABRICATING A COLOUR PALETTE by ANA CORREA + CATHERINE EUALE 2018
- MORDANTING RECIPE by Loes Bogers 2020
Process and workflow
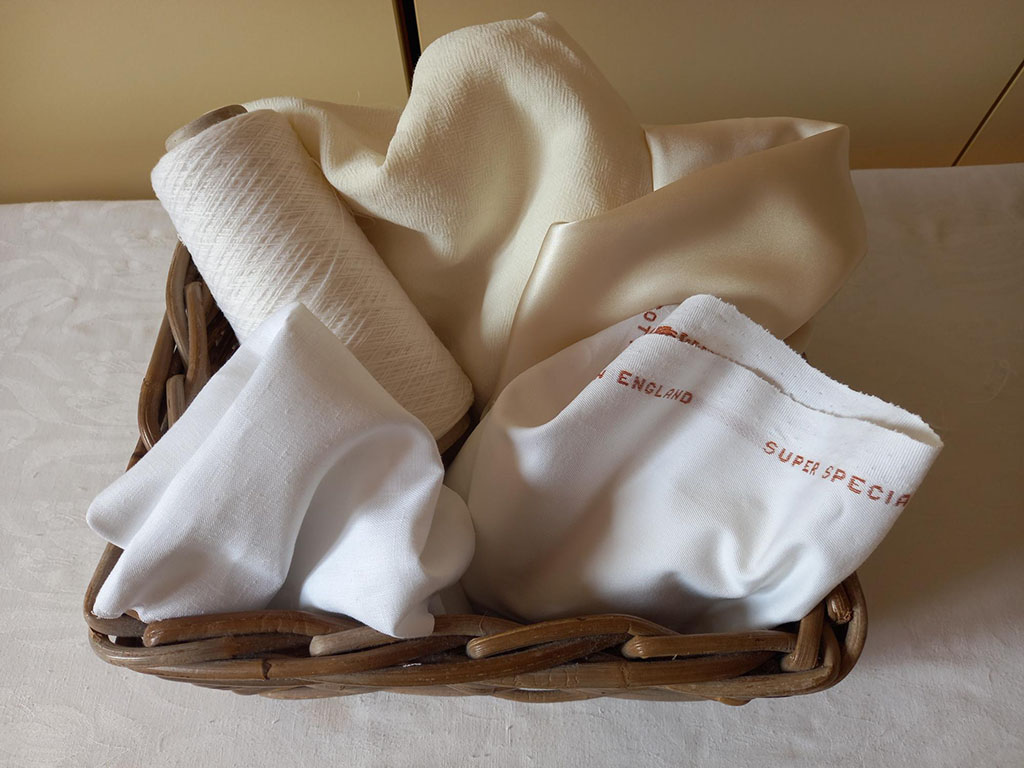
My first step was too find the samples to dye, I chose two fabrics and one type of yarn both made of protein based fibers and two cellulose based fabrics. During the second step I've cut them in strips and clean them through different methods of scouring and a phase of mordanting to better absorb the dye. In the third step I prepared two dyes, one obatined from black chickpeas and one from golden onion peels, both stuff I had at home. After dyeing the samples with dye baths, I "played" with modifiers to change colours but I had an issue with soda and that's why I couldn't extract the pigments later on. I can anticipate, it was challenging for an absolute beginner as I am!
PHASE 1- FIBER PREPARATION, SCOURING AND MORDANTING- Ingredients & Recipes
To prepare this recipe [^1] I collected the ingredients necessary, to be found in the list below:
PROTEIN BASED FIBERS- a 2 phases process
* 6 gr alum (15% WOF)
* 40 gr fabric (I chose 100% white cashmere yarn, an ivory cool wool jacquard fabric and a silk satin both supposed to be 100% virgin fibers)
* 3 gr cream of tartar (8% WOF)
* tap water q.s.
I've washed PB fibers with a little neutral soap, rinsed and air dried them. Secondly, I dissolved the alum in a pot of hot water (max 60°) and soaked the fiber already wet, to cover them completely. Then I added the cream of tartar and let the solution boil for 1 hour and then let it cool down in the pot,I later removed,rinsed and air dried the fabrics and the yarn.
CELLULOSE BASED FIBERS- a 2 phases process
* 4 gr soda (7% WOF)
* 49 gr fabric (I chose 100% white line and 100% white cotton gabardine)
* tap water 4 lt
To scour my cellulose fabrics I've dissolved the soda in some water and stir this solution to the 4 lt of water, then added the already wet fabrics and let them boiled for 1 hour.
* 5 gr alum (10% WOF)
* 49 gr fabric
* tap water 1,5 lt (use to be 3 lt water x 100 gr fibers)
As second phase I mordanted the fibres with alum: I've dissolved the alum in some water first and stir this solution to the 1,5 lt of water. Then I added the already wet fabrics and let them simmer for 1 hour (never boiling), cool down in the pot and removed,rinsed and air dried.
They were ready to be dyed thus I prepared several swatches for different dye baths.
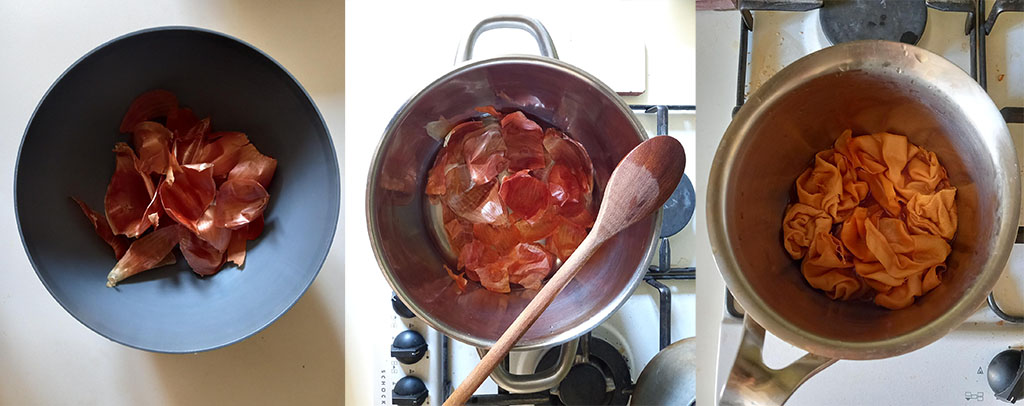
PHASE 2- ONION PEELS DYE PREPARATION Ingredients & Recipes
* 10 gr blonde onion peels
* 500 ml tap water (ph 7)
* 30 ml white vinegar (ph 6)
I prepared the onion dye bath by boiling the leftover skins in a pot with water and vinegar following the recipe of Loes Bogers. After filtering, I obtained a 200 ml golden onion peels dye.
PHASE 3- ONION PEELS DYE BATH Ingredients & Recipes
* 200 ml onion dye (ph 6)
* 30 gr fabric swatches,then 20 gr
I set the dye bath to simmer and added the fabrics (previously wet) for 30 minutes. I understimated the total amount of fibers, therefore after few minutes I decided took off a piece per type of sample to increase dye effectiveness.
At the end of the expected time, I removed the swatches, let them cool, rinsed in water and air dried.
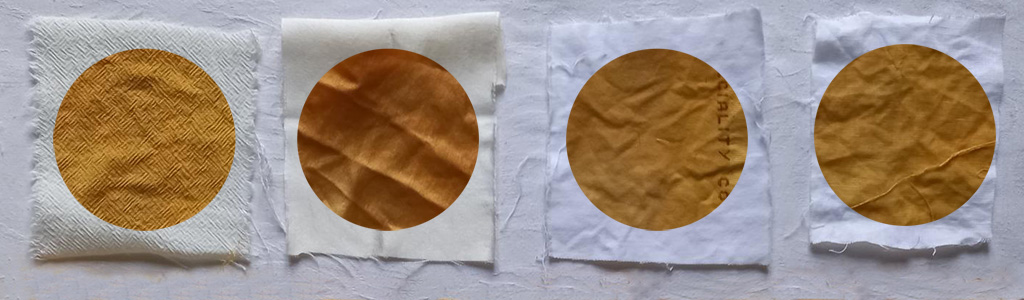
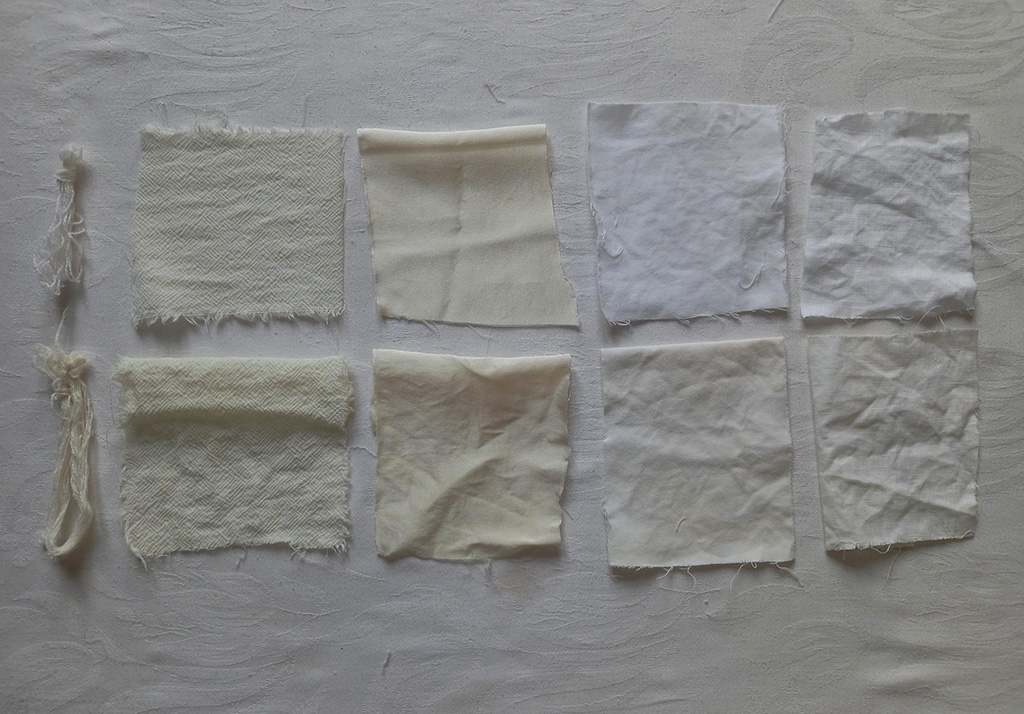
In the picture on the bottom right, you can see from top to bottom respectively : the fabric in original color, the few minutes long onion dyed samples and on the bottom, the fully dyed farbics.

RESULTS :)
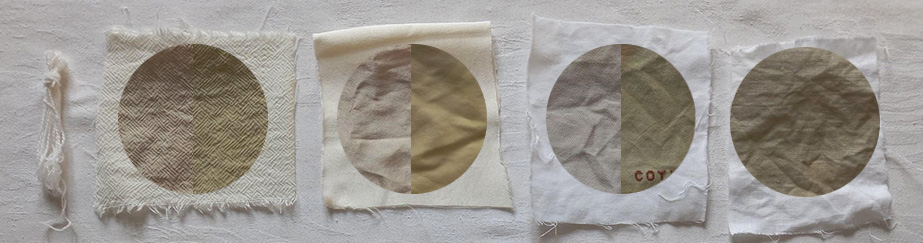
What I have noticed is that the onion dye has an immediate effect on every fiber I chose. In the picture below it's possible to see a "before and after" view of the fabric samples from closer: from left the jaquard cool wool, the silk satin, the cotton gabardine and on the right, the linen canvas. The touch of the fibers didn't change much, in some areas colour isn't solid due tue the scarce amount of dye bath not properly covering the textiles.
PHASE 4- Modifying colours
I wanted to modify colours with PH modifiers with vinegar on one side that is acidic so it gaves lighter colours and soda on the other side that is alcaline and expected to giving more orange nuances. Indeed, the addition of vinegar to the petri dish lightened the already clear tint while soda and lower ph to 3. On the other hand adding soda, after a series of chemical reactions, has lightened the color but increased ph to 11. I was confused but I later discovered by investigating more, that I made a big mistake in the purchase of soda. A wrong translation made me buy sodium percarborate 2Na2CO3.3H2O2 instead of sodium carbonate Na2CO3 so, as the formula explains, it has embedded a whitening agent ... :( a beginner mistake but it was a great lesson to learn!
For the same reason I wasn't able to extract pigment with the process of soda and alum, so I will find my self a proper Na2Co3 and I'll catch up during the week. So let's go ahead with the black chickpeas experiment which was another surprise to me.
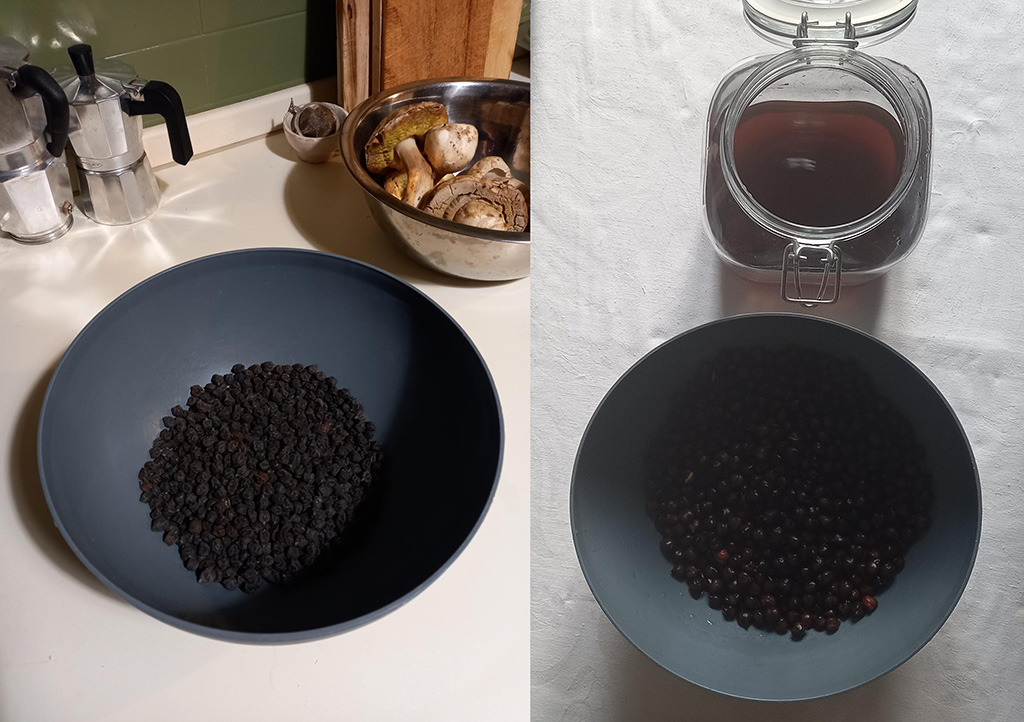
PHASE 2B- BLACK CHICKPEAS DYE PREPARATION Ingredients & Recipes
* 400 gr black dry chickpeas
* tap water to cover (ph 7)
* 5 gr soda
* 10 ml white vinegar (ph 6)
I was suggested to make a cold dye bath starting from leaving the chickpeas in water for the night then filter the liquid without any othor process except filtering it with a metal filter to avoid filth. I obtained a 500 ml dark brown dye, quite trasparent.
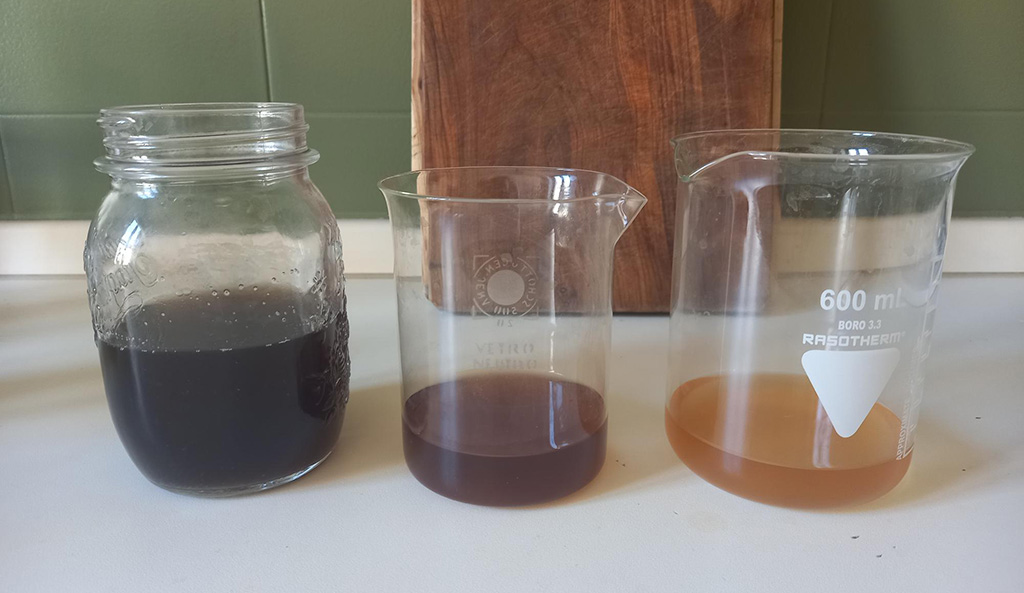
I then decided to divide the bath in 3 parts and modify their ph:
*   200 ml to keep pure as it was (ph 6)
*   150 ml and 10 ml of vinegar (about 5 gr) and I obtained a ph 4
*   150 ml and 5 ml of soda (what I thought was sodim carbonate) and I obtained a ph 11 (!)
I put the wet fibers (a sample for each type of fabric and yarns as done for the onion dye) in the 3 different cold dye baths for the night. It was already clear that the alkaline one had a problem but at that time I thought I did a mistake in the process.
RESULTS :/
What I obtained is something very far from the dark shades I expected:
* the pure cold dye bath gave me a pale acid green;
* the acidic dye bath (with vinegar addition) gave me a pale yellow;
below you can see from top the virgin fibers, in the second row the fibers with acidic dye and on the bottom the fibers dyed in the cold dye bath (has anyone seen the linen sample??)
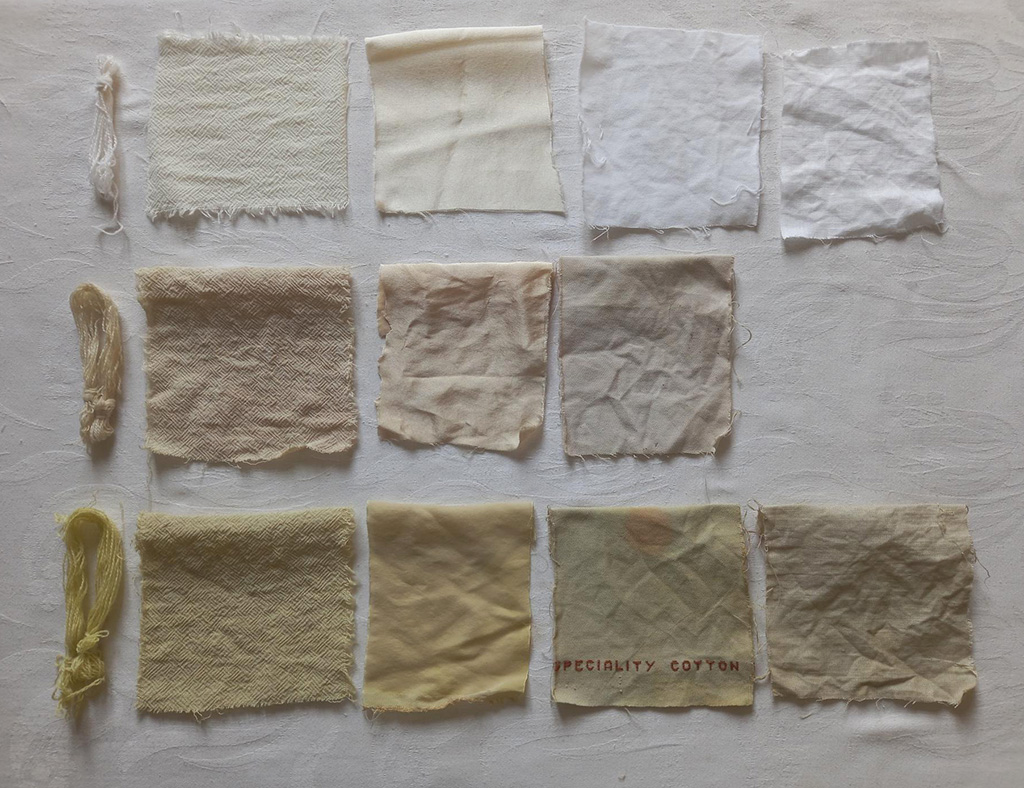
*the alkaline dye bath (with soda addition) gave me almost nothing, I would say a little dirt and opacity.In the picture below I put them next to the original samples.
Here is below the "before and after" summative view which explains the aesthetical opportunities of the dyes I created.
Because I'm curious, I reused the water in which I boiled the black chickpeas later on and I made a cold dye bath with it. Below a close up of the results: since it was a very opaque liquid it left impurities all over the samples. However is interesting to see the difference between the results in term of tones.

GENERAL RESULTS :) AND PERSONAL FEEDBACK
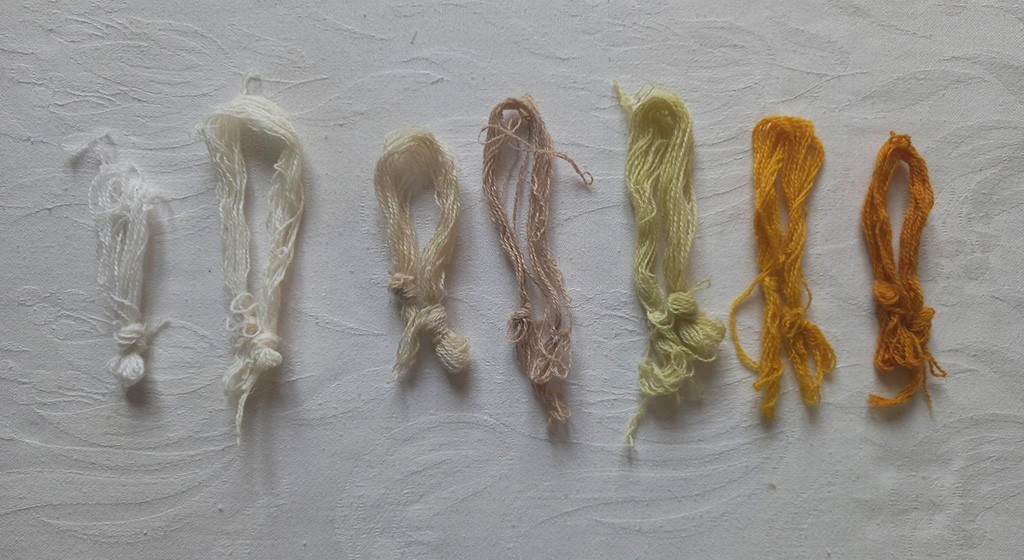
What I clearly noticed is that the 100% cashmere yarn was the most responsive to coloring, as you can see from the image below where I collected all the yarns from both baths, onion and chickpea.
I was quite excited before and during the processes so I was even too prudent sometimes. I did mistakes, I forgot to make some important pictures, I bought wrong matters, I was often doubtful therefore I decisively need to learn to better document my work. Meanwhile I learned, unexpected things came and it was worth it.
That said, I can't wait to catch up with pigments and ink and to experiments with other colours. And, I will let you know how I will eventually be reaching my colour palette.
Thanks