2. Digital bodies

This week I worked on defining my final project idea and started to getting used to the documentation process.
Inspiration
Being the "body" the theme of this week, I reflect on it as a whole and individually each of its parts. Although my work has been in clothing and textile apparel, at the beginning my work in footwear has made me immerse myself in the beauty, comfort and futuristic innovation of our feet. Those feet that allow us to move from one place to another, take us to meet new places, people... And more importantly, they support the body as a whole.
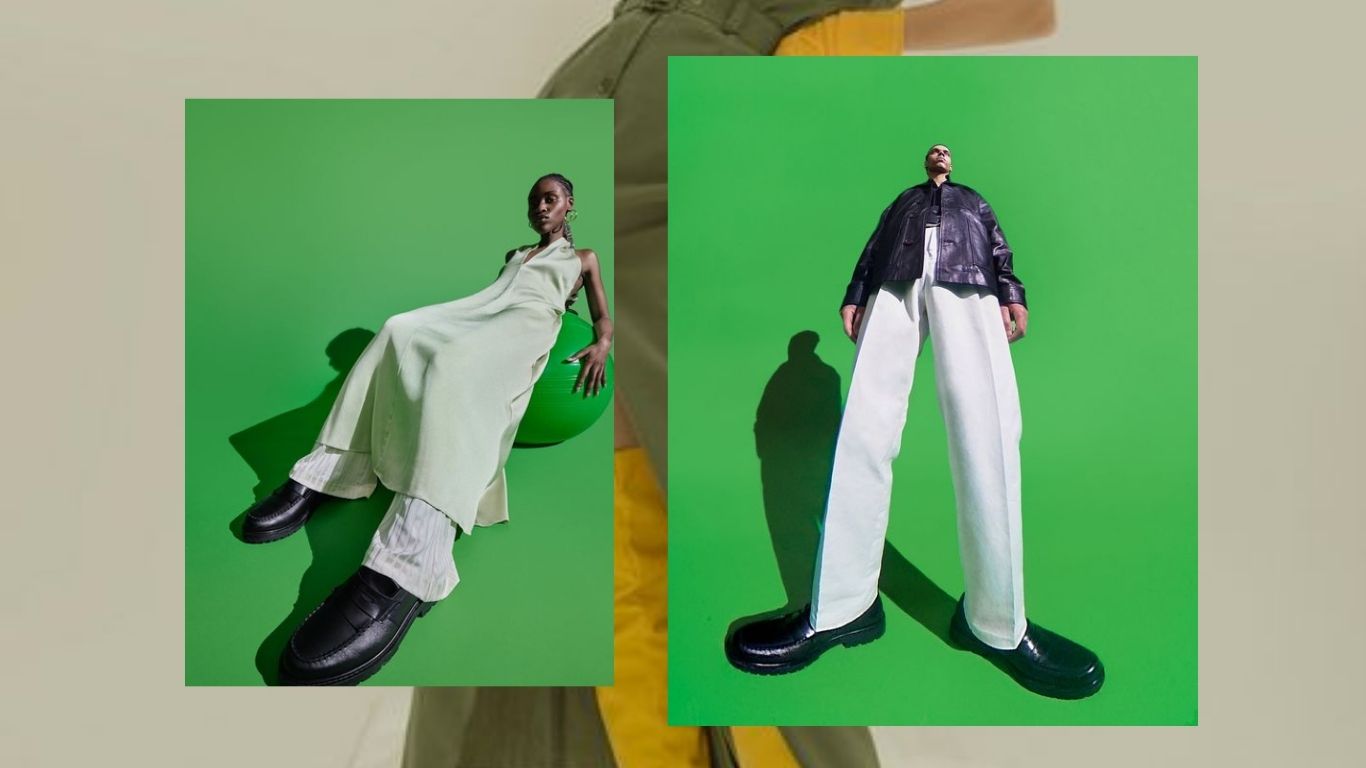 (Source: Samsoe brand)
In the image below we see two photos of my Survive Collection. Which takes as inspiration a woman who has survived climate change and pollution, but for this she must always be escaping the high temperatures that she experiences during the year and the precariousness of resources. She has lost everything and now her home is the one she carries on her. It is a nomadic gatherer.
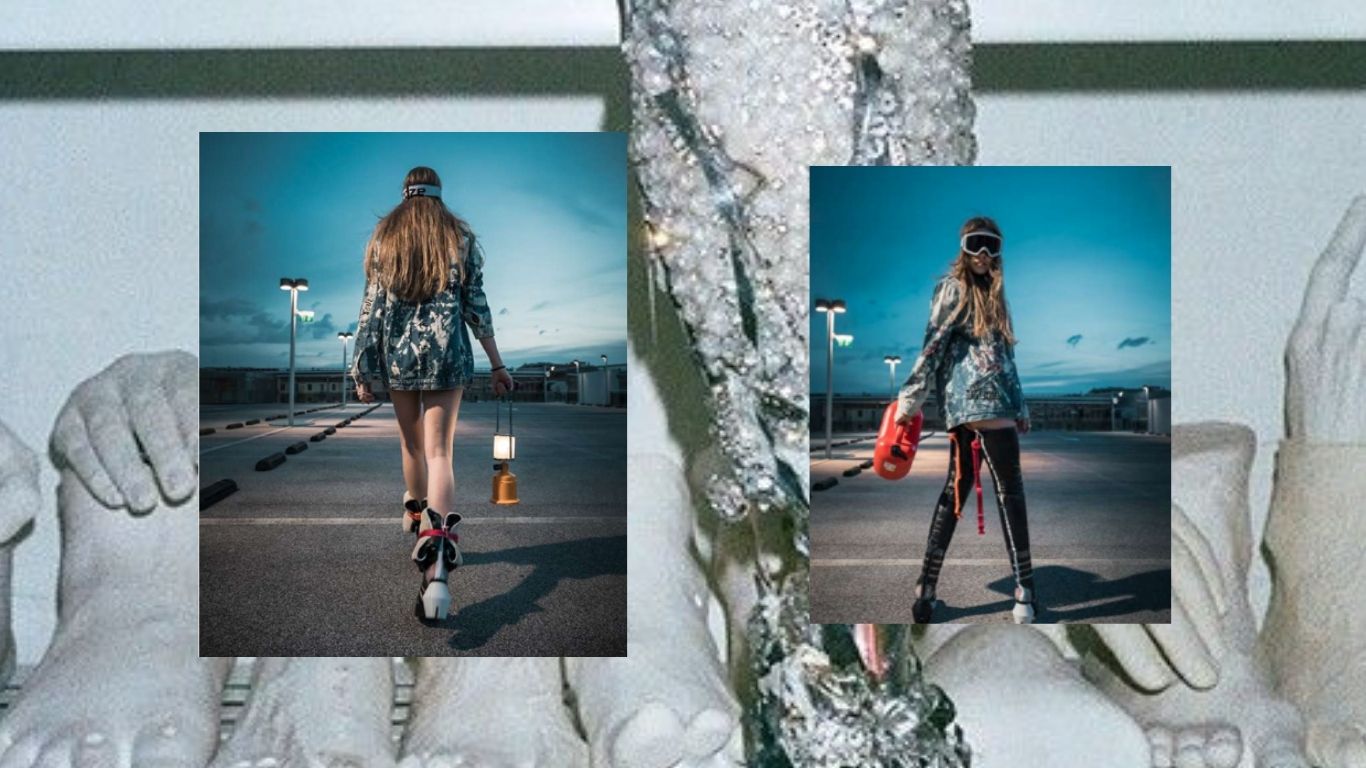 (Source: Felipe Fiallo Design)
Useful links
Work Process
This week we learn about human figures in art all around the world, the mannequin in haute couture, human proportions and different techniques to measure the body. In addition, to digital fabrication techniques like waffle, stucking, triangulation, radial, bending, kerf patterns, etc. All of these with the goal of experimenting with the 3D scanner and softwares to acquire a 3D model that works as our personalized avatar and mannequin.
3D Scanner
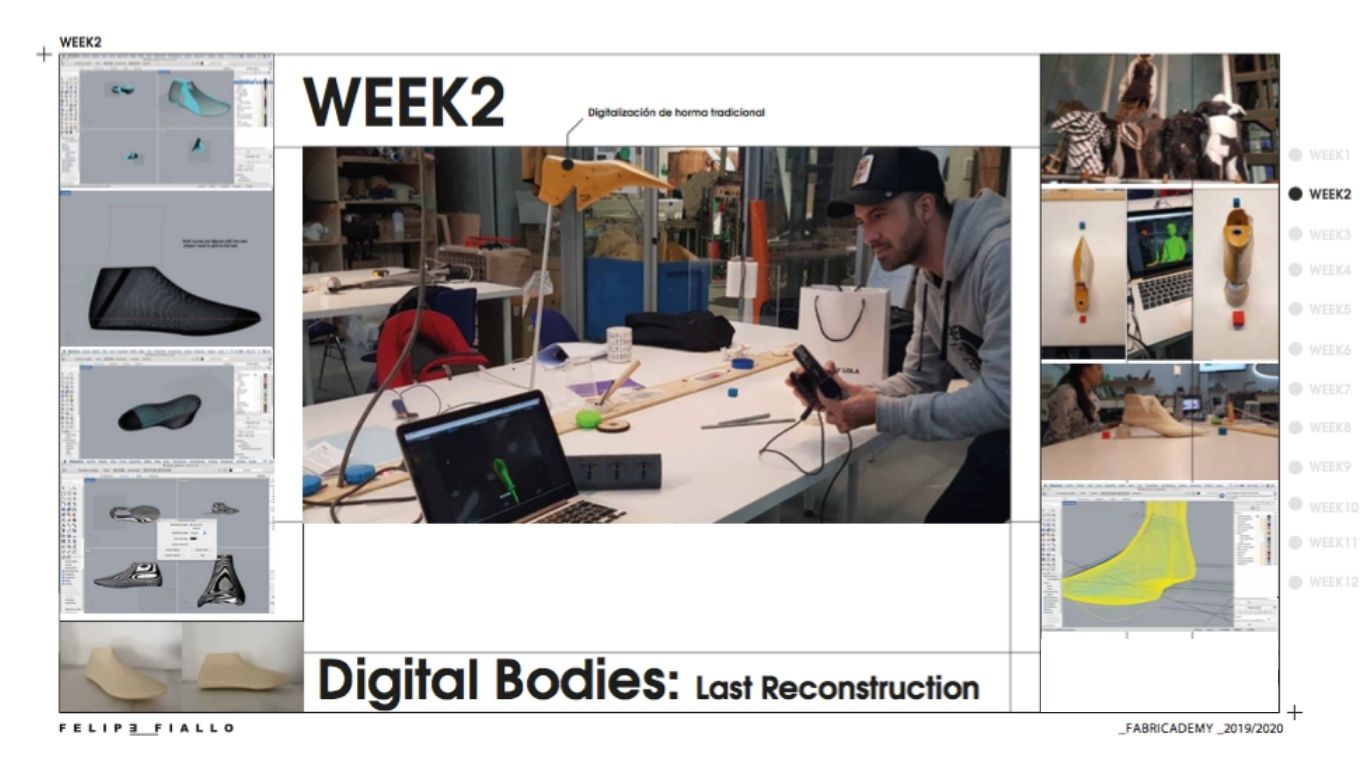
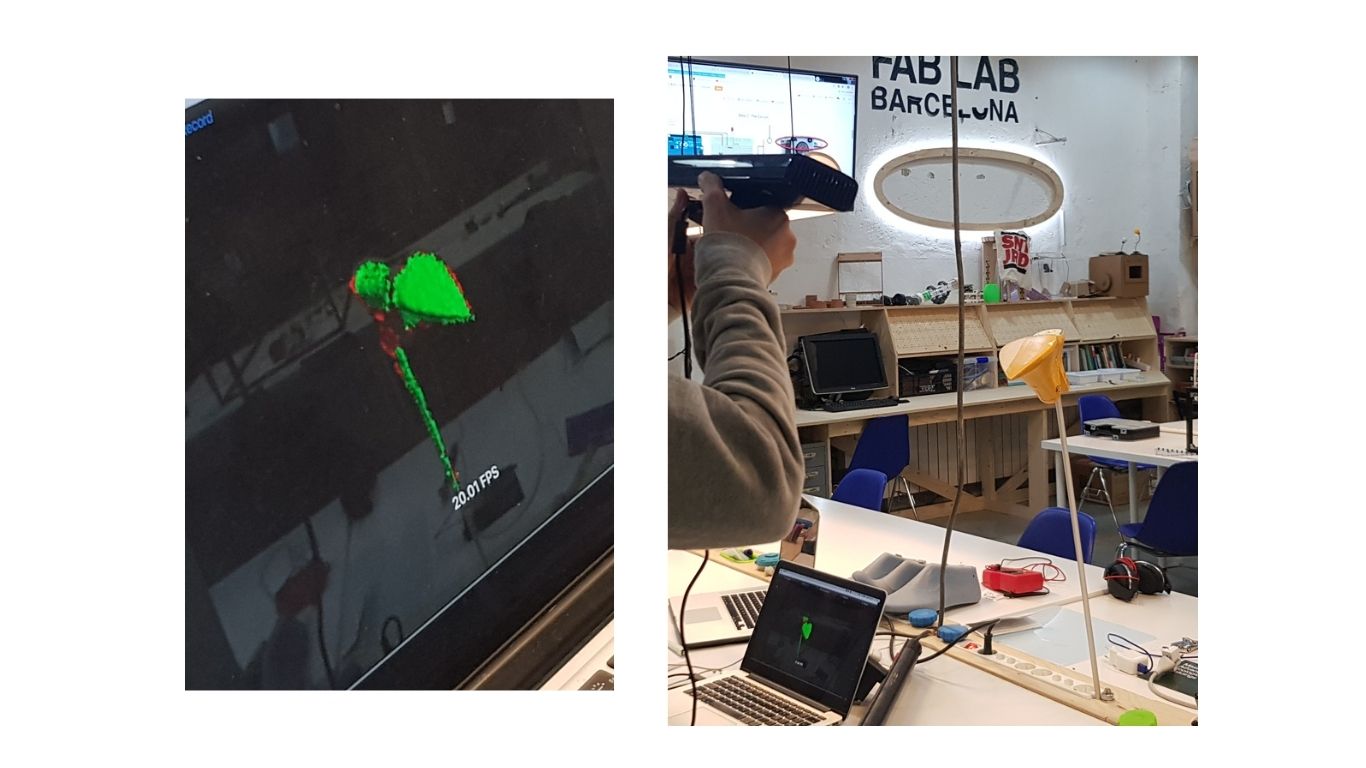
For the assigment of 3D Scanner we use the Xbox Kinect. This is a divice used for the game experience but it is also useful for this experience. As a mentioned before, my main goal was to do a one-foot 3D mannequin. Since I should do a 360 scanner of the foot and the position was difficult to achieve for more than 5min I decided to used a wooden mannequin that I had for some time. Here some pictures of the process.
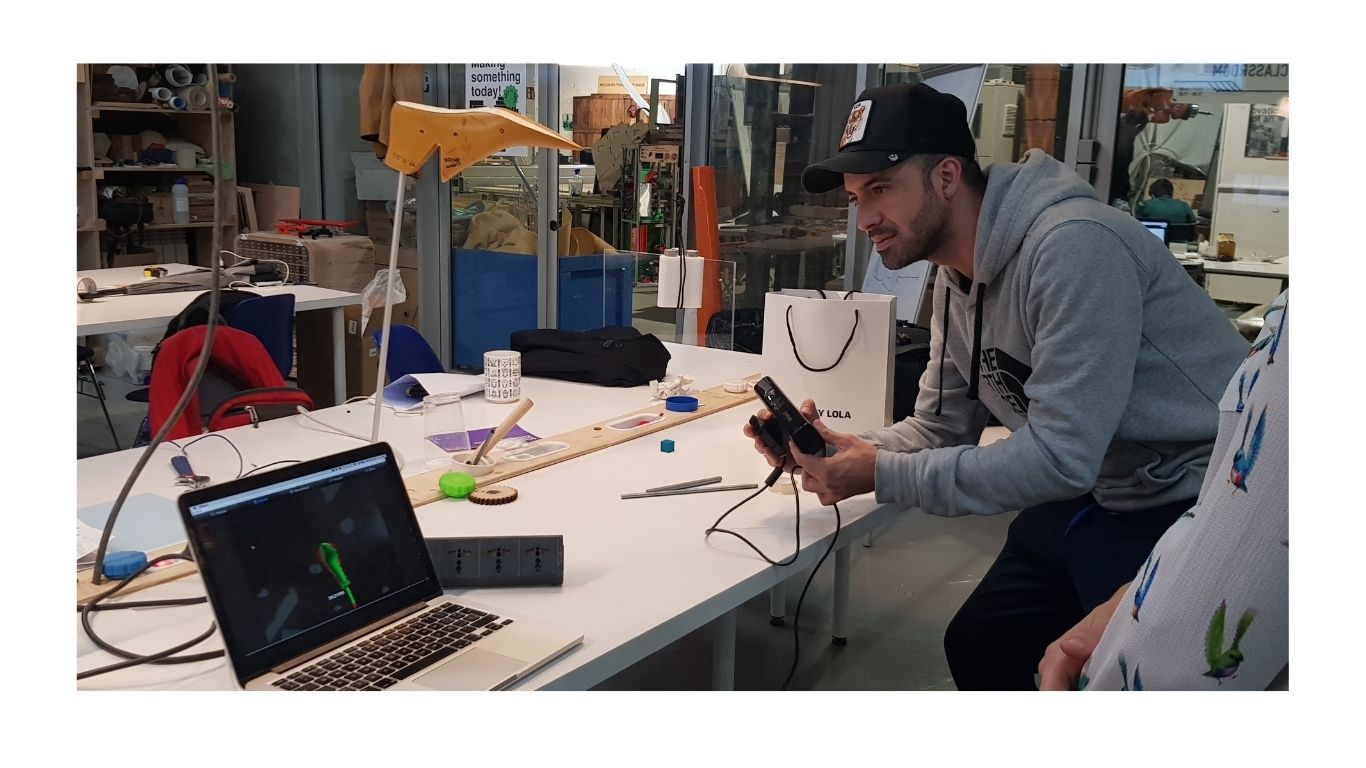
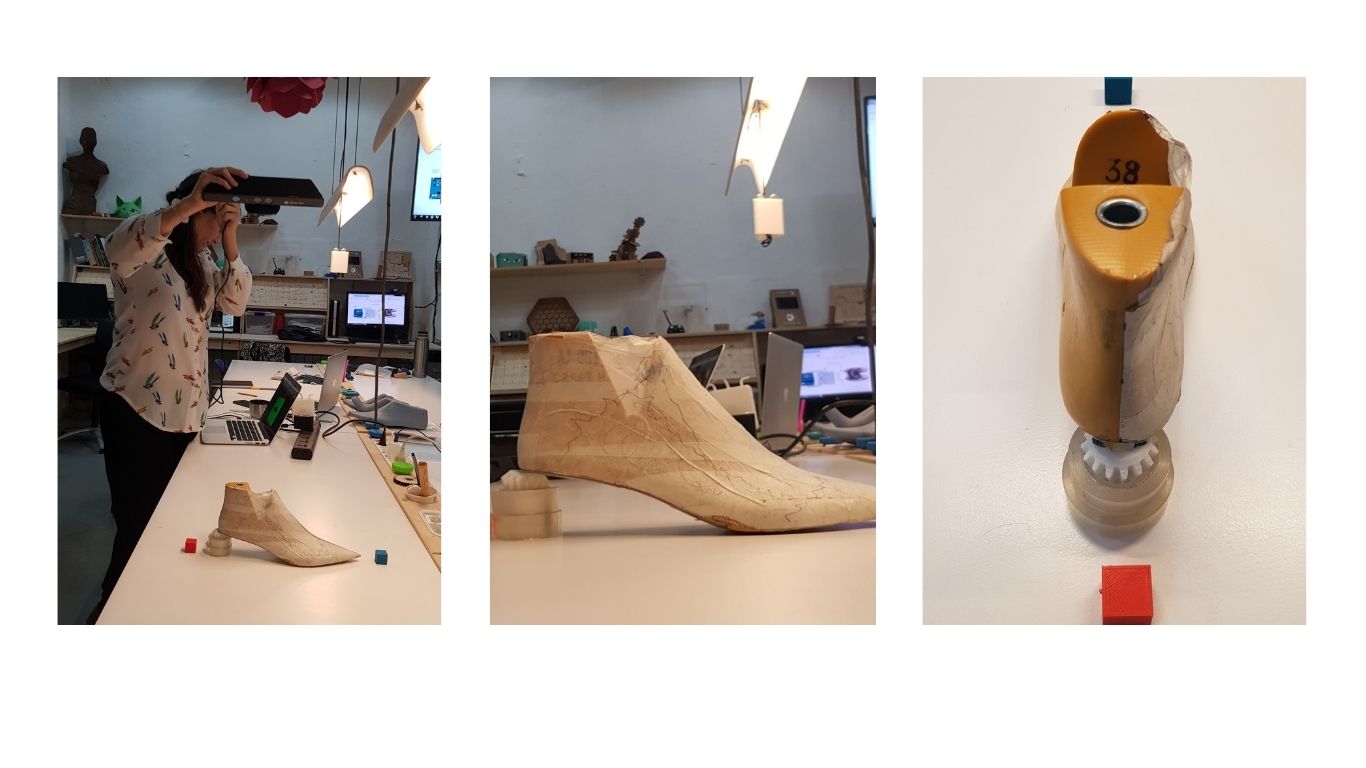
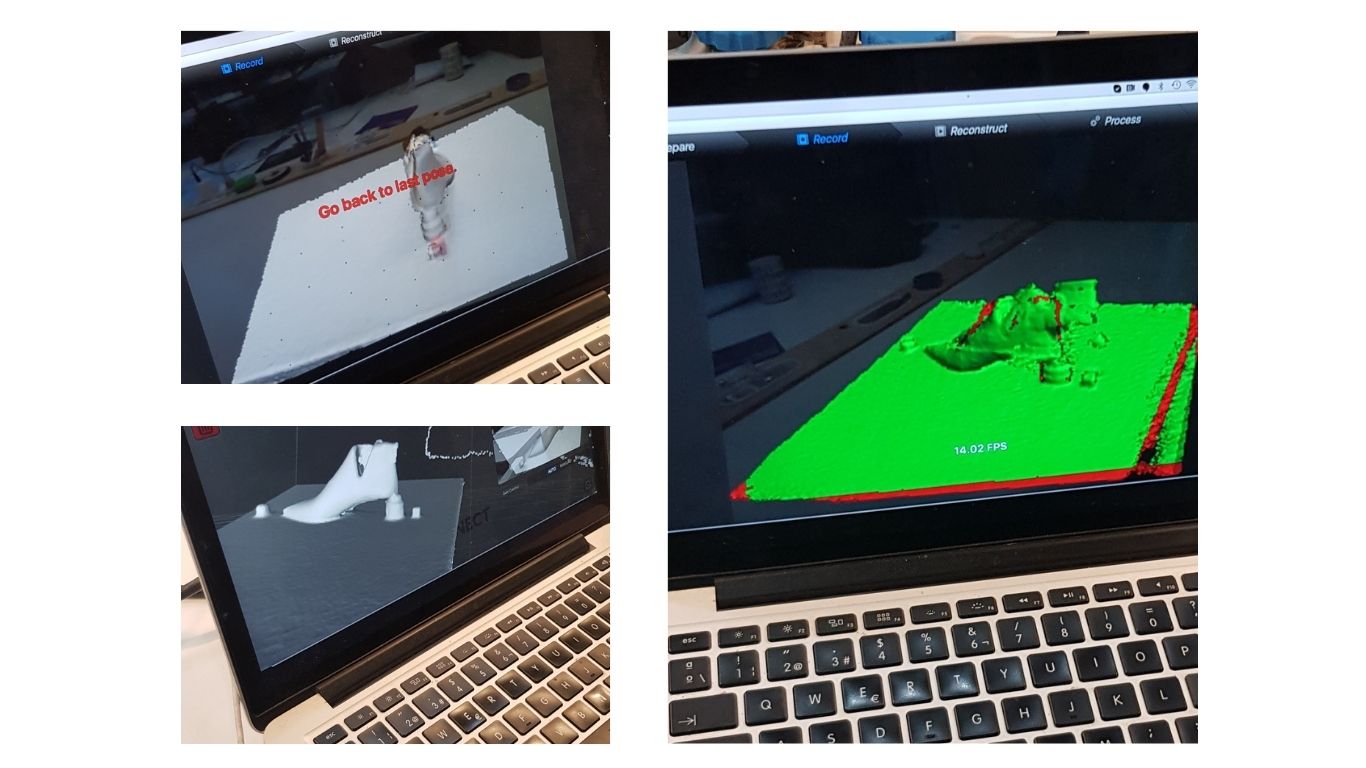
I first tried to put it on the table to keep it more stable but then I realized that if I turned it upside down the scanning was not as accurate. That is why I then decided to hold the mannequin with a stick to make the scanning of the foot easier and more fluid.
Exploring a full body mannequin
Many of my colleagues decided to do a full body scan and development of a mannequin focusing on the torso. While I had decided to focus on another type of mannequin, together with my partner Nia Cavalie I was also able to experience 360 scanning of a person from head to toe. Here are some pictures of the experience.

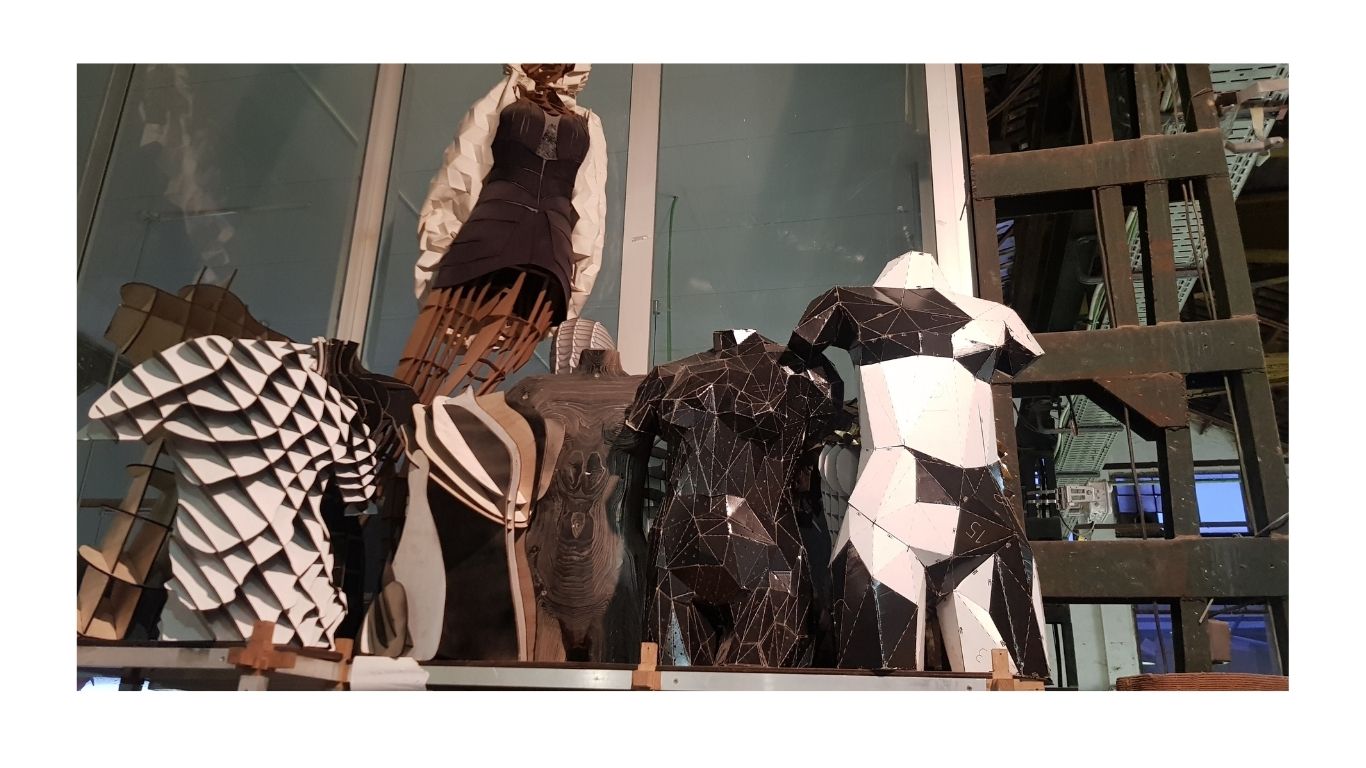 Photo source: Mannequies of other year in Fabricademy
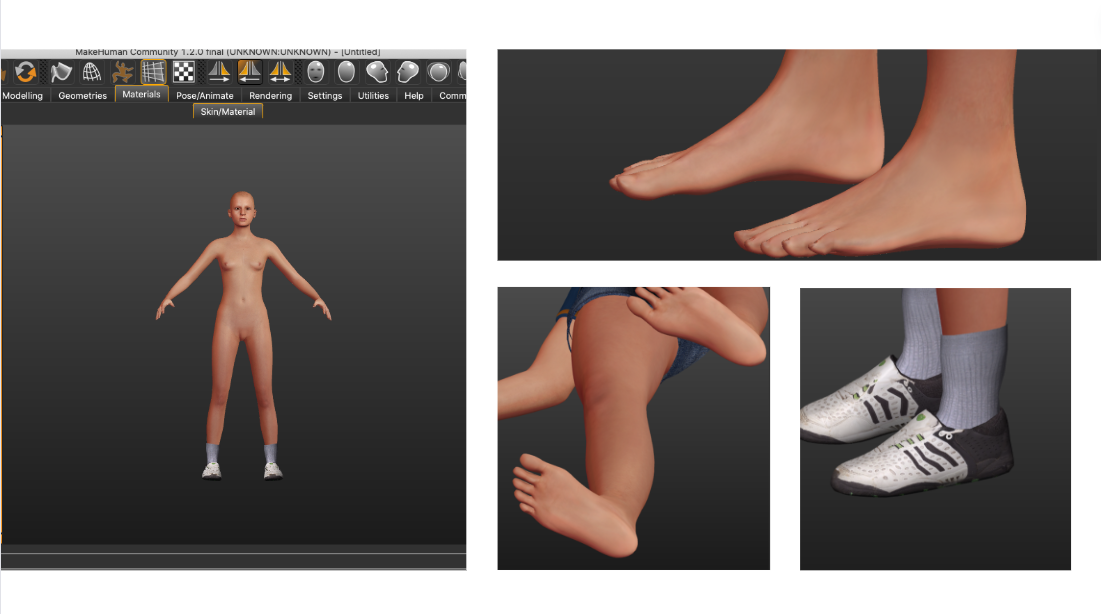
MakeHuman
To get started with 3D modeling, we started using Makehuman, a 3D computer graphics application for prototyping. A great way to get started with 3D character modeling. Download the program here.
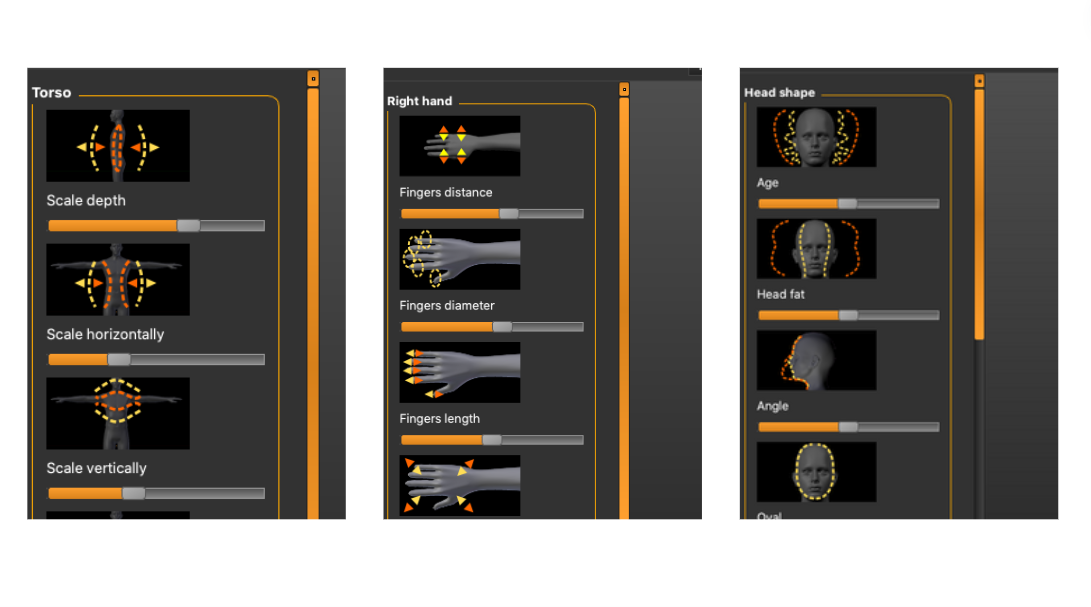 The program is very intuitive and easy to use. Just move the parameters and use the different customization options to quickly create an avatar of a person from head to toe. This allowed me to play with the measurements and create different body types with different features. Here the final avatar, although later I will start exploring the creation of a one-foot mannequin as my work is in the footwear industry.
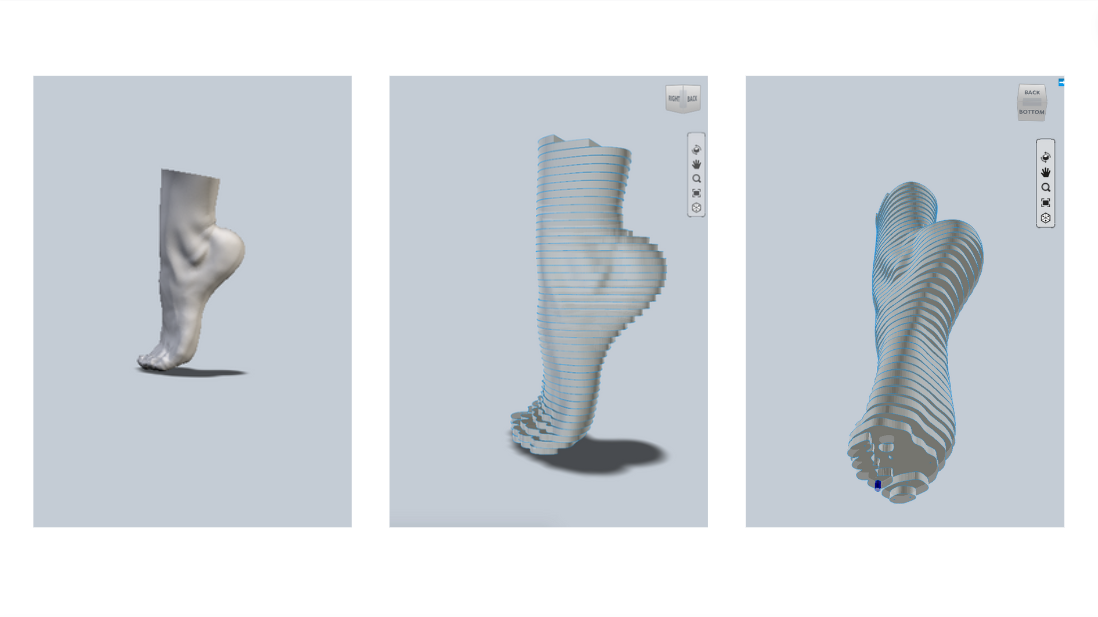
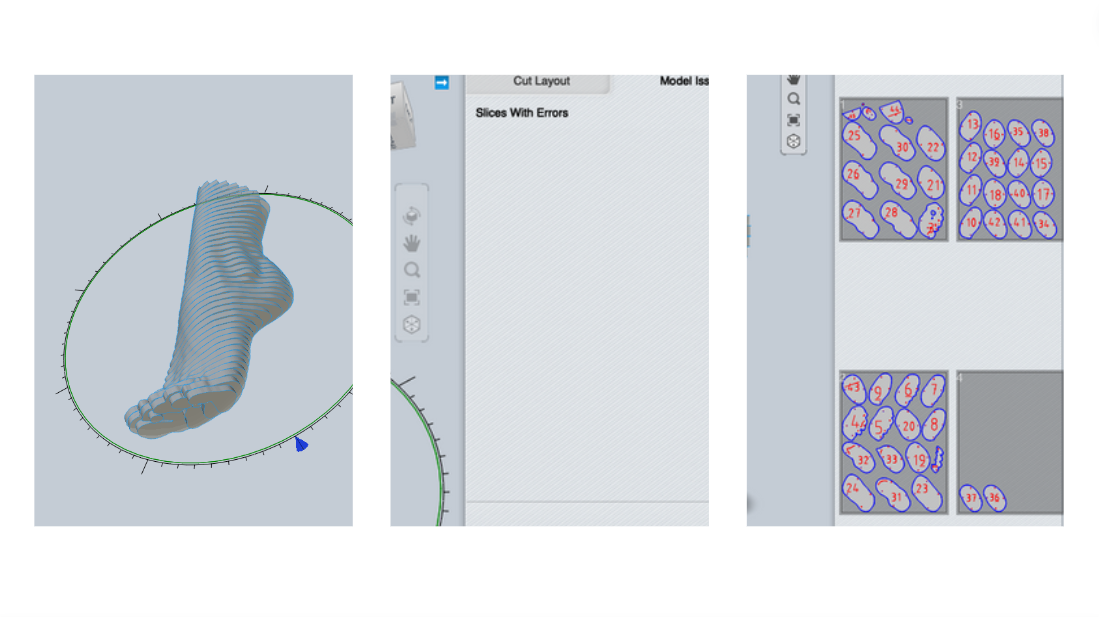
Slice Fusion 360
There are many options when we come to create a mannequin. One of the requirements for week 2 is to familiarize yourself with the laser cut machine. A good option to adapted our design to a slice style is Slicer Fusion 360. The following picture is part of my process of slicing it in the program Slicer for Fusion 360. It is important to take into consideration that sometimes we need to manually correct some of the slices, which we can identify by the color blue. One option to do so is to manipulate the slice direction which allows to finally have the correct design before cutting it.

Laser cutting and creation of mannequin
Cutting design in the laser cut machine (coming soon): Build and/or assemble my mannequin, create a stop motion assembling it or stepped process. Using cardboard material with 3mm thickness.
Recommended parameters
FOR CUTTING -> Speed: 0,8 |Power 100 | 20.000 in PPI/Hz. | For an accurate cutting 2 passes are recommended. Taking into account the thickness of your material. On my case cardboard material. FOR ENGRAVE -> Speed: 100 | Power:90 | 20.000 in PPI/Hz. To engrave the parts with a letter + number to identify them. Although most of the design will be cut, we must take into account the engraving parameters for the marking of each piece (given by the program itself), so it will be much easier to assemble our mannequin.
Booking rules in the Fablab BCN
Never book a machine if your files are not ready. You must have passed the test to use a machine. At the end of your booking time, you should let everything clean for the next service. The person who makes the reservation is the person who will be allowed to use the time slot. The reservation is not transferable to other students. Punctuality is important to let everyone use the space. You are requested to come 10 minutes before your reservation to load your file and prepare the material. Delay from students will shorten their fabrication time on the machine and will force us to quit the job at the end of the reservation time, even if not finished. More than 15 minutes delay will cancel the reservation.