Week01
1. State of the art, project management and documentation
The first week started with an introduction to the GitLab and MkDocs, learning how to edit our webpage, and different platforms and tools of the course to get to know the context of the program.
Research & Ideation
The platforms that where intoduced to us are:
-
Gitlabs , an open source code and collaborative software development platform.
- Mattermost , to chat with participants and teachers
- Nueval, to see the evaluation of the weekly assignments
Proccess
I went through previous partipants webpages to learn all the possibilities of the GitLab. I then decided how I will intoduce myself, which projects I should upload and how to insert my portfolio. Later I tried to understand how to edit my website.
For example: 1. About me 2. Background 3. Previous Work 4. Fabricademy Journey
The second step was to organise the folders for each project, images and resize some files to reduce the Mb. I also renamed some files to make it easier when inserting different images. I am not very good with organization so this was a useful way to help me organise everything and ready to work.
Through google drive I shared my portfolio using the following code

Coding
It was hard at the begining to understand how the coding system og Gitlab works and took me some time to process all the information but with the help of my instructors and classmates, I became more familiar.
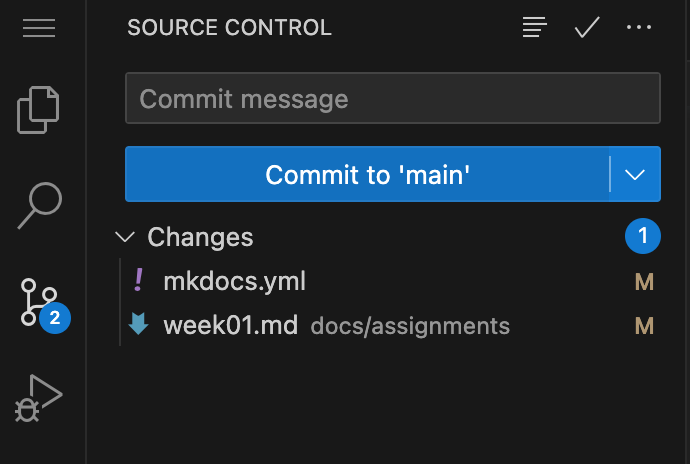
- Useful tip: when you insert an image or type always commit to main!
- Through google drive I shared my portfolio using the following code:
- this is the code to link to a website
Editing my webpage
I started editing my website in the mkdocs.yml file and learning different commands on Mkdocs which was challenging but fun when I understood the basics of how to edit. With the help of my collegues and instructors which I am greatful for, I became more confident in using several commands. Now I want to learn more and play with designing my website.
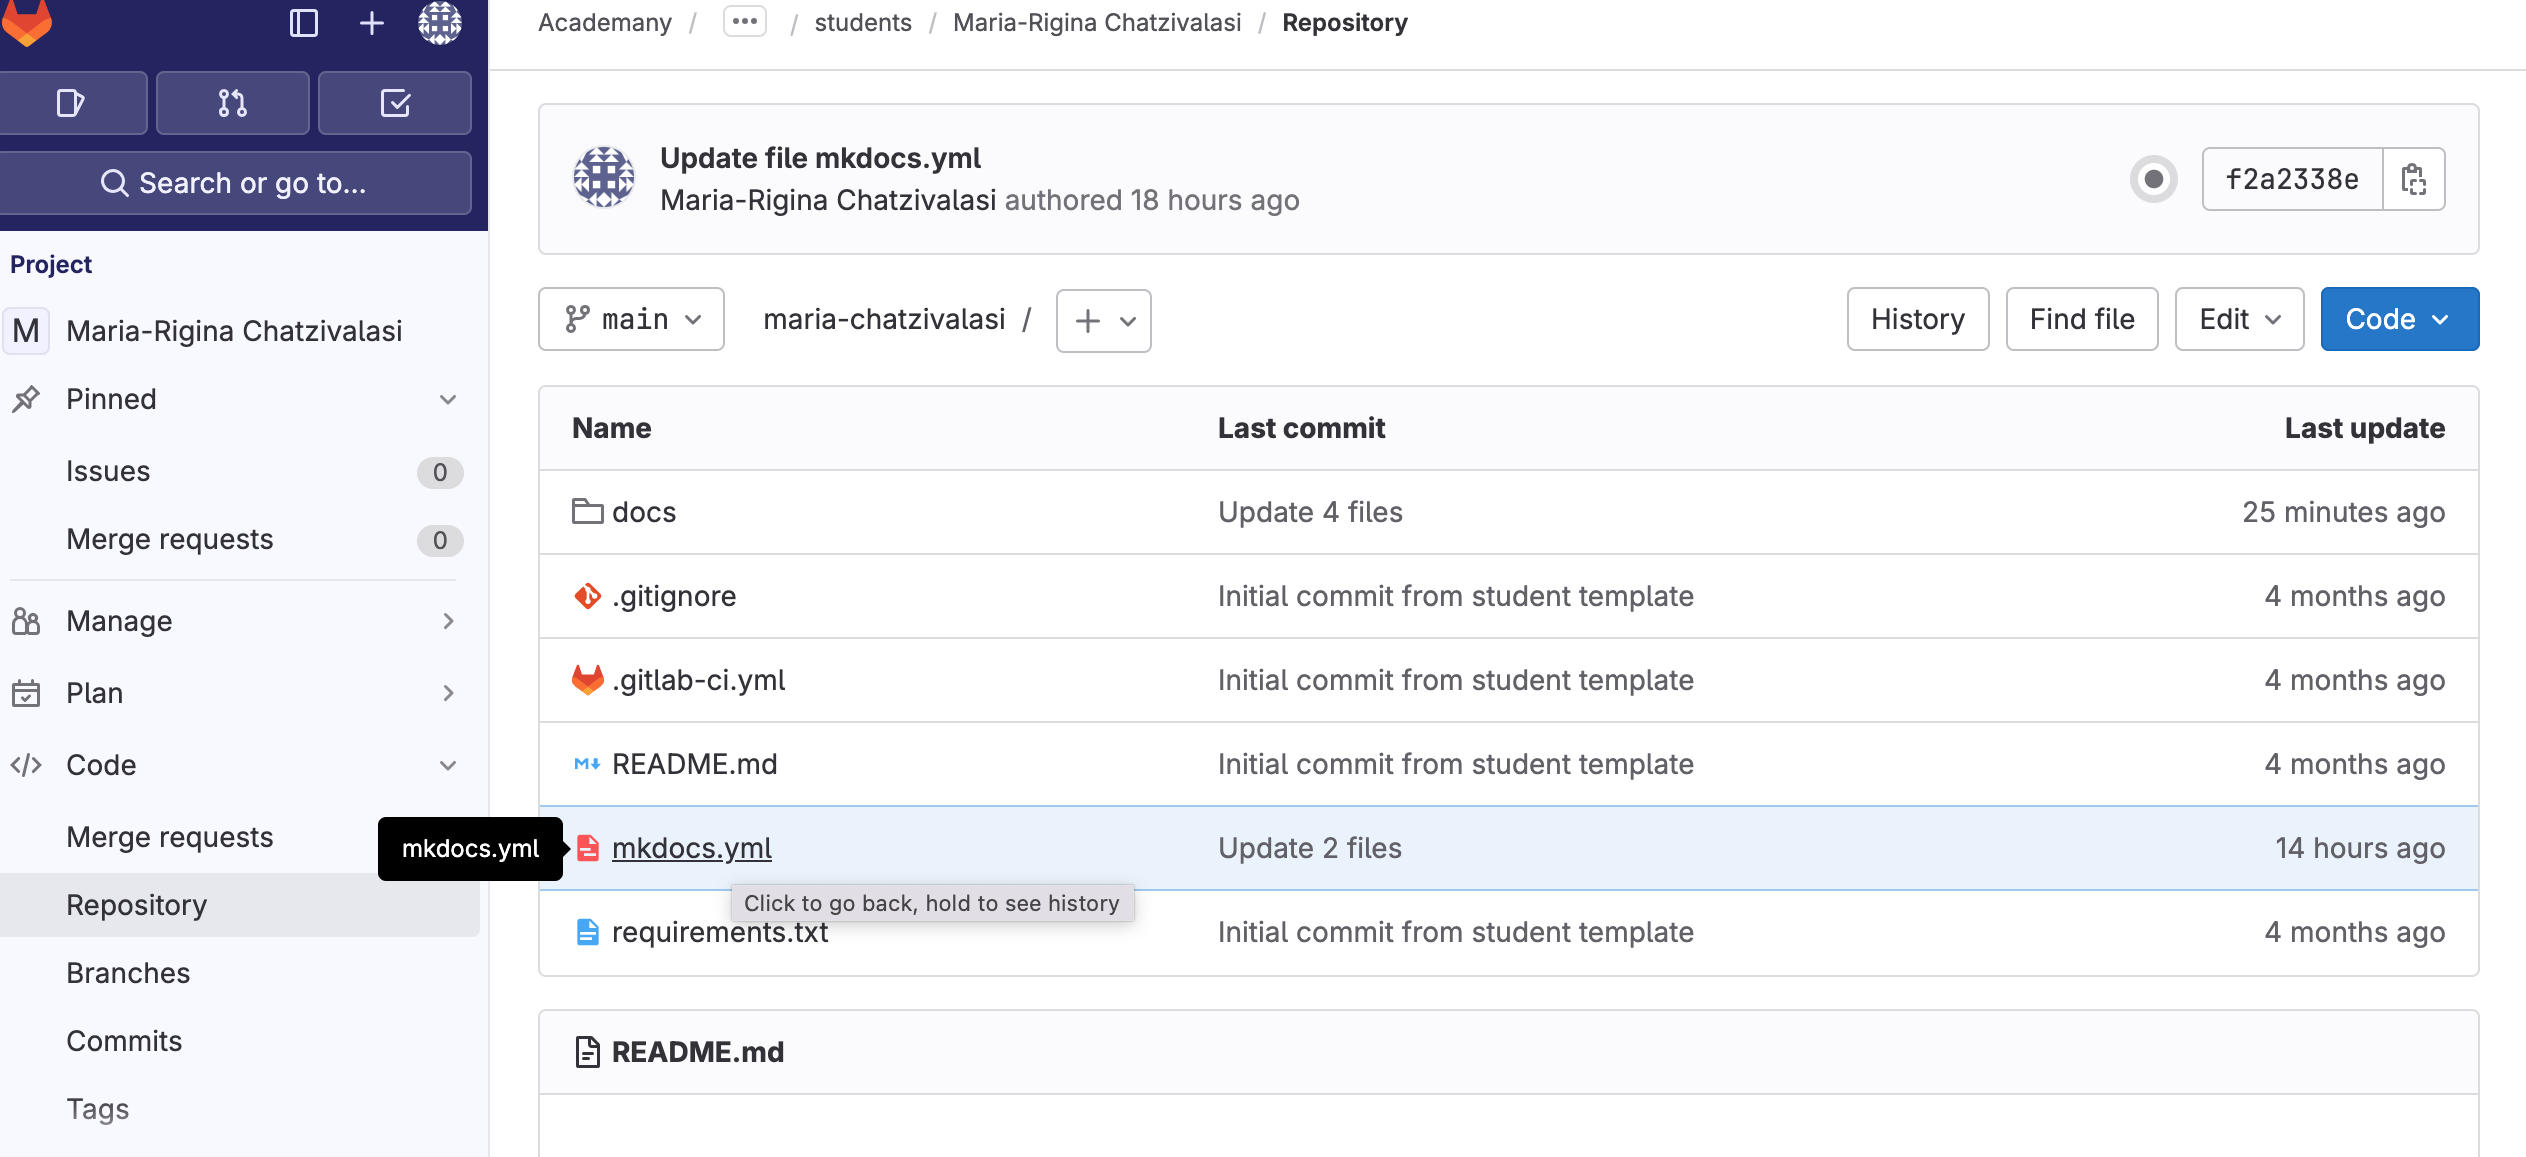
-
here I could find all the files to start editing first in Mkdocs and then docs for the weekly assignments.
-
you can edit single file but the best way was edit webIDE
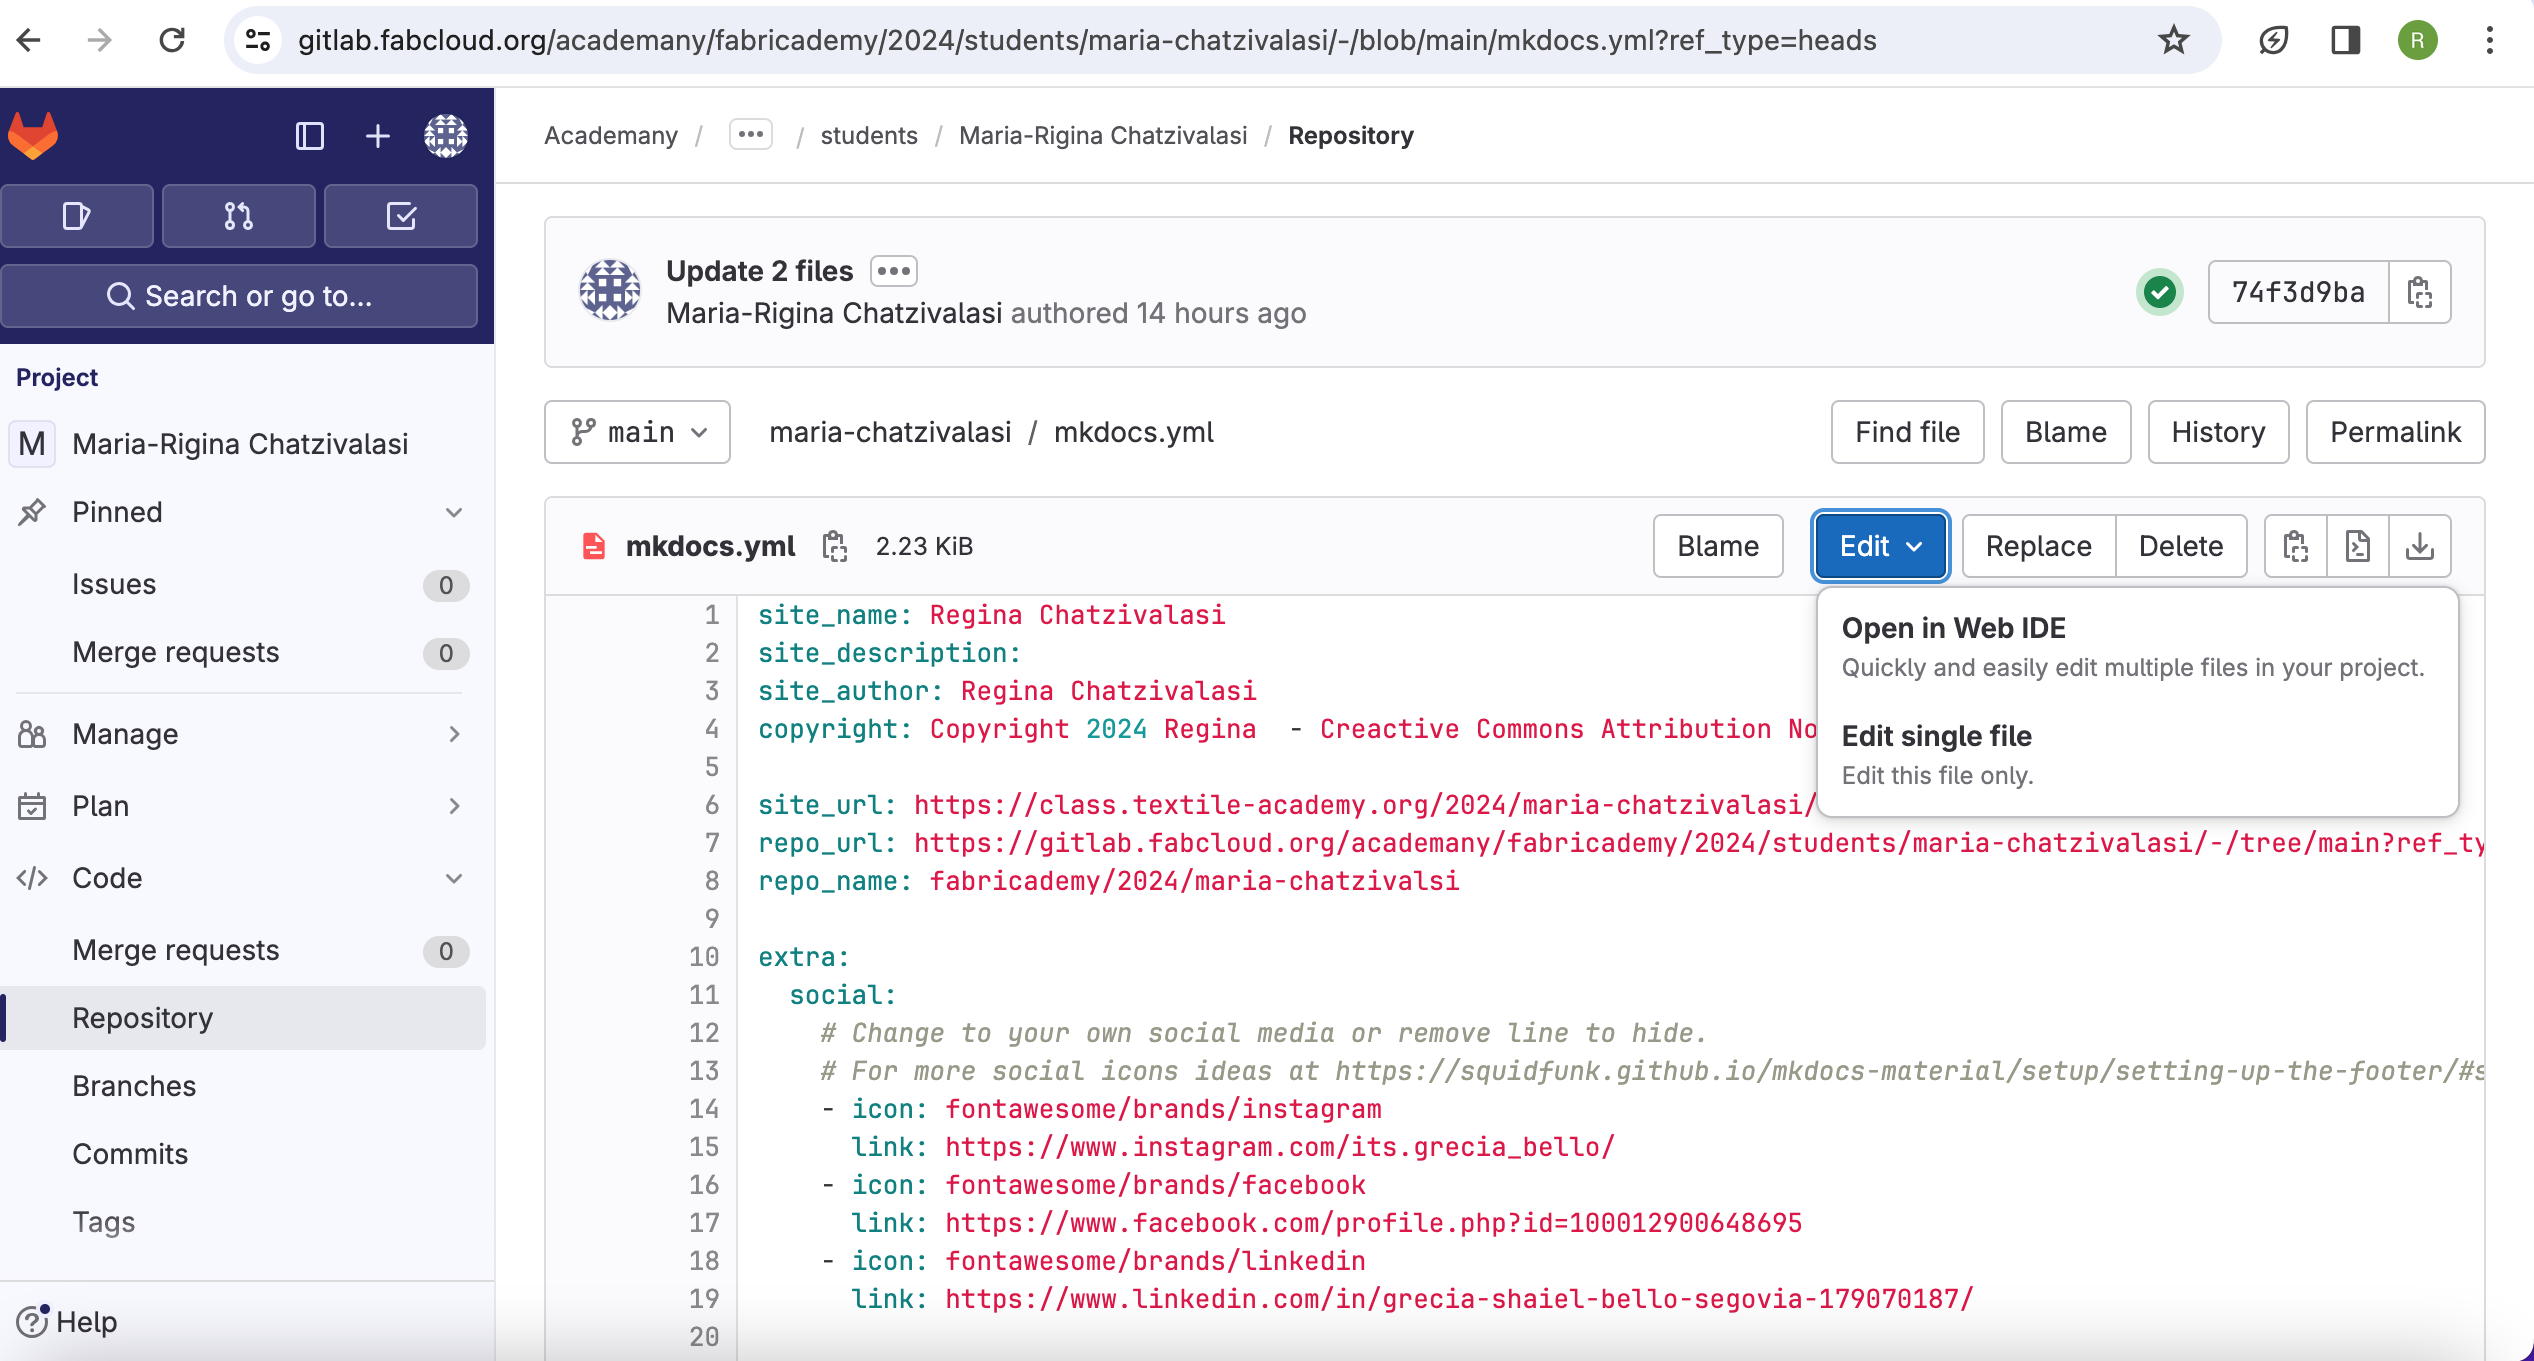
- here I opened the webIDE to edit multiple files
Setting up my webpage Design
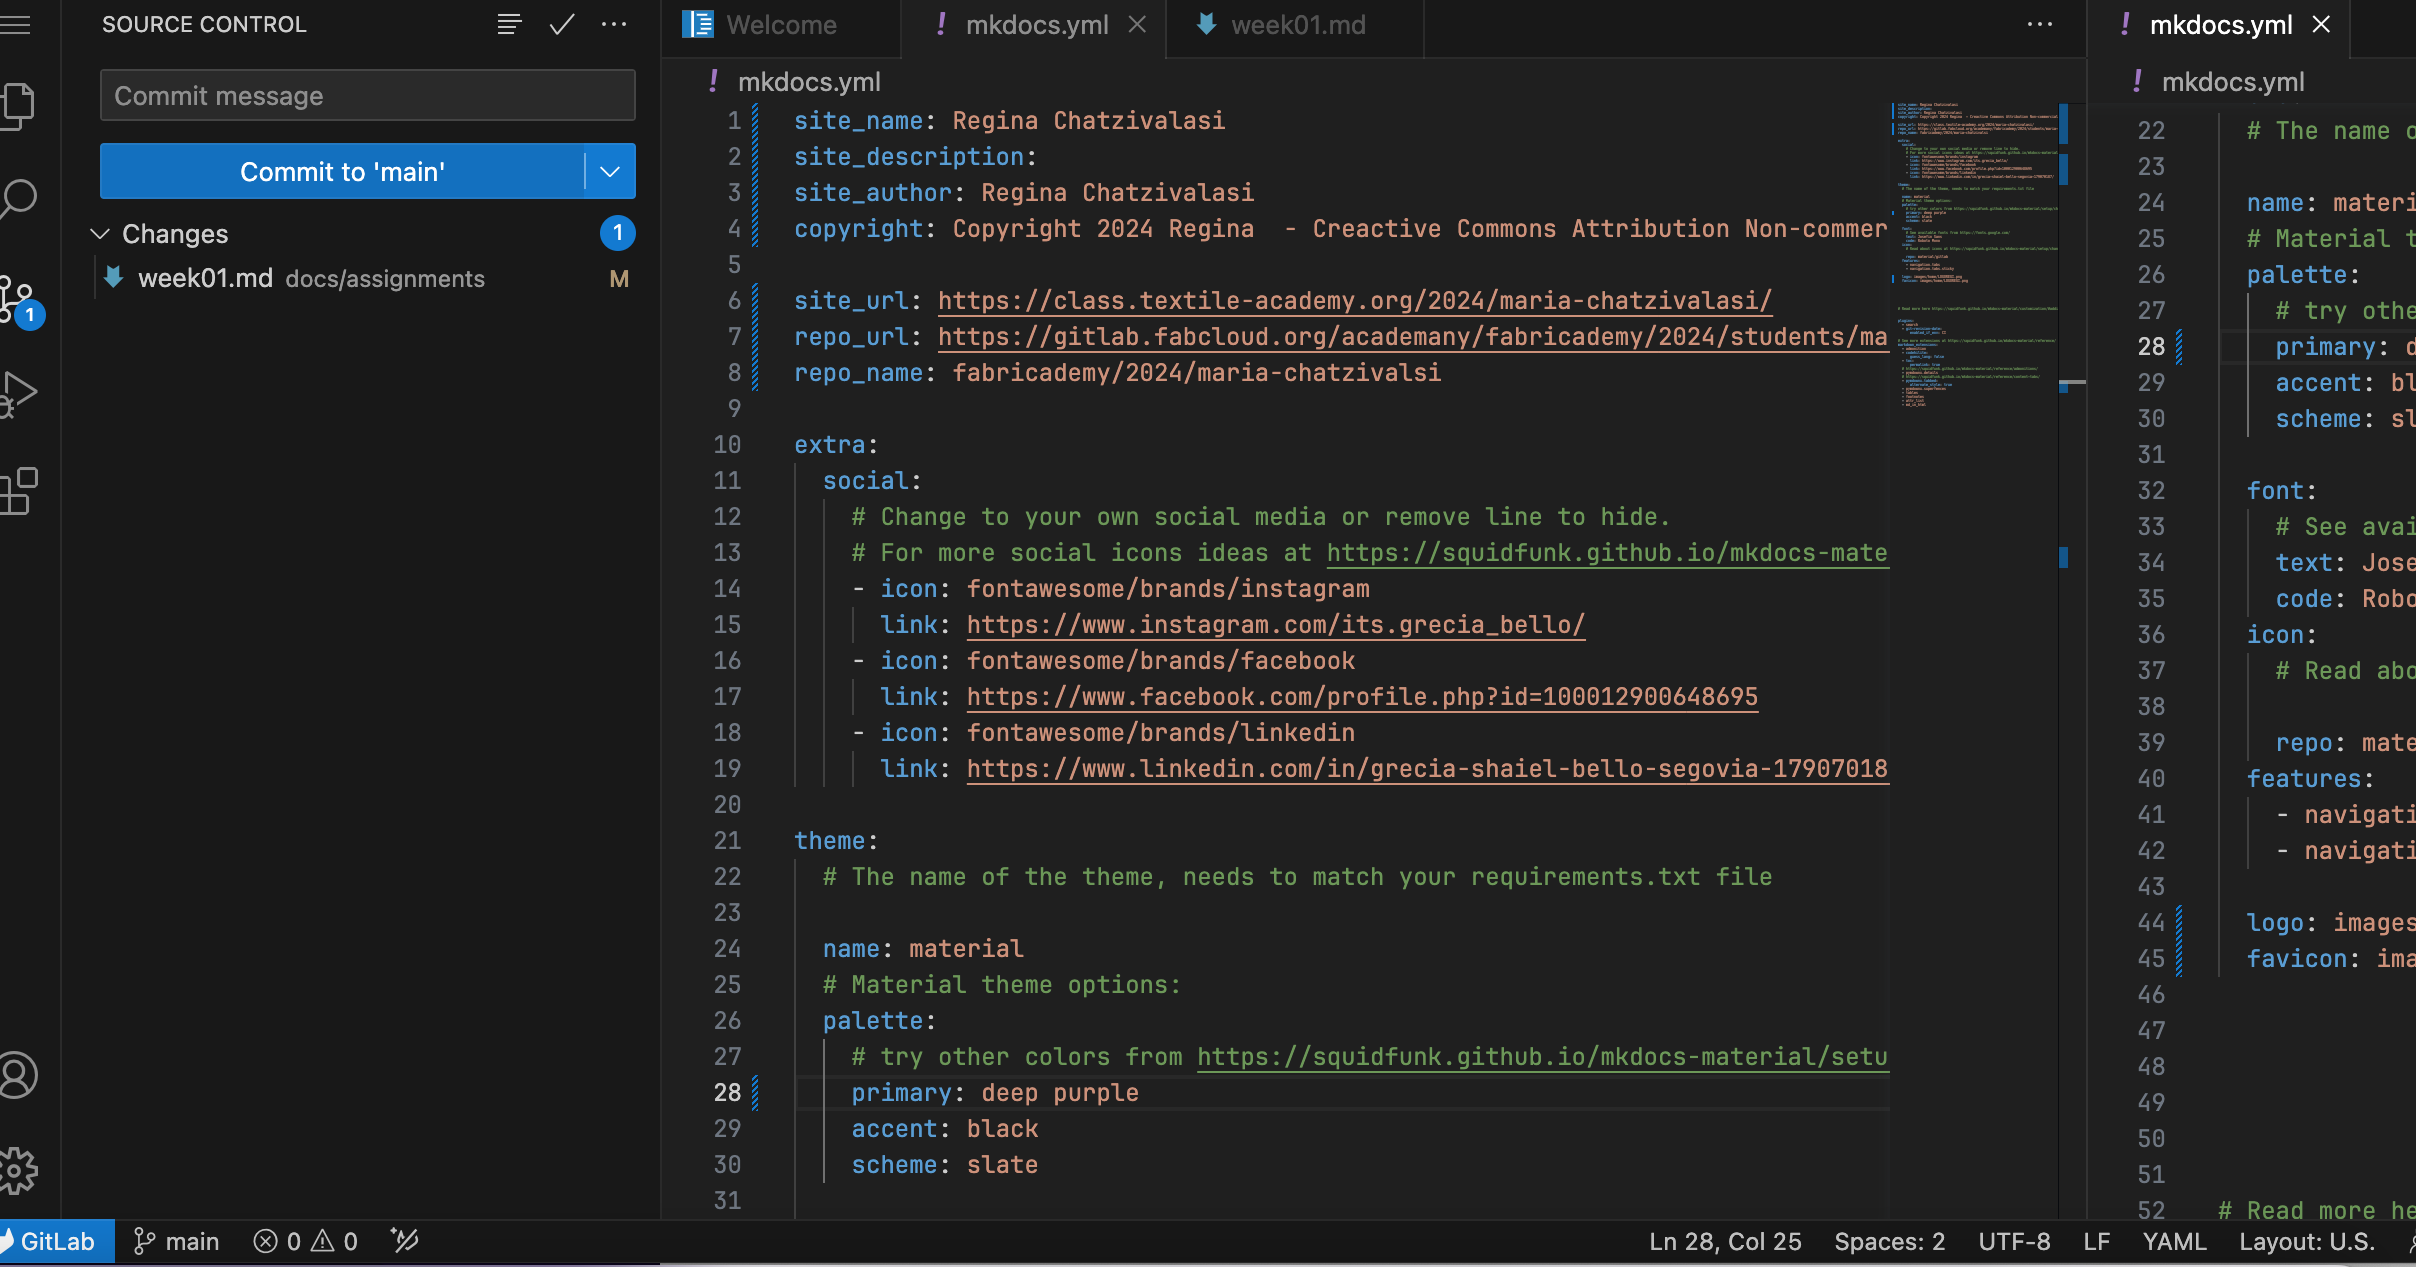
Getting to know the material for Mkdocs and on this website (https://squidfunk.github.io/mkdocs-material/setup/changing-the-colors/)
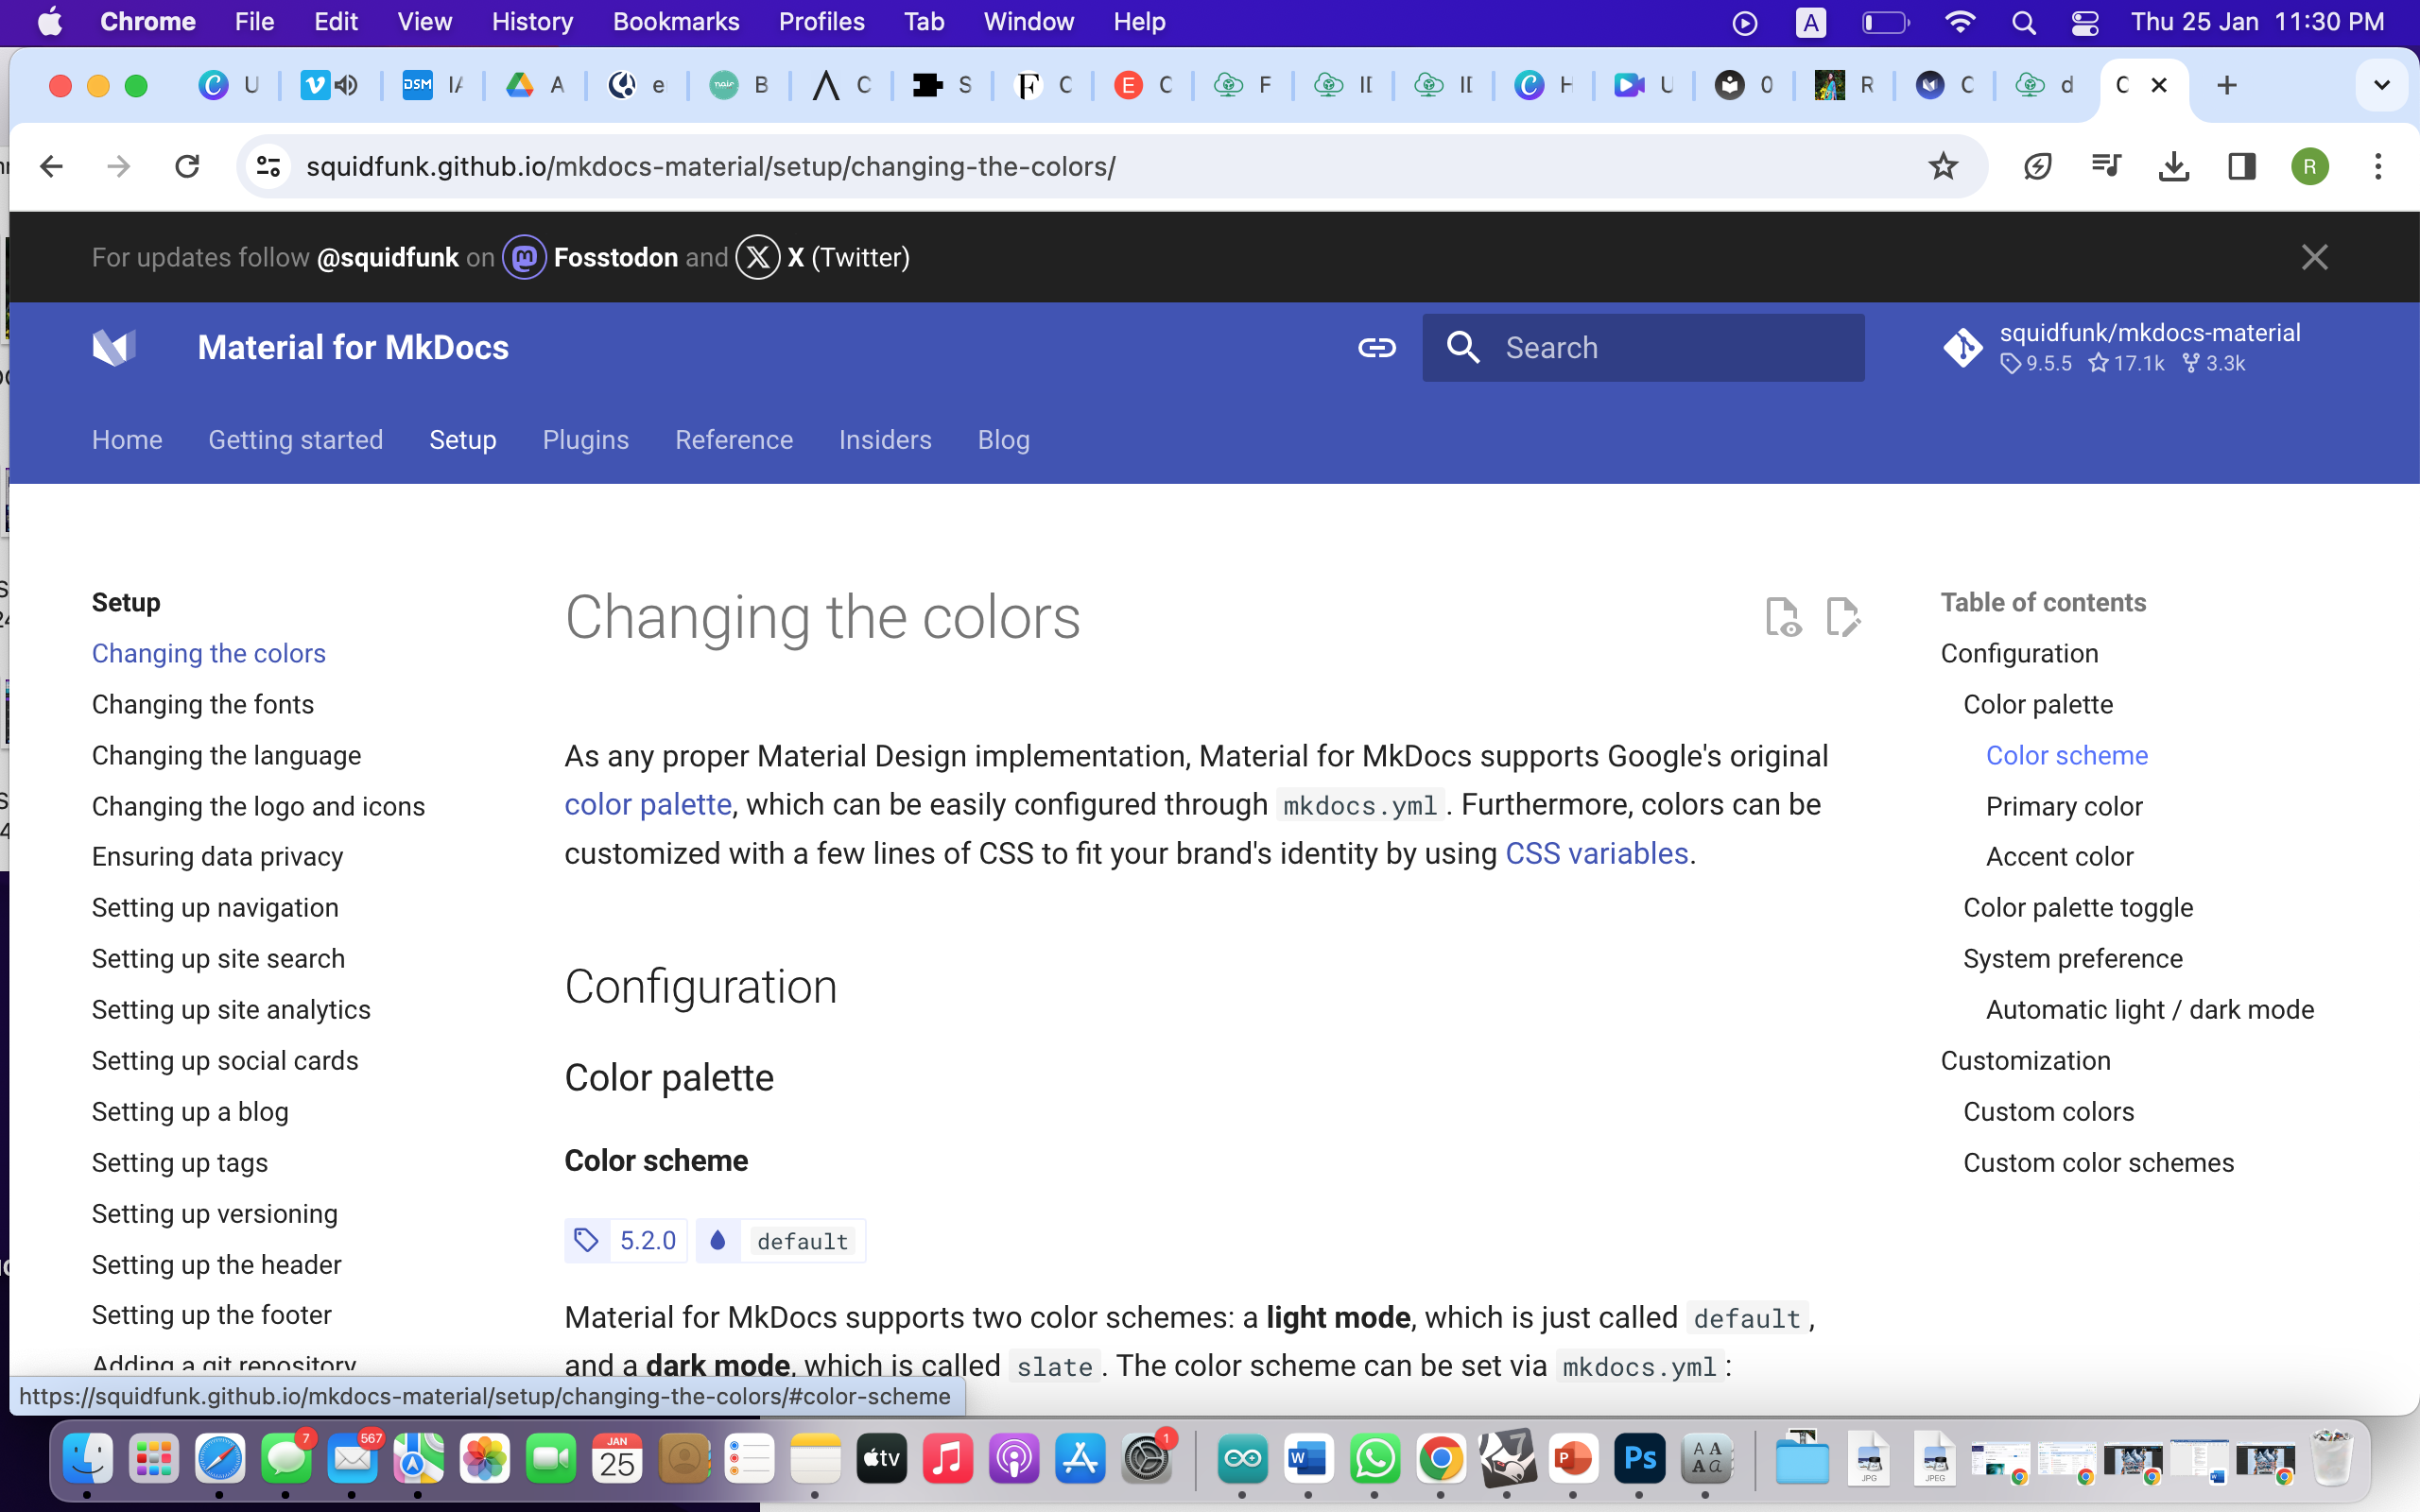
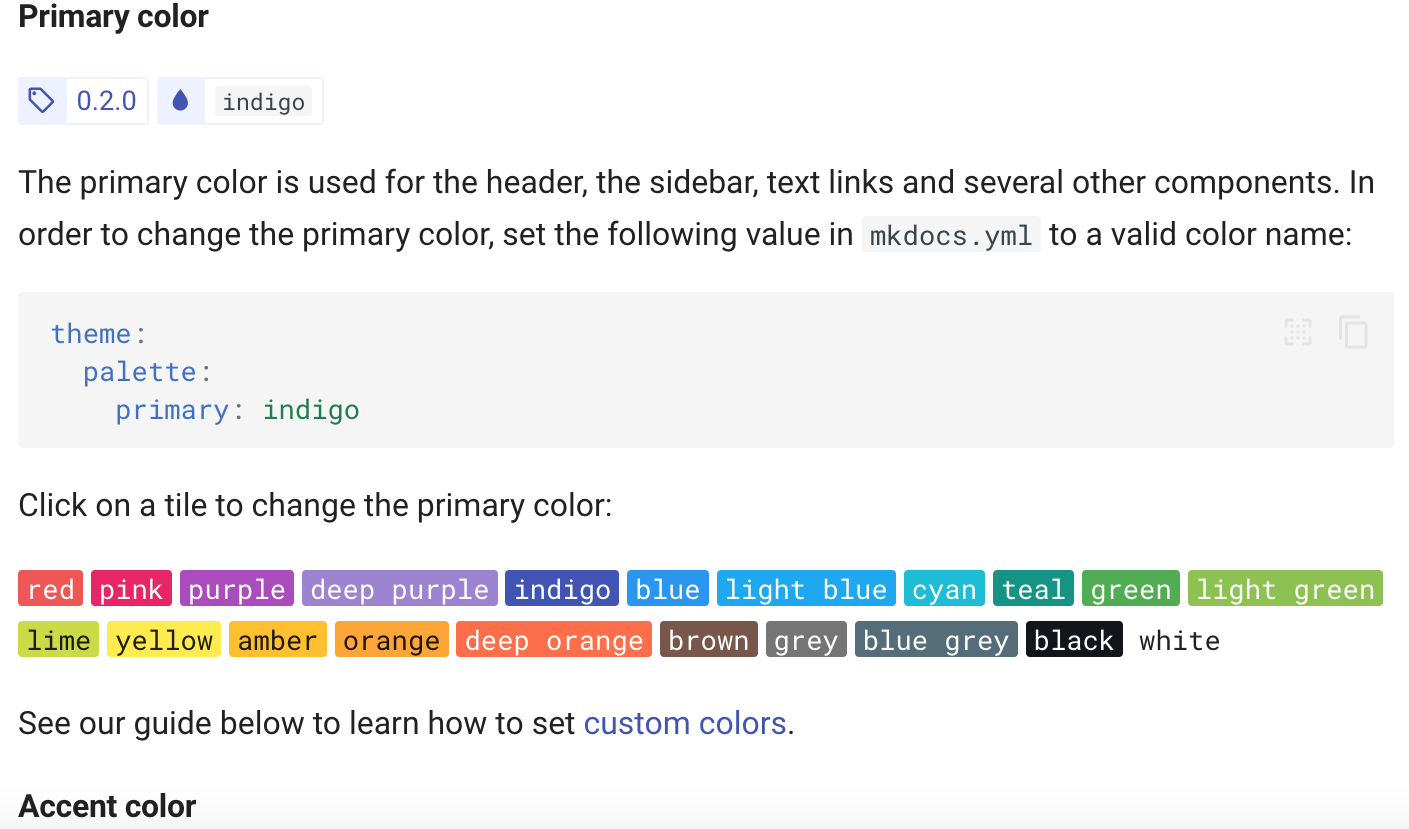
-
changed the color in deep purple, the background(accent) into black
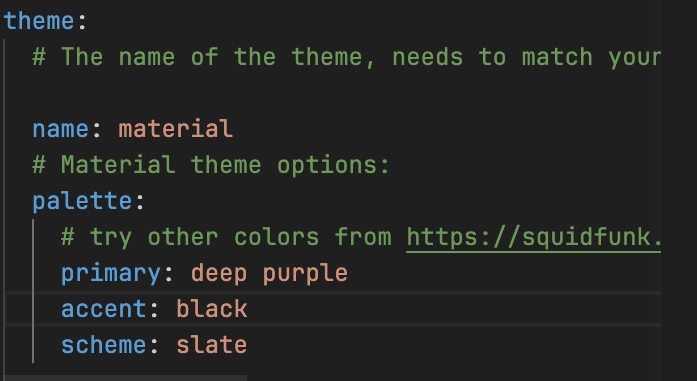
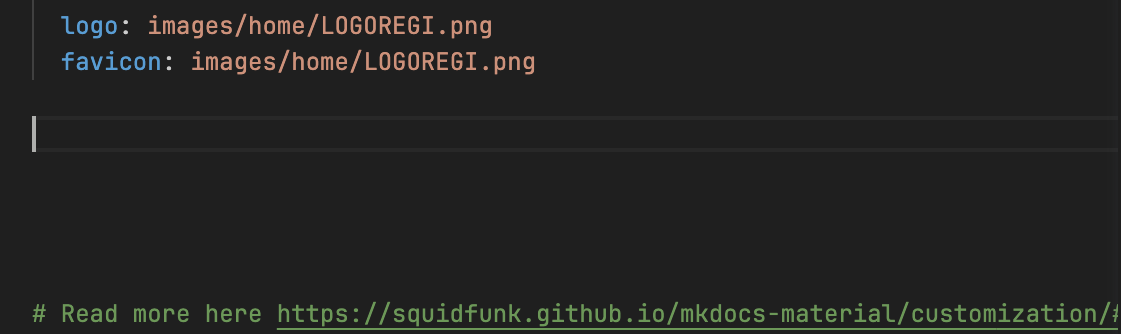
-
added a photo on the logo code example
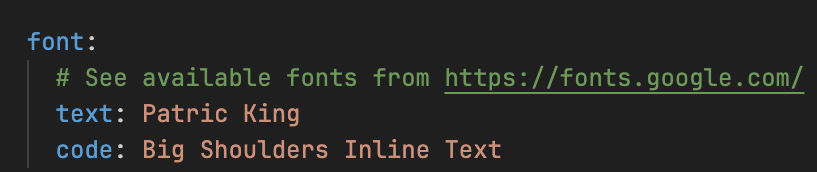
- change the fonts
CANVA
I also used canva to upload my portfolio, create a video and embed the link for public view
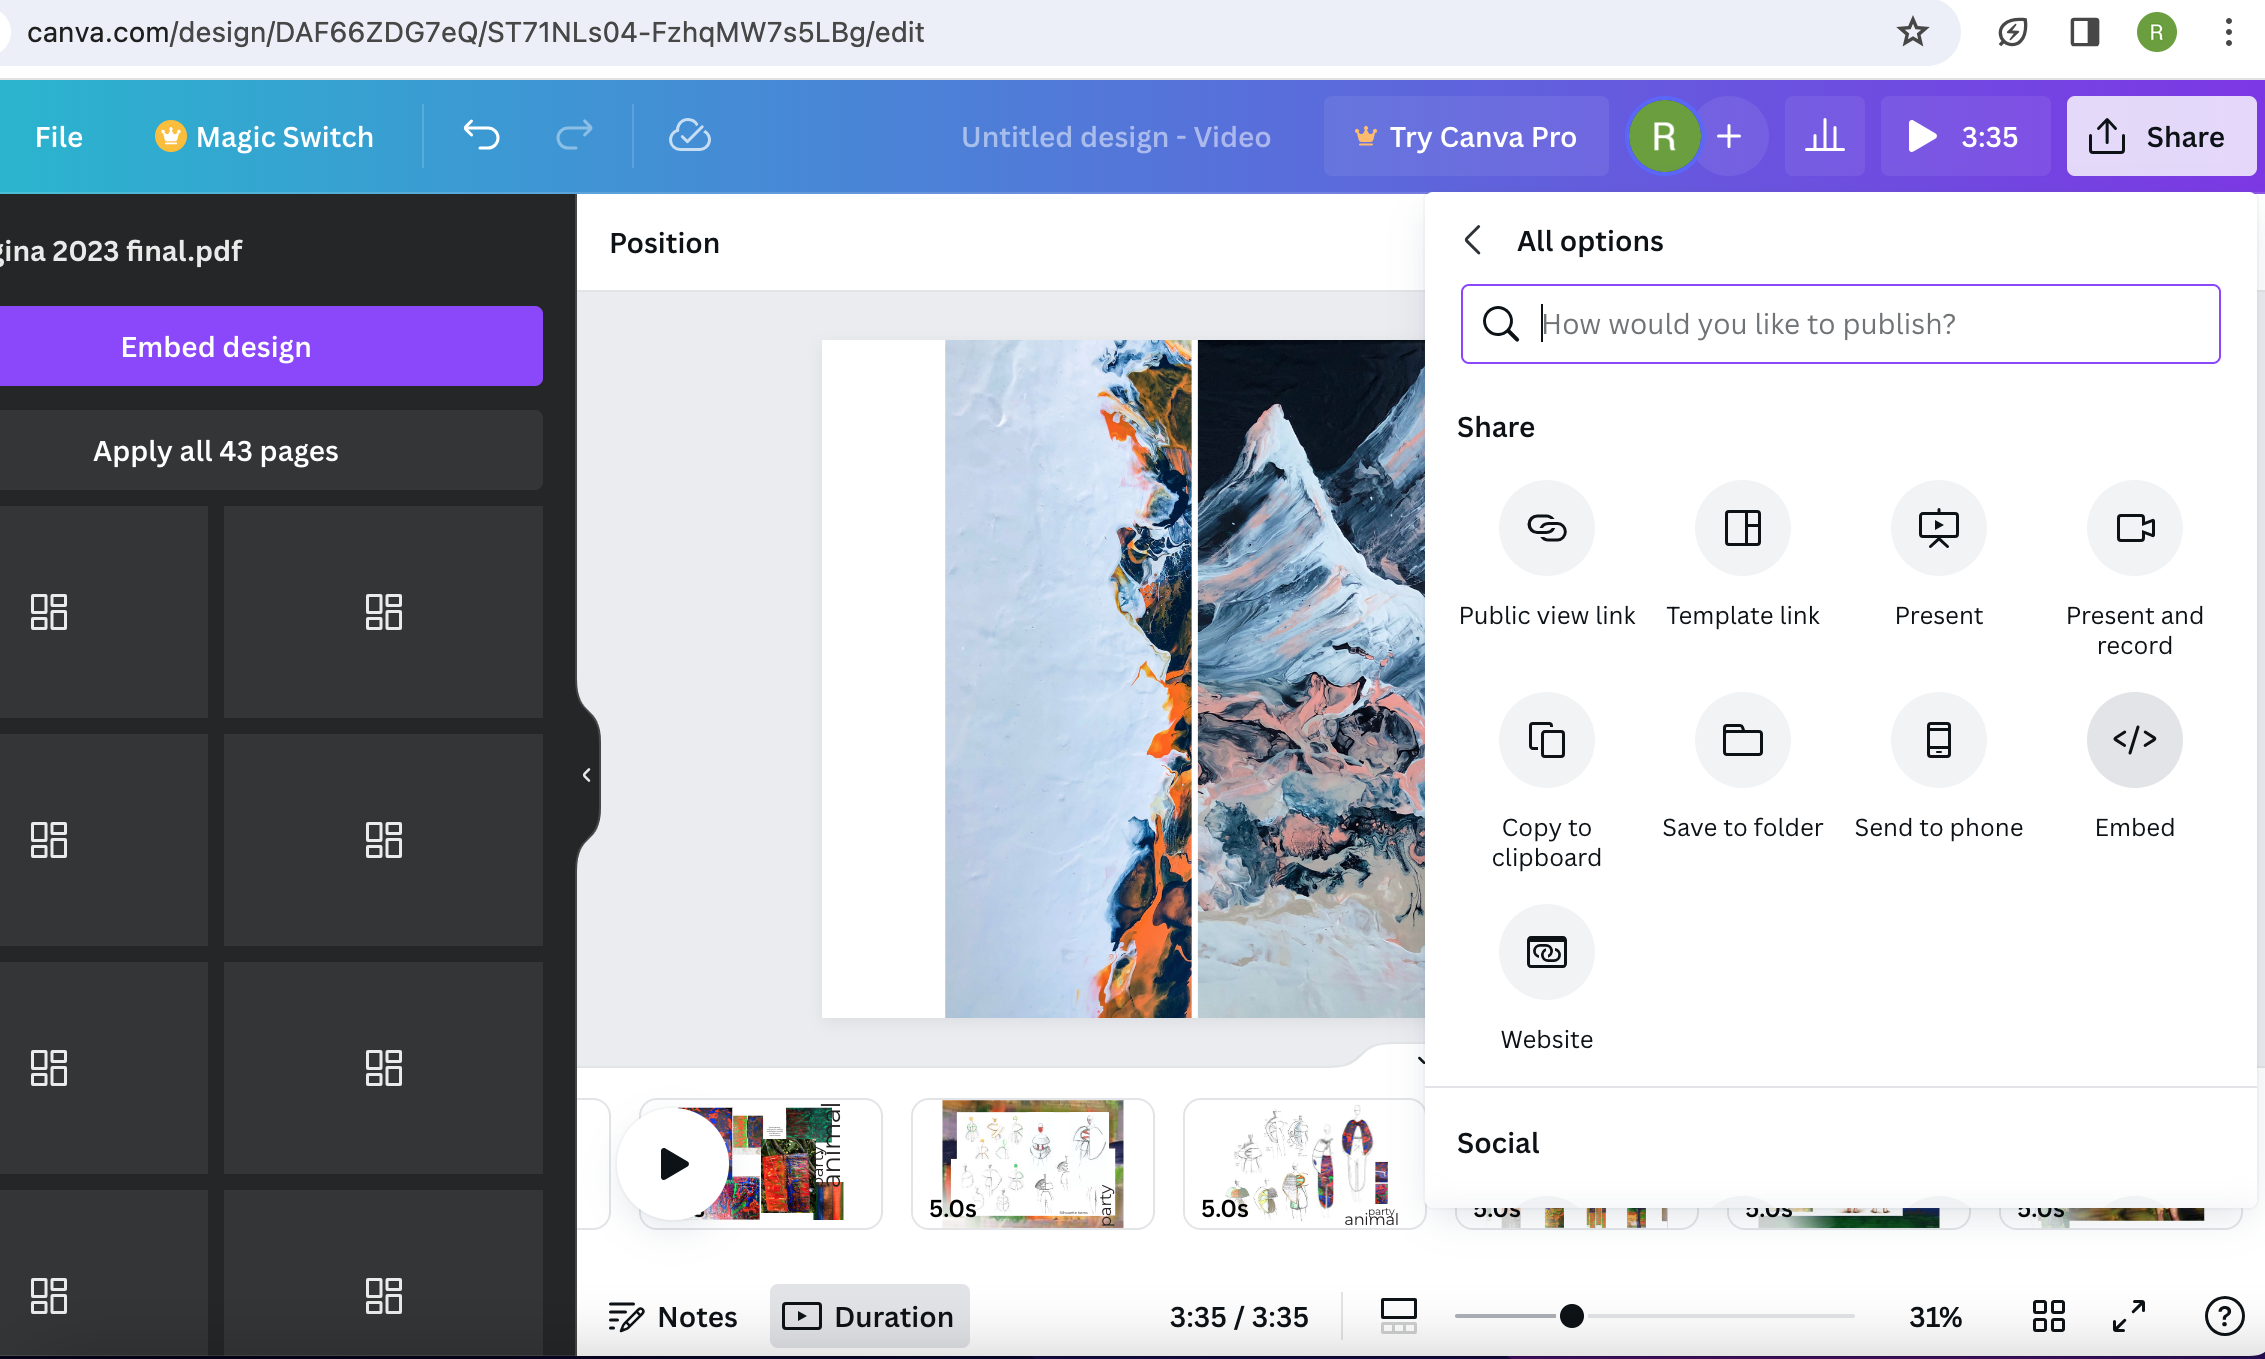
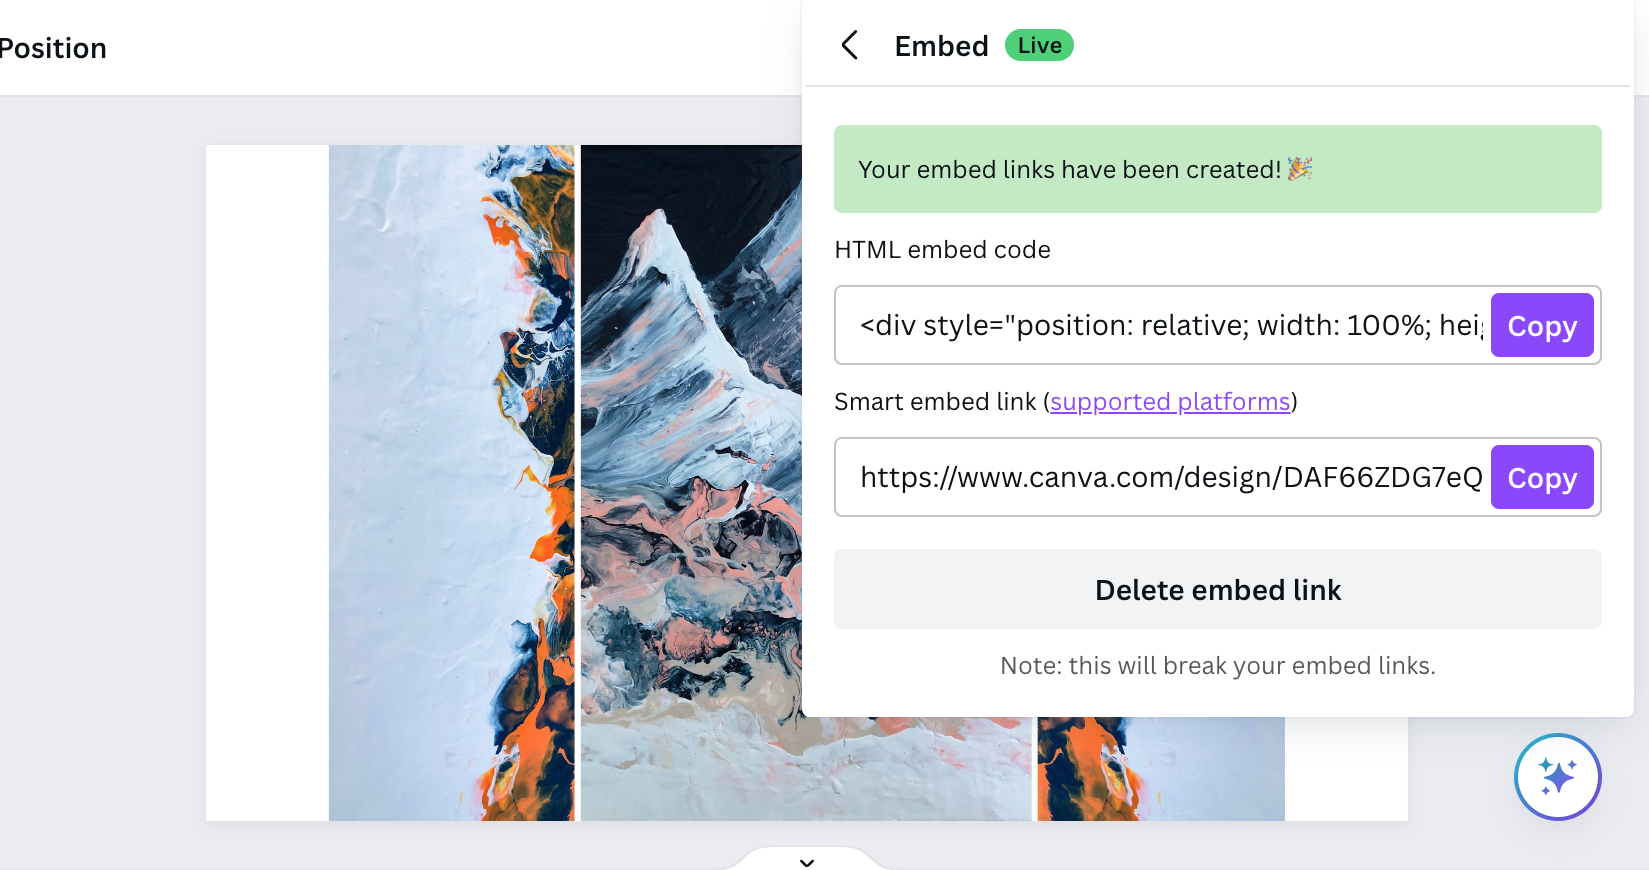
- Link to a video from Vimeo
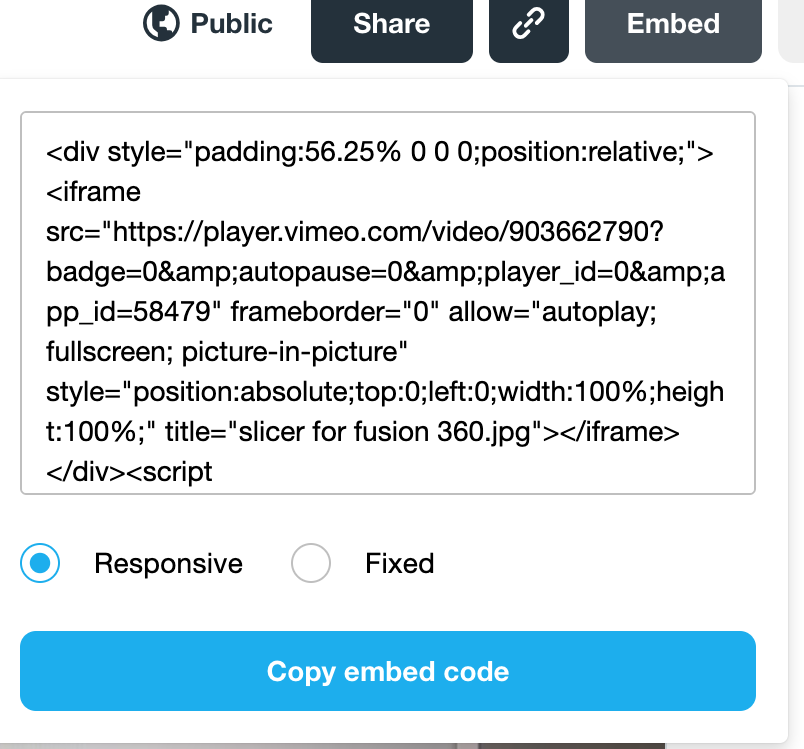
Copy the link
Symbols
#For general image insert

#To align in the left
<img align="left" width="100" height="100" src=“http://www.fillmurray.com/100/100">
#To align in the right
<img align="right" width="100" height="100" src=“http://www.fillmurray.com/100/100">
#To align at the center
<p align="center">
<img width="460" height="300" src="http://www.fillmurray.com/460/300">
</p>
#To add the logo
icon:
logo: images/logoM1.png
favicon: images/logoM1.png
#To have the diferent titles in the table of contents (screen right) you need to put # in order:
## Heading h2
### Heading h3
#### Heading h4
Tools
-[TinyPNG](https://tinypng.com/)
- [Markdown](https://en.wikipedia.org/wiki/Markdown)
- [Markdown](https://en.wikipedia.org/wiki/Markdown)
- [MkDocs](https://xxx)
- [Material theme](https://xxx)