1. State of the art, project management and documentation
And so the journey begins! This week, we were introduced to the tools we will be using throughout this period to record our work and progress. I must admit that it felt overwhelming initially, especially since it's my first time delving into coding, but I can happily say that it's shaping up quite well.
New Tools
- Mattermost | open chat tool
- Gitlab | open source code repository and collaborative software
- Atom | open source text and source code editor
Documentation workflow
This week I focused on becoming very familiar with the tools I mentioned above.
I decided to stick to using Atom, which is an open source editor that allows you to work locally from your own laptop by adding text, pictures and links. You can take your time in editing your work, making sure it looks good before uploading everything online for everyone to see. The software also gives you the option of previewing the modifications you make immediately, which I think is a great feature.

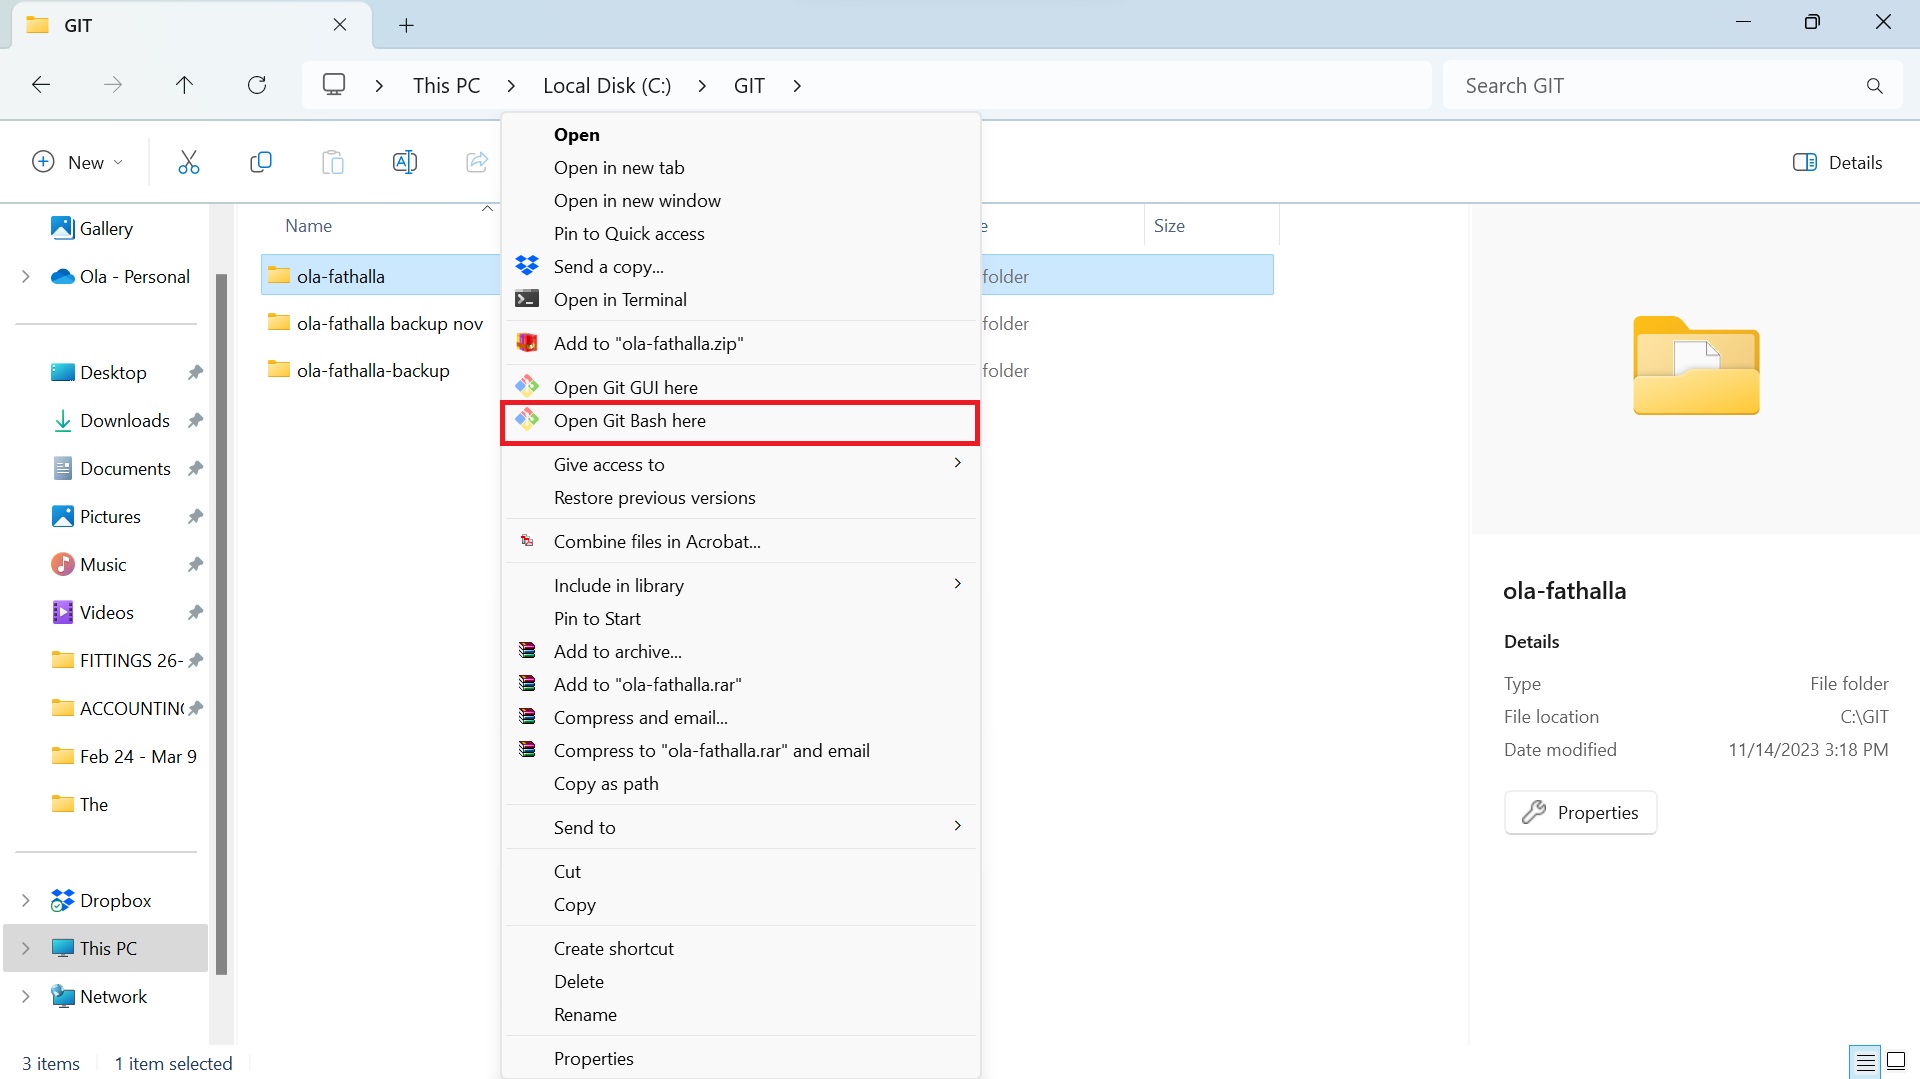
After I was sure of how I wanted my About Me page look, I then pushed all the info online using gitlab, following the steps bellow: 1. I went to Git file on my computer
- By clicking right on the folder, I got the options list and chose OPEN GIT BASH HERE. A new window was opened.
- I then wrote the following commands, and press enter after each command
- git add .
- git status
- git commit -m (then insert any message I want to remember the upload details)
- git status
- git push
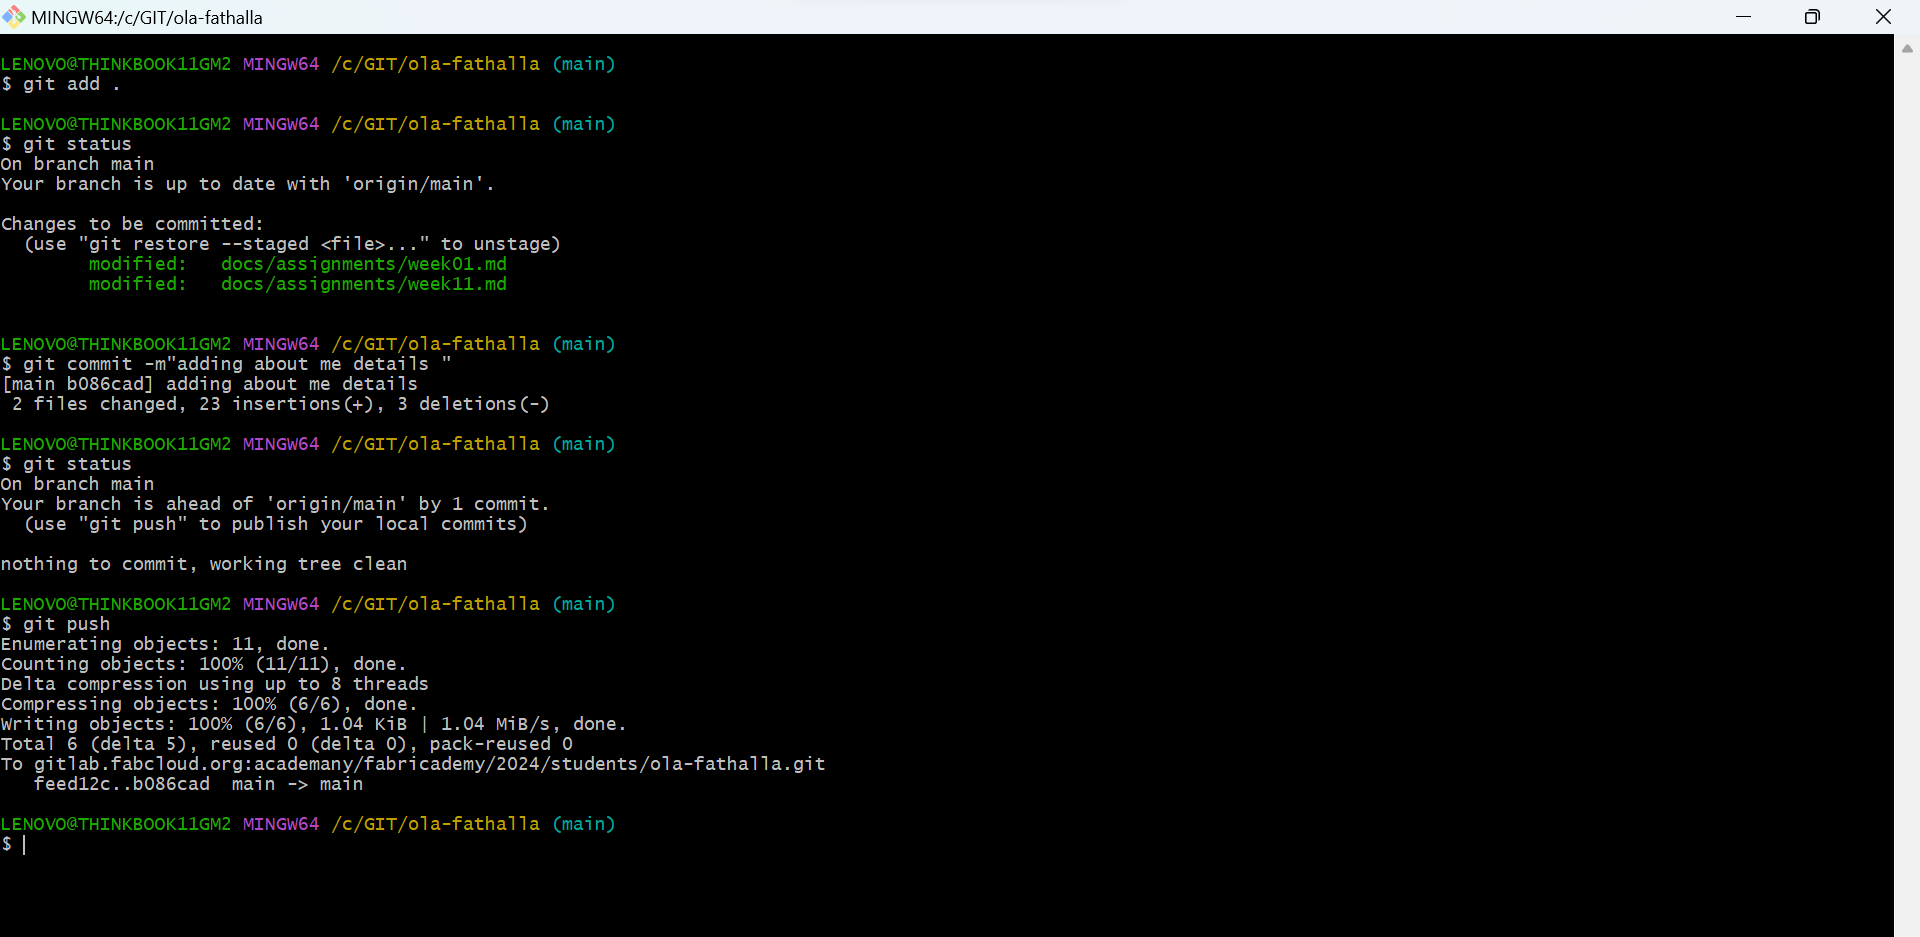
This way all the info that was added to Atom will be pushed to the website. And it usually takes a few minutes till you'll be able to see all the updates online.
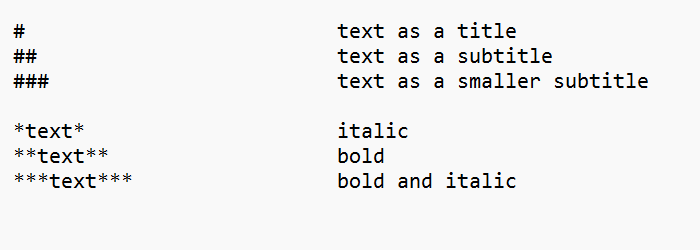
I also was able to change the color of the margins on the website. And I managed to change the font, the color of the text, its size, make it bold or italic and below you can find some tips on how to do that.
A note to remember always resize the images before adding them to your website