4. Biochromes
 This is a field I had at least some experience in and it made me more confident to experiment in.
Since March I have been experimenting with ecoprint/bundledyeing without any measuring and only following recipes if something failed. A lot of changes had to be made depending on the different cellulose fabrics and how tightly or loosely the fabric was woven. Yet I was still confident it would work well since finally I was measuring things! But, there were still many failures, but let's start with what I did back in Iceland:
This is a field I had at least some experience in and it made me more confident to experiment in.
Since March I have been experimenting with ecoprint/bundledyeing without any measuring and only following recipes if something failed. A lot of changes had to be made depending on the different cellulose fabrics and how tightly or loosely the fabric was woven. Yet I was still confident it would work well since finally I was measuring things! But, there were still many failures, but let's start with what I did back in Iceland:
 These pieces had their flaws, but I learned a lot by working on them.
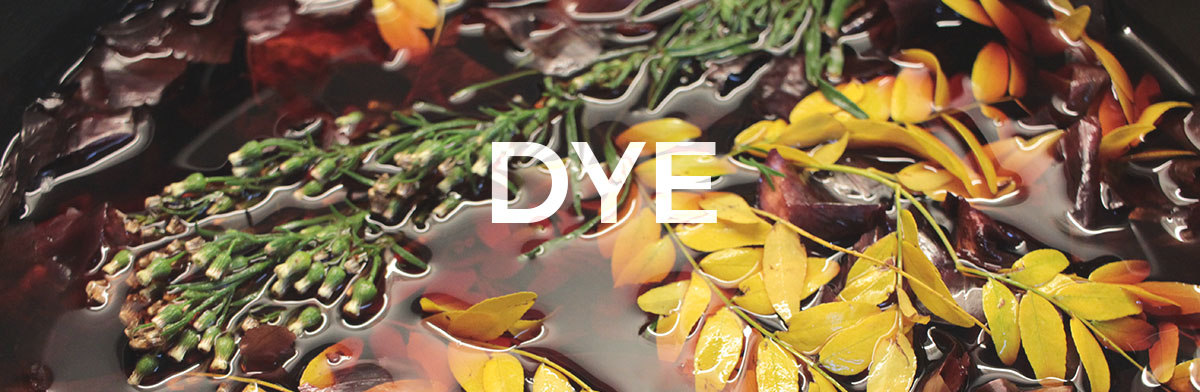
DYE MAKING
We started to boil in water some natural ingredients for our dyes:
- Juniper berries 80g
- Onion peels 180g
- Turmeric 60g
- Avocado pits 3kg
- Eucalyptus 30g
- Ceylon Black Tea 50g
- Black beans 500g
- Hibiscus 20g
- Annatto 5g
- Spinach 800g
- Coffee 30g
We simmered the ingredients for several hours to get the best concentration of colours.
- Remember to use inoxidable pots, the iron can affect the colors!
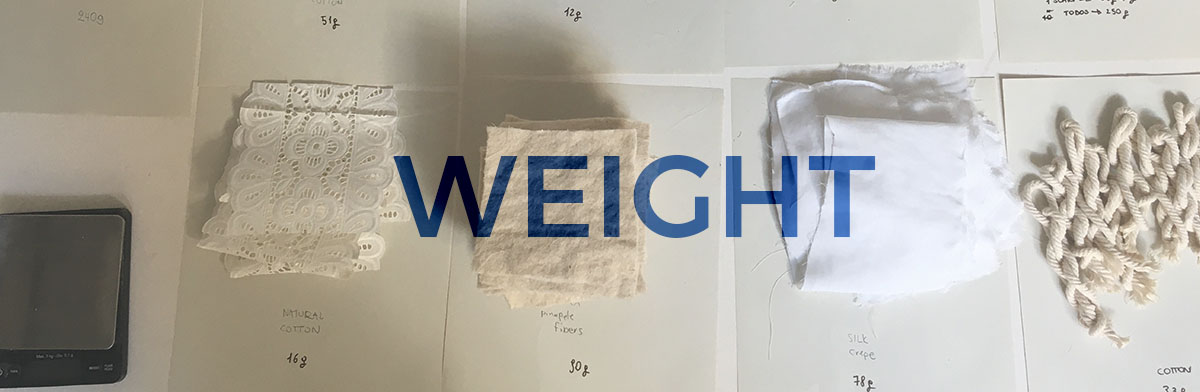
Step 1 -WOF- Weight of Fabric-
We prepared the fibers, subdivided into vegetable/cellulose and animal derived, cut in 10cm squares and weighted.
Plant Fibers: - Piñatex, Cotton, Natural cotton lace, Rayon Viscose: 490g ( WOF) - Hemp: 11g
Animal FIbers: - Wool 11g - Silk 42g
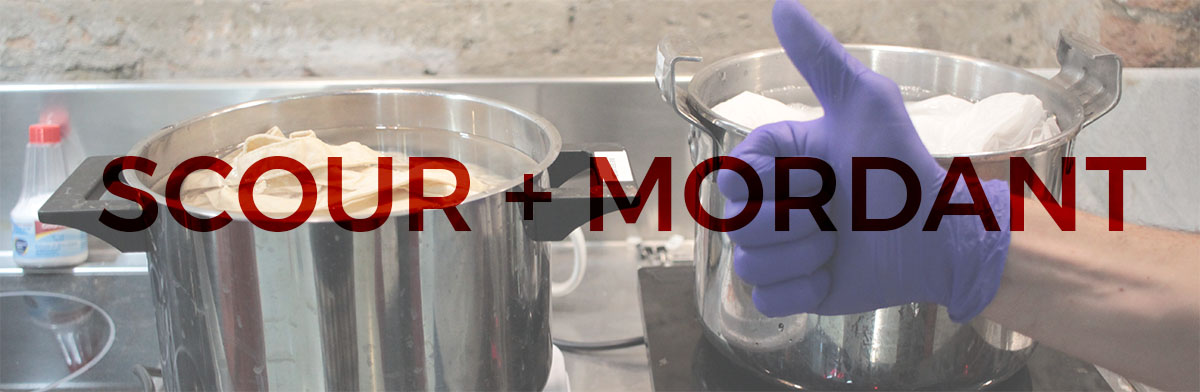
Step 2 -SCOURING-
We added 1% - 2% of soda ash(mixed in a cap with water) of the total WOF and 1h simmering. The soda ash can be also replaced with ph neutral soap (like Marseille soap) This step is really important as it takes off the scours and oil from the fabric, so if the water turns yellow is a good sign, you can even repeat the sequence twice. So the proportion were:
Materials: 490g cotton and viscose + 8.8g Soda ash - 1h of simmering - Rinsing with water.
The animal fibers can be instead just washed gently under the water with a natural soap or a bit of soda ash.
Step 3 -MORDANTS-
We used Alum as mordant for our fibres based on the 15% of the WOF, dissolved in a bit of boiling water before added to the mix. For the animal fibers we added another 8% of Tartaric acid which helps to absorb the Alum. We dissolved the tartaric acid in a bit of boiling water as well before adding it to the mix.
Based on this percentage we had:
- 1st Pot of mixed Cotton: 340g WOF - 51g Alum
- 2nd Pot of mixed Cotton: 300g WOF - 45g Alum
- Scarf Rayon Viscose: 250g WOF - 37,5g Alum
- Silk: 42g WOF - 6,3g Alum + 3,36g Tartar
- Wool: 11g WOF - 51g Alum + 0,8g Tartar
- Hemp: 11g WOF - 51g Alum + 0,8g Tartar
1h of simmering
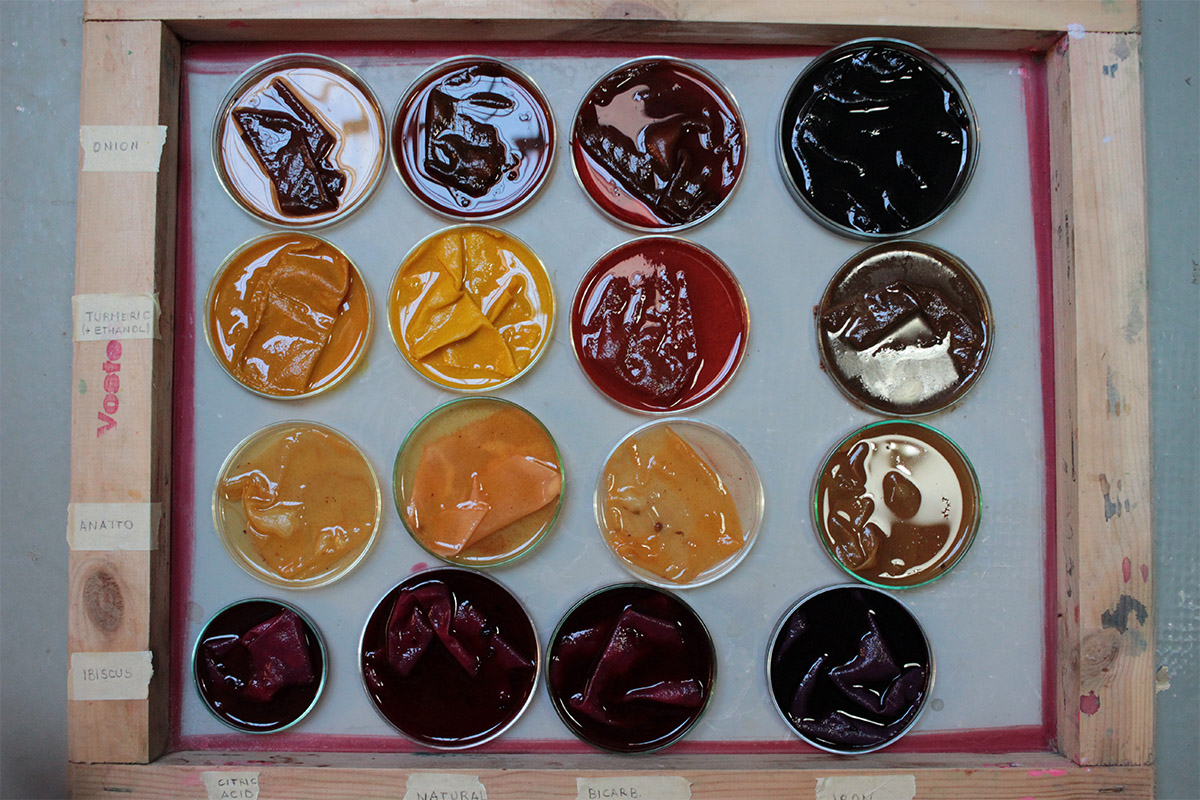
COLOR TEMPLATE
Some pigments were different when dyed on silk rather than cotton. That can be seen on some color templates here.
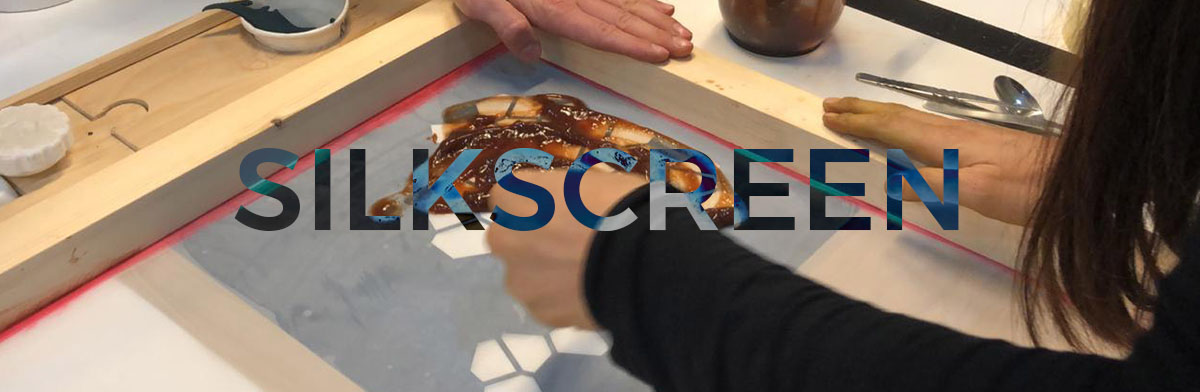
SILK-SCREEN PRINTING
SILK-SCREEN PRINT PASTE We simmered down the Avocado pit dye for several hours to get the right density and we blended it to remove solid residues. Filtered it and then simmered again. We separated the avocado dye in 4 cups with respectively 300ml each and added:
*1st Cup: 3 tsp of Iron (color modifier), 1 Arabic Gum (30g x 100ml)
*2nd Cup - 3 tsp of Iron + 1 Guar Gum
*3rd Cup - 1 tsp Alum + 1 Guar Gum
*4th Cup - 1 tsp Alum + 1 Arabic Gum
We blended and then added more tsp of gum to get to the density we needed:
*1st/4th Cup + 10 tsp Arabic Gum
*2nd/3rd Cup + 2 tsp Goma Guar
The mixture in the 1st and 4th cup, despite adding a big quantity of Gum, didn’t get the right density, while the 2nd and 3rd Cup were well dense and we passed to the next step, Filtration. We filtered the mix with the silk screen fabric so that we know exactly the consistency needed. The best would be to leave the paste to rest for several days.
SILK-SCREEN PRINT on SILK fabric
- Laser cut vinyl adhesive paper with the laser cutter. 30x30cm
- Rhino to draw patterns.
- We Drew a 30x30 square in Rhino and imported a mathematical pattern in Grasshopper, Vorono in this case.
- We baked it to make the draw real and ready to be exported in .DXF. Tip:Remember to save in “mm” real scale!
After printed we applied the adhesive in the silkscreen frame (external side) We covered the fabric around the vinyl with tape so as not to dirty it with the paste. We unfold our silk cloth on the table and put the frame on top; Spread the color with the spatula first in a gentle way so that the color could enter inside the drawing and then using enough pressure to print it. The results are stunning!
BUNDLE DYEING
This method is basically steaming already dyed or clean fabrics. One can make bundle dye with abstract patterns and roll tannin rich materials such as onion peel or use a dowel to tightly roll the fabric around it and place the object on it, such as leaves that have been soaking in one of the natural dyes. The process: Scouring. Mordanting fabrics with alum or soy by WOF. While the fabrics are still damp, place wanted materials on it and roll together. Tightly tie them with a rope. Steam for 1-2 hours. Let them dry if possible and wash with cold water.
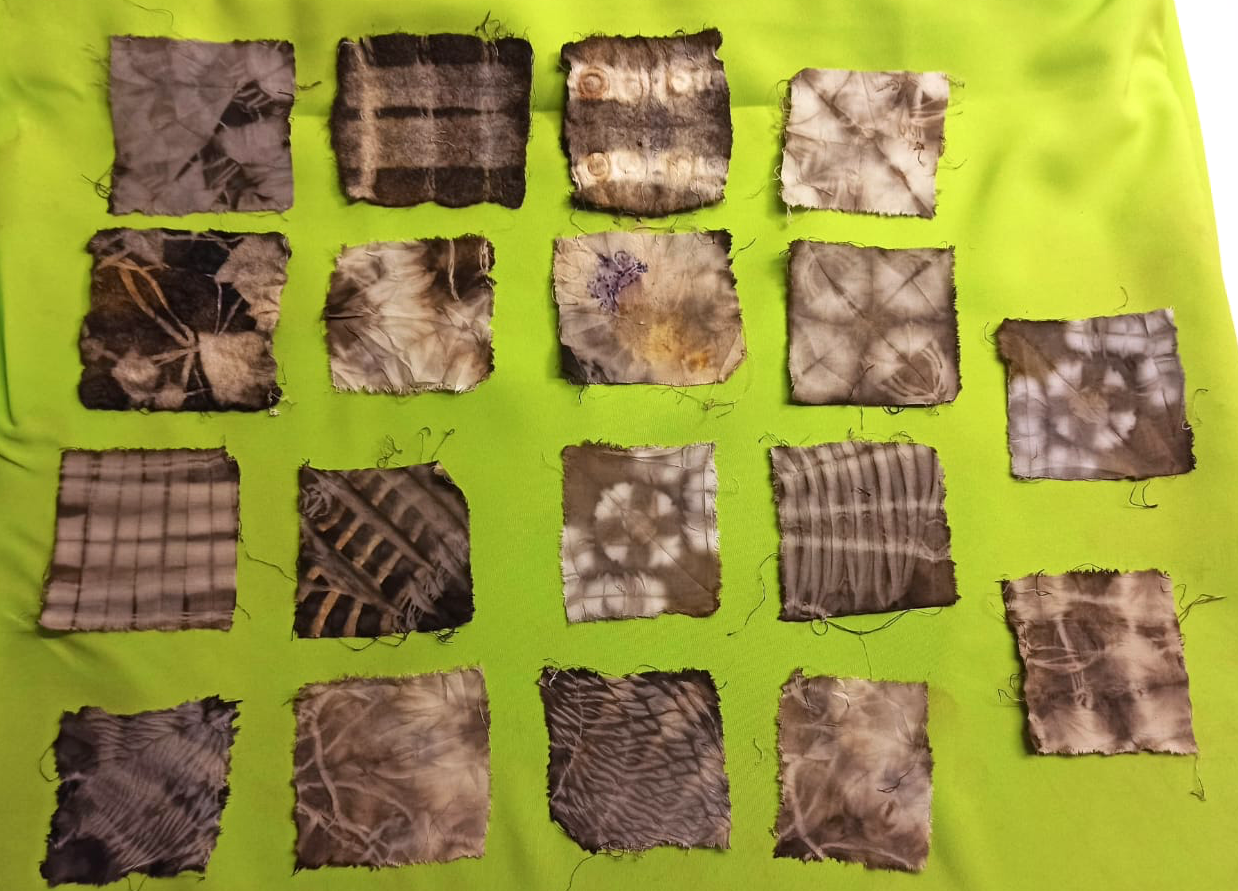
SHIBORI
We didn't have much time to explore shibori, therefore we made a few mini examples.
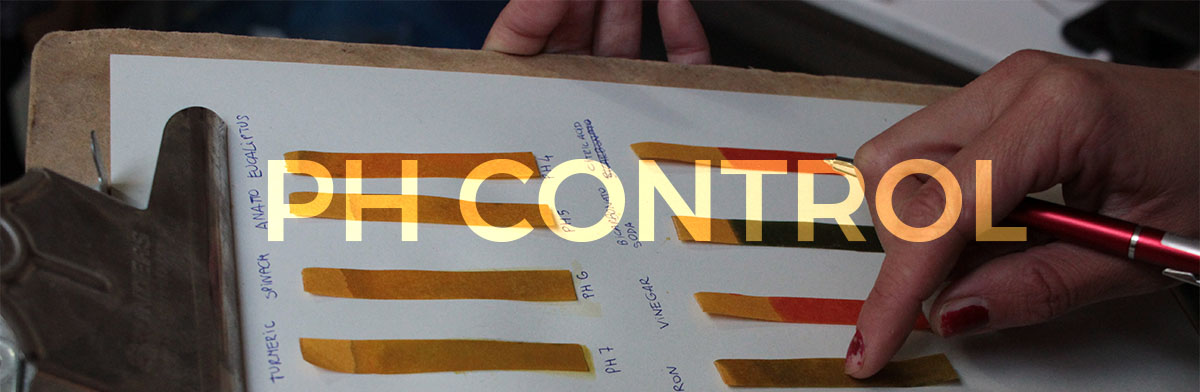
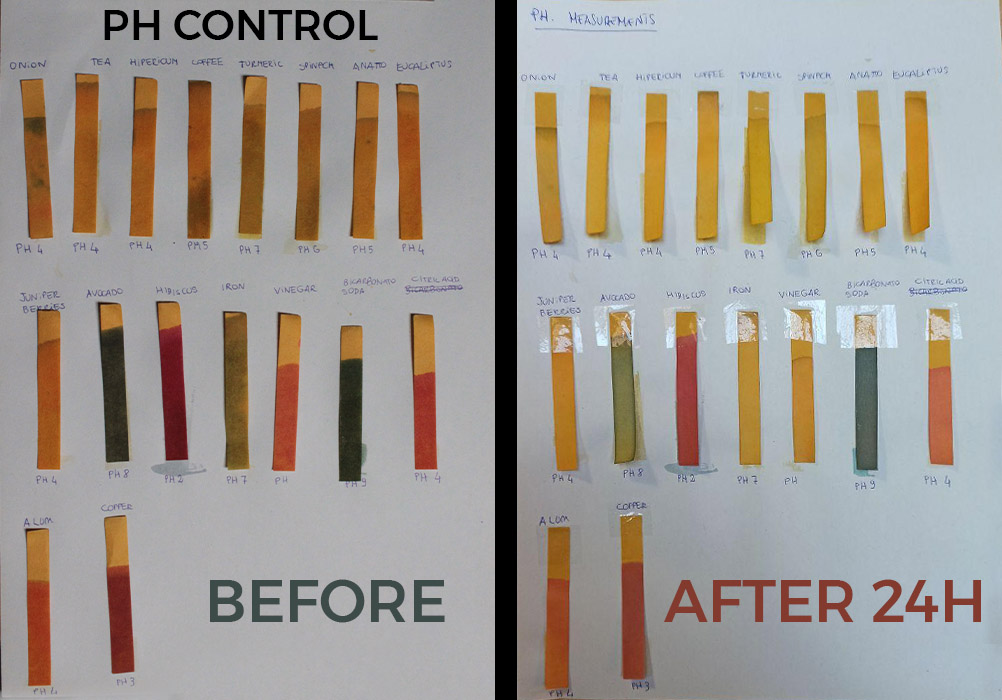
PH CONTROL
After 2 days we took the dyed water from the pots and we put it in several containers to measure the PH (with ph papers from Pidiscat shop) of all the colours obtained, and made a chart. After understanding the Ph and the scale from acid to alkaline we tested the Eucalyptus dyed color with Ph5 and we saw that just by adding Bicarbonate we can change our Ph and subsequently the color. From this test we experimented with the modifiers.
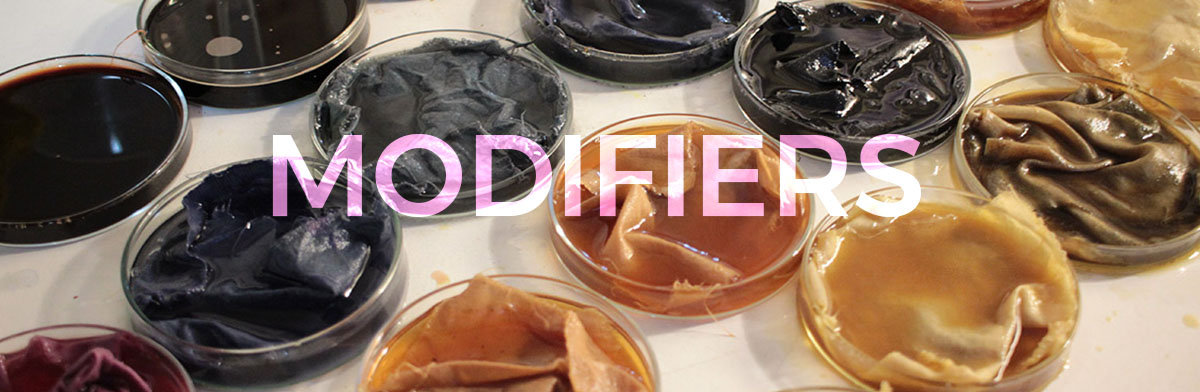
MODIFIERS
For each of our neutral dyed color we created more color shades, adding in 5 other containers, different Ph modifiers as follow:
1.Citric Acid 2.Bicarbonato 3.Alum 4:Iron 5.Copper
Each modifier created a new color,
On each container we soaked the pieces of fabric previously dyed so that the fibers could take all the new color created.
We classified the fibers,the ingredients, and the modifiers and we created our own color chart that is helping to understand better how the ph changes in the different cases.
Acid Modifier: warmer shades Alkaline Modifier: colder shades Copper Modifier: Greener shades Iron Modifier: darker shades On our double tests we sprayed water with citric acid or bicarbonato on it, and we had further results.
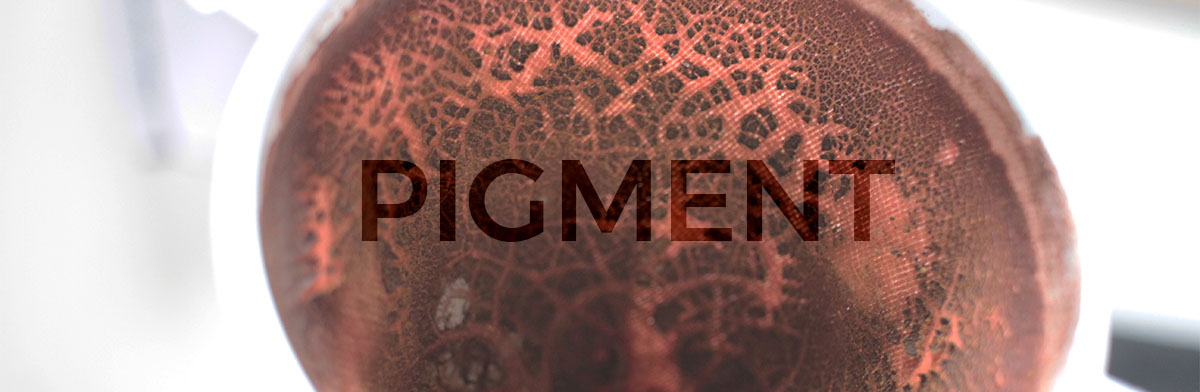
PIGMENTS
After using the dyes, the solid materials like beans can be used for biomaterials and the liquid of each one can be boiled down to concentrate further and make pigments.
To test it, we used onion extract. We filled half of a tall container (at least 1 liter) with the extract. We melt 20g of Alum in a bit of water and add to the liquid. We melt 10g of Bicarbonate in a bit of water and slowly add to the mix. Chemical reaction and separation of the liquid: the bubbles come up and the pigments start to settle on the bottom of the container. Wait for 1 hour. Filter with a coffee filter and let it dry. Dry in a food dryer or oven on low heat for 1-1,5 hour. Break the pigment into pieces and finely ground with a mortar.
To make INK -Add a bit of ethanol.
To MODIFY the COLOR -Add Iron, bicarbonate soda, citric acid or alum.
Errors
It was quite disappointing to see that most of the experiments had faded away after cold washing! However I would like to try using modifiers again to see if there are other ways ways to preserve the changes.
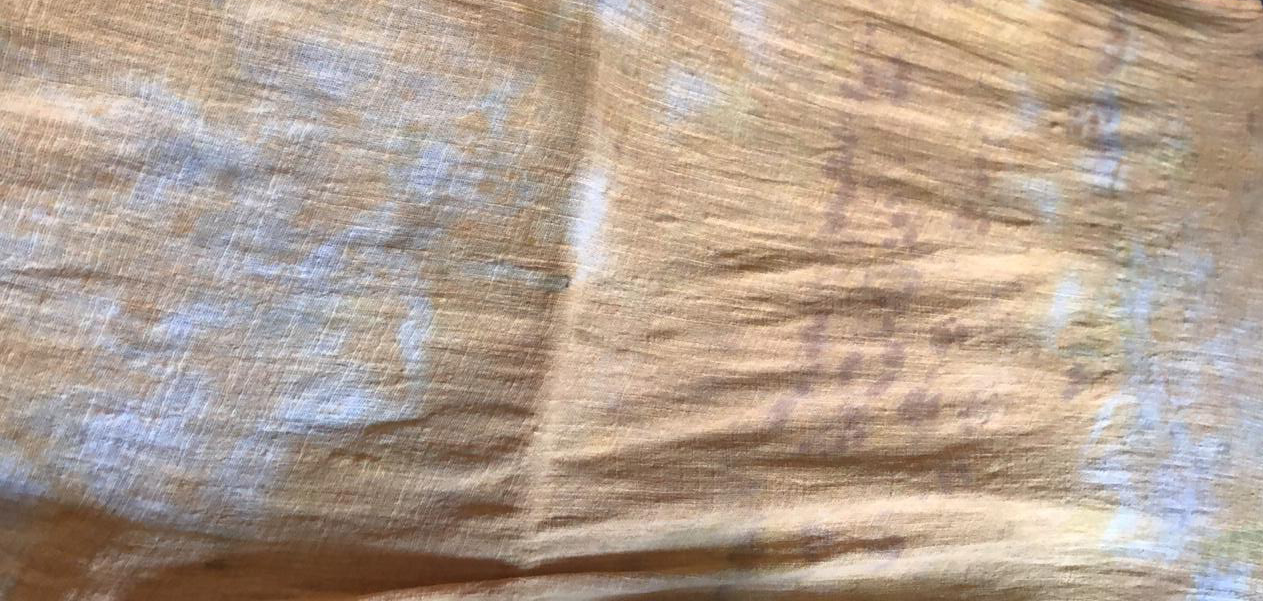
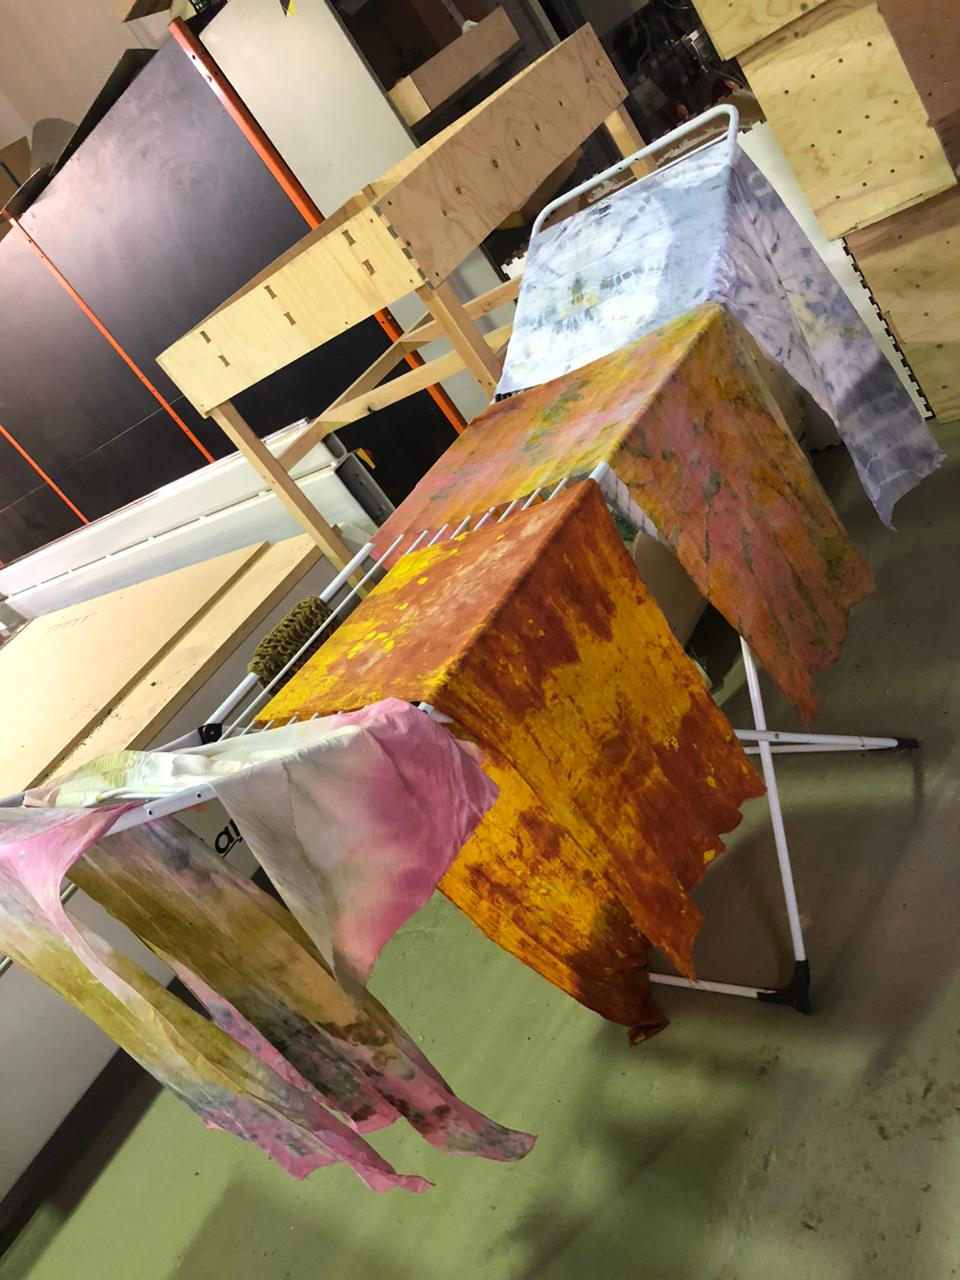
Fugitive Scarves
At the end of the week I was most pleased with two scarves which I could at least use for a while.
The only colors that stayed were yellow (turmeric) and blue (black beans). Since these dyes are fugitive, at some point they will fade and make space for new creations to appear.

VIDEOS
Making avocado paste
Screenprint
Whole process of Silkscreen printing
Vinyl Cutter
Shibori
Bicarb Test