6. BioFabricating Materials
This week we talked Biomaterials and experimented with developing 1 of our own.
What is a Biomaterial?
A biomaterial is bio-based and is either biodegradable or bio compostable. Some examples of biomaterials are bioplastics, bioleathers, fruit leathers, and silk.
Bioplastic
Personally, bioleather seemed intriguing and I thought would be a fun textile to explore. While I wanted to explore microbial leather (aka kombucha leather), the biofabrication process takes a couple of weeks. I currently have the mother for the textile growing (updates to come!) but in the meantime, I developed a bioplastic.
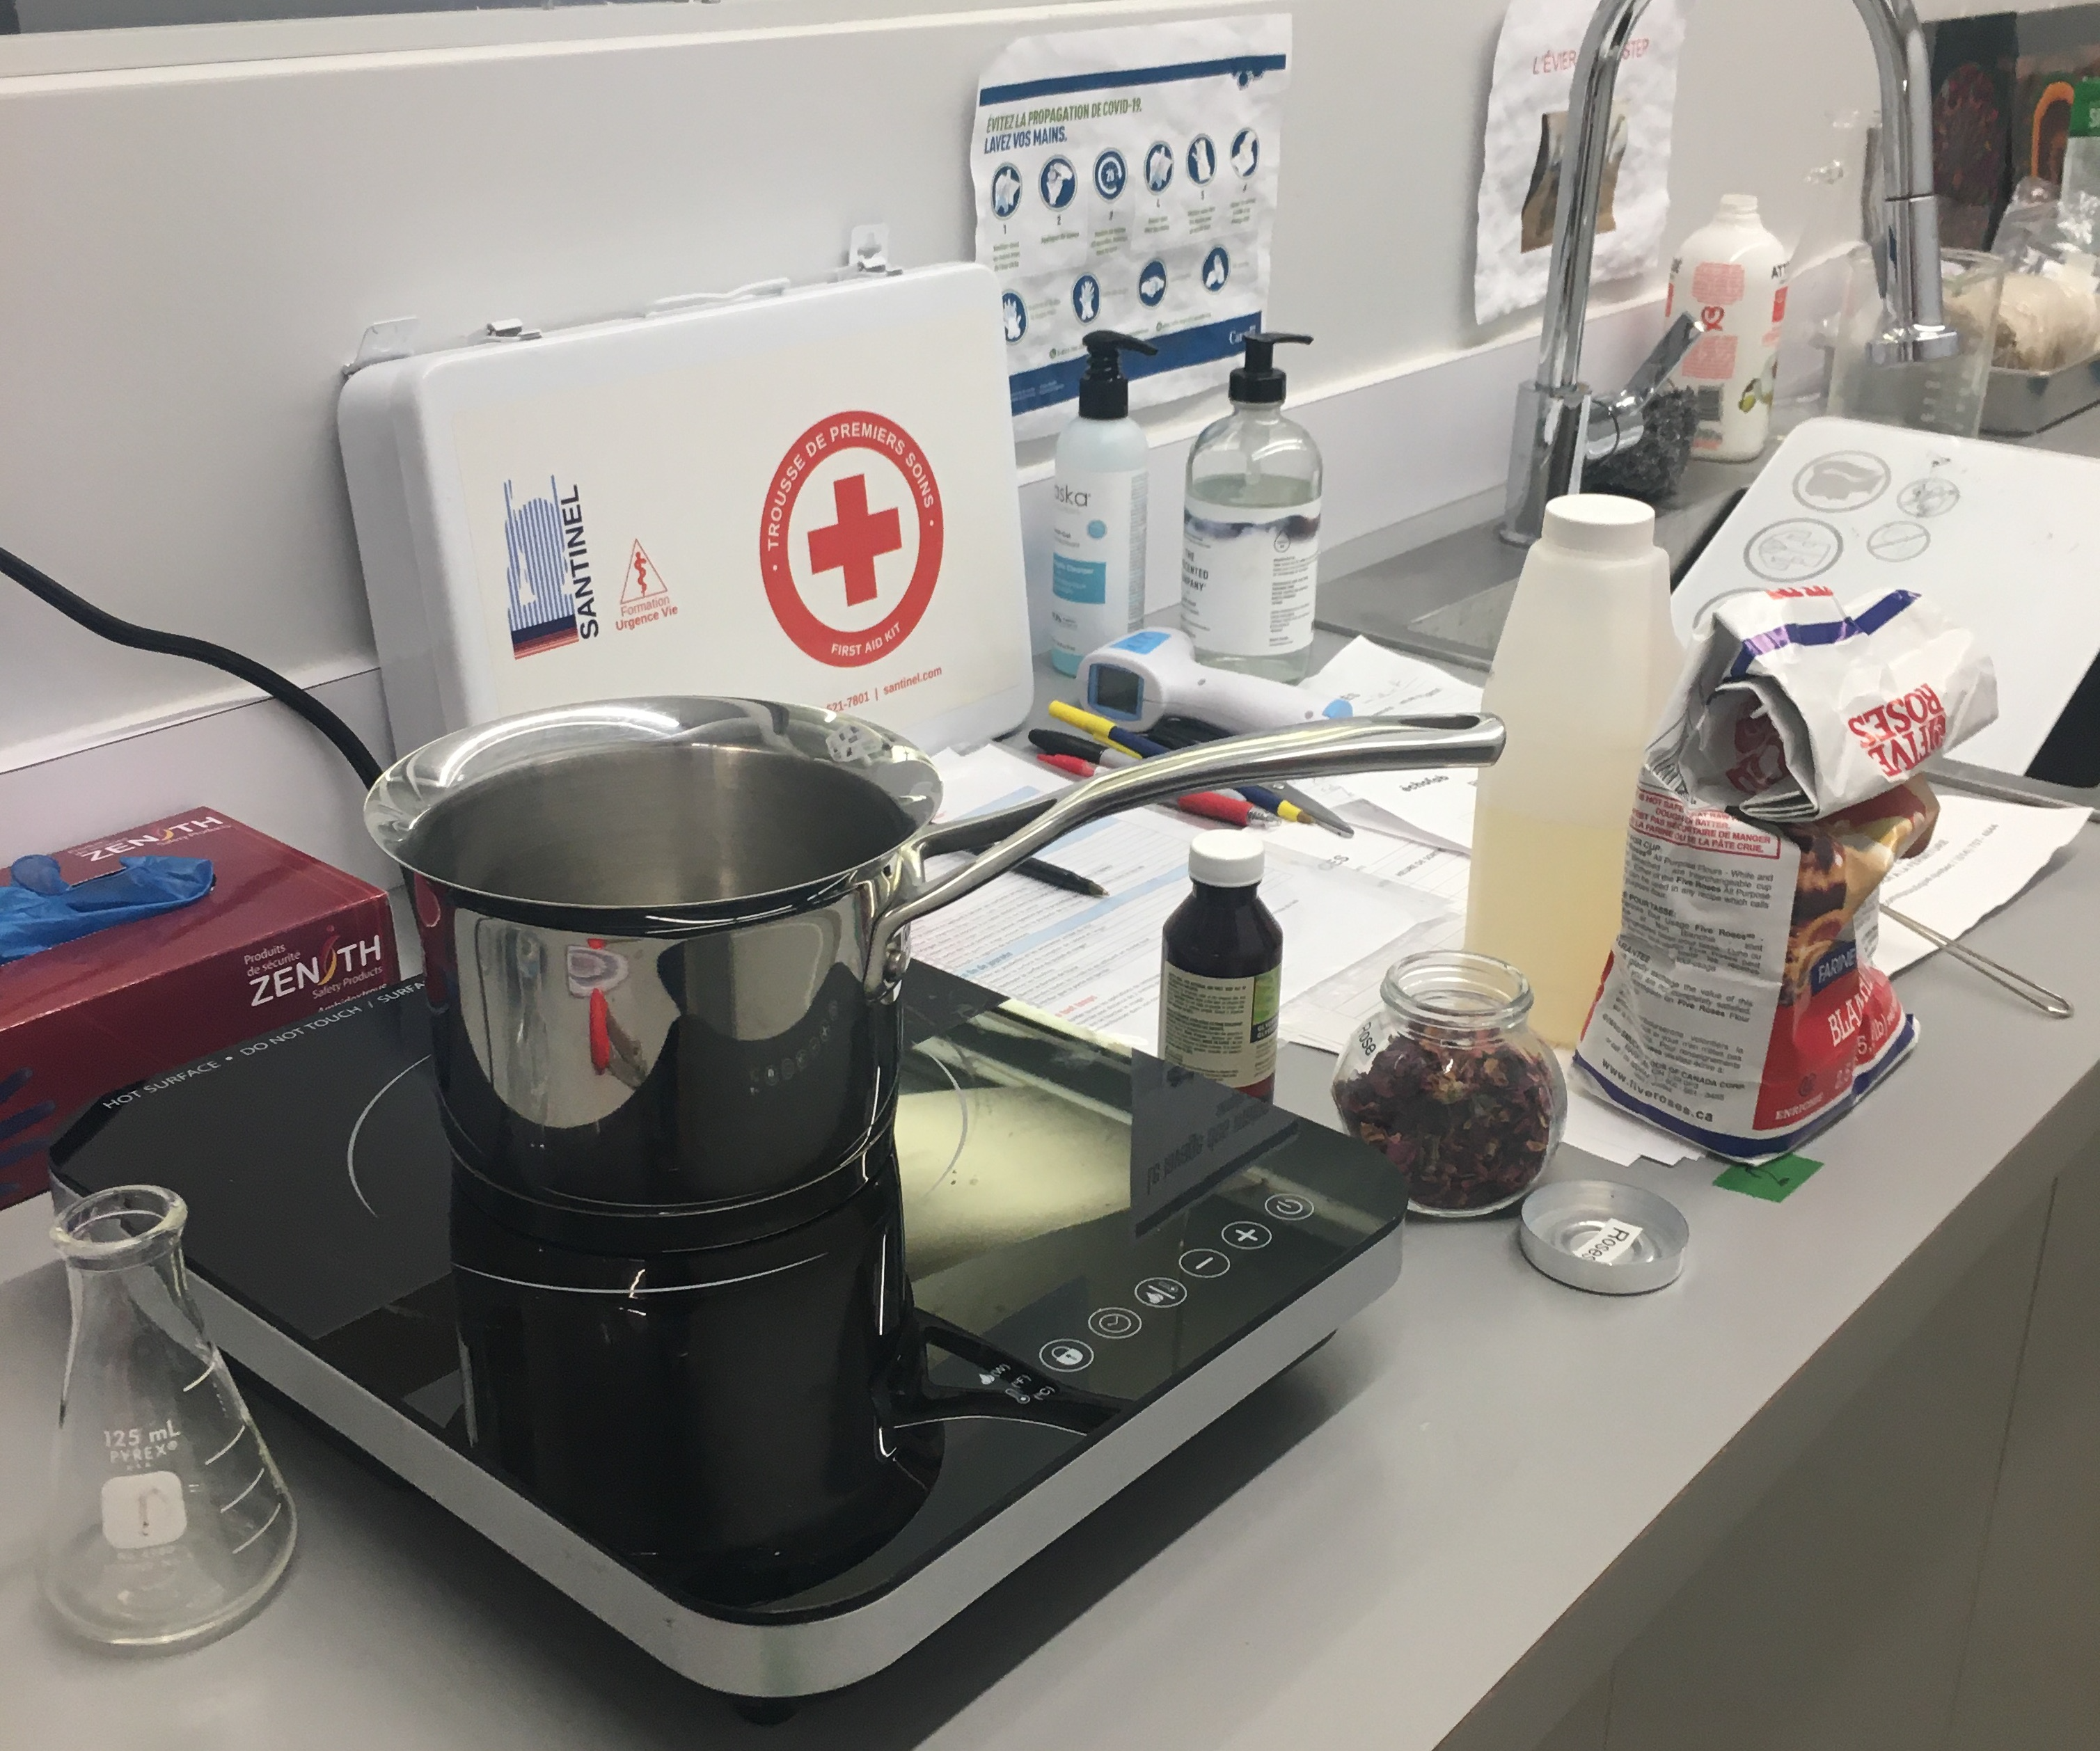
Materials
Flour (2 TBL)           Pot
Glycerin (2 TBL)        Stove / Heat plate
Vinegar (2 TBL)         Spatula
Water (8 TBL)           A tray
                        Measuring spoons
                        Wax paper (optional)
                        Strainer / Sifter
Development
I wanted to create a bioplastic that was more or less accessible and easy to make at home. I found this recipe online, but the adjustment I made was to use flour instead of corn starch, the mixing process, and pigmentation.
This process starts by developing a pigment; in a pot bring around 1 cup of water to a boil. Once boiling, add any herbs, tea, or whatever pigment source you have and mix until homogeneous. For my pigment, I threw in around 2 tablespoons of dried rose petals and got a pink color. Set this water aside
For my first test, I didn't sift the flour and didn't take note that vinegar helps rid clumping. As a result, the bioplastic retained clumps and had issues drying.
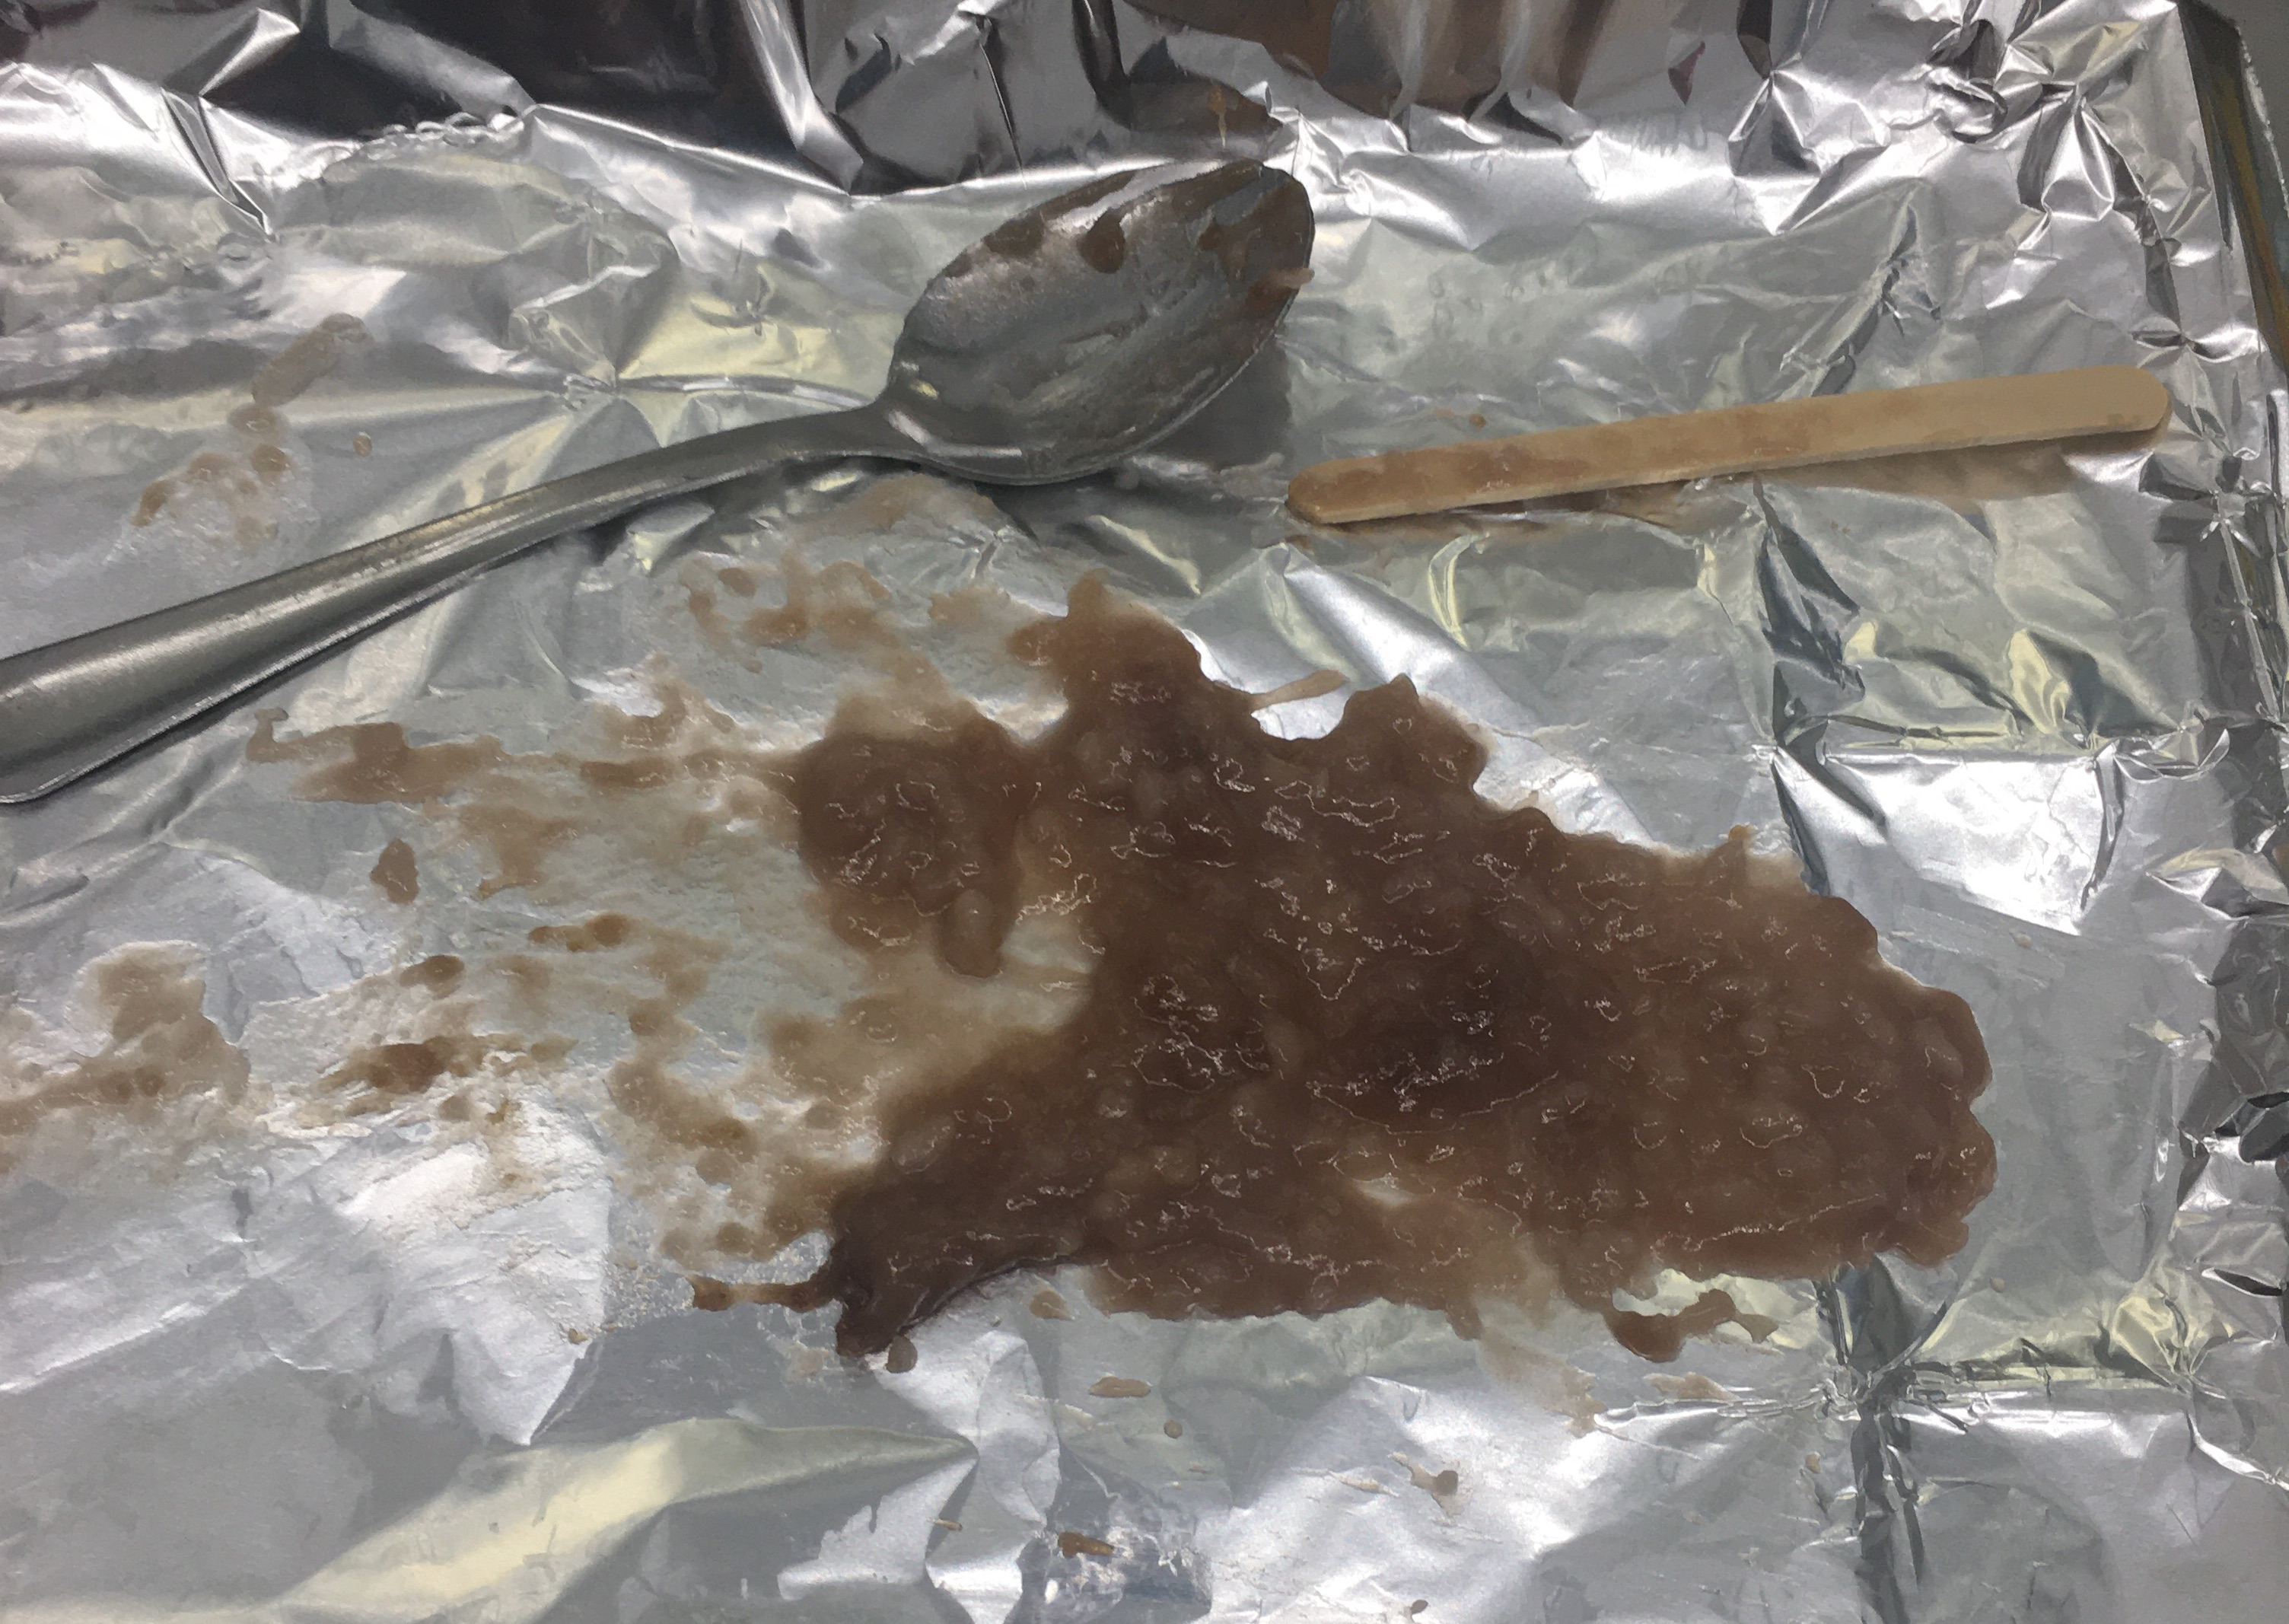
That being accounted for, sift 2 tablespoons of flour and set aside. Now it's time to start the mixture, first in an empty pot, add the pigmented water and flour. Stir until mixed, turn on the heat, then add glycerin and vinegar. The order doesn't matter, but I found it easier to reach the desired consistency faster, and it was clearer to see if adjustments were needed. The end goal is to have a mixture that looks like the image below (color would vary on pigment) and can be easily scooped with your spatula.

Take this mixture off the heat, and begin to scoop on to a tray. I didn't have a smooth tray to work with, so I made a makeshift tray from a lid and aluminum foil but note that while this develops a texture, it also develops a less consistent thickness. Leave overnight
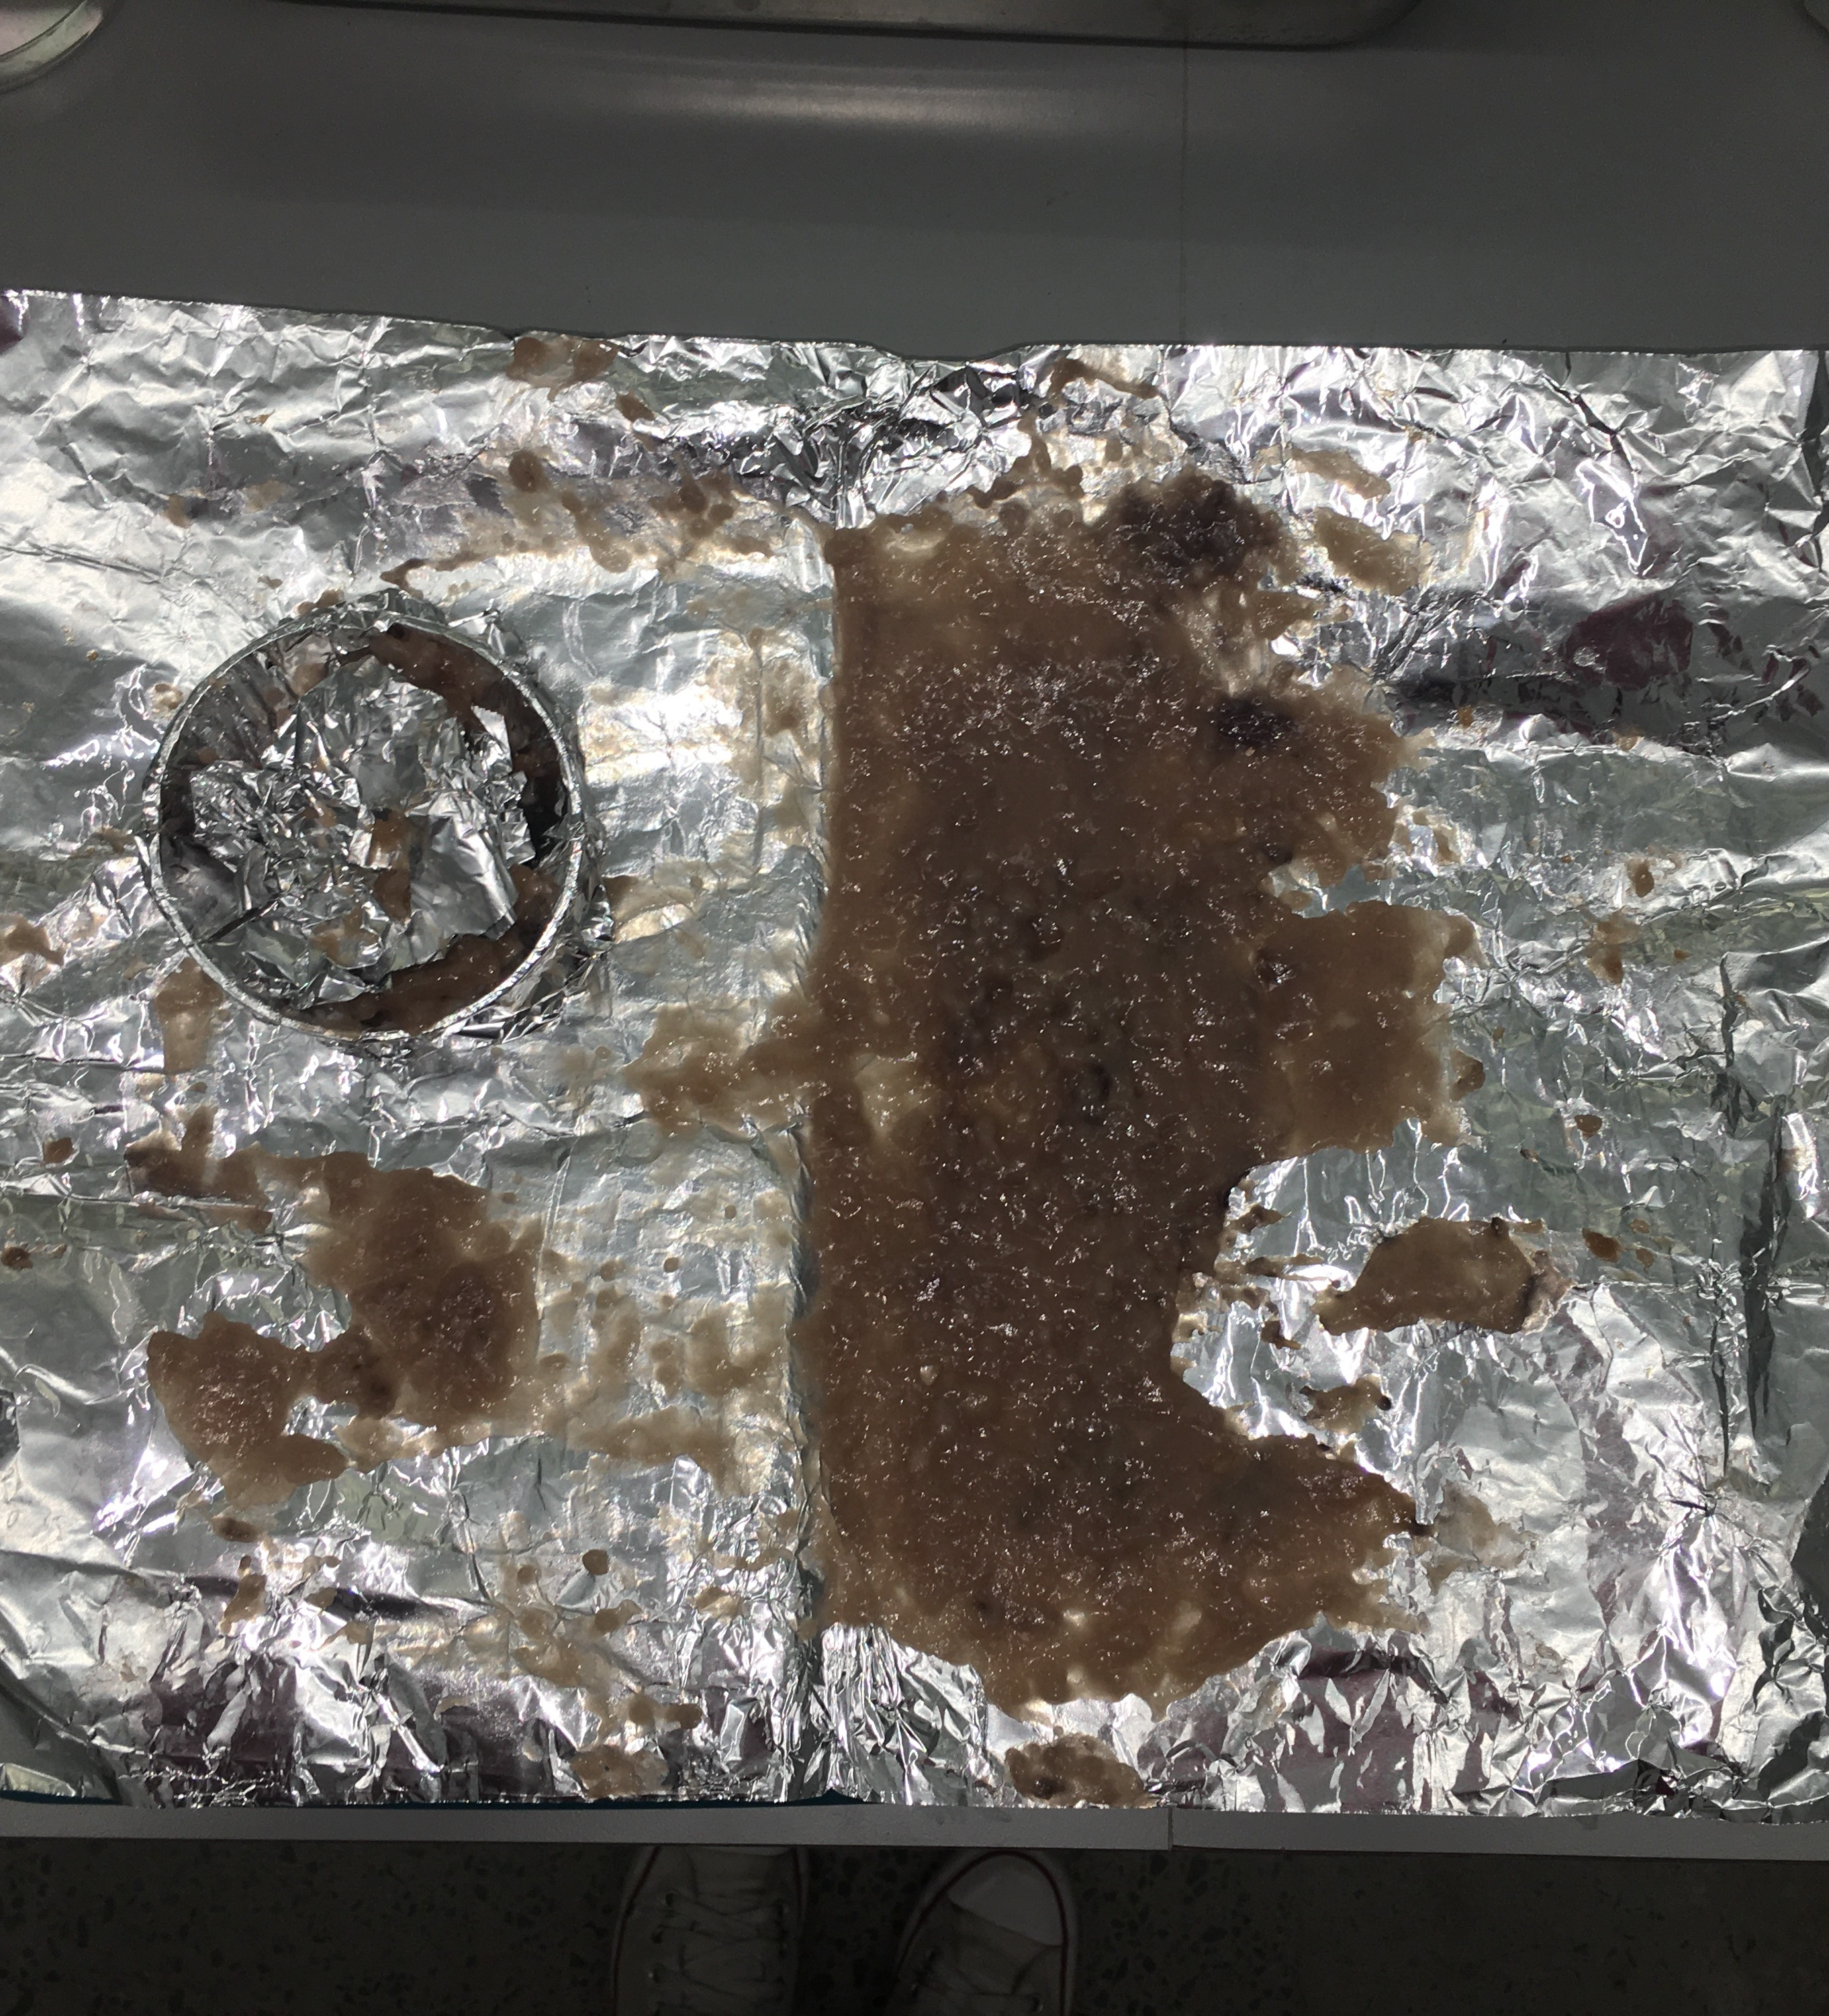
Intial Set up
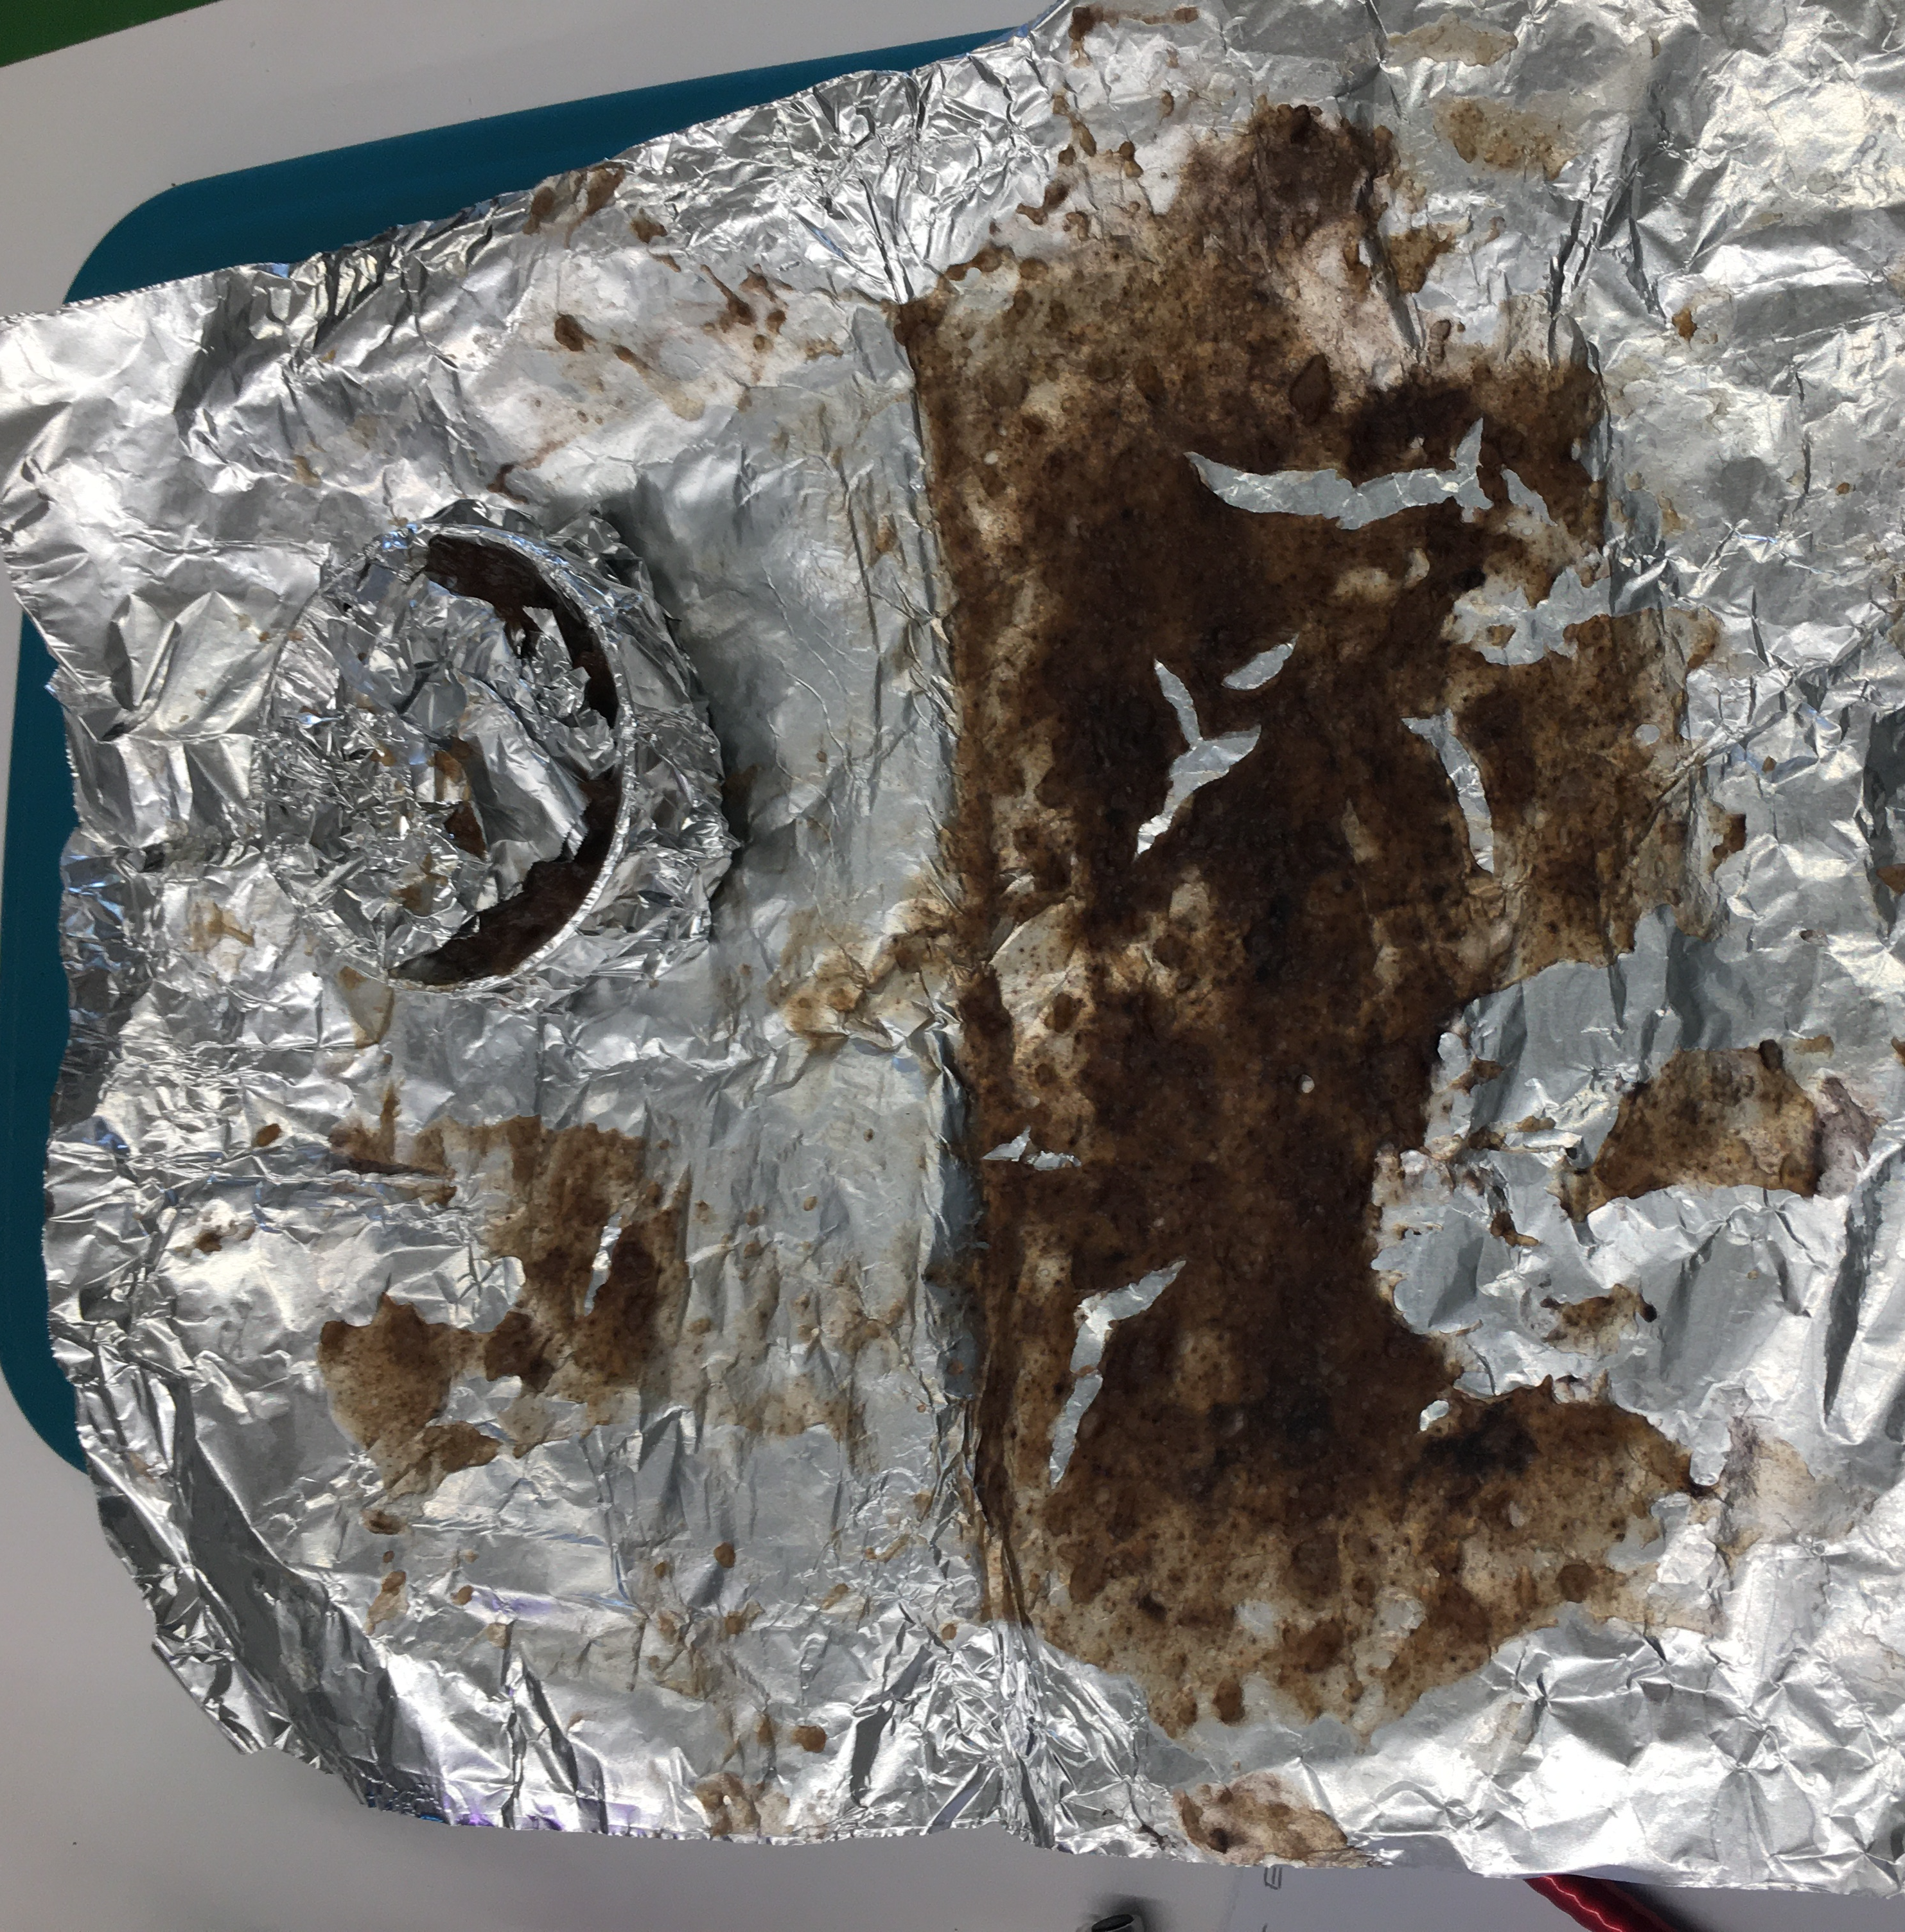
After Drying
Final results & thoughts
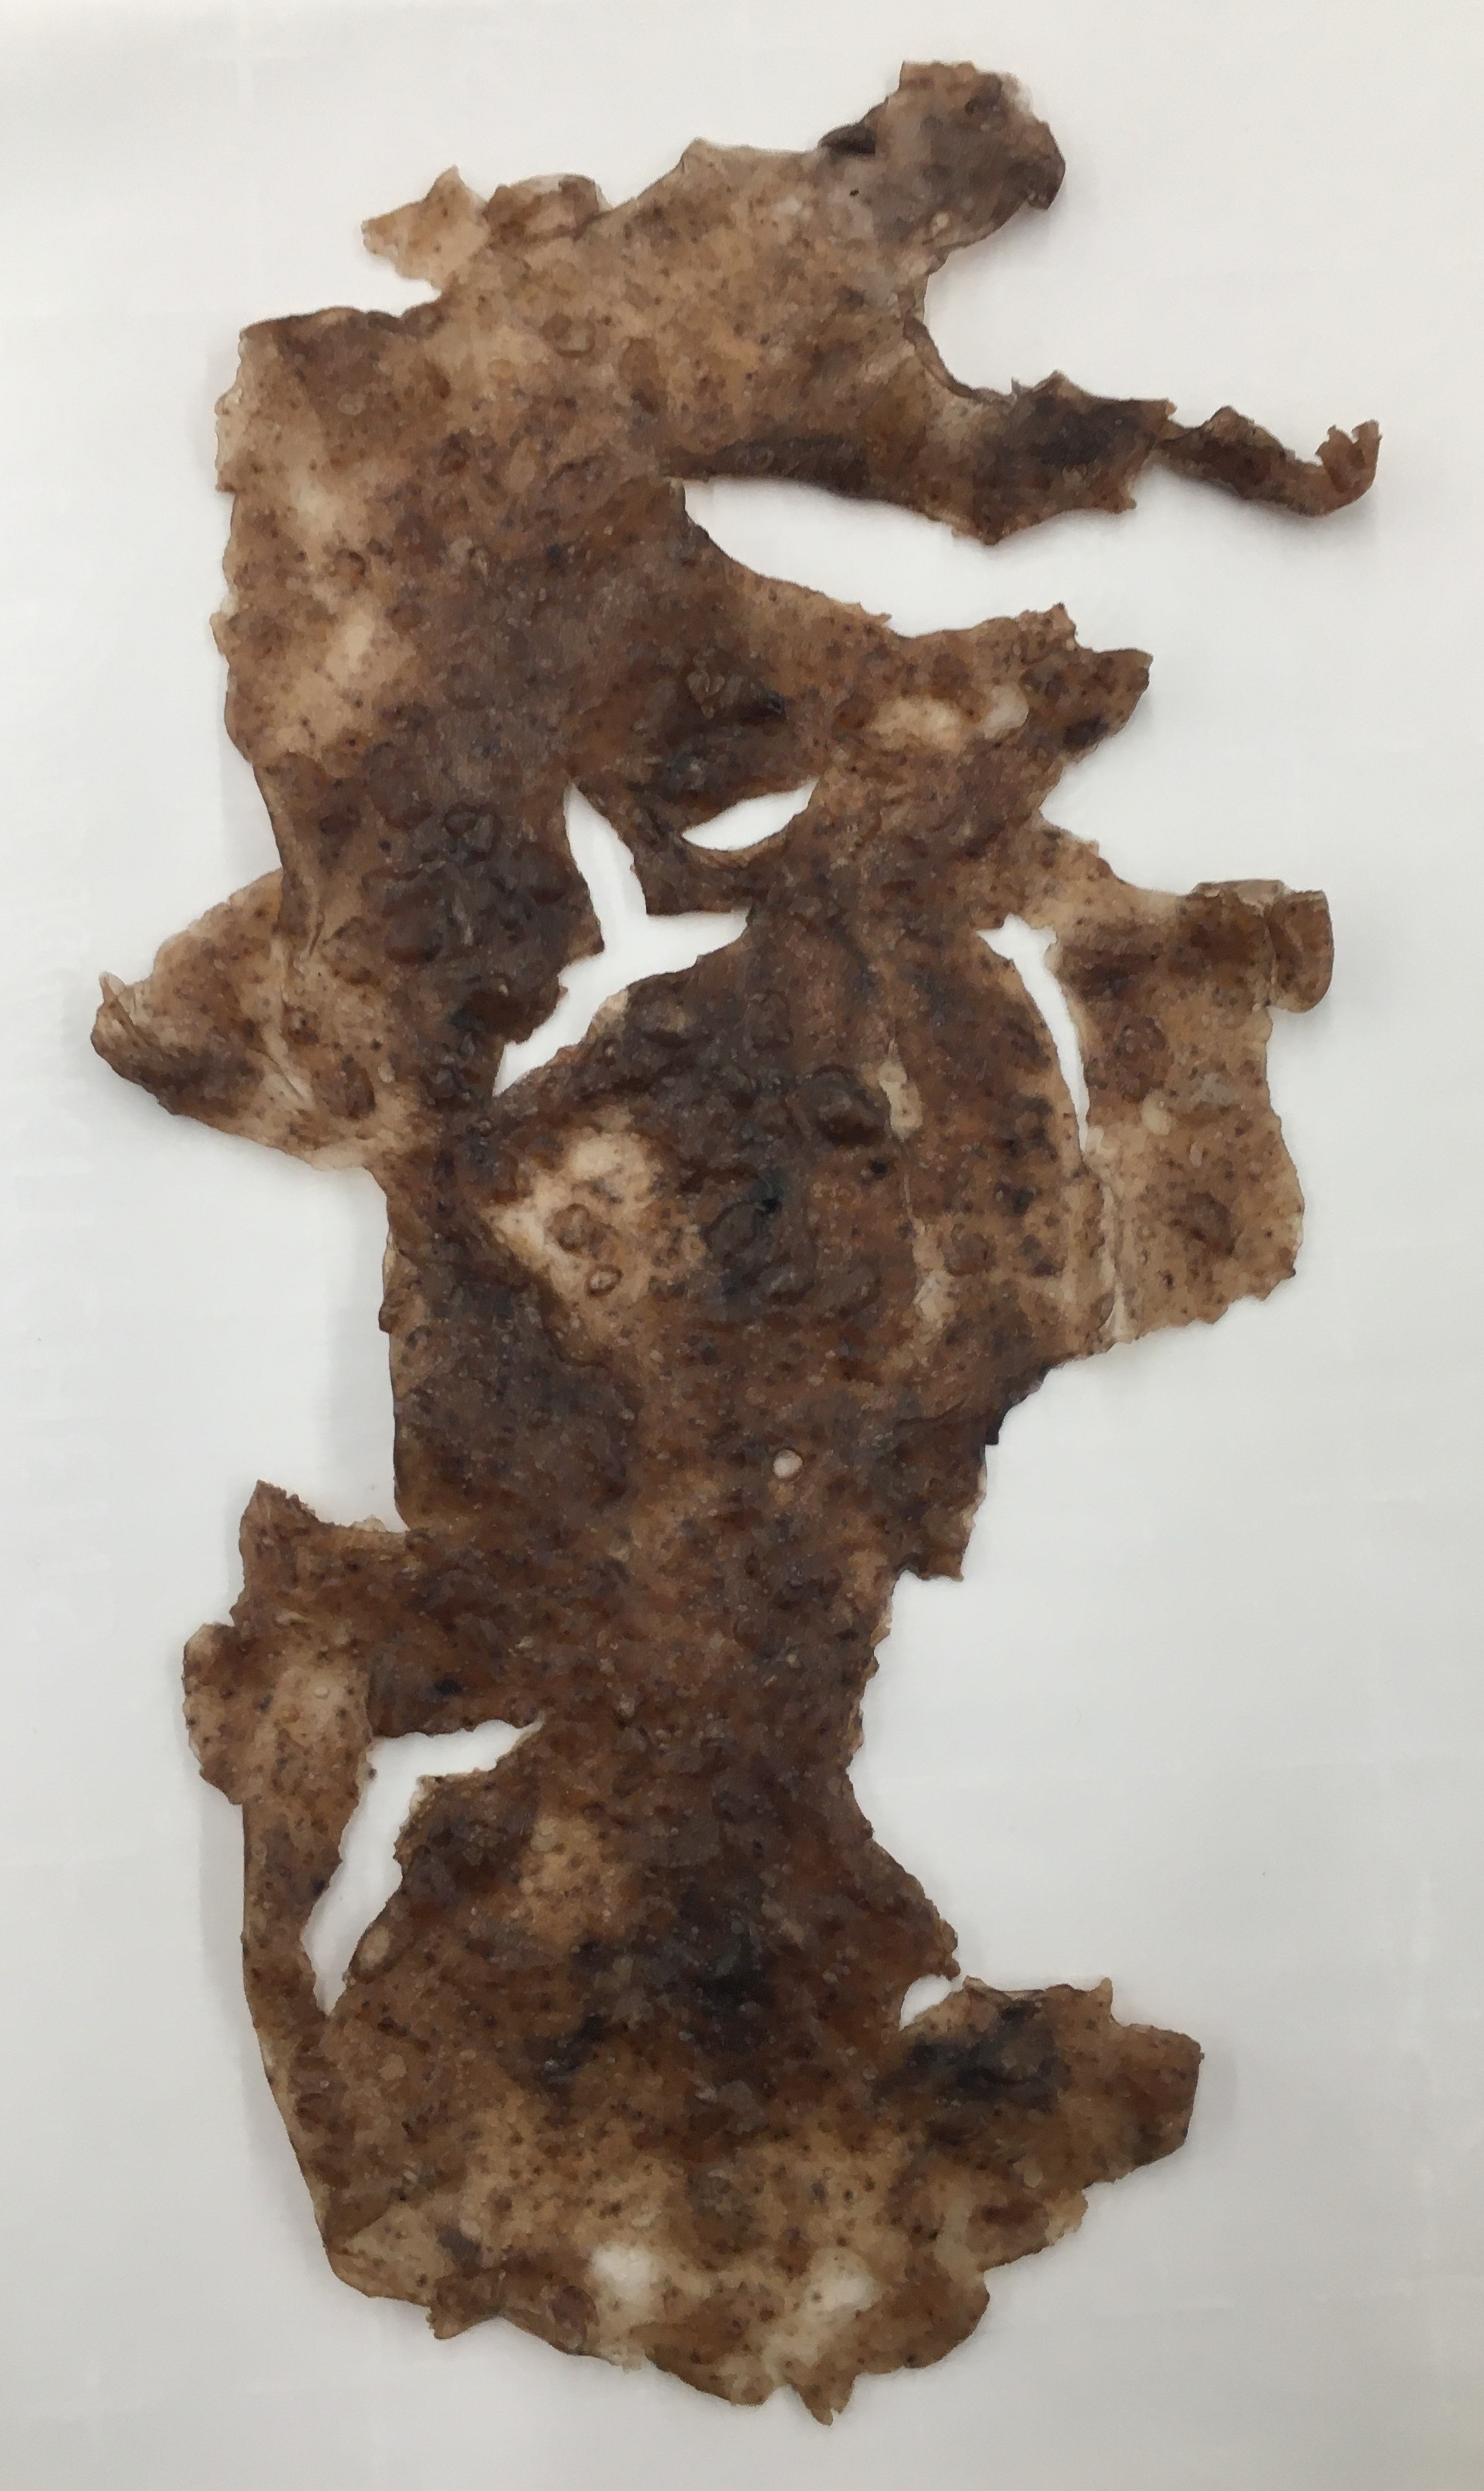
The final results were interesting in terms of how the pigment developed as well as how it took the drying out on a texture. If this wasn't a starch-based bioplastic, I'd use rose petals again, but since it is, the outcome looks like a fake skin. Additionally, the texture wasn't retained because it was still a bit sticky. While in season and a very spooky bioplastic (this was made in lab on Halloween), I think next time I develop a bioplastic I'll test more pigments as well as see if there's a way to harden the plastic more. Overall, this was really fun to experiment with and see what the potential outcome could be, especially since the future of textiles can be bioplastics.