8. Wearables
Process and workflow
This week was honestly overwhelming for me for various reasons; mostly because my brain is absolutely not working for scientific, mathematical, technical and technological purposes ! I struggled a lot following the courses about coding and electric circuits and I just gave up, because I know that's not where I'm going. However, I still had to create something for this week so I tried to find something I could relate to, and thermochromic ink were the ones the most aligned with me, being very visual and emotional in a way.
We had only one color of the thermoreactive pigment, changing clear blue to light pink. I was not convinced with the colour so we tried to find to mix other mineral pigments with the thermochromic one to see if it would change colors. I briefly tried to paint on textile but soon enough I realised I wanted to work with plants or flowers. We had this fig tree in the garden with these beautiful shaped leaves.
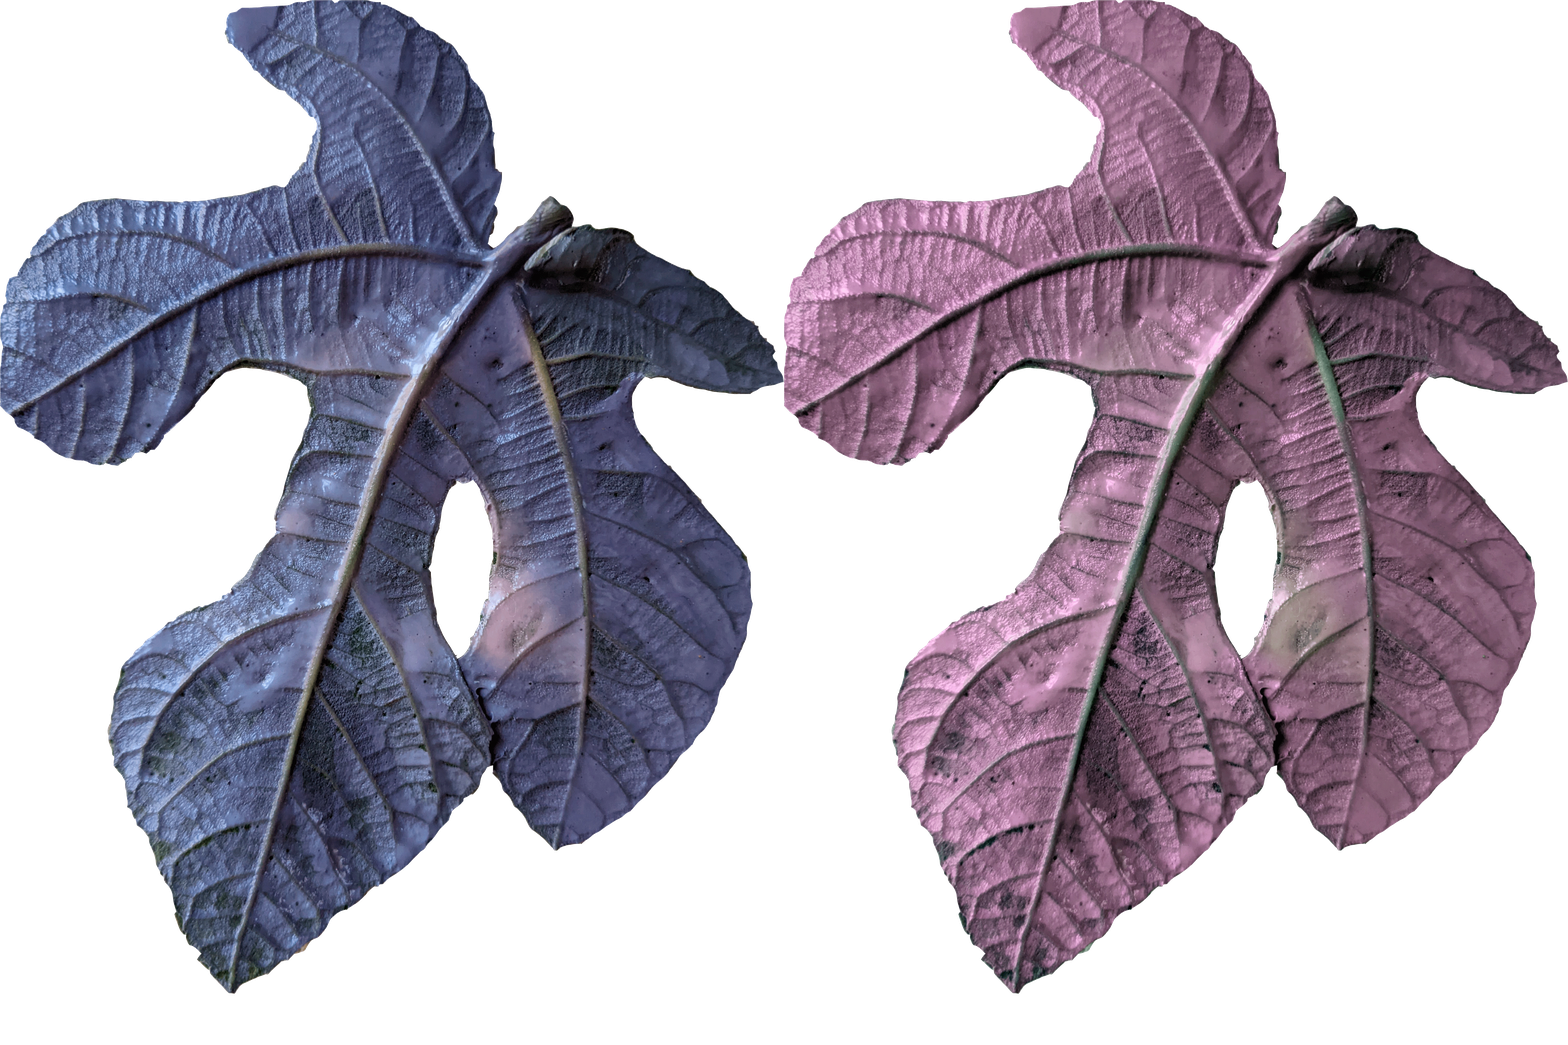
I first tried with black pigments to have a kind of grey but it completely absorbed the thermoreactive ink so nothing happened. Lauriane, with whom I was working with, tried to add an ochre-coloured pigment and it actually worked. So we had this beige ink changing colors to yellow/orange.

- thermoreactive pigment : 0,5 gr
- ochre-coloured pigment : 0,5 gr
- wood glue : 20 gr
- water : a pinch
- container
- kitchen whisk
- measuring spout
- spoons
- brushes
- WEIGH THE INGREDIENTS AND THE QUANTITY OF WATER REQUIRED.
- MIX UNTIL EVERYTHING IS HOMOGENEOUS.
- PAINT ON A SURFACE OF YOUR CHOICE.
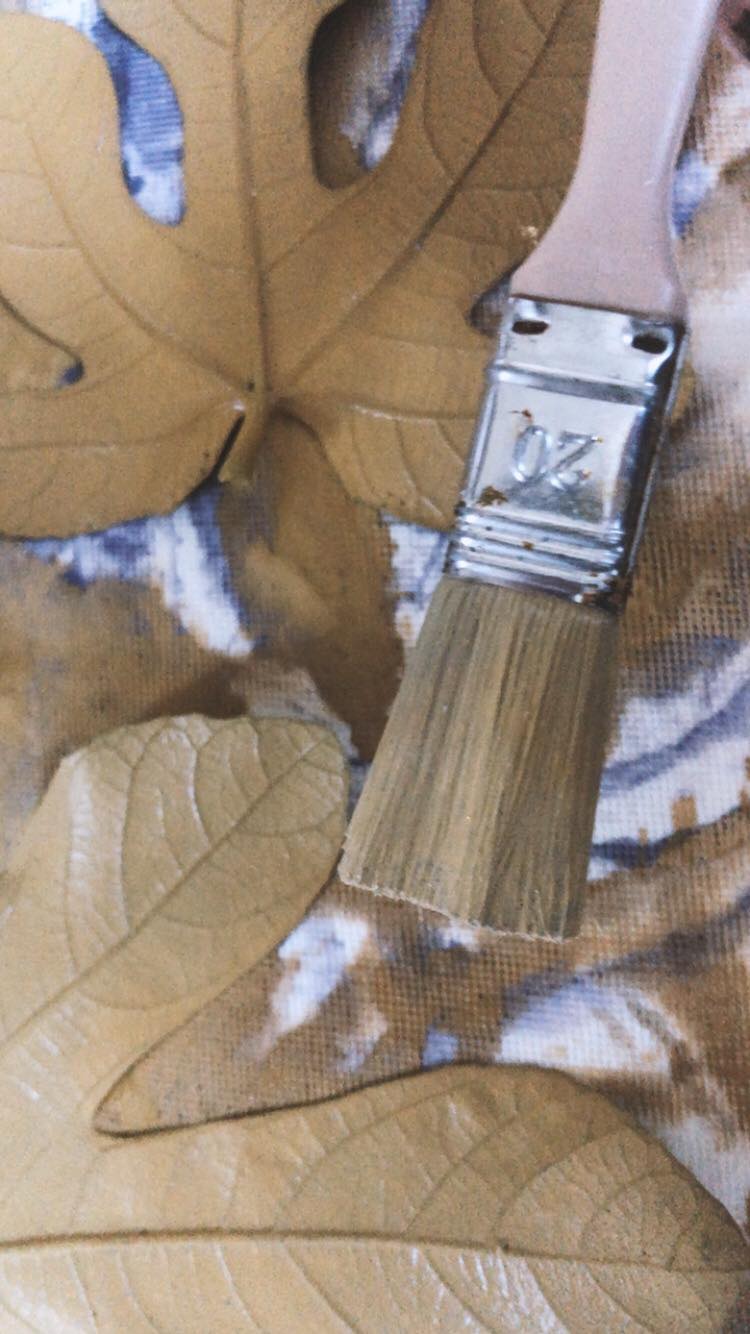
After applying the ink blend on the surface of the leave, I tried to heat it with the hair dryer. I appreciate how the colors start spreading in a very organic way.
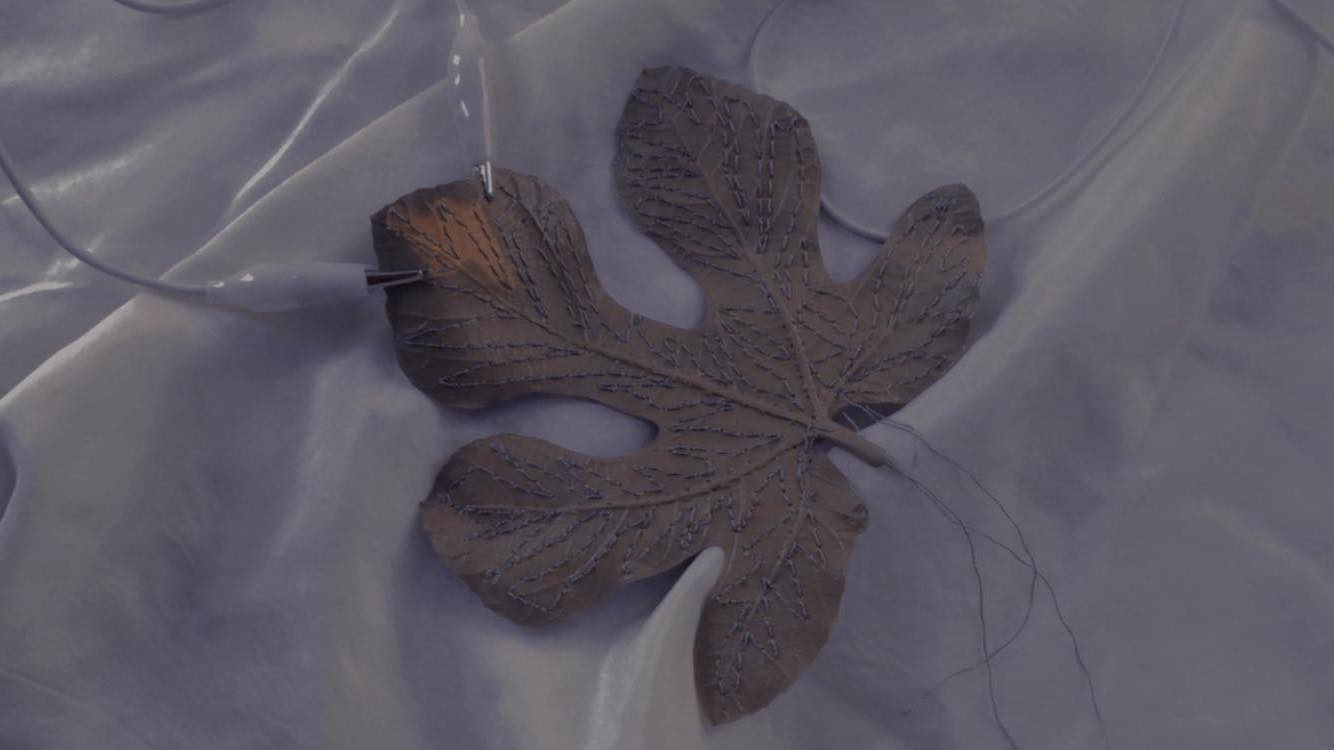
Afterwards, I tried to sew the leaf manually with conductive thread. Honestly, the result was not very clean, and when we tested it, the colour did not spread very well. Marion recommanded me to use the sewing machine, which I had never used before. I decided to do it in order to save time and to have a more satisfactory result.

I tried to create various shapes to have the most of colors spreading onto the leaf.
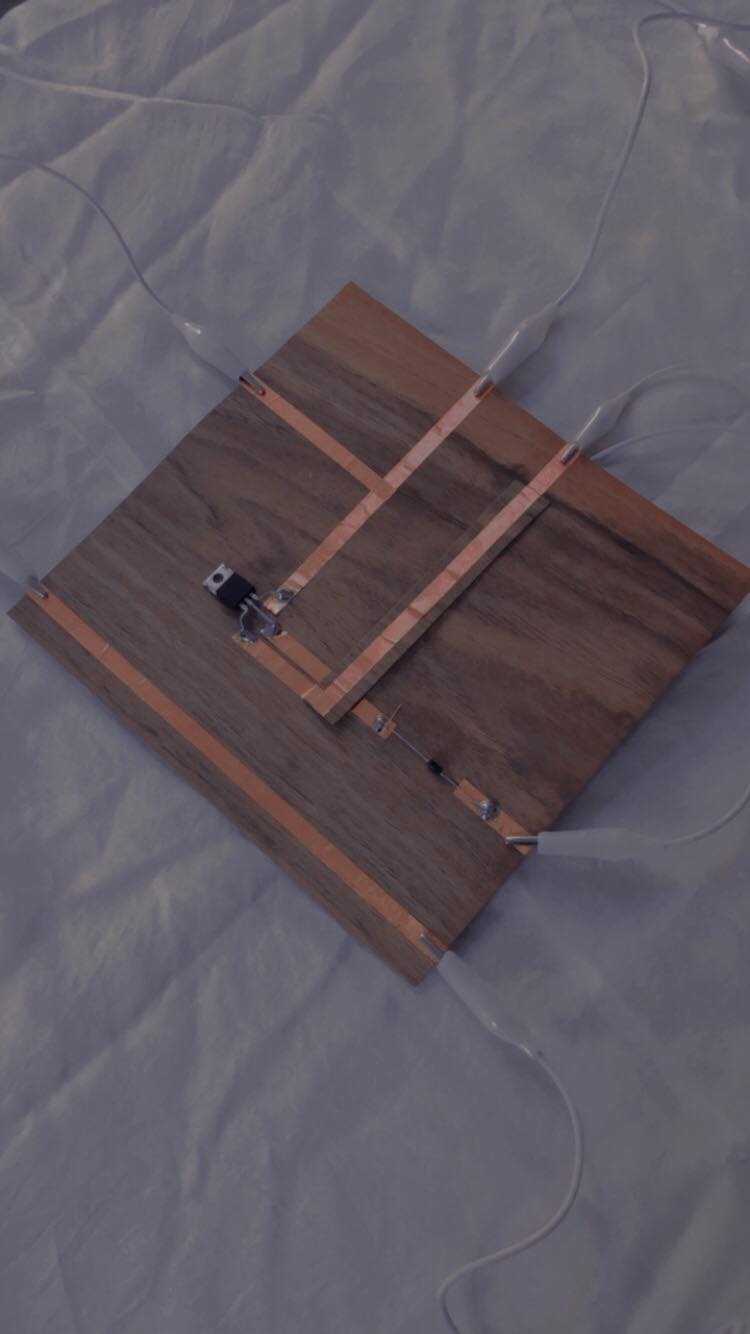

We previously had created a circuit using copper as a conductive material. I started to assemble the whole circuit seen in the course with Arduino software.
The wooden sheet circuit (from fellow student Melanie Abel's page ):
- An "hard" piece of cardboard, or here a wooden sheet very thin
- Copper tape
- A MOSFET (Power N channel transistor)
- A diode
- Soldering iron
- 9V battery clip if you plan on using a 9V battery as a power supply
* Apply the copper tape as the scketch shown above.
* Use a piece of paper or wood to insulate the point of intersection of the cooper bands with the iny piece of paper or walnut veneer.
* Use the pliers to bend the legs of the MOSFET far enough apart from each other, the MOSFET could lie flat.
* Solder the MOSFET legs
* Use the pliers to bend the legs of the diode
* Solder the diode legs
Then I connected with conductive cables , in order : a battery, the arduino device , the computer with Arduino software, the leaf embroided with conductive thread, and then back to the wooden circuit.
We used the code to heat-up an element found on Patty Jansen's page :
void setup() {
  // put your setup code here, to run once:
pinMode(3, OUTPUT);
Serial.begin(9600);
}

void loop() {
  // put your main code here, to run repeatedly:
analogWrite(3,500);
Serial.println("On");
delay(2000);
analogWrite(9,0);
Serial.println("Off");
delay(2000);
}
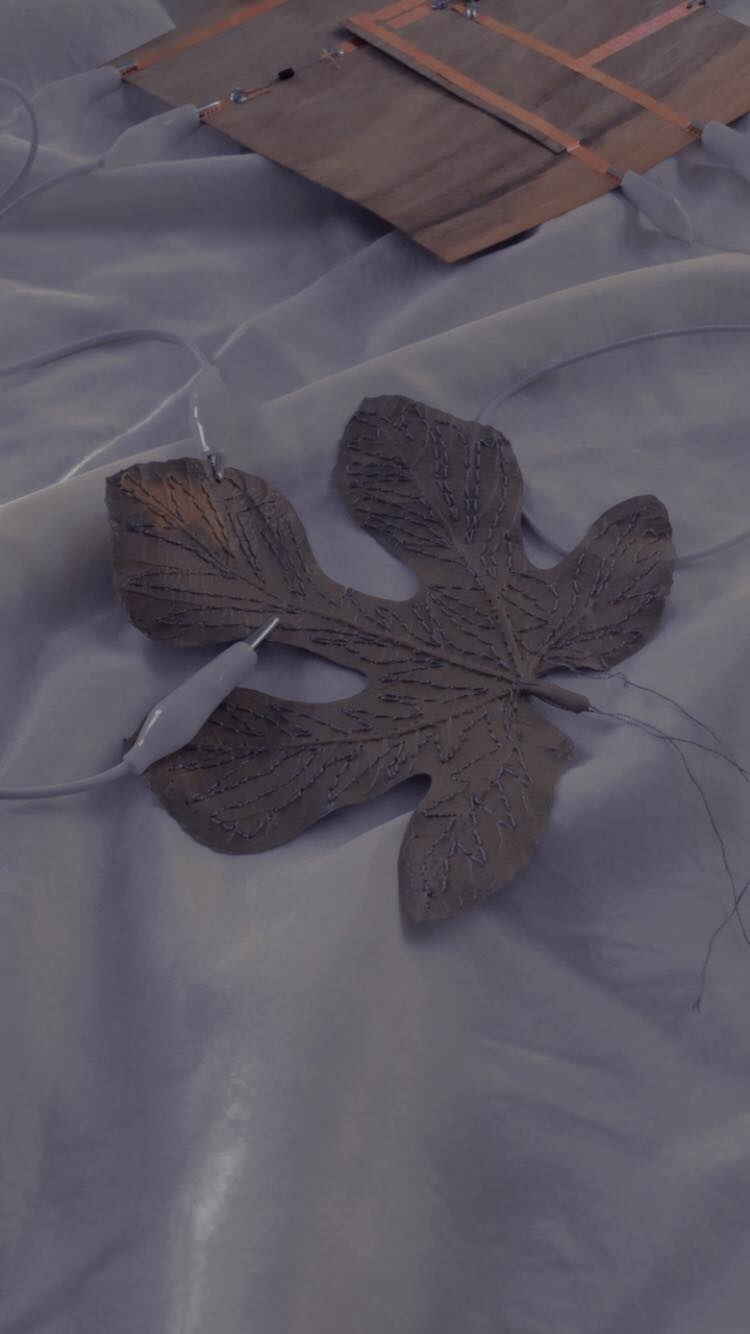
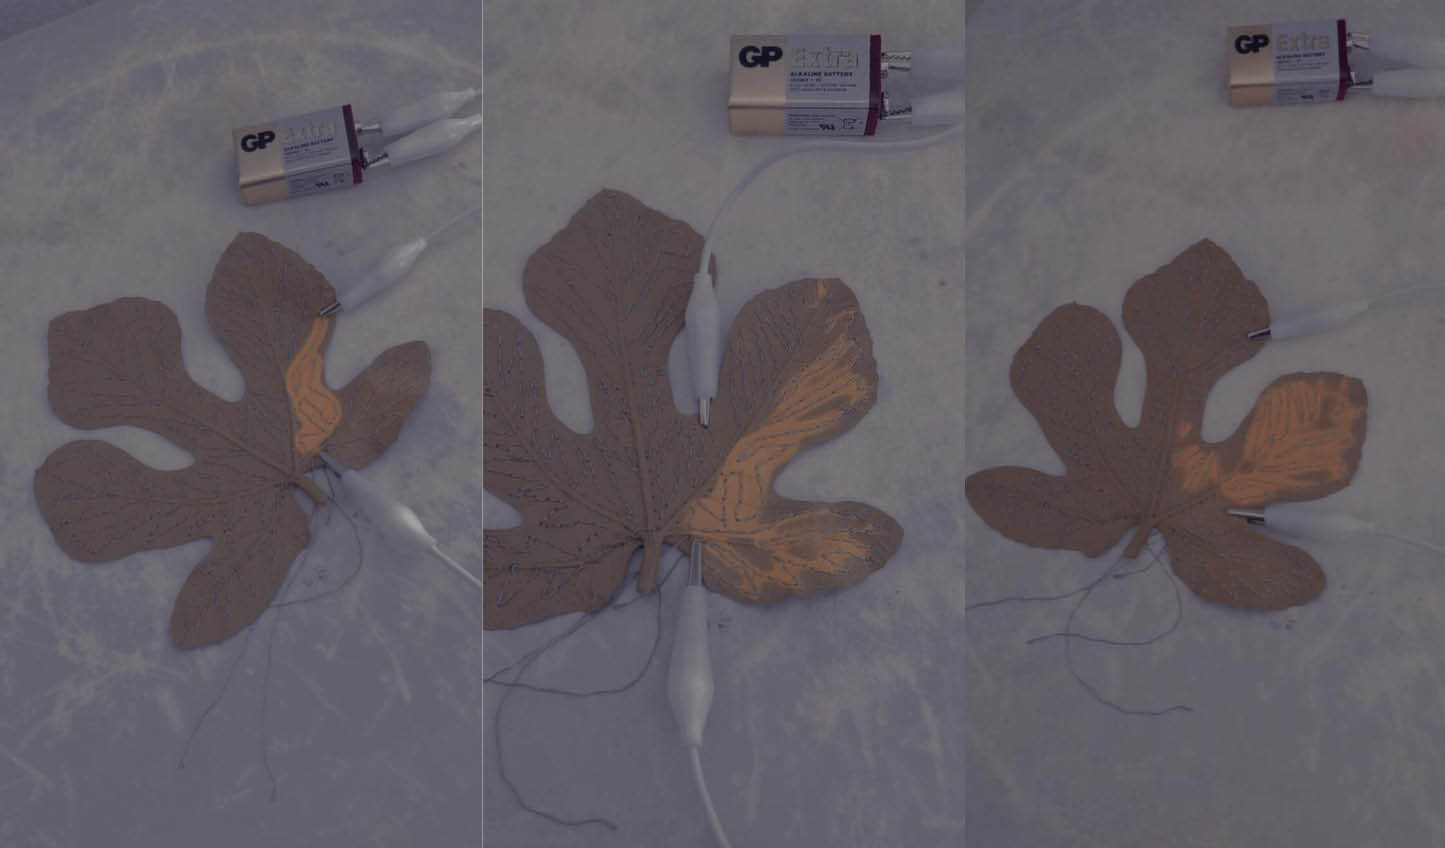
With the rather complex and extensive sewing system, it is difficult to get the whole leaf to heat up.
It is therefore possible to get heat (and therefore colour) on small parts of the leaf, as shown in the examples (the largest area we have managed to get).
