9. Textile Scaffold
Crystal Growing
I am fascinated by precious stones and other rocks so I have naturally been drawn to the crystal growing experimentations. Actually, I had already explored it three years ago for a costume project, where I crystallized a whole woolen coat but also while working within THE UNSEEN STUDIO where the Art director was really into crystal experimentations. Some contemporary artists I like have also worked with this process, namely so Roger Hiorns (Seizure, 2008) who turned a derelict London flat into a major modern artwork pumping in 75,000 liters of copper sulfate solution.

Also Bianca Bondi who created immersive installations and objects following different alchemical processes with a poetic and spiritual approach; salt experimentations and crystal growing being one of the process she uses the most lately.

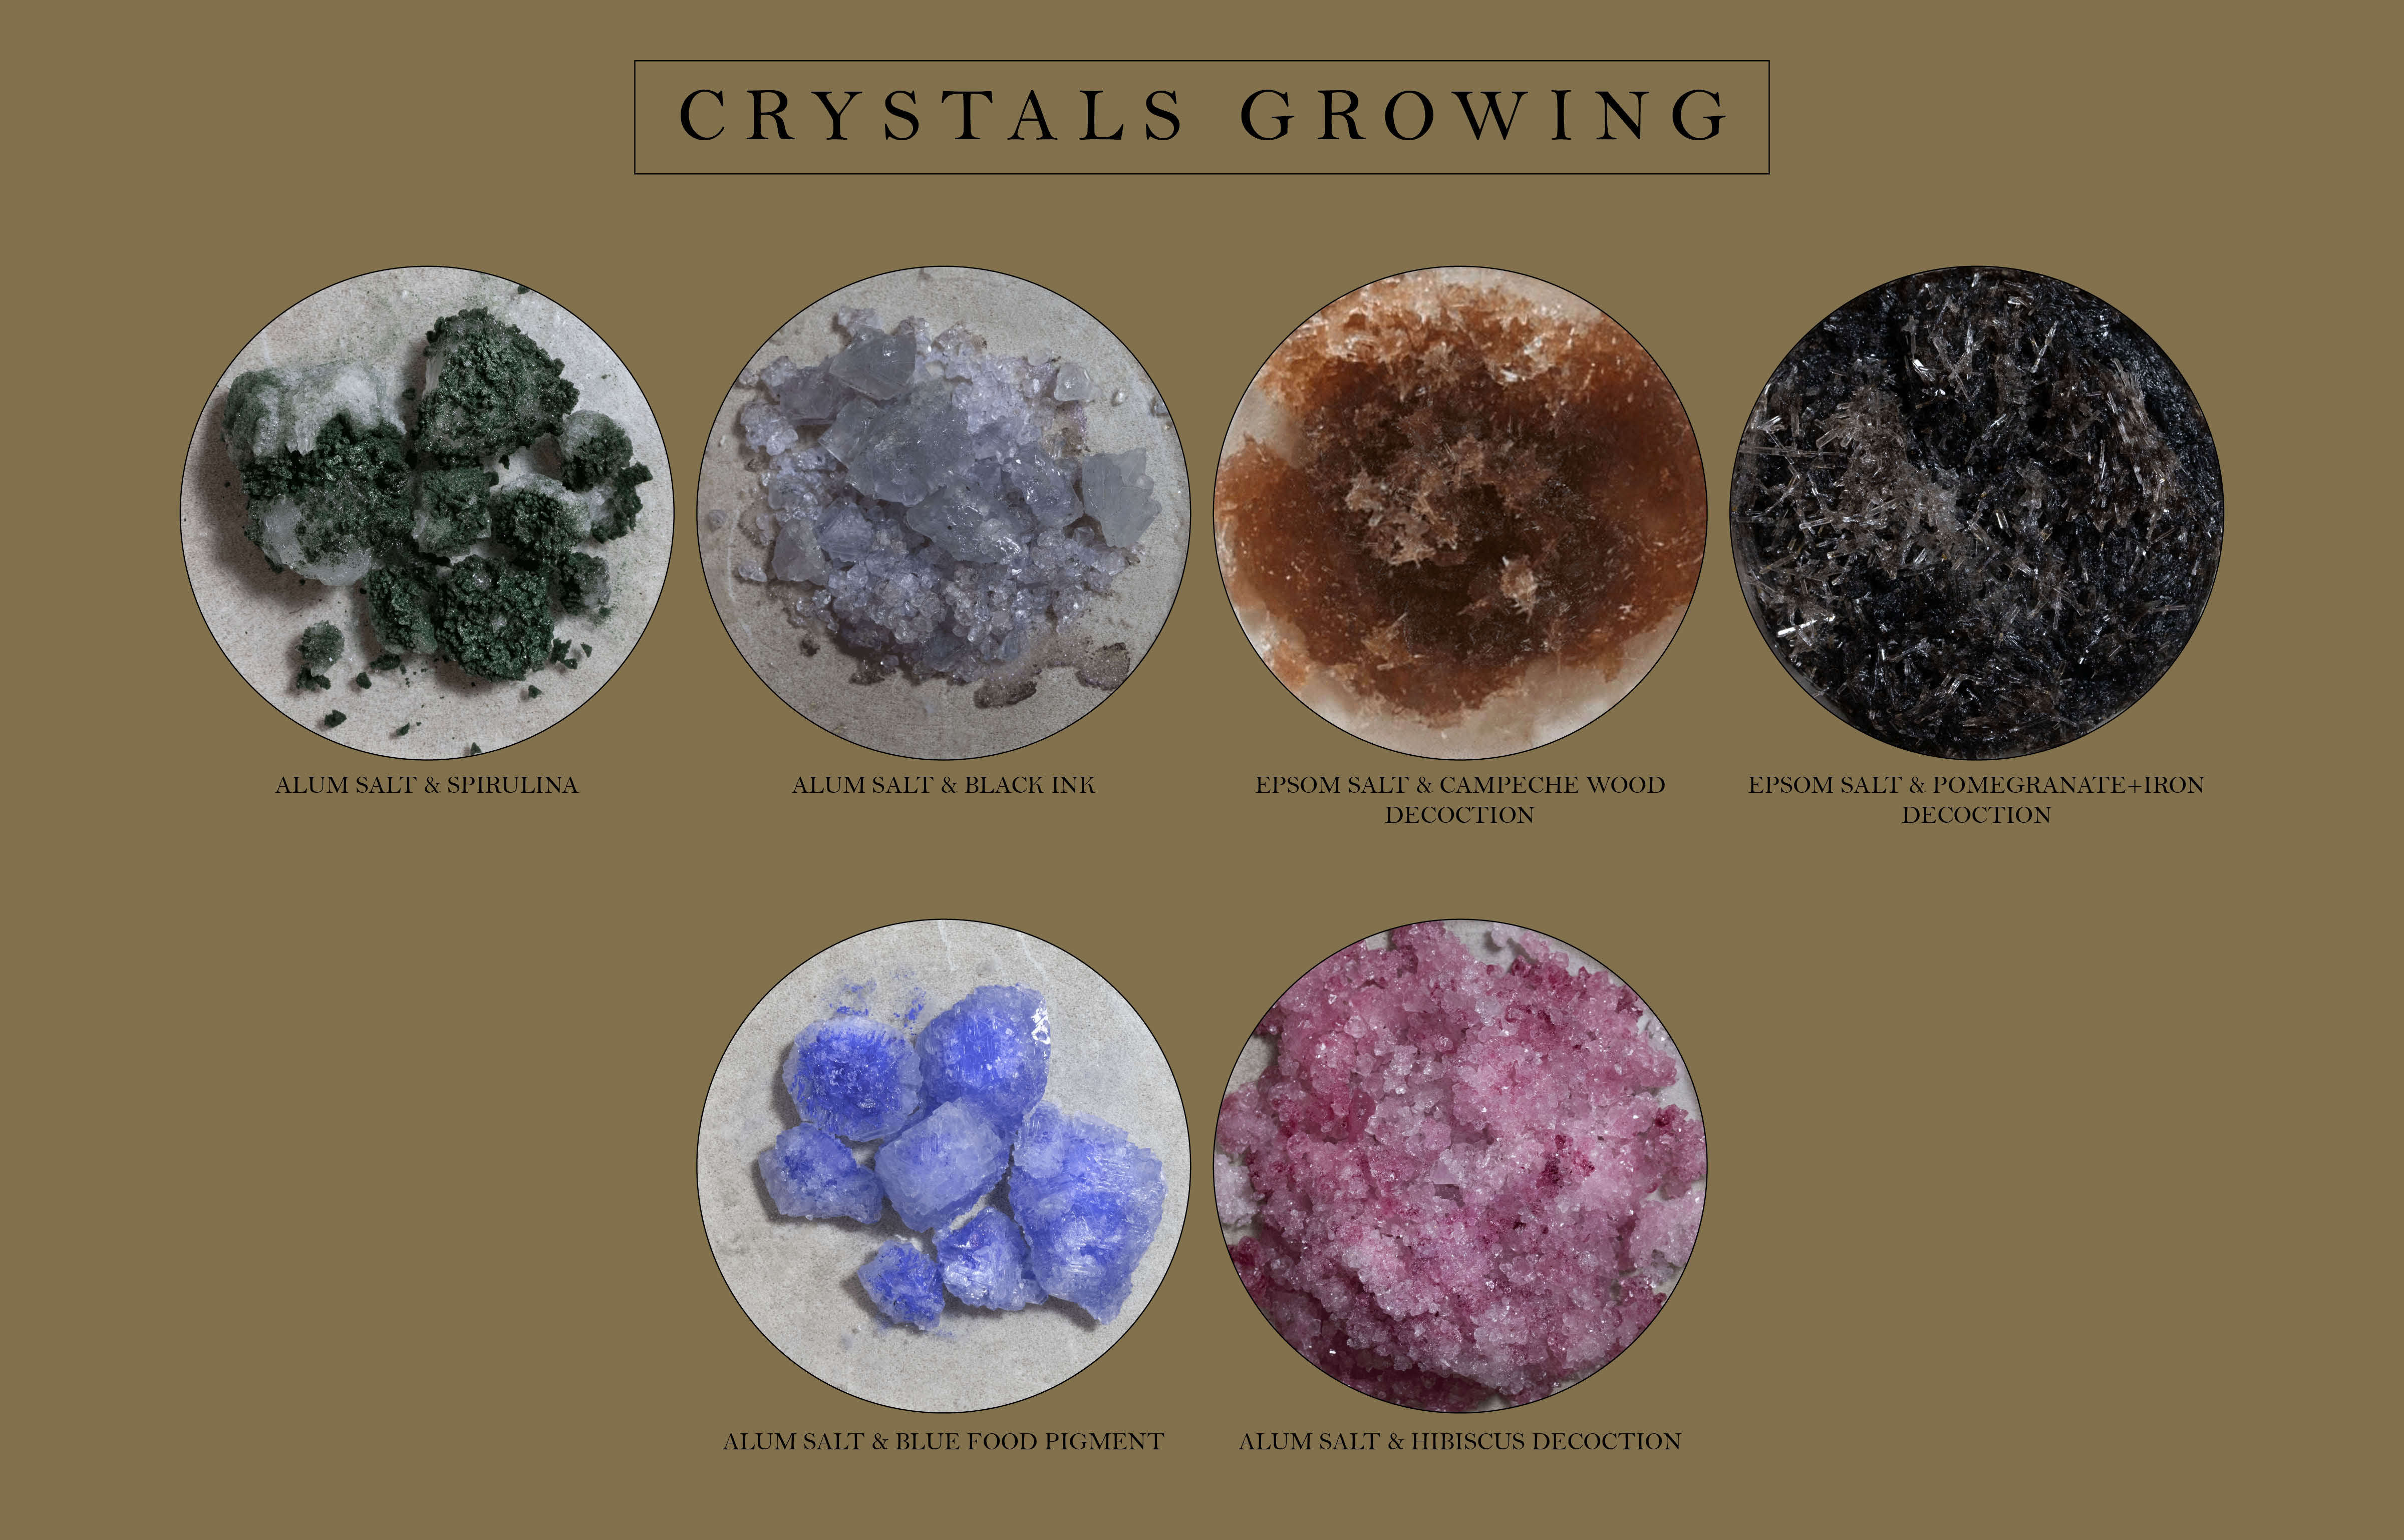
In the lab, we had alum salt, epsom salt and copper sulfate powders. I used each of them.


• For alum salt :
Add 3/4 of the powder to 1/4 of hot water. The more the water is saturated with alum, the better it will crystallise. Try out different varieties of quantities. Pour into a container and soak the desired material. Cover. It is often recommended to include alum crystals in the material beforehand so that new ones can form.


For epsom salt :
Add twice as much epsom salt as hot water. The more the water is saturated with epsom salt, the better it will crystallise. Try out different varieties of quantities. Pour into a container and soak the desired material. Cover. It is often recommended to include epsom salt crystals in the material beforehand so that new ones can form.

For copper sulfate :
Add 2/4 of the powder to 1/4 of hot water. The more the water is saturated with alum, the better it will crystallise. Try out different varieties of quantities. Pour into a container and soak the desired material. Cover. It is often recommended to include copper sulfate crystals in the material beforehand so that new ones can form.
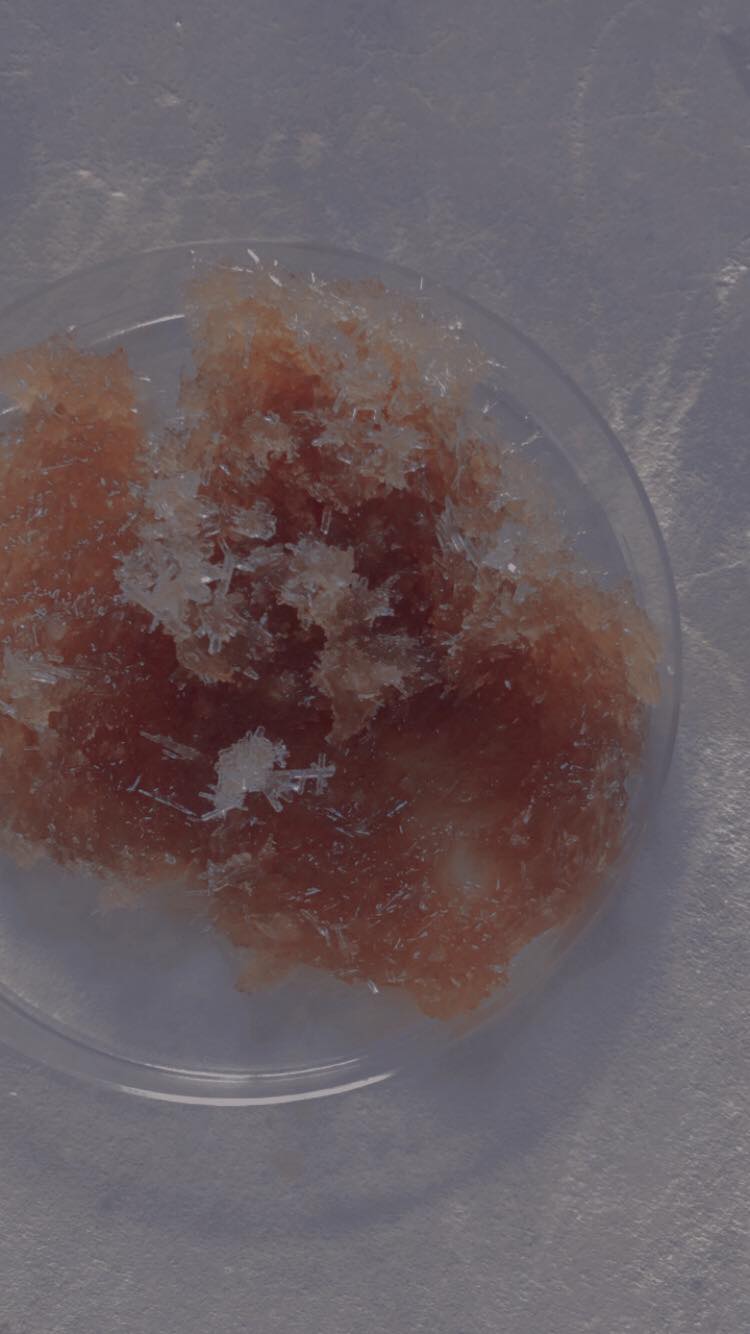
Concerning the colors, I would say that It works better with raw natural ingredients colors, as it did'nt work very well with drawing inks bought in beaux arts shop. I didn't succeed to make black crystals as I wanted to, I just managed to make a very light gray. Other colors were pretty successful even if I got a pink instead of a purple.
Leather Molding
For the molding part, I have been helped by Lucia Javicoli who passed on her knowledge about leather to me and introduced me to the work of Kofta (following pictures); an atelier in Ukraine specialized in leather bags made out of sculpted leather following this same process.

For the leather molding I wanted to have a fossillized effect but no being able to 3D print nor having a fossil in the lab, sadly, I looked for a rock in the surroundings. The surroundings of Oullins is not very rich in rocks or stones materials so I struggled finding one, but I got one from a last year student, which was textured and big enough.

Firstly I cooked the selected leather skin and accidentaly boiled it. But the result in textures were rather interesting.
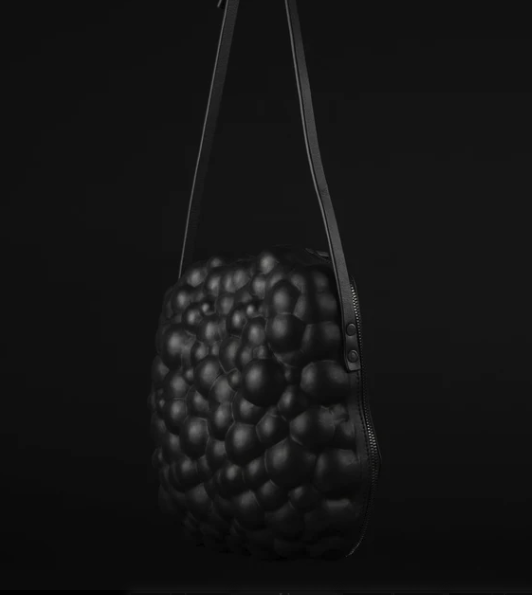
I applied the 3 leather skins onto the rock by tying them with rubber bands or ropes.
Then with the help of Lucia, I applied a towel over it to press the material as well as possible, and put it in a vacuum bag that we sealed with the suction of a vacuum cleaner.
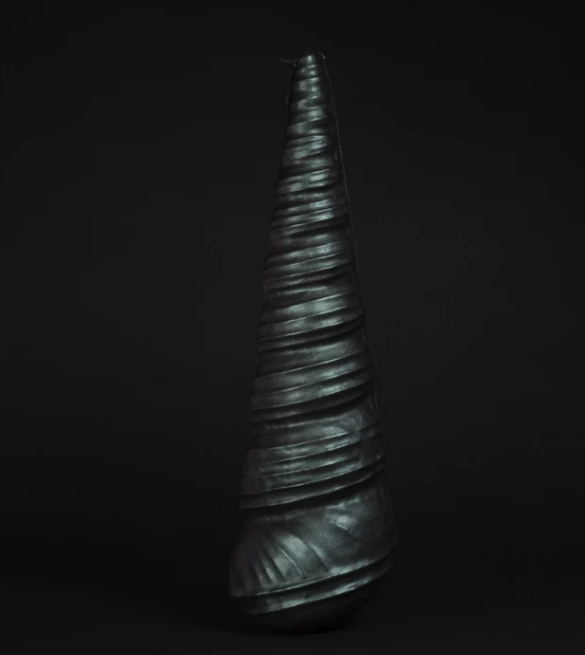
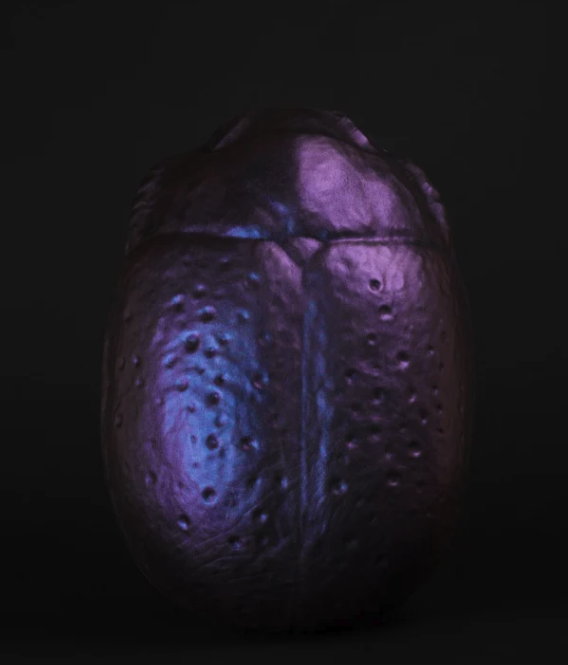
The results were rather beautiful, my favorite one being the purple one; as it was placed in an angle, the details are fine and rich.
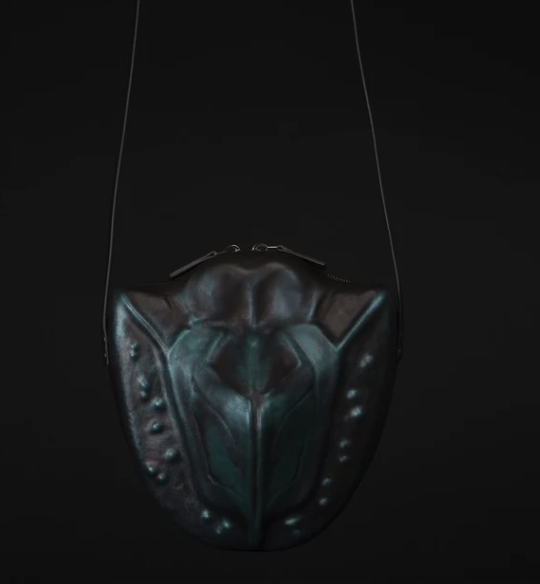
I also fancy the kaki one, which was hold with a rope. It reminds me of a cave or some reptile skin.

Mycellium molding
The Klarenbeek & Dros studio works with a lot of biomaterials that they develop, including experimental mycellium. They were the first to apply 3D printing technology to living mycelium. It's not quite the same process, but their 3D printed chair made from reishi mycellium had made a big impression on me when I saw it at the exhibition "La fabrique du vivant" at the centre pompidou a few years ago.

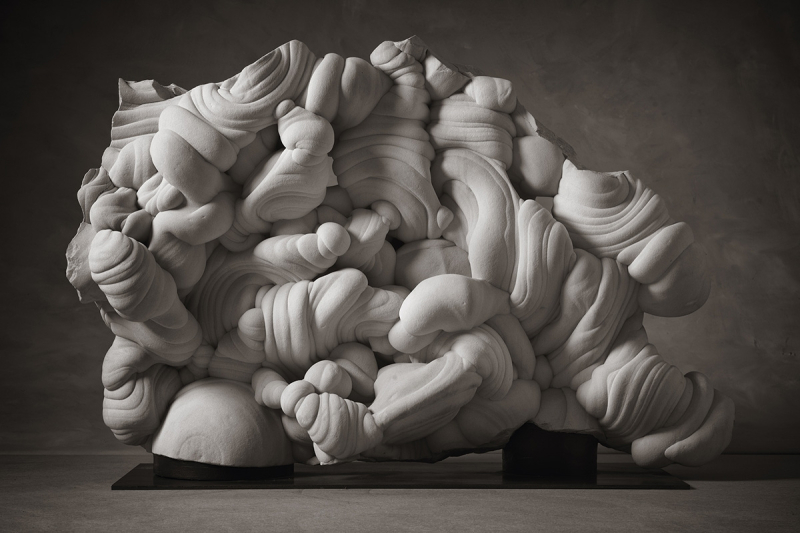
I found a mold from last year students that reminded me of a gogotte. From a geological point of view, a gogotte is a sandstone concretion with siliceous cement. It consists of grains of sand cemented in place by silica deposited by water circulating within the sand layer.

We received a Mycellium kit that I used following the steps written on the website. I added some flour (rice flour as we didn't have any wheat flour left). 15g of flour for 1kg of Mycellium and adapt regarding the quantities you want. Mix thoroughly with your hands and do not forget to wear cloves as you did it.
I applied it on the mold and covered it with plastic film before piercing small holes so that the mycelium can breathe. we left all mycelium samples in a closed dark room for 4/5 days.
I didn't manage to unmold the mycelium. The material was crumbly. I also think that the mold was too "thin" and that concerning the mycelium (especially the shavings), it is better to use larger molds/not too sophisticated and detailed shapes.
Actually, the mold would have worked better with leather.