Tutorial on Kniterate
Creating a Birdseye Jacquard Knit
Creating the Jacquard Image
- Design the image for the jacquard.
- Scale the image to 1 pixel = 1 stitch.
- Maximum width: 252 pixels (= stitches)
- Account for vertical distortion of about 120%. Test it by knitting a test! It's never the same!
- Save the image as
.pngor.jpg.
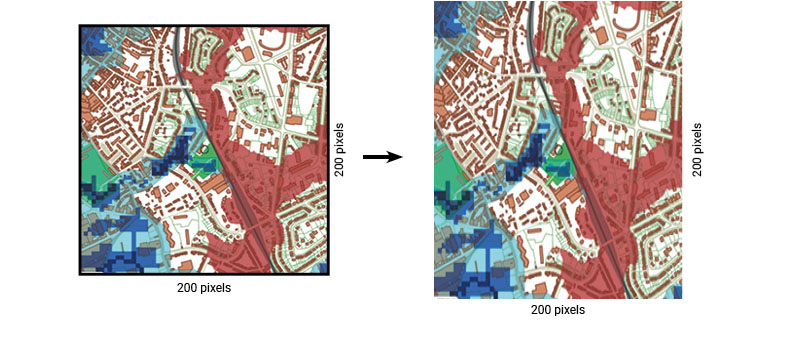
Left, sample image of the map on the square flood.
Right, image distorted to 120% in height before processing on Dithermark. For an image 200 pixels/stitches wide, one must make an image 240 pixels/stitches high. Each drawing, wool changes this percentage. As with manual knitting, a sample is essential to try to obtain the best ratio.
The number of pixels/mesh is final at this stage.
How to Dither an Image
- Import the already scaled image to www.dithermark.com.
- Choose the number of colors (2 to 4 max).
- Modify the color palette.
- Select a dithering algorithm.
- Export as PNG (not
.jpg).
Tip 1: Use the "Image" tab to adjust settings. Only use "Filters (pre-dither)" settings.
Tip 2: Apply settings to multiple images using "Batch convert Image files."
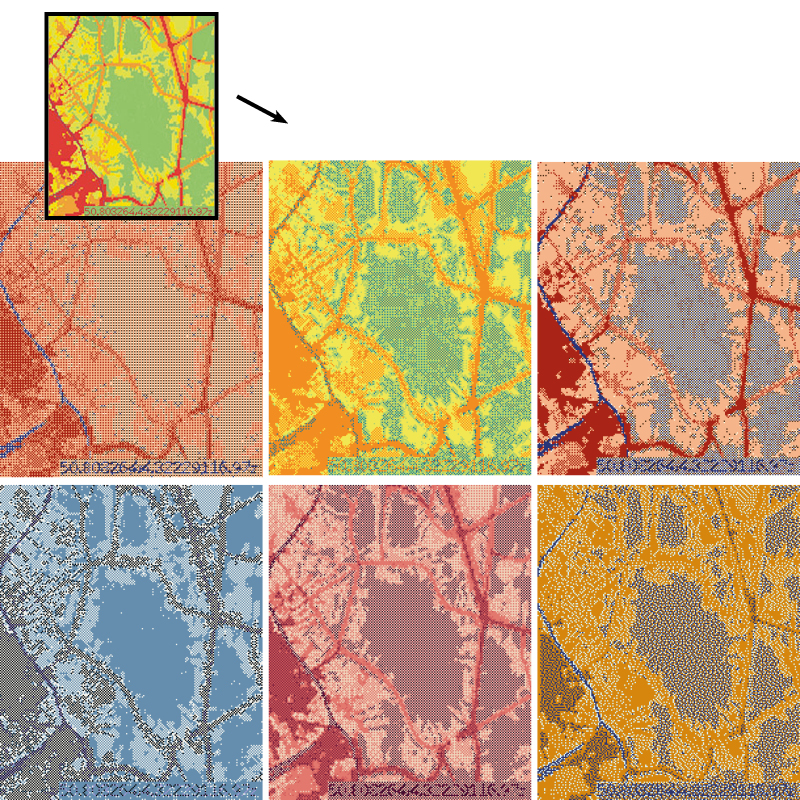
- You can modified pixels by using GIMP, and ajust the colors number. Export in png. Photoshop is not as good as GIMP.
Tip 3: be sure all colors apears in the last row. It prepares the transfert from rear to front easely.
Programming on editor.kniterate.design
Since then, they've change the editor : https://www.customist.com/
Menu Options:
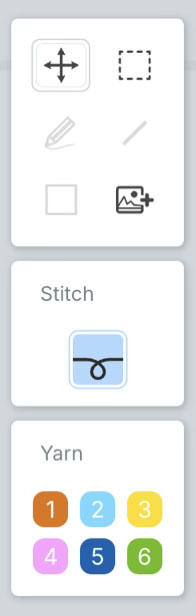
Part 1: - Move work - Select - Edit - Edit by line - Add image
Part 2: - Stitch Types
Part 3: - numbers of the carriage (now you can change the color of the whool!)
Tip: Click the mouse button to move the image on the screen.
Create a New File
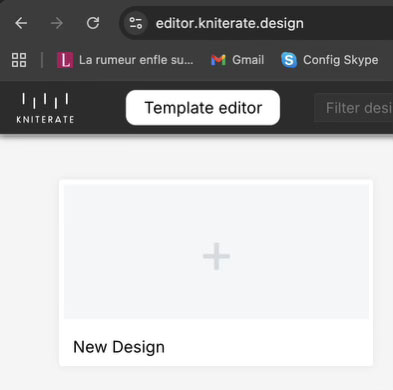
- Rename/save the file: Unlock the padlock.
- If you duplicate, the editor saves the current file first.
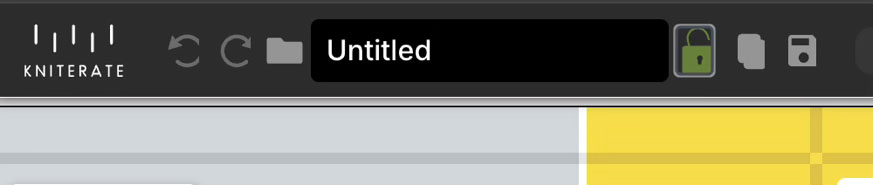
Tip: Name your file with significante informations (Ribs, technics, size…)
Sizing Your Work
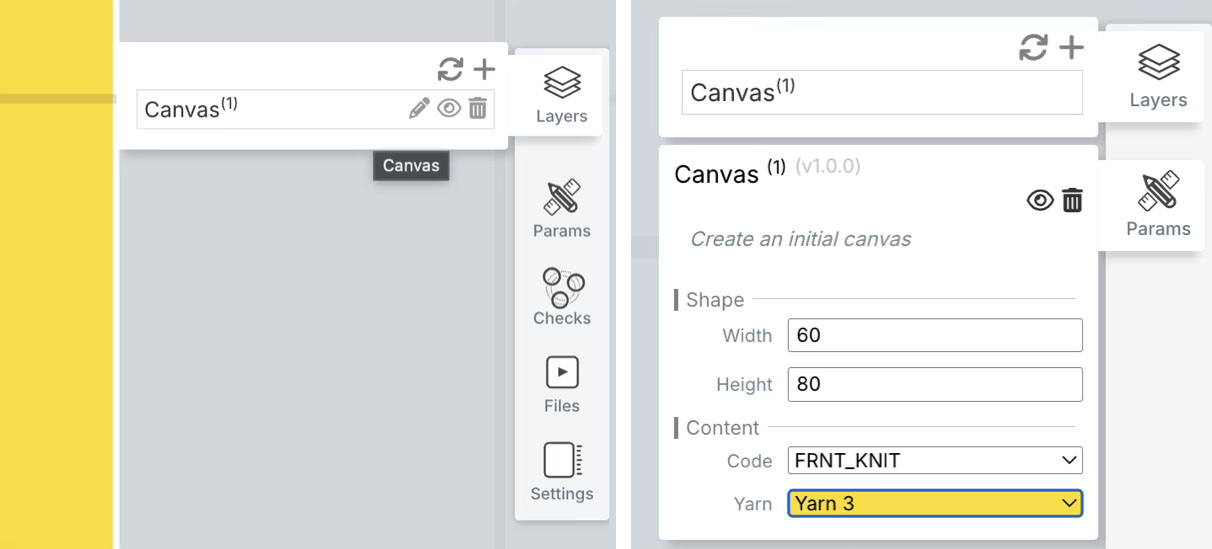
- In LAYER, the CANVAS appears by default.
- Hover to see icons (Pencil/Eye/Trash).
- Click the PENCIL.
- Enter the number of stitches in SHAPE (width x height).
- Click anywhere on the window to validate your choices.
Casting On Stitches
- In LAYER, click + and select Waste + Cast-on.
- Select the location.
- Select Pick selection.
- Select row 1 with the selection tool (right-click, set selection/course wise).
- The cast-on rows appear at the bottom.
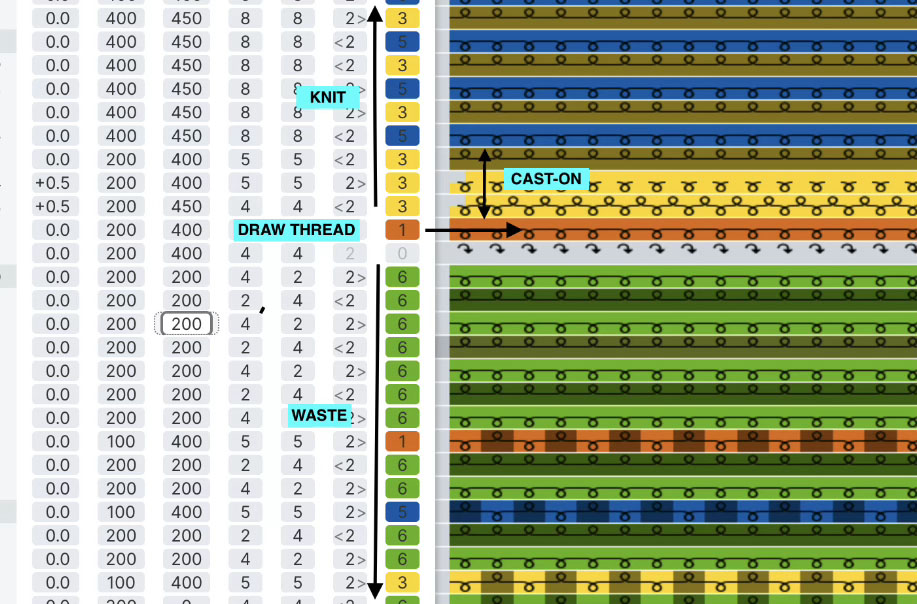
Adjust
- Waste yarn: YARN 2 (PLA thread)
- Body yarns: Use carriages, e.g., 3, 4, 5, 6
- Check IS JACQUARD
- In interlock, write: stitch 4 (tension applied to thread 2 in PLA)
Creating a Double Jacquard
- In LAYER, click on + and select Birdseye Jacquard.
- Click Location/Pick selection, select the 4th yellow row above the waste yarn: select the darkest row.
- Click the black window to upload the
.pngimage. - If there's an error, check that the pixel format and number of colors match the CANVAS image.
- Yarn order: Add '3 4 5 6'
Assign each color to a yarn guide
- Yarn 3 / Yarn 4 / Yarn 5 / Yarn 6
Important:
- For 2-color jacquard: Check Invert colors.
- For 3 or 4-color jacquard: Check Full needle if you want to have a crisscross knit.
Tip: Birdseye Backs in Jacquard Knitting
Editing Block Parameters (Optional)
- In LAYER, click + and select Edit option columns.
- Adjust parameters for the entire block.
- Fill in stitch 4 for thread tension in the image. (my settings for my whool!)
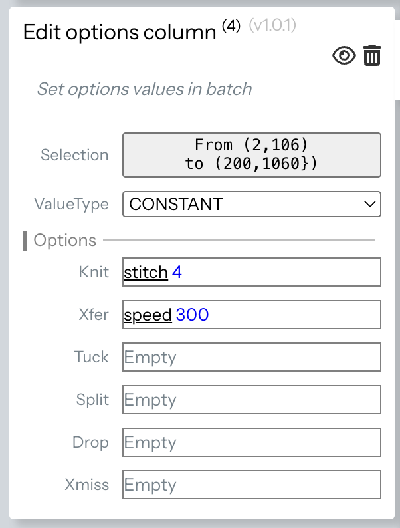
Finishing the Jacquard
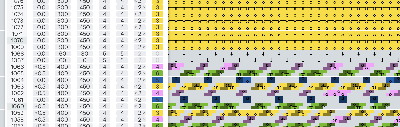
- In LAYER, click + and select Front <> rear transfers.
- Select the last rows (top), ensuring all colors are present.
- You should get 2 staggered rows of arrows so all stitches are transferred to the front bed.
Option 1: Finishing the Knit with Waste yarn
- Ensure there are 10-30 rows of waste yarn 2.
- Fill in Interlock: "Stitch 4".
- Add 1 row in main yarn, and with Free Edit, change the tension to 10 or more. You can cast off more easily with a hook (latch needle) by hand.
Option 2: Finishing the Knit with purl in main yarn
This is the option I chose to create a jersey roll in the main yarn. Ensure there are about 30 rows of main yarn 3, 4, 5 or 6.
Changing last row Parameters
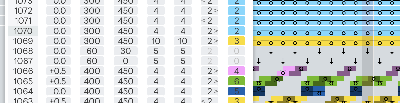
- In LAYER, click + and select Free Edit.
- To facilitate binding off with a crochet hook, change the tension to 10 on the front bed and choose the same yarn color as the cast-on.
Dropping Stitches

- In Free Edit, delete the last 2 rows and place DROP stitches on the front bed alternately.
References:
Improving Straight Edges
- In SETTINGS/COMPILAR OPTION, reduce carriage spacing to 1 and 1.5.
Starting the Knit
- Export Knit to a
.kcfile (place on the SD card, replace the file systematically). - Check: Yarn guides are placed at the start of the row.
Creating a Stitch Image Knit
Creating a Double Jacquard
- In LAYER, click + and select Stitch image.
- Select your 2-color image.
- Assign front/back stitch types.
Adding Rows
- Add 1 row of jersey stitch on the front bed at the bottom and top of the work.
Adding Transfers
- In LAYER, click + and select Front <> rear transfers.
- Select all rows and apply.
- Fill option: roller 0 stitch 0 speed 120.
Casting On Stitches
- In LAYER, click + and select Waste + Cast-on.
- Select the location.
- Select Pick selection.
- Select row 1 with the selection tool (right-click, set selection/course wise).
- The cast-on rows appear at the bottom.
- Add in Interlock options: Stitch 4.
Adding End Stitches
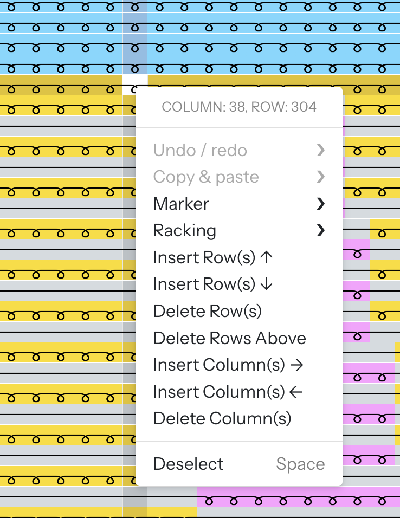
- To quickly add rows, go to the last row before you edit and right-click on a single stitch. A drop-down menu appears, and you can insert rows. This method is very useful for executing orders easily. A layer appears, and you can edit its settings.
- Add about 30 rows.
Changing Previous Block Parameters
With our wast yarn, We need a tension 4. If it's not the good tension, change the Block Parameter (or by using FreeEdit)
- In LAYER, click + and select Free Edit.
- To facilitate binding off with a crochet hook, change the tension to 10 on the front bed and choose the same yarn color as the cast-on.
Finishing the Knit with Waste Yarn
- Ensure there are 10-30 rows of waste yarn 2 with tension 4.
Dropping Stitches
- In Free Edit, delete the last 2 rows and place DROP stitches on the front bed alternately with tension up to 10.
References: - 3 Ways of Finishing Your Knit - Alternative Bind-offs
Improving Straight Edges
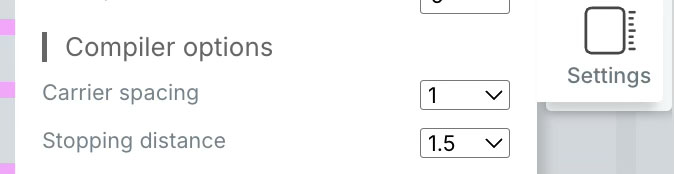
- In SETTINGS/COMPILAR OPTION, reduce carriage spacing to 1 and 1.5.