Process
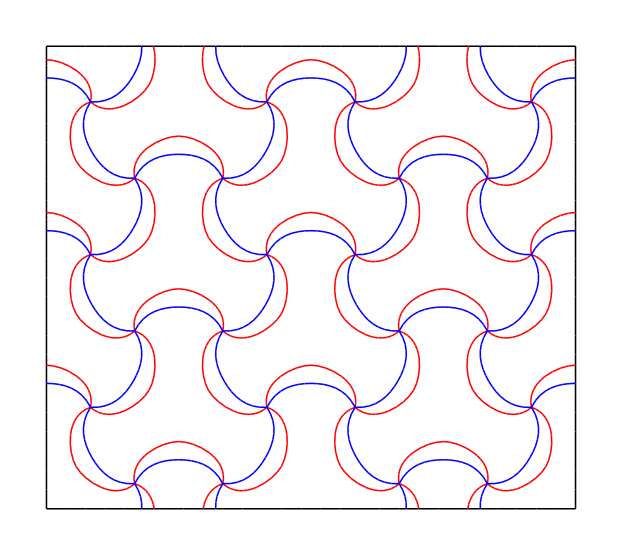
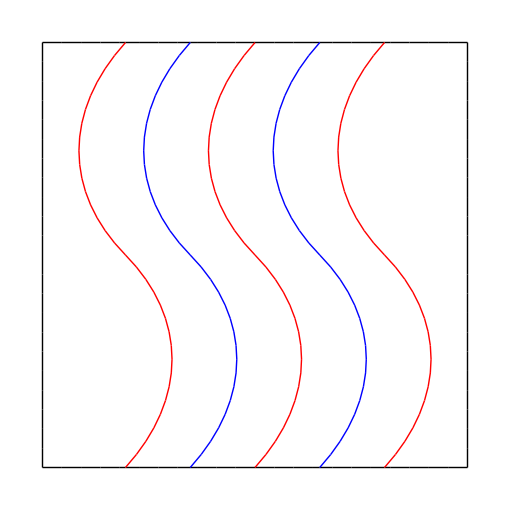
Ideation & sketches
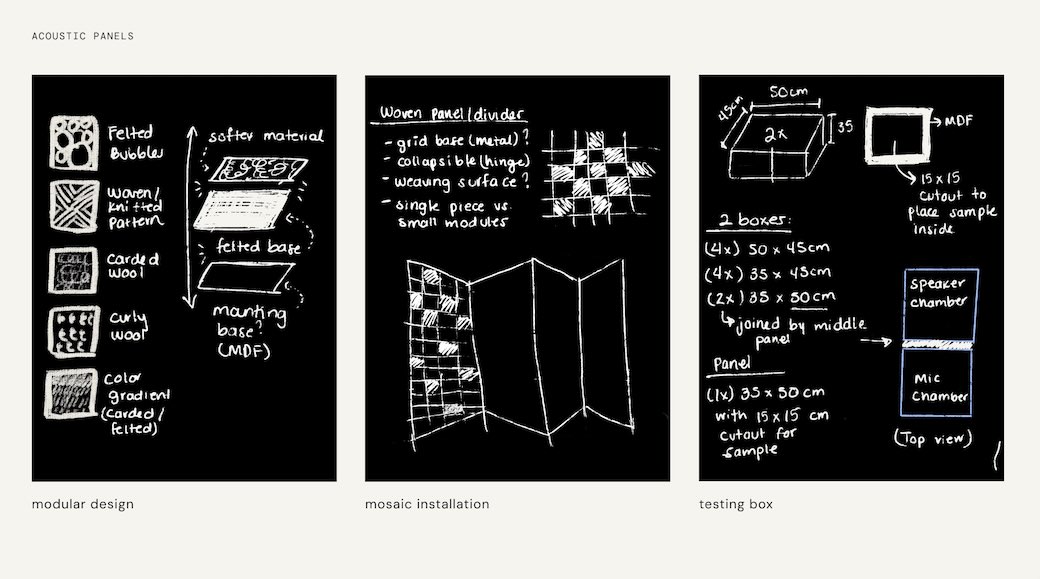
Design & Fabrication
- Panels are 15x15cm each
- Mounted on a metal grid for stability
- Modular and combinable
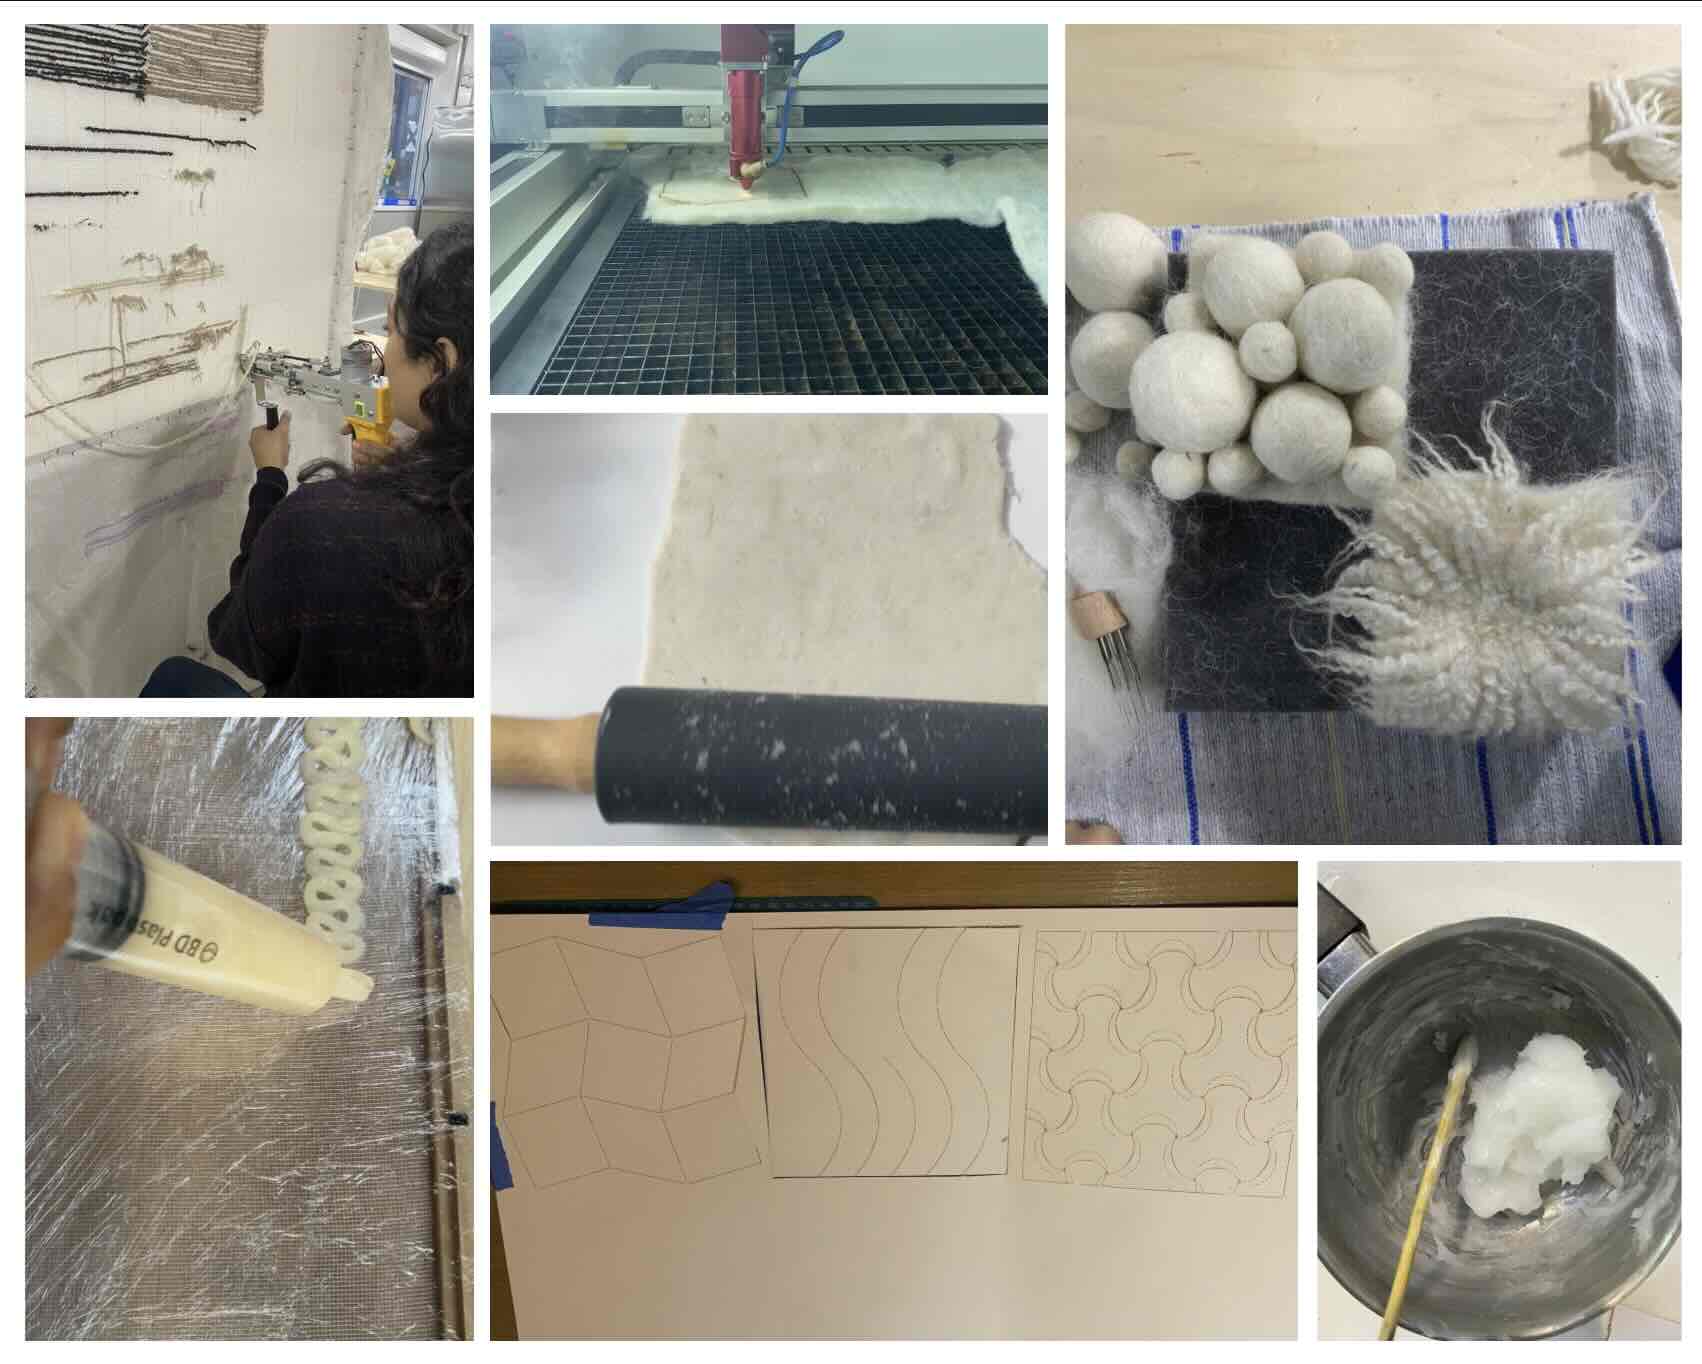
- Different textile techniques
- Variation in density and thickness
- Ecru color (white)
Testing
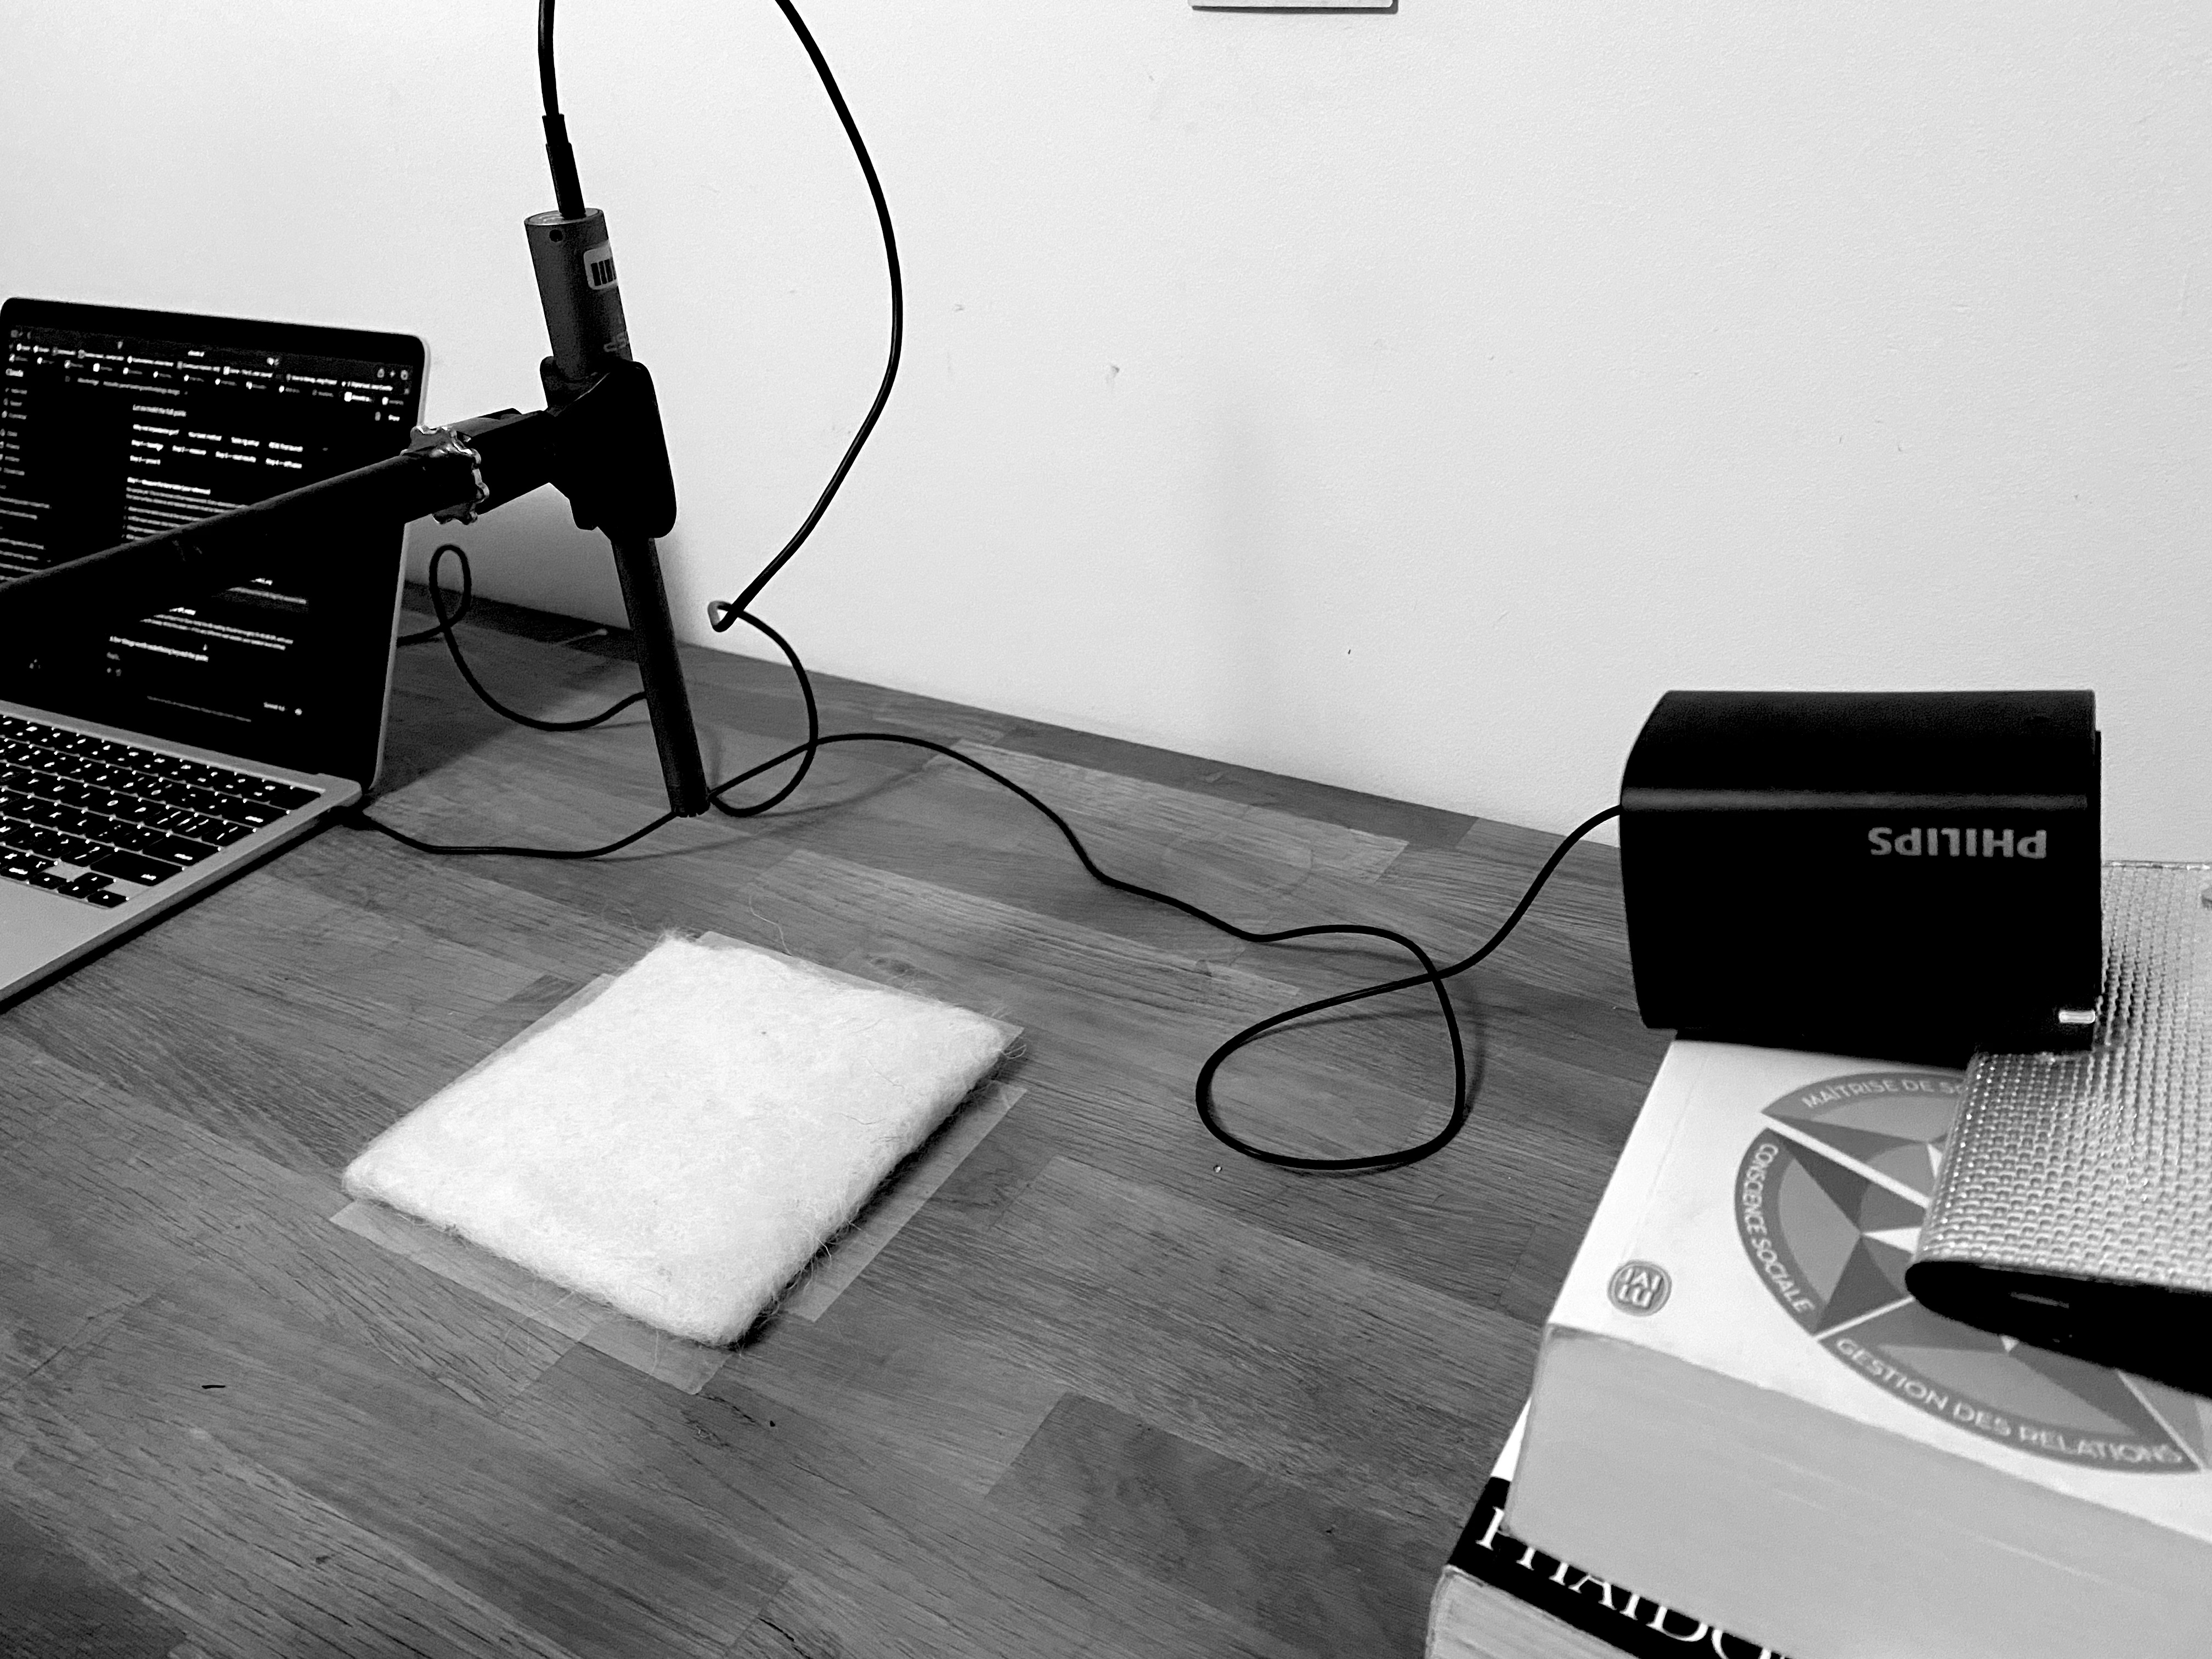
Nearfield testing is a simple method using a calibrated microphone angled at the sample that will help us obtain frequency-resolved α across all octave bands, NRC, T20 decay reduction, AND scattering data. - Absorption α: SPL difference bare vs panel per band (NRC number) - Scattering σ: SPL at multiple angles (standard deviation) - Decay T20: Room decay before vs after placing panel - Reflection shape: Impulse response (clean peak vs diffuse tail)
Table Setup
- Make sure the table is in the center of the room to avoid sound reflections from walls
- Mark the center of the table with tape, all samples must be placed at this exact position
- Use the mic mount so that the UMIK-1 facces down at 10cm above sample. If some samples are thicker, you will need to readjust so that it's always 10cm from the center of the sample (not the table)
- Lean the speaker at 30–45° facing the sample from the side. I used a stack of books to give it height at 20cm obove the table surface. The distance should be 35cm from the speaker to the center of the sample (diagonal)
Software setup
- Download REW
- Download the calibration file (.cal) for the microphone (needs serial number in mic box)
- Load the calibration file into REW (preferences>microphone>browse)
Soundcard Setup
- Go to Preferences → Soundcard
- Set Input device: miniDSP UMIK-1
- Set Output device: your computer audio output
- Set Sample rate: 48000 Hz
- Click Check Levels — snap fingers near the mic to confirm it responds
Measurement Settings
- Click Measure to open the measurement dialog
- Set the following parameters:
Type: SPL Start frequency: 200 Hz / End frequency: 10,000 Hz Level: −12 dBFS (increase to −6 or 0 dBFS if the level check reads below −20 dBFS) Method: Sweep Sweep length: 256k Mode: Repeated measurement — set repetitions to 3 Start delay: 0ms / Between measurements: 1000ms Timing: Use acoustic timing reference Output: L+R Input: UMIK-1 — check gain is not clipping (signal should peak between −20 and −6 dBFS during sweep) Check: Play dither before sweep Check: Capture noise floor
Measuring the Bare Table (Reference)
- Make sure the table is completely bare at the marked centre point — no sample yet
- Click Start Measuring — REW plays a sine sweep automatically, wait for it to finish
- Repeat 3 times, naming each: BARE_TABLE_01, BARE_TABLE_02, BARE_TABLE_03
- To average: go to Overlays → select all 3 → click Average the Responses (bottom left) > rename result: BARE_TABLE_avg
- Save: File>Save All Measurements
Measuring Each Sample
- Place sample flat on the tape mark, measurement face up
- Adjust mic height so it is exactly 10cm above the sample surface
- Click Start Measuring: run 3 sweeps, average them, name the result using the sample ID (e.g. ABS-01_avg)
- Remove sample, place next one. Do not move the speaker or mic between samples
- If you accidentally knock the mic or speaker, re-run the bare table baseline before continuing
- Save after each sample: File>Save All Measurements
- Note: REW free version has a 30 measurement limit. Average each sample's 3 sweeps and delete the individual sweeps as you go to save space
For the Air Gap Test
- Repeat the exact same process above
- Place small spacers (coins, bottle caps, or cut cardboard) under the four corners of each sample to create a 4cm gap between the sample bottom and the table
- The bare table reference remains the same. Do not re-measure it
- Include a fresh bare table measurement at the start of the gap session for the most accurate reference
- Name samples with the gap suffix: e.g. ABS-01_gap_avg
Exporting Data
- When all samples are measured: go to Overlays window
- File>Export>Export all measurements as text
- Settings: use one file for all measurements, delimiter: Tab, units: SPL
- This exports a .txt file with SPL values at every frequency for every sample
- Use this file to calculate α, NRC, and compare results
Tools
- [EQ Wizard](https://www.roomeqwizard.com/)
- [UMIK-1 Calibrated Microphone](https://www.minidsp.com/products/acoustic-measurement/umik-1?srsltid=AfmBOor7Ar_iqsGDmsUNt4tmfisn6eMPfQOfZM6CvBTYK2nSBkkWKoVh)
- computer + speaker
- 15×15cm panels to test
- flat table (hard surface)
- speaker
- mic stand
- tape to mark exact positions