Computational Couture
1. Objective
This is my first lecture at Fabric Academy. I will take the classes in 2 years. I'm so happy with the first lecture because I feel like it's talking about Tasneem. I always thought about how I have different skills. Sometimes I felt that I was wrong and the other Architects in my previous works are right because they just focus on Architecture. But later I found that I am very rare. The computational different skills in designing, Architecture, entrepreneurship and footwear designing are special when they all are connected.
The first lecture was introduction to Computational design with Architect Julia Koerner and she is well known with her bags Hymenium clutches and her contributions in Houte couture and movies. We started to learn how we can make an intersection between parametric, 3d printing and fashion design and take it to the next level.
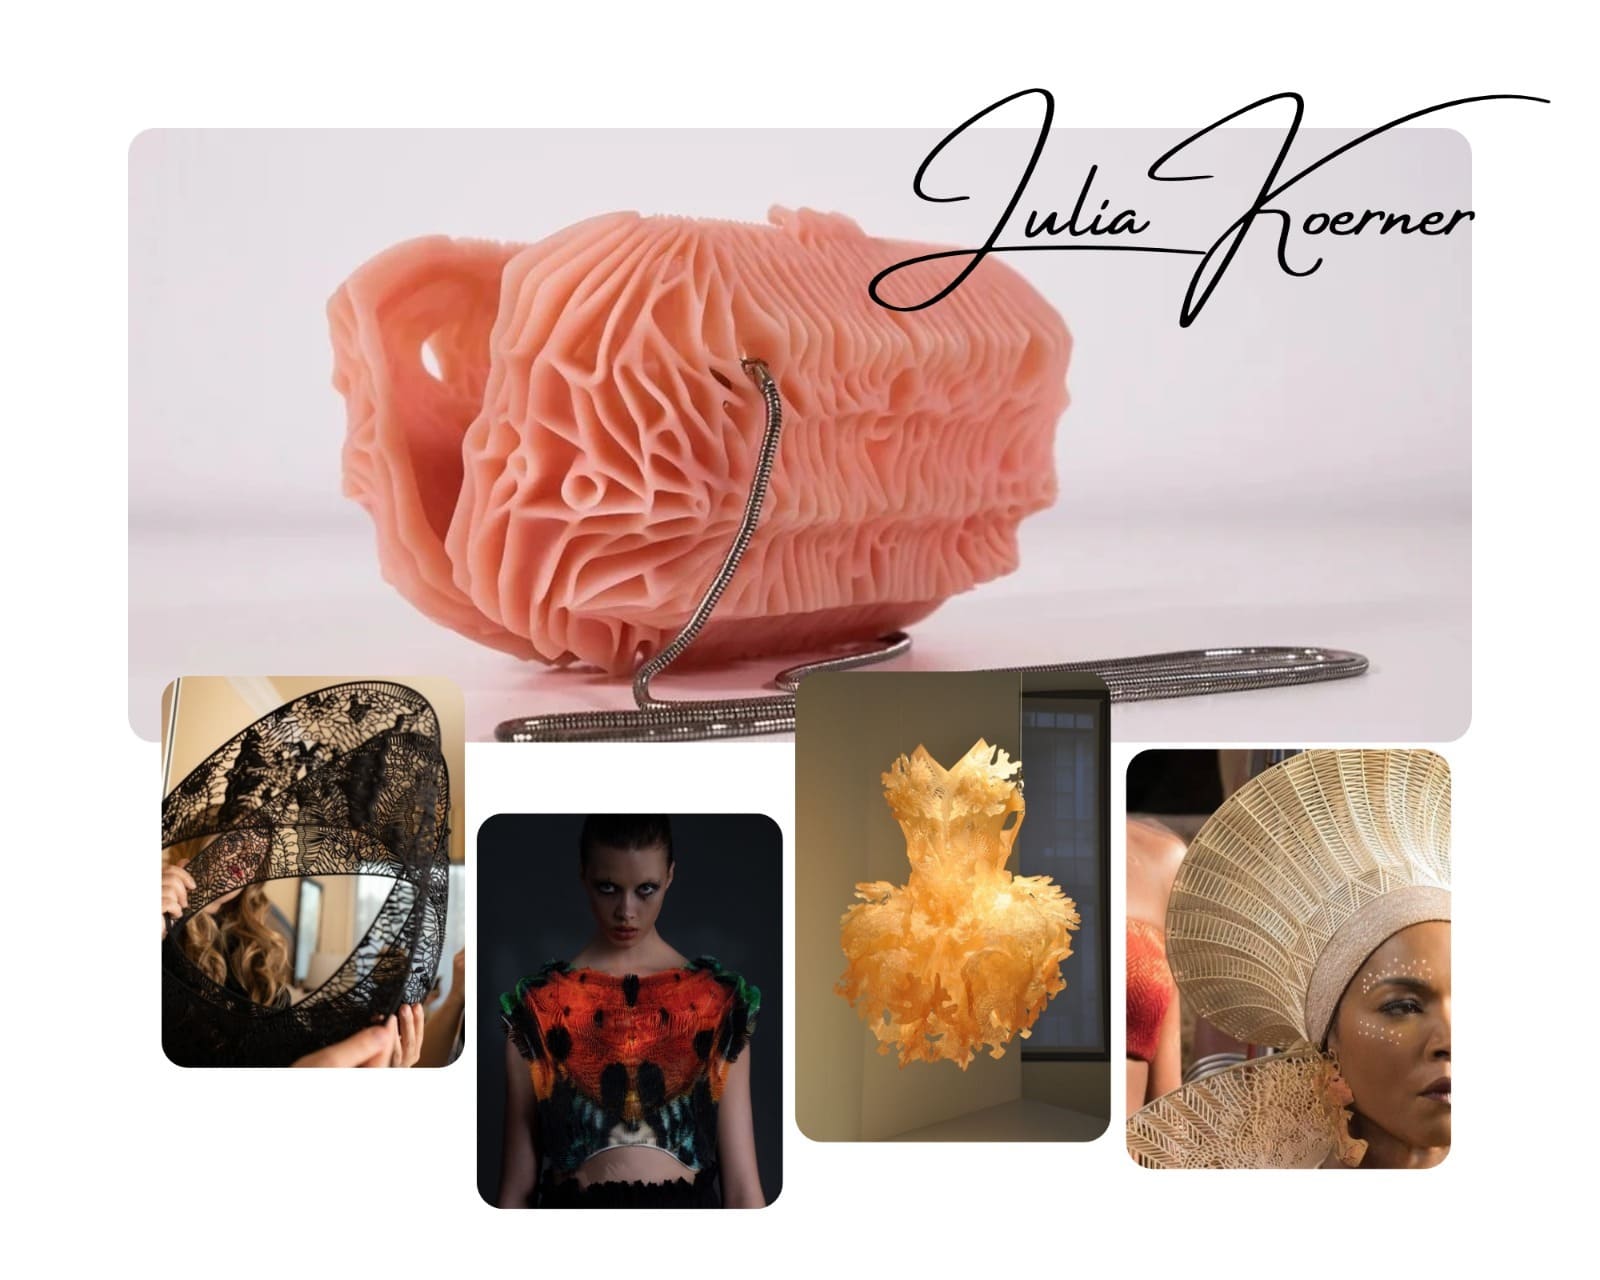 Julia Koerner works
We learned about types of printing technologies:
1- SLA (stereolithography) creates high‑resolution solid parts by curing liquid resin one layer at a time.
2- PLA ( acid)
-A- standard PLA, best for prototypes shows clear printing lines.
-B- Matte PLA hides layer lines giving an smooth look.
-C- SILK PLA adds a metallic or pearl finish.
3- TBU (thermoplastic poly urethane) prints, with a rubber‑like elastomer.
4- Bio‑resin uses bio‑derived materials.
5- Polyjet can print parts with varying hardness and softness.
6- DLP uses light projection.
There is also designing and fashionable processes that are divided into three types.
1- The first type is about creating 3D printing from a file and the final result will be one complete 3D piece.
2- The second type is about capturing or scanning a model then converting it into 2D printing it into parts and collecting the parts to become a 3D piece.
3- The third type is about creating 2D drawings printing them and collecting the parts to become a 3D piece.
We also see some architects who're well known for their contributions to 3D printing and fashion design; Neri Oxman Architect, Niccolo Casas and Isaie Bloch.
EVERYTHING YOU WANT IS ON THE OTHER SIDE OF FEAR
That day we had another lecture with Danet Peleg. Danet Peleg is the founder of a printed fashion lab. We looked at the Figma Weave website, which offers design workflows using AI at FIGMA but it's not free website. We also visited another site,PATTERNFAST that lets you create many designers and patterns quickly.
Then the day after we had a lecture about the Blender program.I had never used Blender before. The day after that we had a lecture about RHINO.
Reference
Check out referances for Blender Geometry Nodes or Fabricademy > Node Wrangler or Open Source 3D printed fashion catalogue or print-in-place chainmail-like fabric or Tutorial parametric-RHINOplus you need to download those files for totorialPufferfish (3.0)Human (1.3.1)NGon (nel tuo elenco è “NGon_RH8”)OpenNest (2.12)
2. Research & inspiration
I lived in the south of Jordan almost in the middle of desert in a compound close to Phosphate factory. Looking at the stars was very clear. We had telescope in my house so my hoppy was looking at sky. I was wonder as a child what does the stars looked like. Did they have 3 arms or maybe 5 or 8 arms. I made some sketches from my imagination. The idea started from my imagination when I was a little girl.
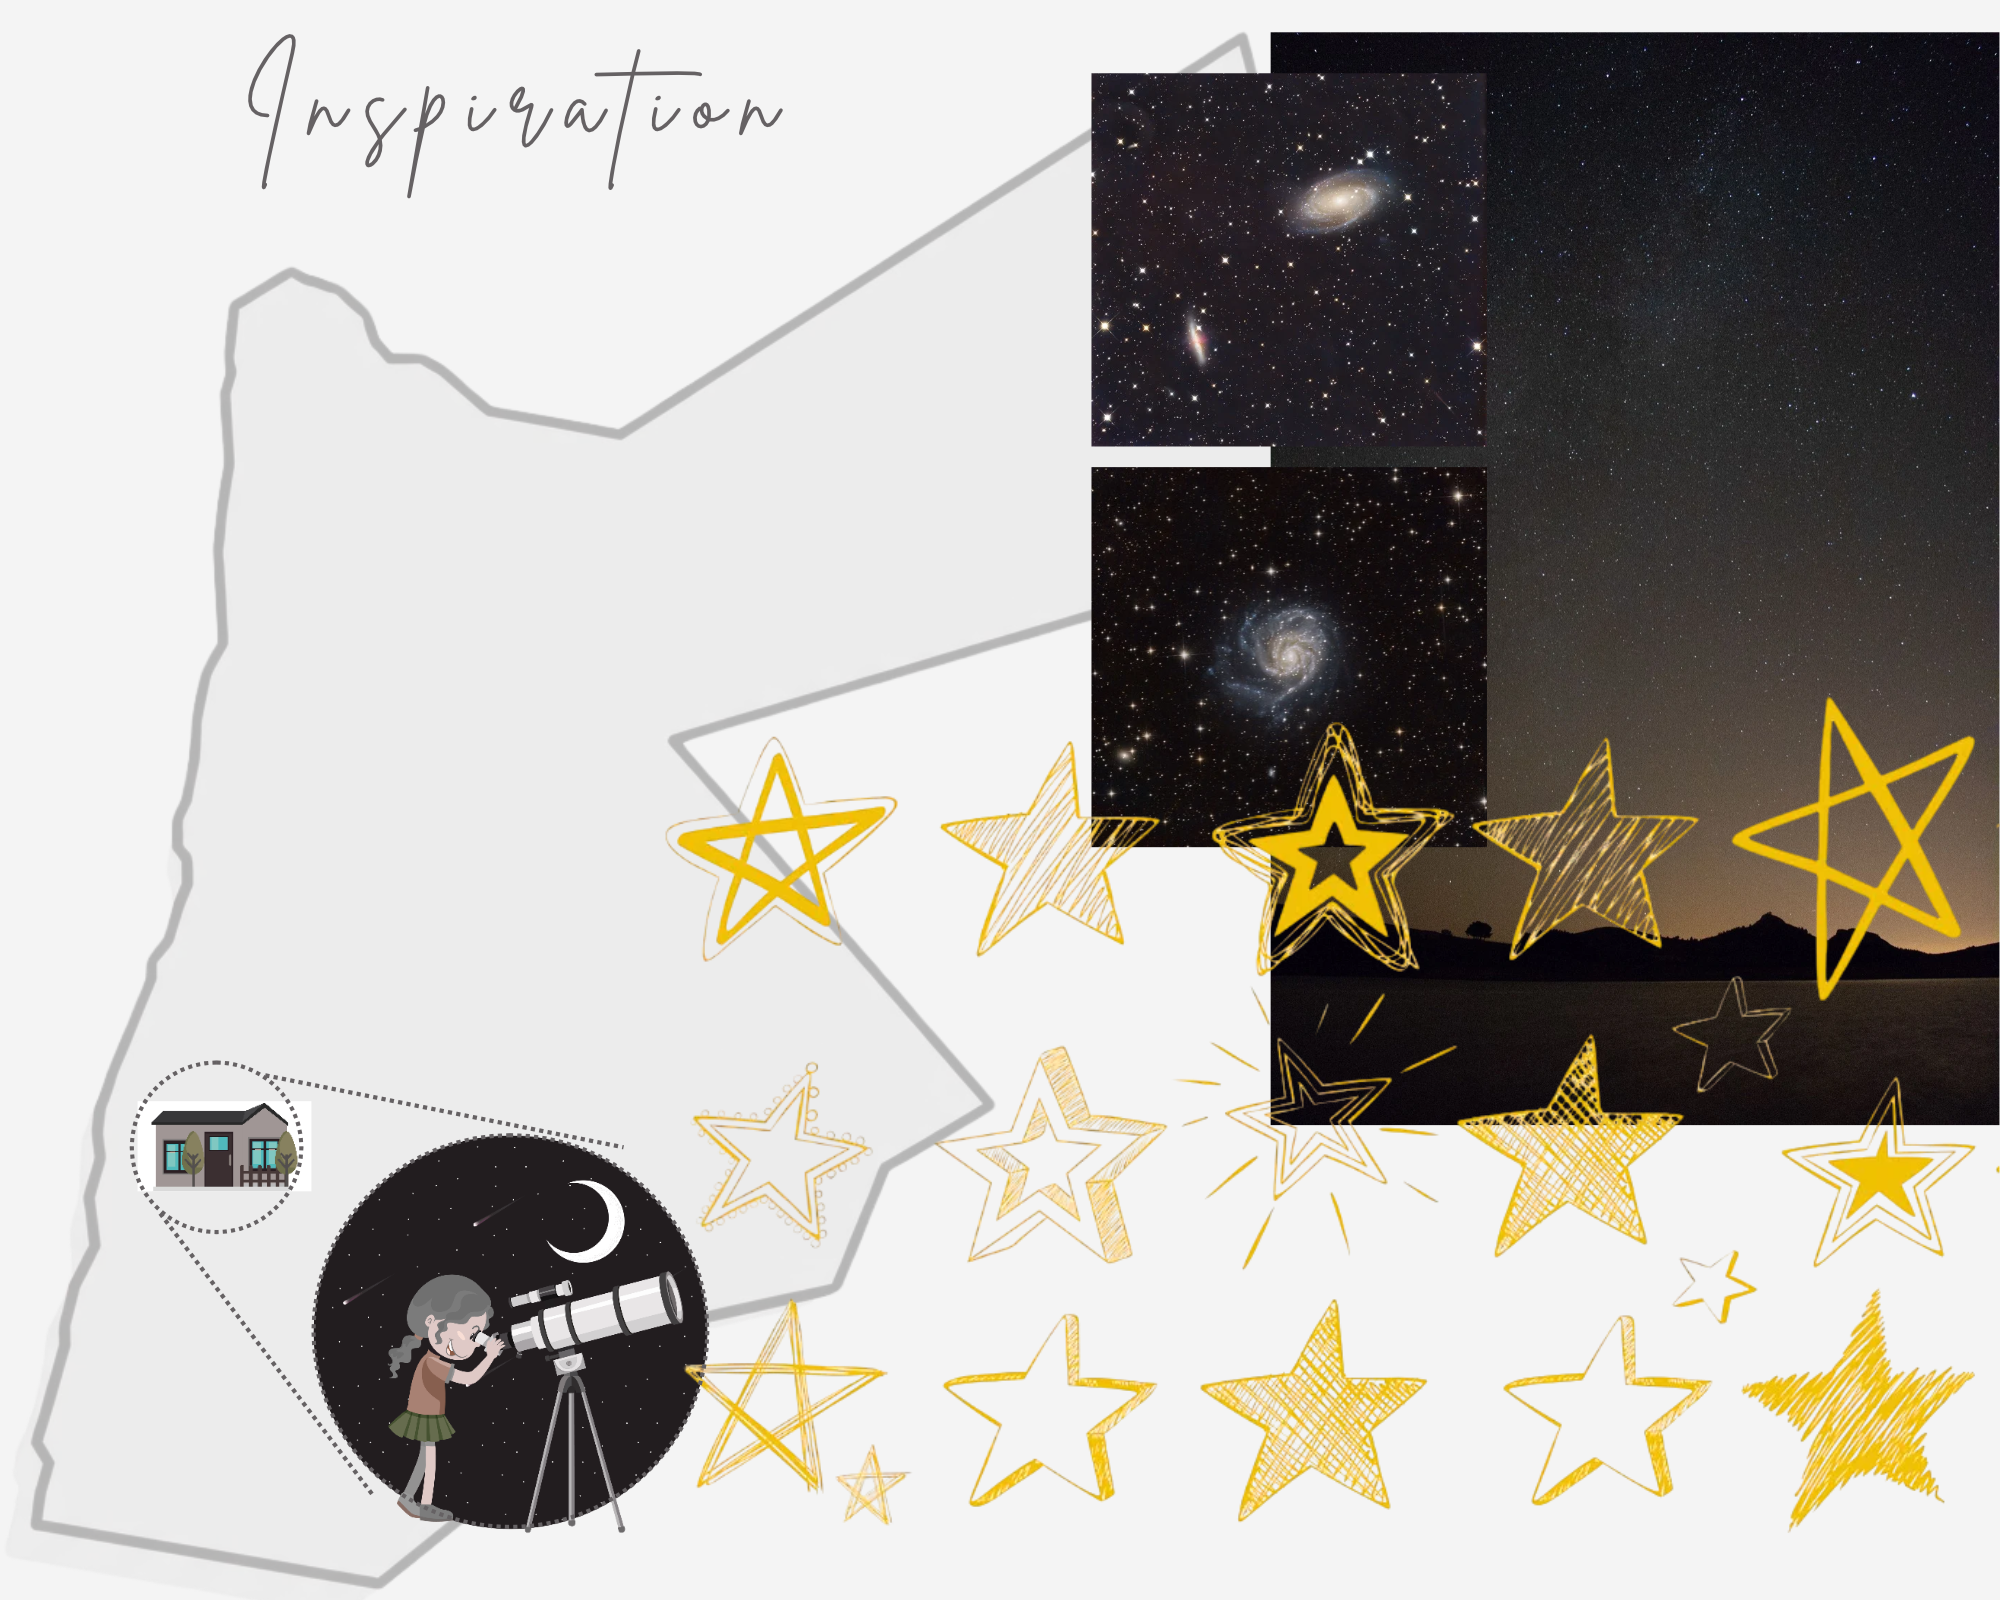
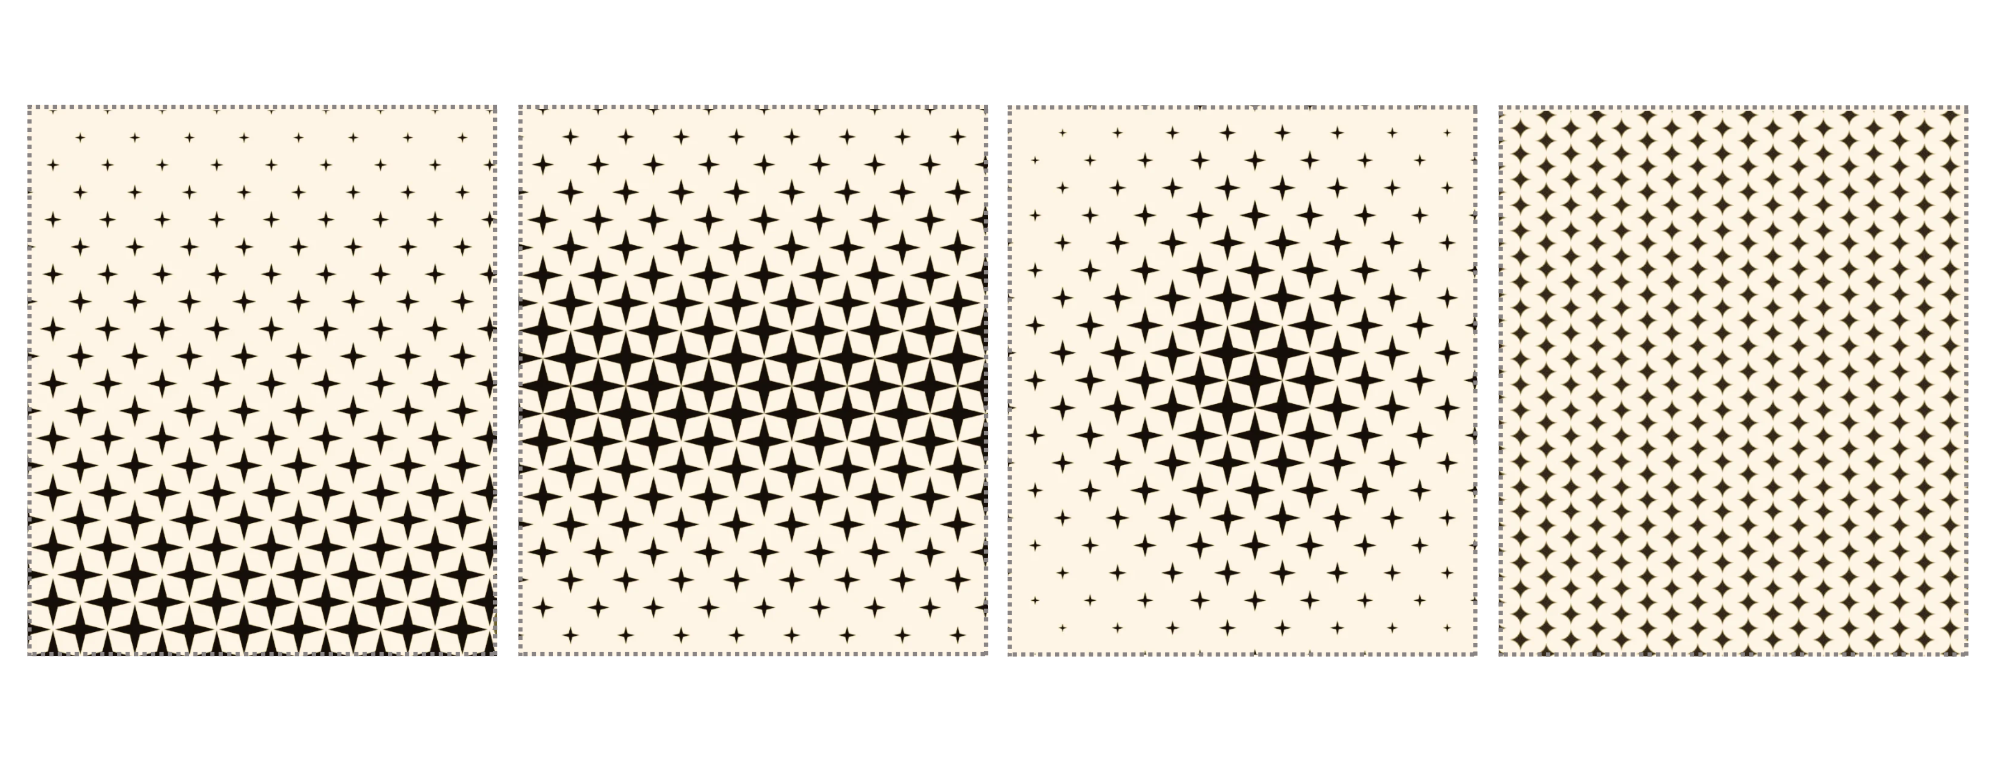
Starting off with just a single star to make a variety of patterns. This is the beginning of the fabrica-stars. you can play around with the pattern to make different imaginations.
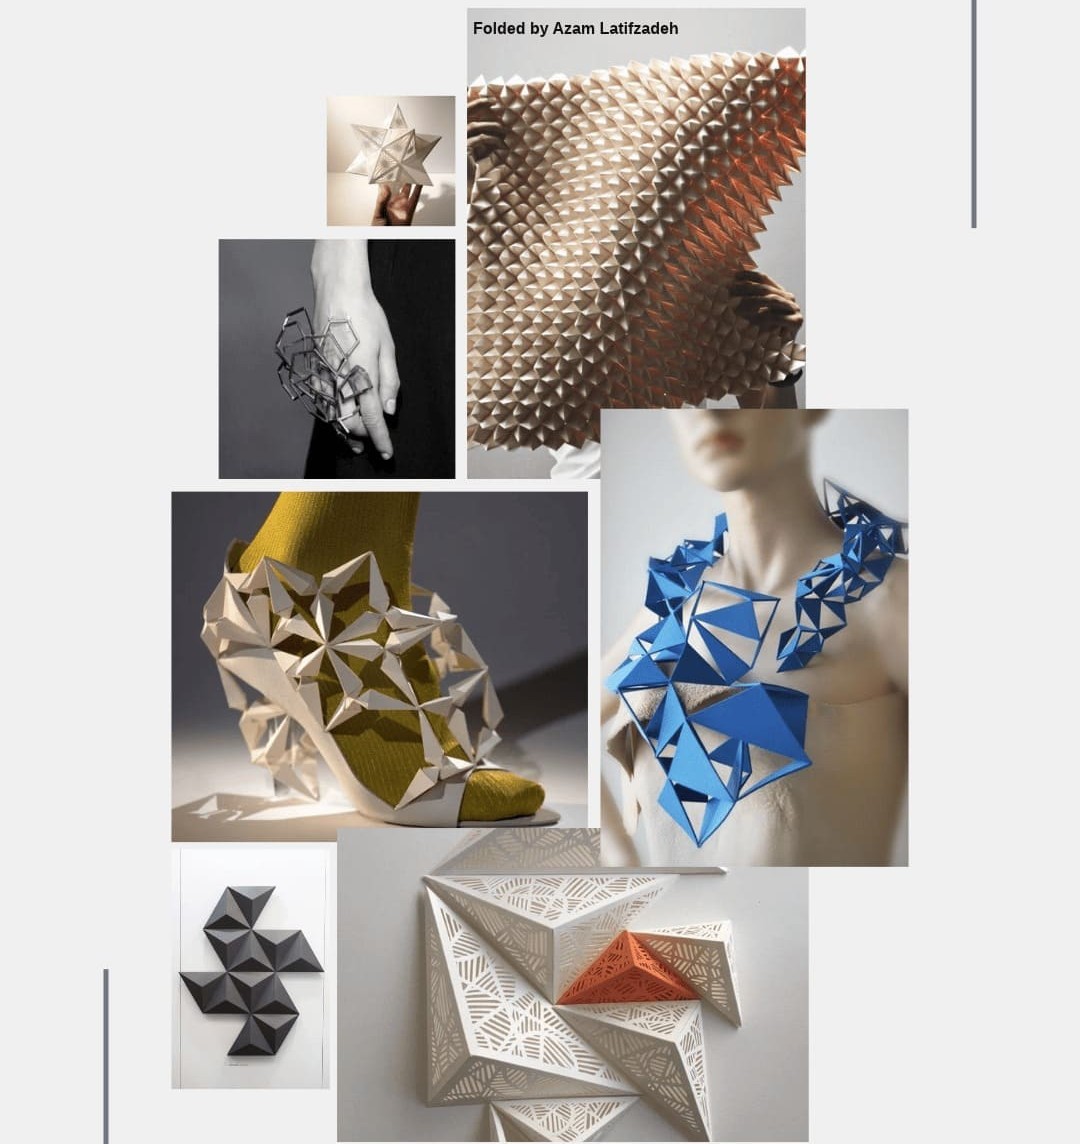
"Also, I started to do research for inspiration for my parametric pattern. Maybe I could make pieces such as jewellery, heels, necklaces, rings, lamps, or folded patterns. There is lots of potential for this shape.
I have not decided yet. I want to try all the potential, so after all that, I moved forward, applying my ideas to real work. I tried to work in Blender, Rhino and Grasshopper for the first time. The lectures and given tutorials were so useful for starting the first trial."
3. Process and workflow
3.1 Step 1
First, the workflow process started with learning how to use the printer and making 2 samples using Blender for the first time.
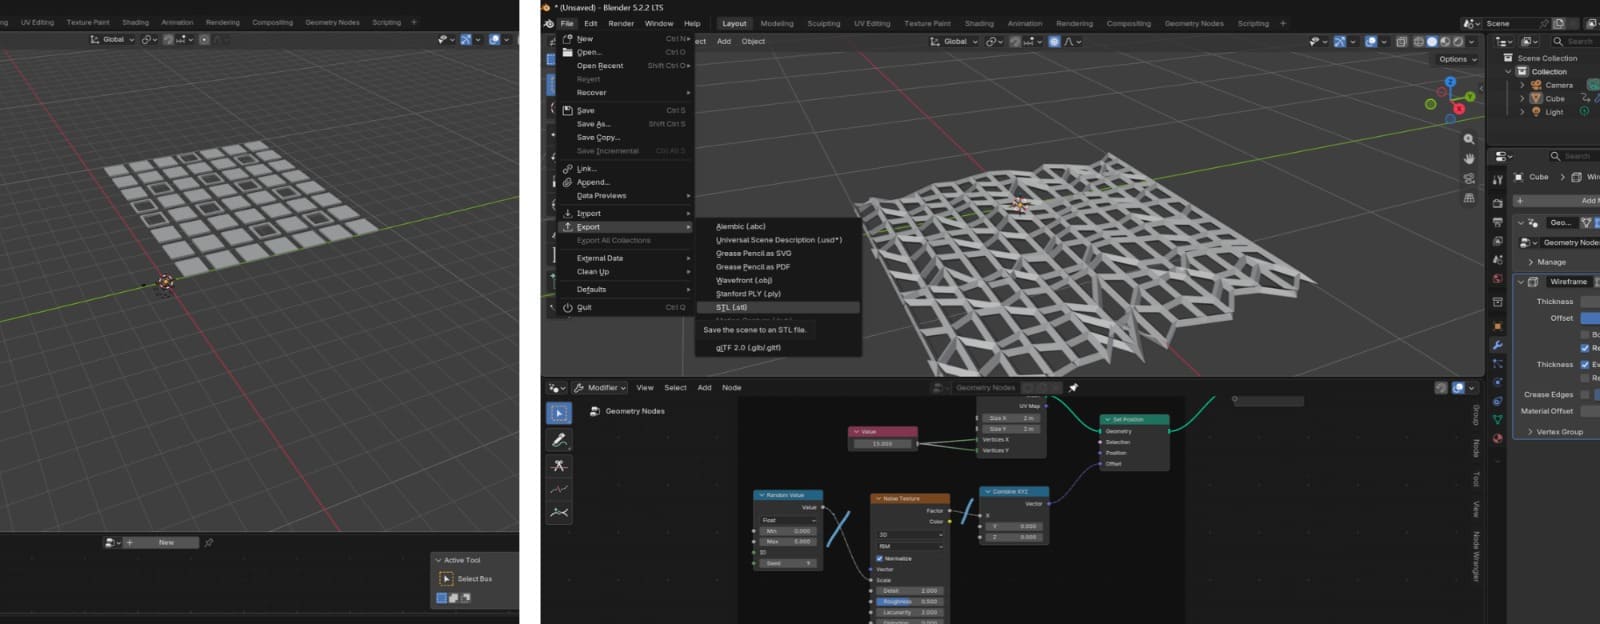 Making a basic squares and grid pattern using Blender.
Then we started learning how to use a ULTIMAKER PRINTER to print those samples. And to set the initial layer, layer height, layer number, pause layer, bed temperature, and speed.
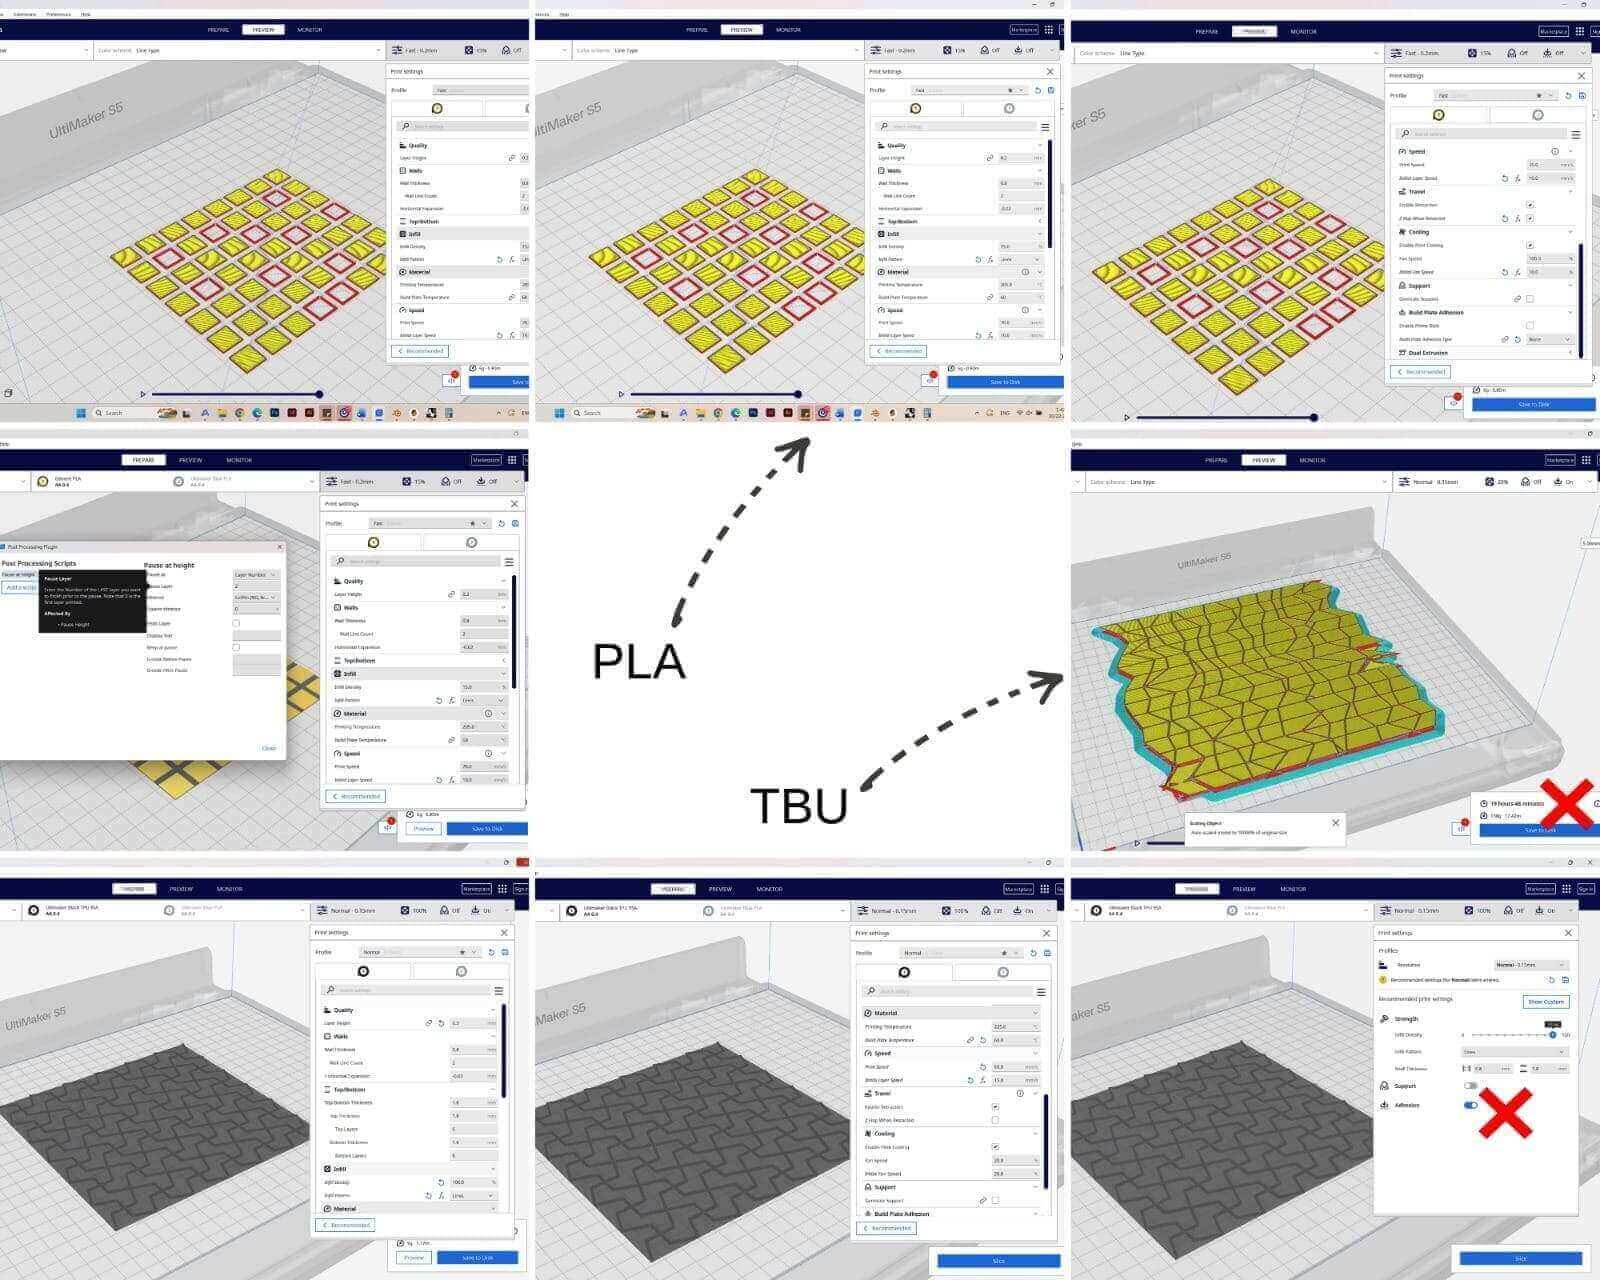
Settings on ULTIMAKER PRINTER program
Also, we learned how to prepare the filament, load it into the printer in the correct counterclockwise direction, and cut the head. We also learned how to transfer files to the Ultimaker using a USB flash drive and how to read filament specifications like diameter and printing temperature.
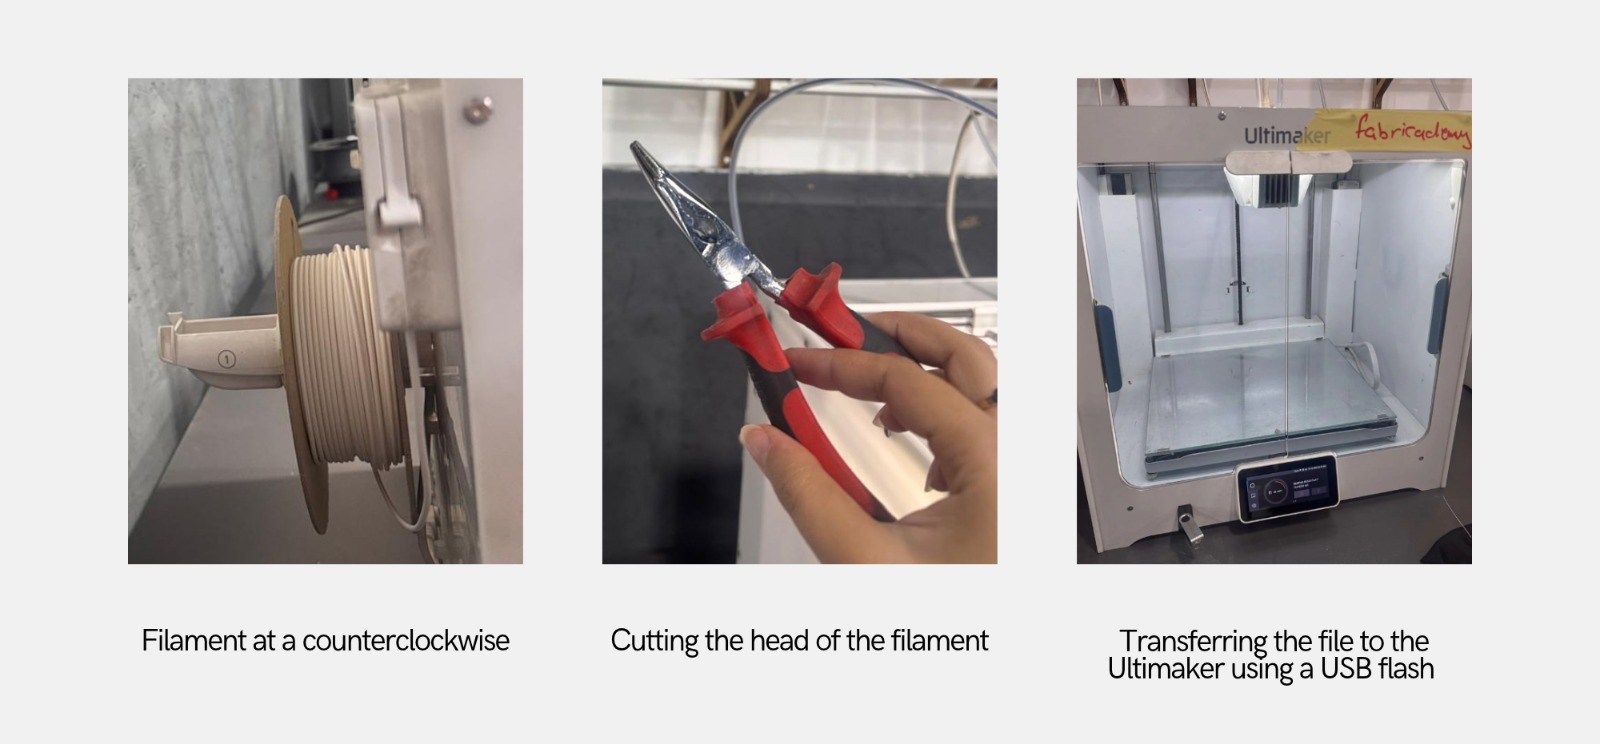 Tips to put the filament
For the first design, I used PLA to print over fabric. We learned how to print four layers, pause the printer to insert the fabric with clips, and then resume the printing process to continue printing over the fabric.
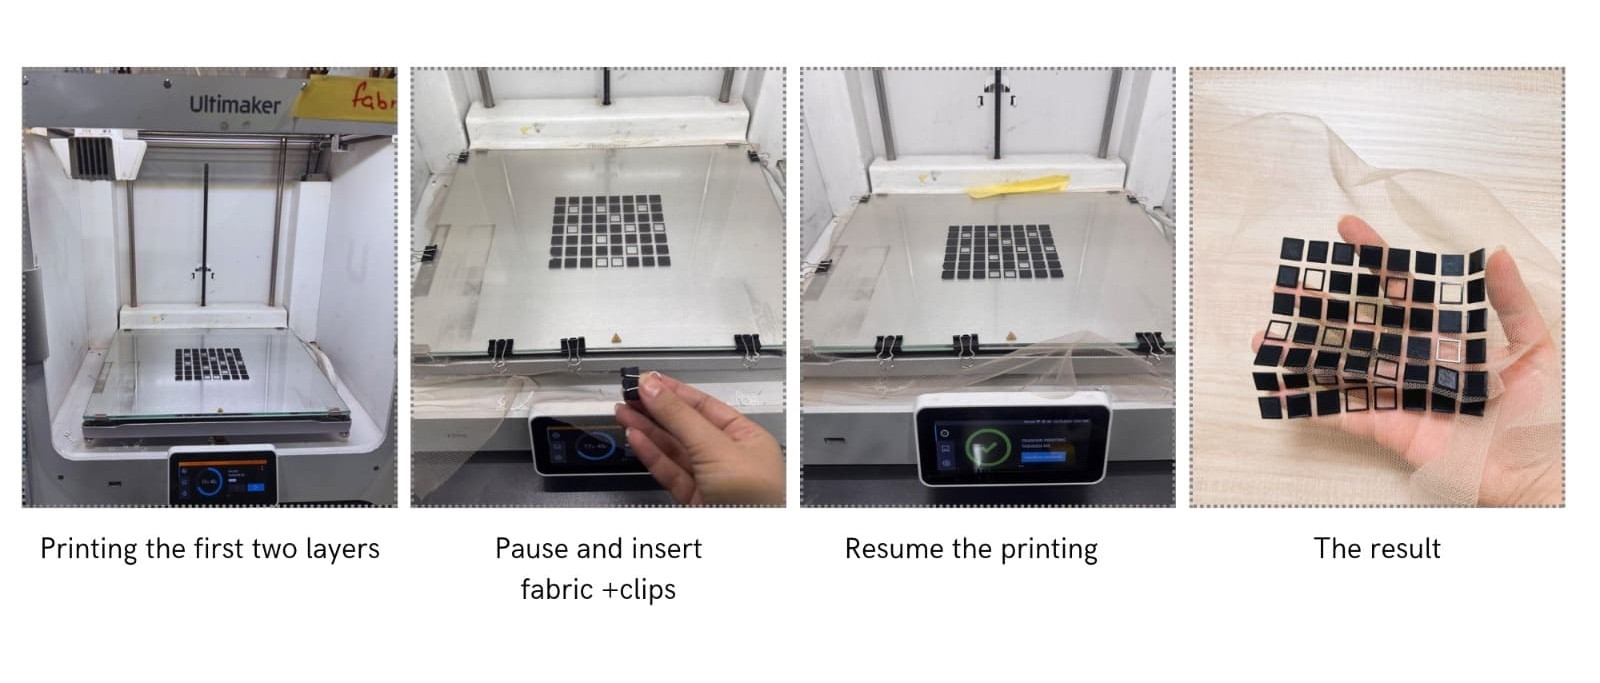 printing on fabric with PLA
For the second design I used TPU filament without adding fabric. However, I made a mistake by enabling the adhesive base, which created a brim-like border around the design.
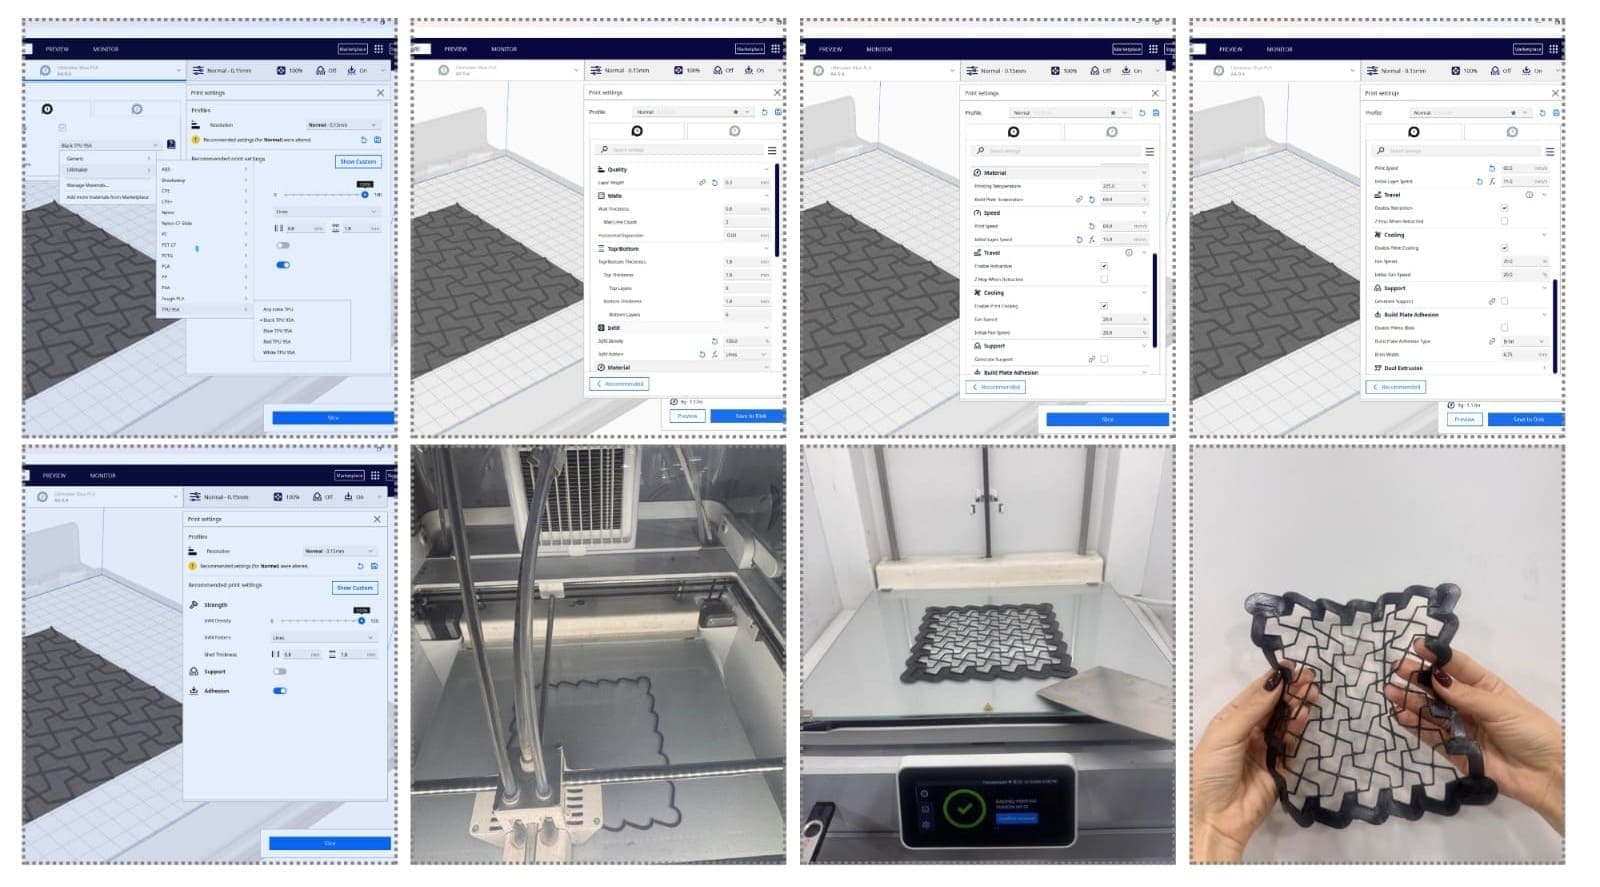 Printing with TBU
After learning the basics at Fabricademy, I started exploring Blender and experimenting with star shapes inspired by my concept. I wanted to see how I could turn these shapes into different patterns.
I started with a tutorial on the Blender website, where I learned how to create a simple circle and grid. Then, I began playing around with the process, changing the circles into stars and trying different shapes and patterns until I got results that I liked.
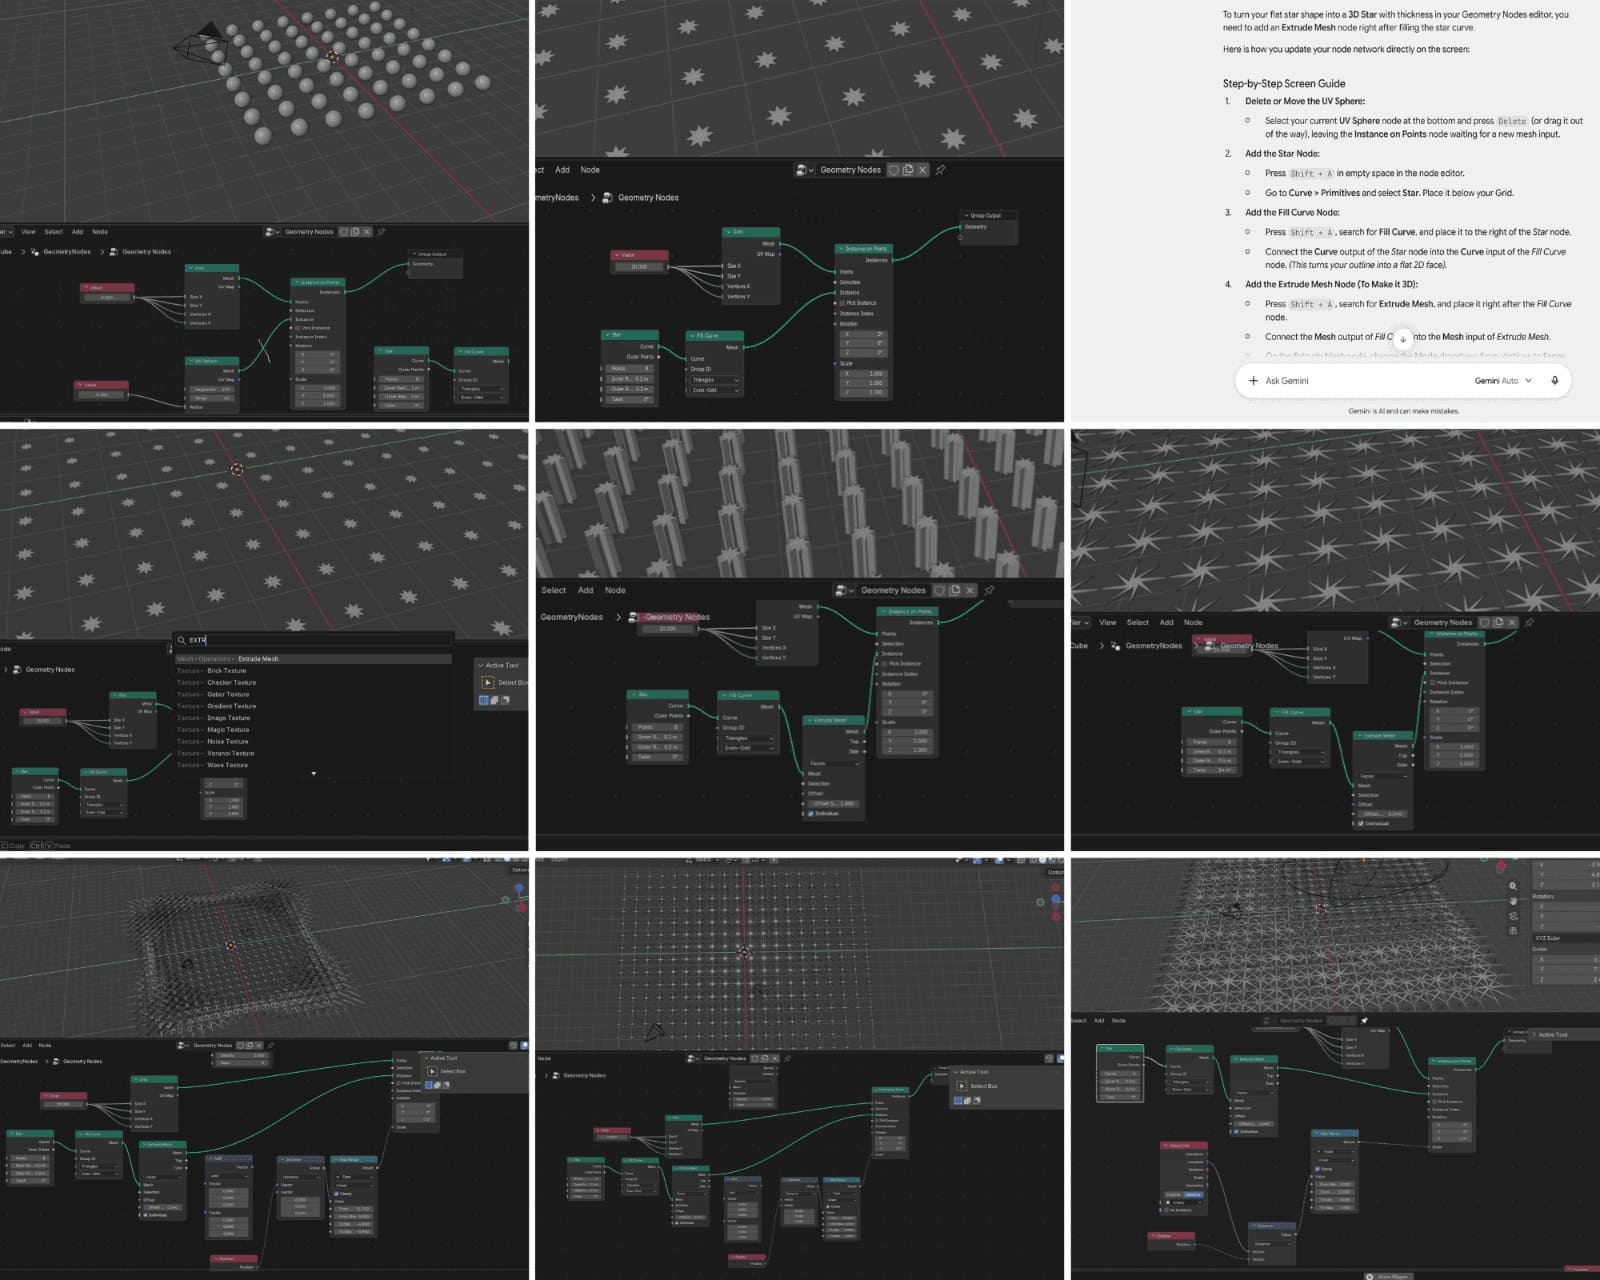 Working on blender
I started printing my designs, but the first trial didn’t work as expected. I tried to figure out what went wrong and how I could fix it. After looking into the problem, I realized that the inner radius was too thin, the stars were too far apart and weren’t connected, and the lines were too thin for the printer nozzle. After making these observations, I had a better understanding of what needed to be changed for the next trial. I used the Ultimaker printer for this experiment.
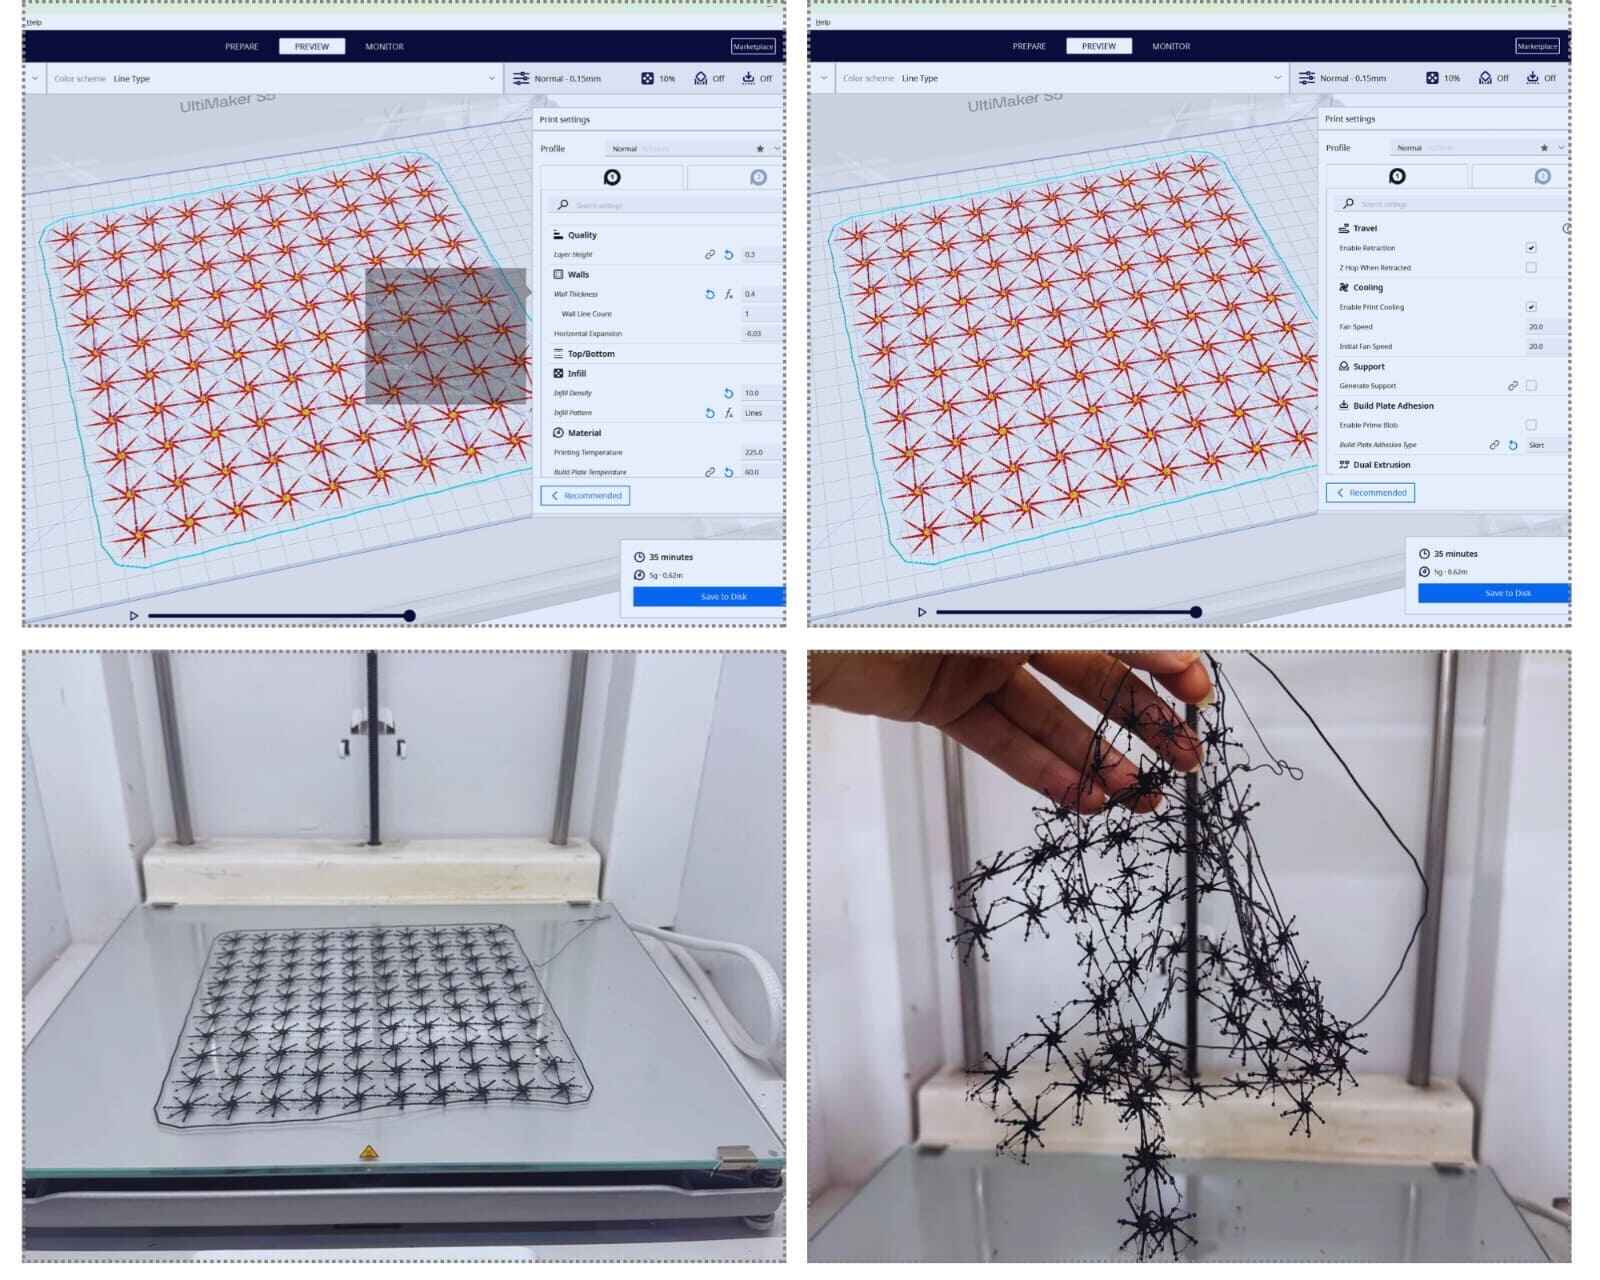 Unsuccessful printing
After that, I started playing more with the pattern after I learned my mistake because all of those had problems with thickness and distance, plus the overlapping needed to be merged. I started learning how to modify those. The second trial was successful.
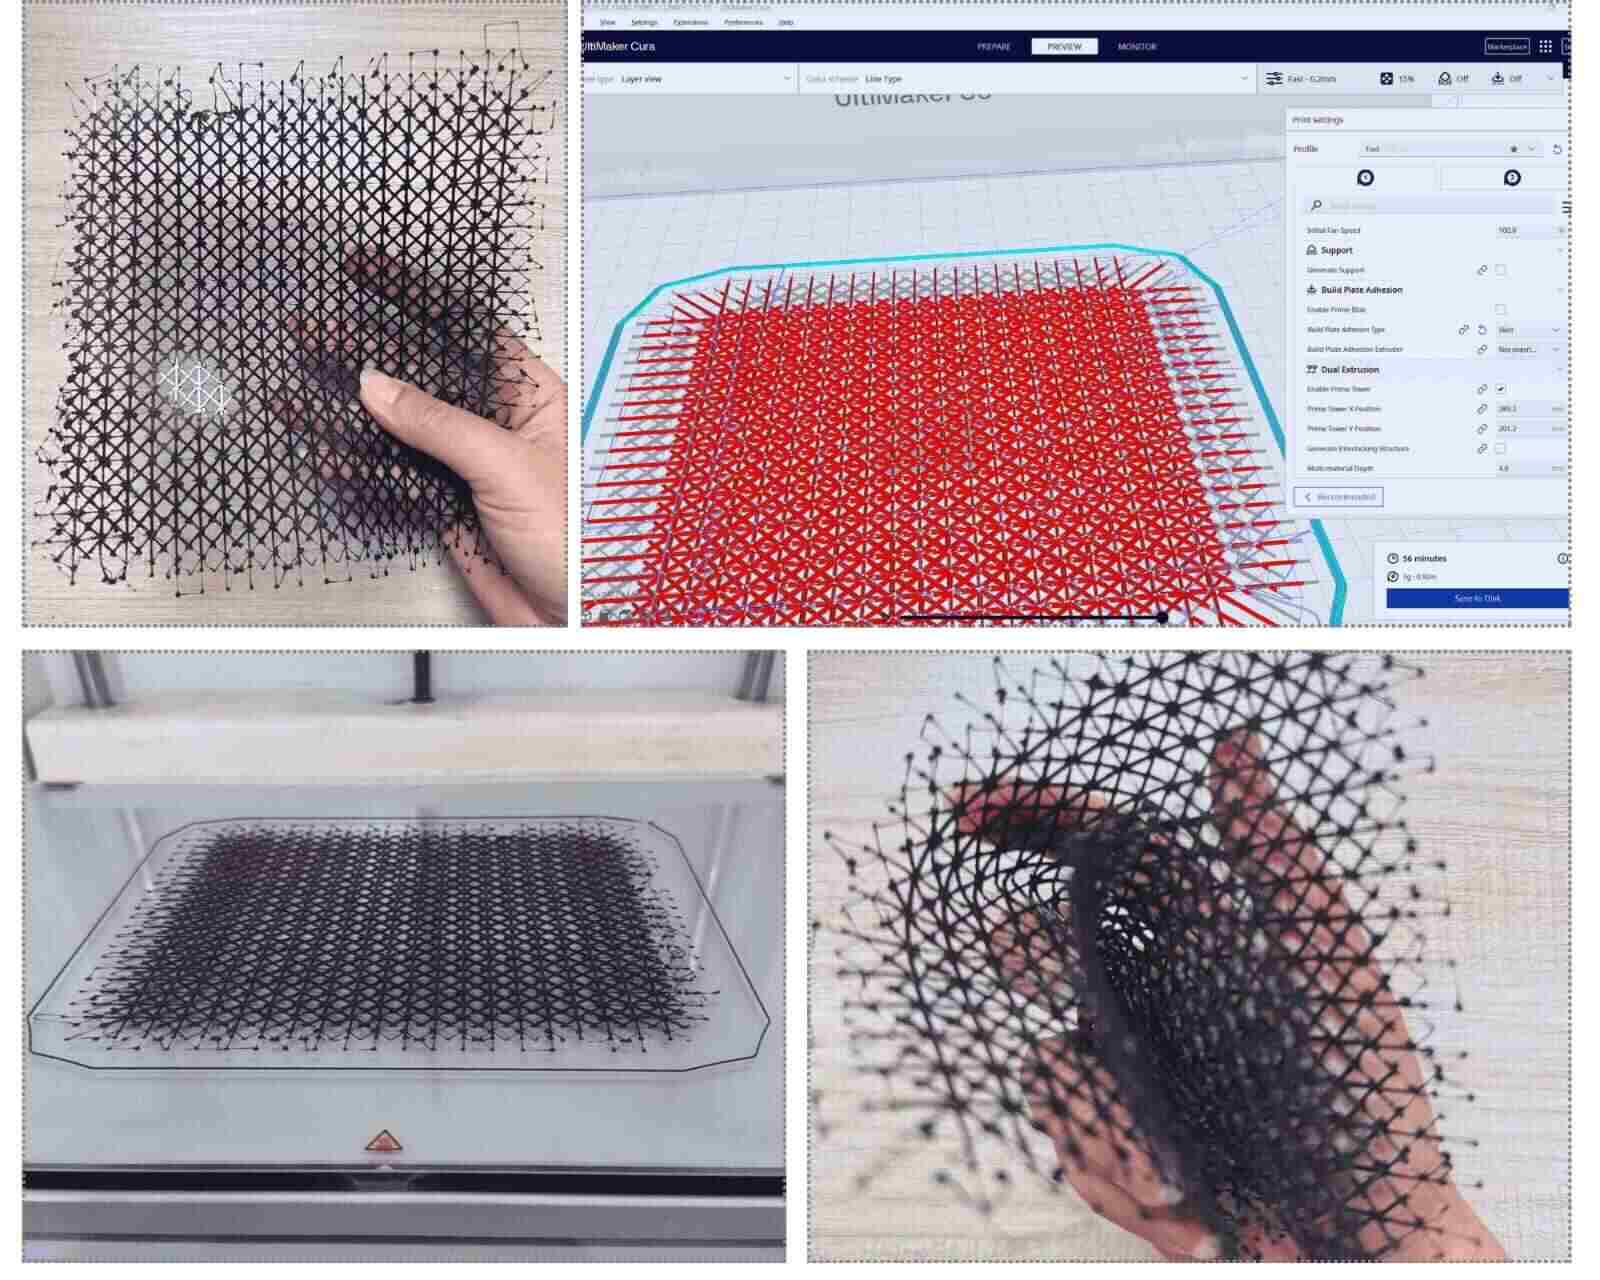 *Printing second trial on a ULTIMAKER printer *
3.2 Step 2
I decided to try a different printer, the Bambu Lab A1, to learn how to print four layers and add fabric to the design. I learned how to fix the fabric on the print bed using clips, but the clips were too small. Since I didn’t have any magnets, I used Scotch tape to keep the fabric in place.I used here PLA filament.
The first one I tried to print just to learn how to use Bambu was the basic stars.
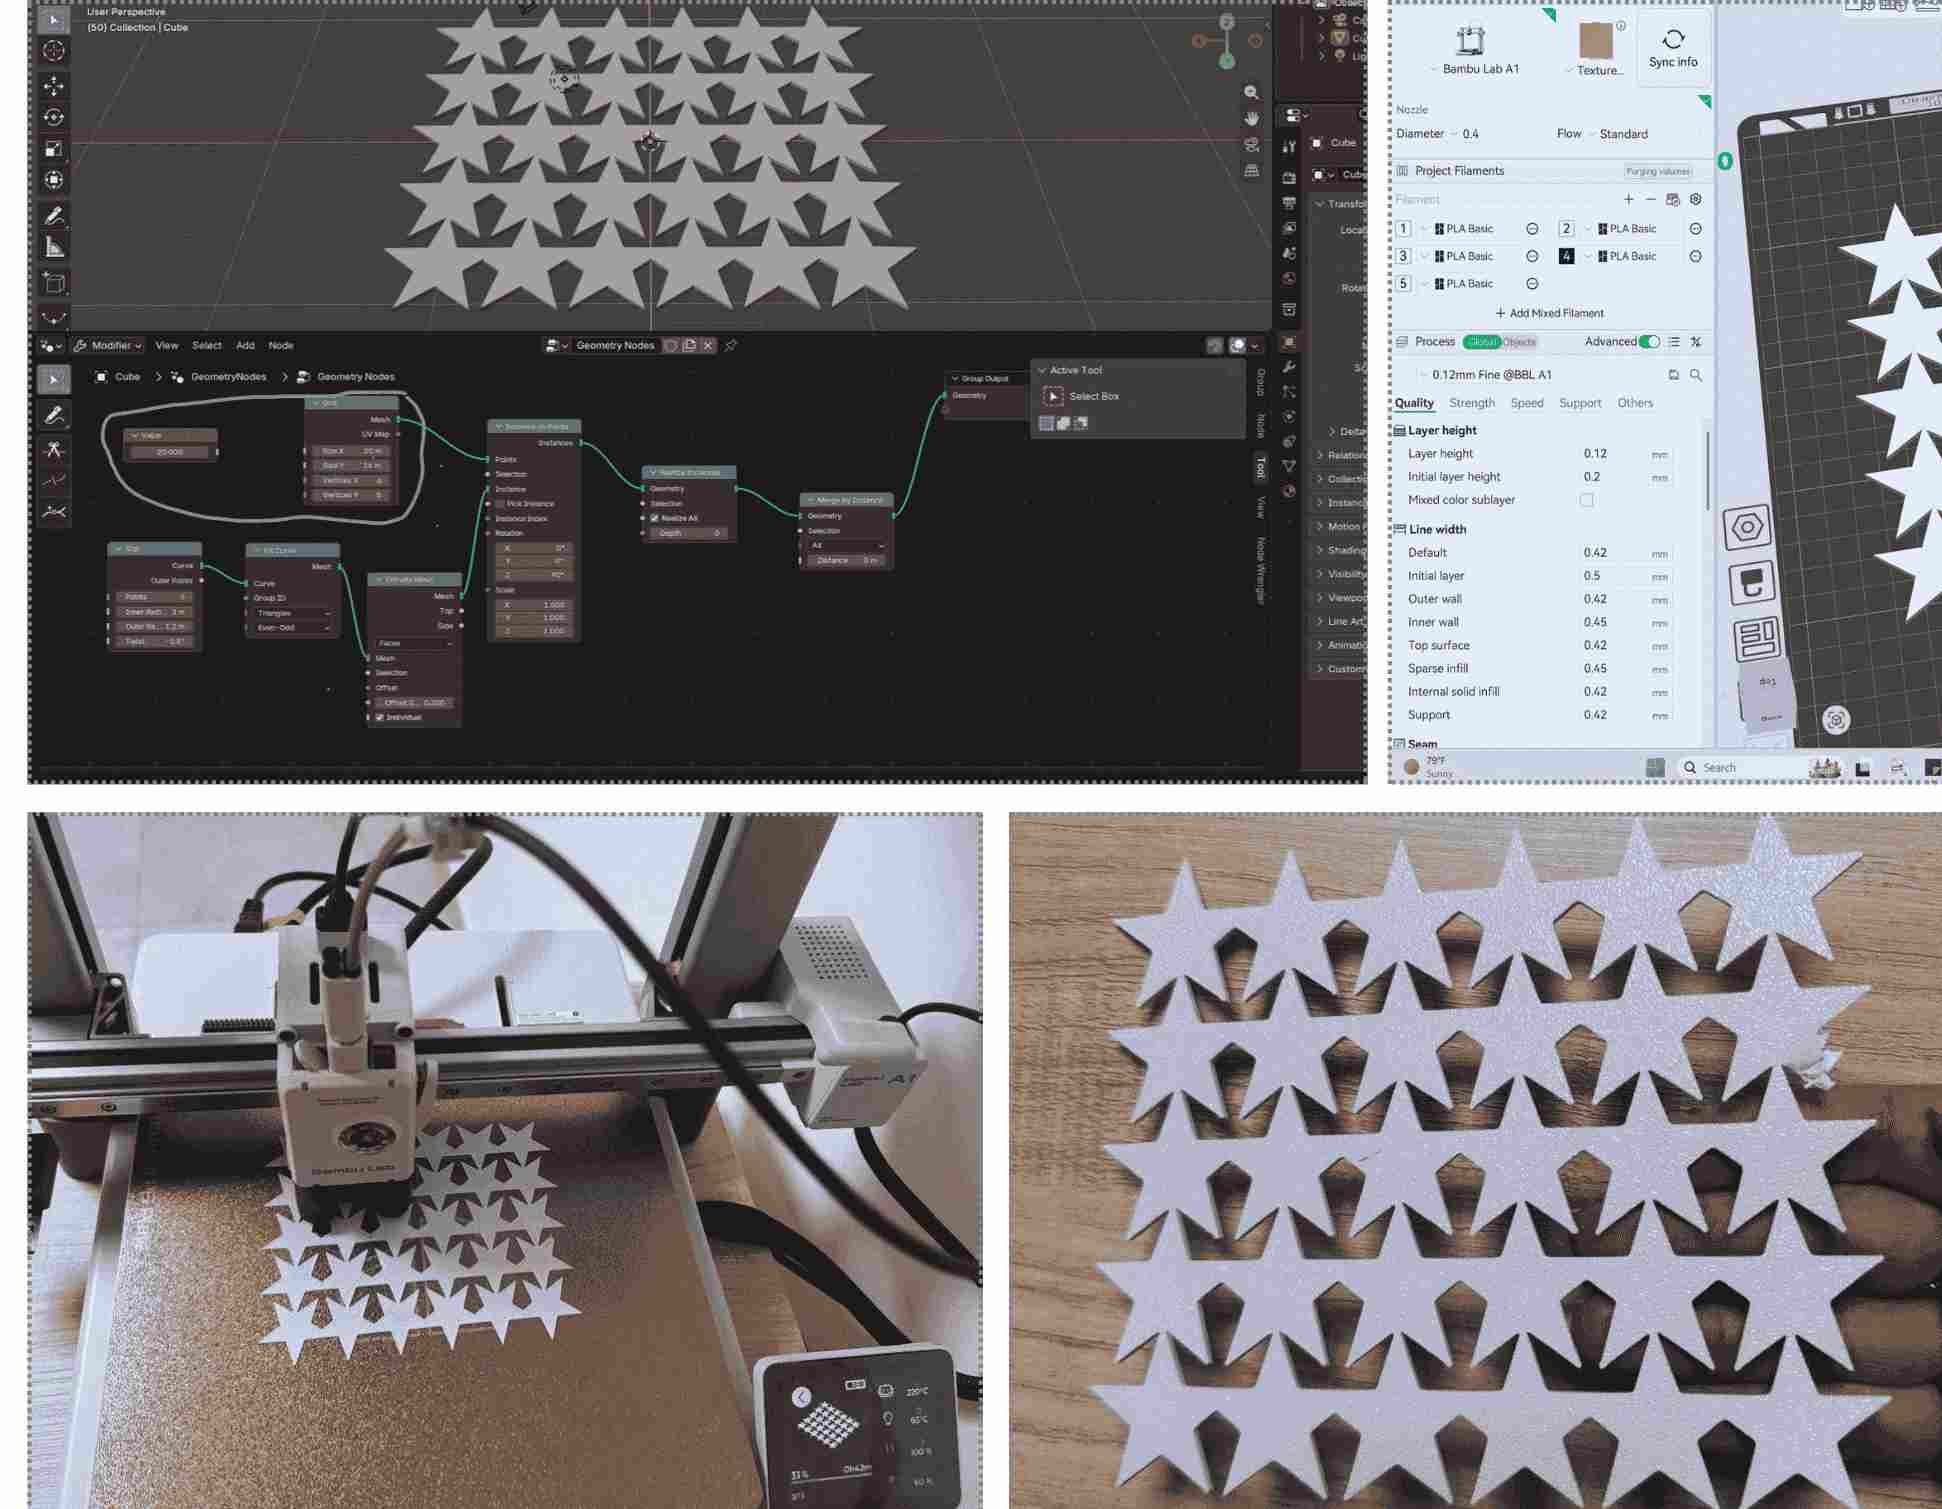 Printing with Bambu Lab A1
The second trial I tried to print with fabric.
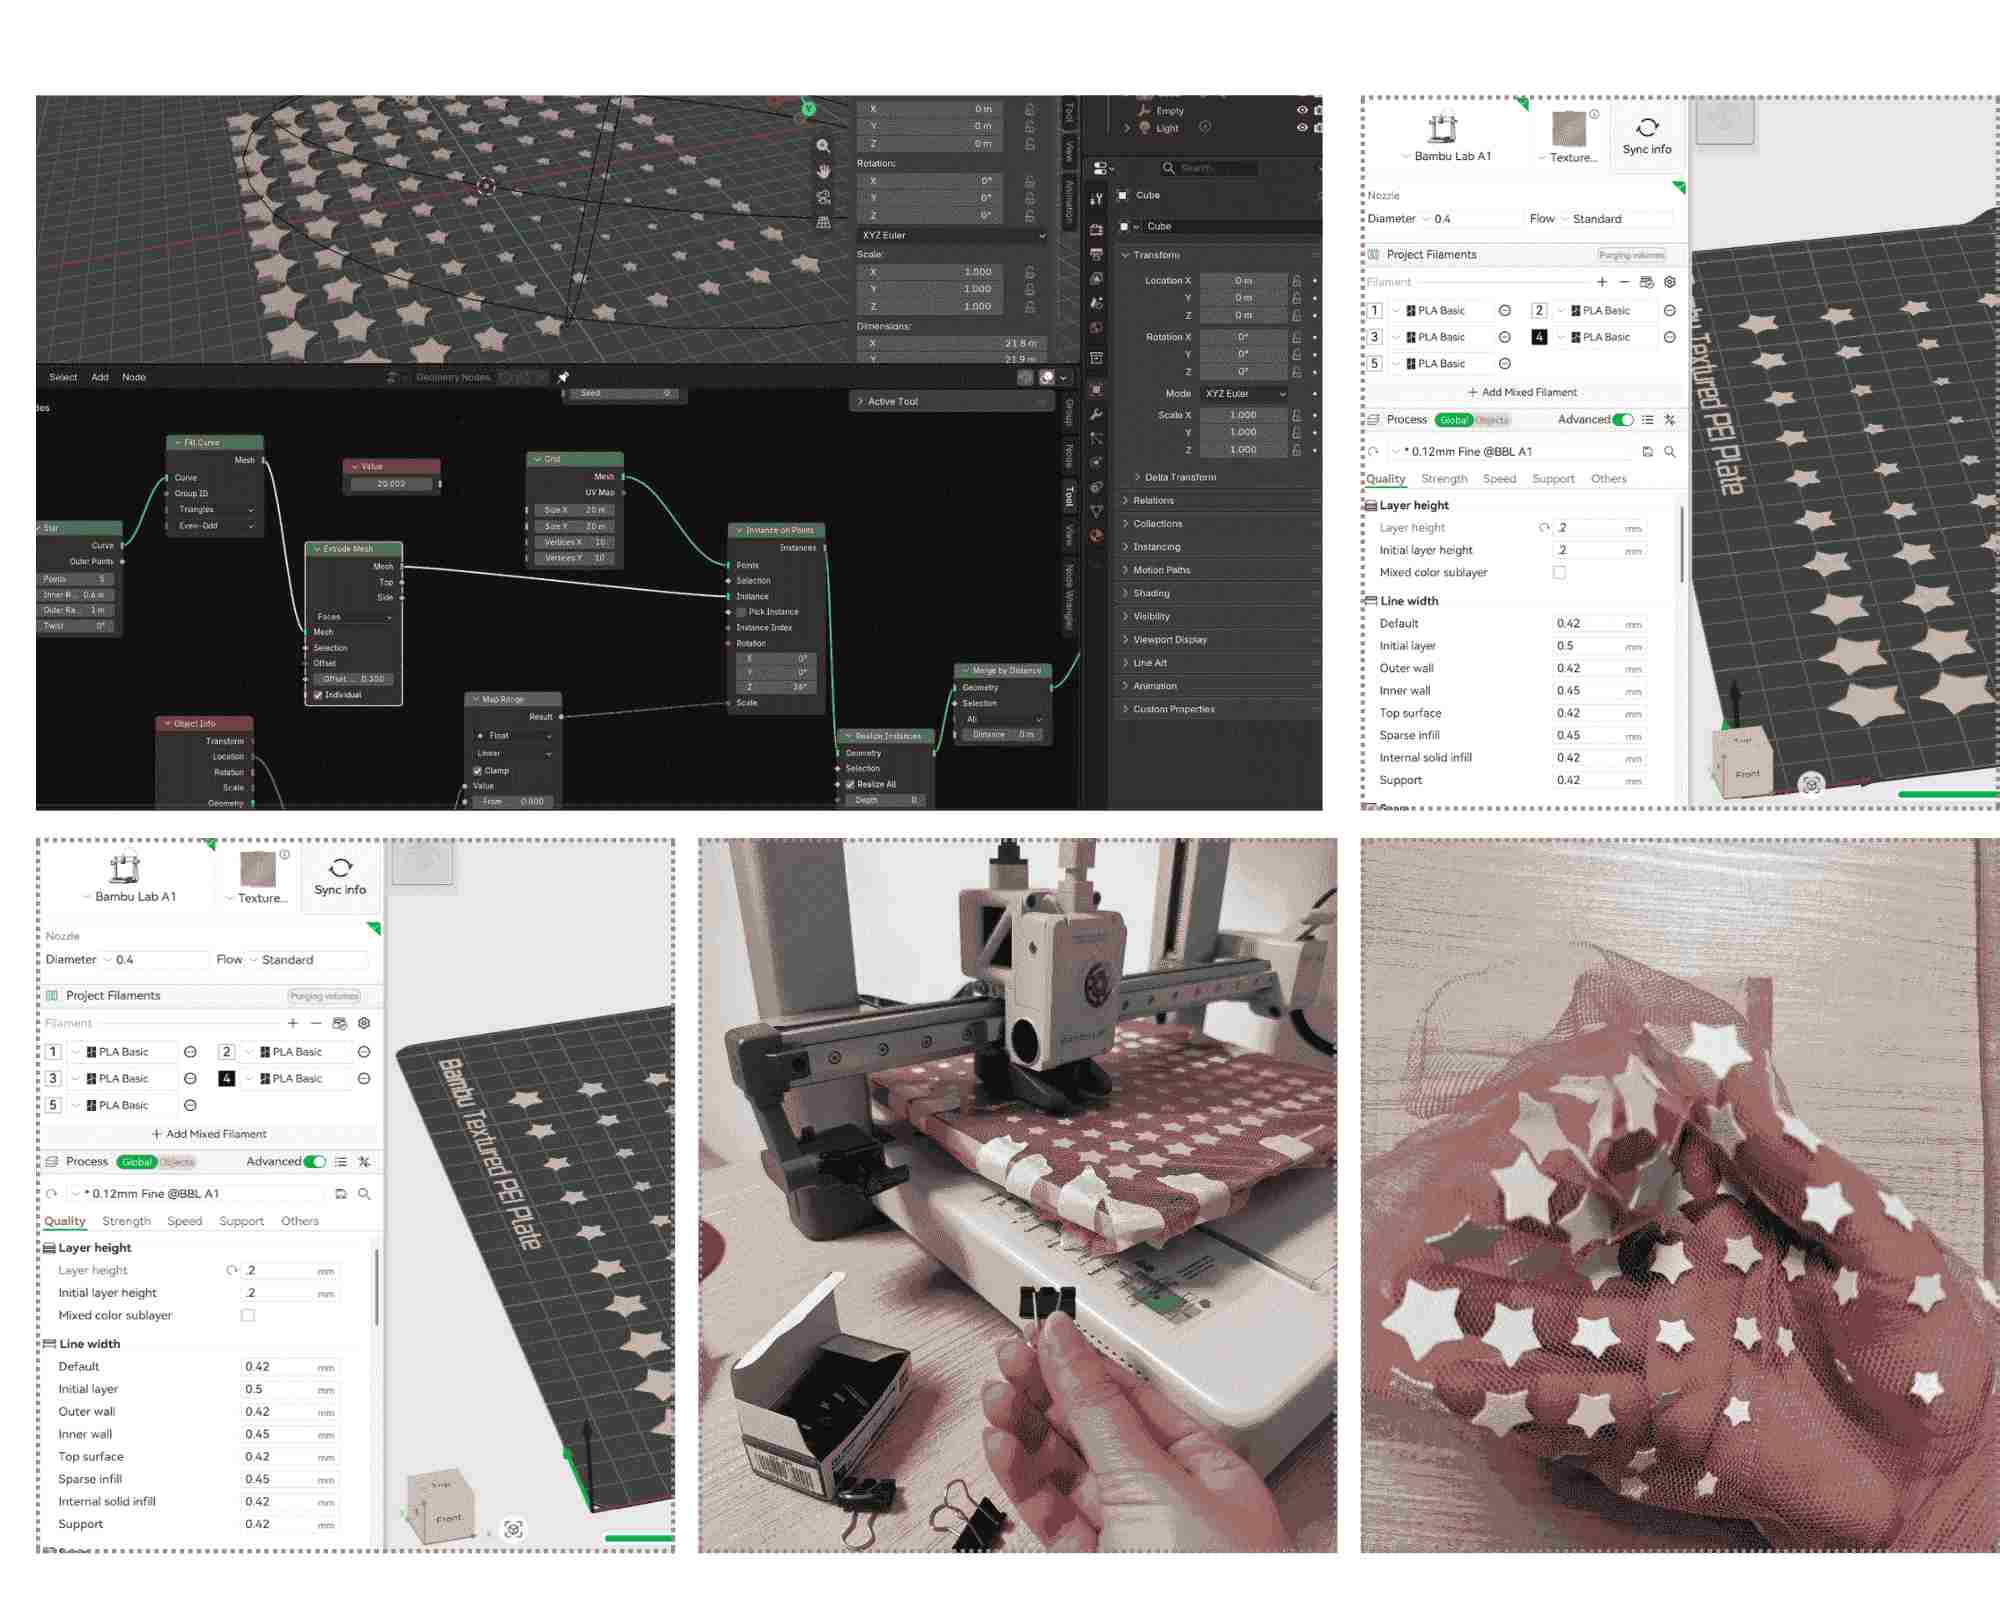 Printing with Bambu Lab A1
Then I decided to learn how to load different filament in the Bambu Lab A1, which is the TBU filament. I started figuring out how to remove the PLA filament and load the TBU filament.
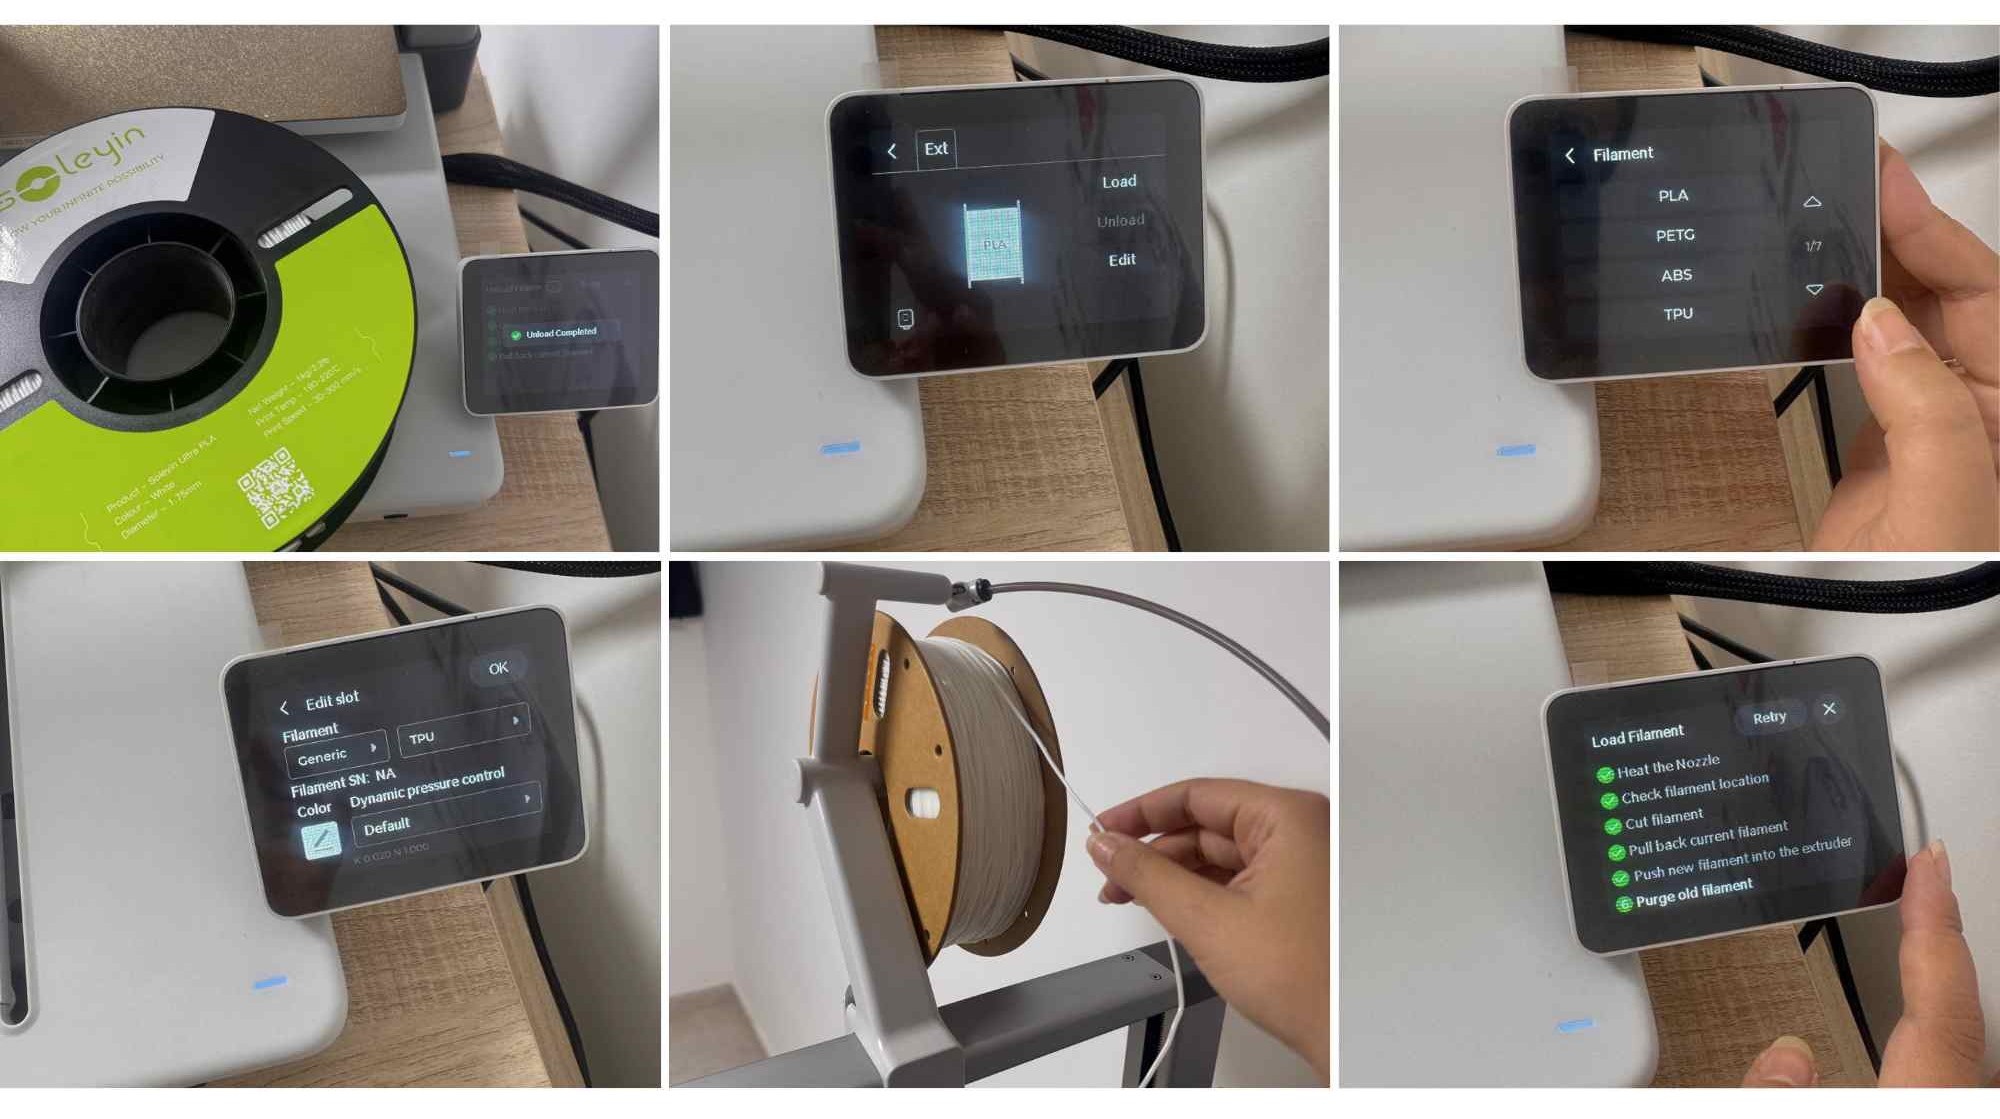 Uploading TBU filament in Bambu Lab A1
These are some of my printing trials. With each try, I learned something new and got closer to achieving better result.
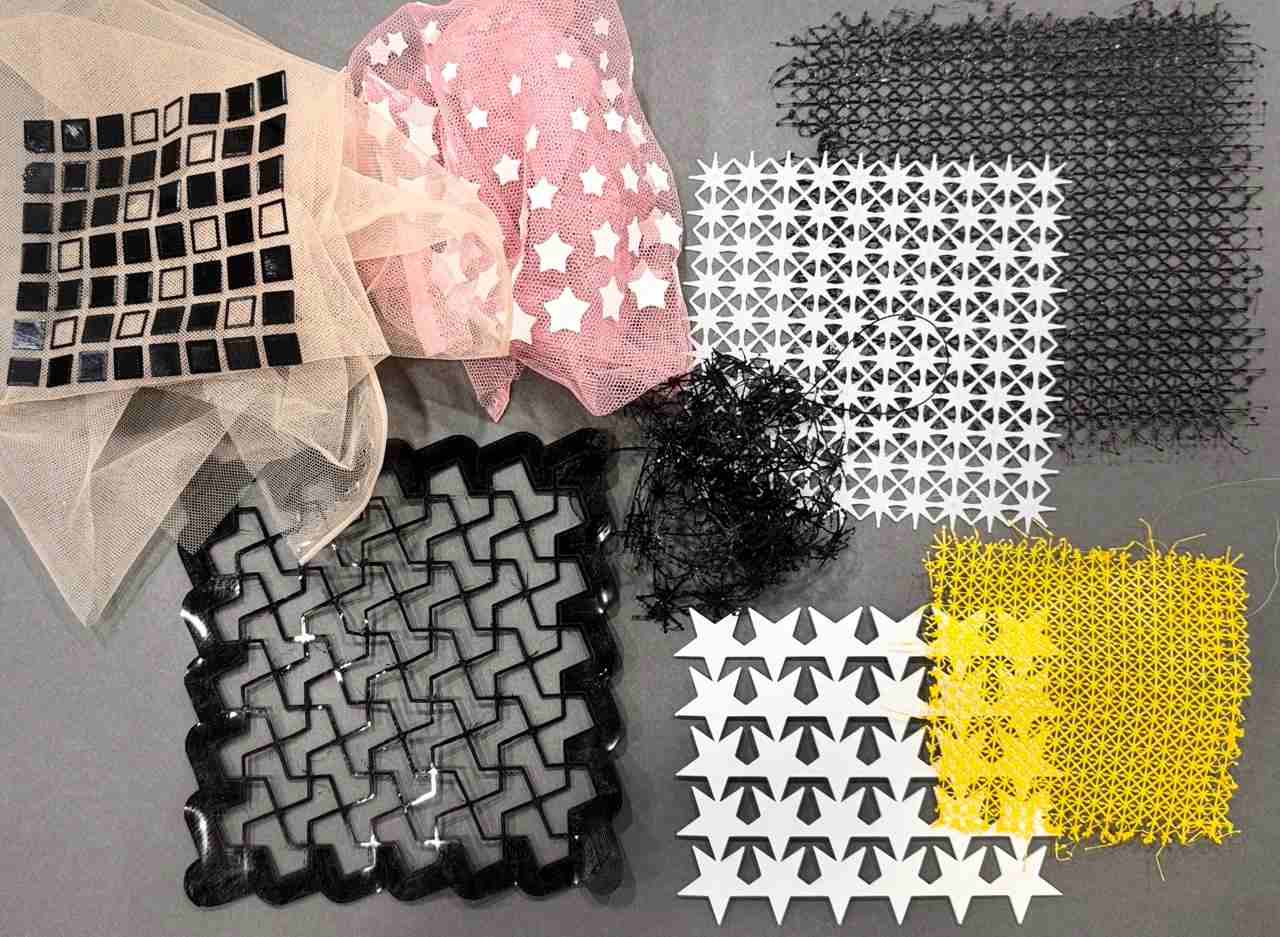 Printing trials
3.3 Step 3
After using the blender, I decided to try using Rhino and Grasshopper for the first time.
I made small star.
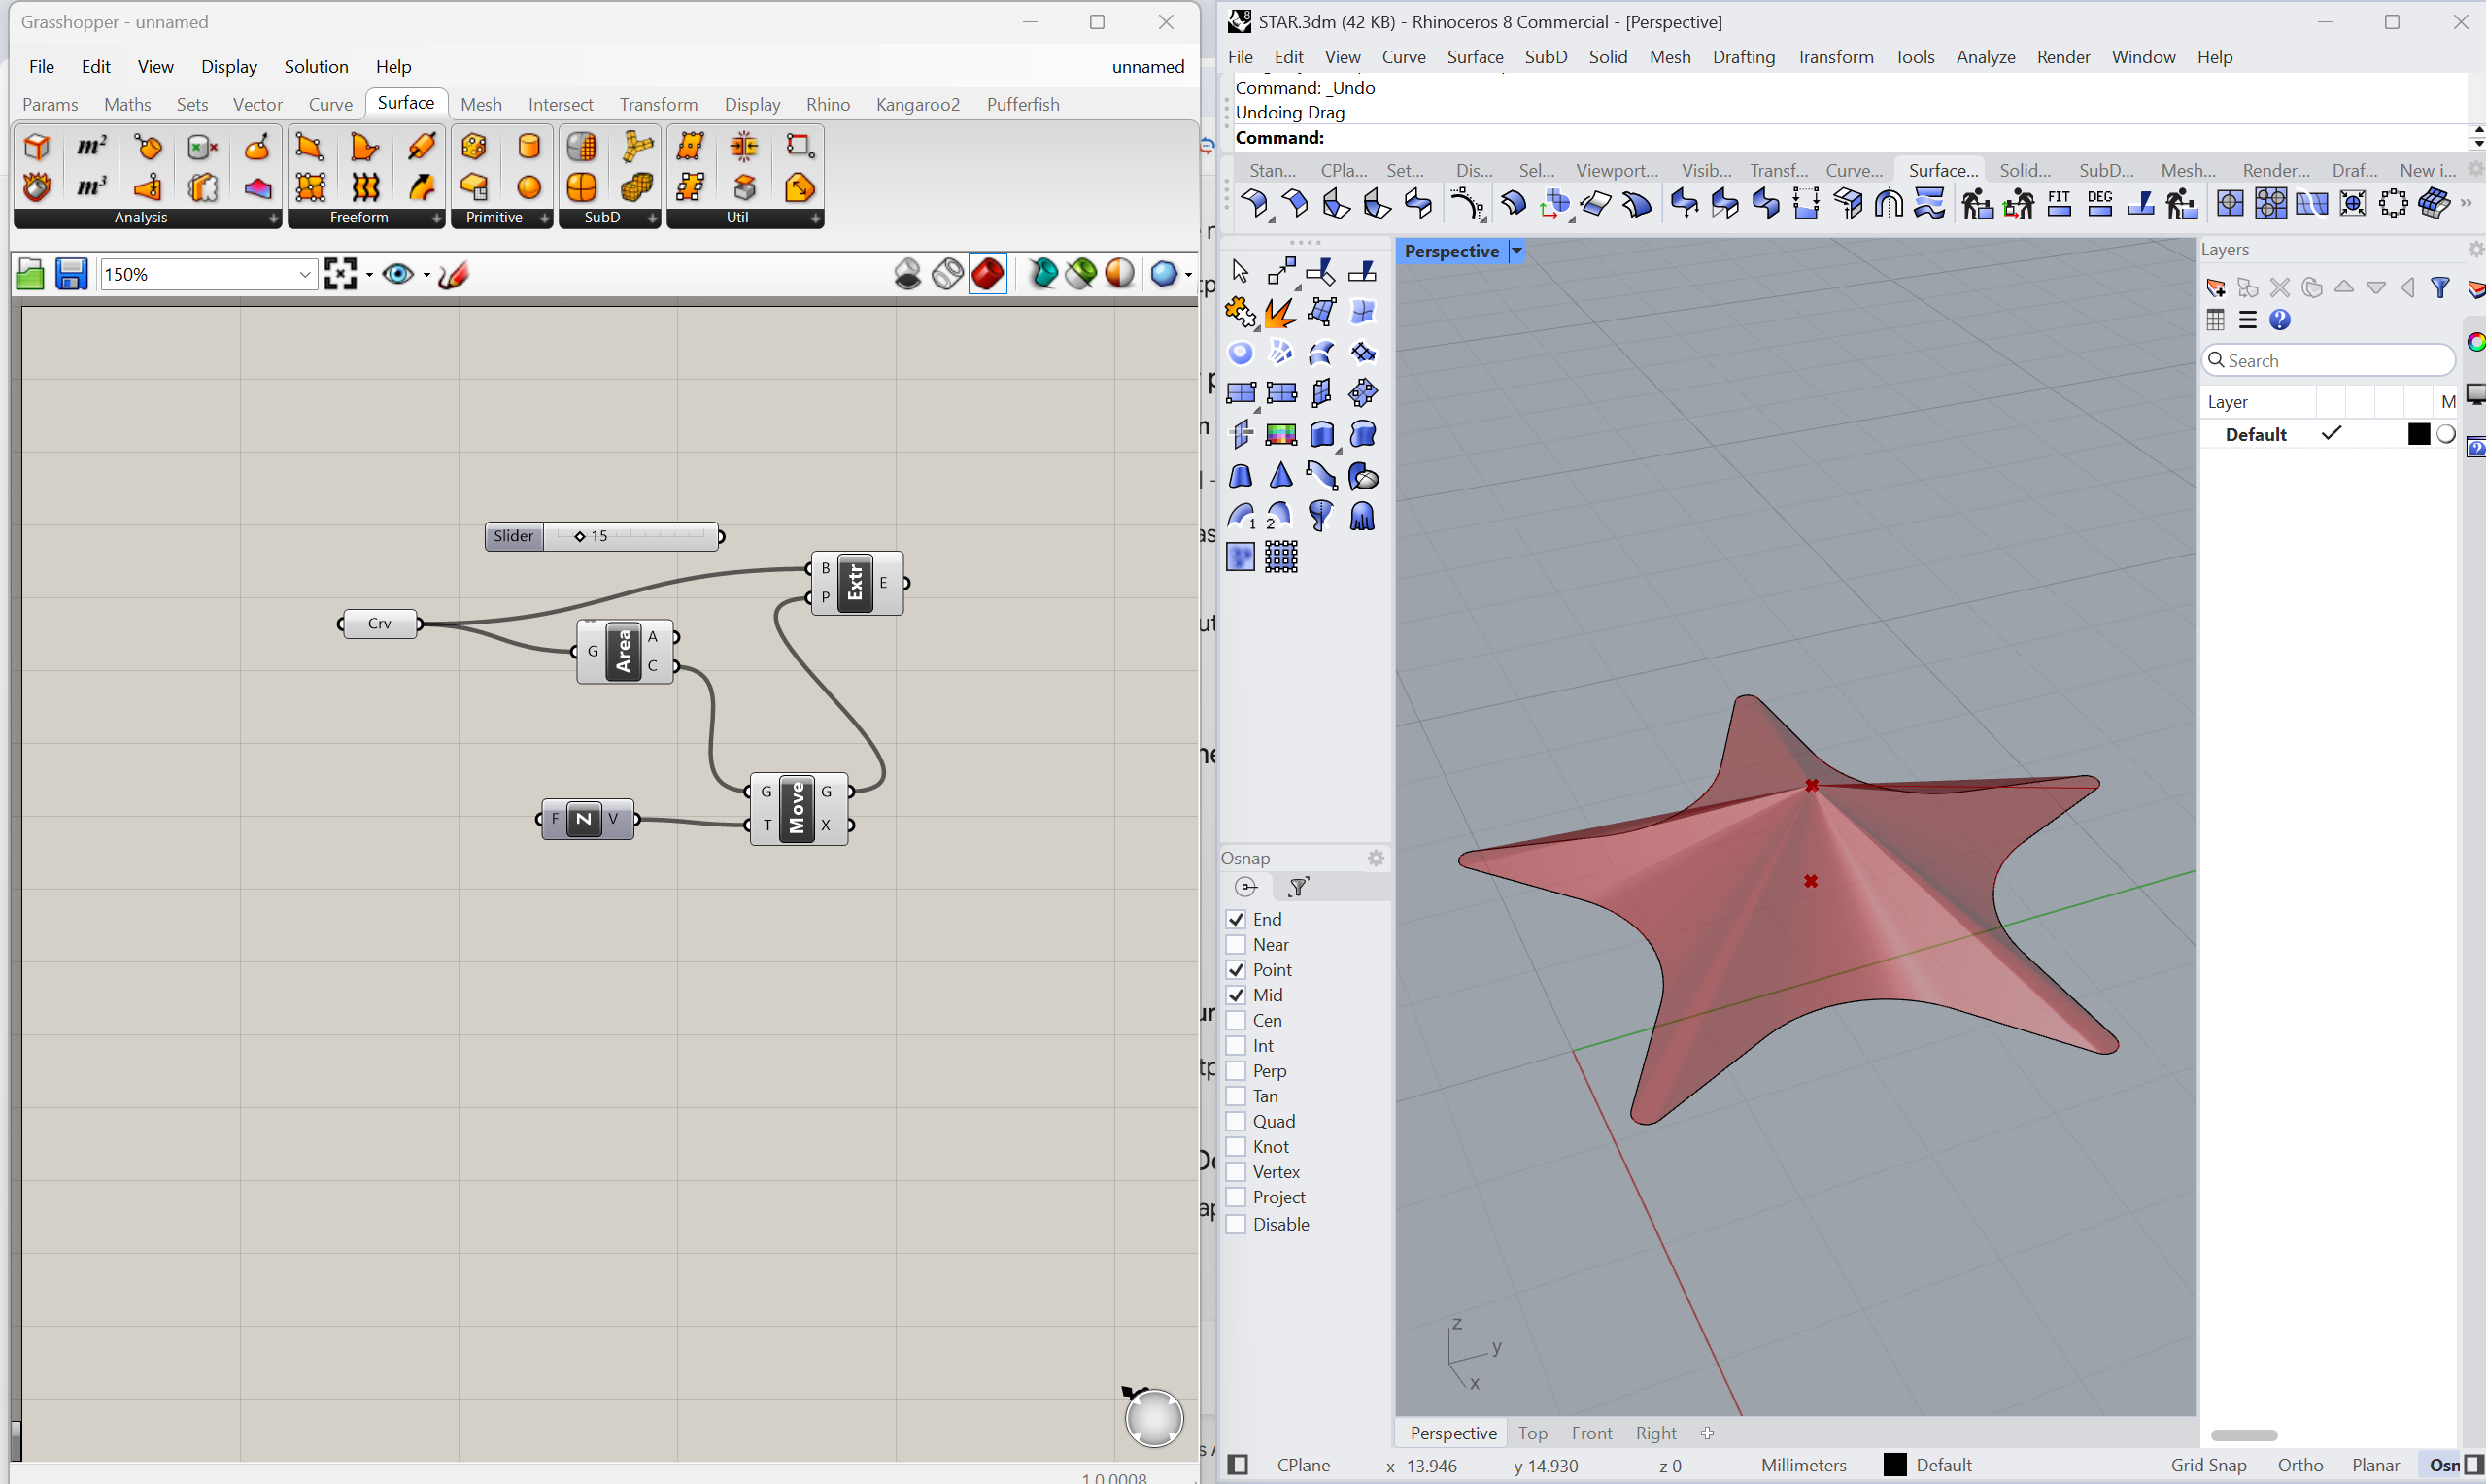 Making stars using Rhino and Grasshopper