1. State of the art, project management and documentation
FABRICADEMY WEEK1 EXPECTED LEARNING OUTCOMES
FABRICADEMY WEEK1 ASSIGNMENT

-Build a documentation website describing me and my motivation for the textile-academy, including my previous work
-Upload the documentation to my project page on class.textile-academy.org
-Add references and research based on the topic of your interest
-Learn how to upload images, videos, references and how to use markdown and gitlab
-EXTRA POINT Customize your website and document how you did it
| No Files to download |
|---|
| Comments |
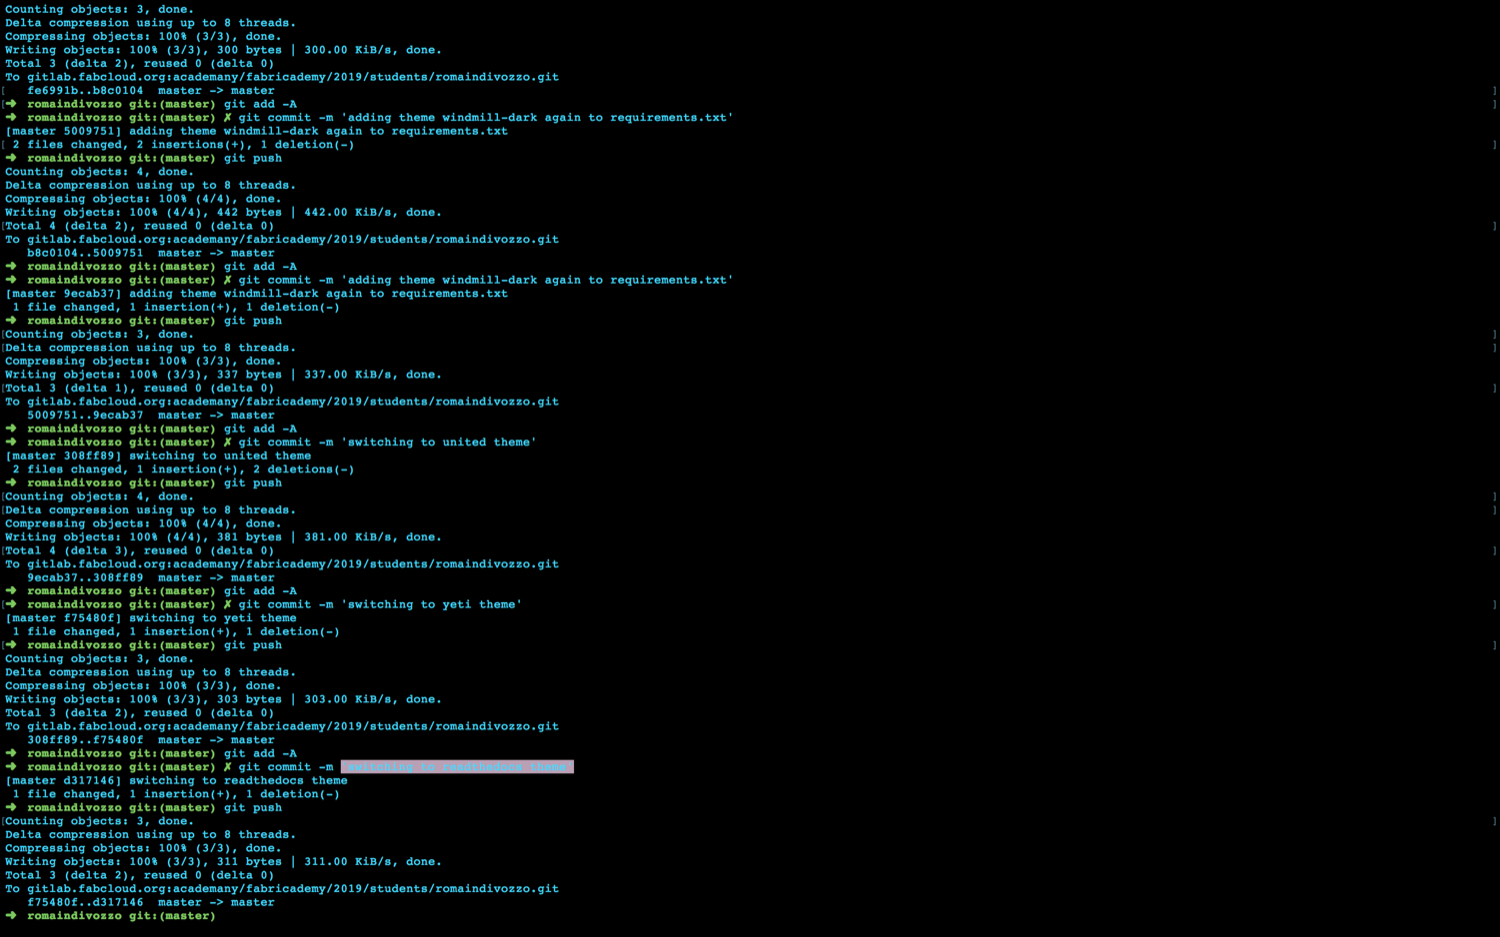
I have assembled a group of screenshots in the PDF below that shows:
-How I changed themes on my Fabricademy website, using the Atom text editor, modifying the markdown code in files located inside my local repository (on my computer so to speak).
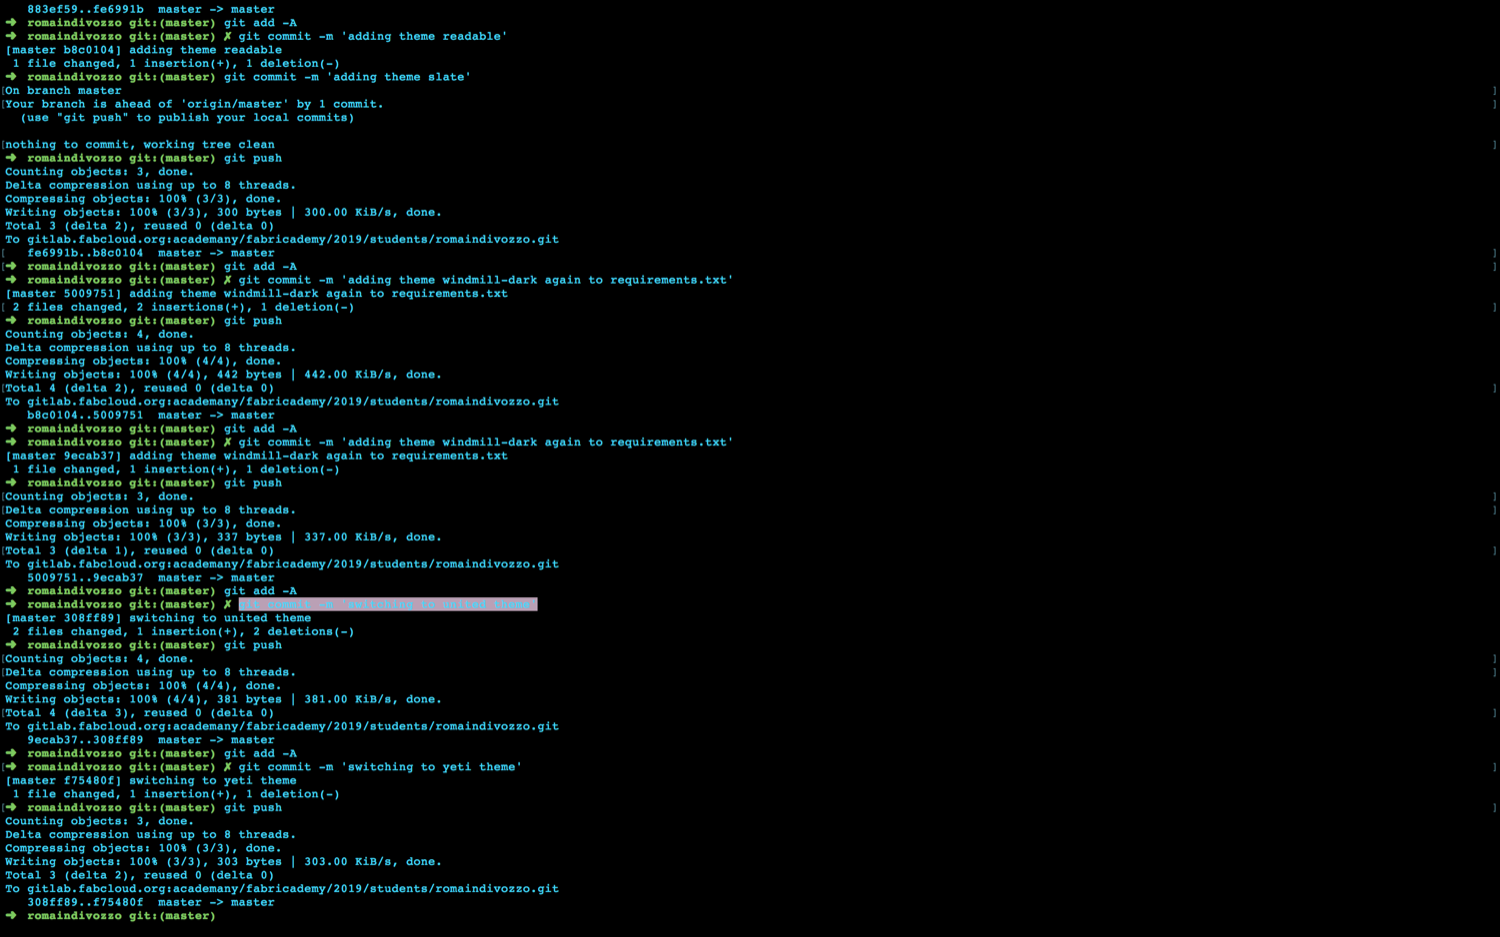
-How I remotely synchronised the changes I made on my local repository with the online Gitlab Platform we use to document our Fabricademy assignments, using the Terminal App and Git to push my changes.
Click here if you prefer to download the pdf below. You can also scroll it down (there are 44 pages). And don’t forget to check what comes after the pdf below :).
1 | About Documentation |
Documentation is a fundamental aspect of fablabs both on technical and societal level. It is at the same time a selfish activity - because you document for yourself in the first place - and a community activity - because you publish your documentation online with the rest of the world.
In the context of distributed education courses like Fabricademy or Fab Academy you are evaluated on the quality and precision of the contents you push on your personal students webpage (like this one).
Documentation mobilizes various complementary technics. One rule is that you comment what you show, meaning that any picture you add to your webpage should be commented in a related short paragraph. Another rule is that you illustrate what you say, meaning that any text you write should be backed up by at least one picture or a video.
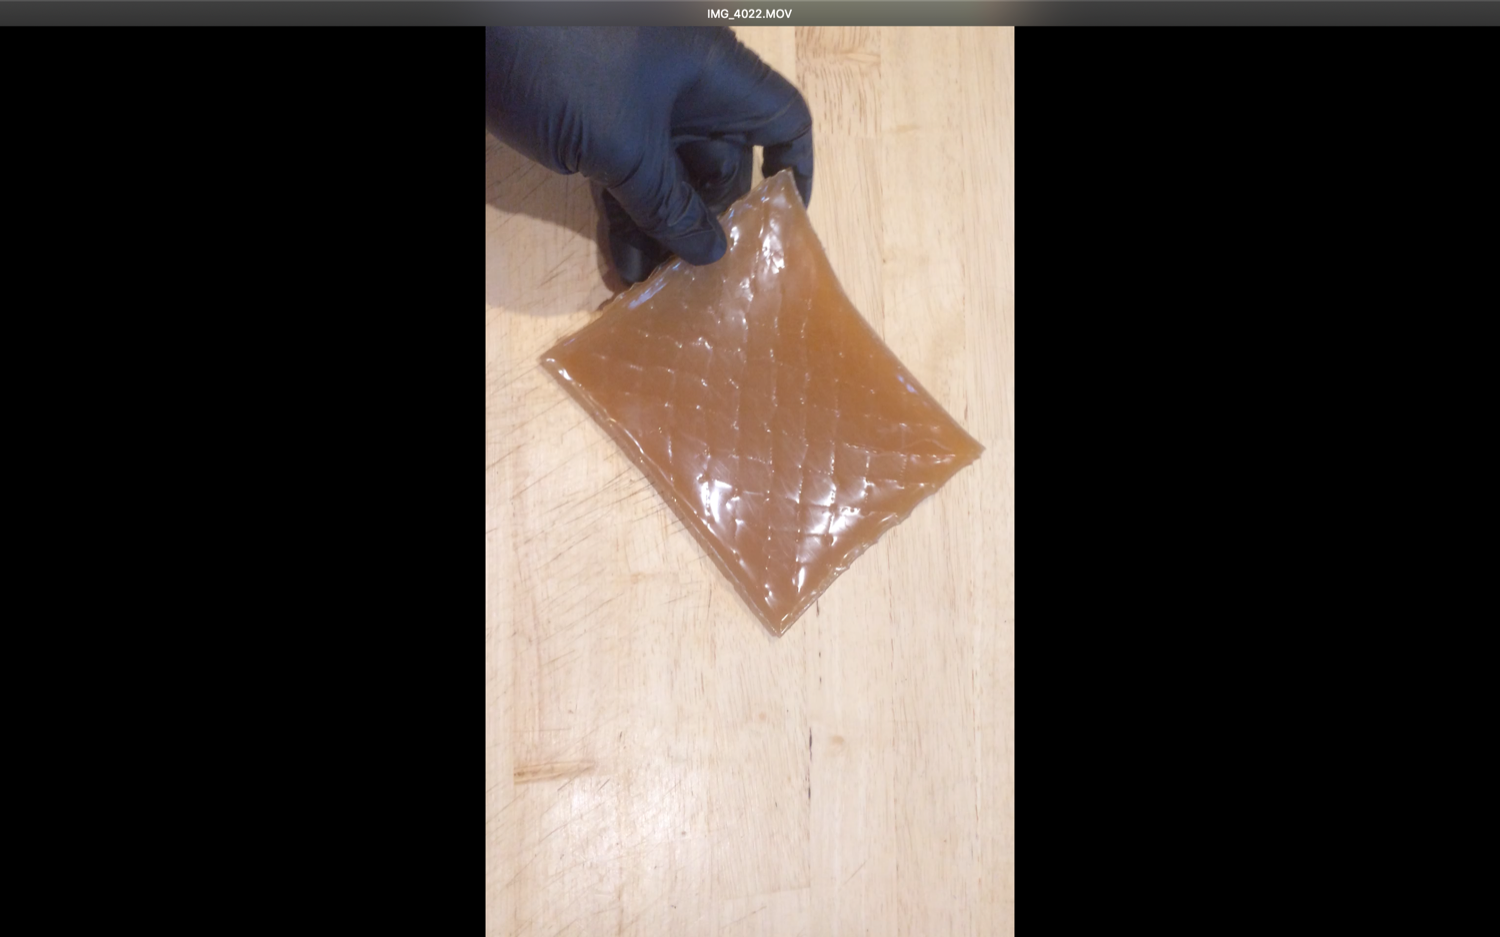
Videos are meant to demonstrate workflows, or the results of a project in action.
Screenshots of softwares in use on your computer are mandatory and highly appreciated because they demonstrate that you are documenting in small iteration cycles. Documentation is an everyday routine. You don’t do it at the end of the week or at the end of a project because you will have forgotten most of the steps and errors you went through.
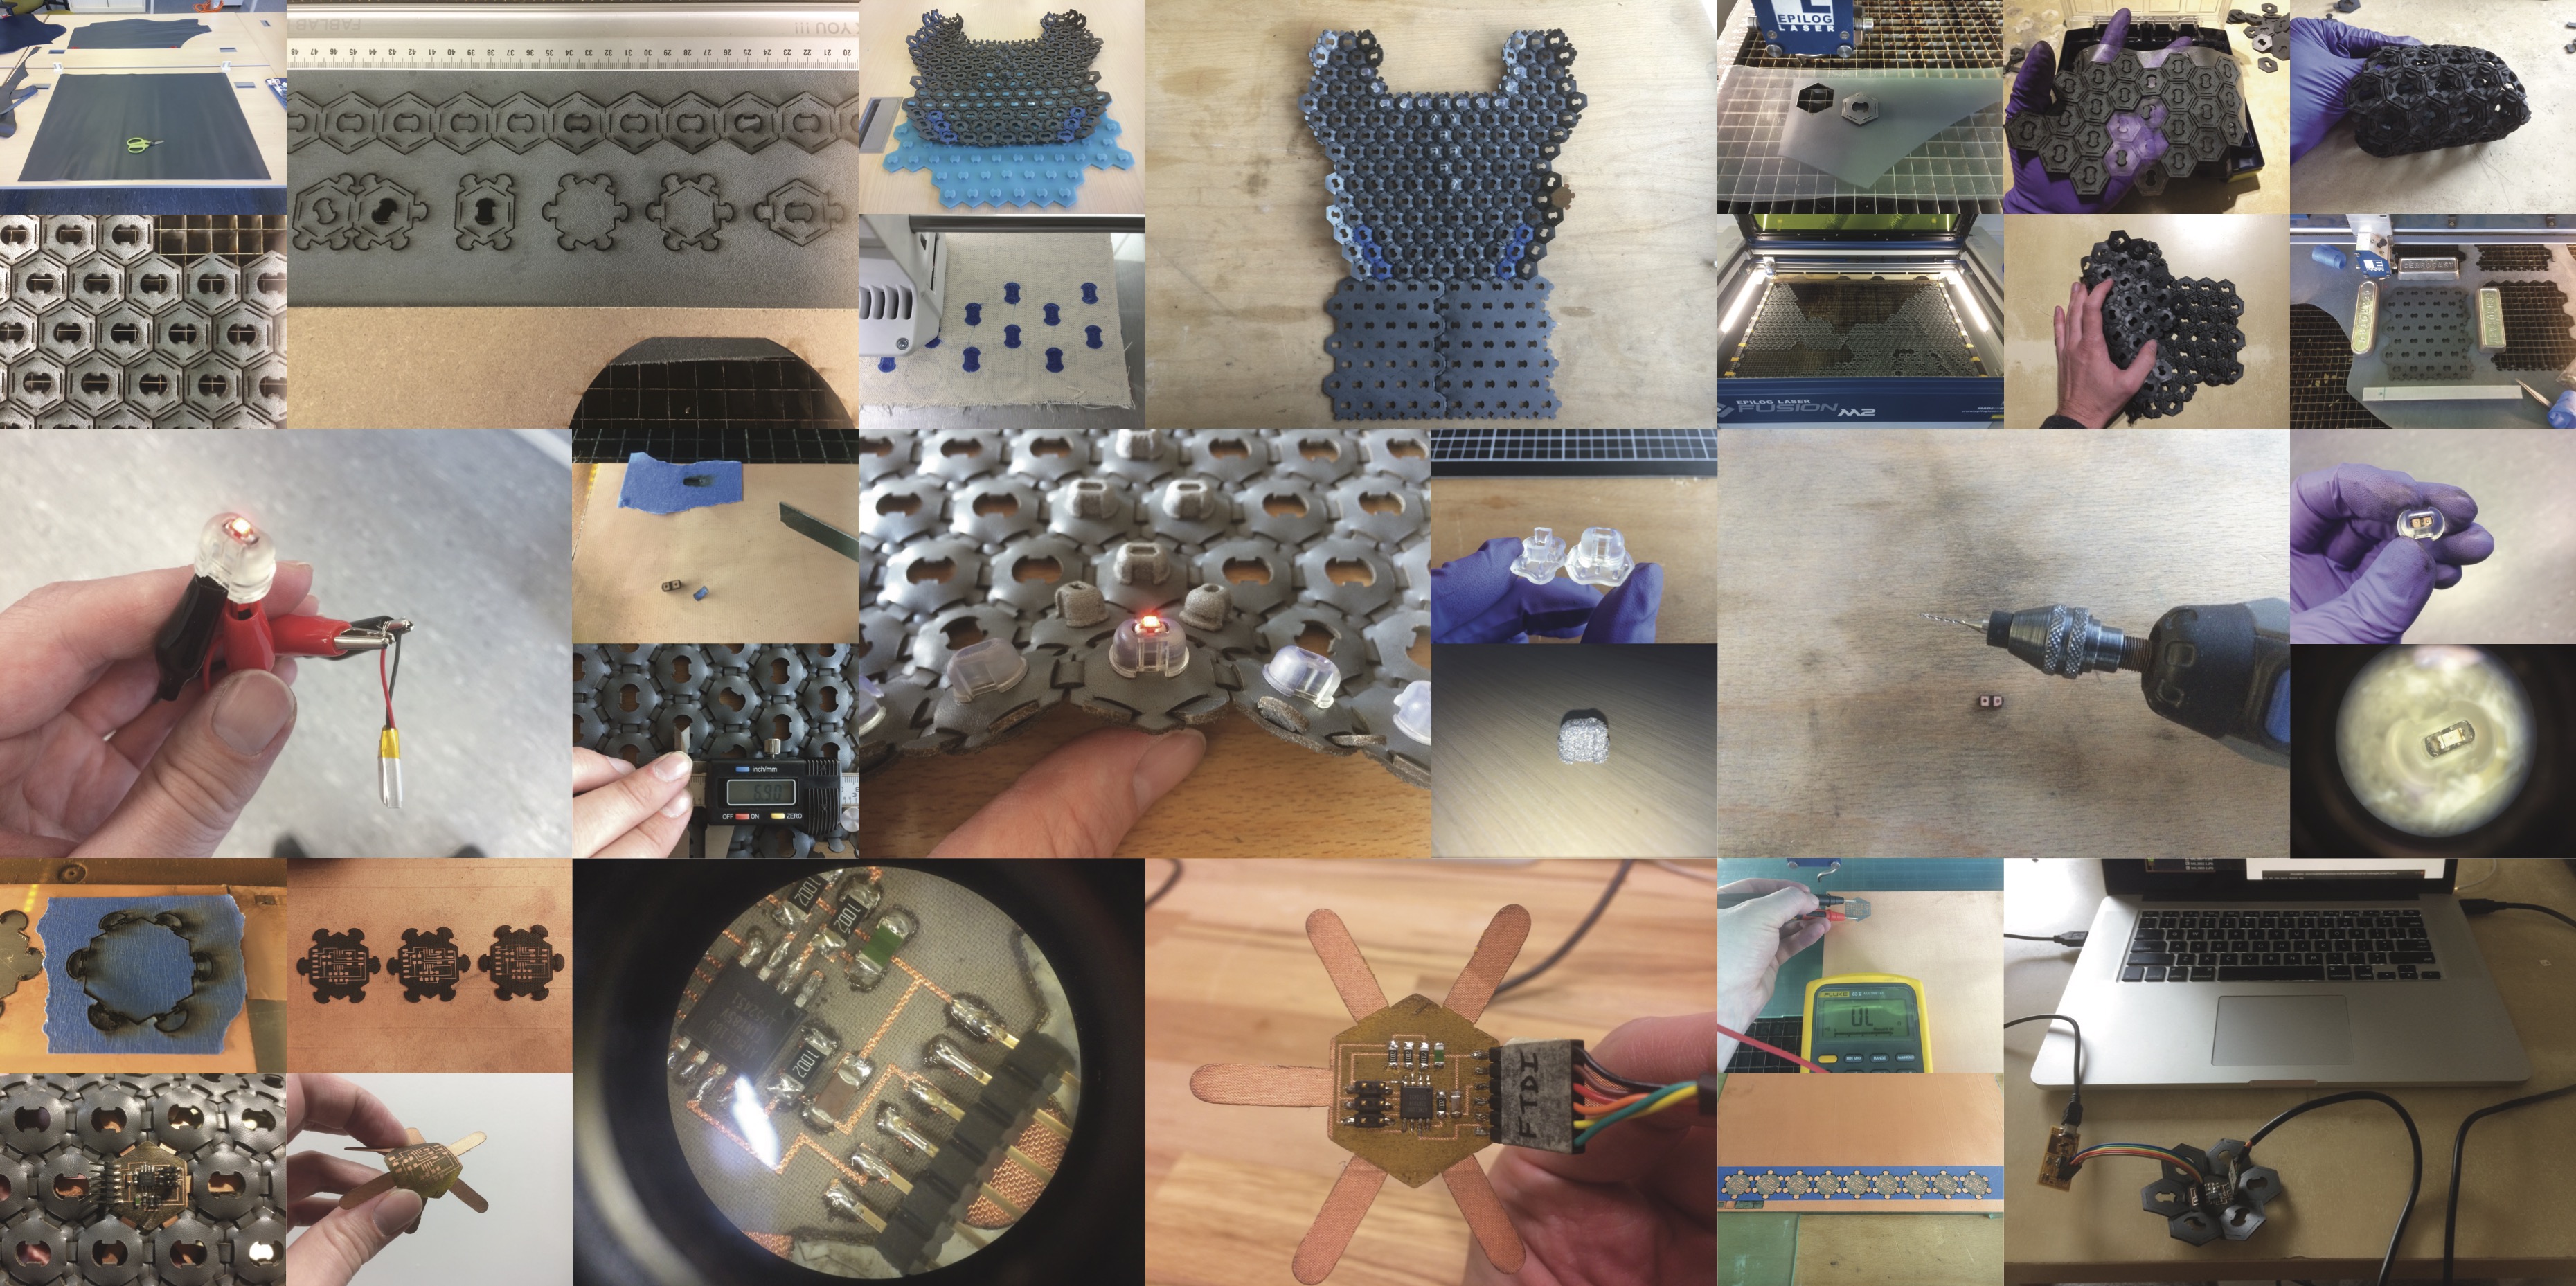
2 | About my Final Project(s) |
-A parametric leather-Pouf/Ottoman made with modular patterns
-A machine that prints on fabric (shaper-like or handibot-like)
-A working facsimilé of the ADIDAS ZX750
-A discrete portable scale for bags
-A nice bracelet that measure your heart pulse
3 | Website management with GIT through SSH Protocol |
For the Fabricademy course 2018-19 I will use ssh commands to update my online documentation. I already have local repositories remotly connected to Gitlab through ssh on my computer and I already have an ssh key related to it.
Find below a list of the commands I typed in my Terminal (mac):
4 | Initialisation of my Documentation repository with GIT through command line software Terminal (MAC) |
1-pwd (to know in which repository you are, inside your computer’s tree)
2-ls (to list the files currently inside the repository you are in)
3-mkdir ro-fabrica-doc (to create a new repository named ro-fabrica-doc)
4-git init (to initialise the git repository named ro-fabrica-doc)
(-git ls -la)
5-cd ro-fabrica-doc (to go inside the repository named ro-fabrica-doc)
6-git clone git@gitlab.fabcloud.org:academany/fabricademy/2019/students/romaindivozzo.git (to clone my gitlab repository inside my local repository on my computer named ro-fabrica-doc)
7-git add -a README.txt (to add README.txt to the remote git repository through ssh)
8-git commit -m ‘+ README.txt’(to add the README.txt to my repo ro-fabrica-doc)
9-git push
5 | Changing my Fabricademy website appearance with mkdocs |
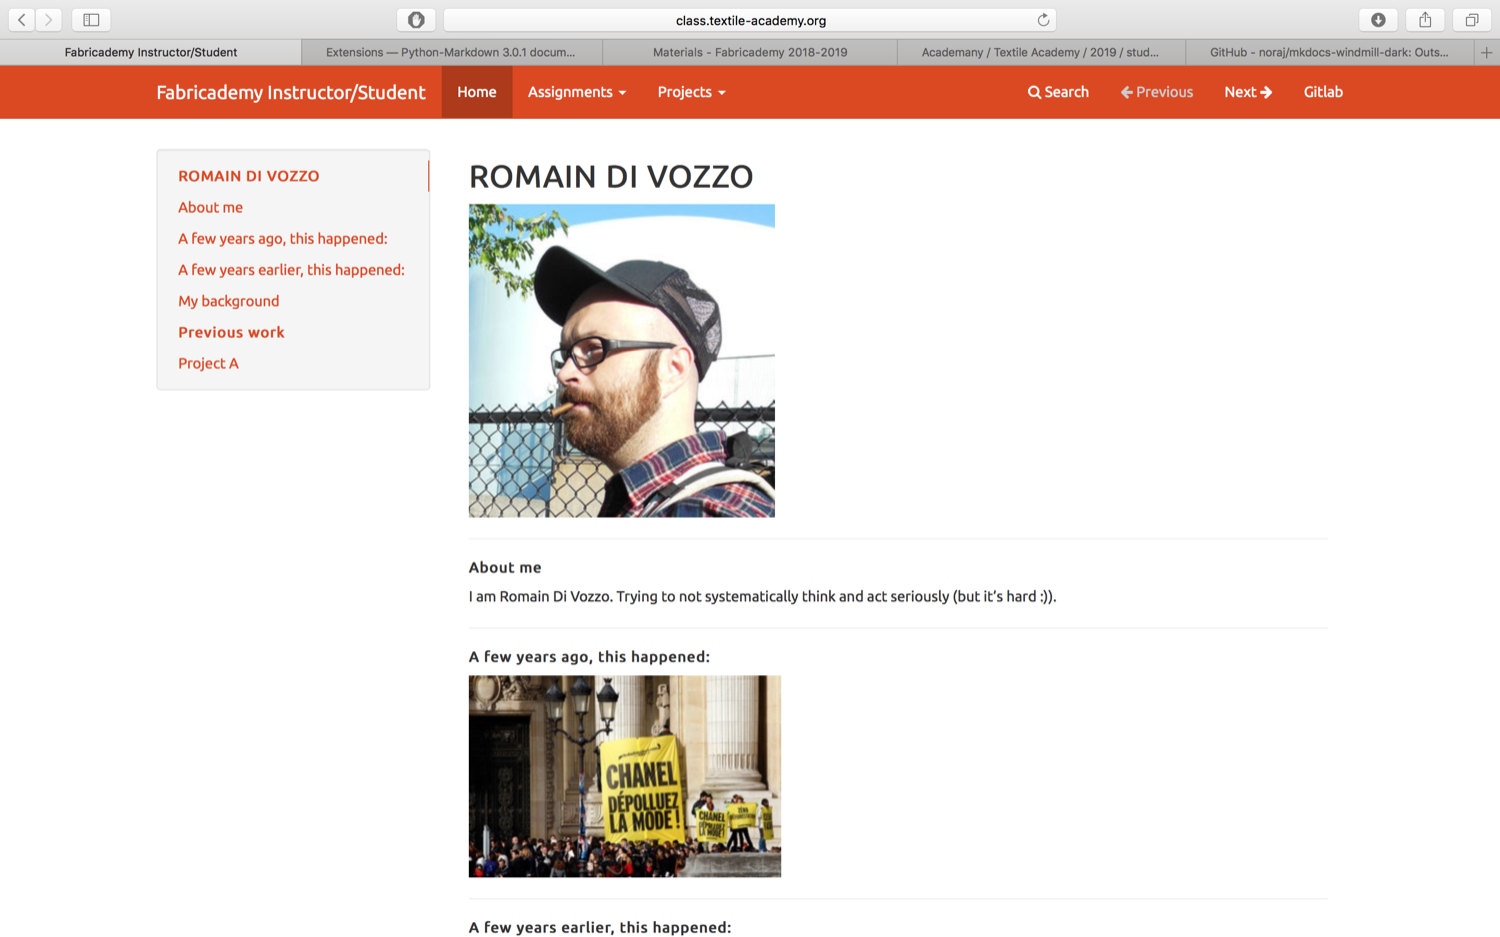
I went to the mkdocs.yml file that’s in my local folder. I opened it in Atom and change the cosmo theme Fiore had set up for us for another one named United. You can see it below:

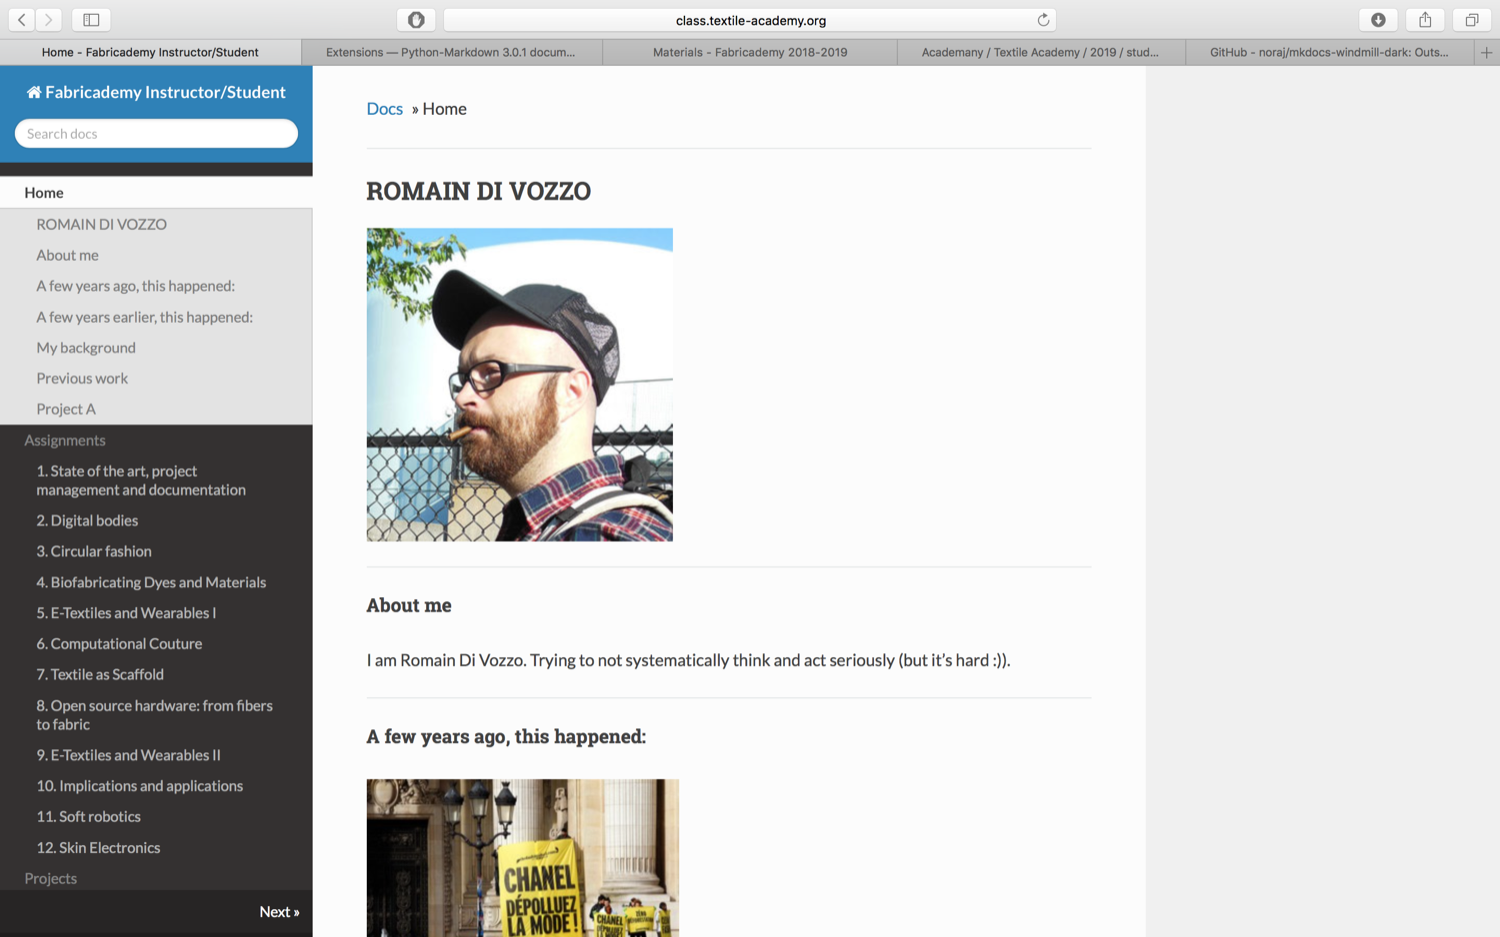
After trying at least 10 of them and even dowloading more of them that were not working because they had not been updated for this last version of mkdocs I switched to the readthedocs theme. I like it very much. I just need to figure out how to change the colors to make it, say, more personal.
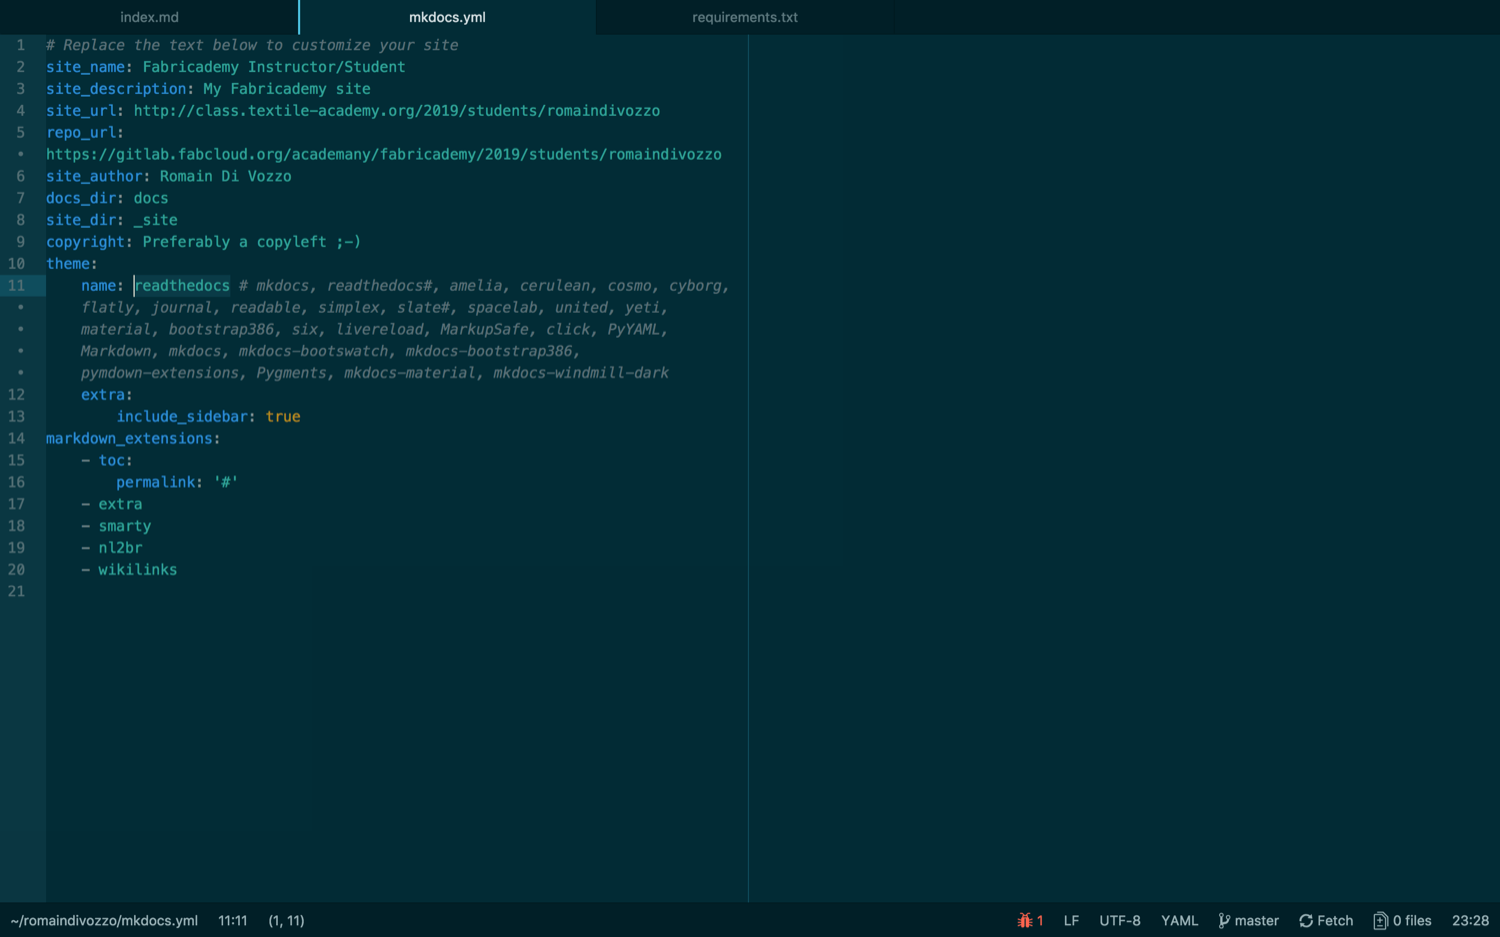
You may have noticed that there is a “requirement.txt” file in your local repository that looks like a list. For what I understood, you have to add the new Mkdocs themes you download to have them working on your documentation webpage. You can see below how mine looks like. There were only two of them when I cloned the repository Fiore has created for me. Later, while trying several Mkdocs themes, I had to download new ones and add them to the list.

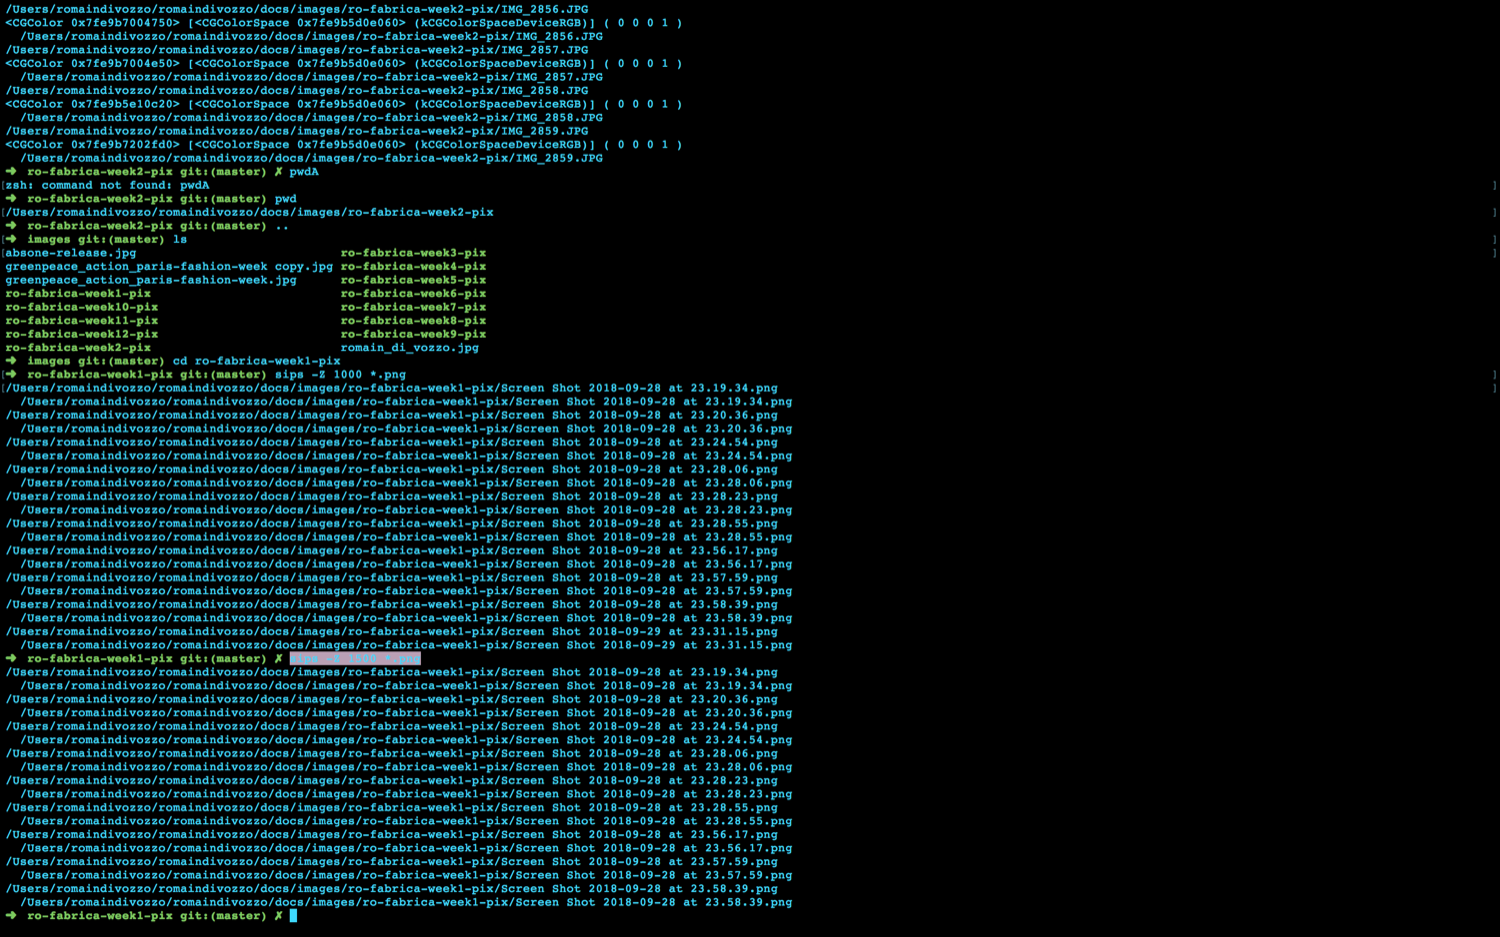
6 | Image resizing with command line tool SIPS |
Files weight’s on your repository is critical. Any picture you upload should be easy to look at and as light as possible while keeping a readable aspect. SIPS is an awesome tool on mac that you can use to automatically resize one single picture or a batch of pictures. The command looks like this: sips -Z 1500 *.png if you want to resize all the pictures of a repository with a .png extension down to 1500 pixels of height. Or, if you want to resize a lot of .JPG pictures down to 900 pixels of height you do the following: sips -Z 900 *.JPG. You can modify the extension and the value of the height (Z). See the picture below to see how it looks like when you use it in Terminal:
Other commands are available: sips --resampleWidth 1000 *.jpg to resize all the .jpg pictures of a given folder to 1000px of width, and sips --resampleHeight 1000 *.jpgto resize all the .jpg of a given folder to 1000px of height.
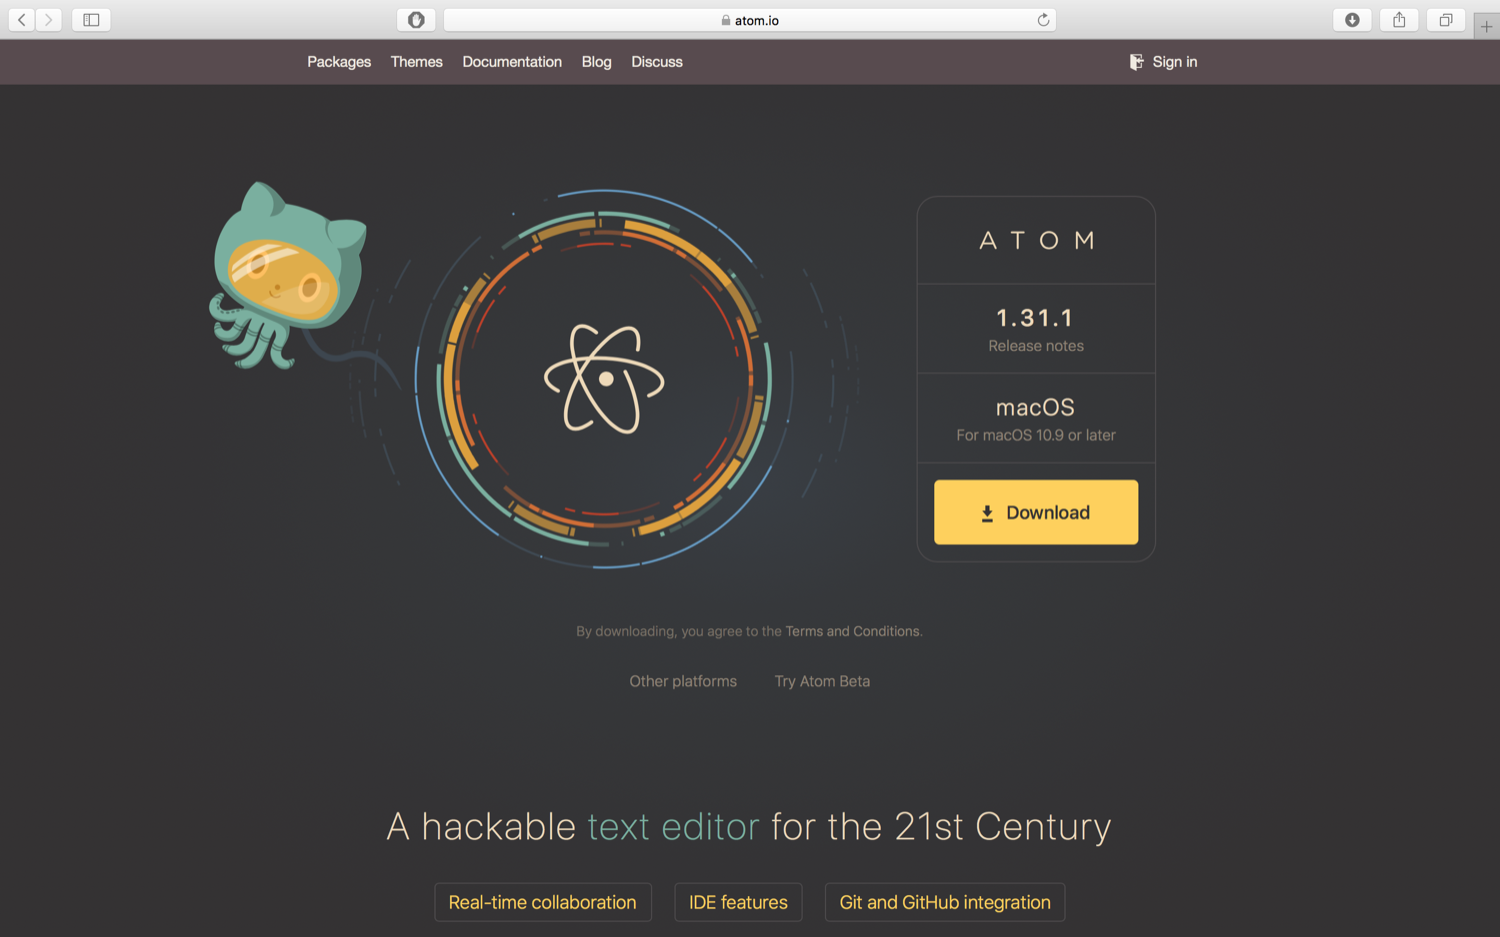
7 | Webpage editing with Atom (Text Editor) |
Atom is a very elegant and user-friendly Text Editor. You use it to write the contents of your pages in Markdown, to add links to pictures you have inside you Fabricademy local repository, to add embed videos in your webpage. I am pretty sure I use Atom at a 10th of what if has to offer.
8 | SSH protocol tool Terminal |
If you have never heard of Terminal, you are probably a Windows user. Terminal is where everything on your computer can be checked, controlled, moved (sometimes removed). This tool is your own, local traveling system to explore your computer’s capabilities.

9 | About hardware for Documentation |
Good documentation requires that your tools are always ready. If you use your phone to take pictures and videos, make sure you have a portable battery as a back-up. Both photos and videos pump a lot of energy out of your phone and, if you work for 4/5h of intensive project development you might run out of battery before the end of the day.
10 | Comments on the Markdown language |
Markdown has different versions. It is mainly unified by a common set of signs like any computing languages but with different fashions. Markdown is good because it is simple. One of the limitations is picture resizing that doesn’t work very well, at least for me. I found more reliable to resize them before uploading them.
11 | Gitlab and Mkdocs |
Gitlab is the version control software at the back of the Mkdocs interface. It allows me and you to have both a remote and a local version of our documentations. When we write contents or add pictures and links to the .md (markdown) files hosted on our computers, they don’t synchronise with the remote repository online, unless we use git to push those contents through SSH.
Gitlab’s interface exists and is not user-friendly. This is where Mkdocs helps having our documentation webpages readable. Thanks to pre-configured themes, Mkdocs give our contents a nice and organized aesthetic.
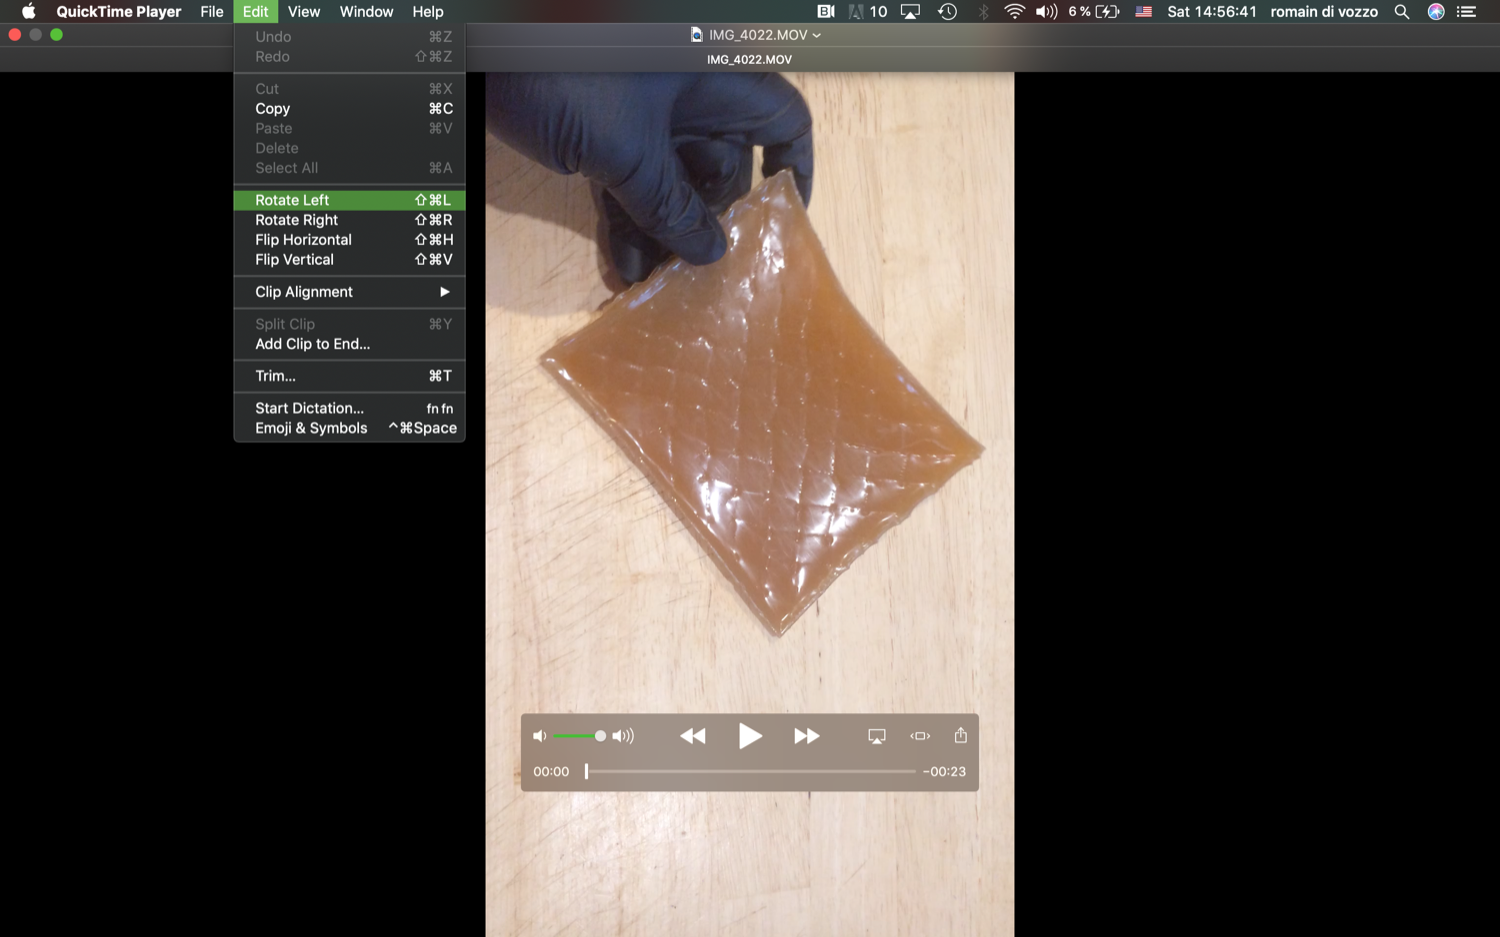
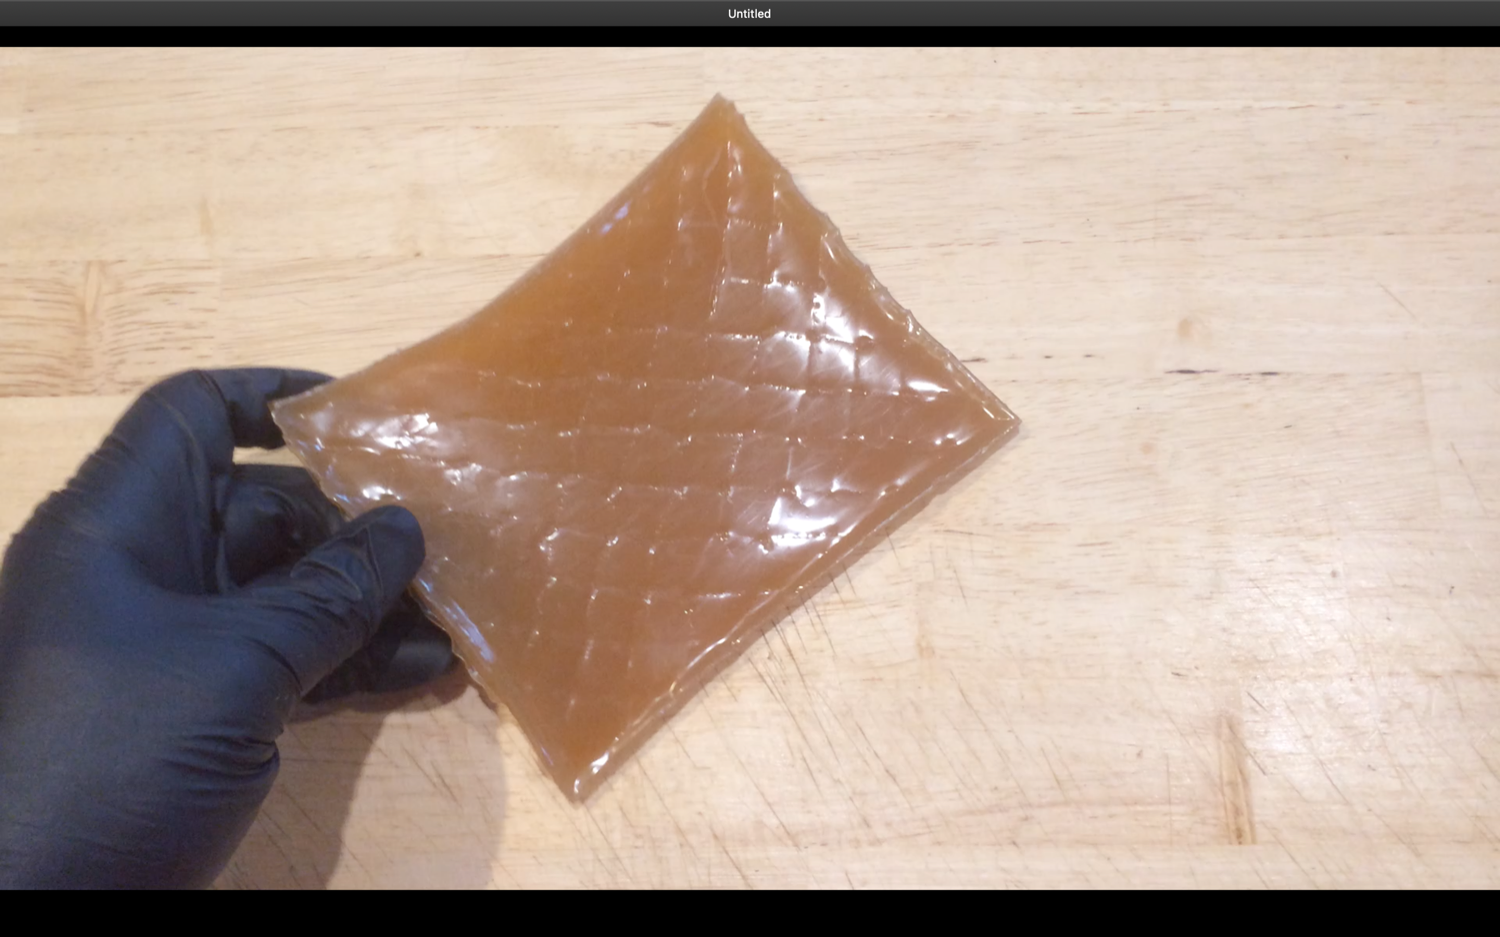
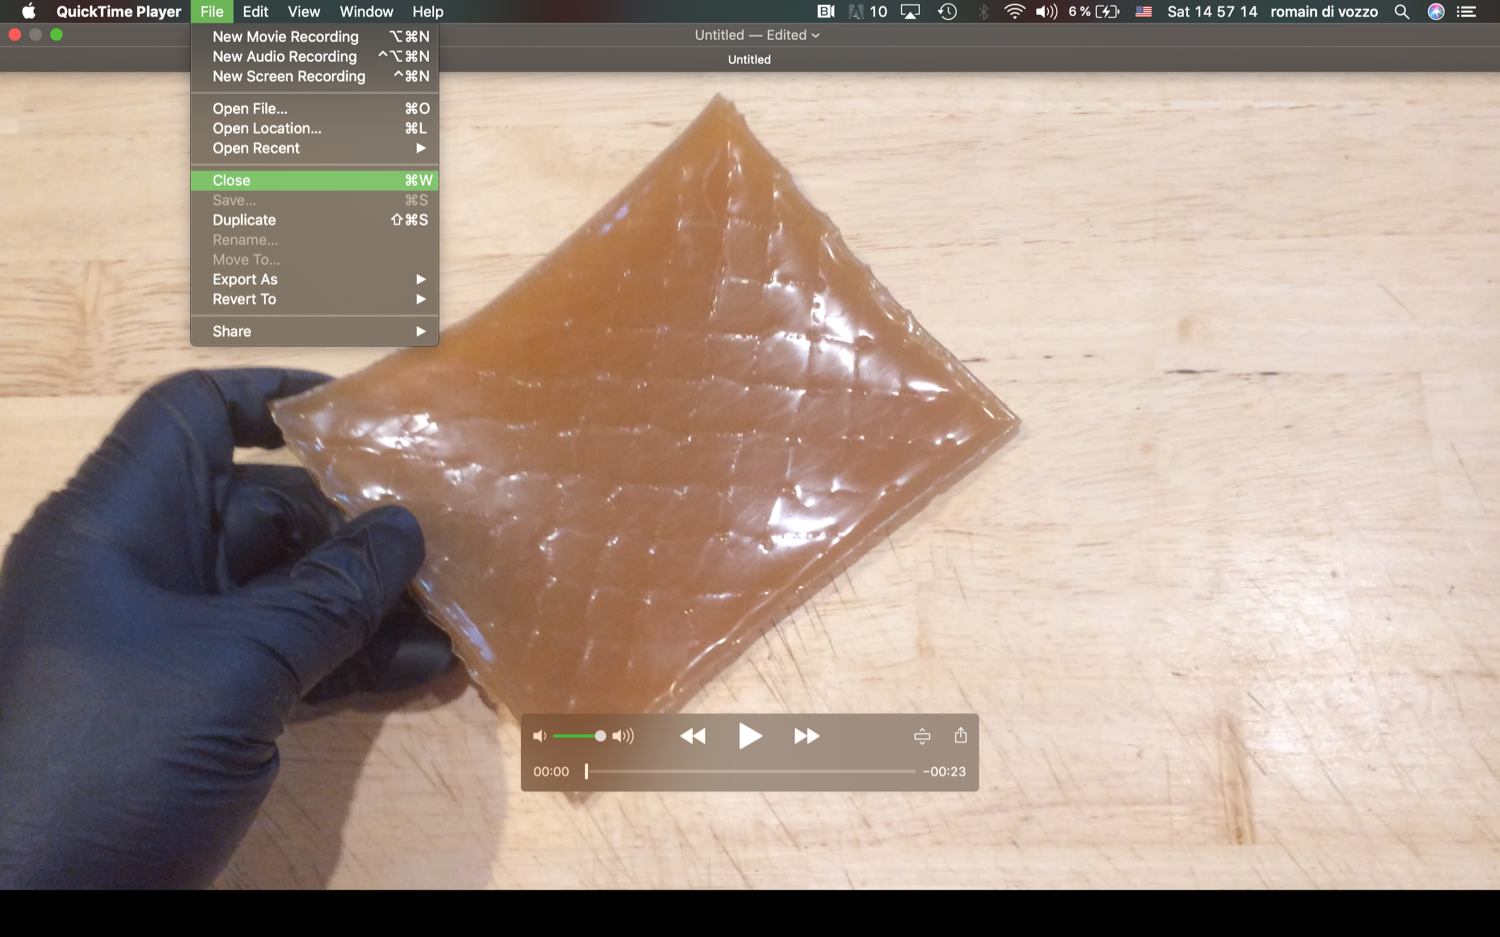
12 | Video rotation |
Sometimes, you make a video with your phone and it is not oriented in the direction you want. For Mac users, Quicktime Player offers a very easy and fast way to do this.
| rr | rr |
|---|---|
 |
 |
| rr | rr |
|---|---|
 |
 |
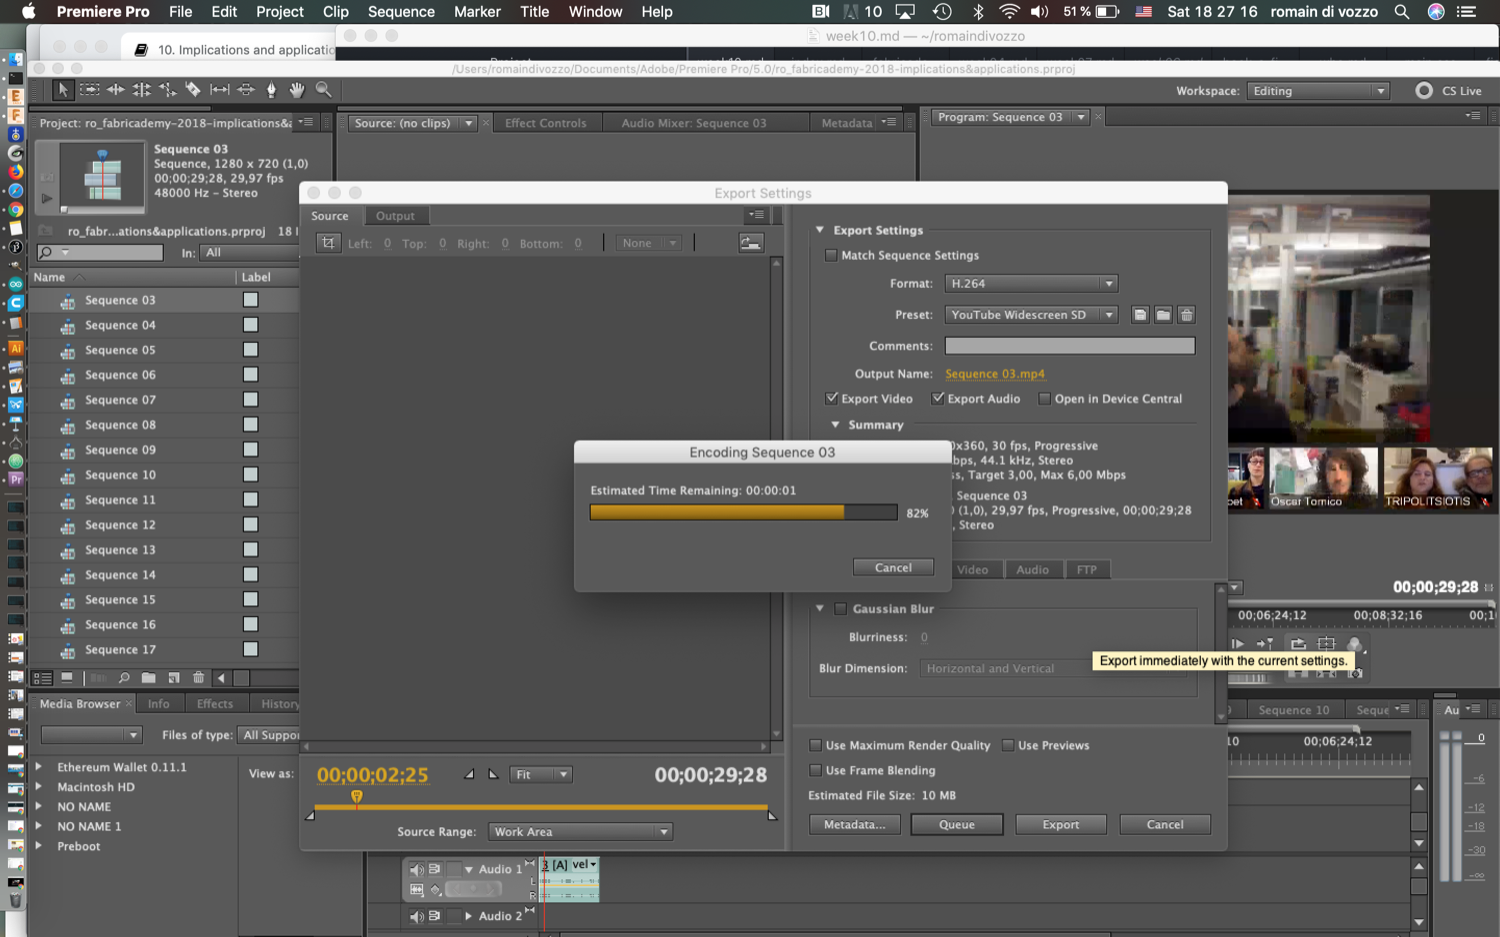
13 | Here are the export parameters I use for videos I host on Youtube |
14 | Checking your repository size through the command line on MAC
A very nice tool I have started to use to check the size of my fabcloud repository is git-sizer. You need to install it first on your computer. On Mac, you do it through Homebrew. Then you go to the directory you want to measure and type in git-size in your terminal.
15 | Coding a nice table in Markdown
If you want to embed pictures with a title line above it and a comment line below it like the one below:
| 0 |
|---|
 |
| SURFACE IO Processes and Variations Poster |
You can use the following line of code:
| 0 |
| - |
| <img src="http://class.textile-academy.org/2019/romaindivozzo/images/ro_fabrica-final-project-pix/ro_poster_fabricademy_final-project_hires.jpg" width="695px" height="391px" /> |
| SURFACE IO Processes and Variations Poster |
If you want more cells in your table:
| 0 | 1 | 2 | 3 |
|---|---|---|---|
|
|
|
|
| blabla | bloblo | blibli | blublu |
You can use the following line of code:
| 0 | 1 | 2 | 3 |
| - | - | - | - |
| <img src="http://class.textile-academy.org/2019/romaindivozzo/images/ro_fabrica-final-project-pix/ro_poster_fabricademy_final-project_hires.jpg" width="695px" height="391px" /> | <img src="http://class.textile-academy.org/2019/romaindivozzo/images/ro_fabrica-final-project-pix/ro_poster_fabricademy_final-project_hires.jpg" width="695px" height="391px" /> | <img src="http://class.textile-academy.org/2019/romaindivozzo/images/ro_fabrica-final-project-pix/ro_poster_fabricademy_final-project_hires.jpg" width="695px" height="391px" /> | | <img src="http://class.textile-academy.org/2019/romaindivozzo/images/ro_fabrica-final-project-pix/ro_poster_fabricademy_final-project_hires.jpg" width="695px" height="391px" /> |
| blabla | bloblo | blibli | blublu |