FABRICADEMY WEEK7 ASSIGNMENT
-Document the concept, sketches, references also to artistic and scientific publications
-Design a parametric model using Grasshopper3D and uploadthe rhino file + grasshopper files.
-Learn how to use 3D printing techniques to print the 3D model in/on the chosen materials.
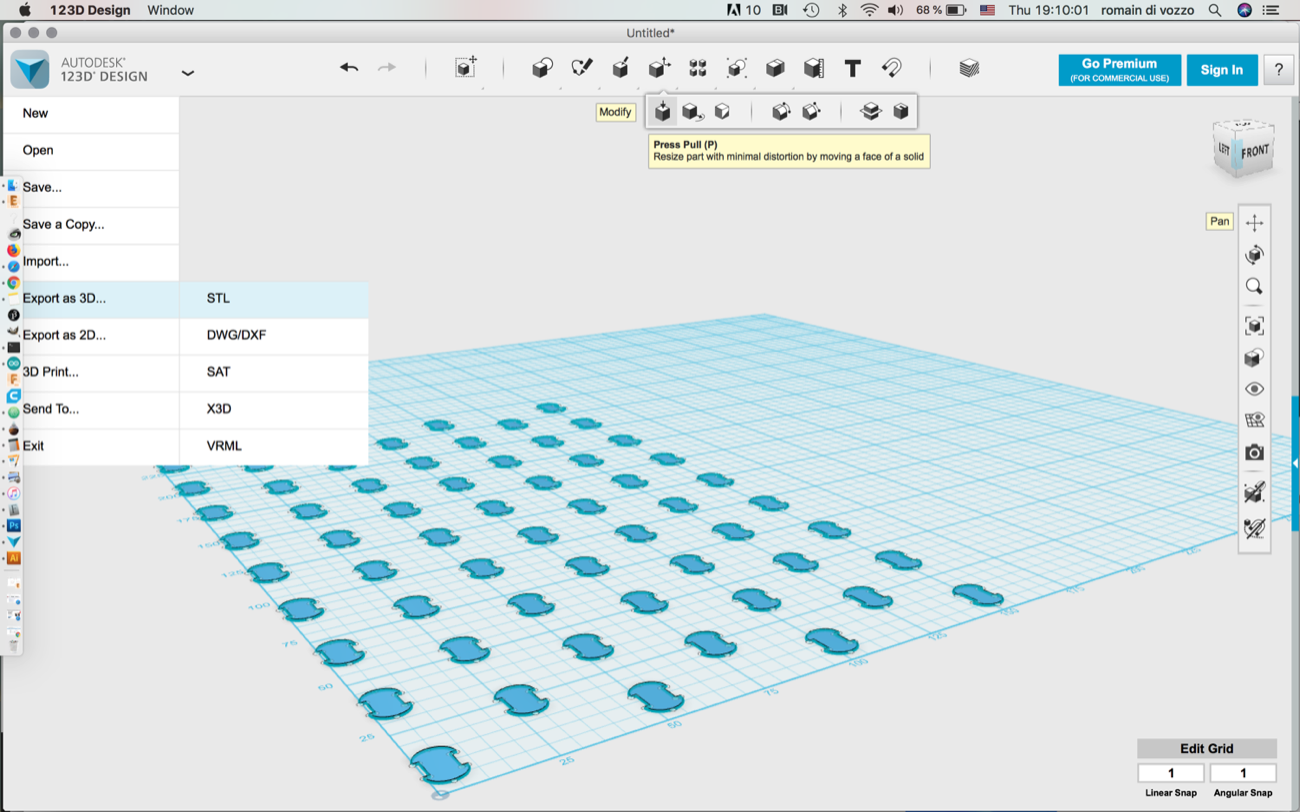
-Document the workflow for exporting your file and preparing the machine and gcode to be 3D printed
-Upload your stl file with pictures at : https://oscircularfashion.com
-Submit some of your swatches to the analog material library of your lab. (20cm *20cm aprox)
I ran out of time to dive into Rhino and Grasshopper. I did my parametric design on Fusion 360. I realize Rhino offers many possibilities and I’ve been flirting with the idea of using it for years. In the past, the Mac version didn’t seem to be updated as much as the Windows version was and Rhino is not free. This made me pick Autodesk. Since Fabricademy started, I am considering buying some licenses for Fablab Digsicope. I recently contacted french resellers 3 times, and none answered.
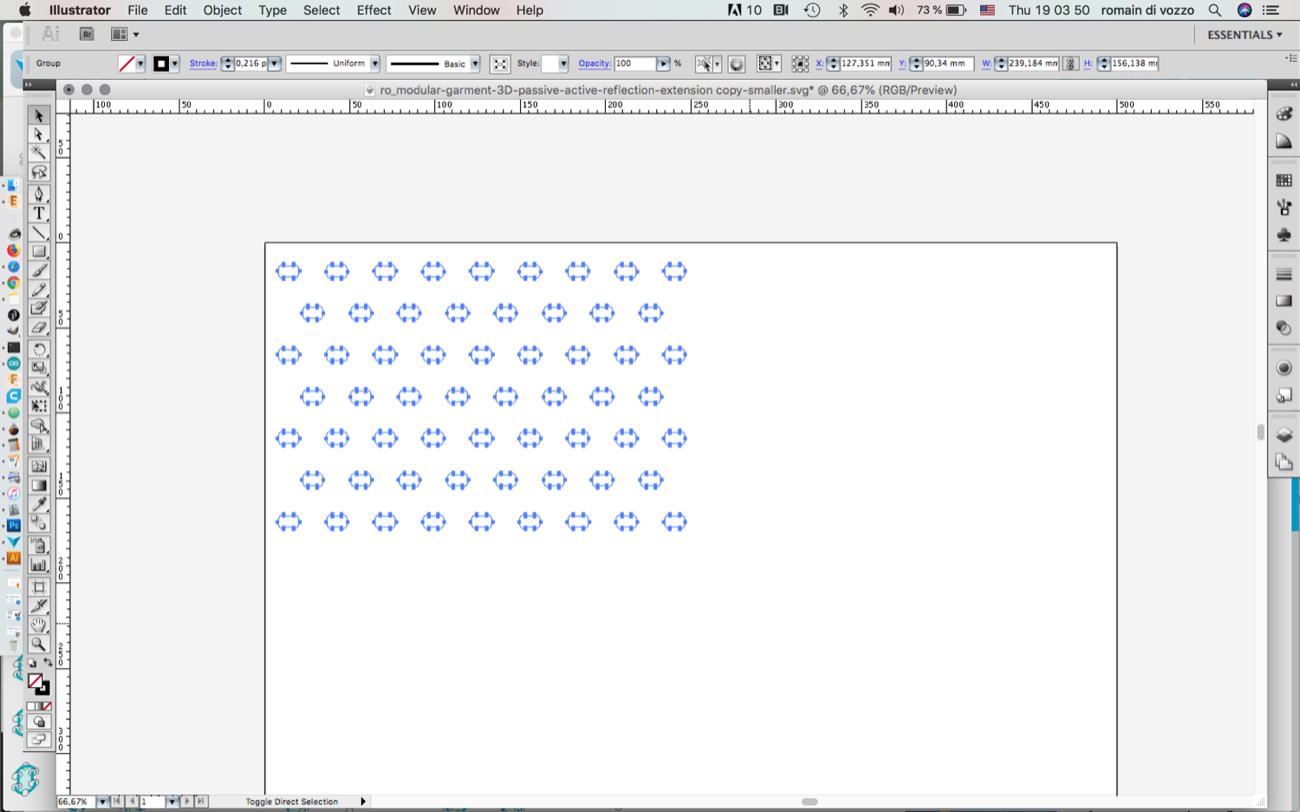
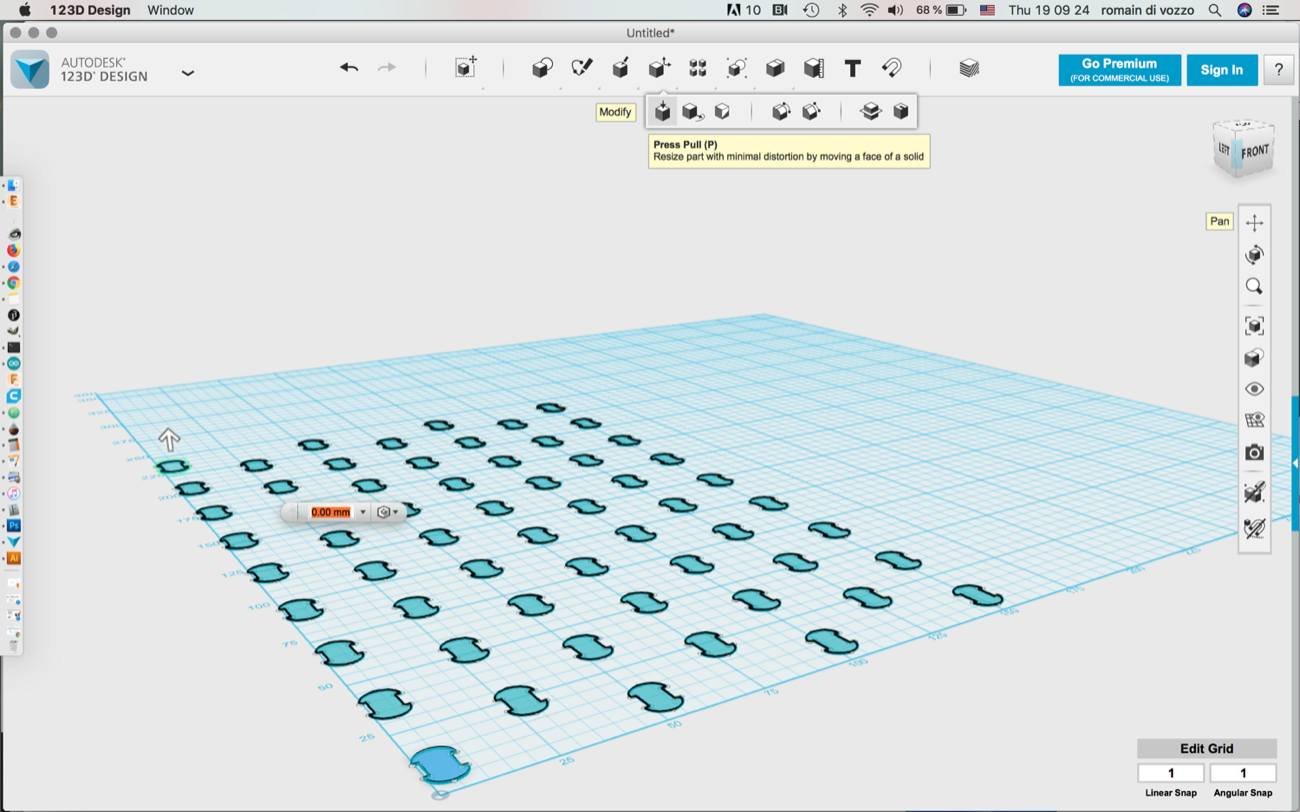
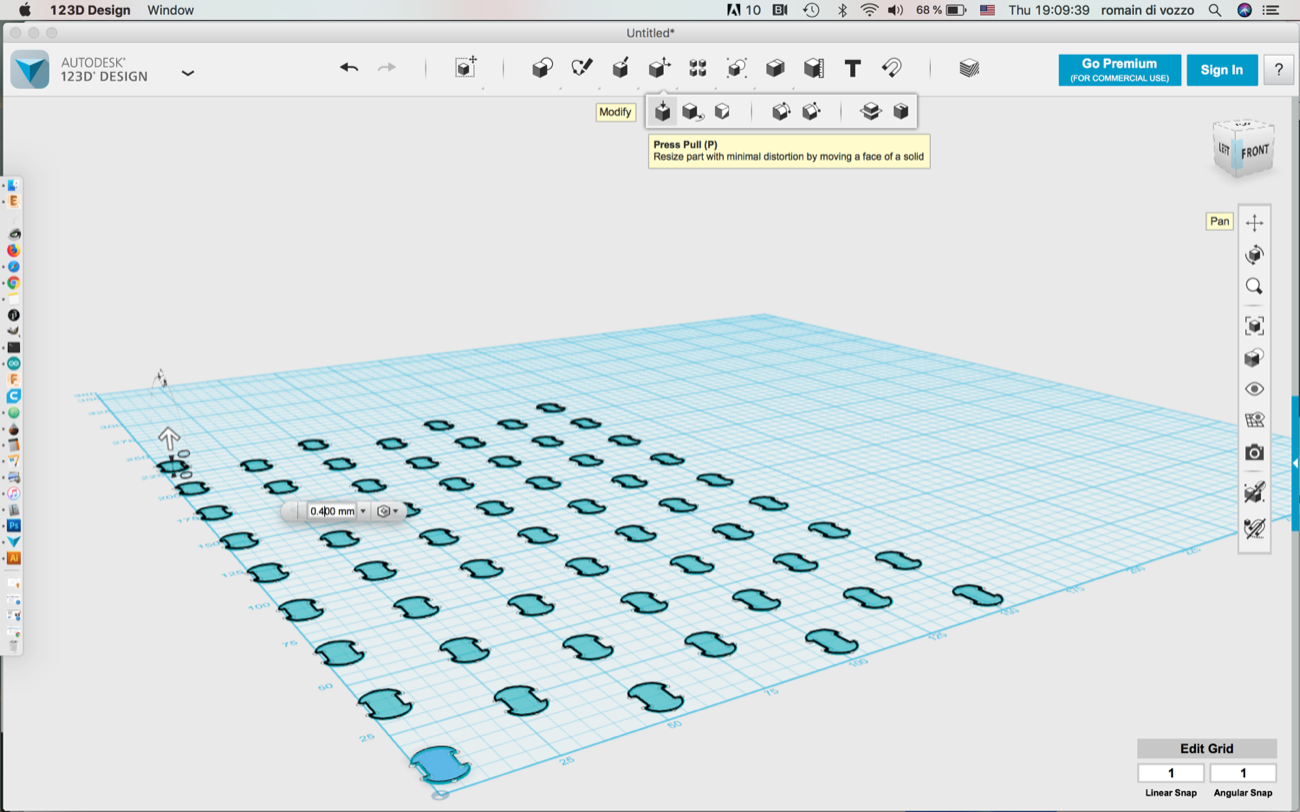
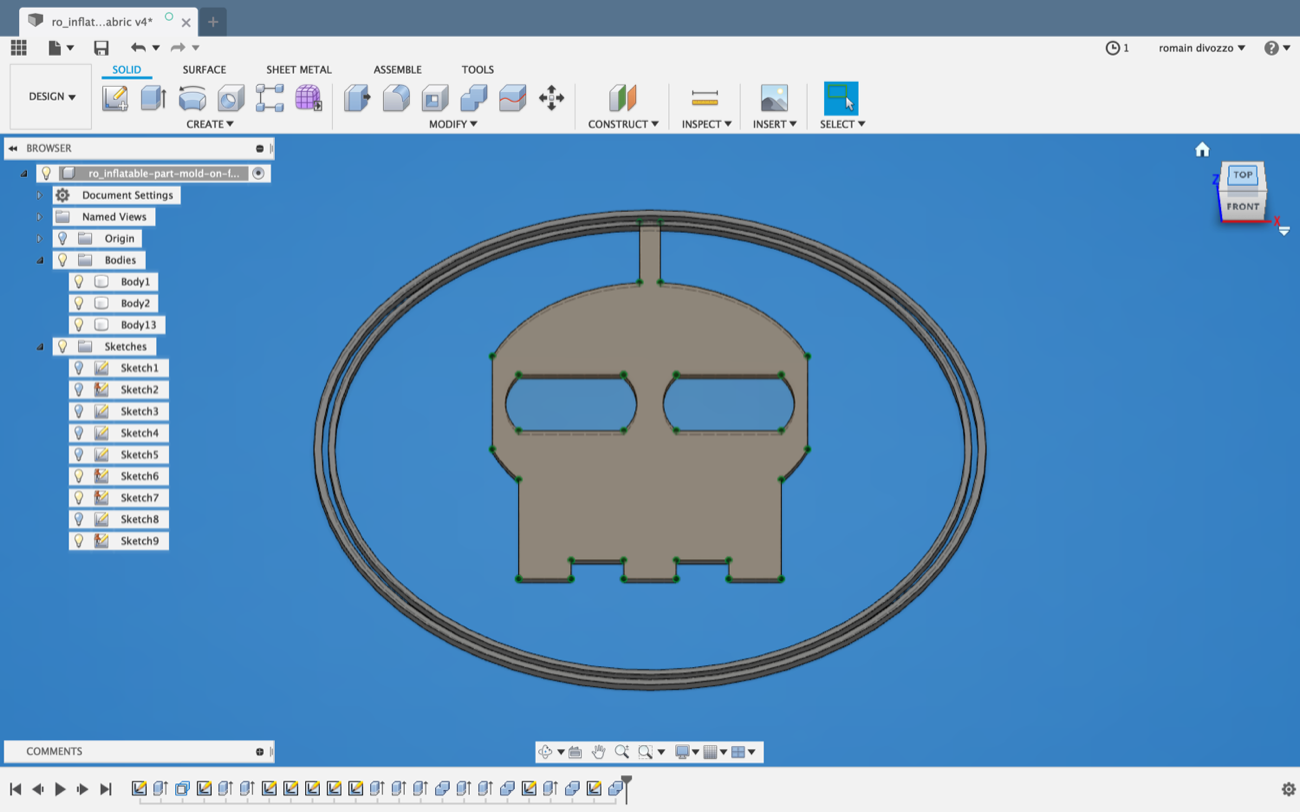
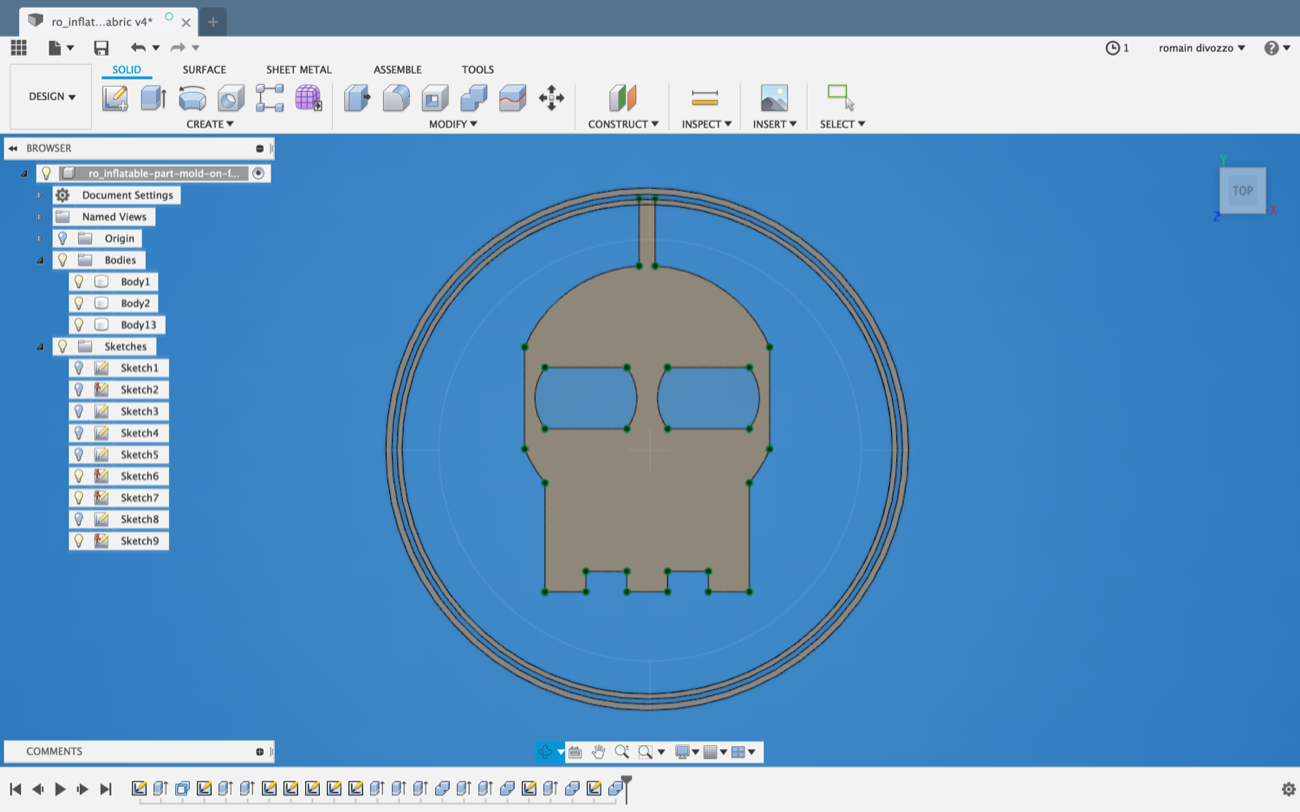
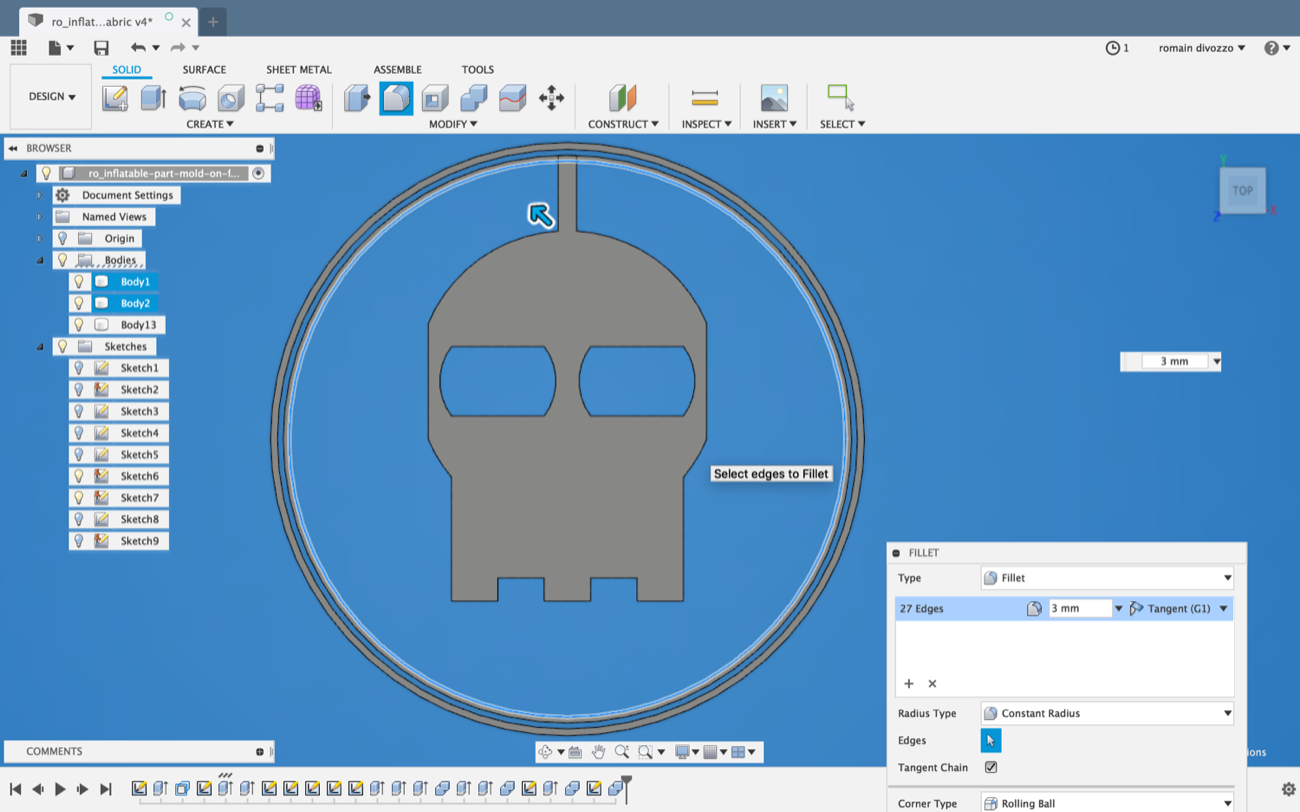
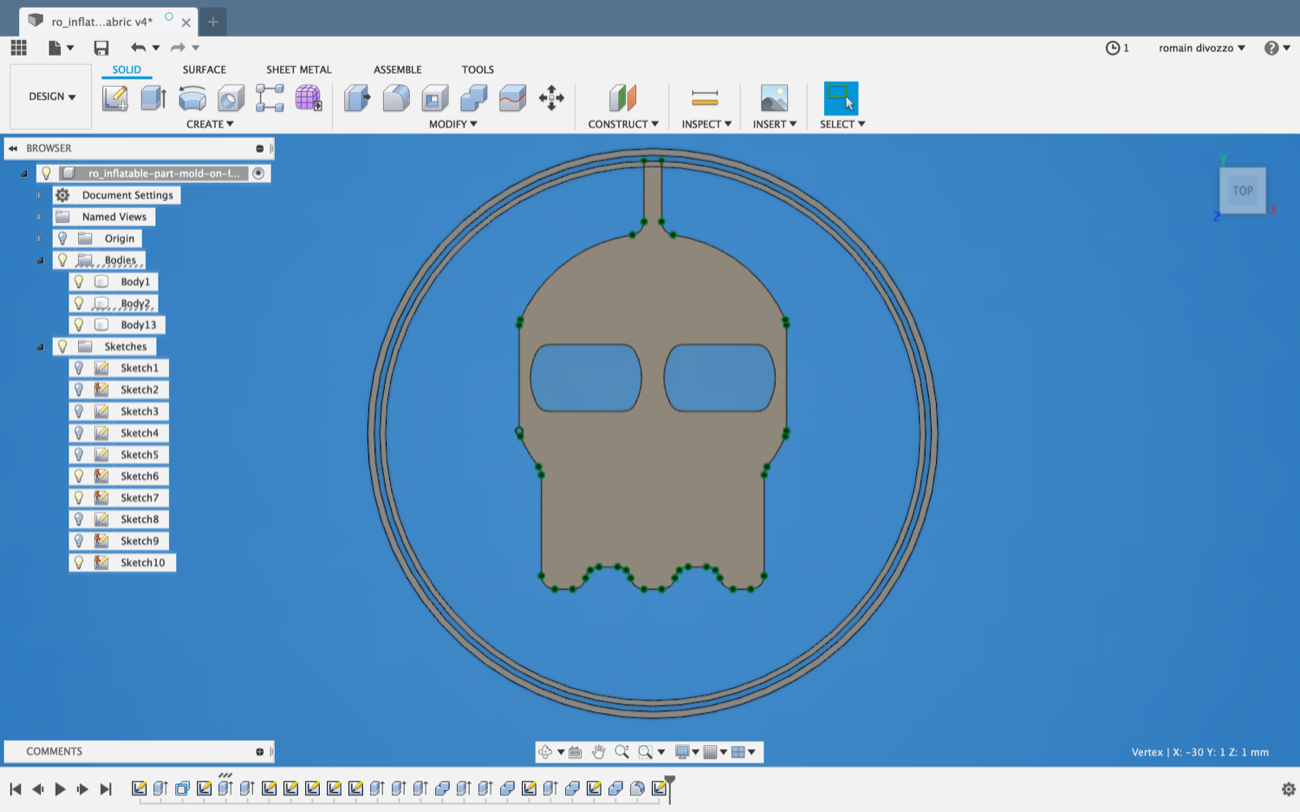
1 | Parametric Design of 3D Connector Modules with FUSION 360 |
When I first designed these parts, I was just experimenting. This is mostly how I proceed, I am more like a performer and an improviser and then if something works, I stabilize it. My design wasn’t parametric, and this is how I made it parametric.
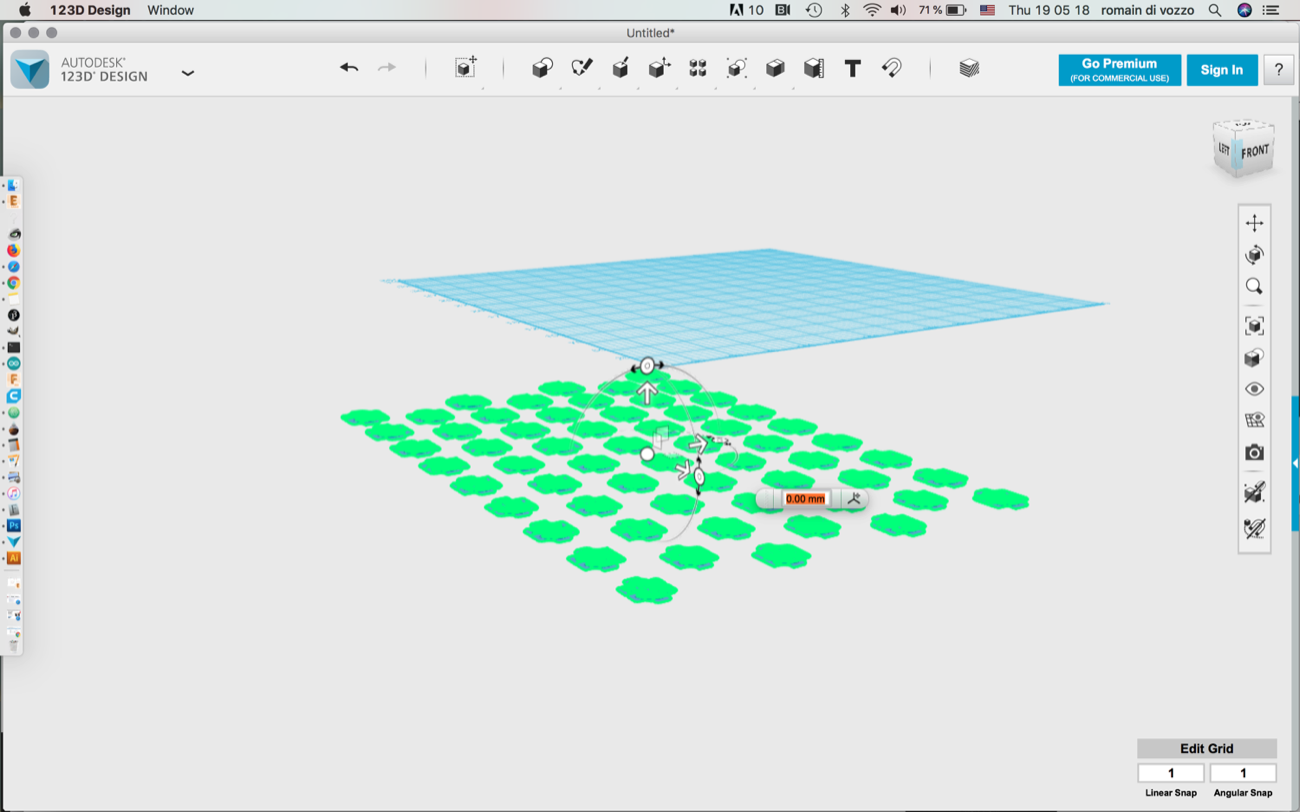
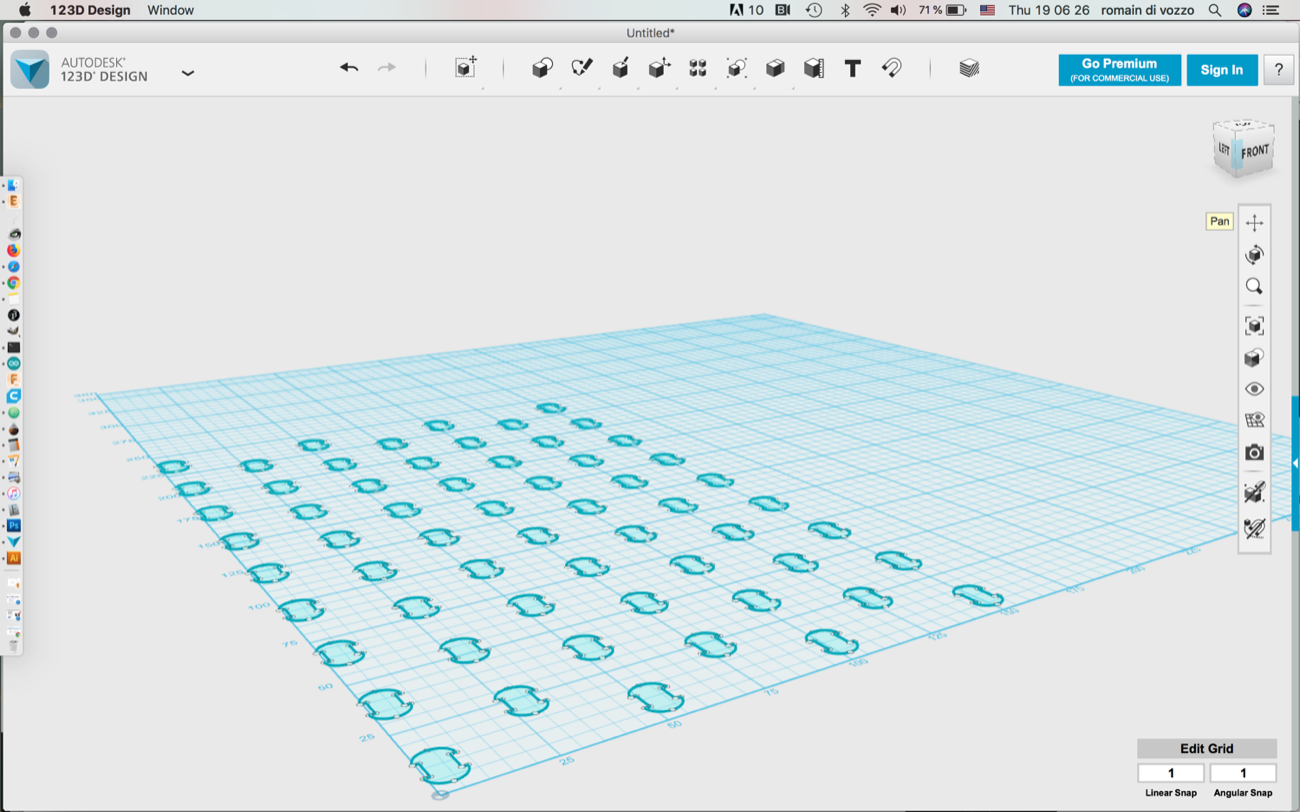
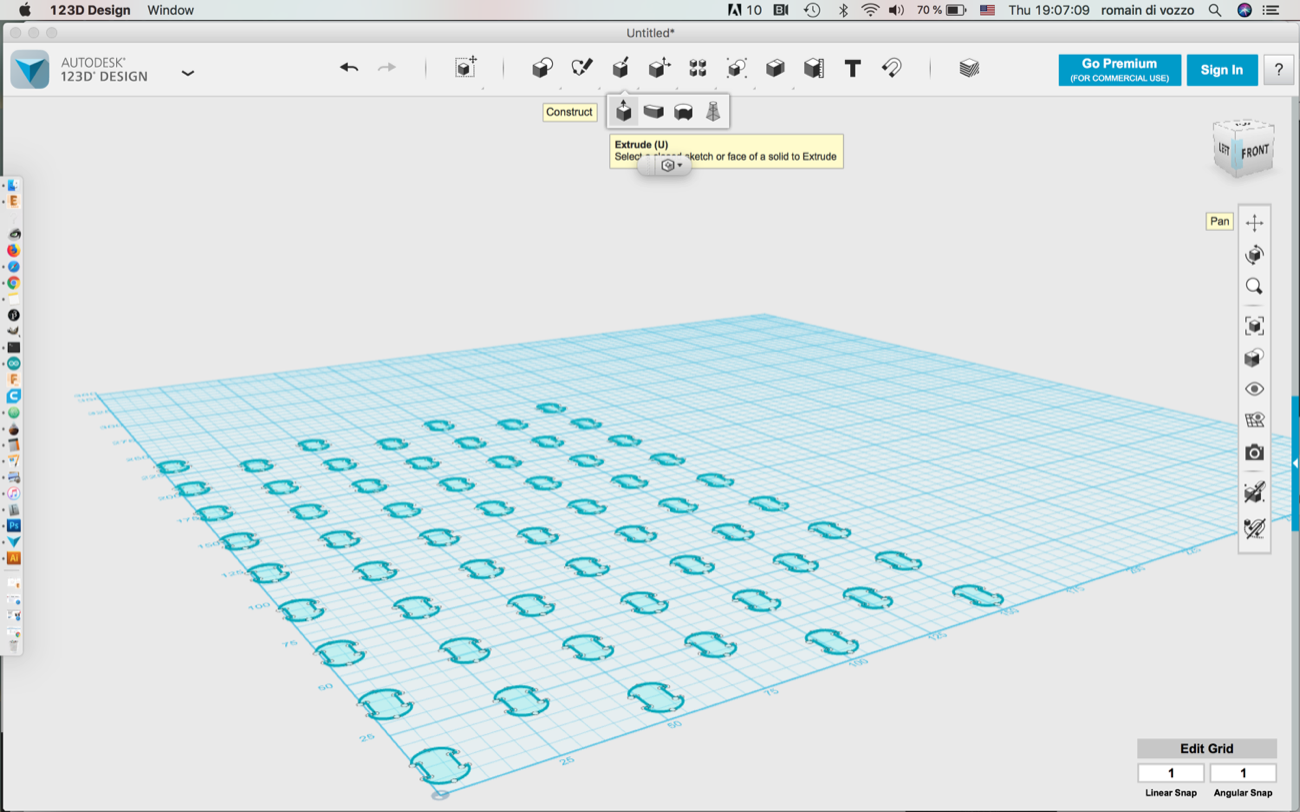
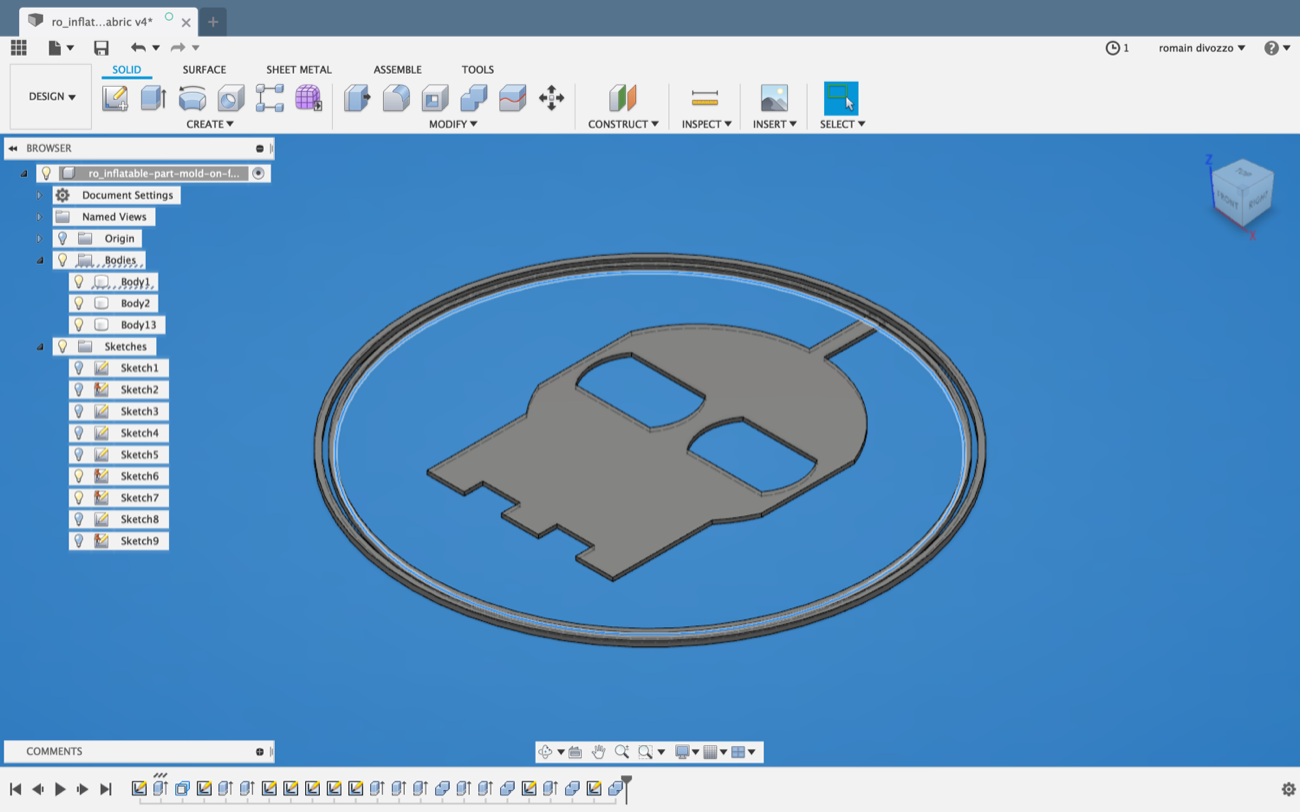
2 | Converting 2D Design to 3D Design to print flexible plastic on fabric |
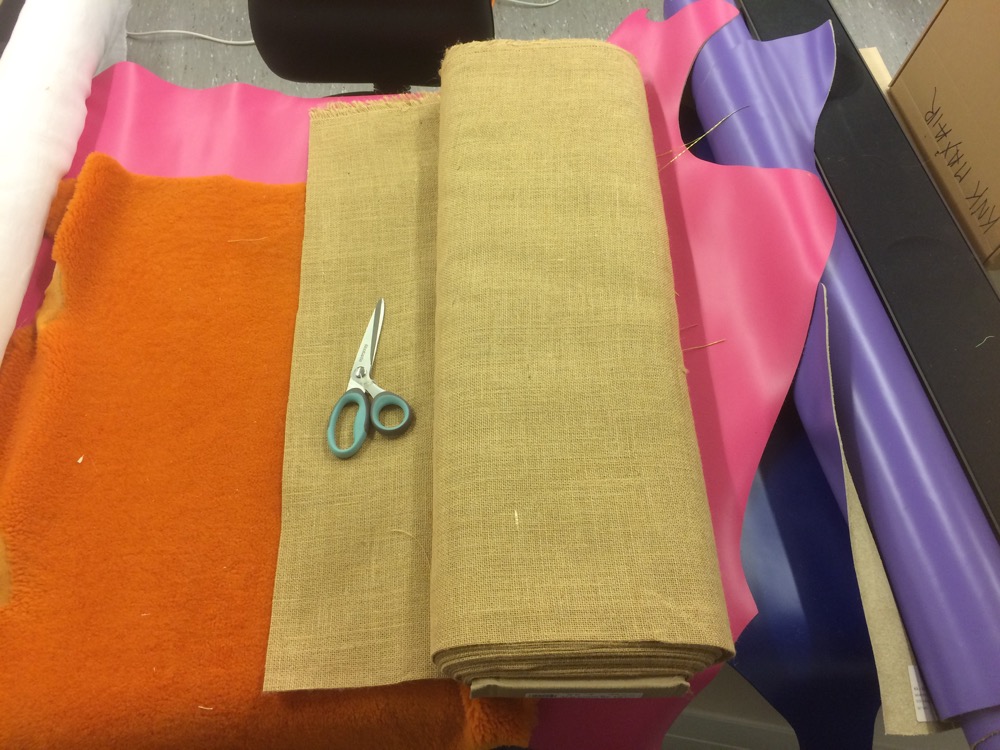
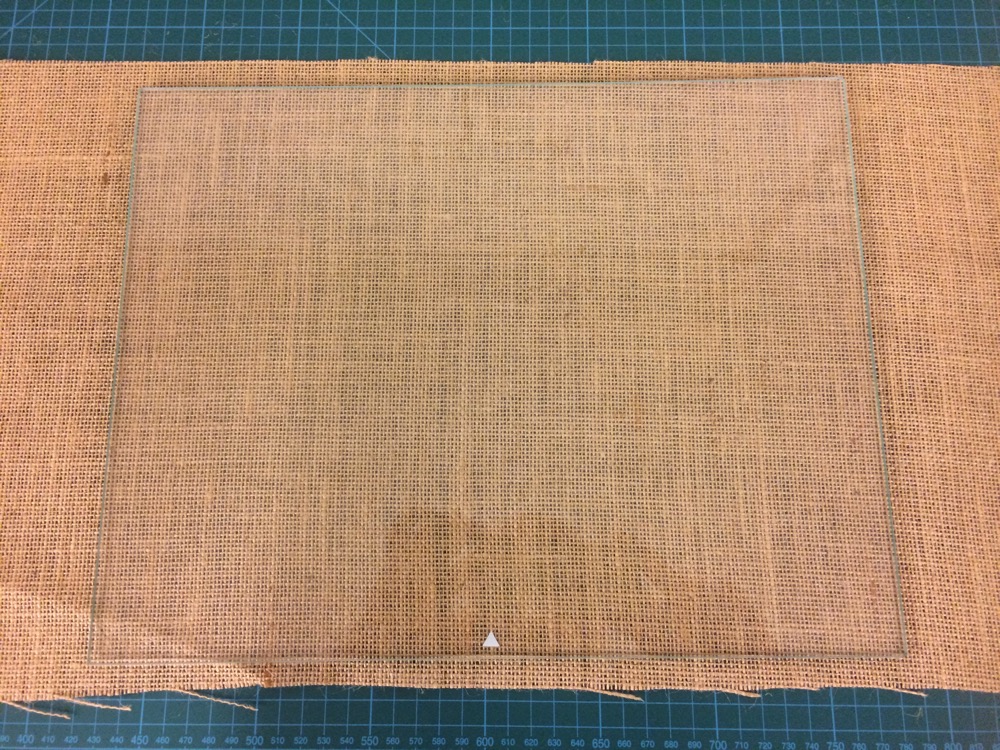
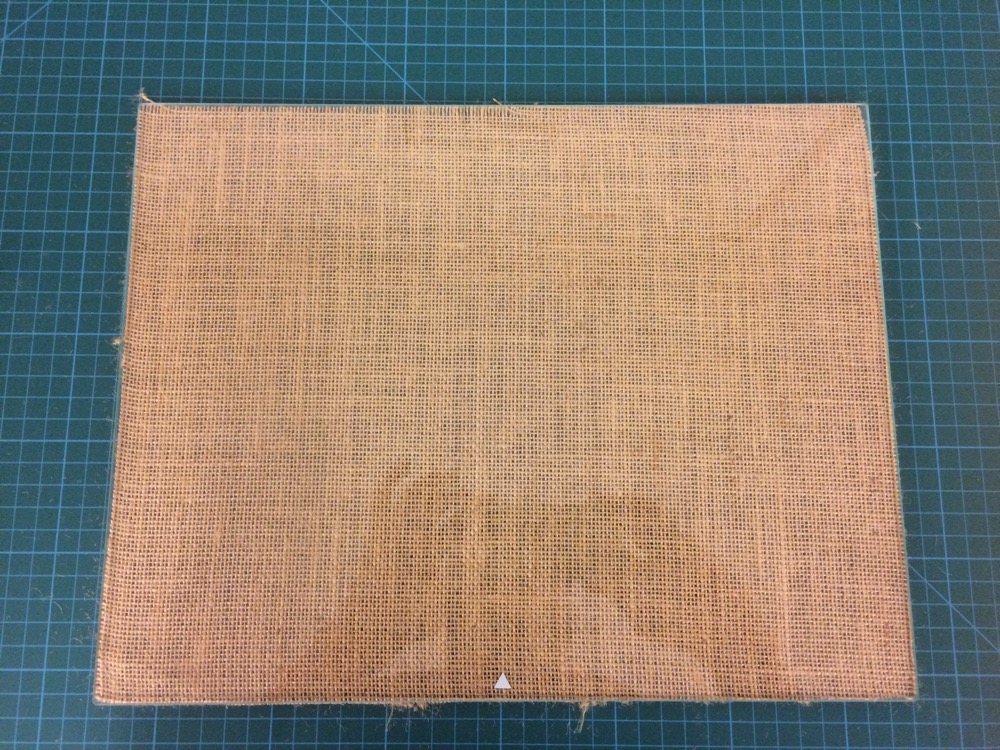
Cutting Jute Fabric
Cutting Jute Fabric
Cutting Jute Fabric
Cutting Jute Fabric
Cutting Jute Fabric
Cutting Jute Fabric
Cutting Jute Fabric
Cutting Jute Fabric
Cutting Jute Fabric
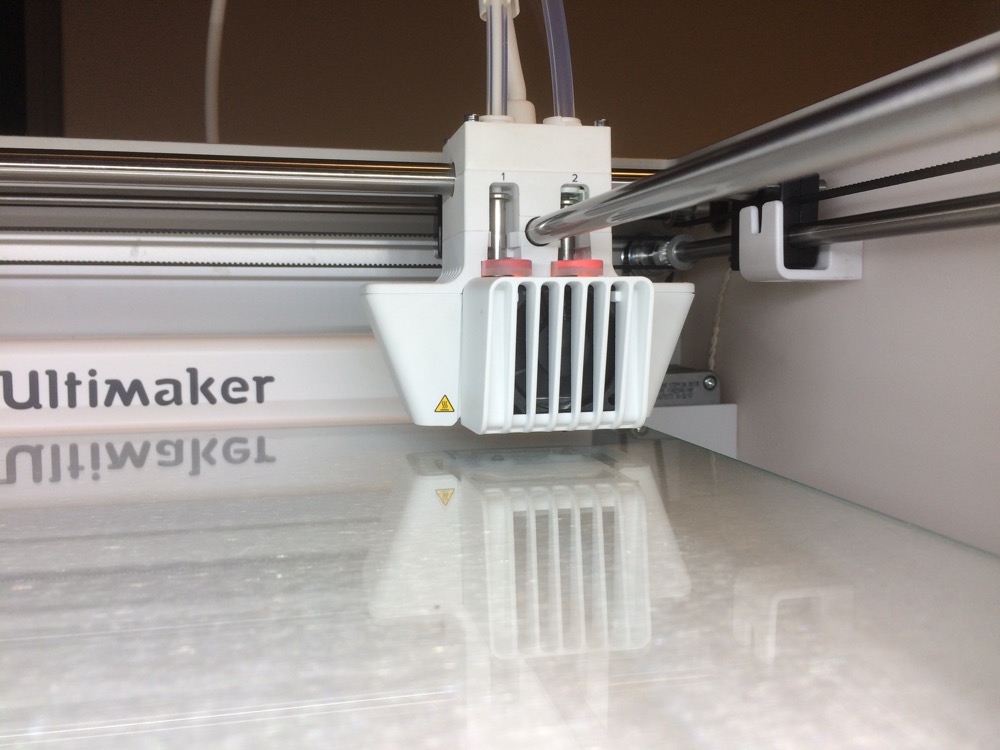
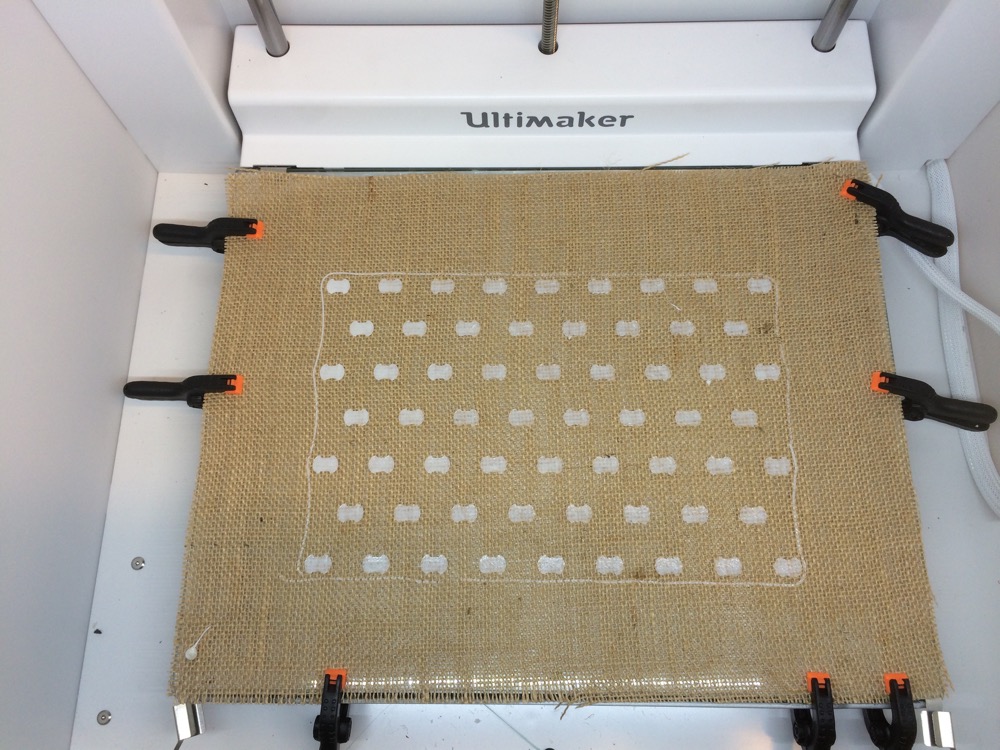
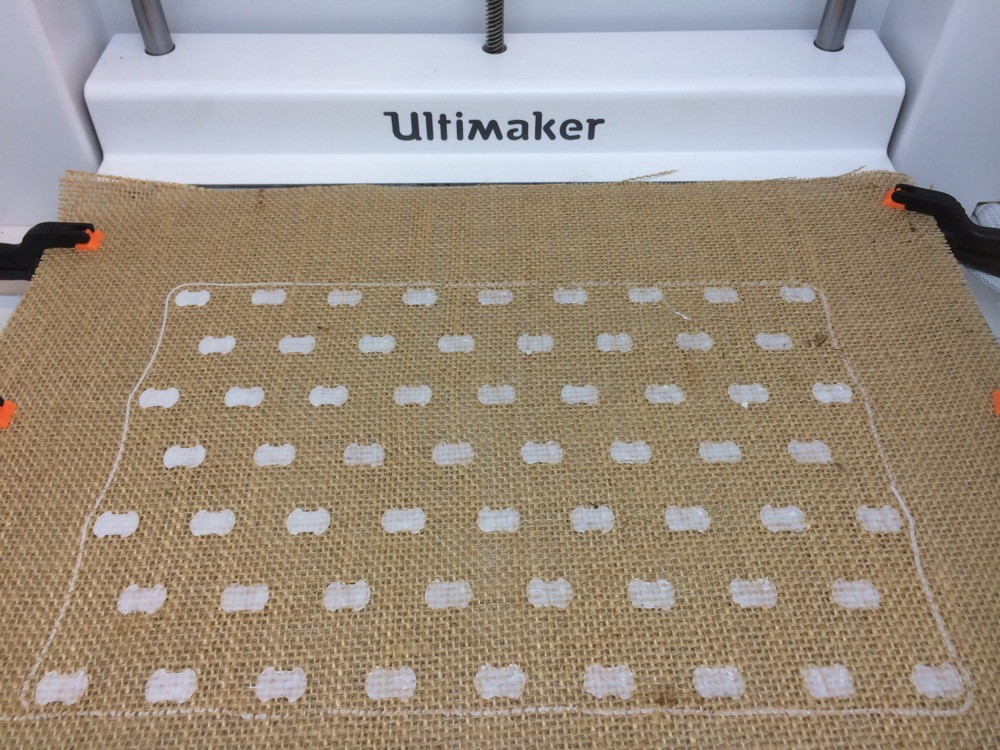
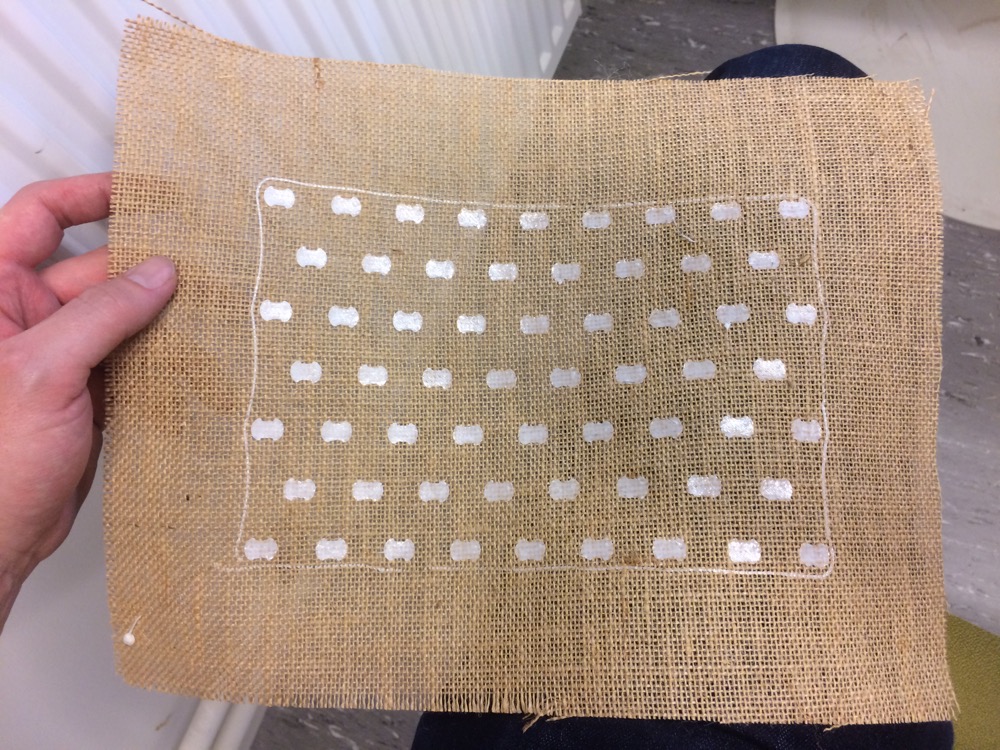
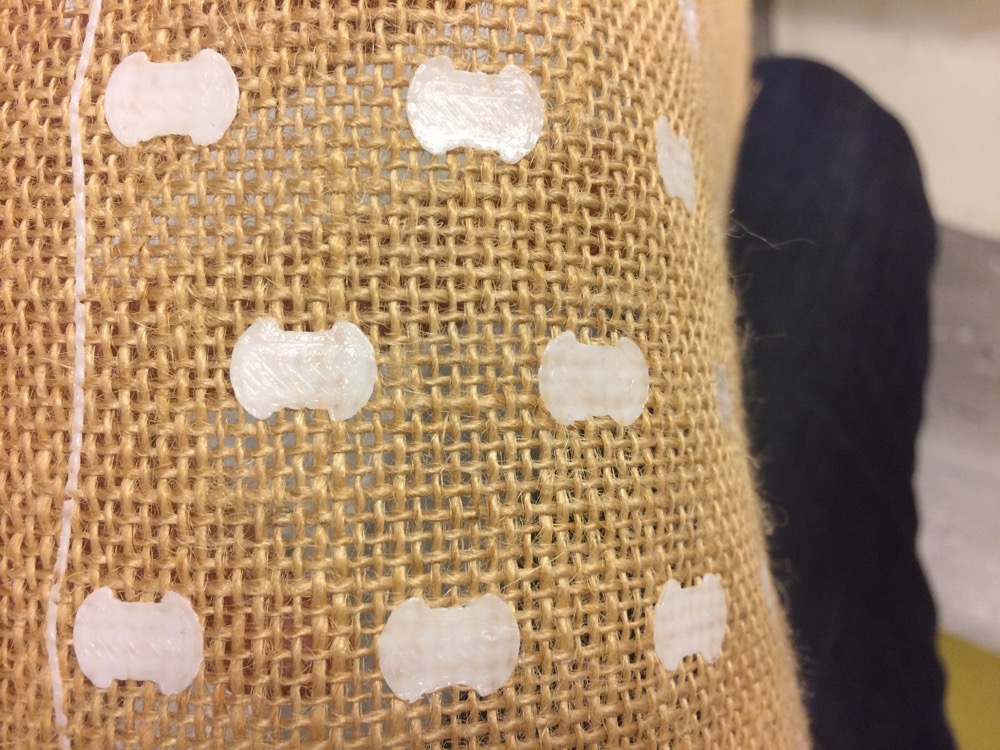
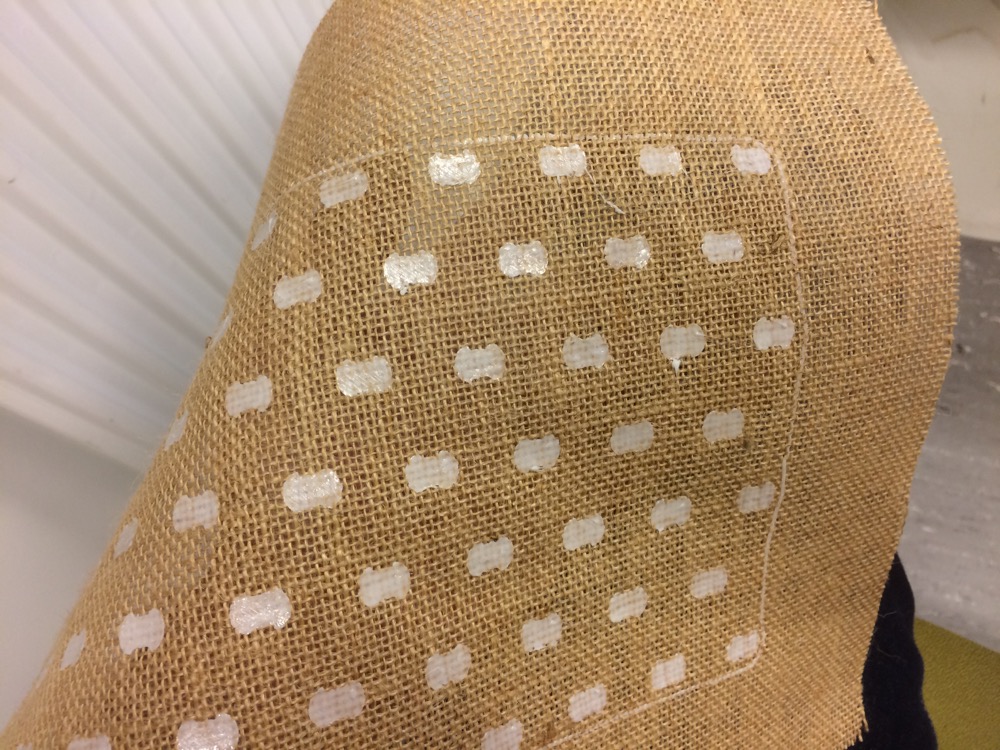
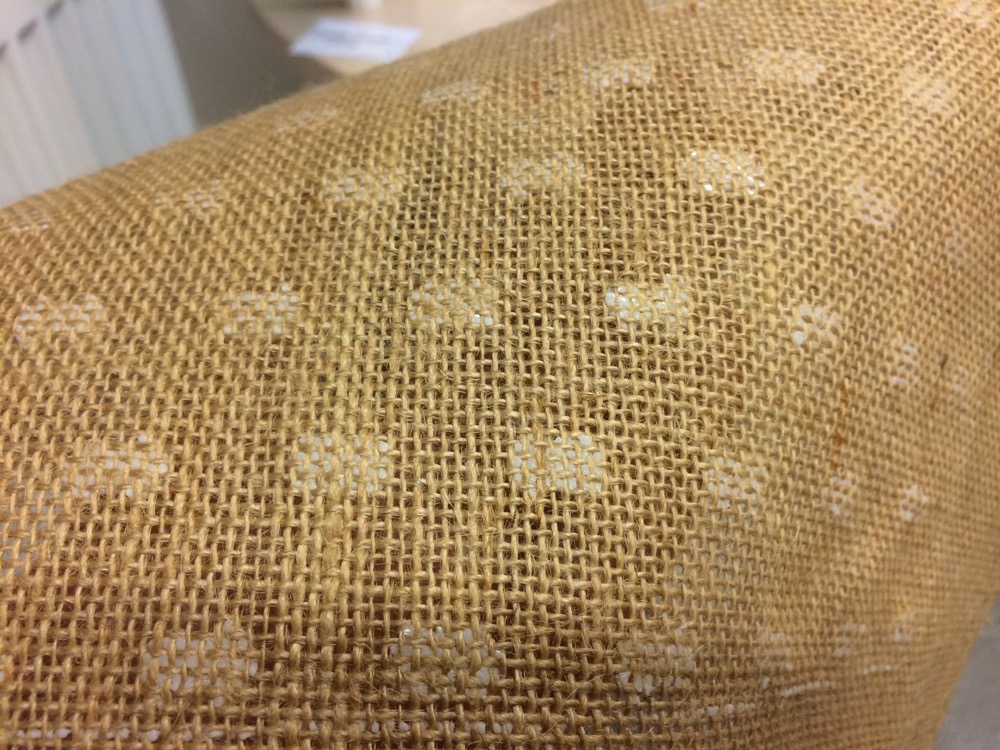
3 | Printing on Fabric with TPU95 from Ultimaker |
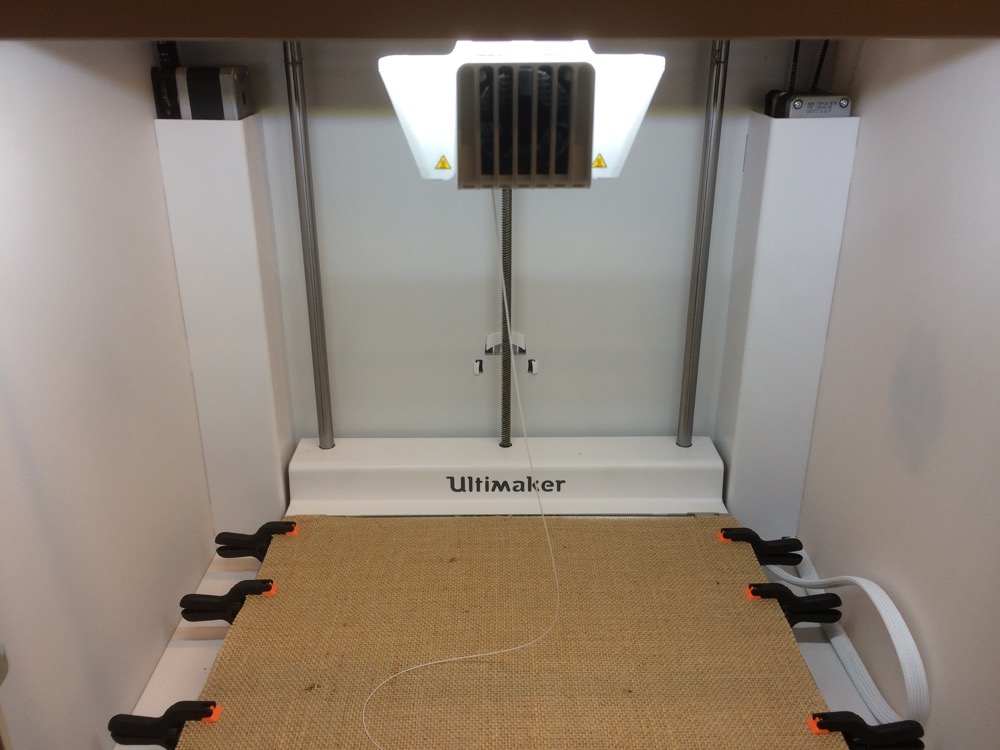
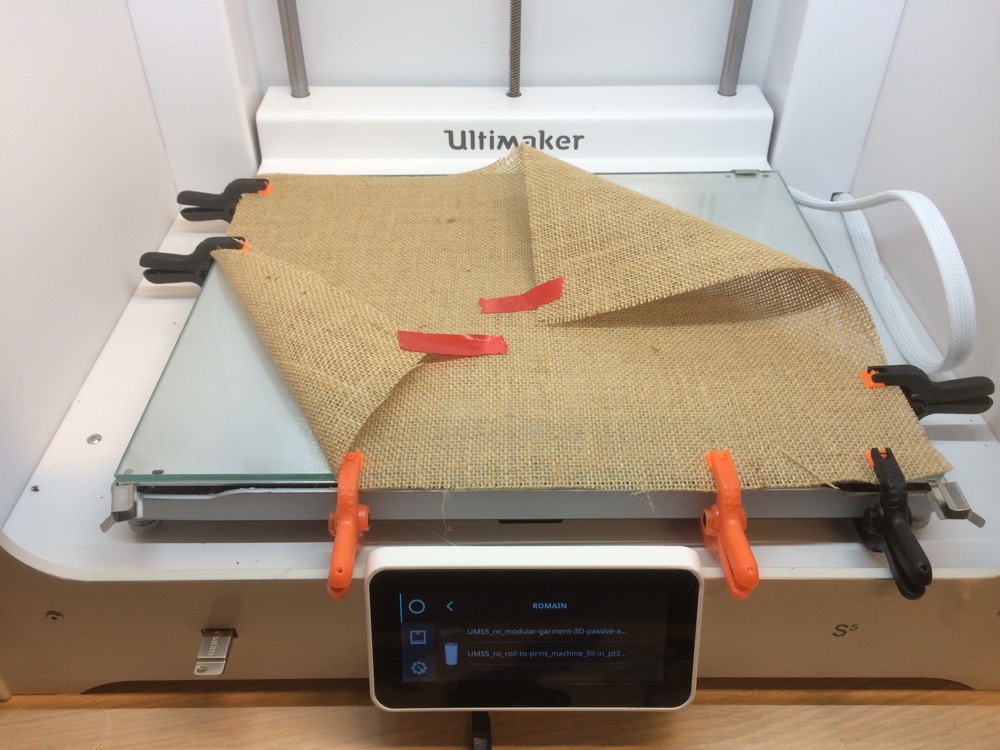
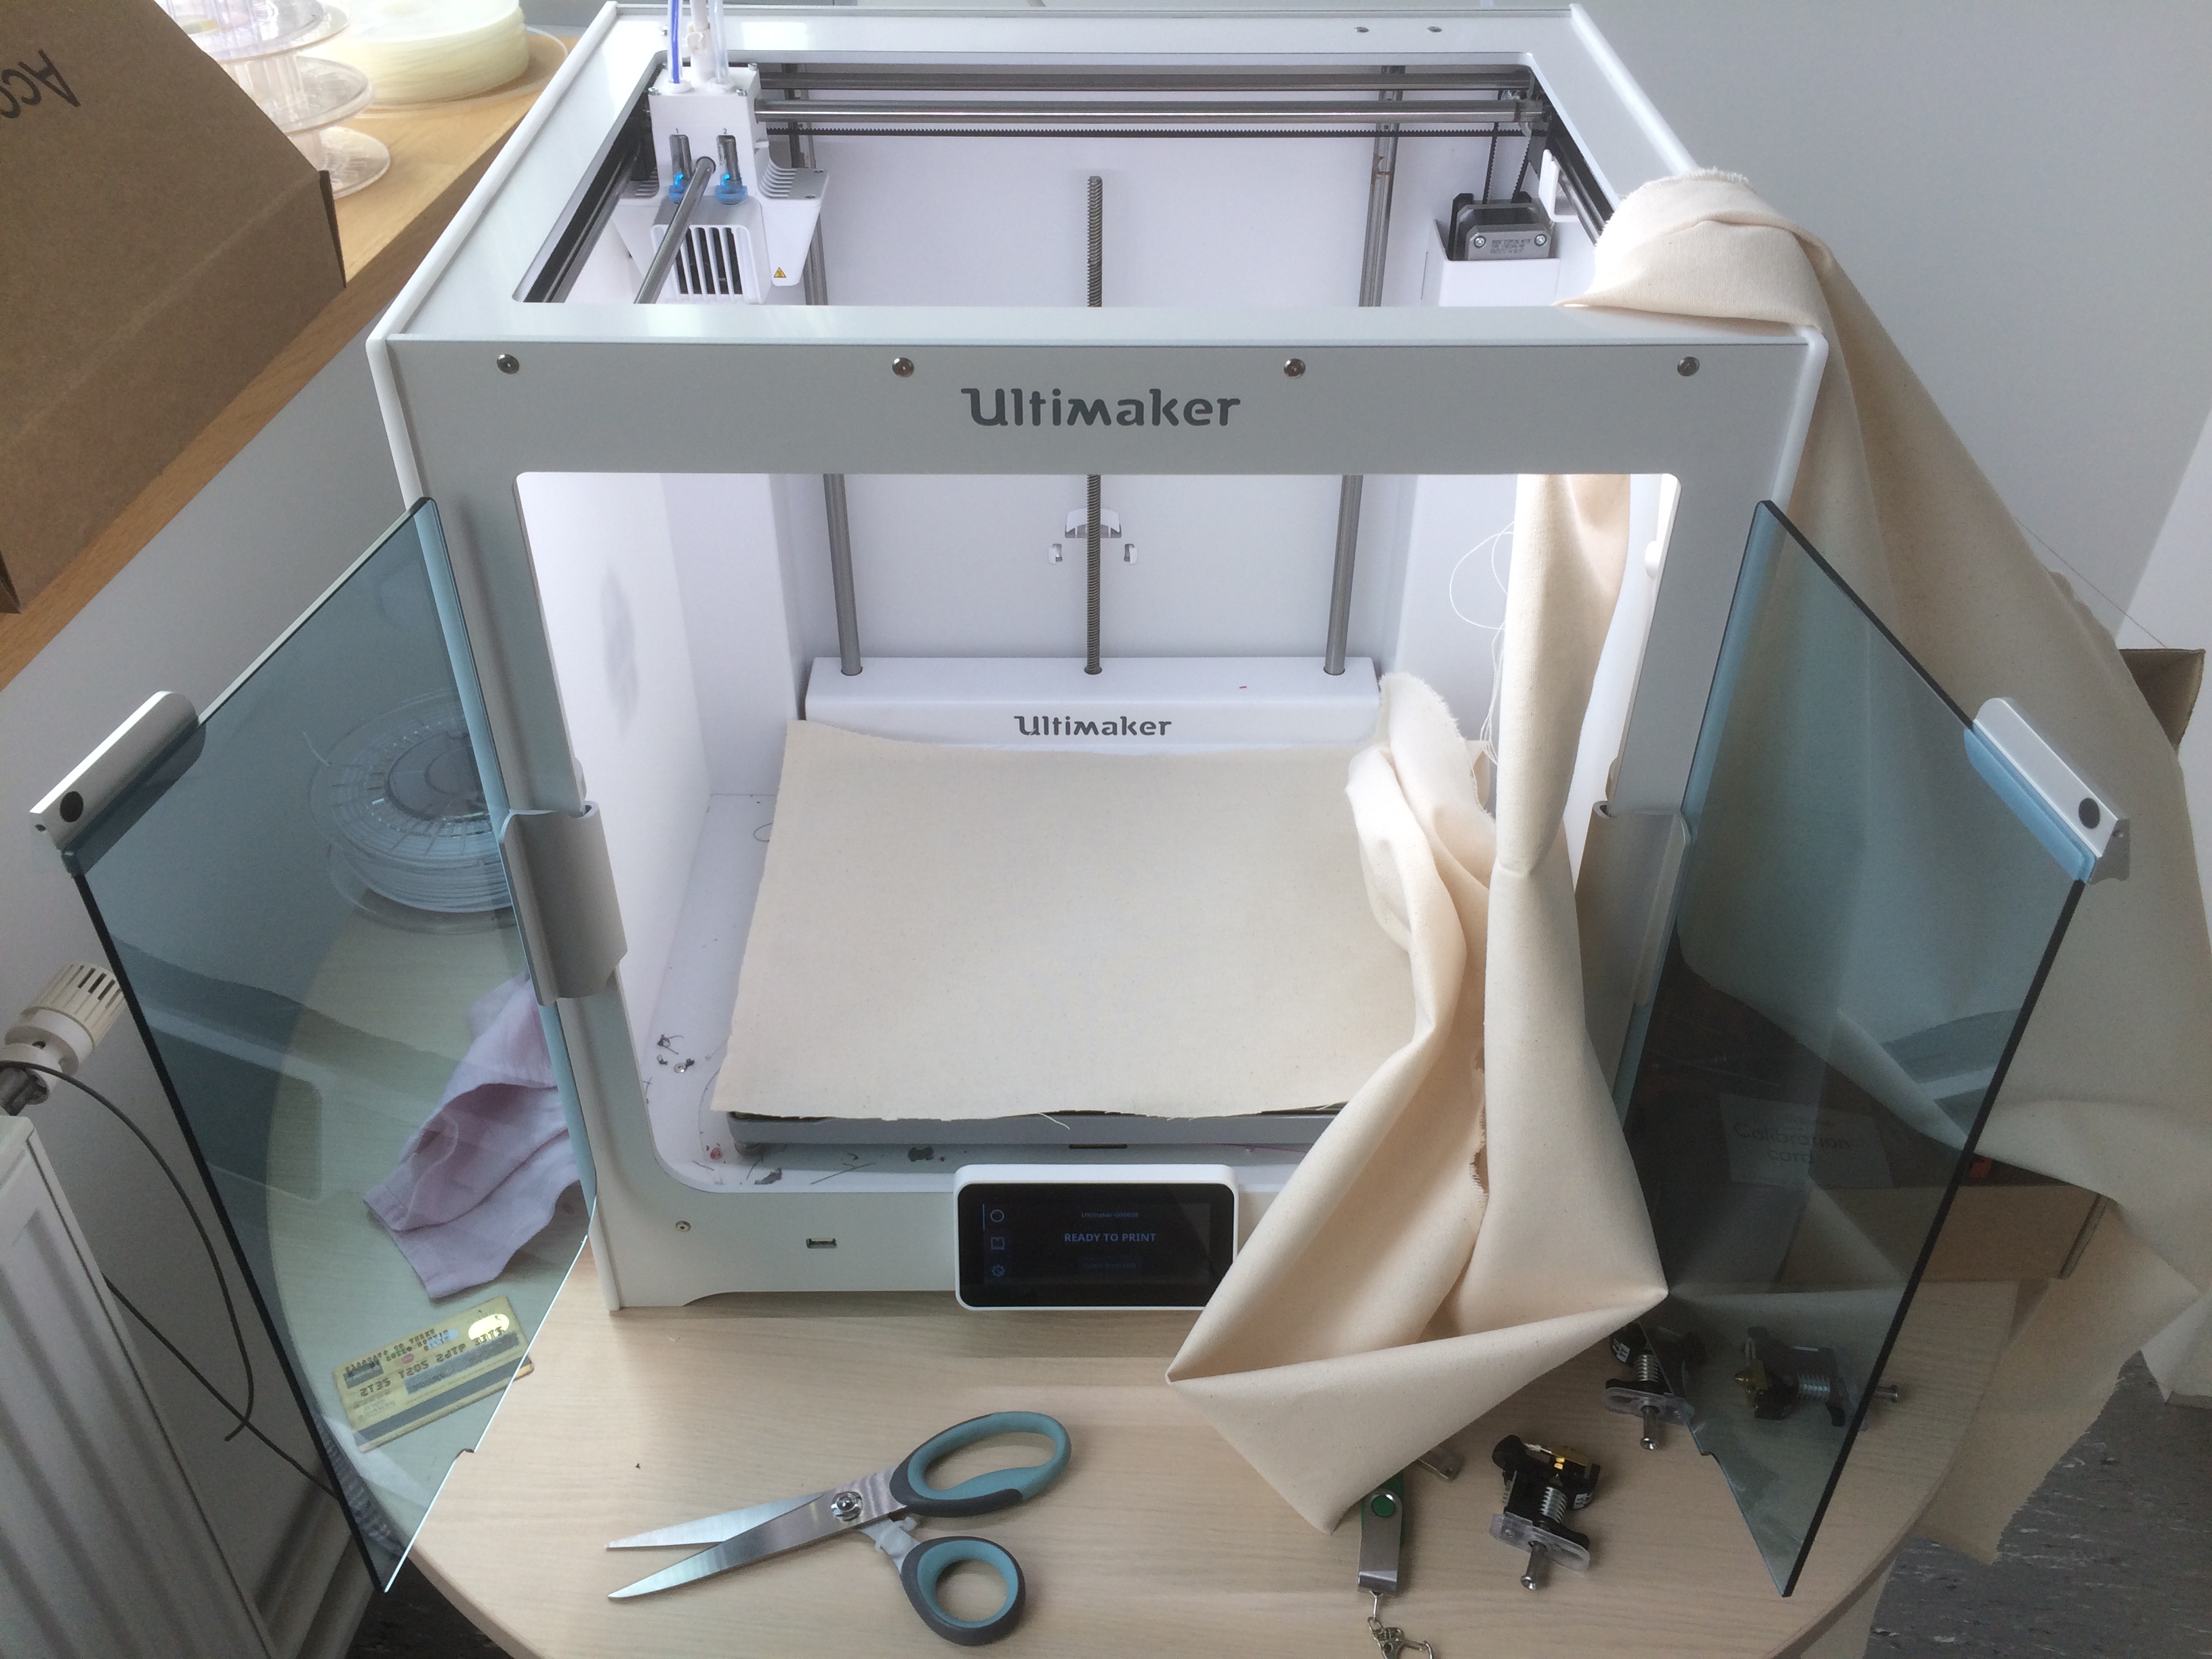
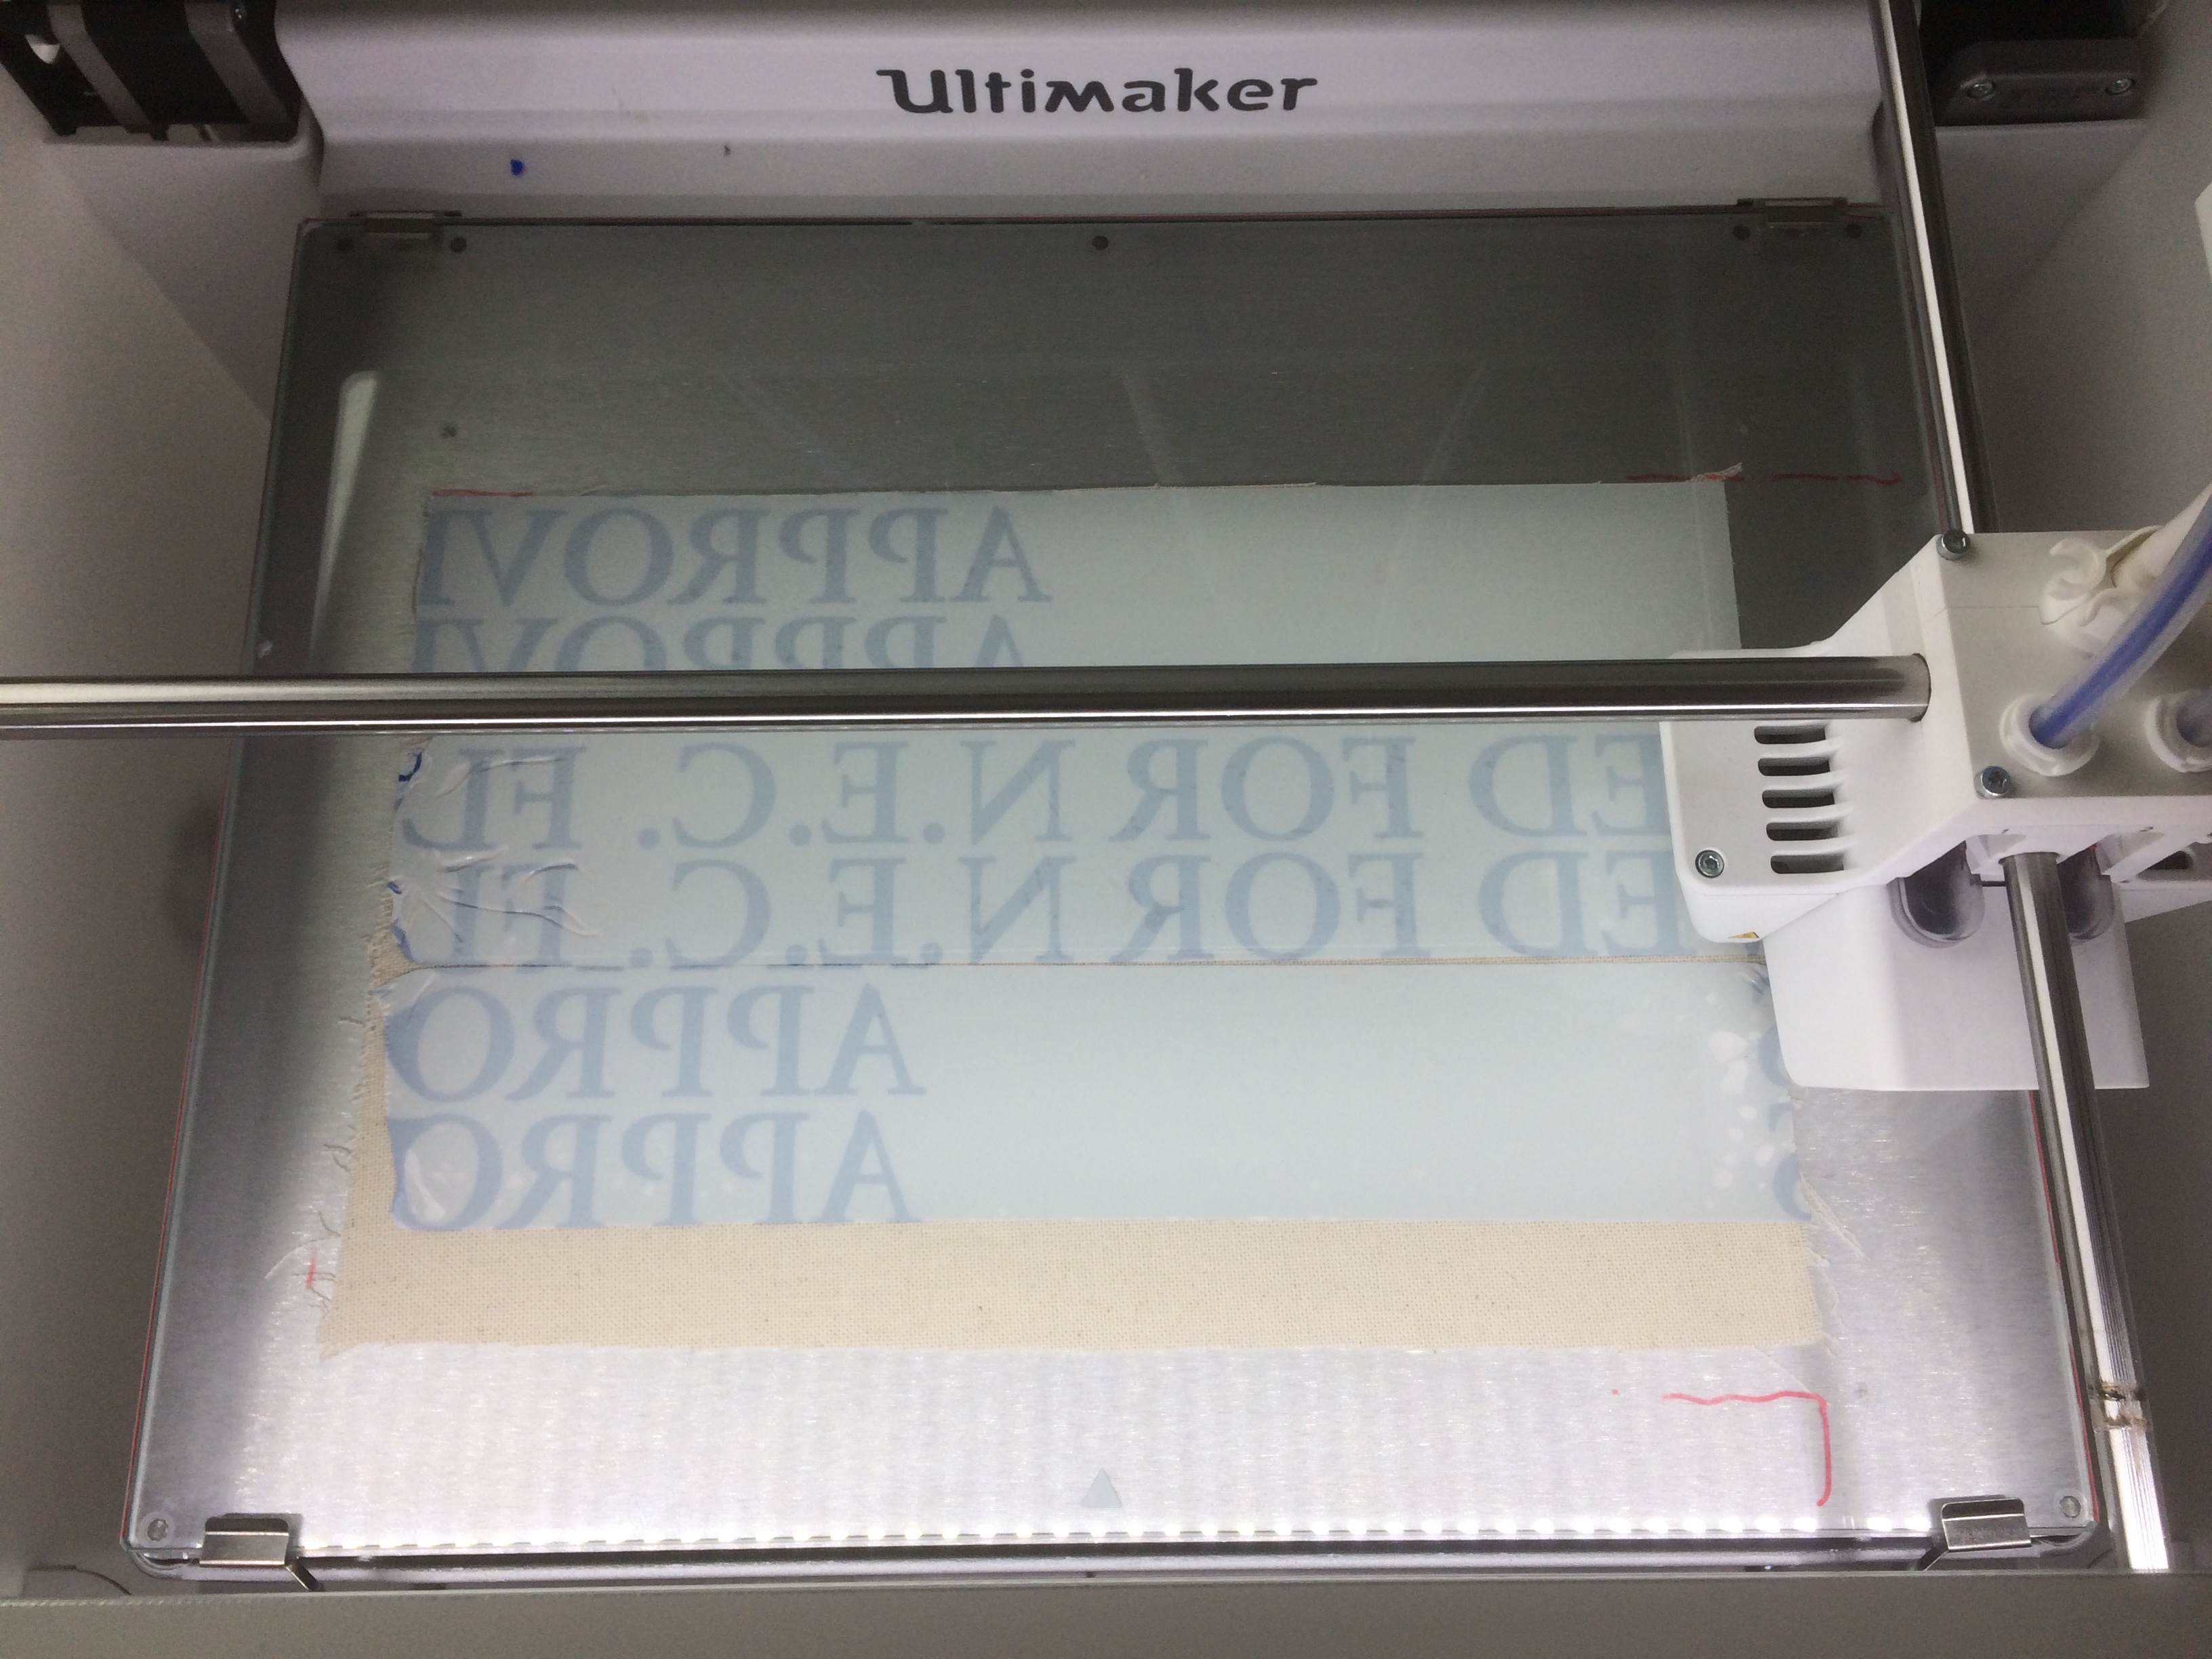
Cutting the jute fabric at the size of the 3D printer bed.
Cutting Jute Fabric
Cutting Jute Fabric
Cutting Jute Fabric
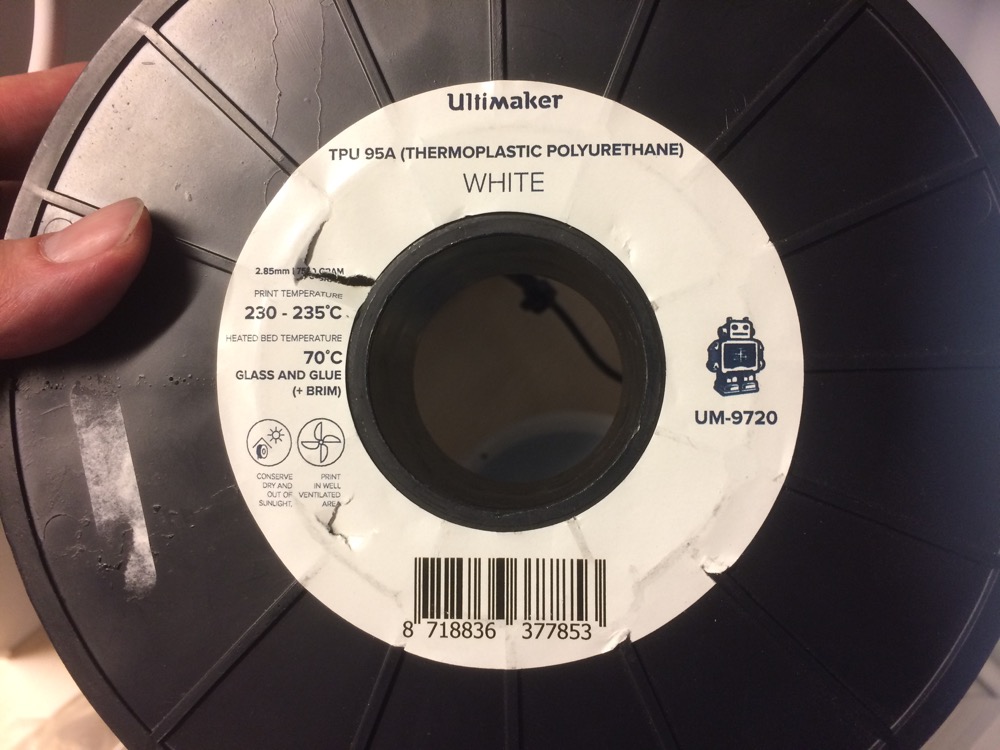
TPU95 stand for “Thermoplastic Polyurethan” with a Shore A hardness of 95. This is a semi-flexible plastic with an elongation break around 580%. Not suitable for food applications but highly resistant to oils and chemicals. This white color version is a RAL 9010.
The Shore of a polymer is measured through a test made on it to evaluate its resistance to the penetration of a needle-like indenter. Shore A “scale” has to see with a class of elastomer classified as soft polymers.
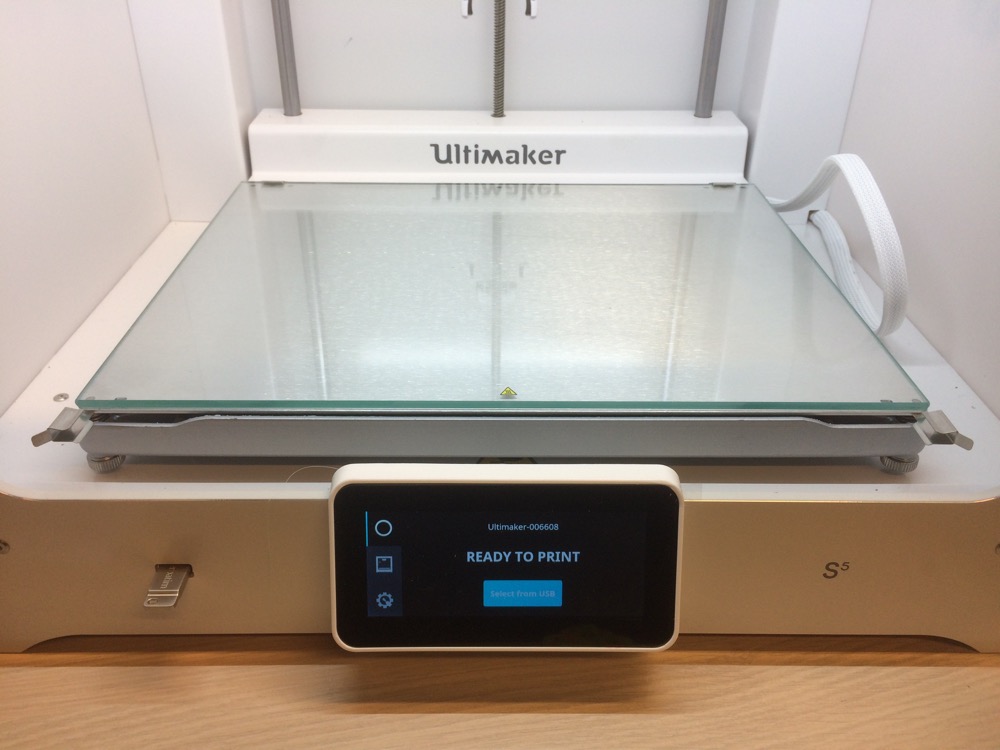
Setting Ultimaker S5
Setting Ultimaker S5
Ultimaker TPU95 spool
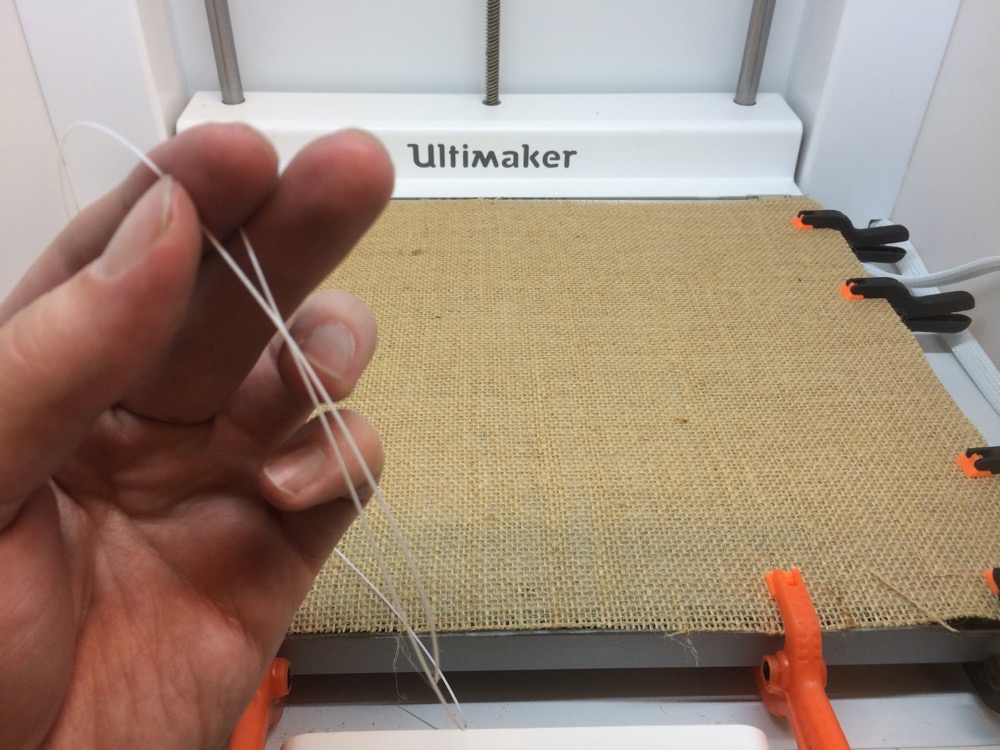
Load the TPU95 until it extrudes
TPU95 extruded through a 0.8mm nozzle
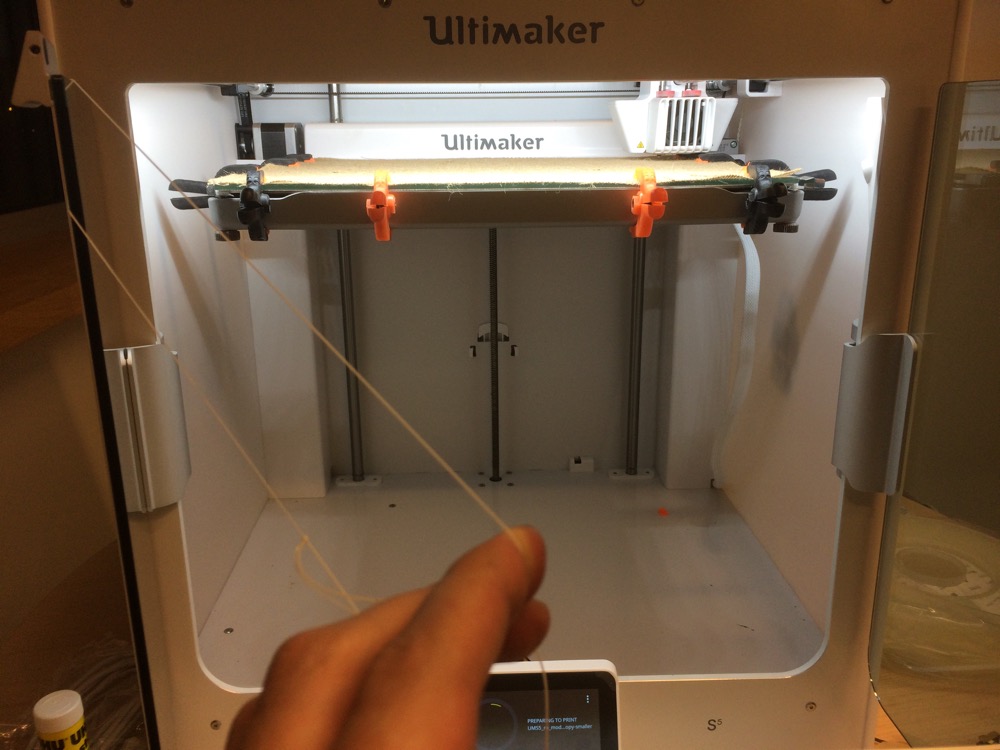
Ultimaker’s TPU95 Elasticity Test
Ultimaker’s TPU95 Elasticity Test
Ultimaker’s TPU95 Elasticity Test
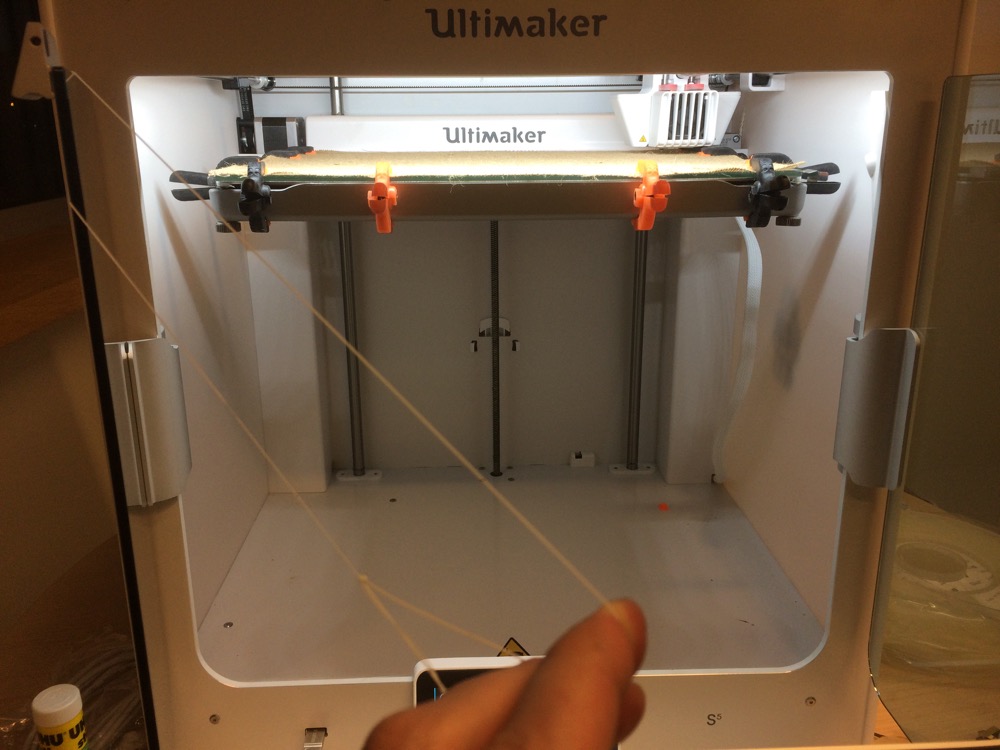
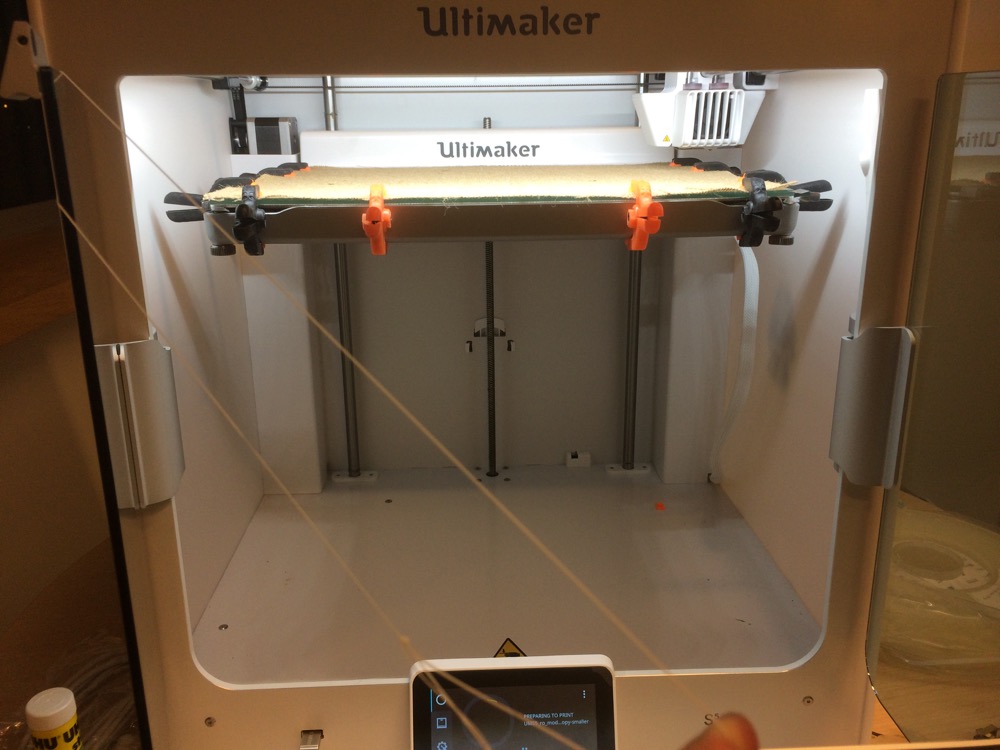
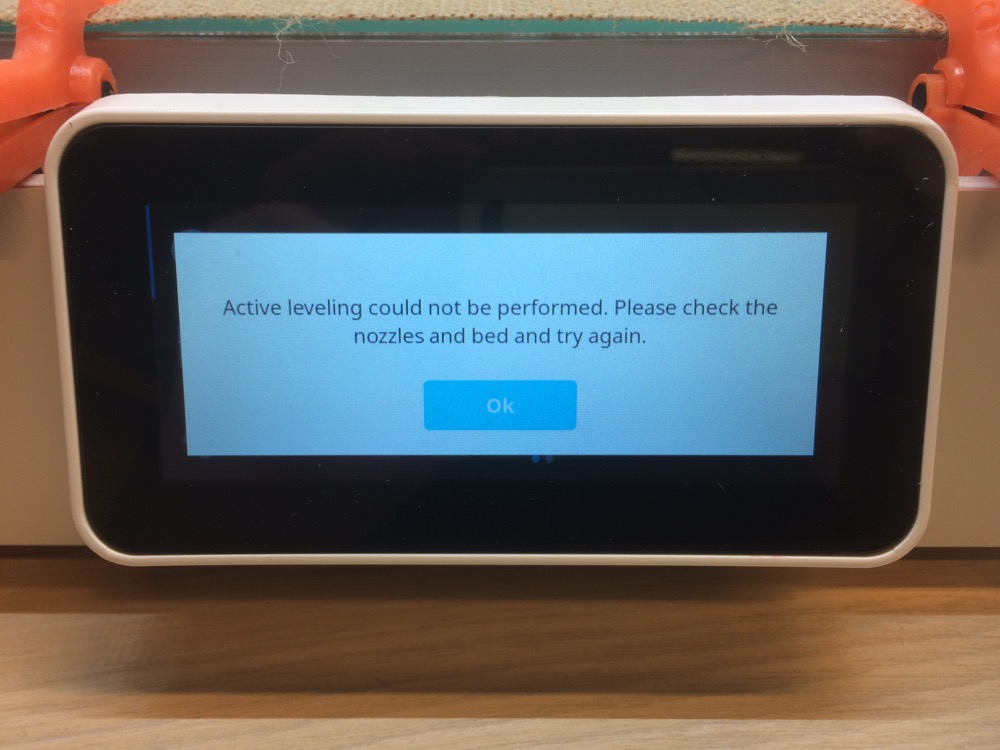
The Ultimaker S5 seems to be doing nozzle levelling test before every print. And when it tries to do it through the fabric, it fails and send an error message like the one below. I thought folding it would be enough, but it wasn’t, because it wanted to do nozzle levelling tests all over the platform.
Folding the fabric with tape: useless
Folding the fabric with tape: useless
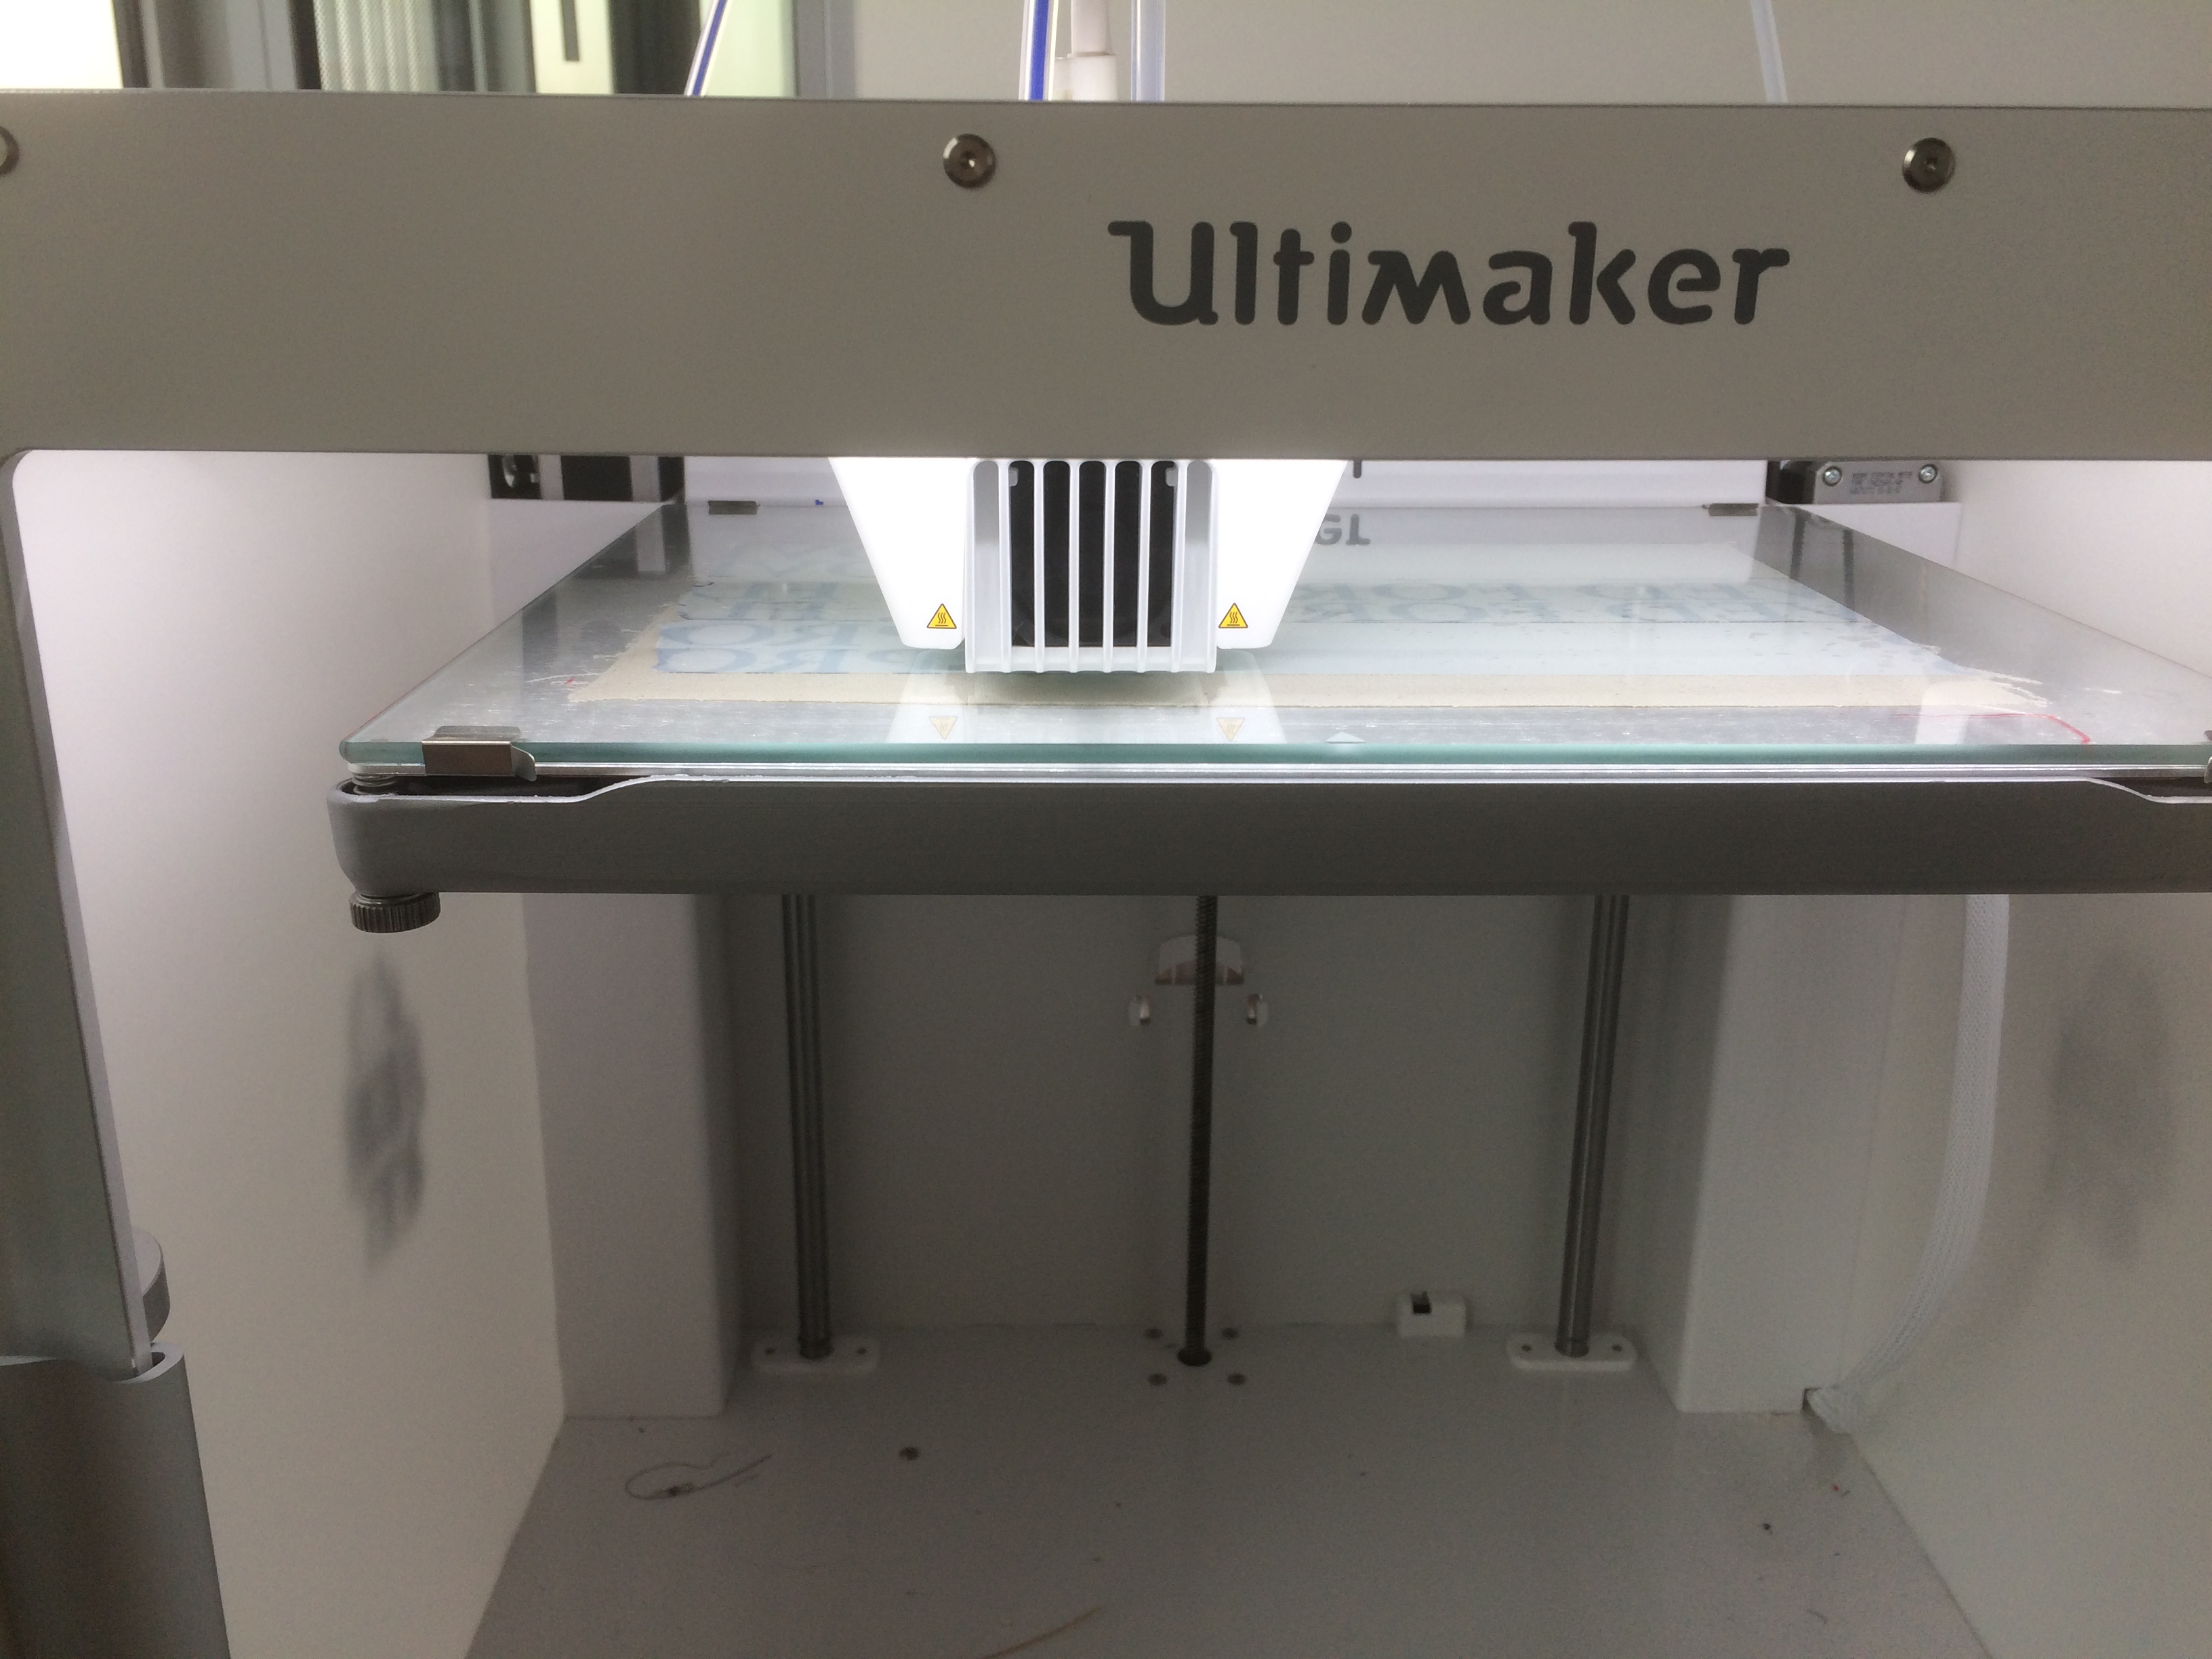
Nozzle Levelling Routine
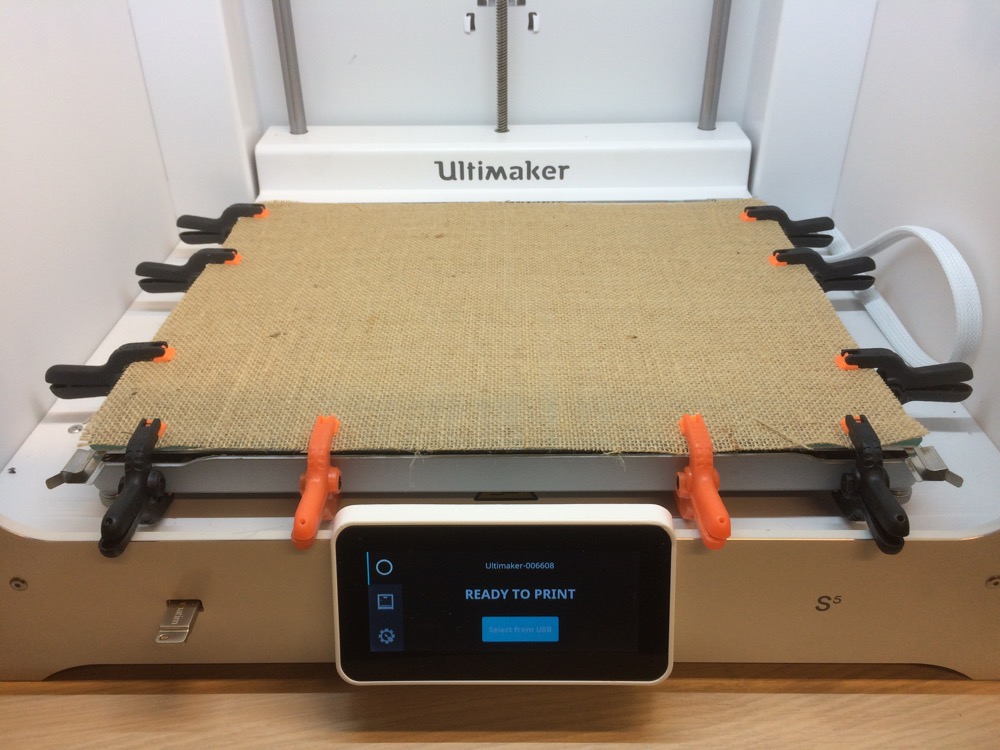
From there, I had to improvise. I had to remove the fabric from the platform, start the job on the Ultimaker S5 and, let it do the nozzle levelling tests all over the surface and then, in a very short amount of time, while the 3D printer was warming up, I put back the fabric and the clamps in place. Some clamps got ejected from out of the 3D printer when the head touched them. But it worked. The fabric stood in place.
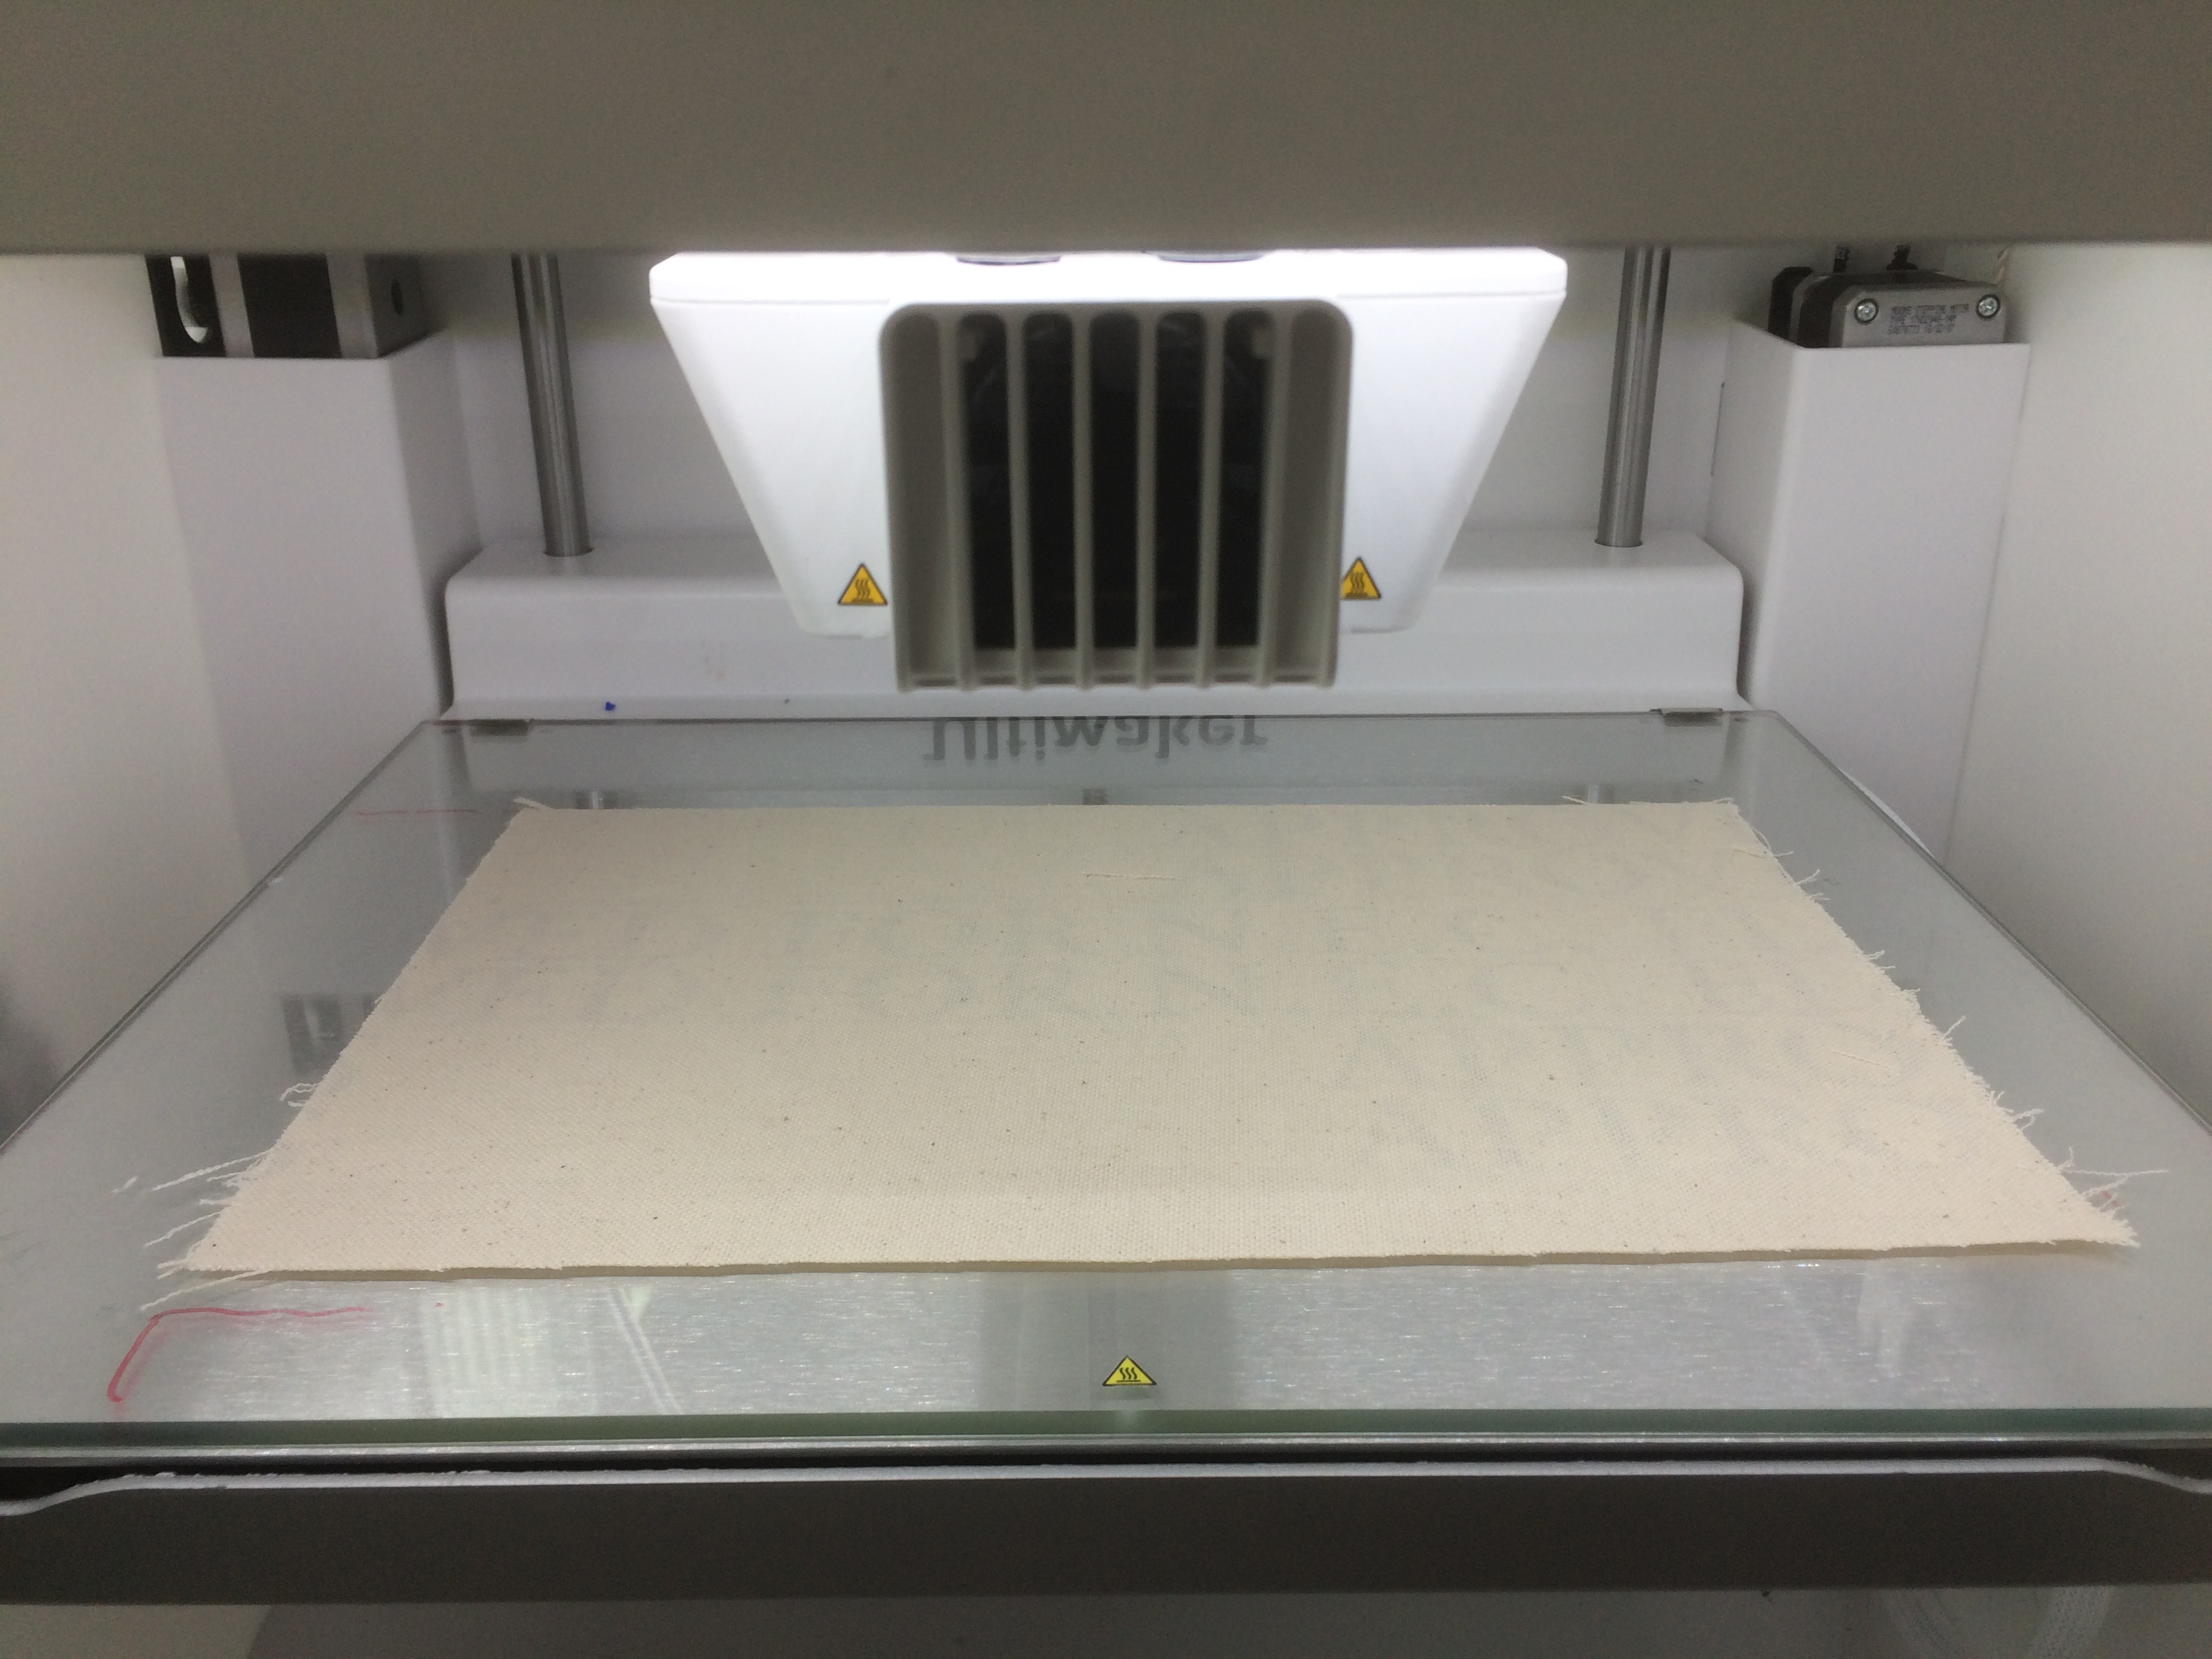
First, you cut a piece of fabric at the desired dimensions.
Then you apply some double-sided tape (the not very sticky ones) on top of the buildplate of your 3D-printer. Here, i’ll use an ULTIMAKER 5S.
You need to trick the sensors on the Ulimaker5S so that it doesn’t feel that you have added tape on its glass-buildplate when the calibration process of the nozzles goes on. To do so, before starting the job, you flip the glass-buildplate upside-down. When the UM5s finishes its calibration process and warms up the nozzles, there is enough time for you to flip again the buildplate, with the tape on top of it. And you carefully apply your piece of fabric on top of the tape.
Prep
Prep
Prep
Prep
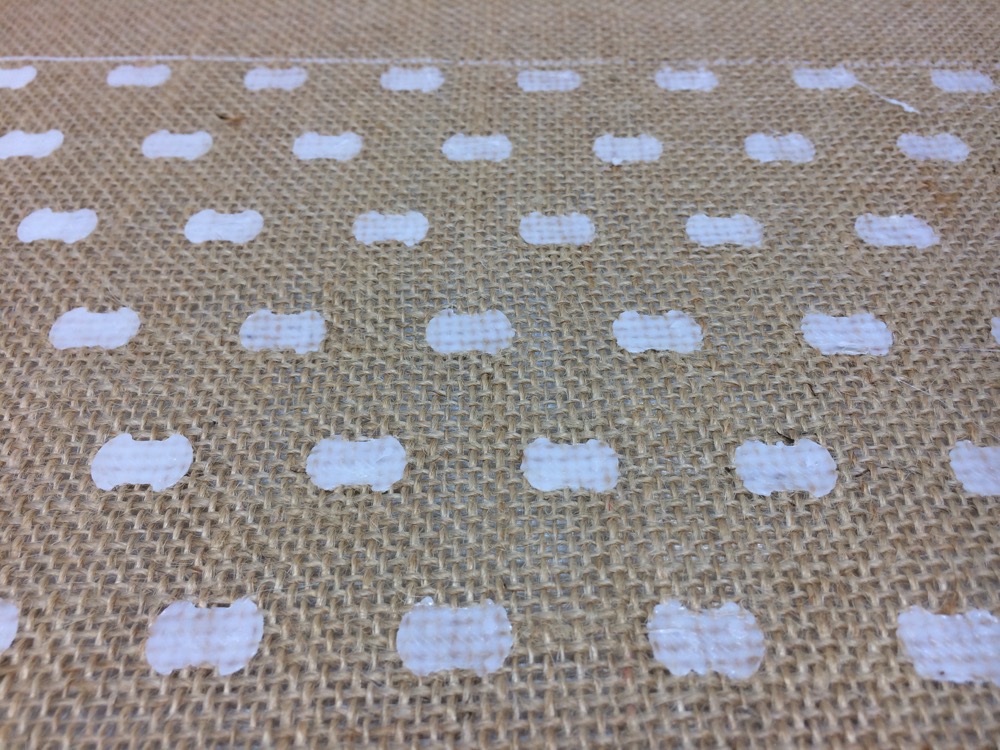
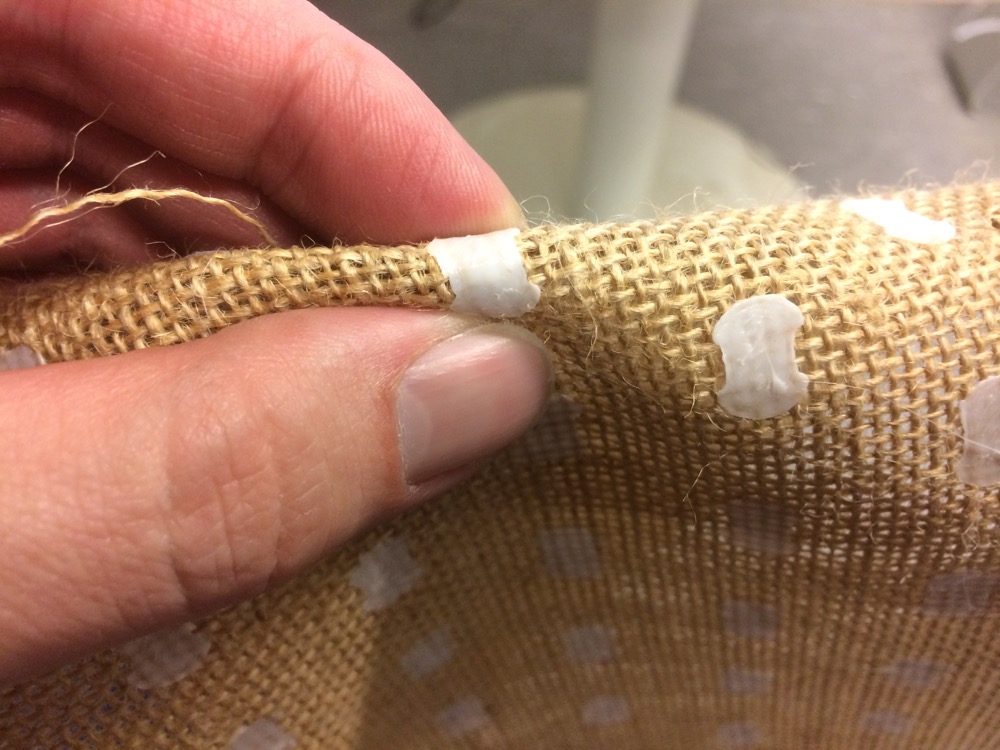
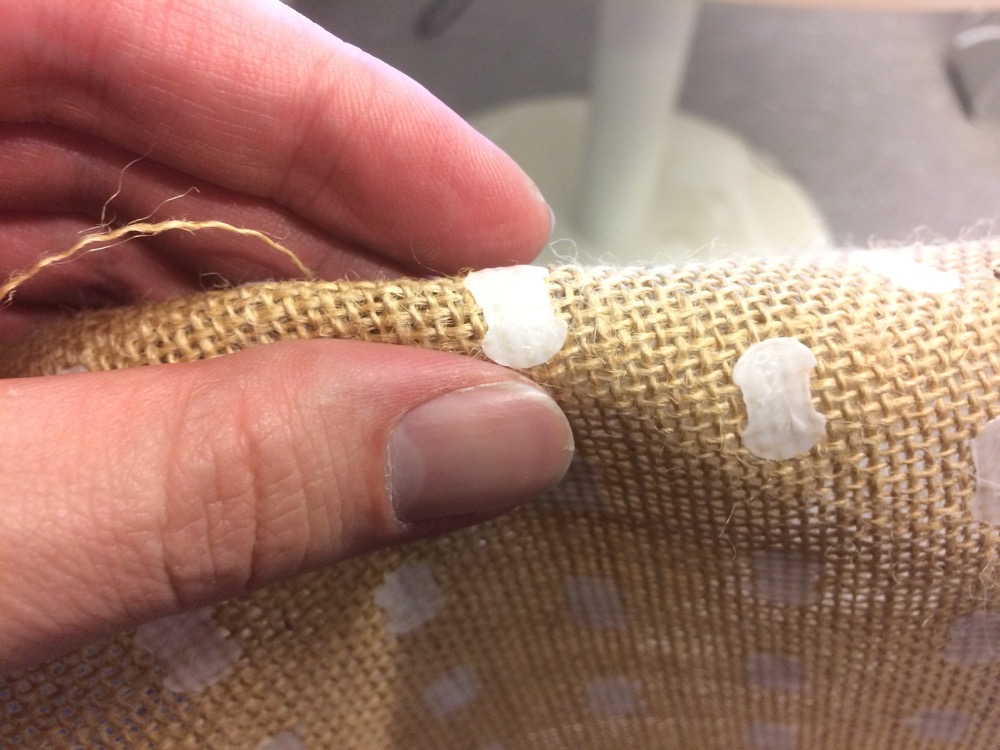
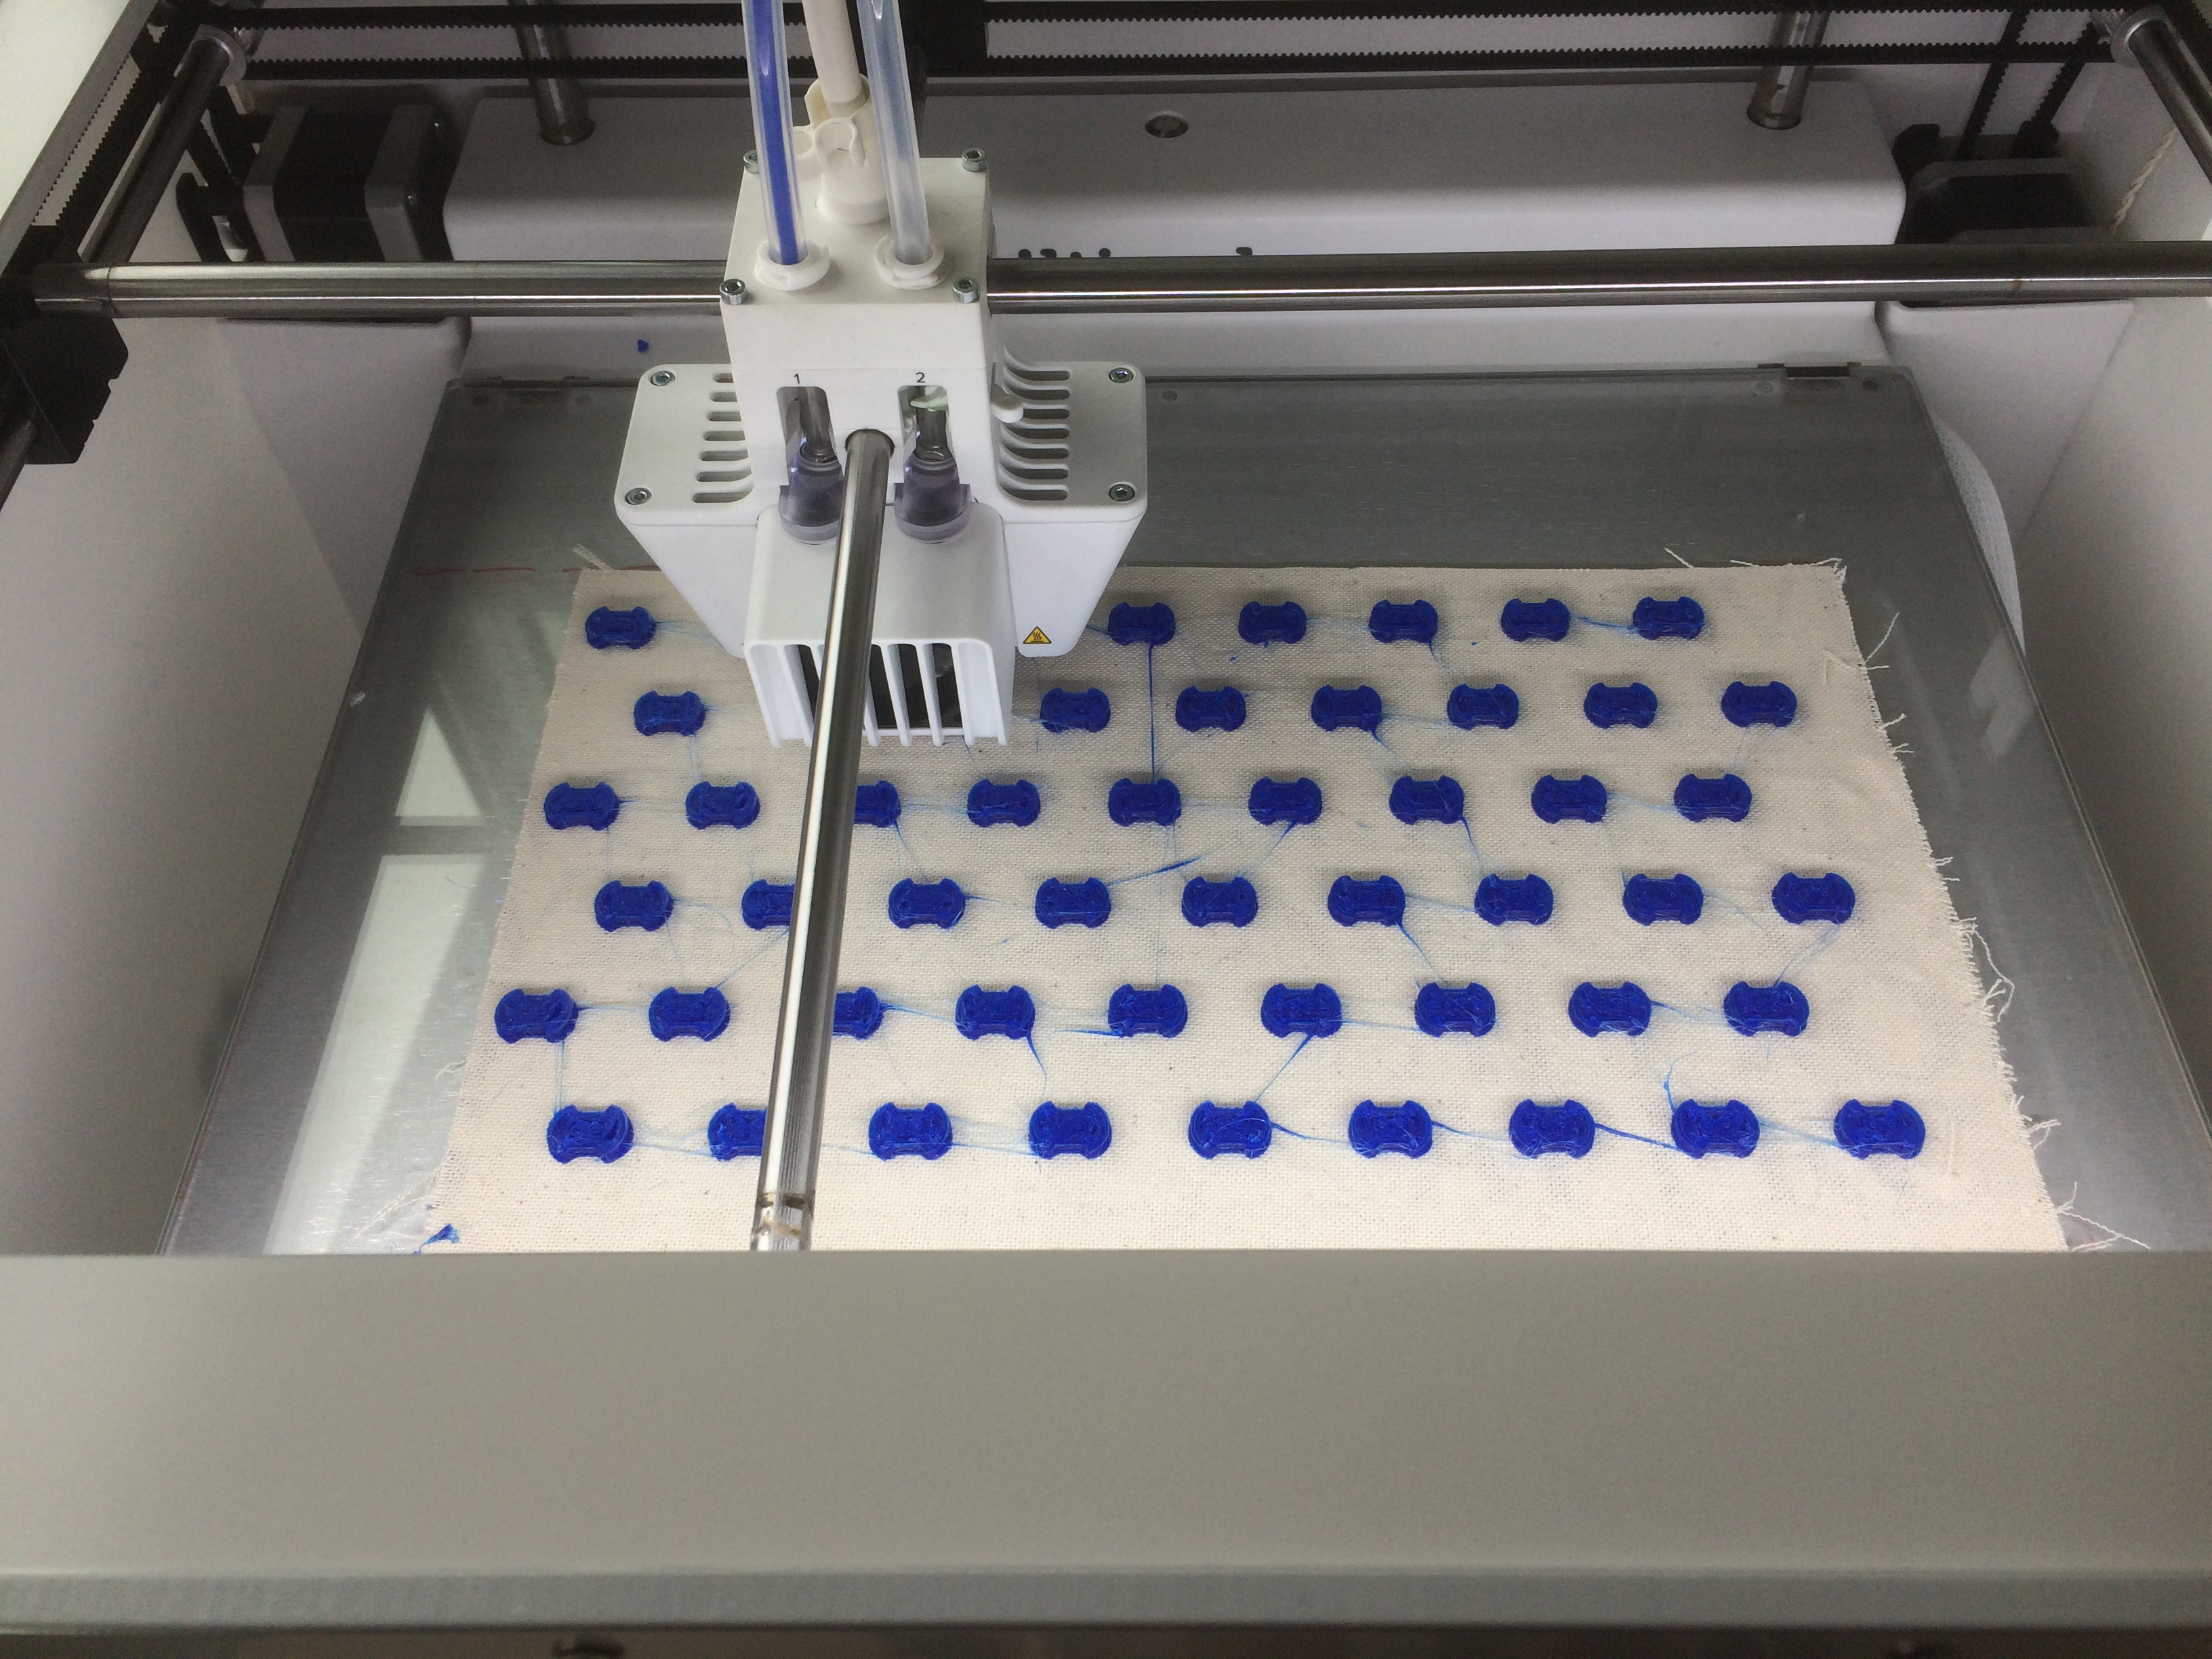
Printing…
I should have played with the filament retraction settings to avoid the plastic connexions between the objects. It will come out better next time.
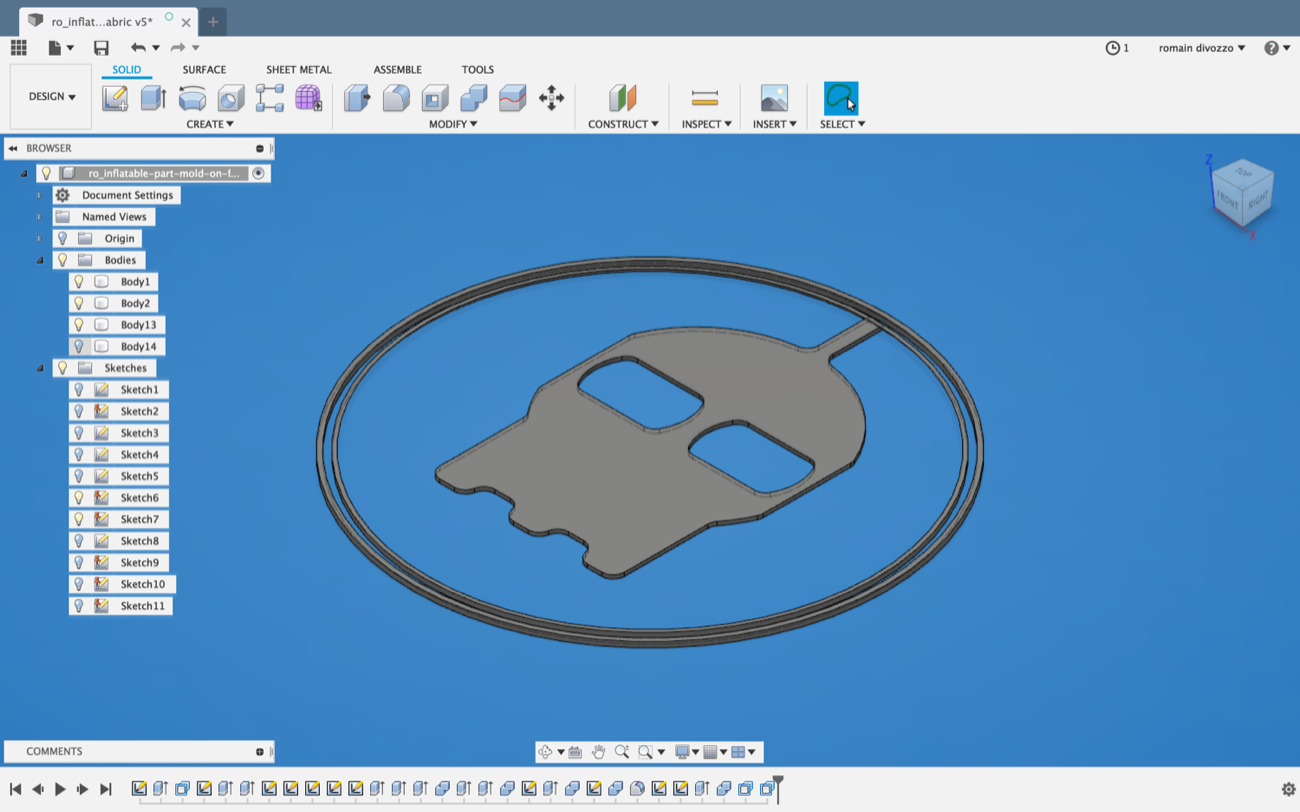
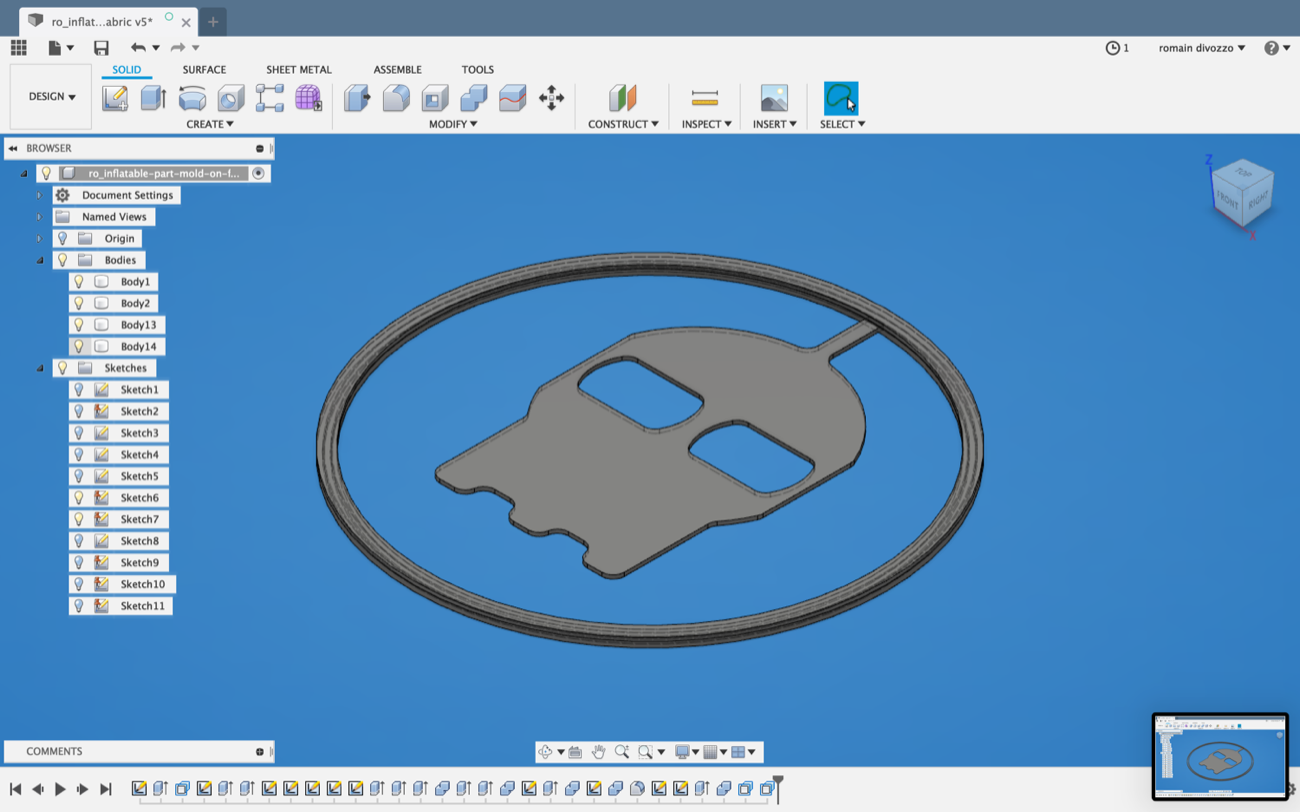
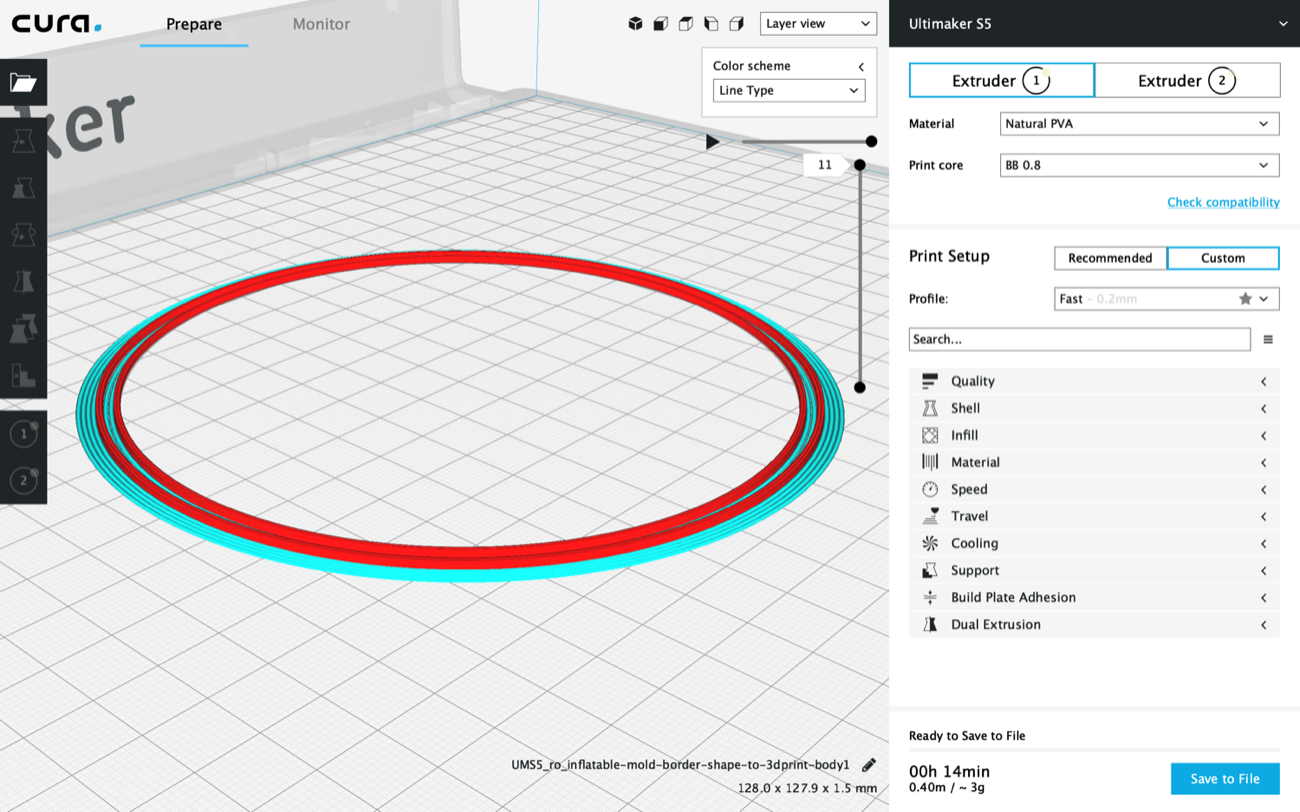
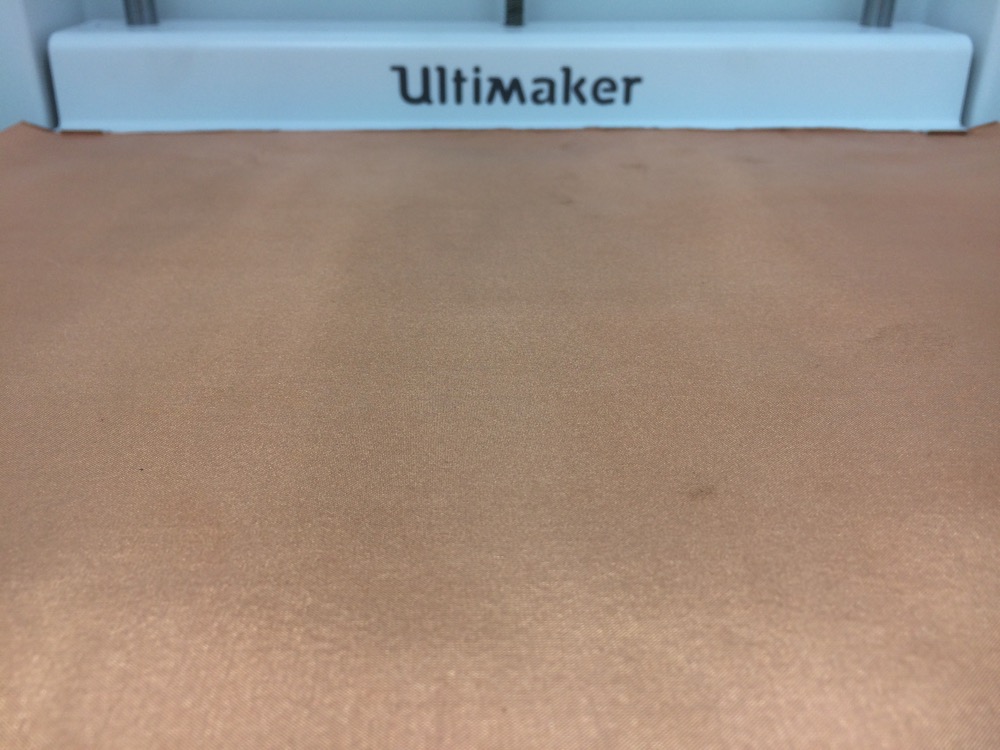
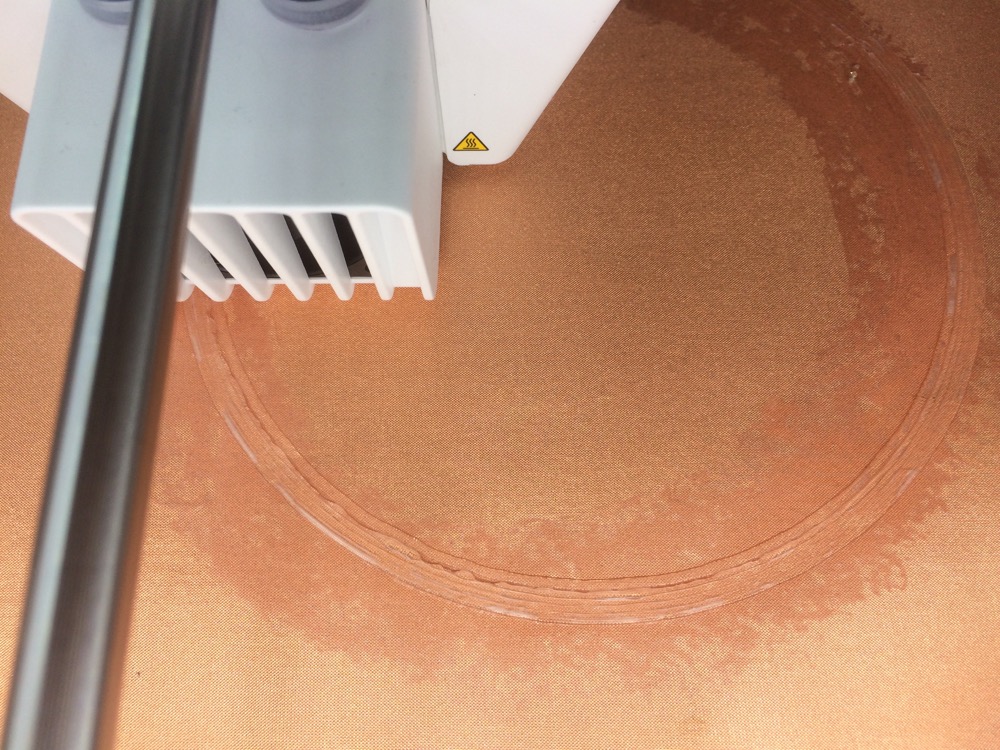
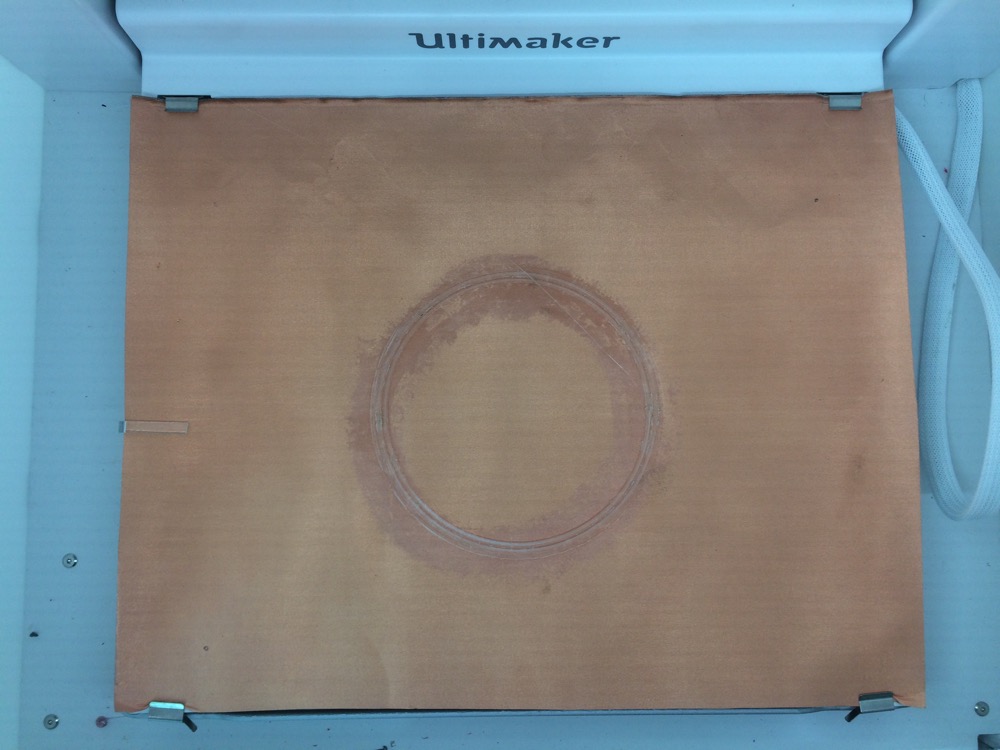
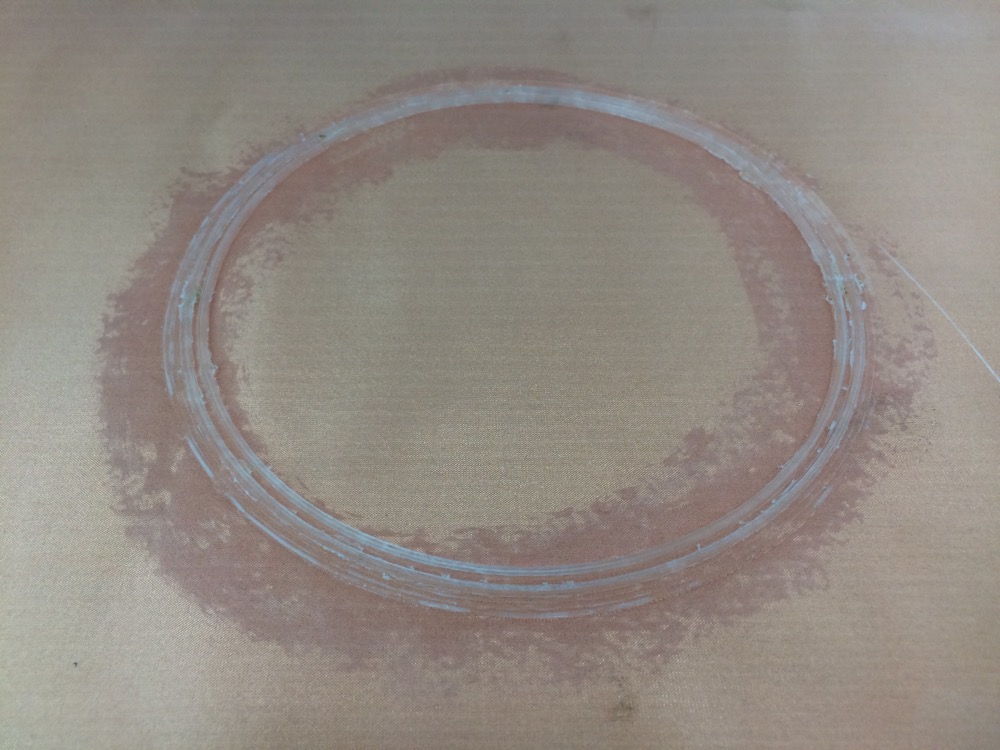
5 | 3D-Printing a water-soluble-PVA mold on copper-fabric to cast an inflatable pattern |
Weird stuff right ? In the pictures below I am showing the results of a “mold” 3D printed directly on fabric. For this experiment, I picked-up copper-fabric-shield in case I could add some conductive features to the experiment. It promesses experiments with electronics engraved on the copper-shield fabric and embedded into silicone layers.
This assignment relates to WEEK11 chapter 3 where I make an inflattable logo. The idea was to 3D print a mold to pour silicone inside, to let it dry, to place pattern laser-cut in PET, then to add a press-fit part on top of the 3D printed borders to level up the mold and pour more silicone on top of the PET pattern. I designed a pipe to later insert a serynge/needle to inflate the pattern. I still need to pour the silicone. This assignment would then connect to the softrobotics assignment.
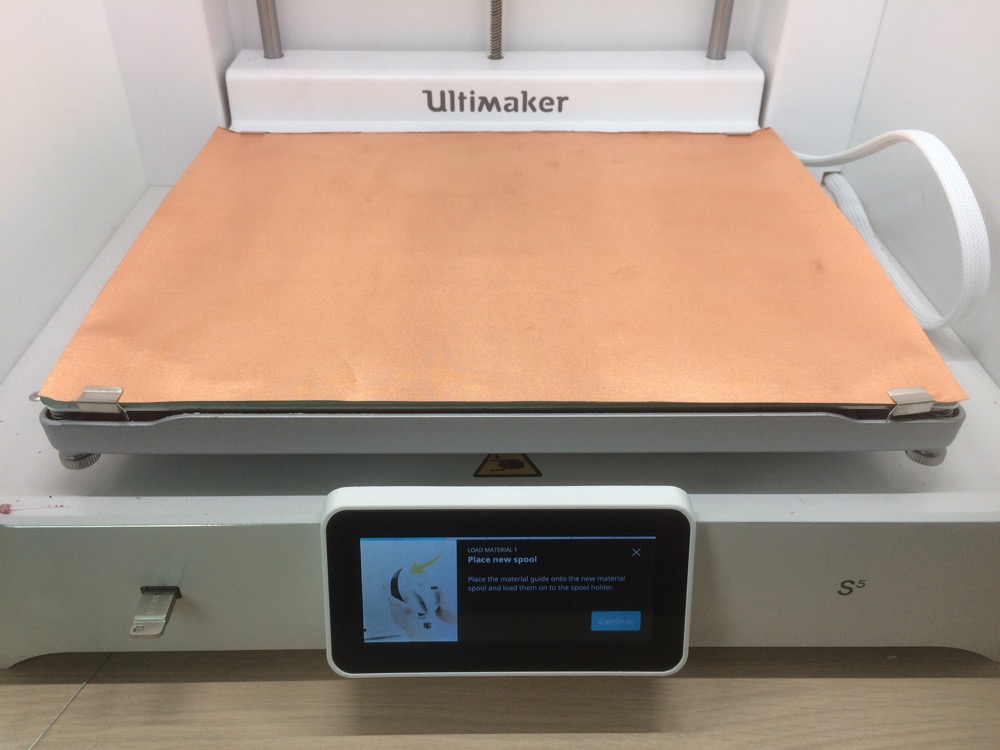
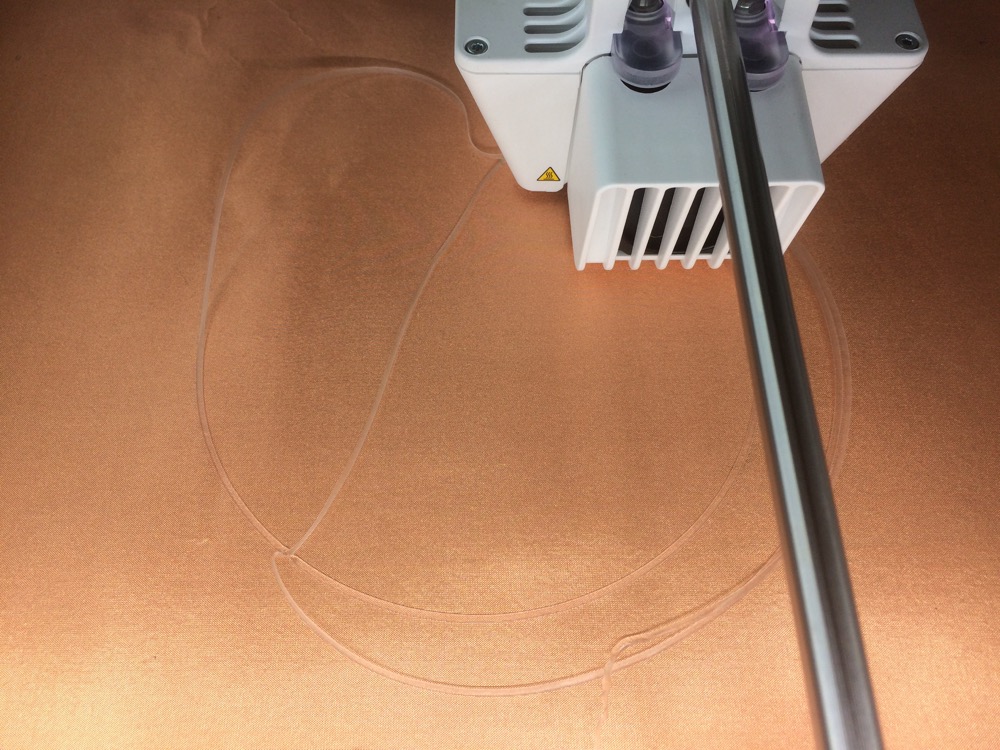
PVA 3D Print on Copper-Fabric
PVA 3D Print on Copper-Fabric
PVA 3D Print on Copper-Fabric
PVA 3D Print on Copper-Fabric
PVA 3D Print on Copper-Fabric
PVA 3D Print on Copper-Fabric
PVA 3D Print on Copper-Fabric
PVA 3D Print on Copper-Fabric
PVA 3D Print on Copper-Fabric
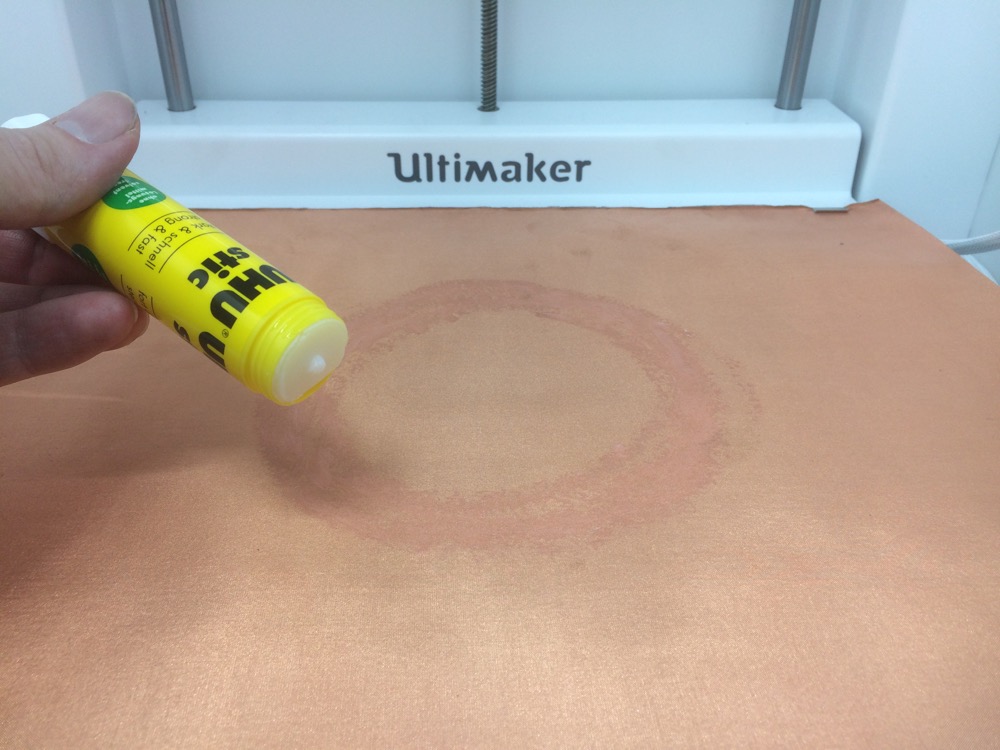
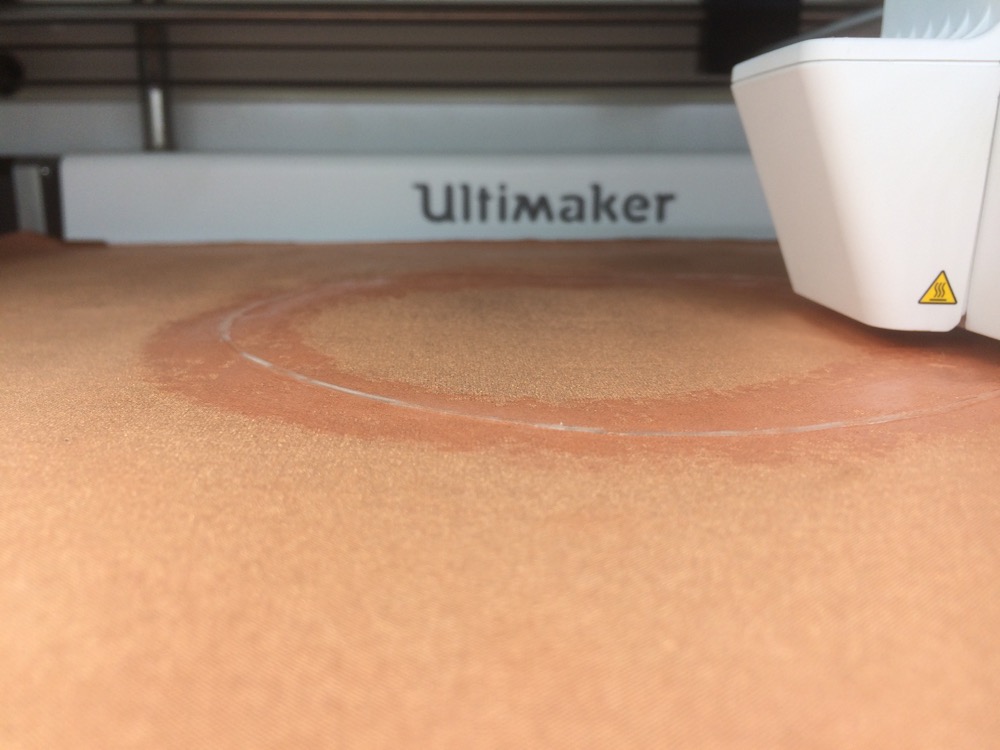
The PVA doesn’t stick on the copper-fabric when you 3D print it. I improvised by adding common paper-glue on the copper-fabric and after starting over the print the PVA stuck to the copper-fabric. The print is far from being perfect, but for a first try, it is pretty good.