8. Open source hardware: from fibers to fabric
FABRICADEMY WEEK8 EXPECTED LEARNING OUTCOMES
FABRICADEMY WEEK8 ASSIGNMENT

-Research and document existing fabrication methods, machines and industries , add references and sketches of the machine and the chosen process
-Design and document the files of the machine, machine hack or tool and fabrication - assembly process
-Document the schematic and the programming code (if any)
-List the materials: electronics, materials amount other (references of the components)
-Design, create and document a final outcome, a sample project of your process
-Make a small video of the machine
-Create an interface for controling your machine
| Files to download |
| Manual Silicone-Film Applicator .STL |
| 1 |
I’ve started several experiments for this week, not all of them will be completed during this cycle. But some parts will transform during this cycle to lead to a machine. In that race between projects in process - it goes without saying I am talking about a “race” that’s happening in my brain :) - the output might be an automated Film Applicator to make silicone films at the thickness we want, for on-skin applications or others.
The amplification of the signal worked.
1 | Manual Silicone-Film Applicator |
| Manual Silicone-Film Applicator |
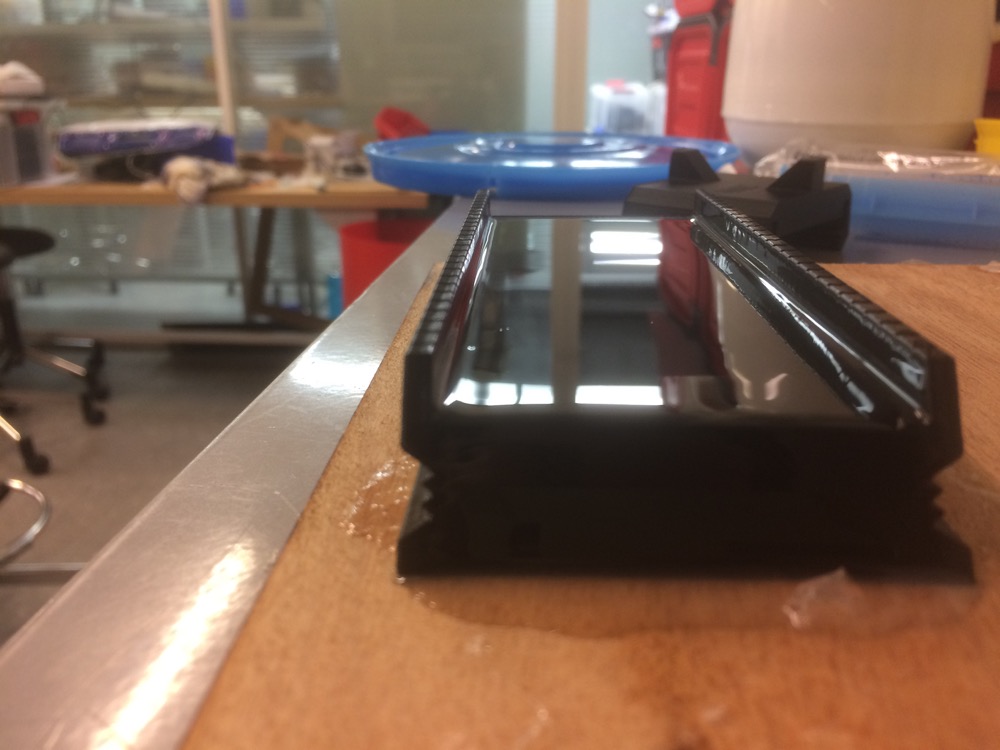 |
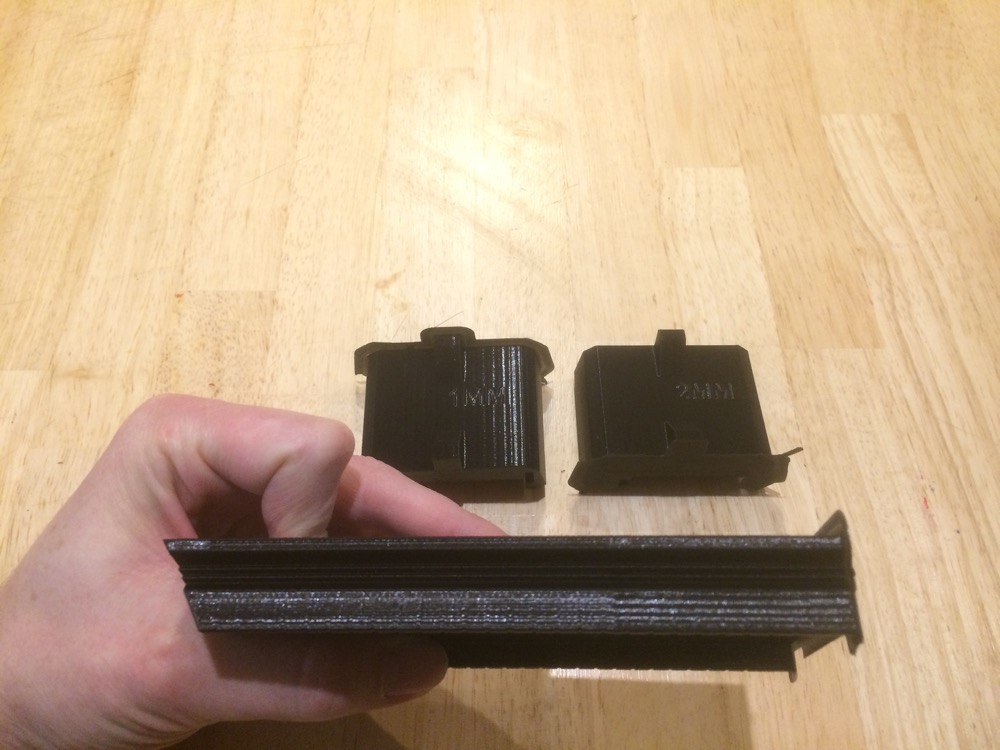
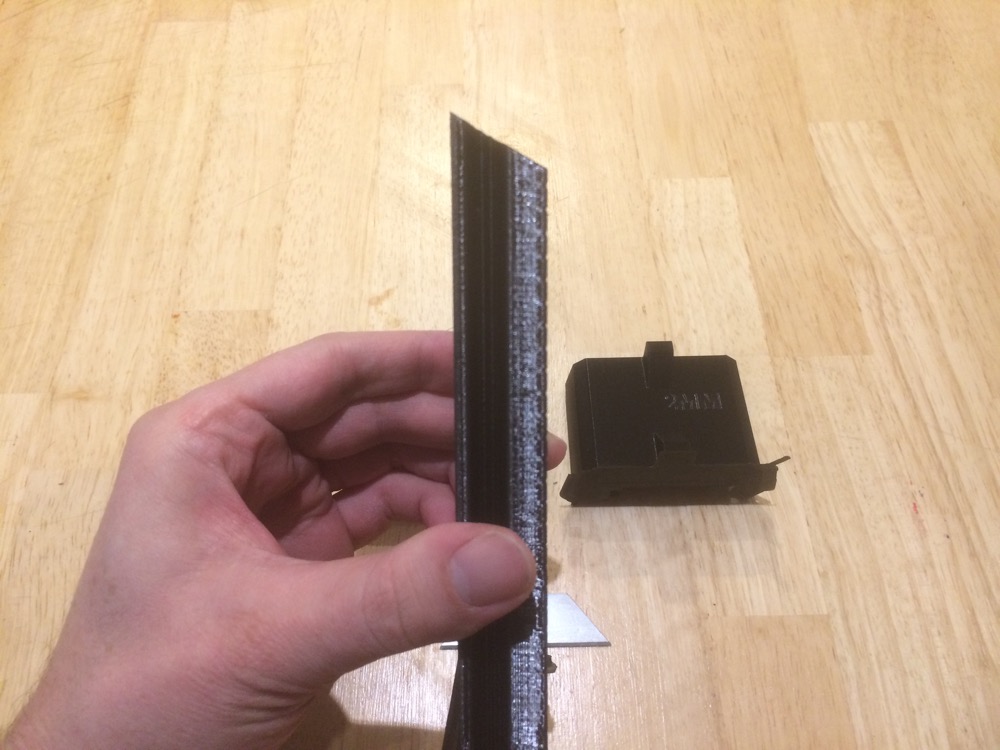
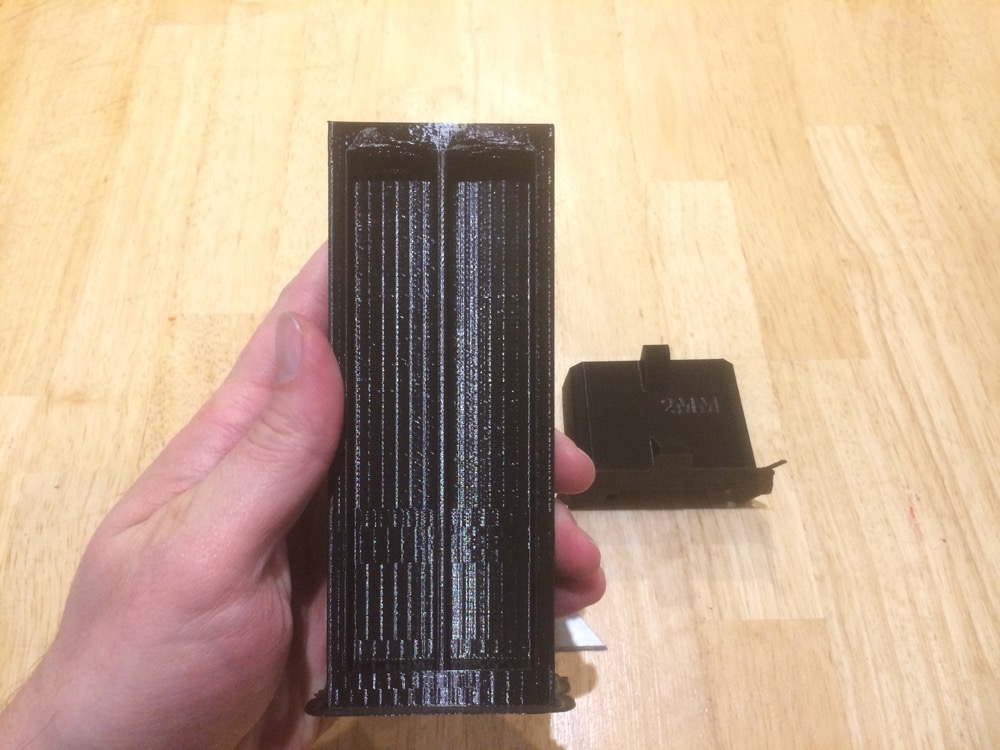
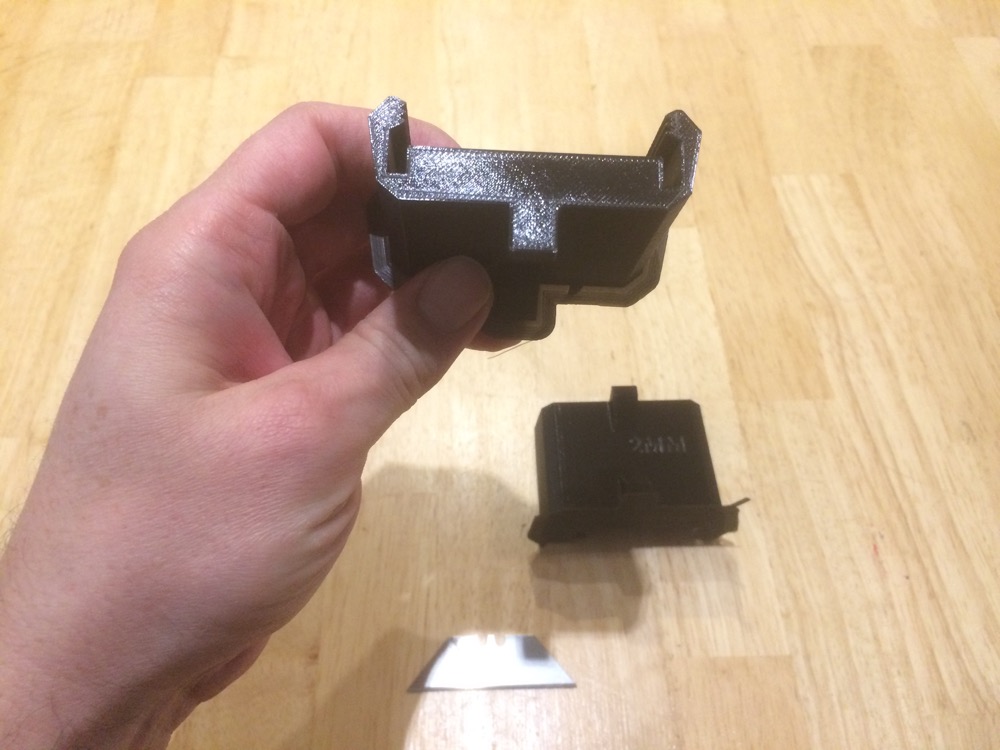
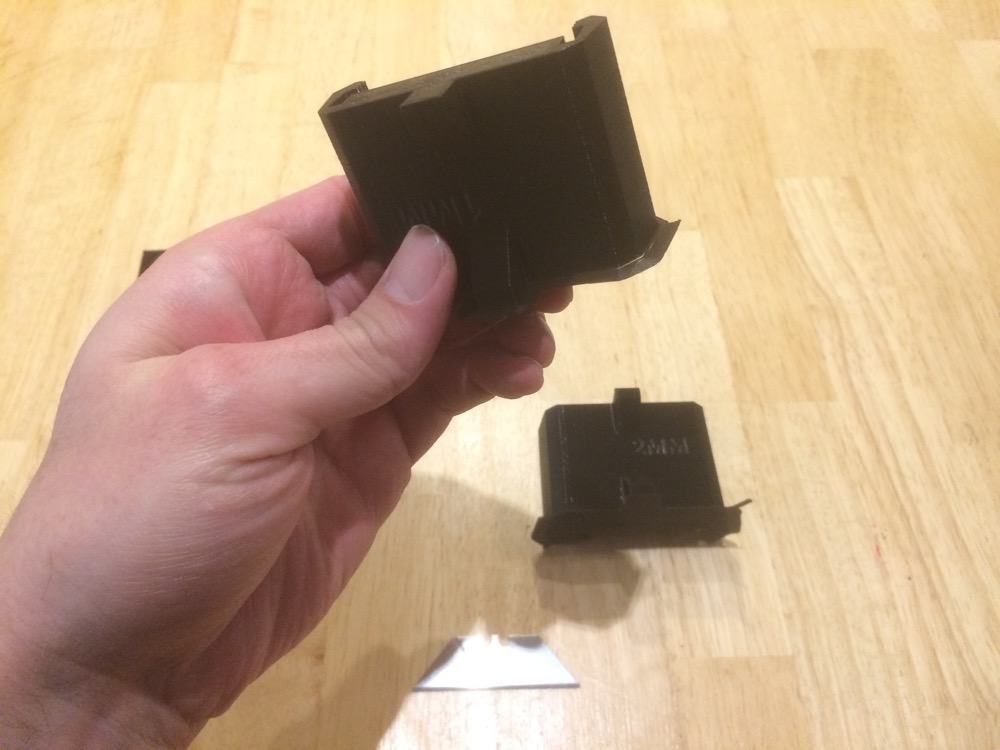
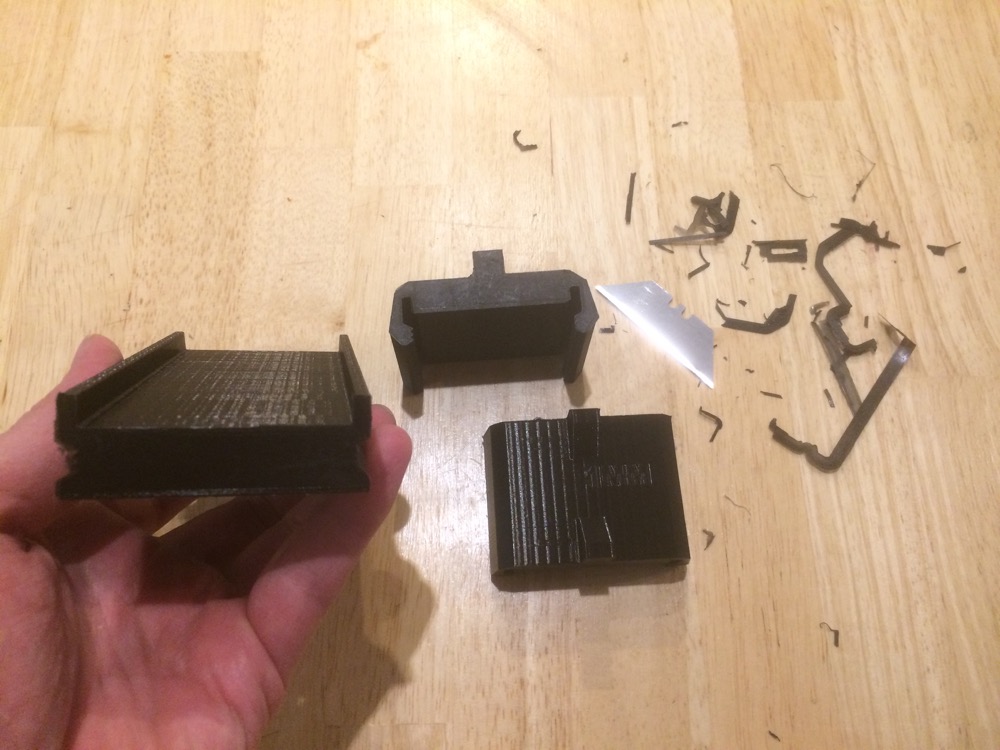
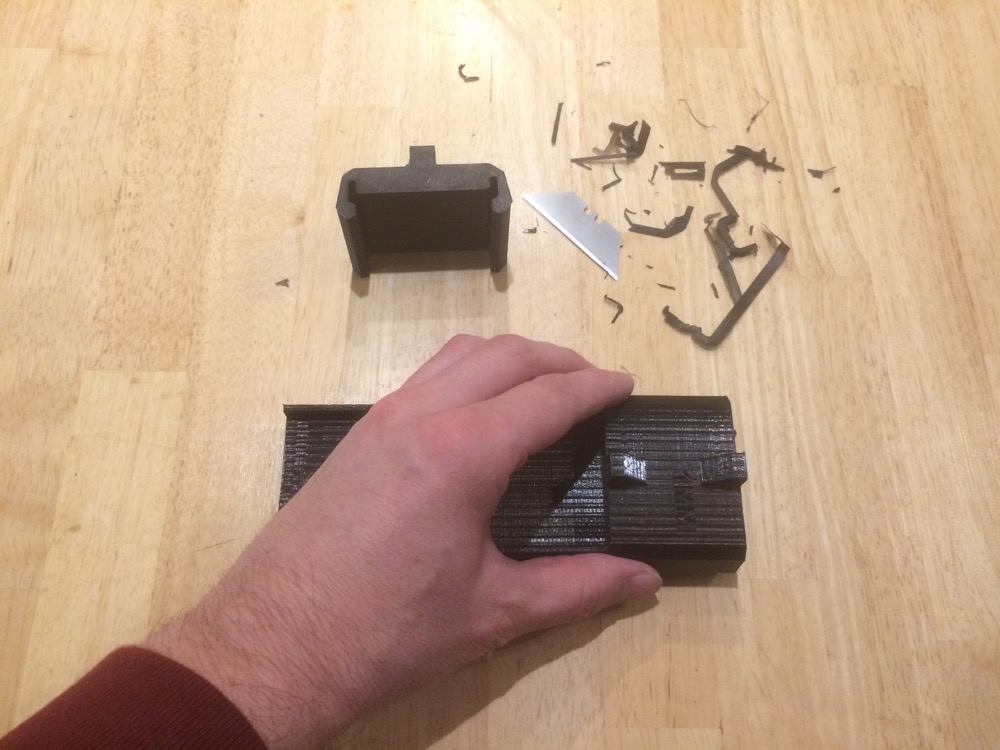
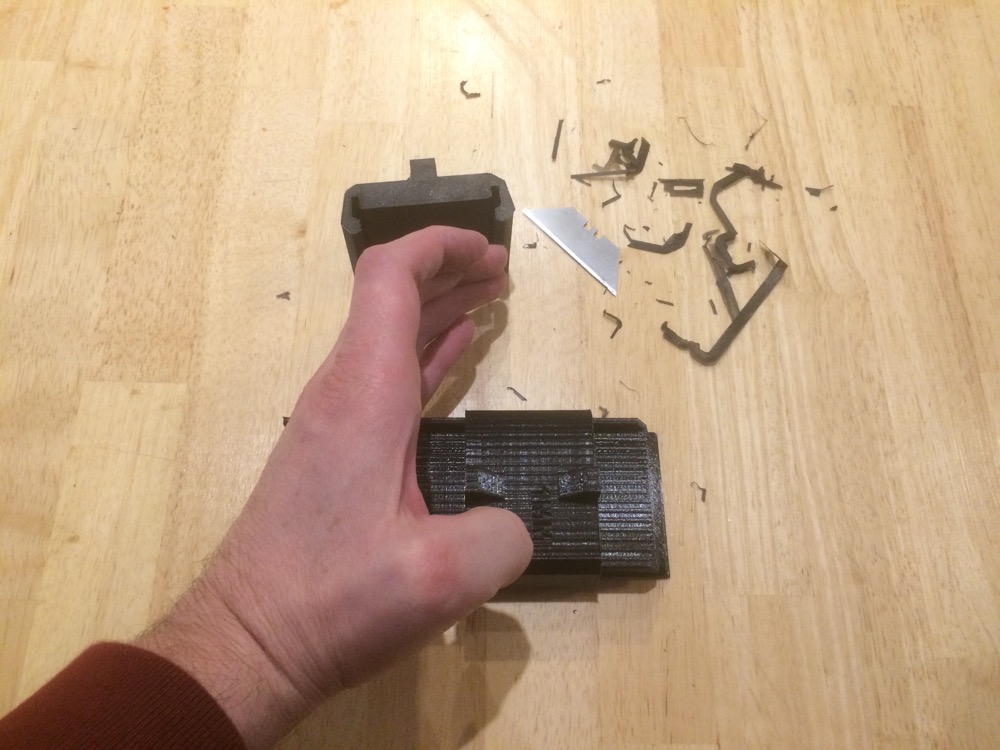
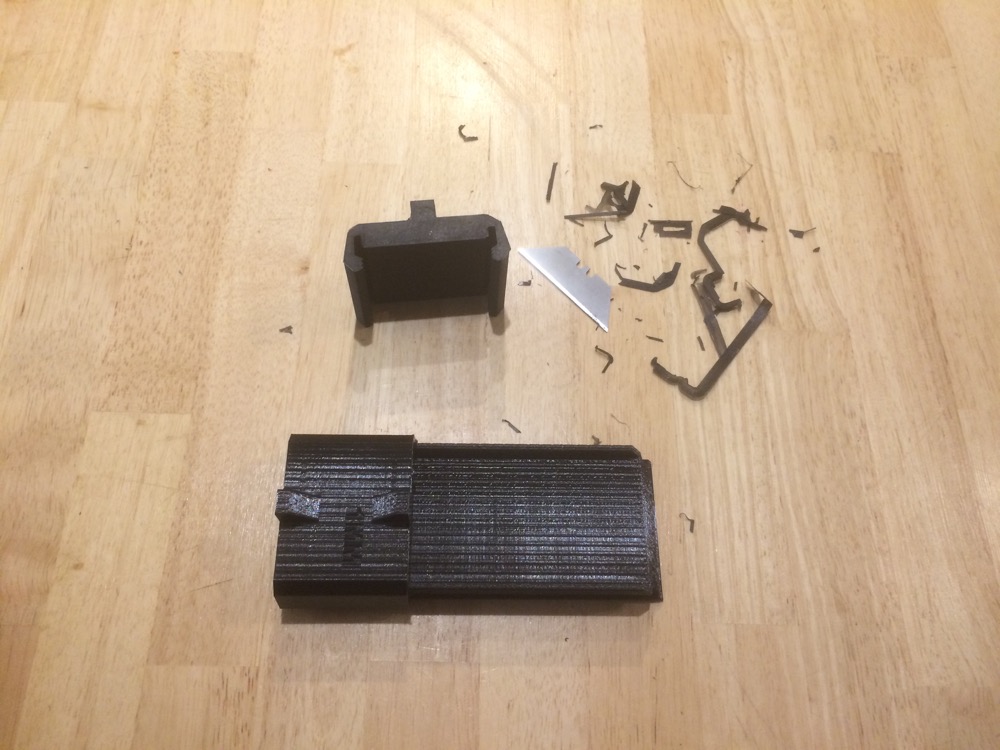
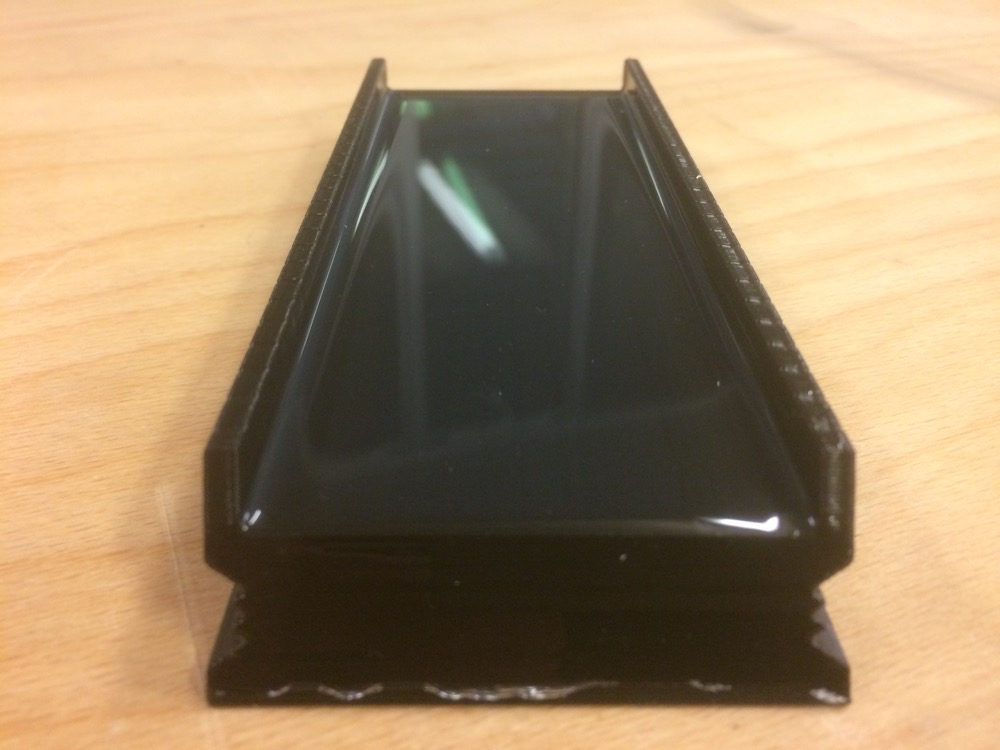
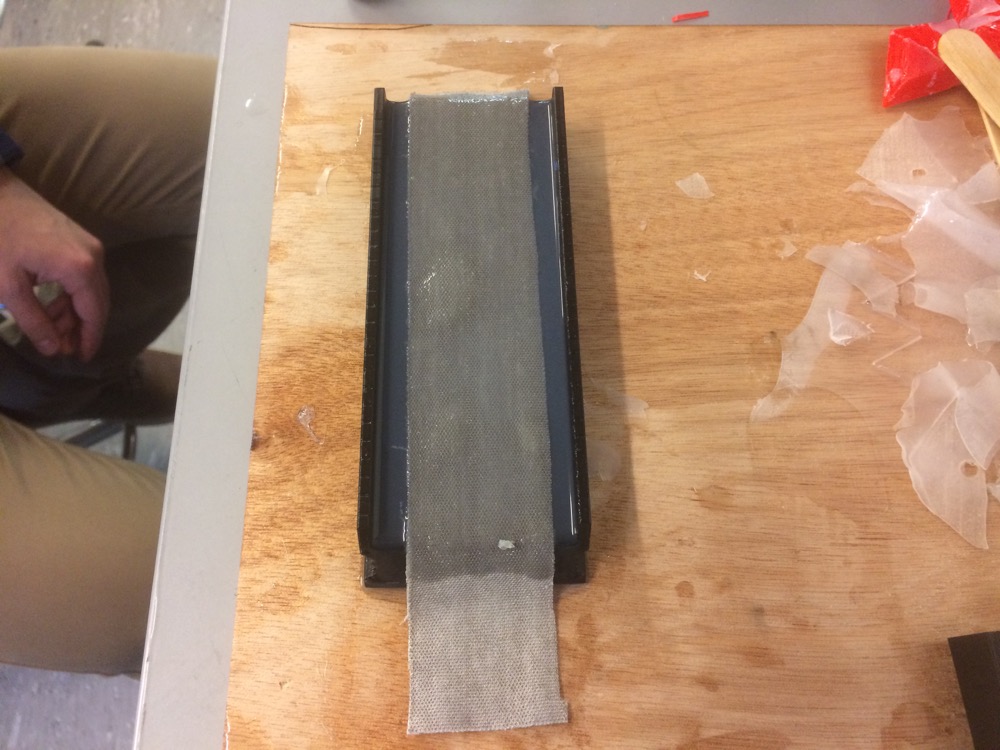
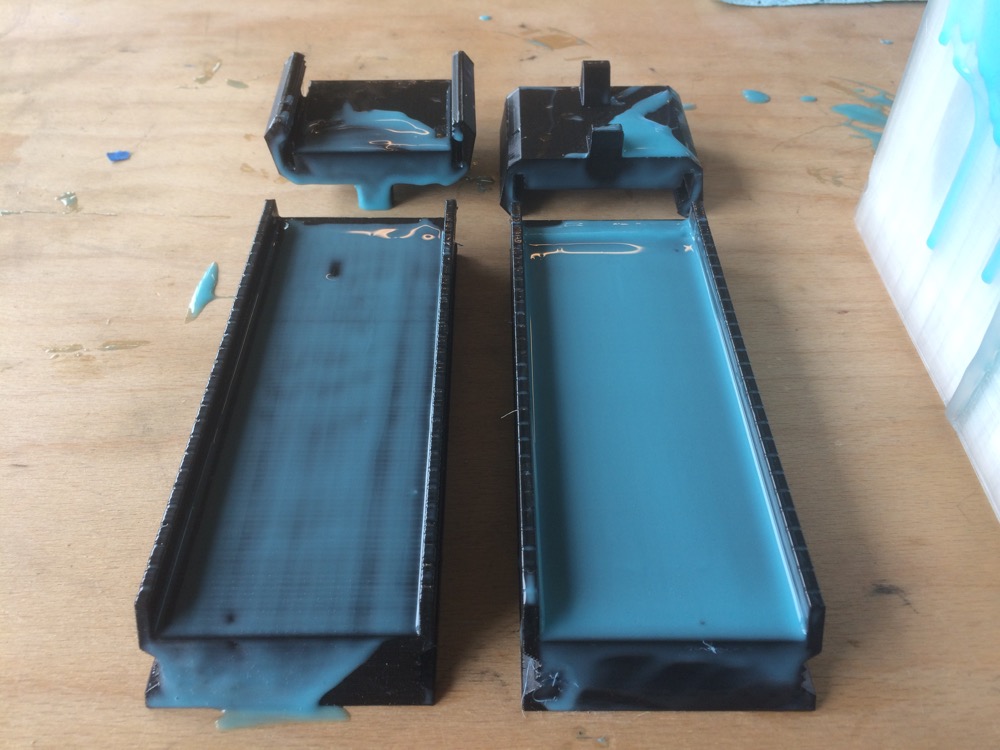
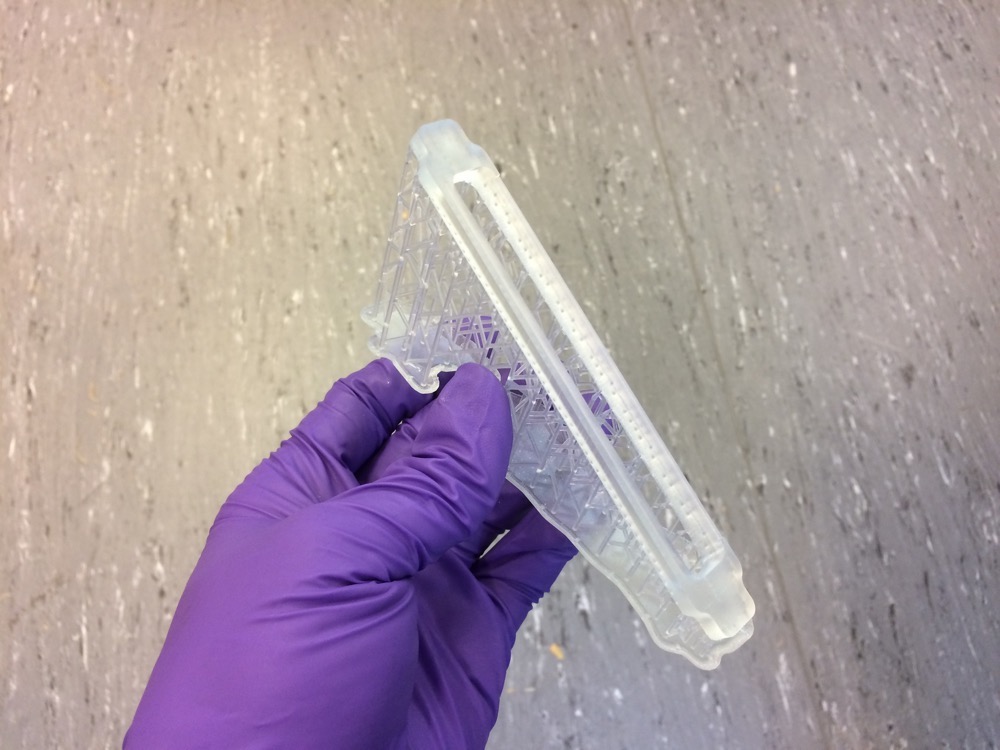
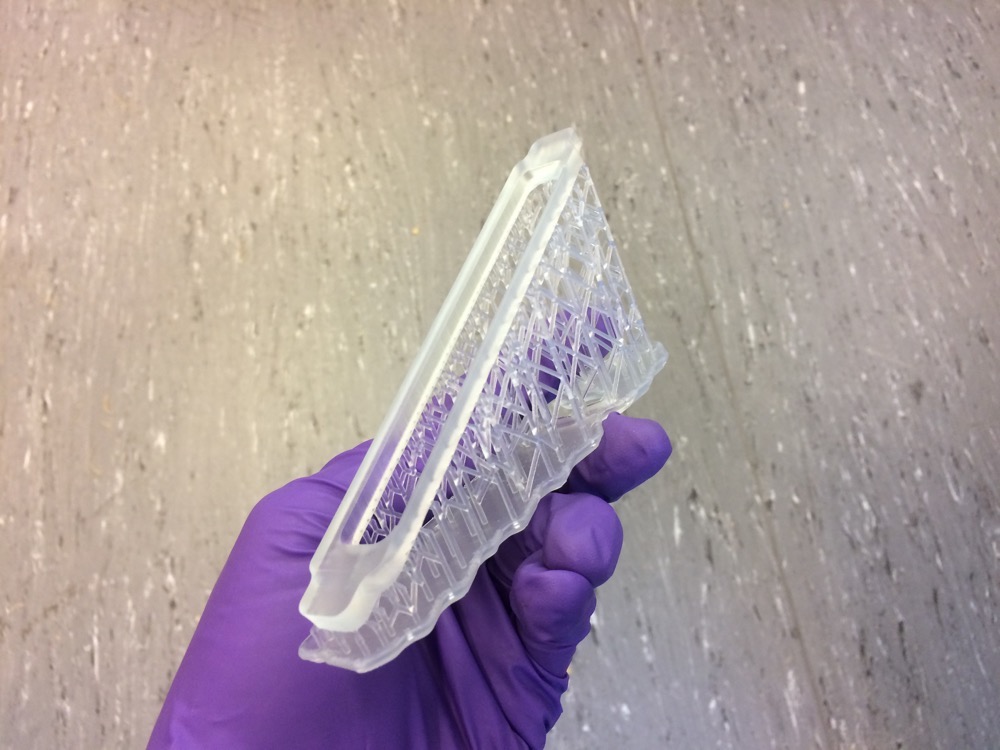
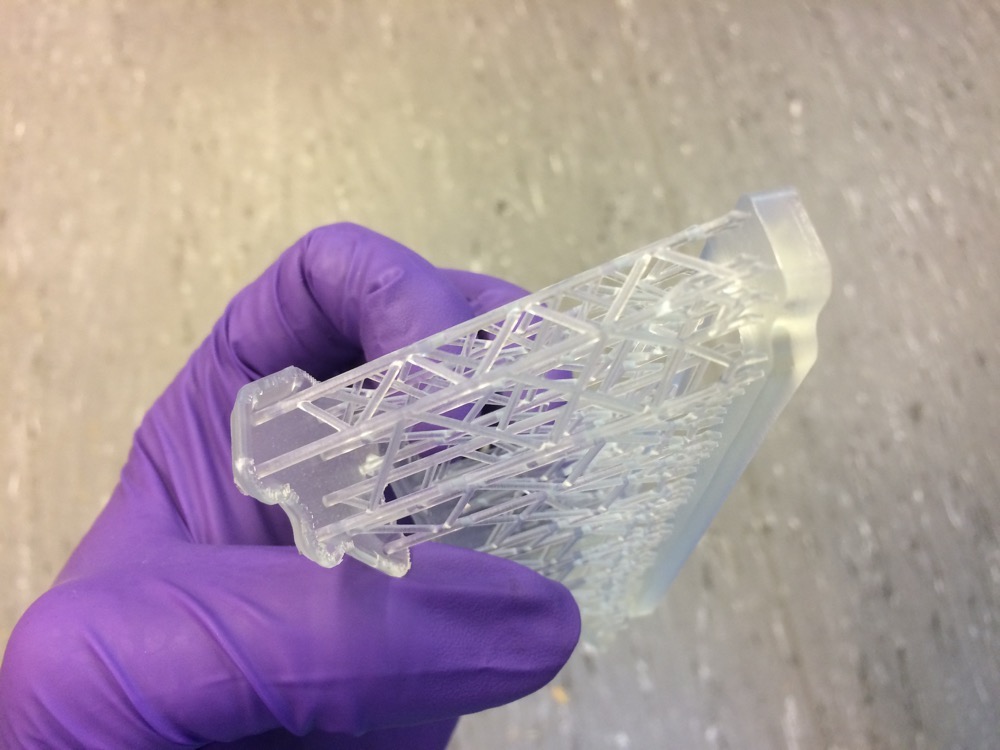
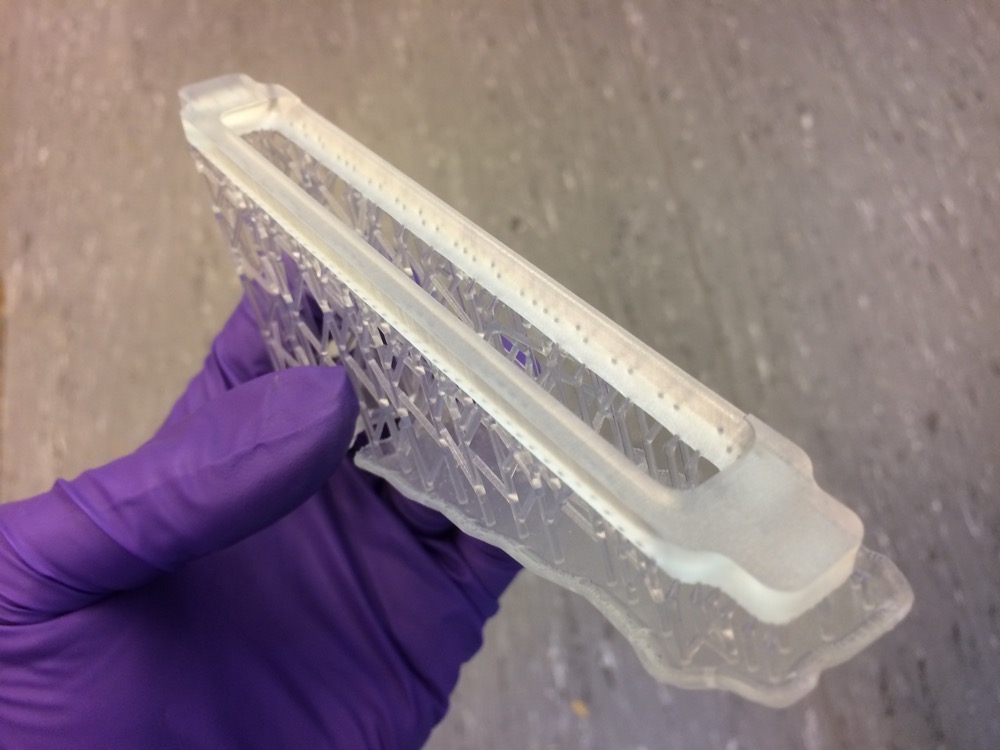
Here is my design for a manual silicone-film applicator. You can 3D print it to spread silicone uniformely on its surface so as to obtain a stable surface and a stable thickness for your silicone films. Also, there was zero qir-bubbles in my silicone films.
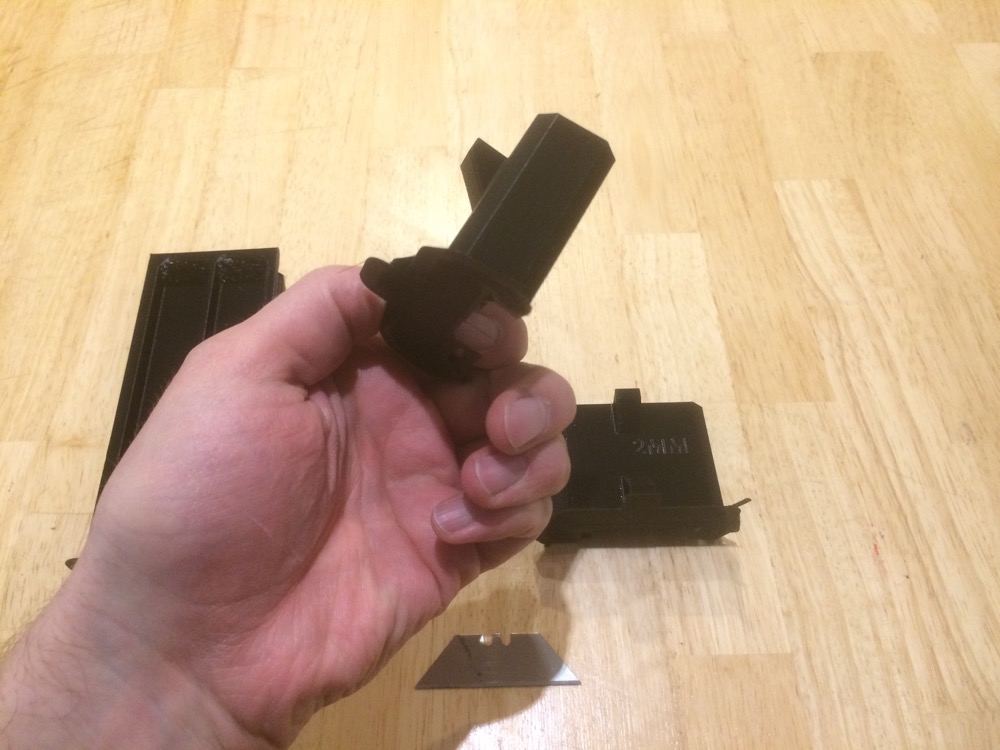
It is made of two simple elements:
-Part 1 is a flat base with an inclination on one side to help the excess of silicone going down the base. It also has 2 lateral rails on its sides to receive Part 2.
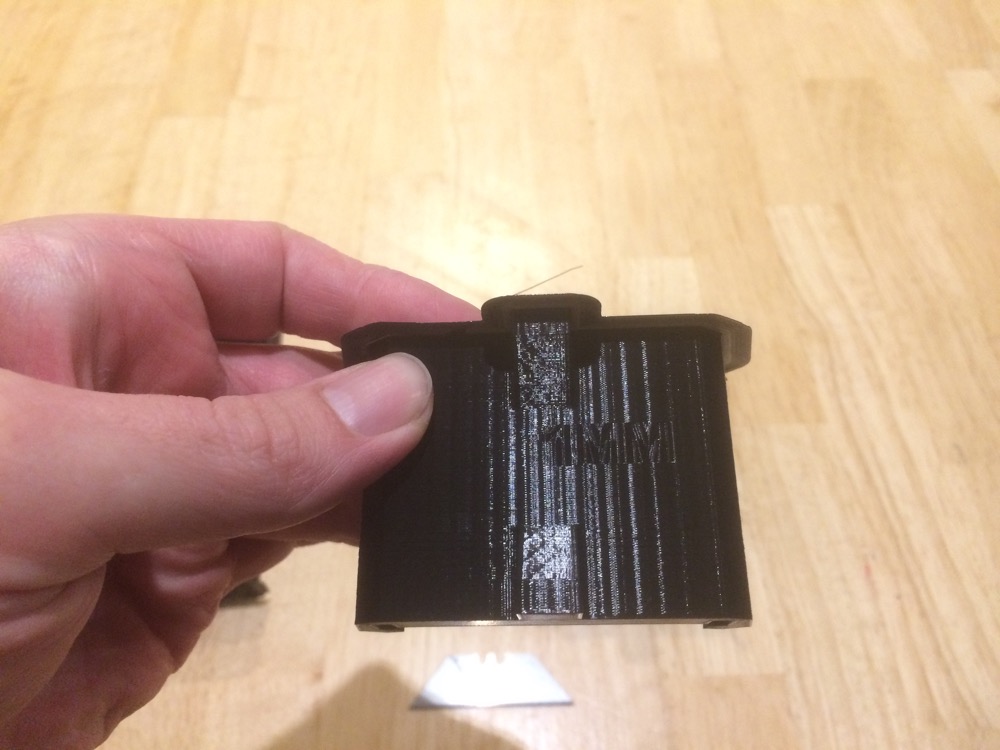
-Part 2 is a rack with a flat bottom that you can insert in Part 1’s lateral rails. Parts 2 are modular and can vary in heigh. To use it, you move Part 2 from left to right to spread the silicone on Part 1. Part 2 has a fixed heigh that is written on it - for now I have 1mm and 2mm heigh. The height value of Part 2 is written on it and also tells the thickness of the final silicone film. You pick the one you want for your project.
| Manual Film Applicator |
Manual Film Applicator |
Manual Film Applicator |
 |
 |
 |
| Manual Film Applicator |
Manual Film Applicator |
Manual Film Applicator |
 |
 |
 |
| Manual Film Applicator |
Manual Film Applicator |
Manual Film Applicator |
 |
 |
 |
| Manual Film Applicator |
Manual Film Applicator |
Manual Film Applicator |
 |
 |
 |
| Manual Film Applicator |
Manual Film Applicator |
Manual Film Applicator |
 |
 |
 |
| Manual Film Applicator |
Manual Film Applicator |
 |
 |
| Manual Film Applicator |
 |
| 1mm thick silicone layer |
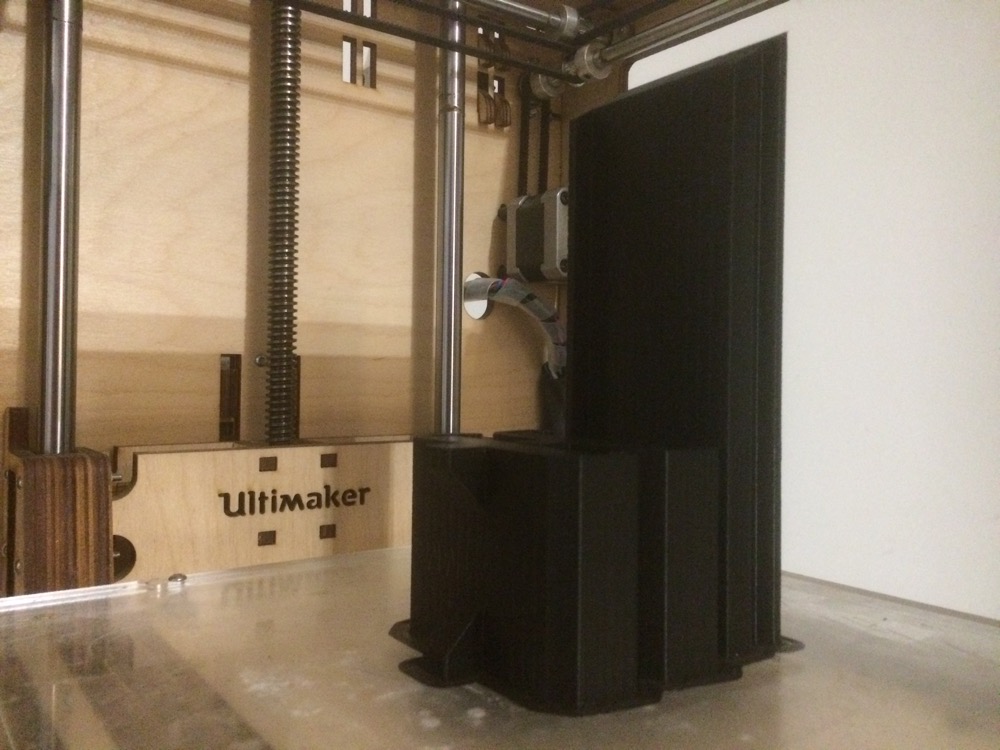
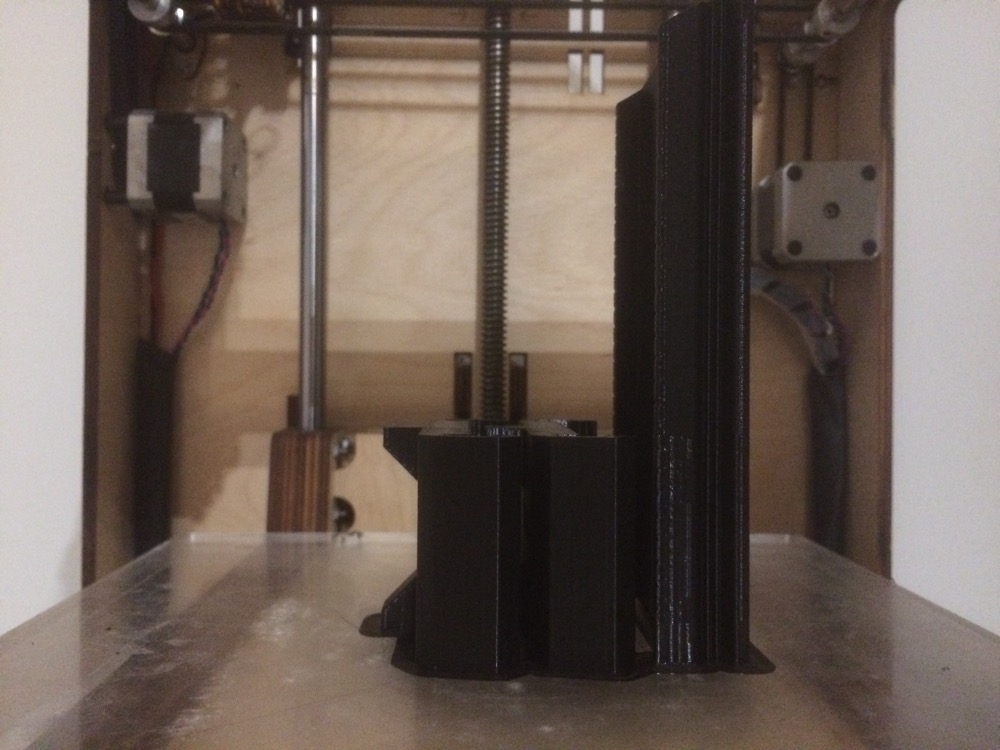
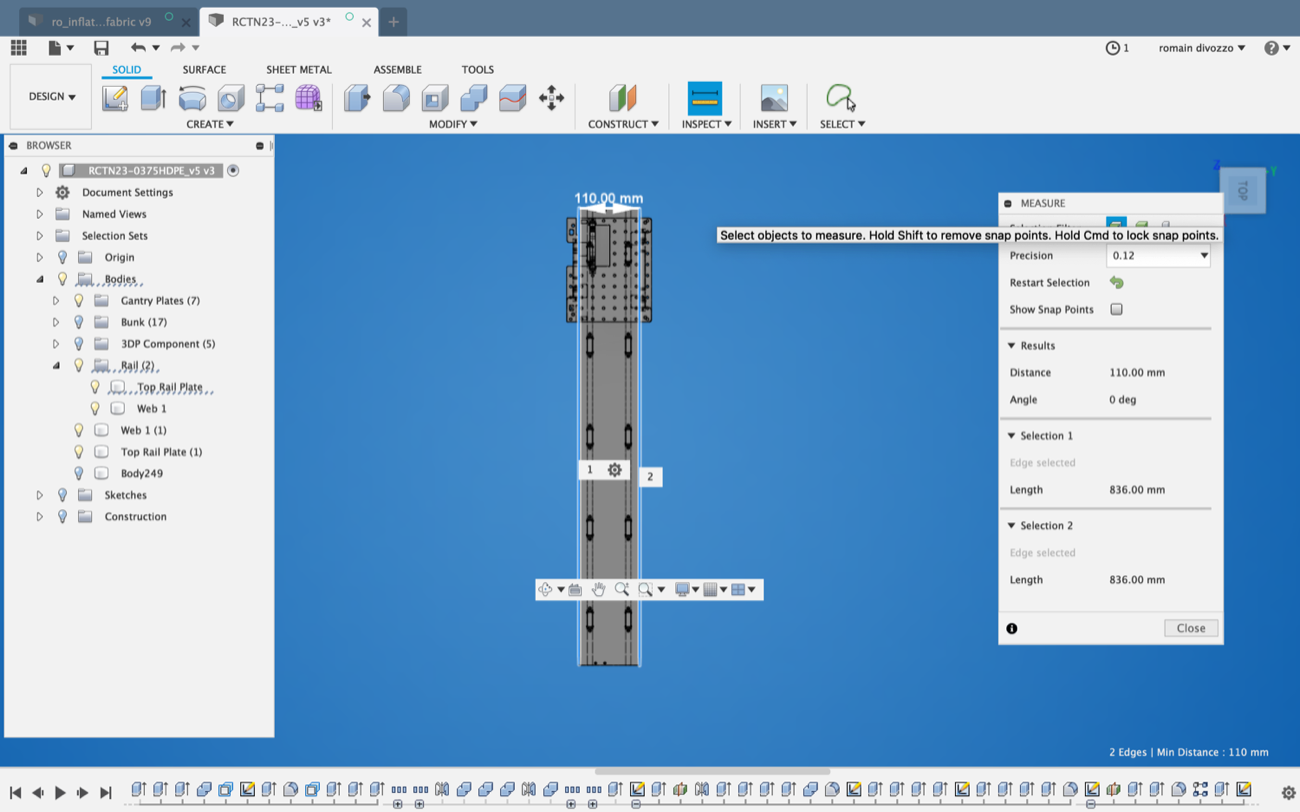
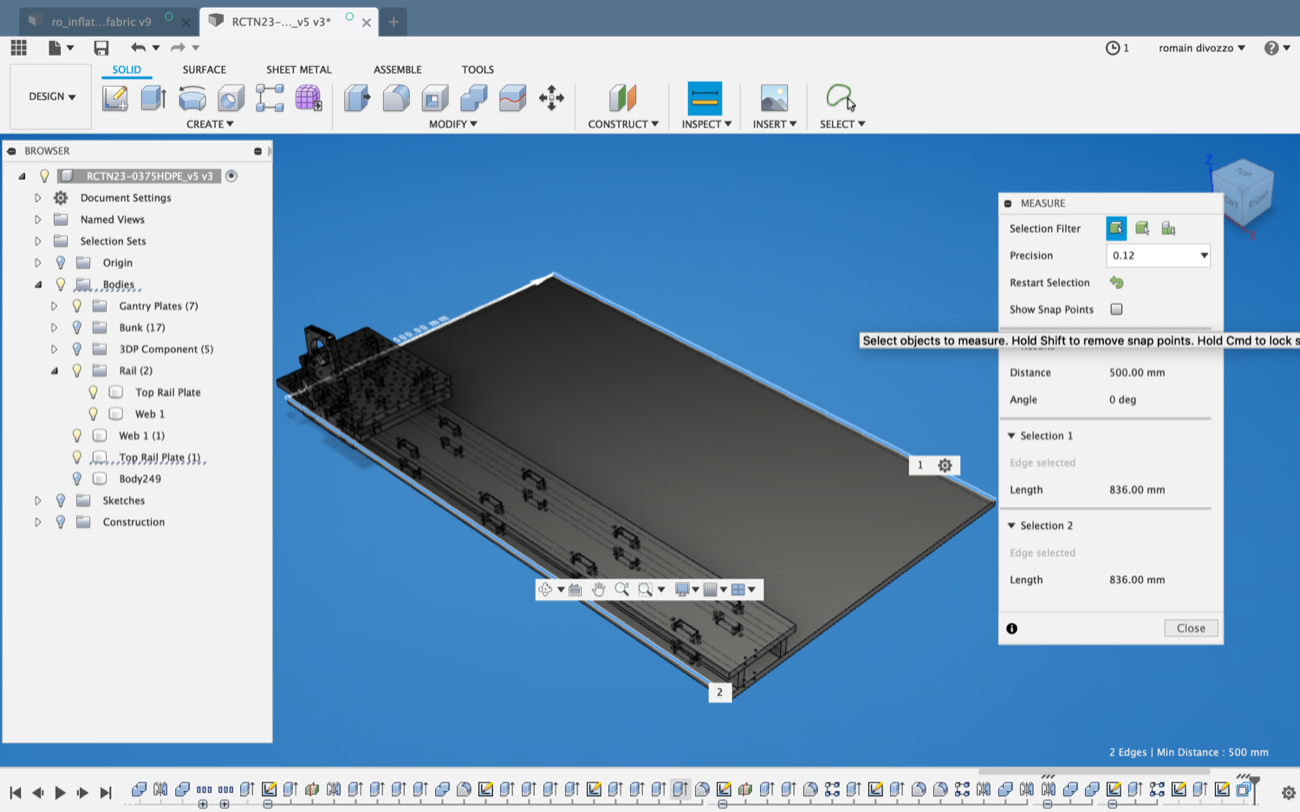
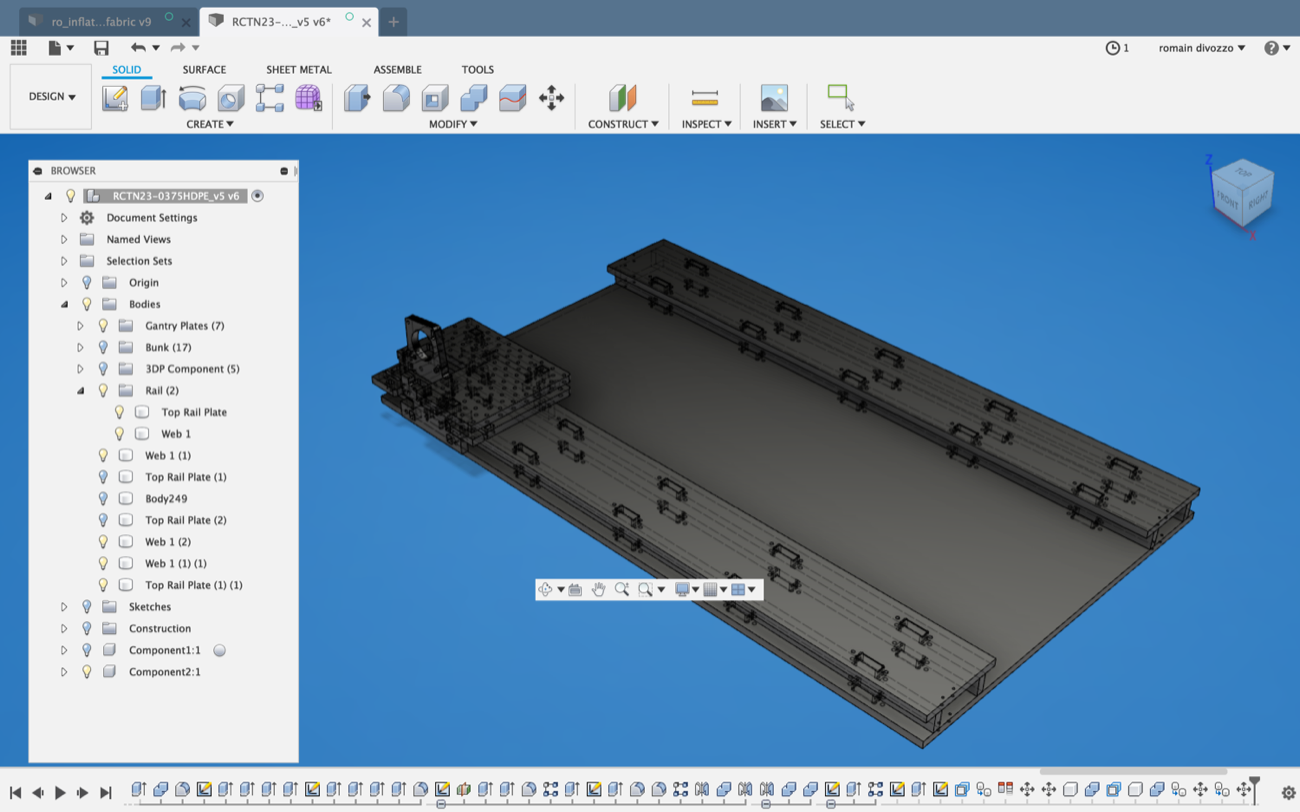
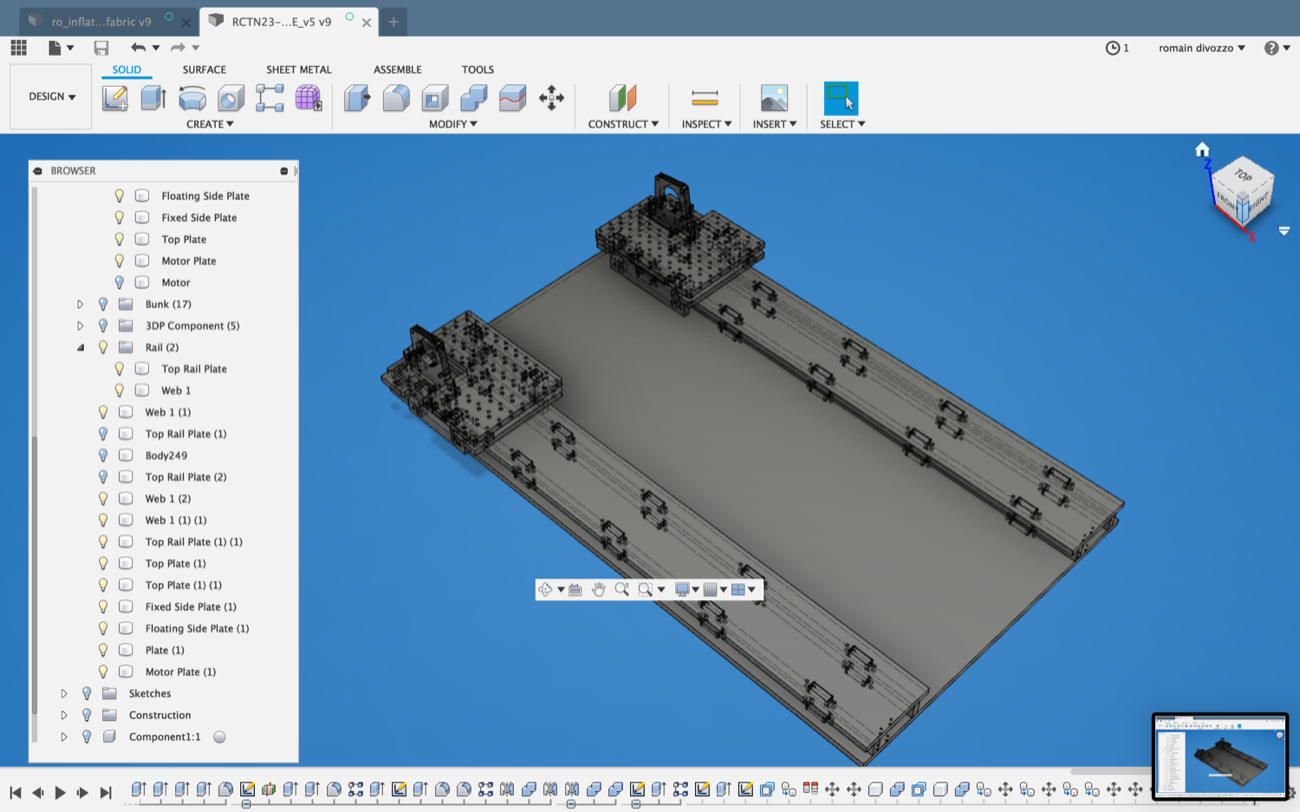
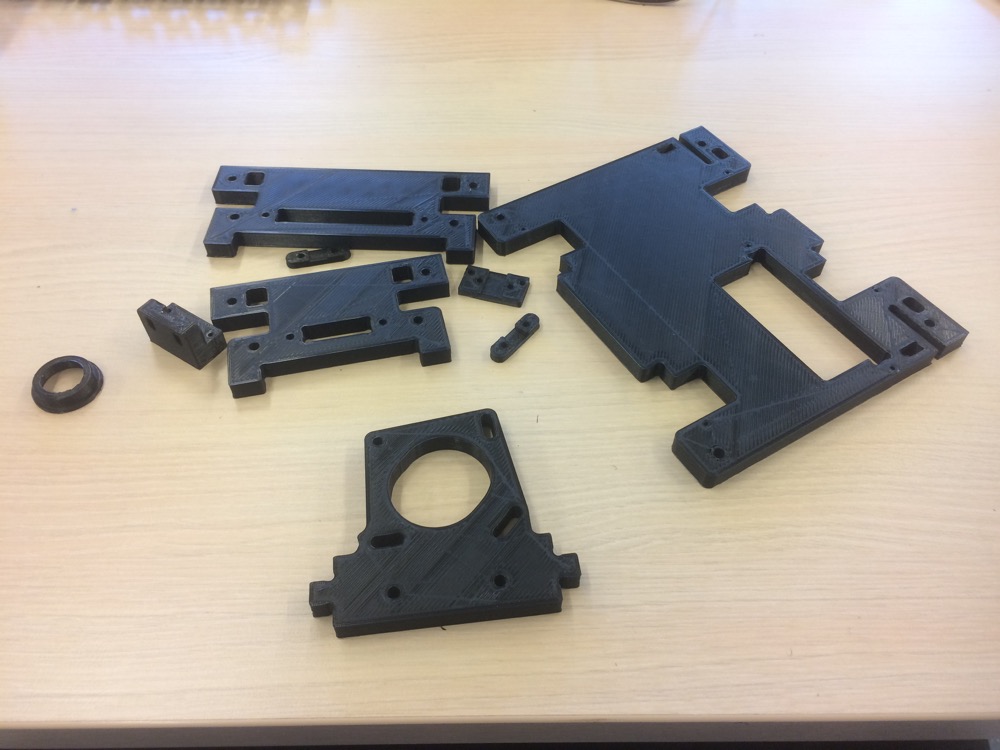
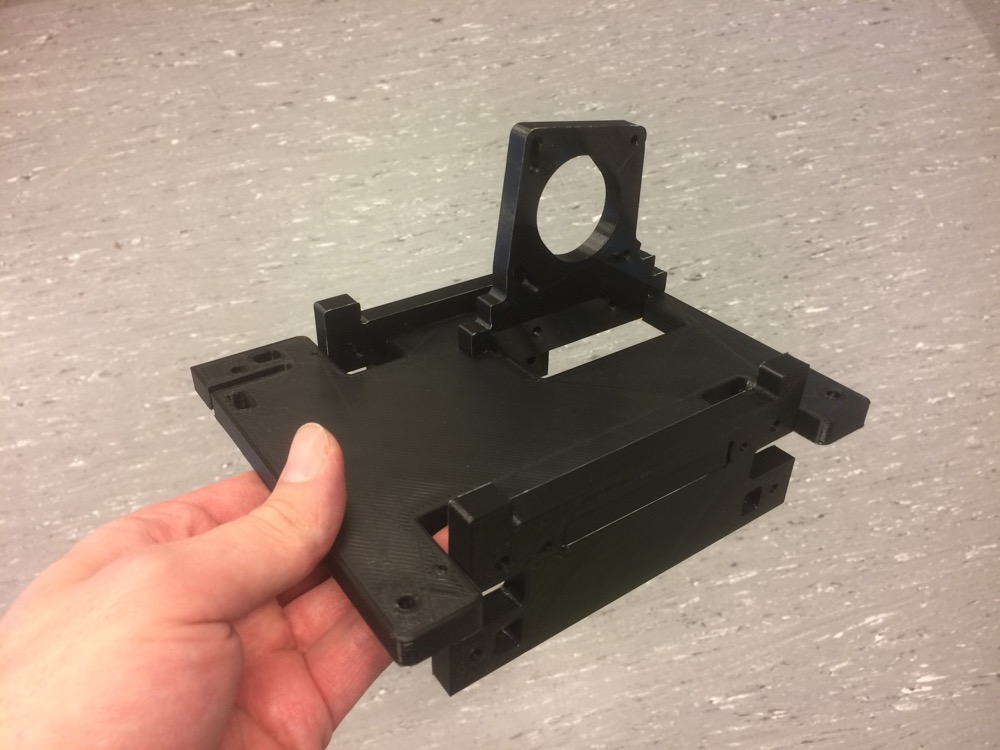
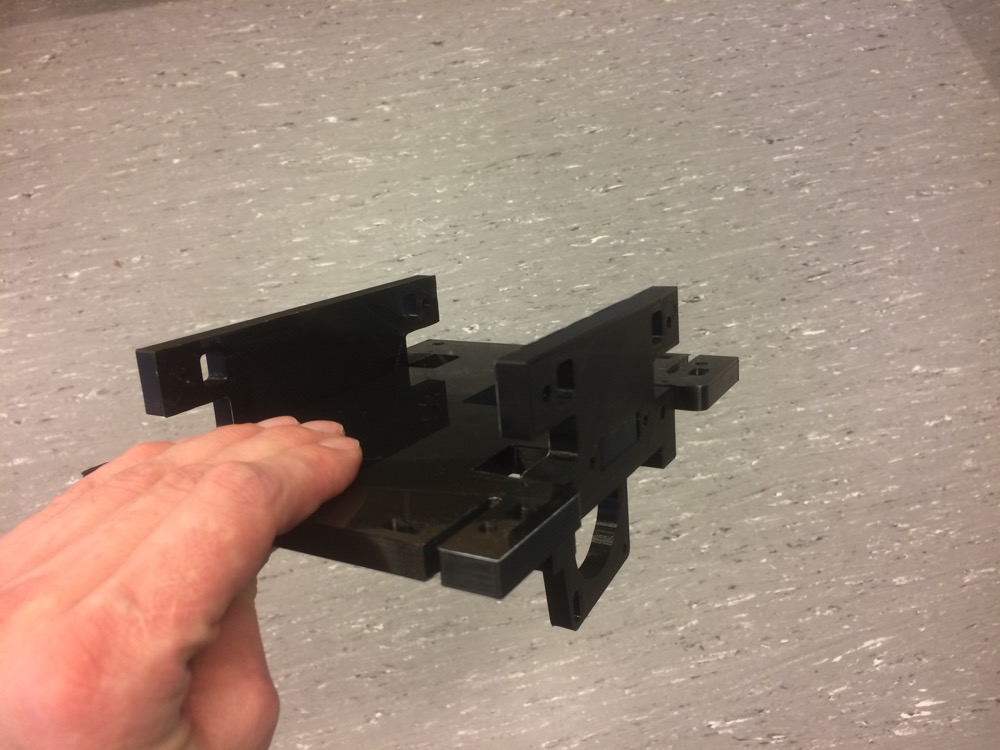
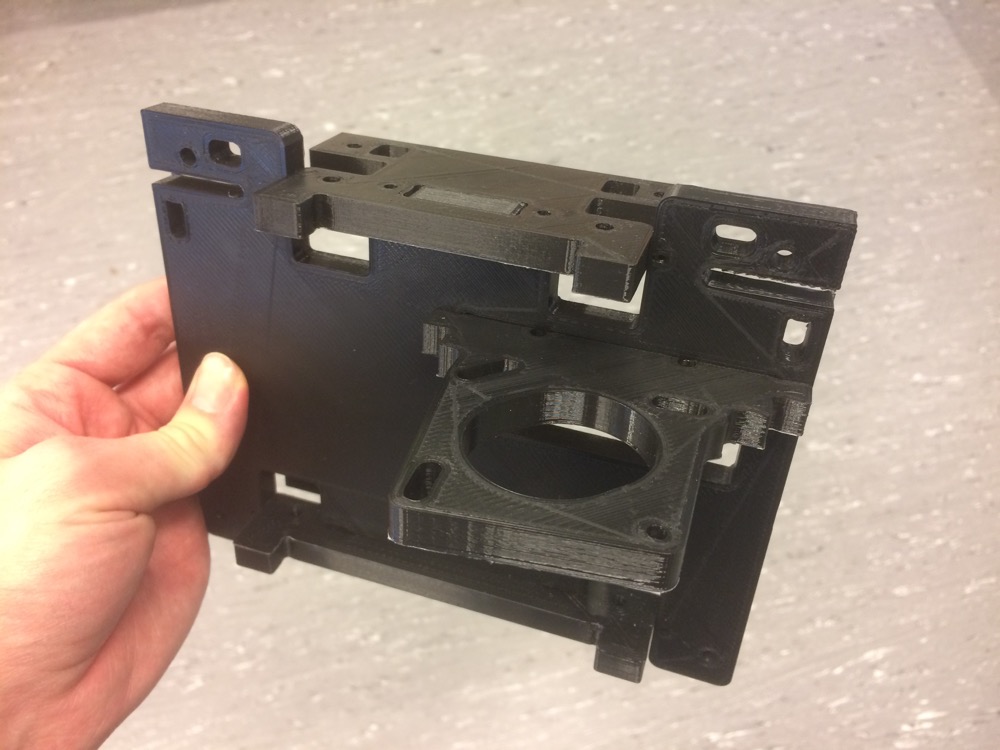
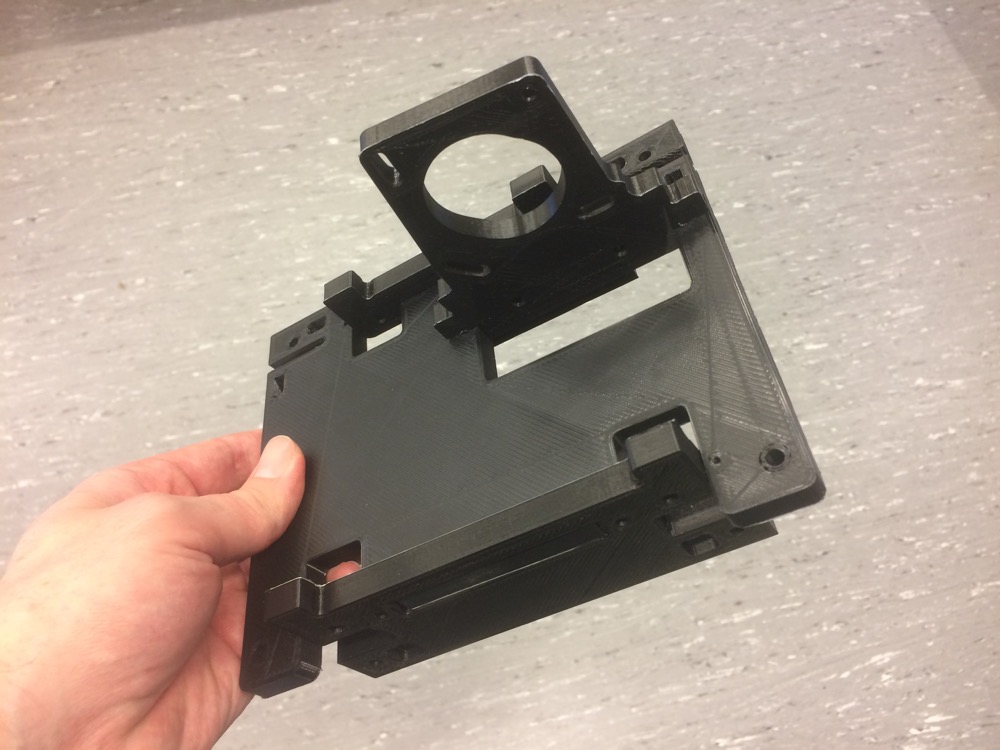
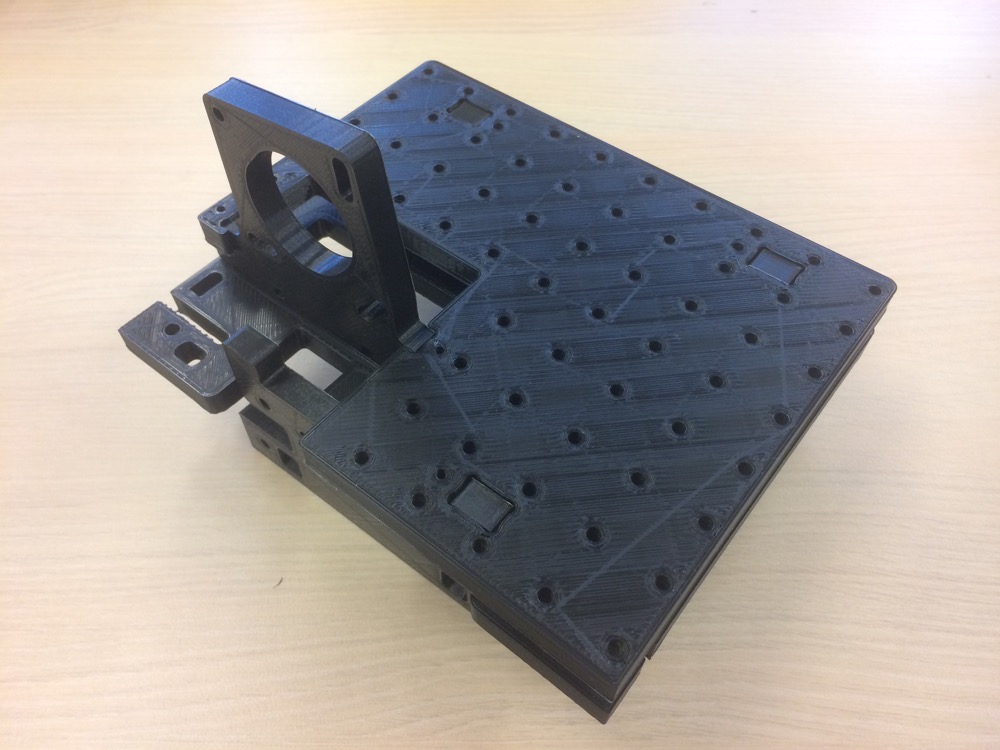
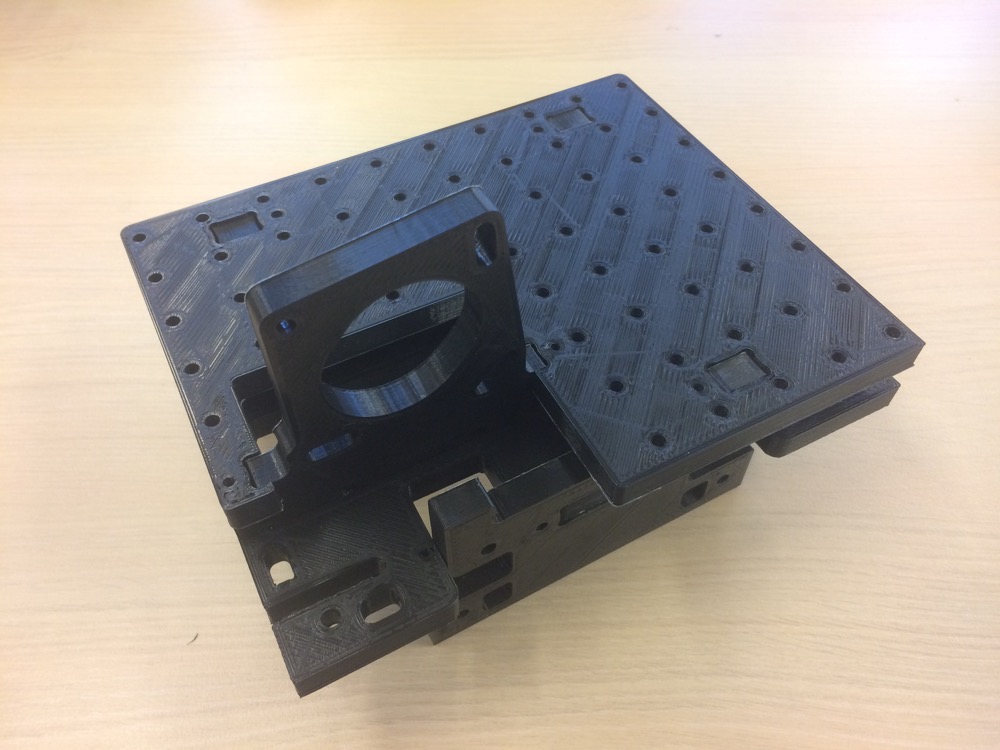
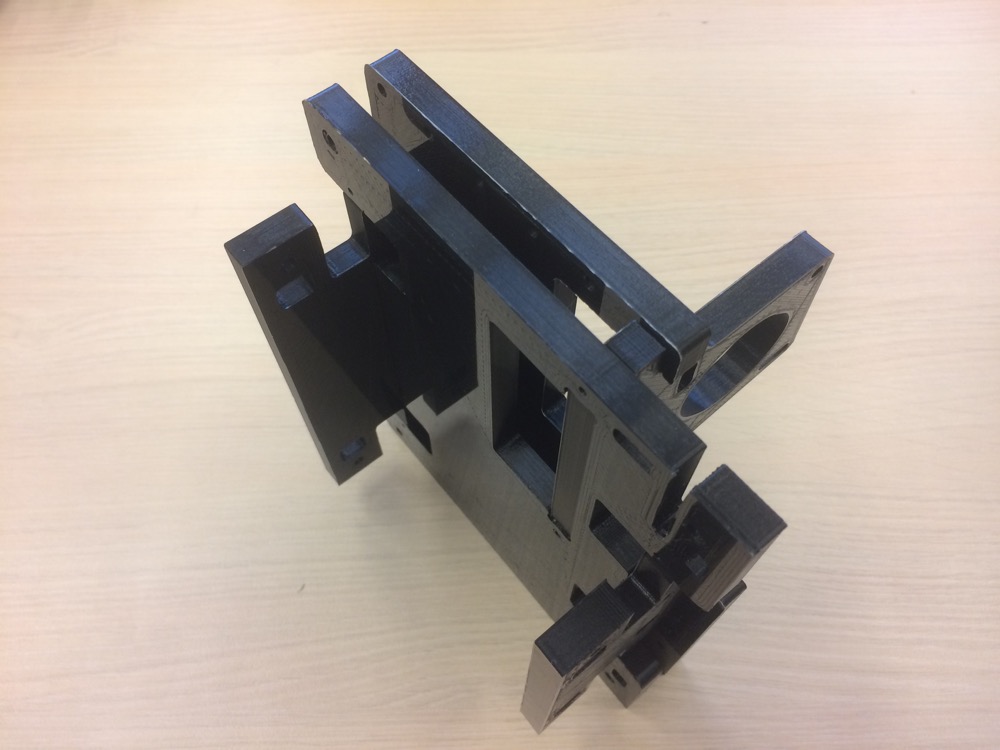
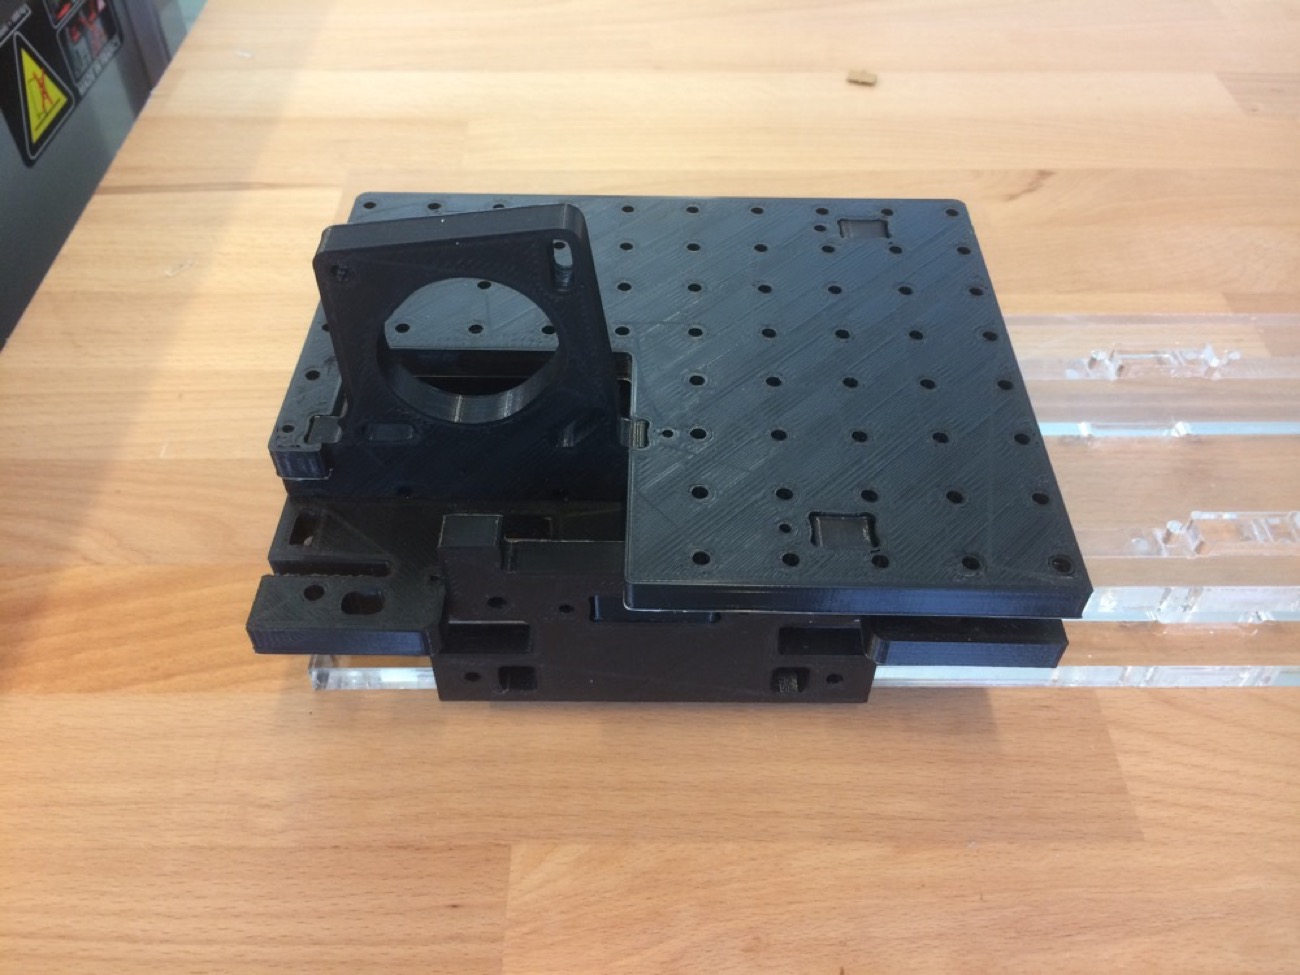
2 | Making a Film Applicator from Jake Read’s Machine Gantry (In process) |
| Film Applicator Design |
Film Applicator Design |
Film Applicator Design |
 |
 |
 |
| Film Applicator Design |
Film Applicator Design |
Film Applicator Design |
 |
 |
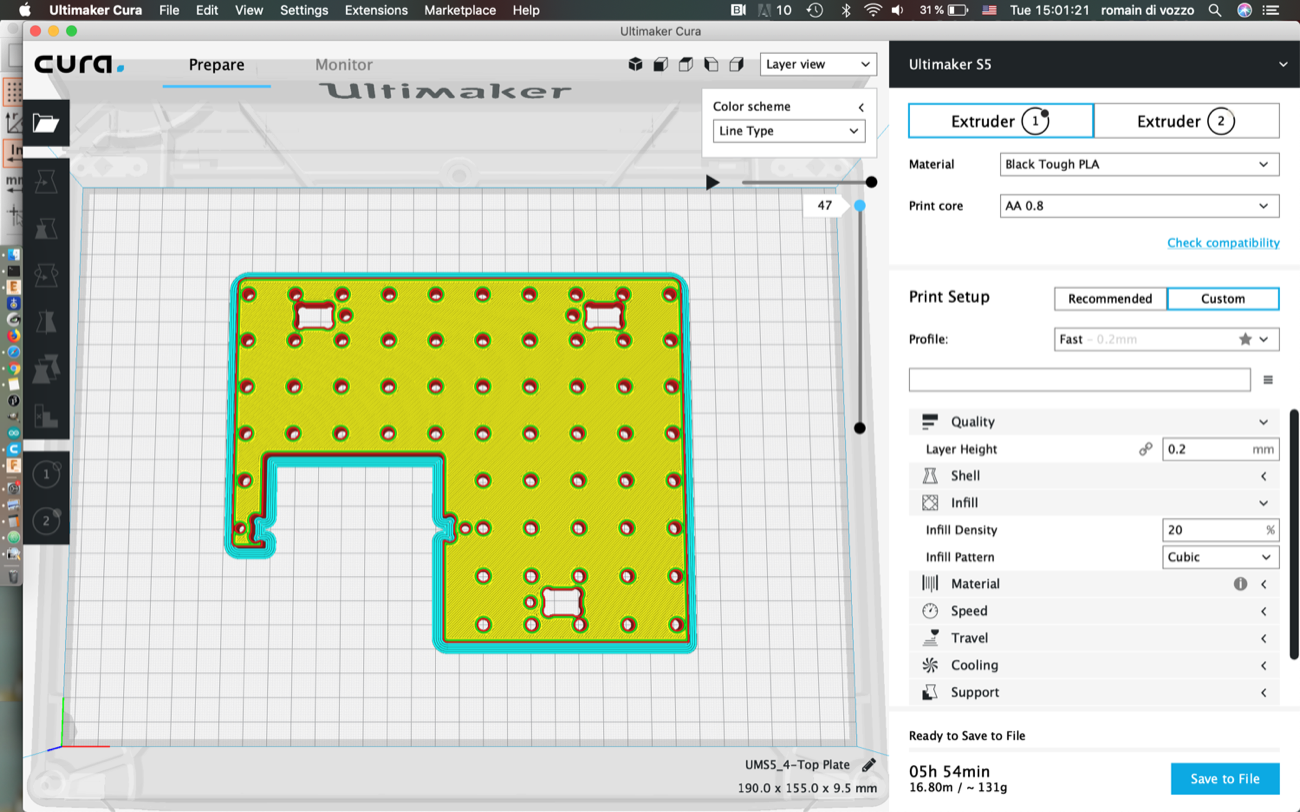 |
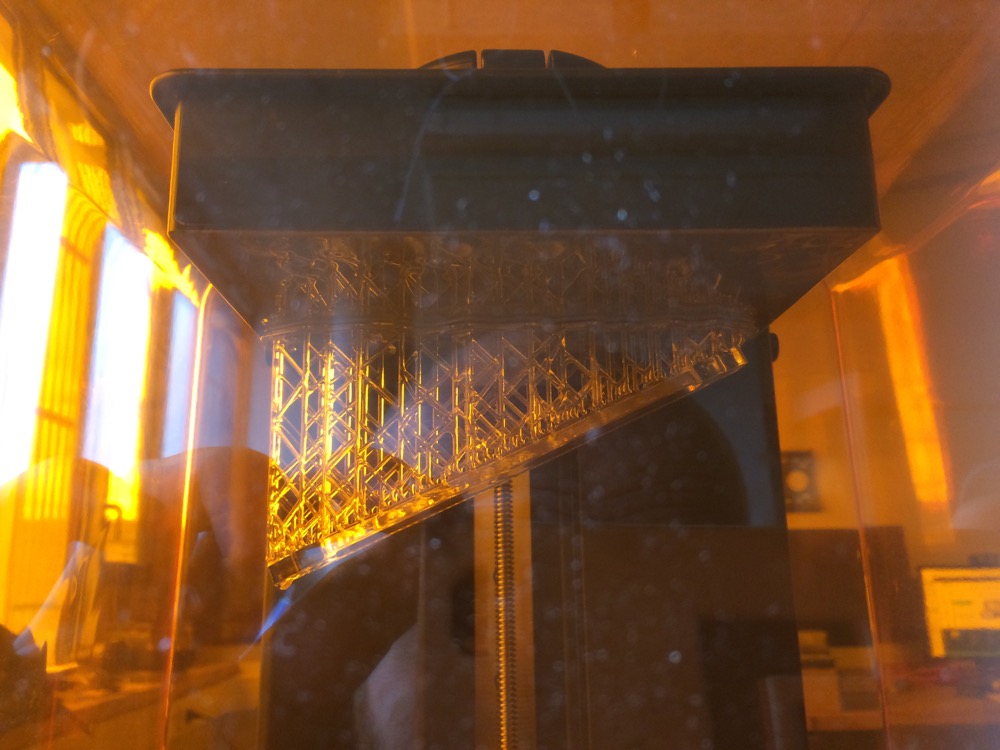
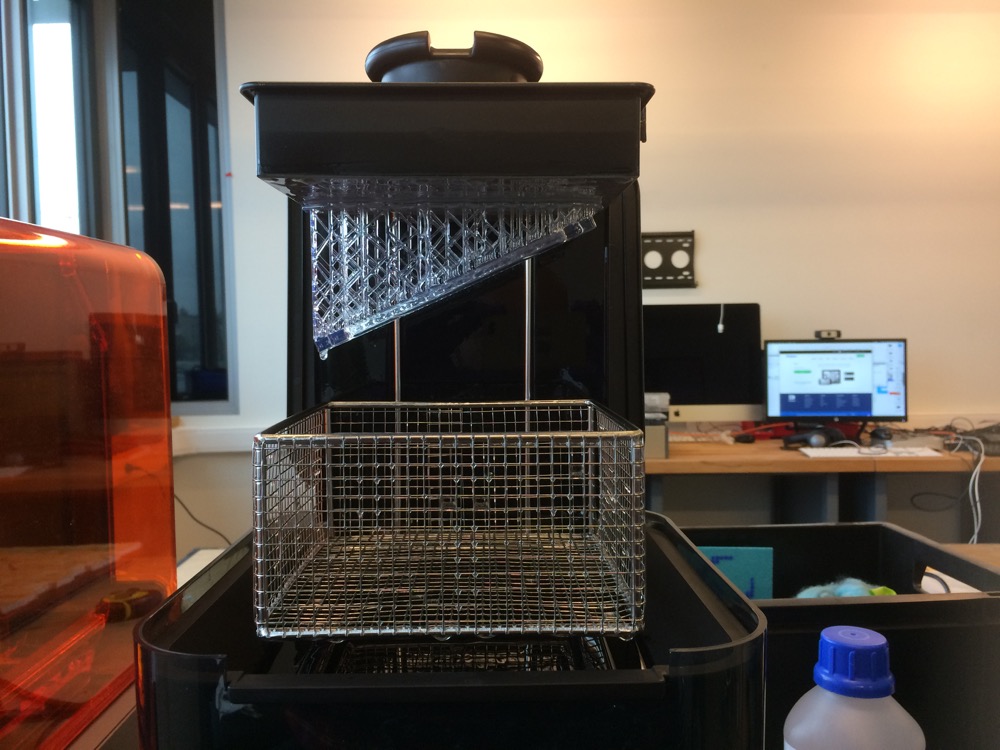
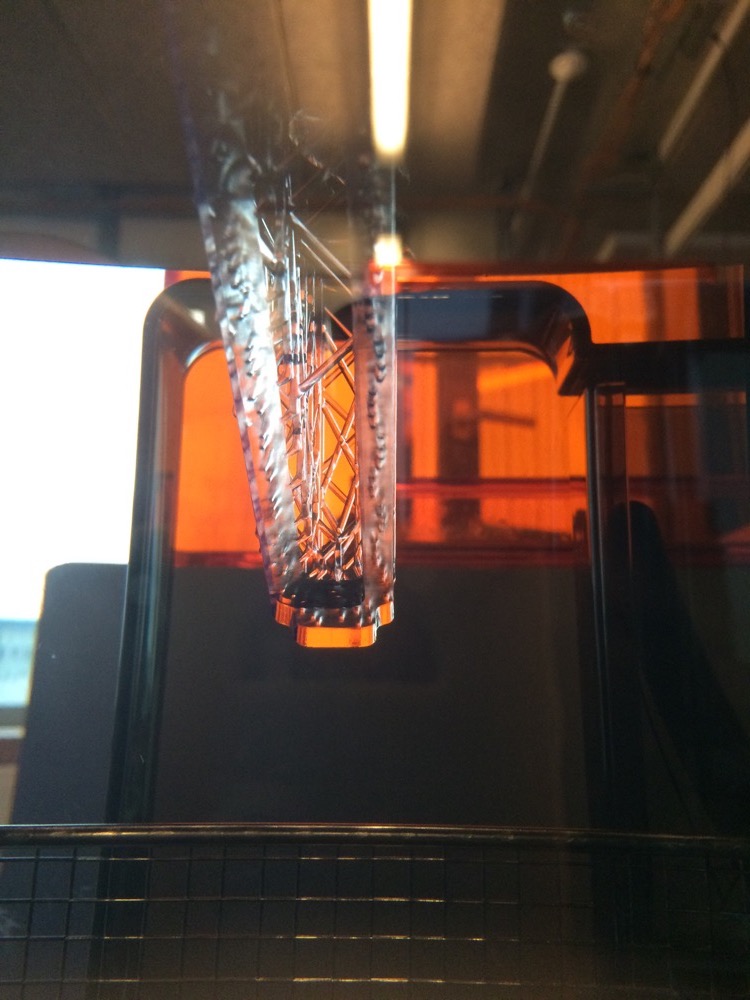
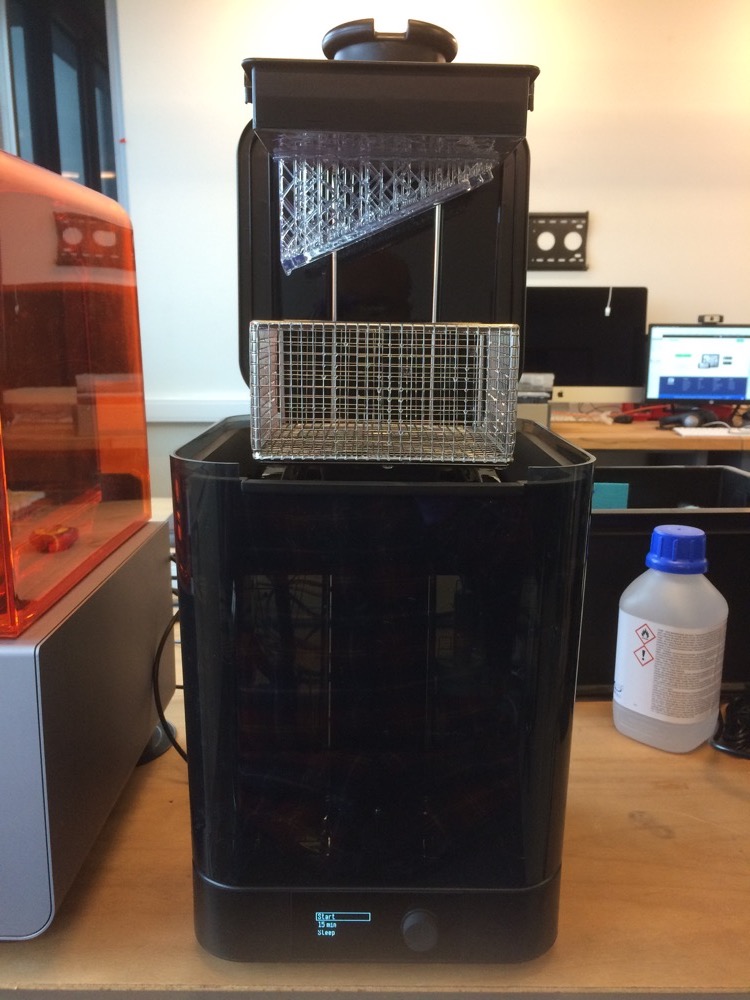
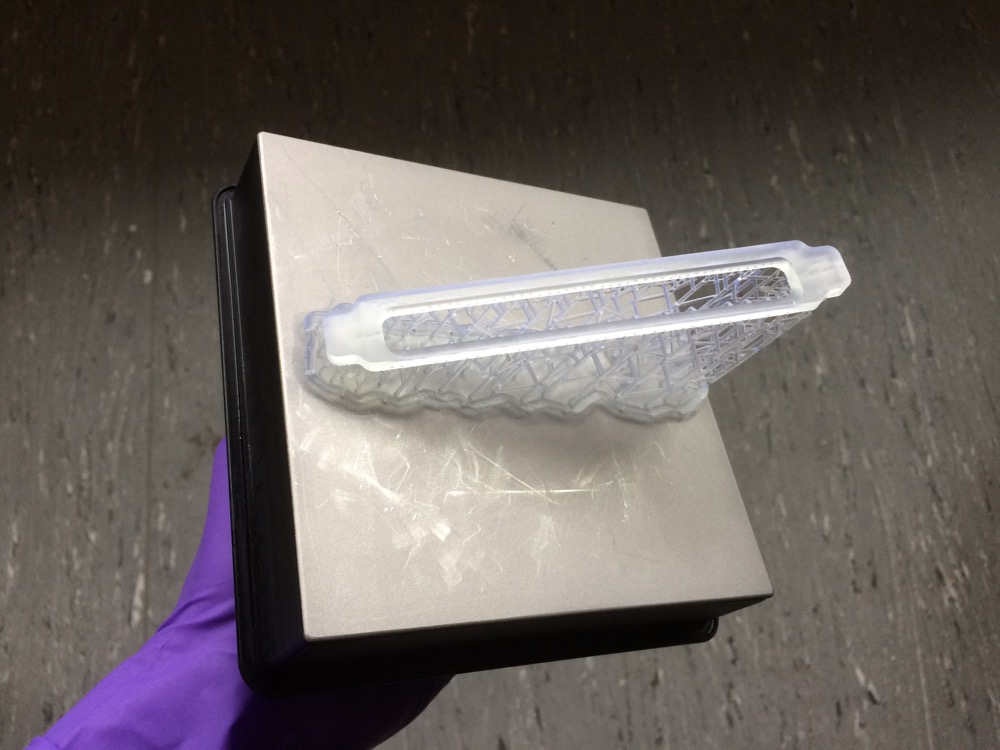
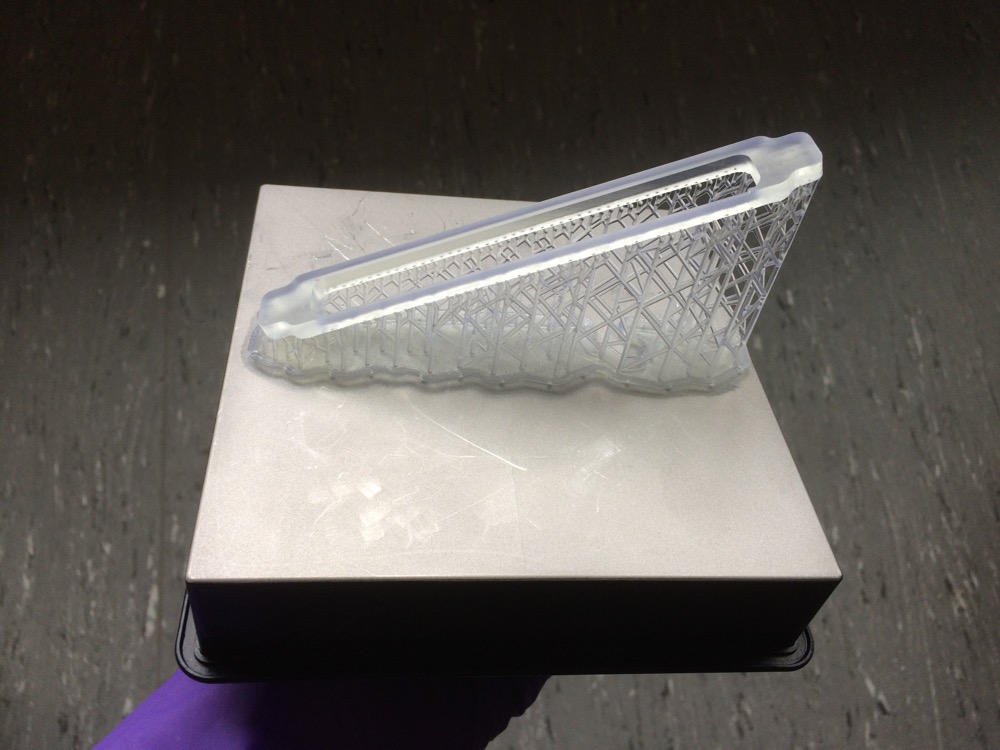
This is printed with ToughPLA, with 0.8mm walls. It came out nicely since it is press-fit (parts stay tight together without glue or other help than notches).
| 3D Printing Gantry |
3D Printing Gantry |
3D Printing Gantry |
 |
 |
 |
| 3D Printing Gantry |
3D Printing Gantry |
3D Printing Gantry |
 |
 |
 |
| 3D Printing Gantry |
3D Printing Gantry |
3D Printing Gantry |
 |
 |
 |
| 3D Printing Gantry |
3D Printing Gantry |
 |
 |
| 3D Printing Gantry |
3D Printing Gantry |
 |
 |
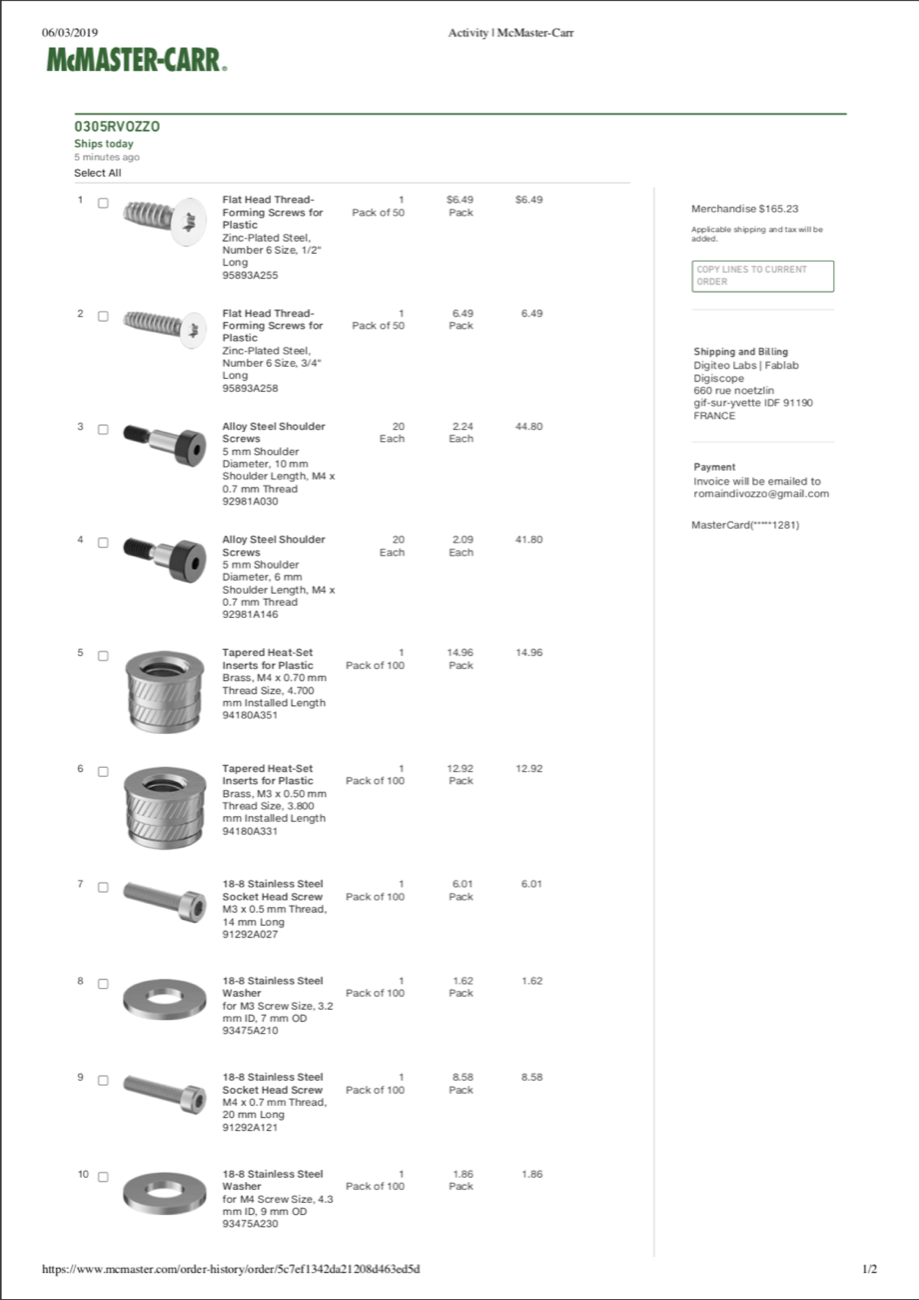
Sourcing from France the same parts Jake has at CBA/MIT is complex. Doesn’t even seem doable for some of them…or I haven’t been lucky while turning Google upsidedown to find them from a french website that would accept our university’s payment regulations. I search Conrad and RS and more. No success except for shims.
So I had to buy them myself from McMaster…bad, very bad for the environment cause those parts will ship to me (in Paris) from Illinois/USA.
So here we go with a screenshot of the parts. I expect to pay a nice amount of extra taxes given the origine of the package.
| 3D Printing Gantry |
3D Printing Gantry |
 |
 |
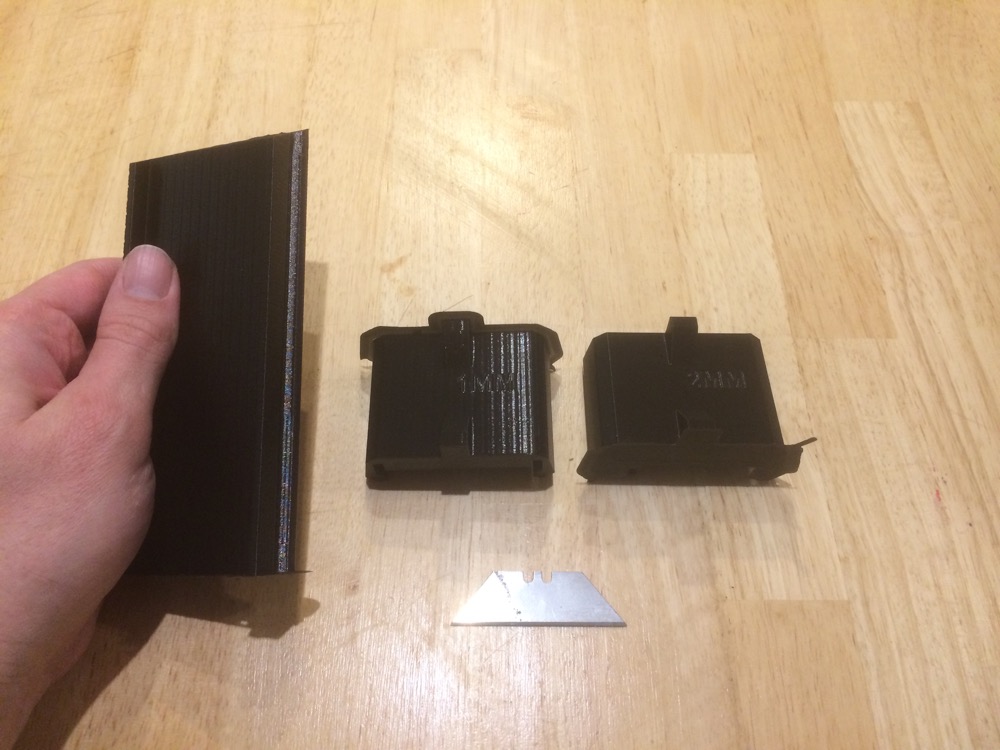
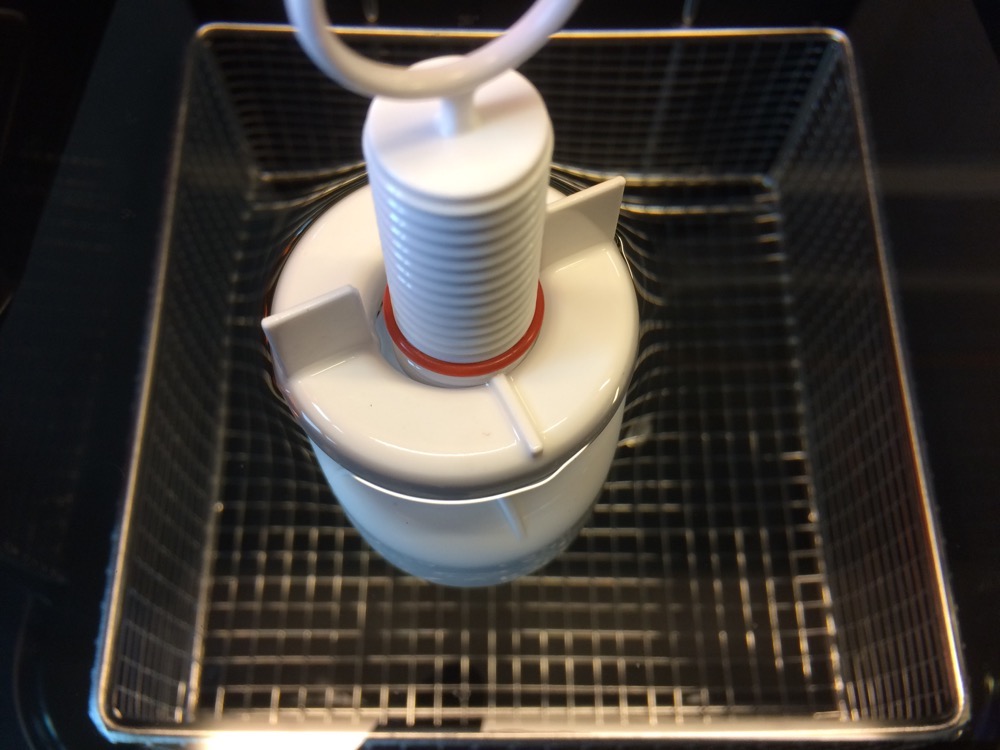
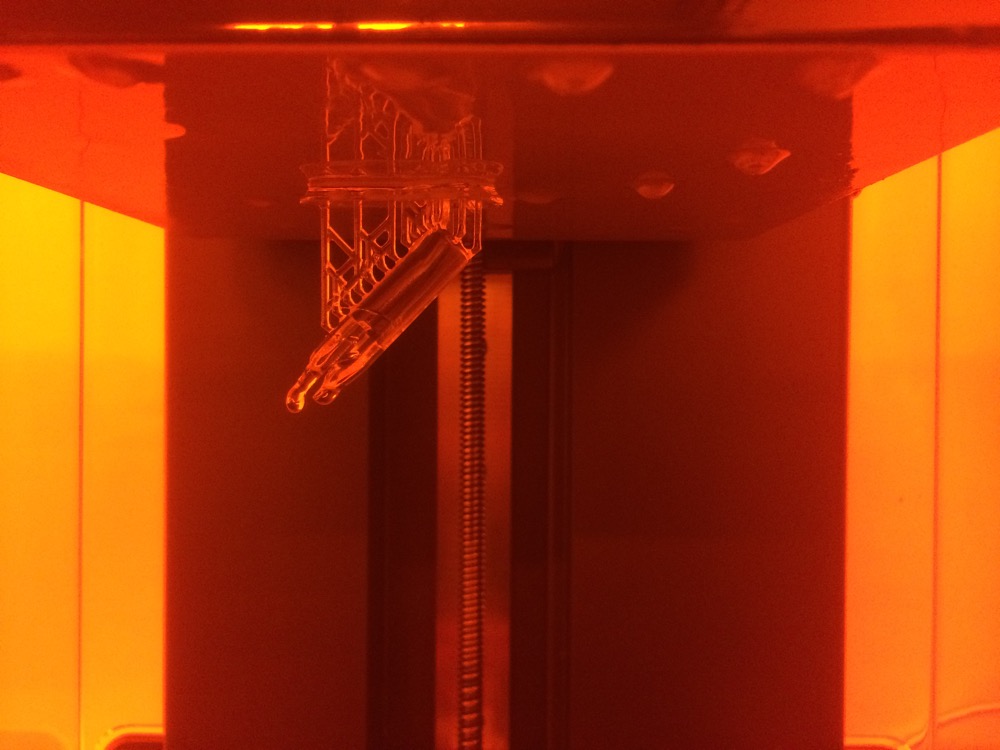
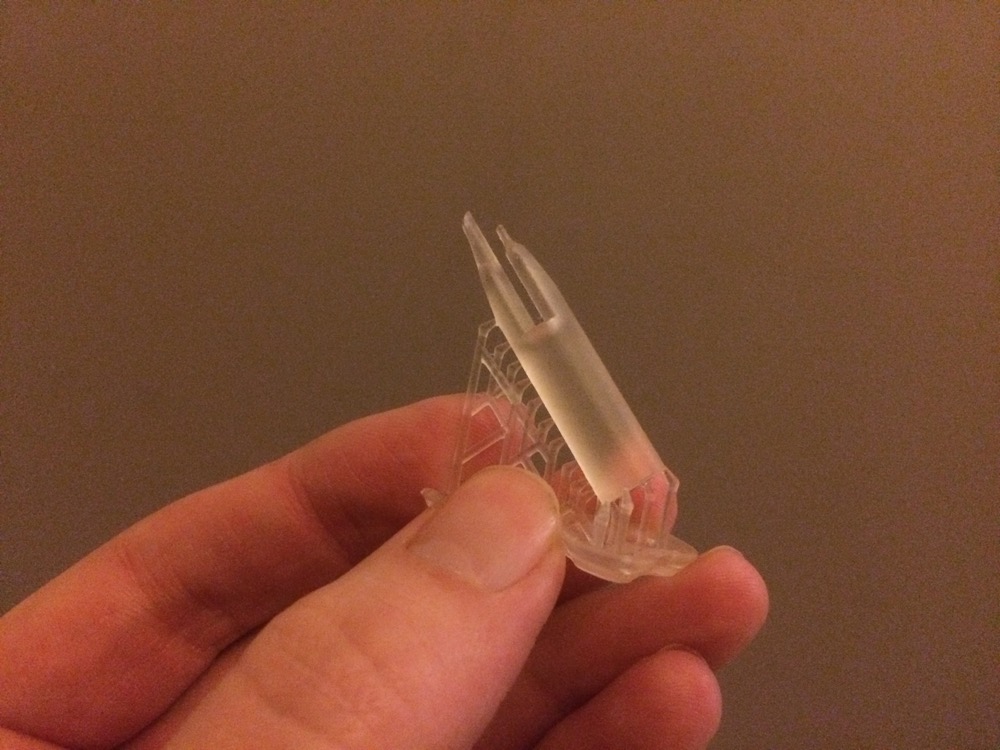
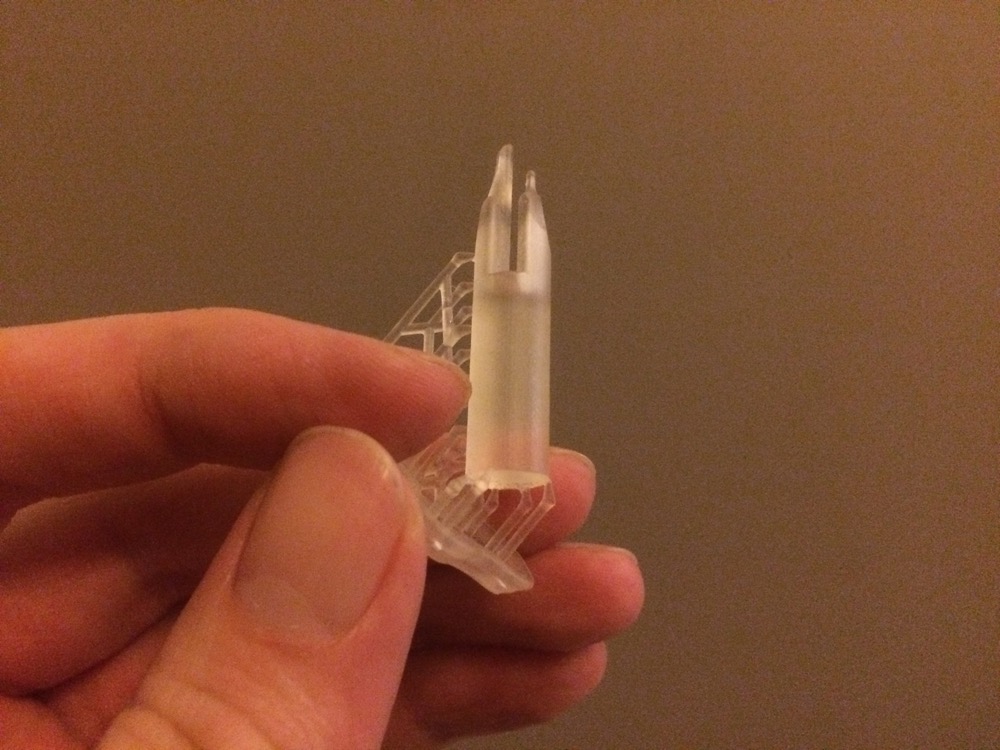
I have redrawn and 3D printed a version of a manual film applicator you can buy as well to get a better understanding of how to design one.
| Film Applicator |
Film Applicator |
Film Applicator |
Film Applicator |
 |
 |
 |
 |
| Film Applicator |
Film Applicator |
 |
 |
| Film Applicator |
Film Applicator |
Film Applicator |
 |
 |
 |
Film Applicator (PUT VIDEO INSTEAD)
- |

| Film Applicator |
Film Applicator |
Film Applicator |
Film Applicator |
Film Applicator |
Film Applicator |
 |
 |
 |
 |
 |
 |
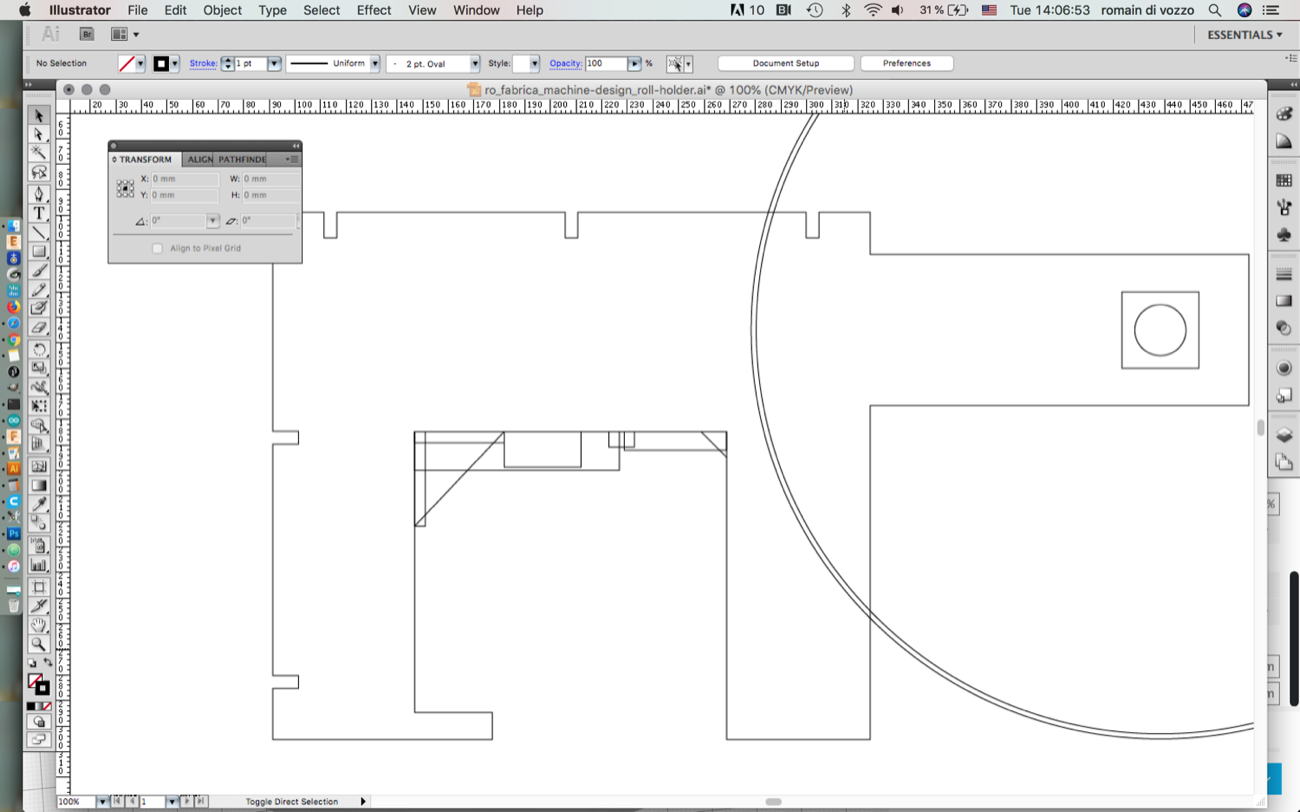
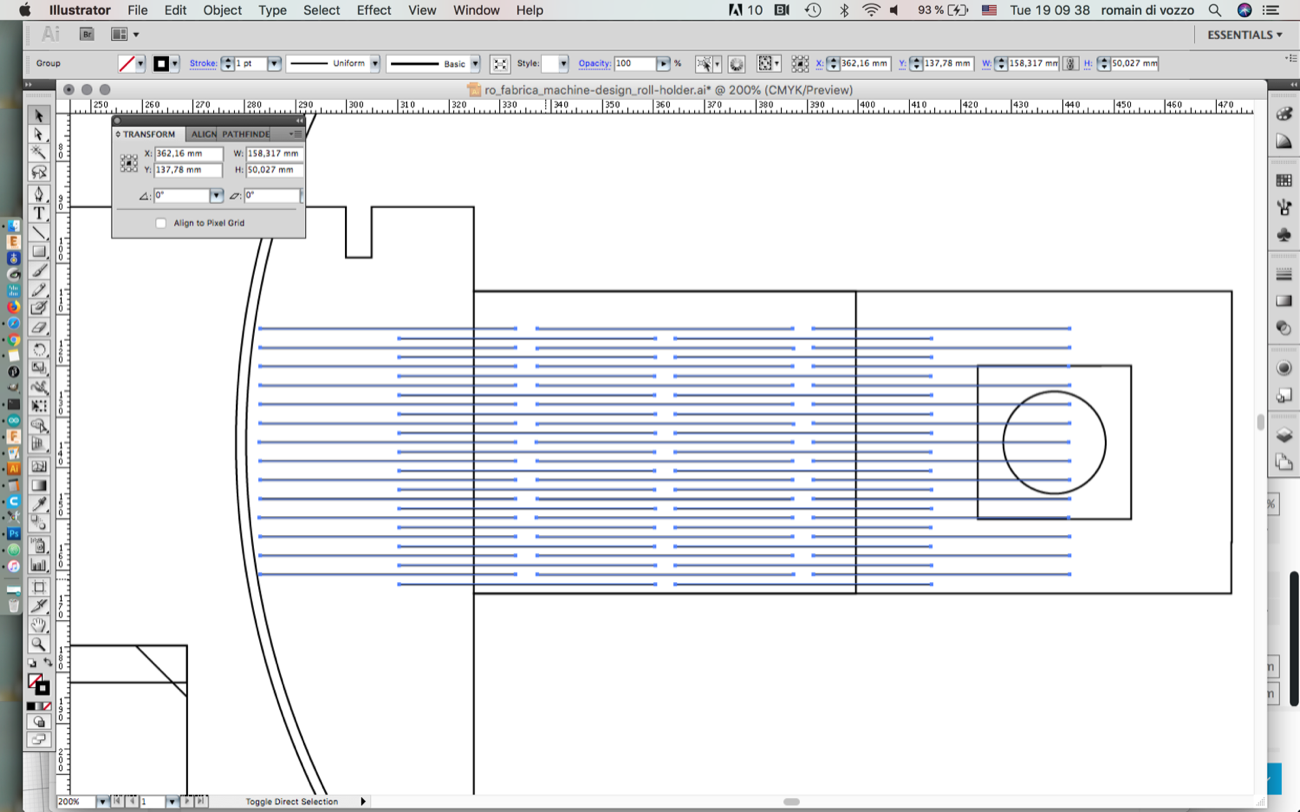
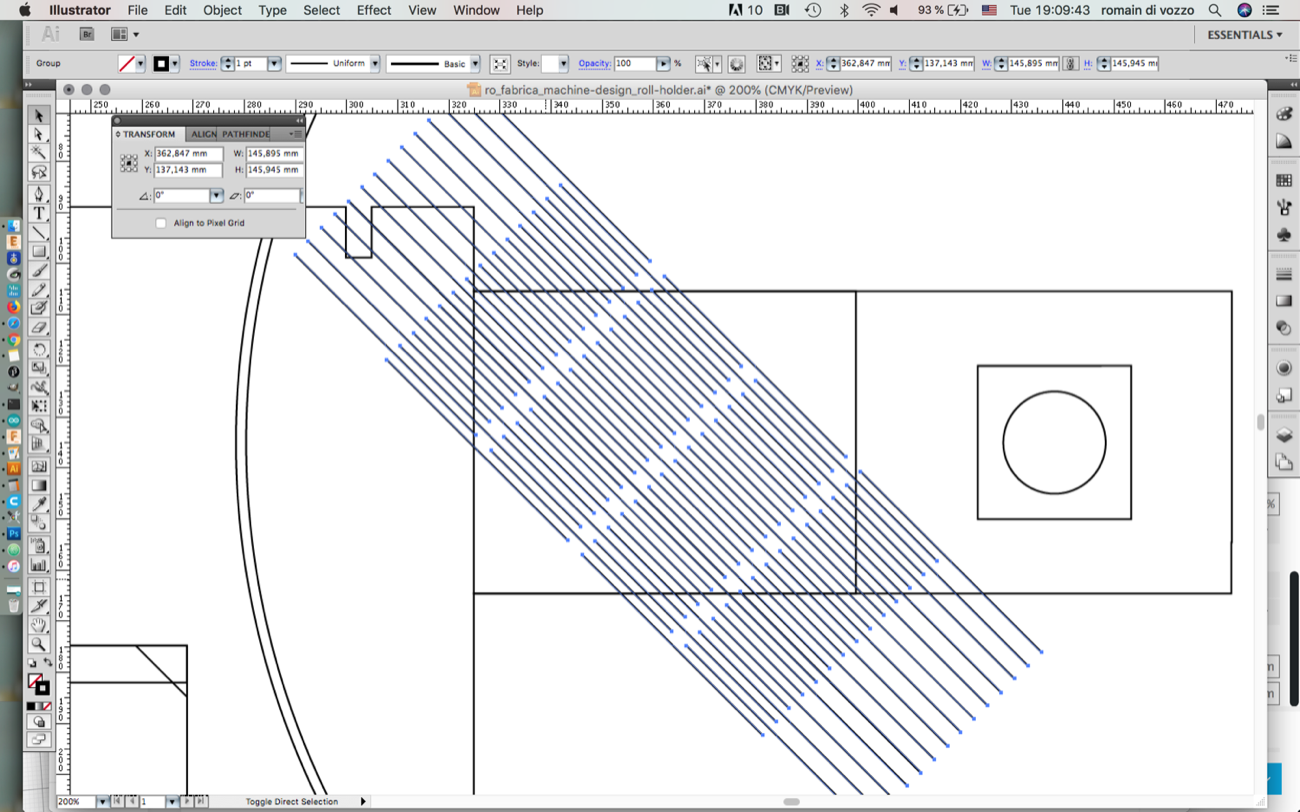
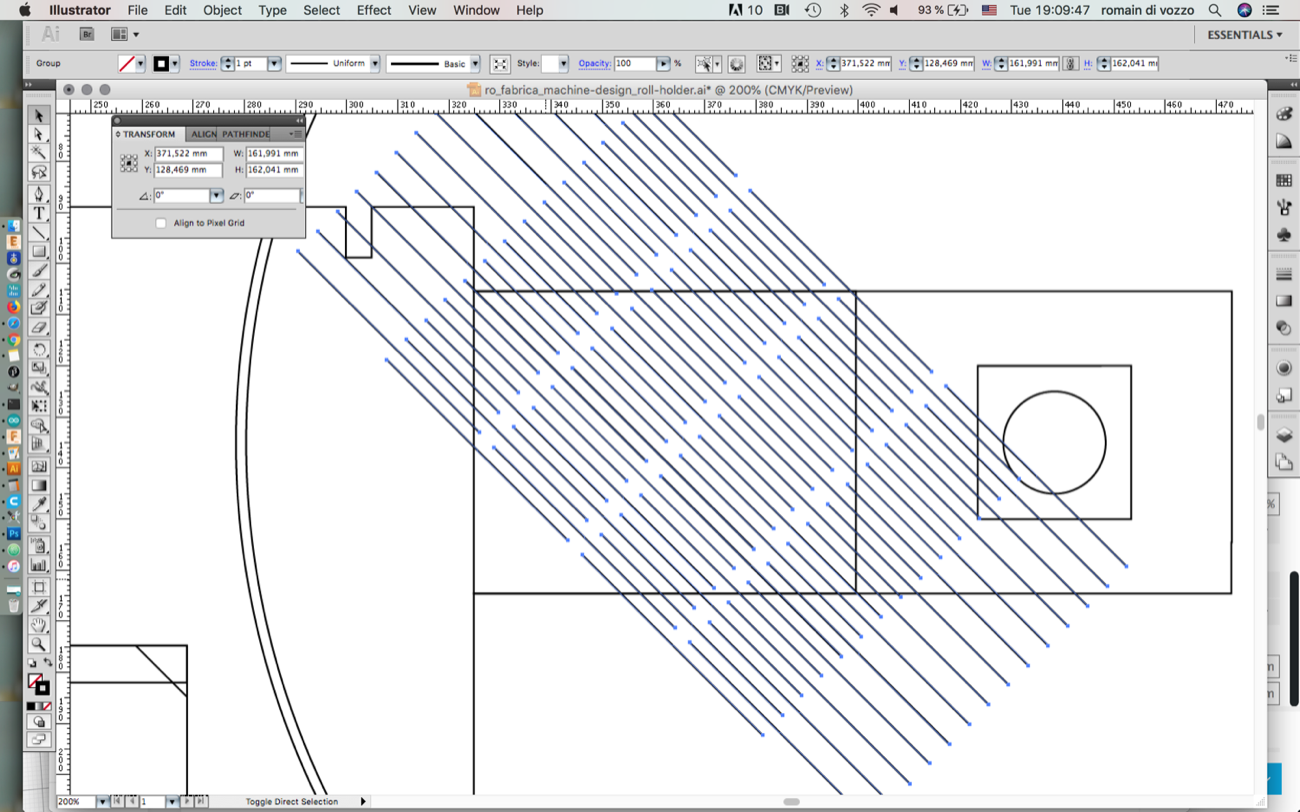
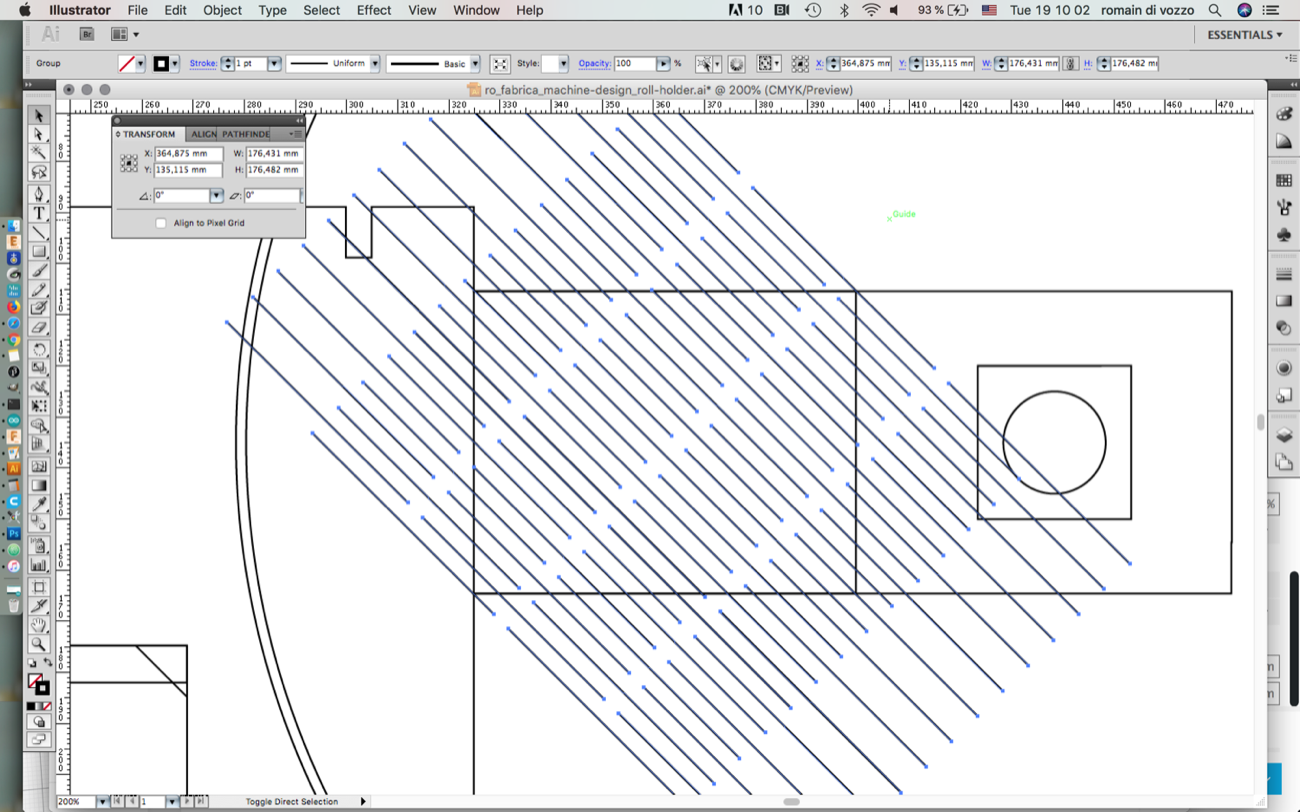
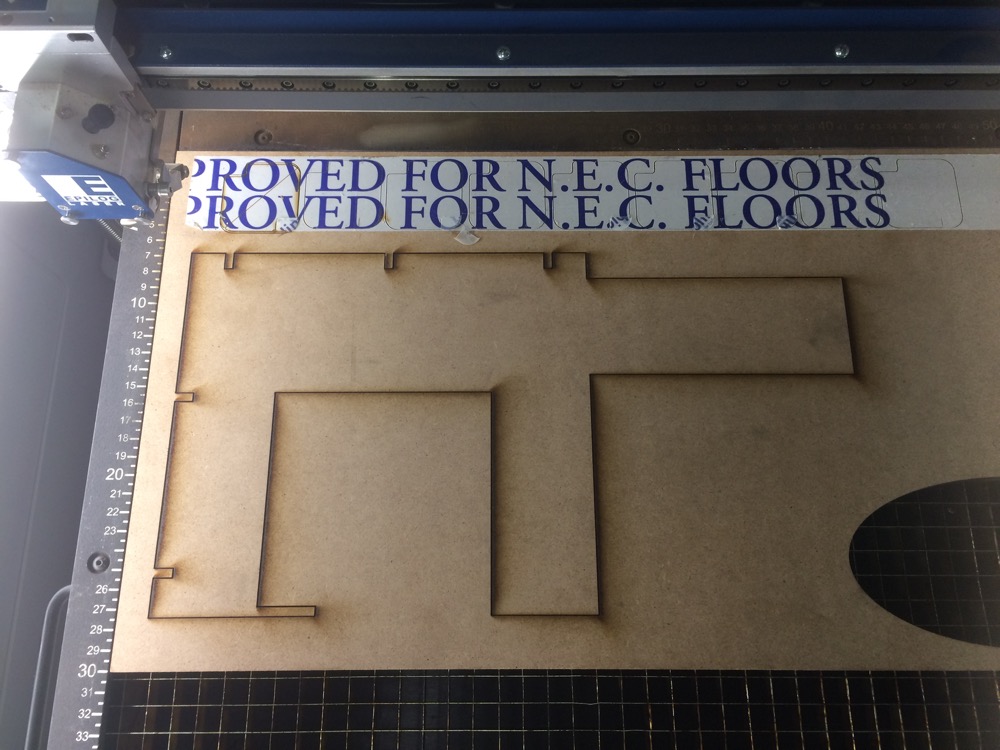
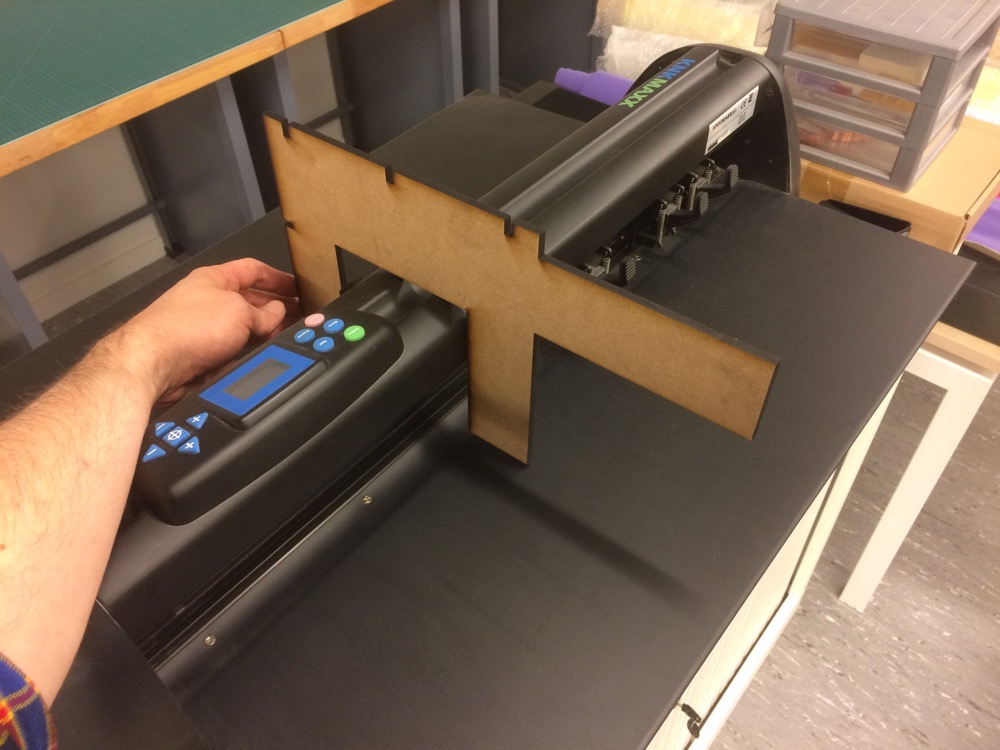
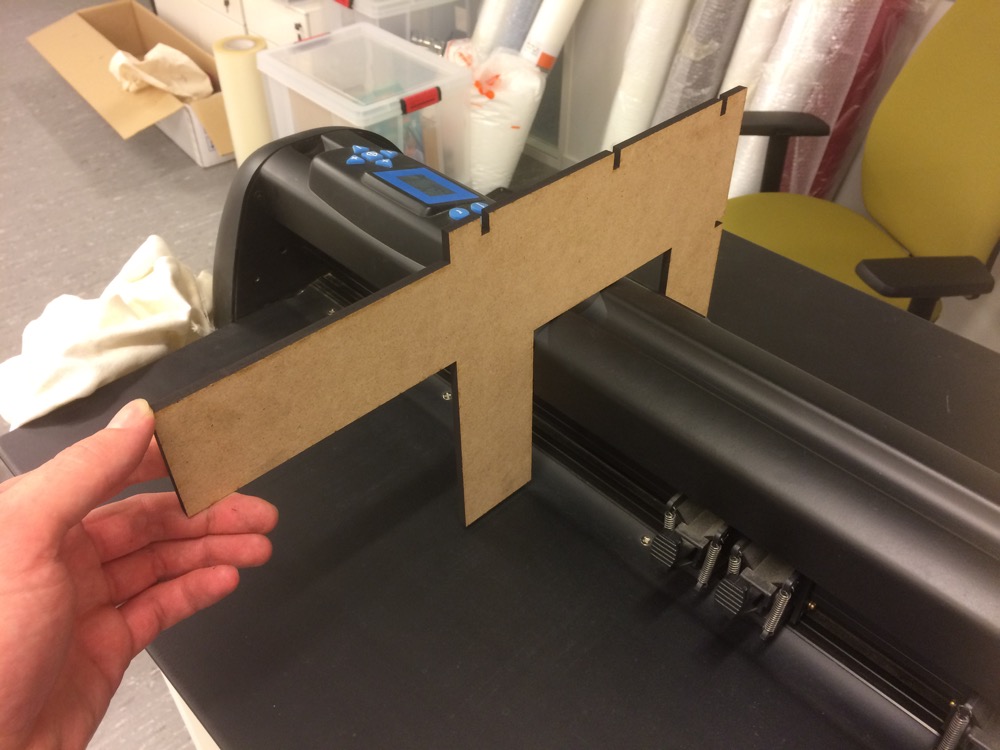
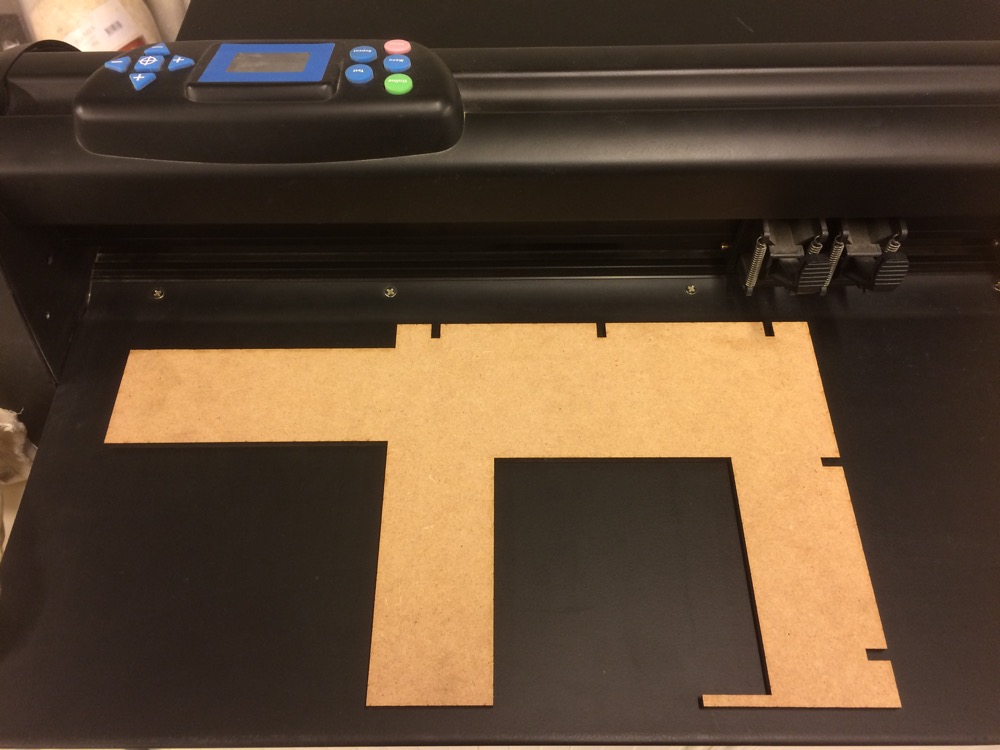
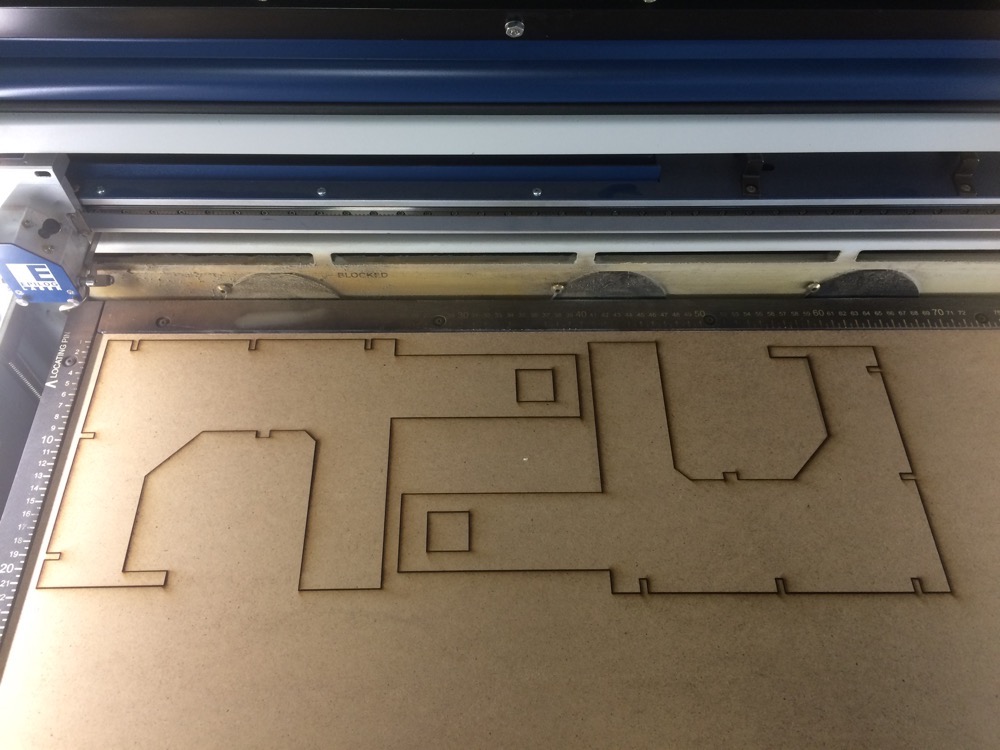
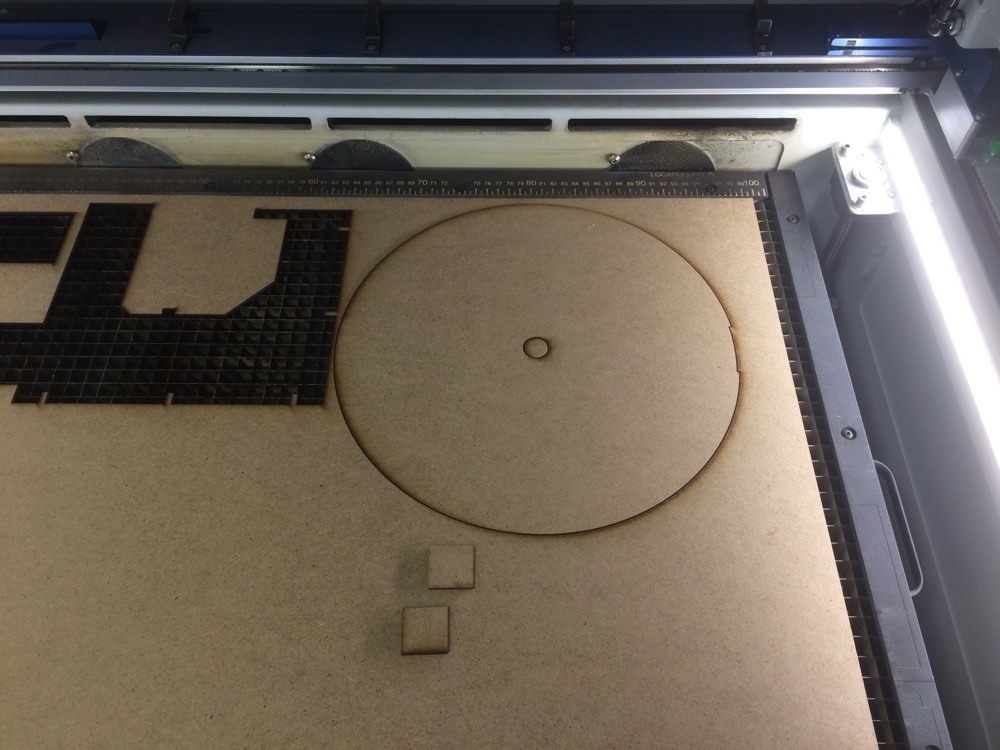
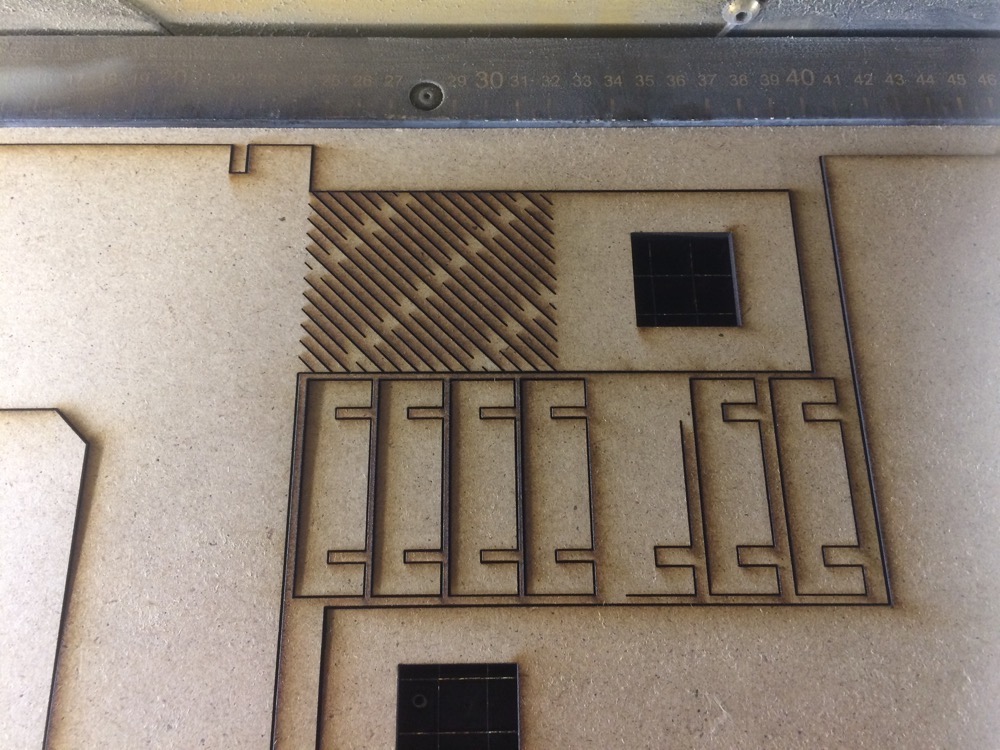
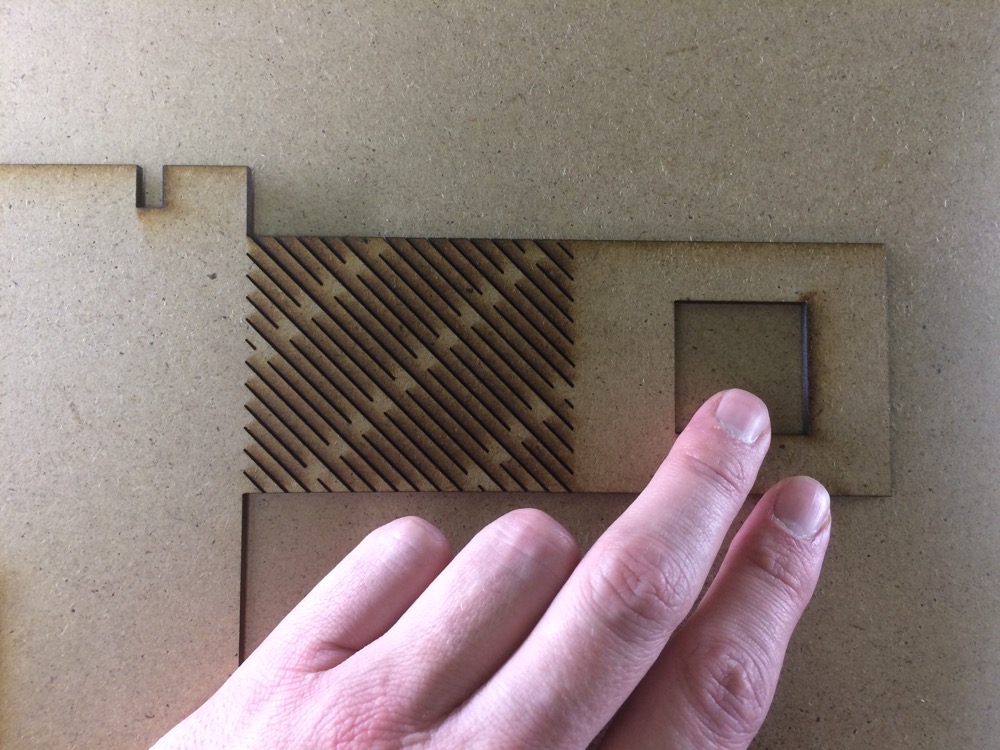
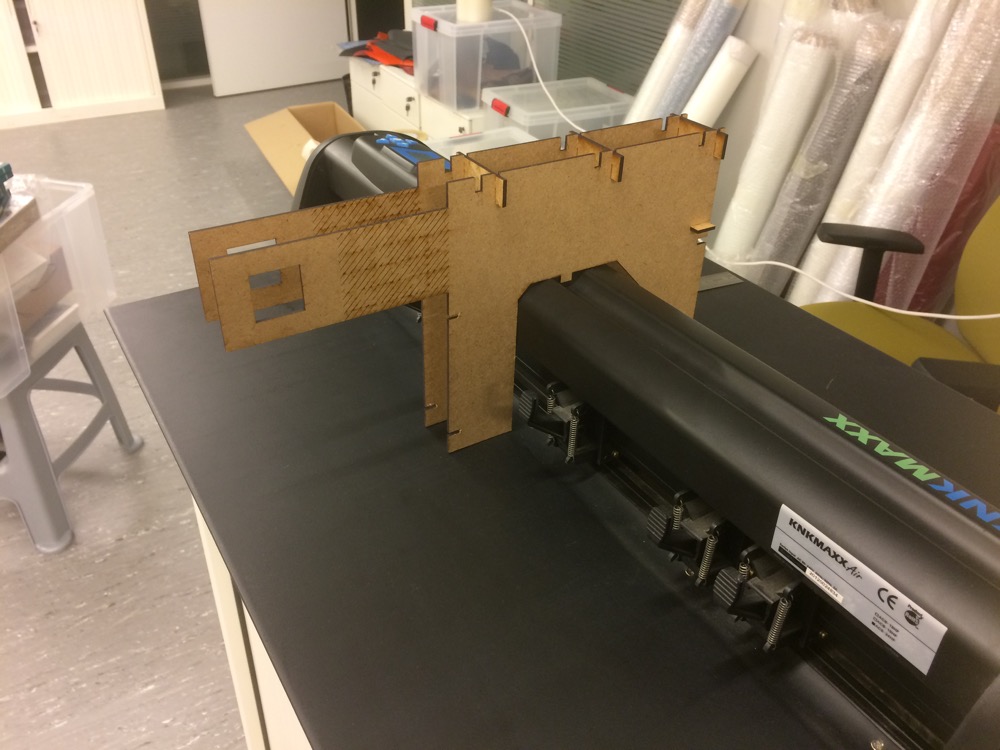
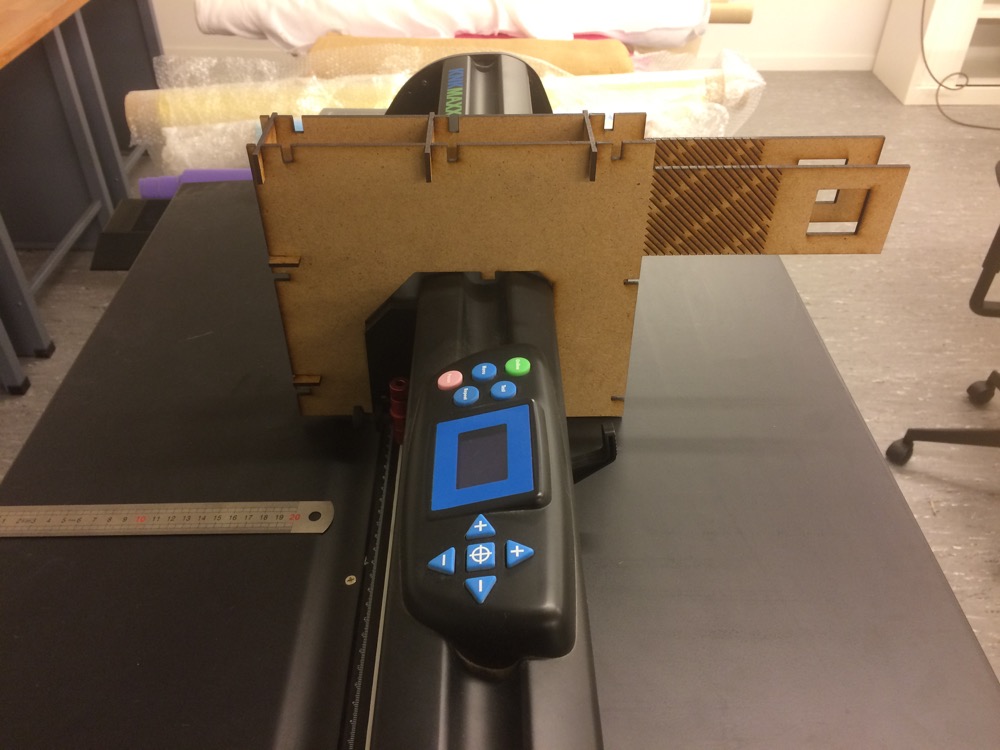
3 | Laser-cutting a frame for the fabric-printer (vinyl-cutter hack) (In stand by) |
| Fabric Printer Frame |
Fabric Printer Frame |
 |
 |
| Fabric Printer Frame |
Fabric Printer Frame |
 |
 |
| Fabric Printer Frame |
Fabric Printer Frame |
 |
 |
| Fabric Printer Frame |
Fabric Printer Frame |
 |
 |
| Fabric Printer Frame |
Fabric Printer Frame |
 |
 |
| Fabric Printer Frame |
Fabric Printer Frame |
 |
 |
| Fabric Printer Frame |
Fabric Printer Frame |
Fabric Printer Frame |
 |
 |
 |
| Fabric Printer Frame |
Fabric Printer Frame |
Fabric Printer Frame |
 |
 |
 |
| Fabric Printer Frame |
Fabric Printer Frame |
Fabric Printer Frame |
 |
 |
 |
| Fabric Printer Frame |
Fabric Printer Frame |
 |
 |
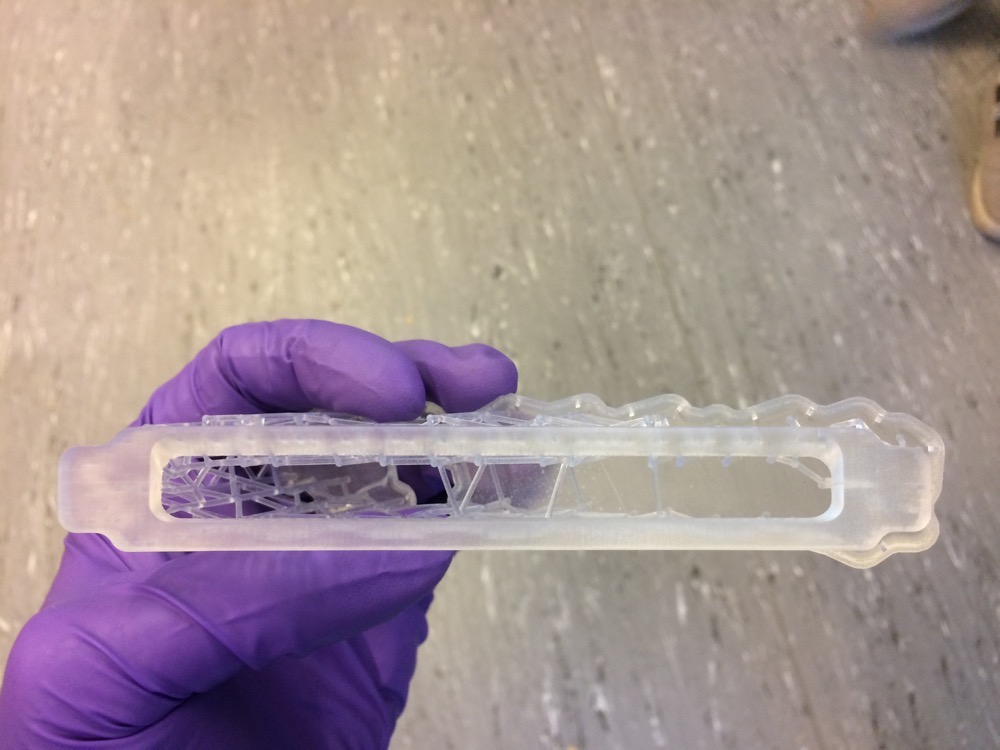
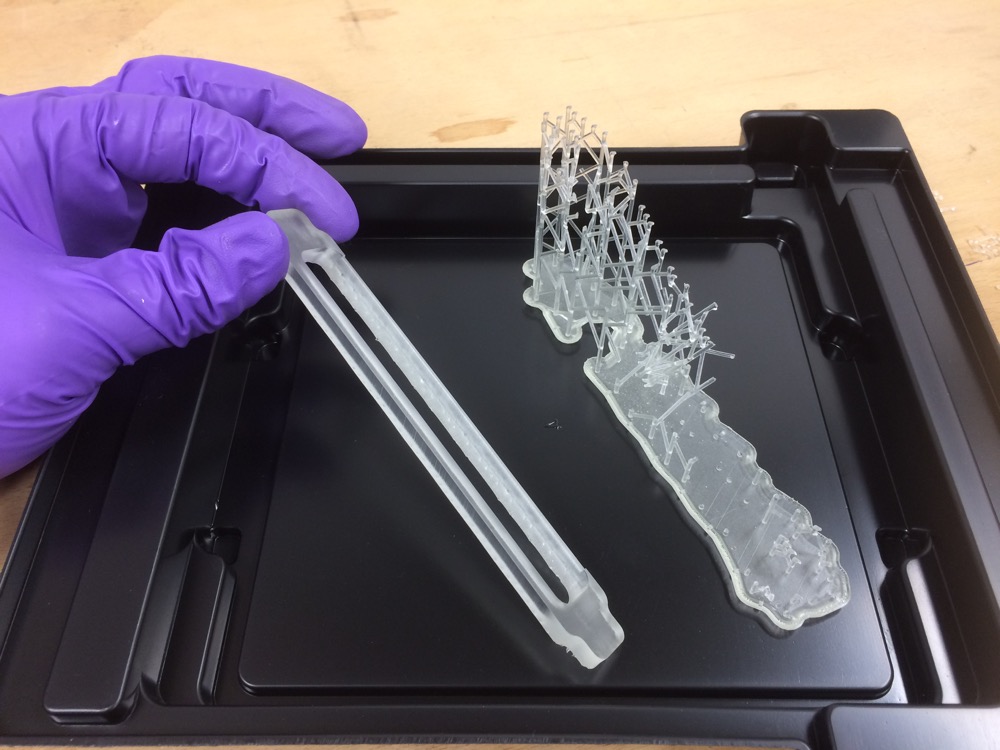
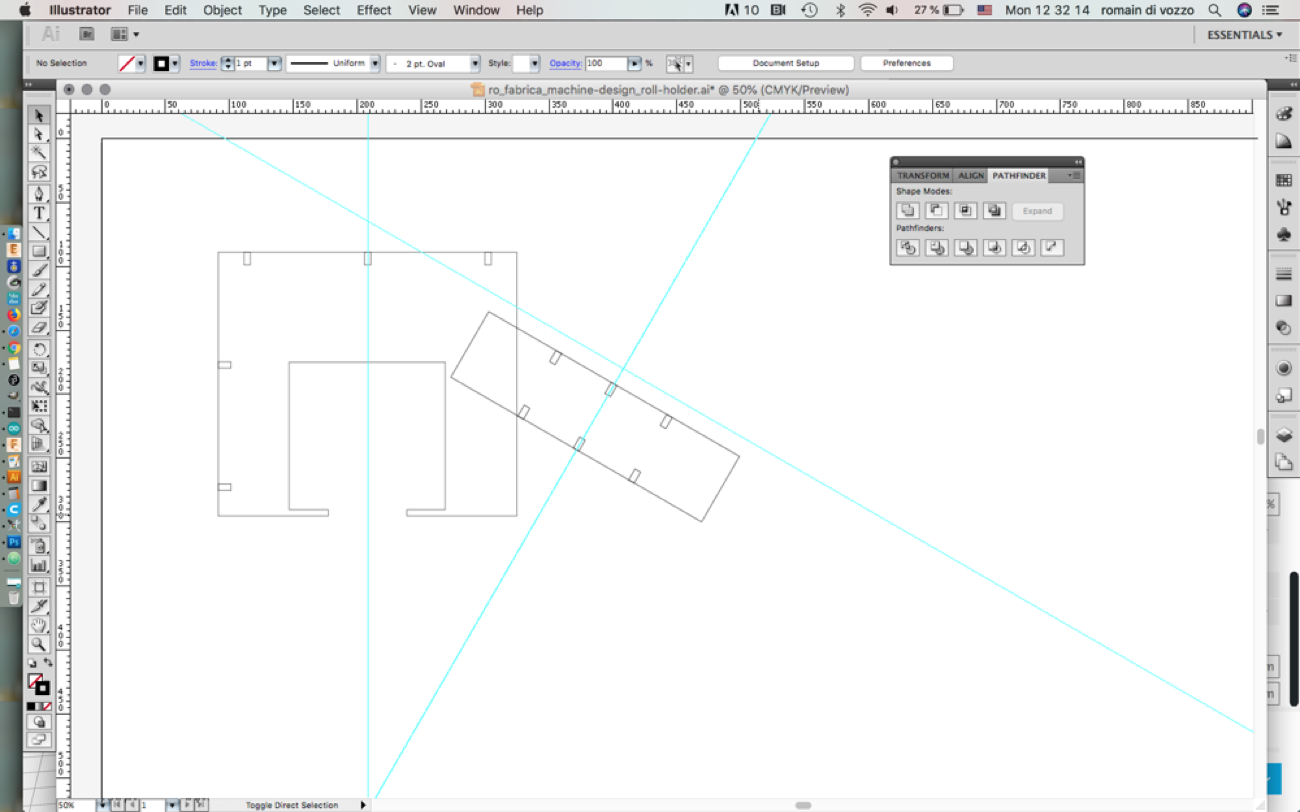
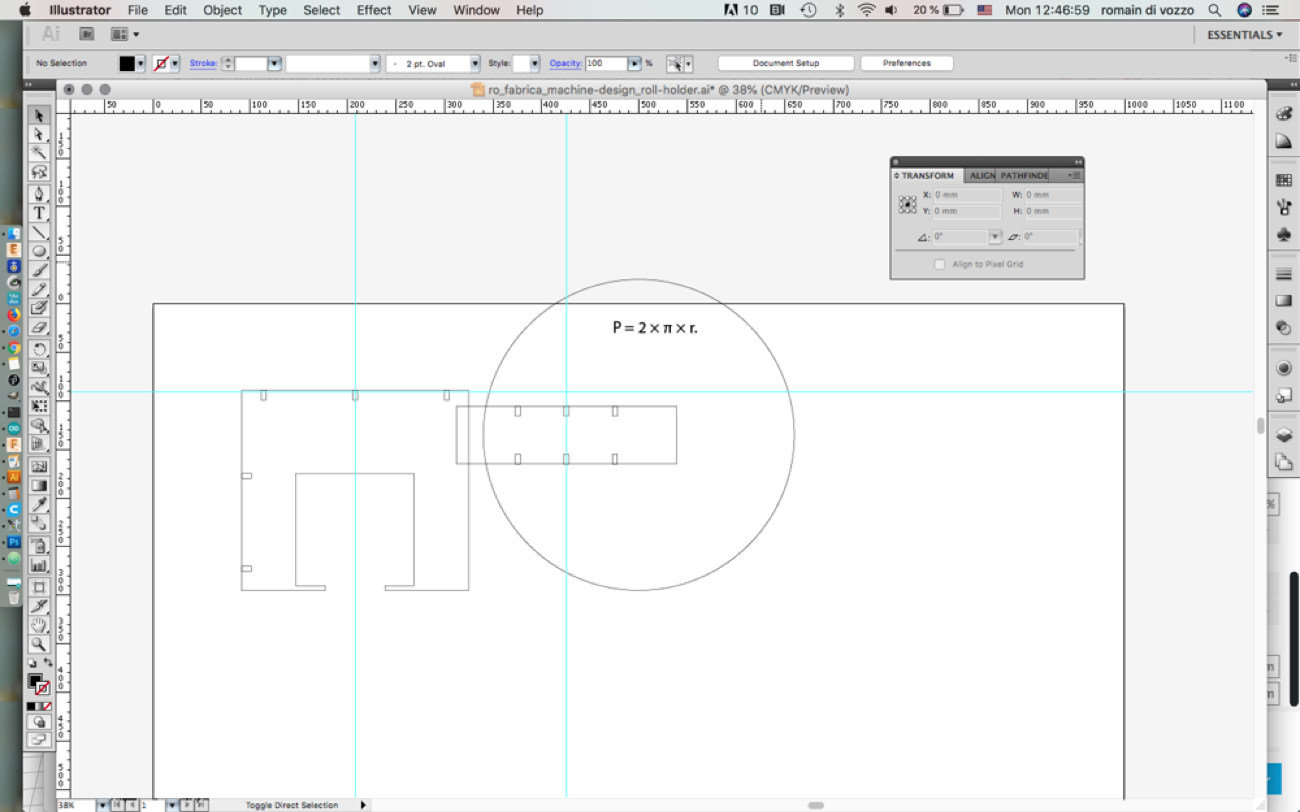
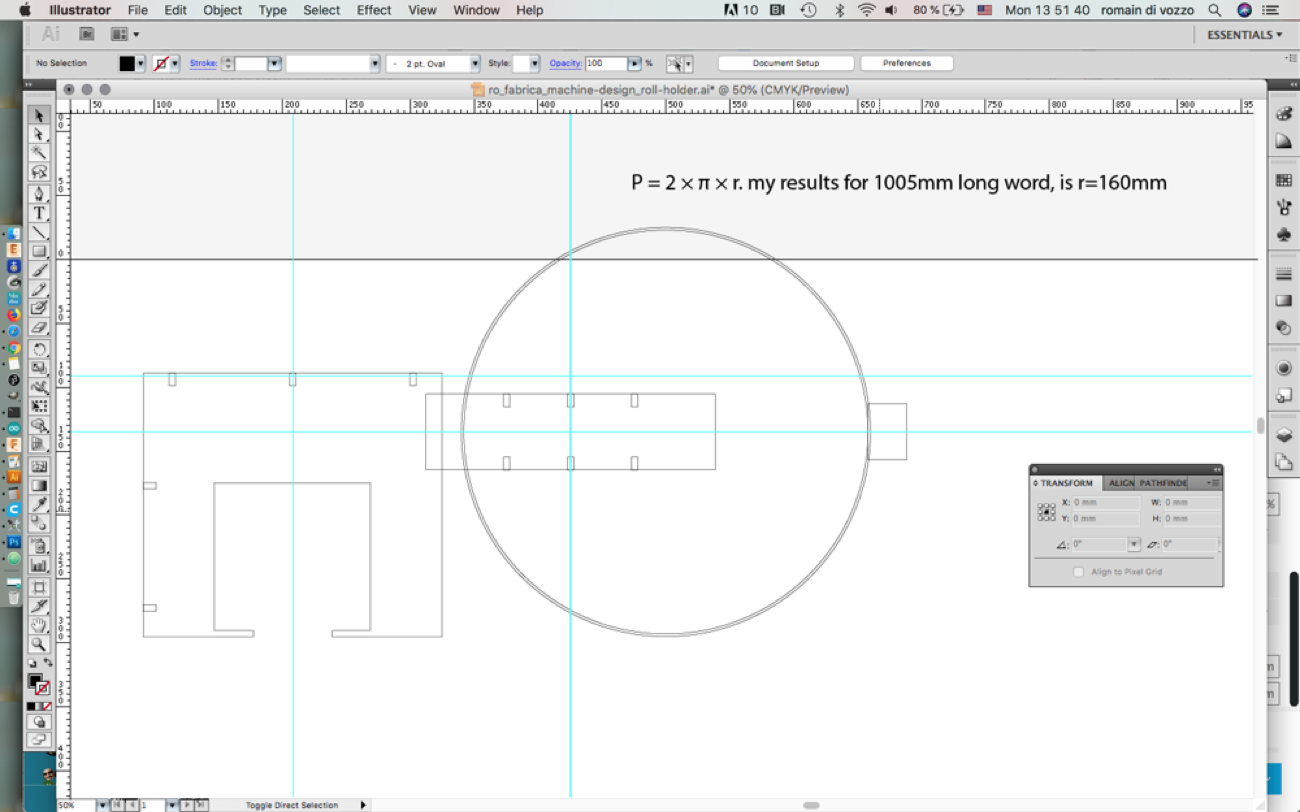
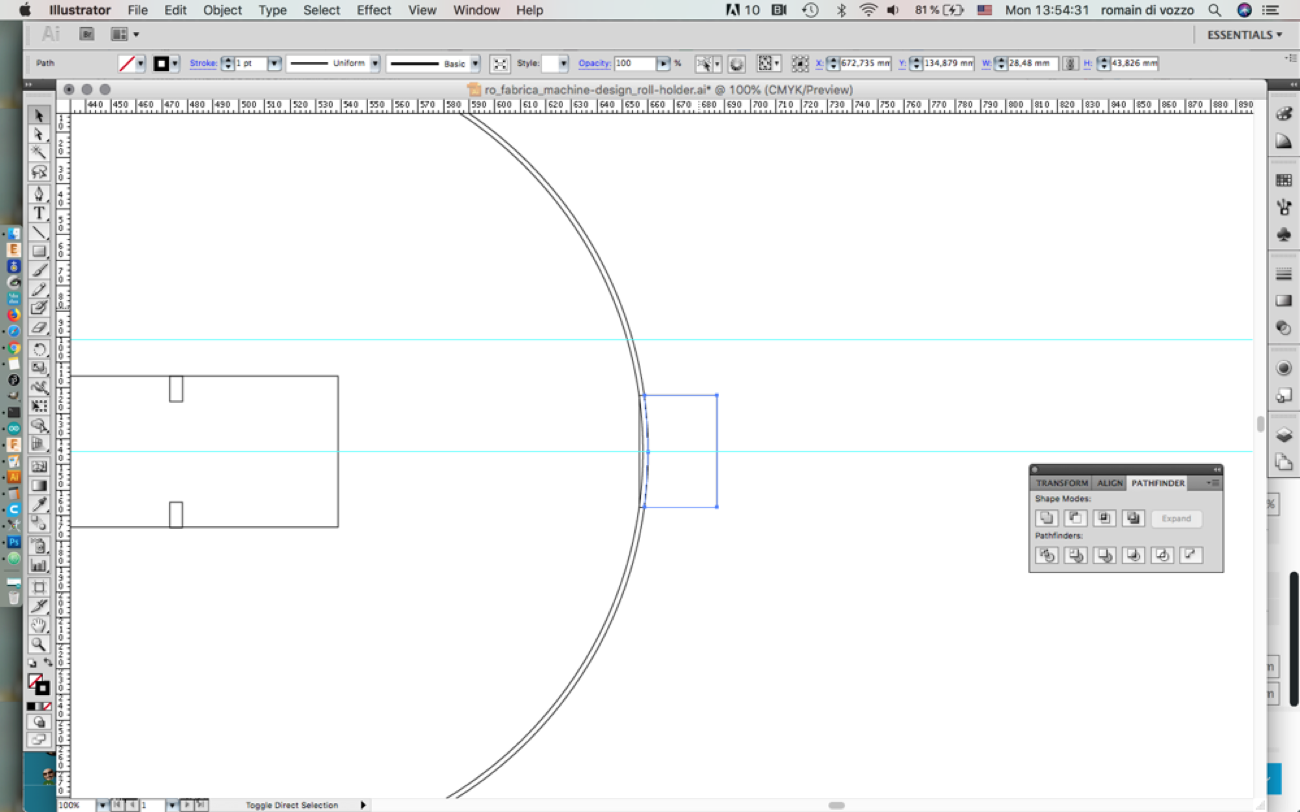
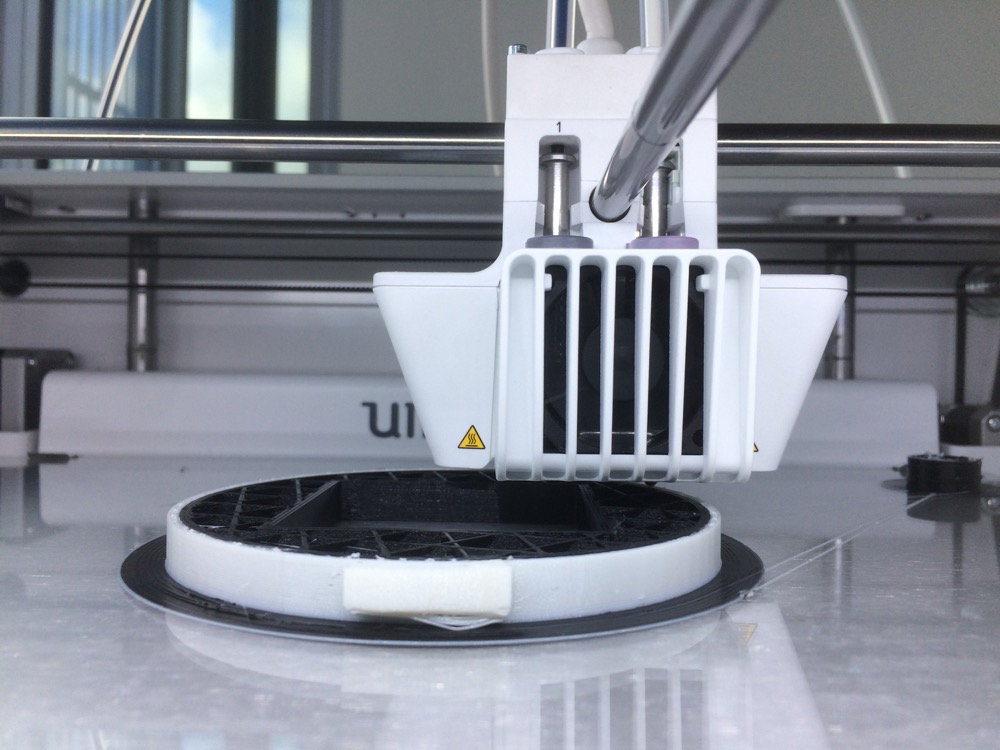
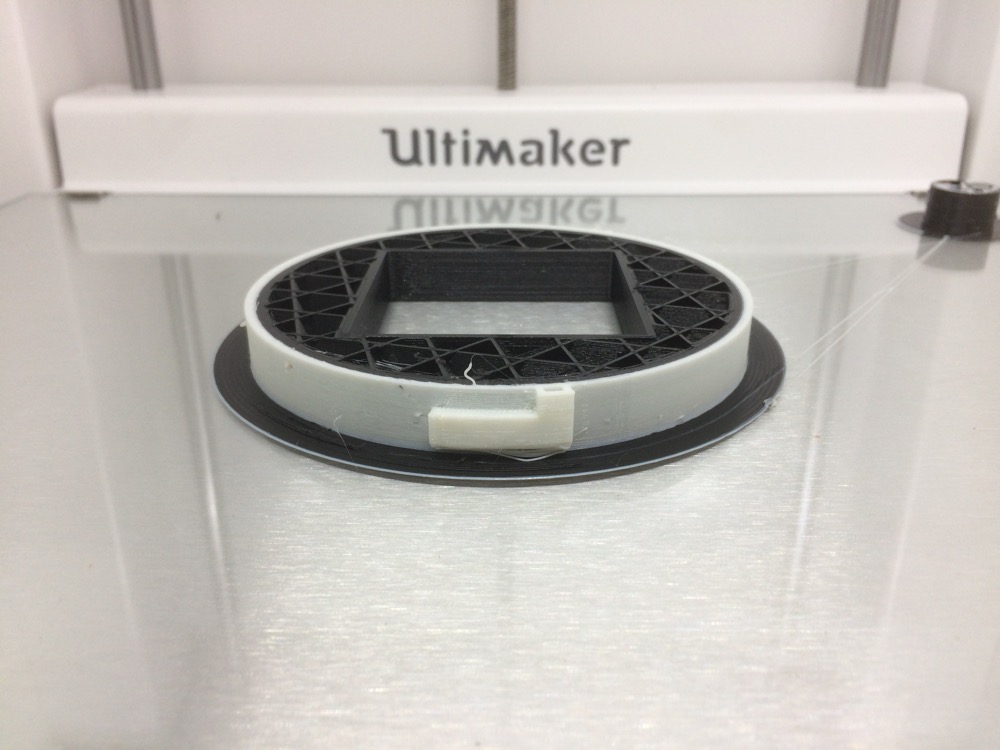
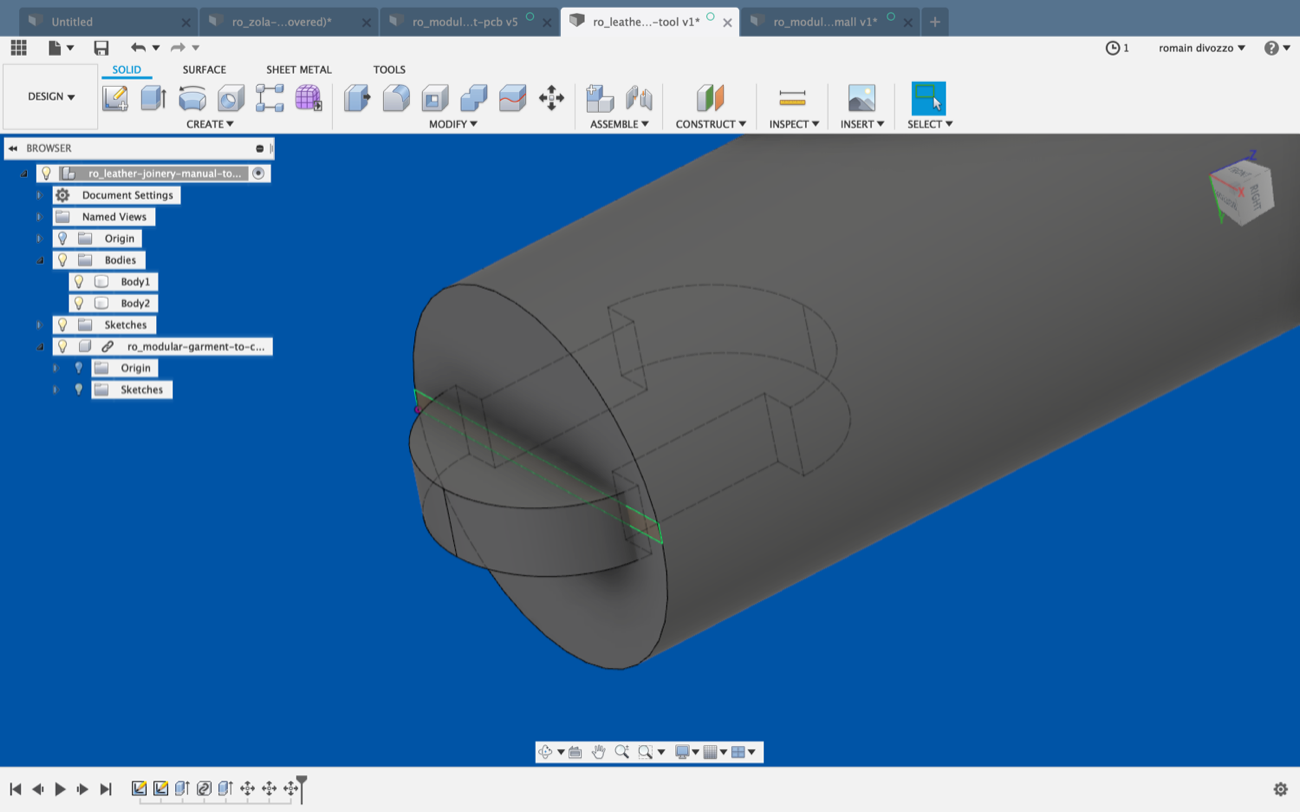
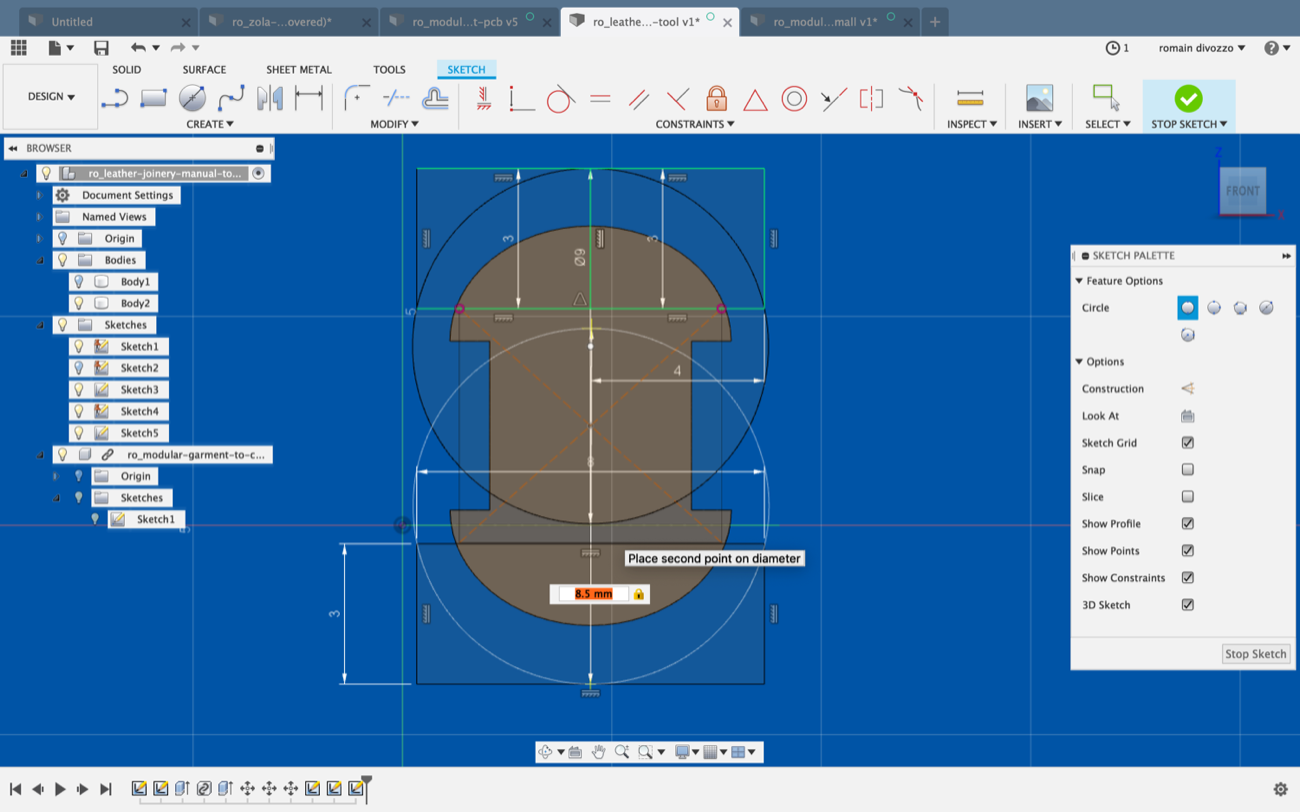
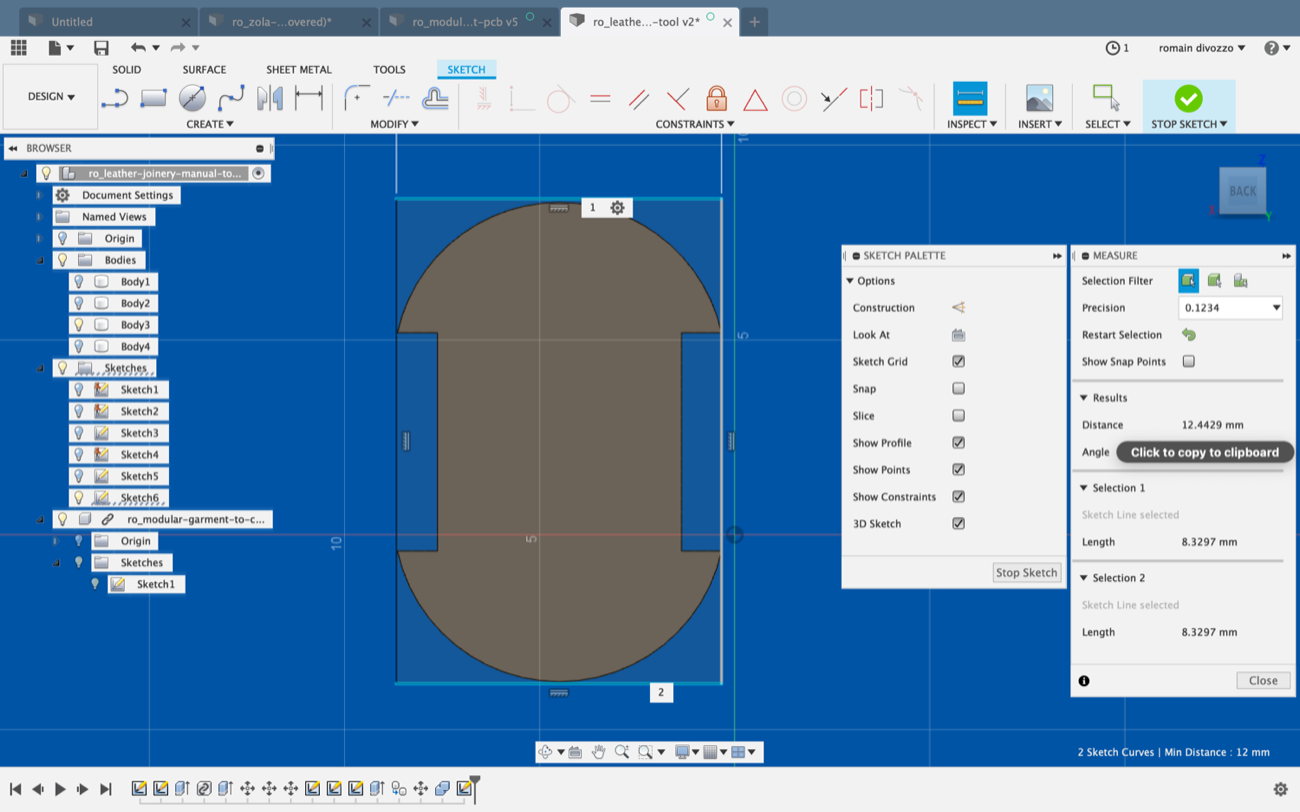
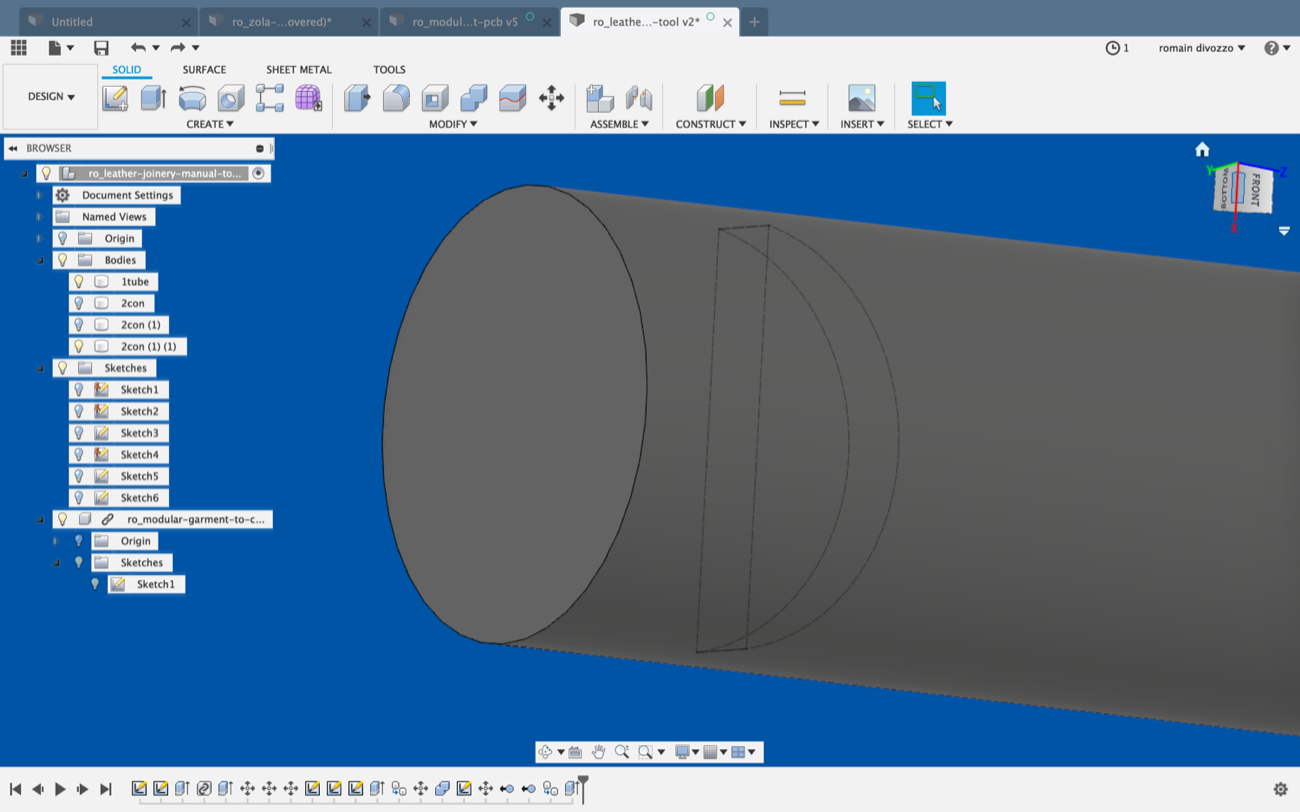
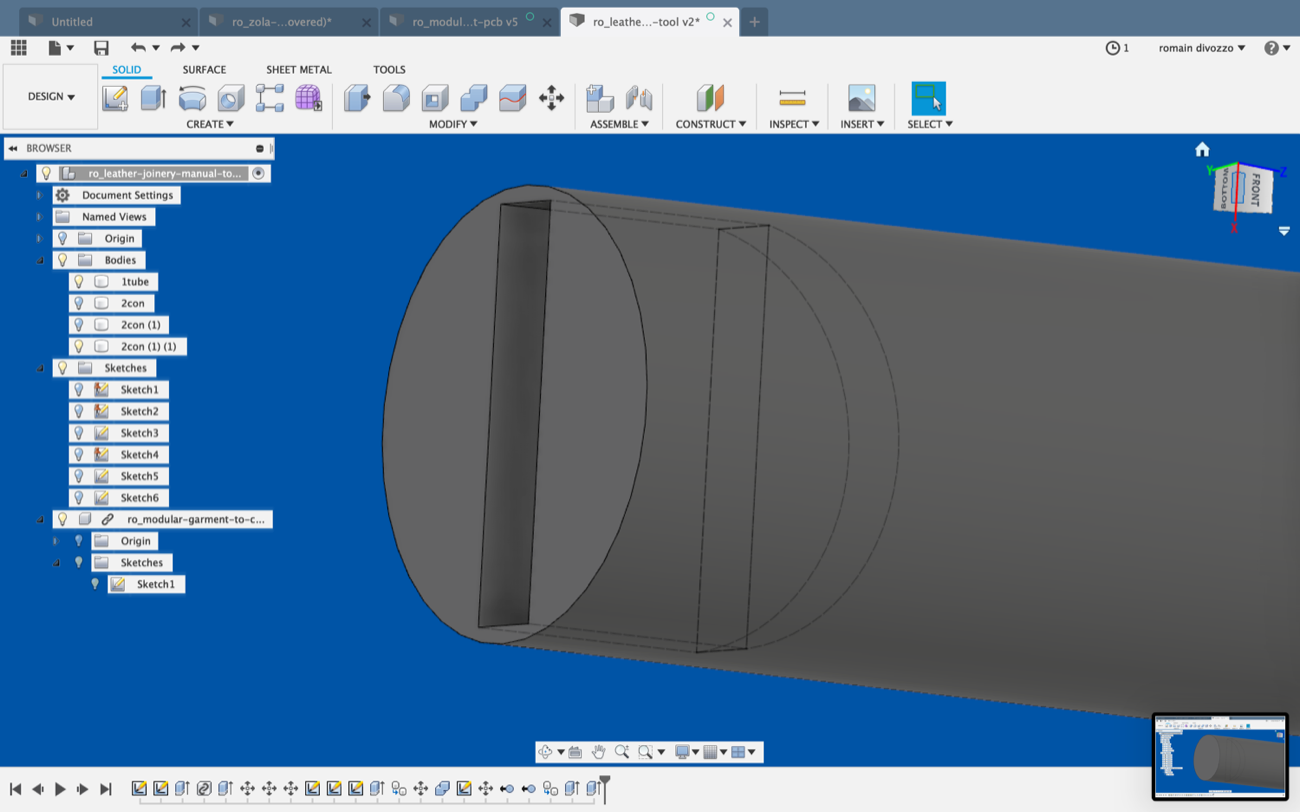
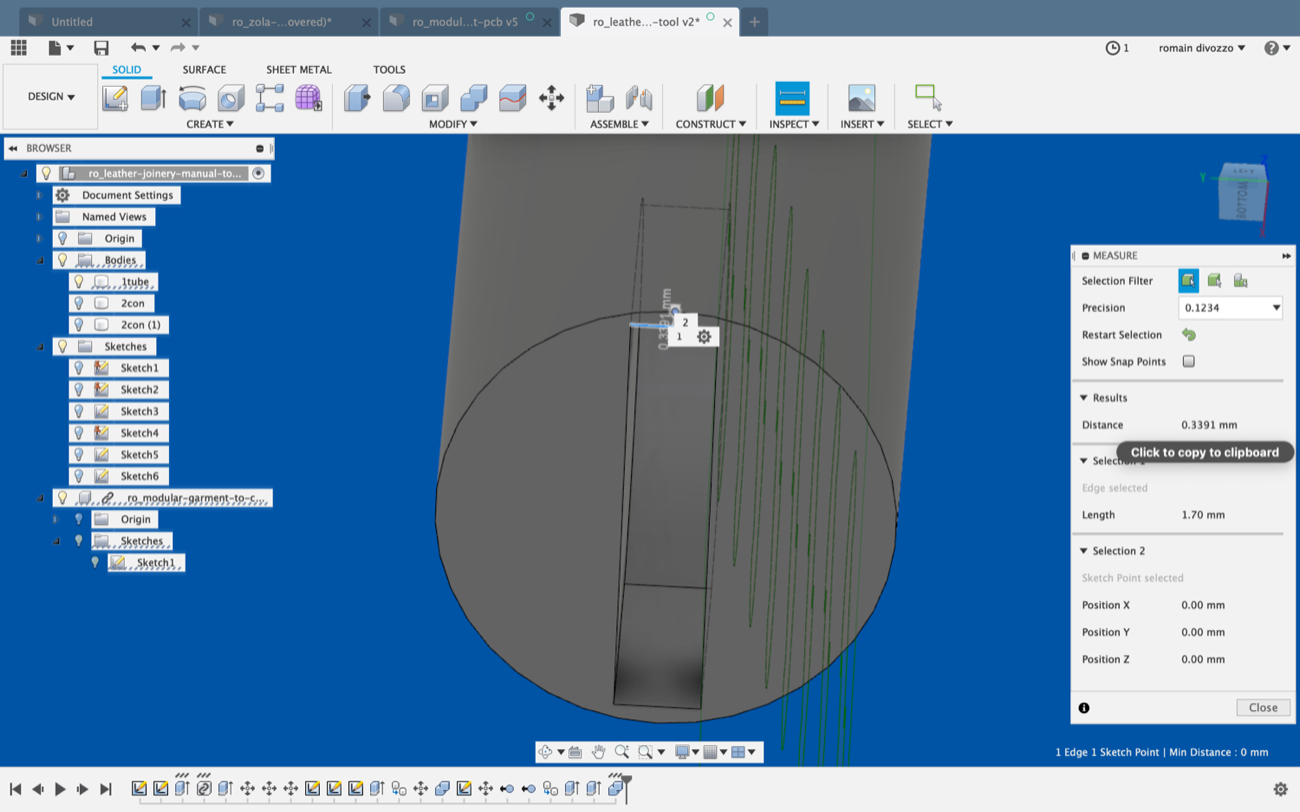
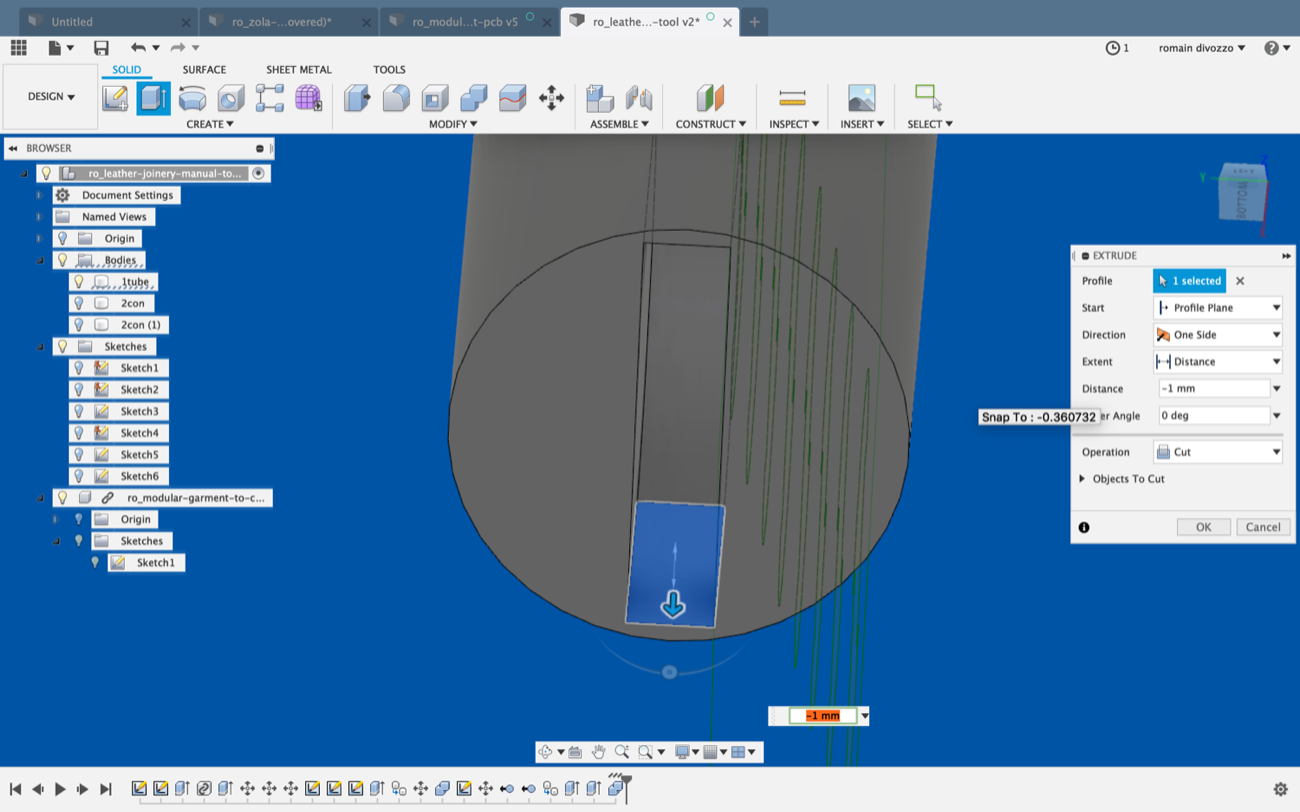
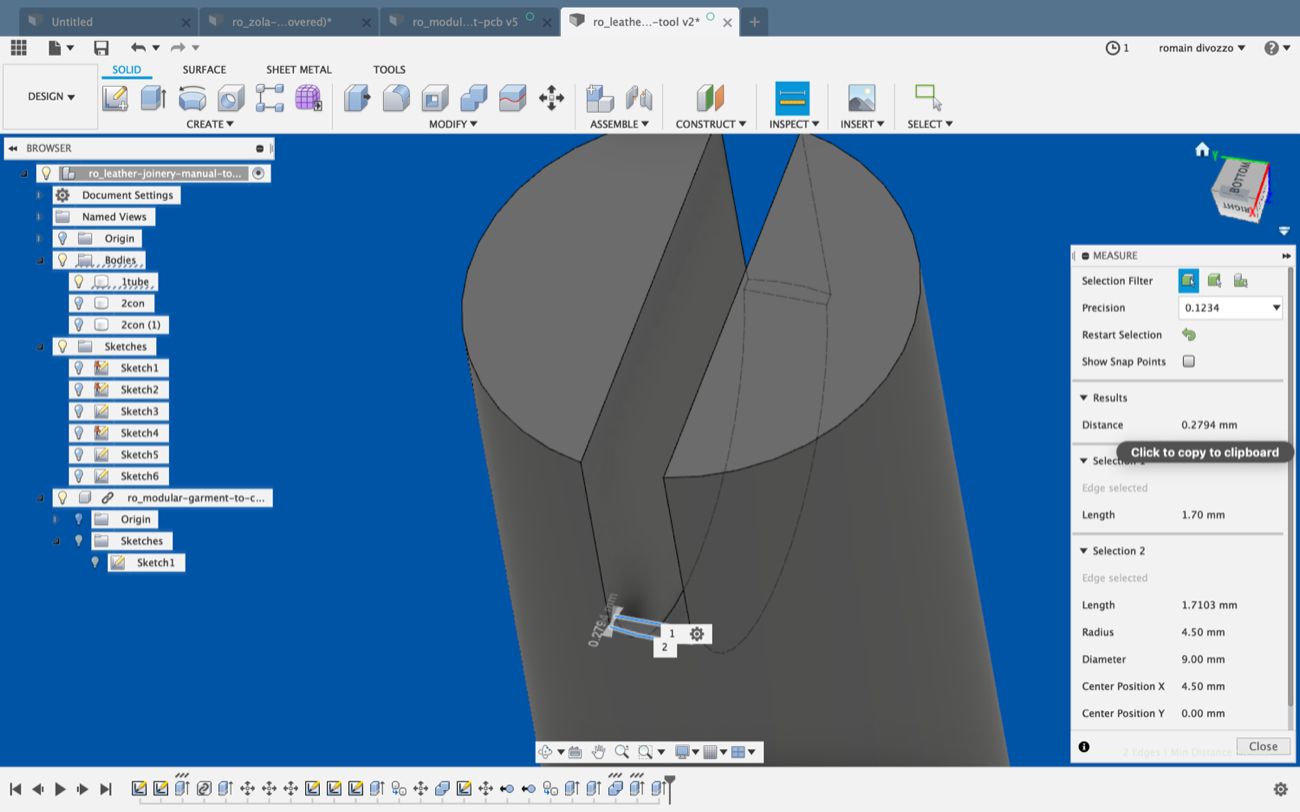
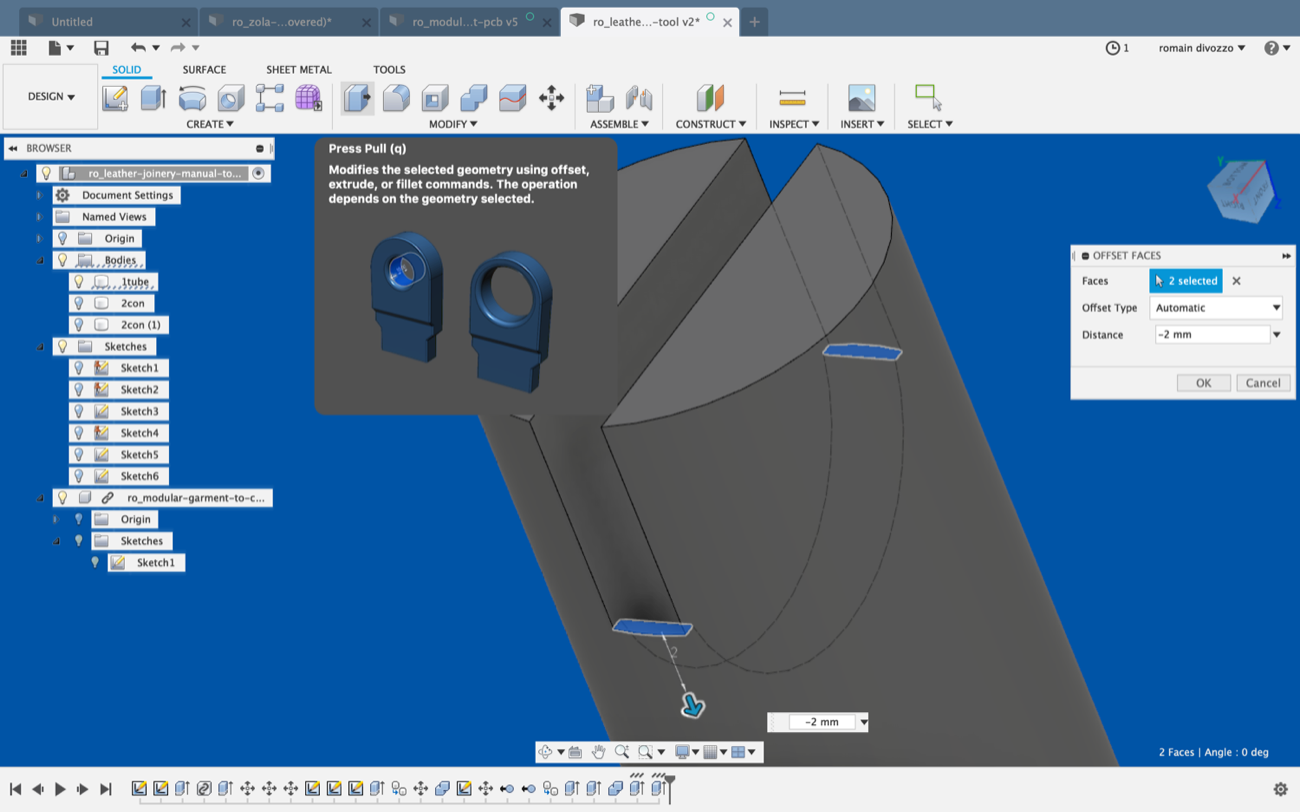
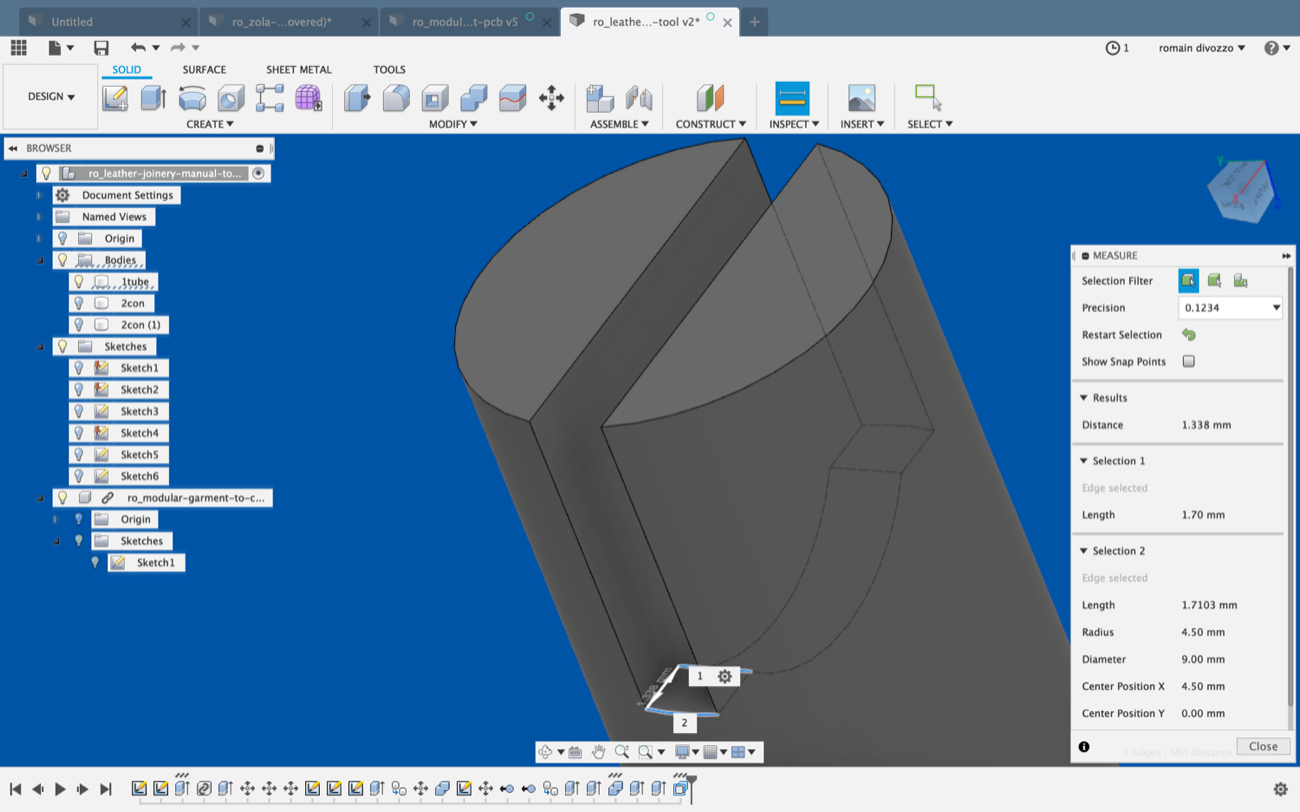
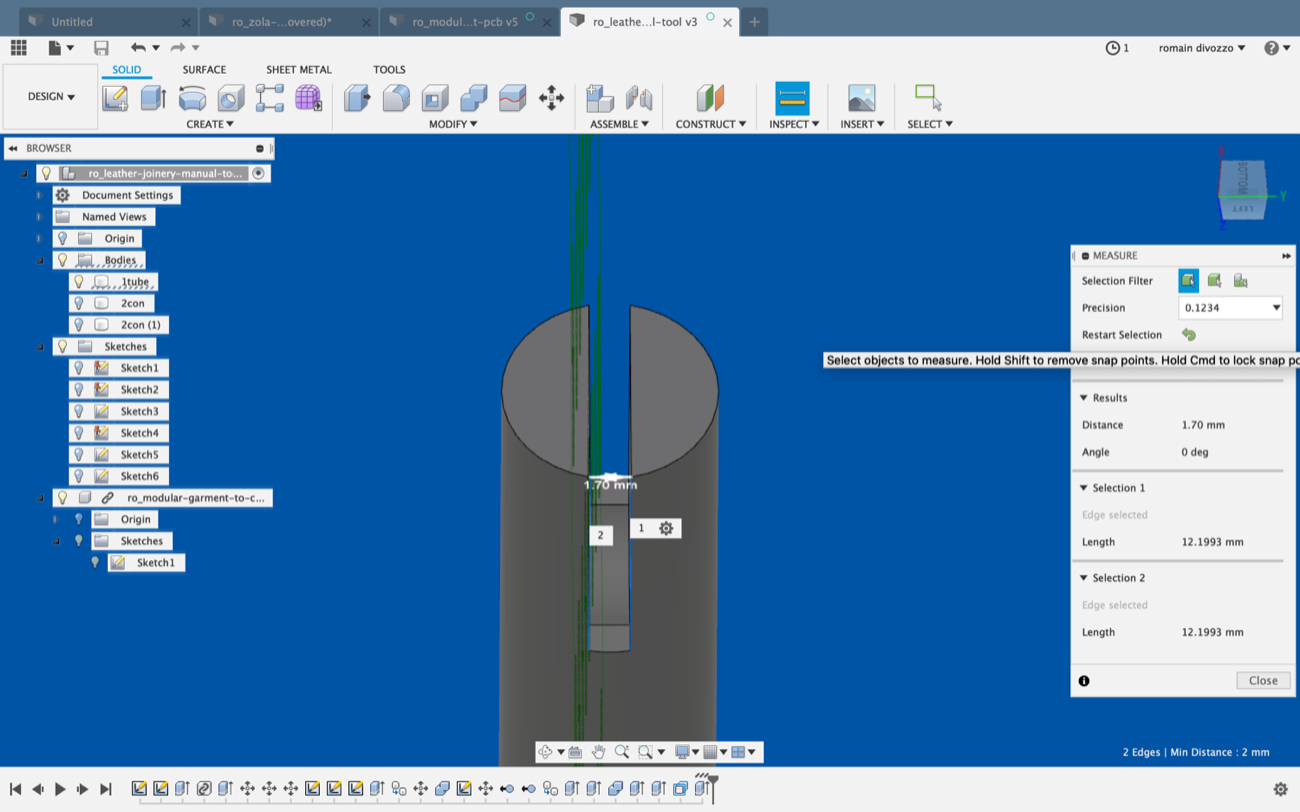
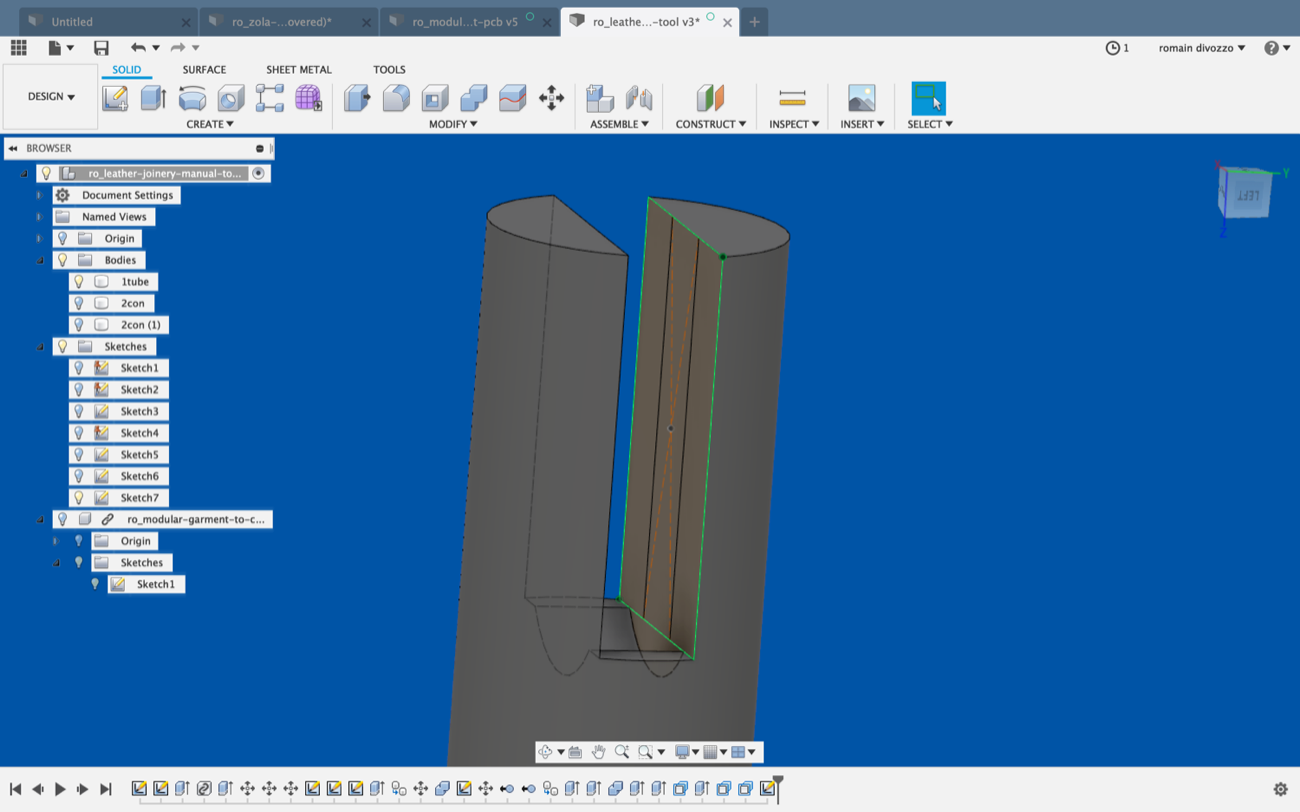
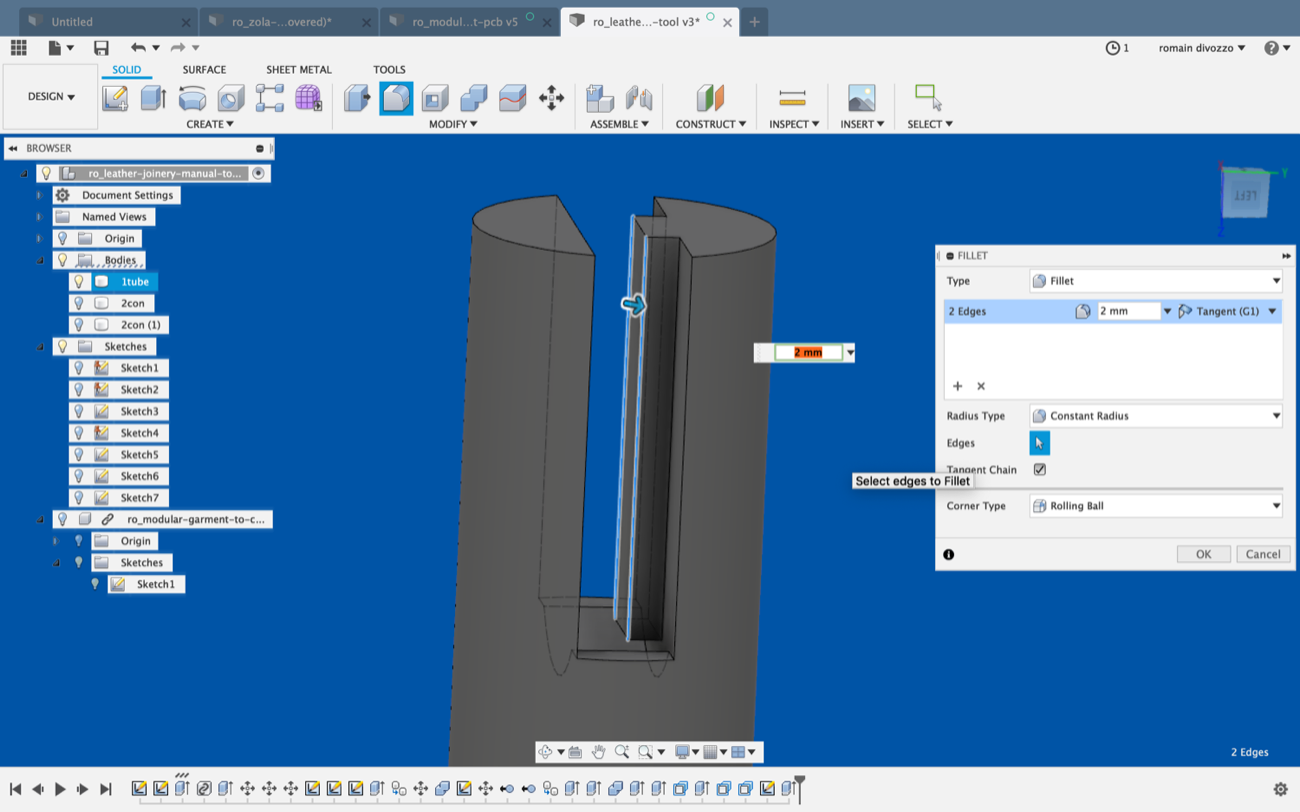
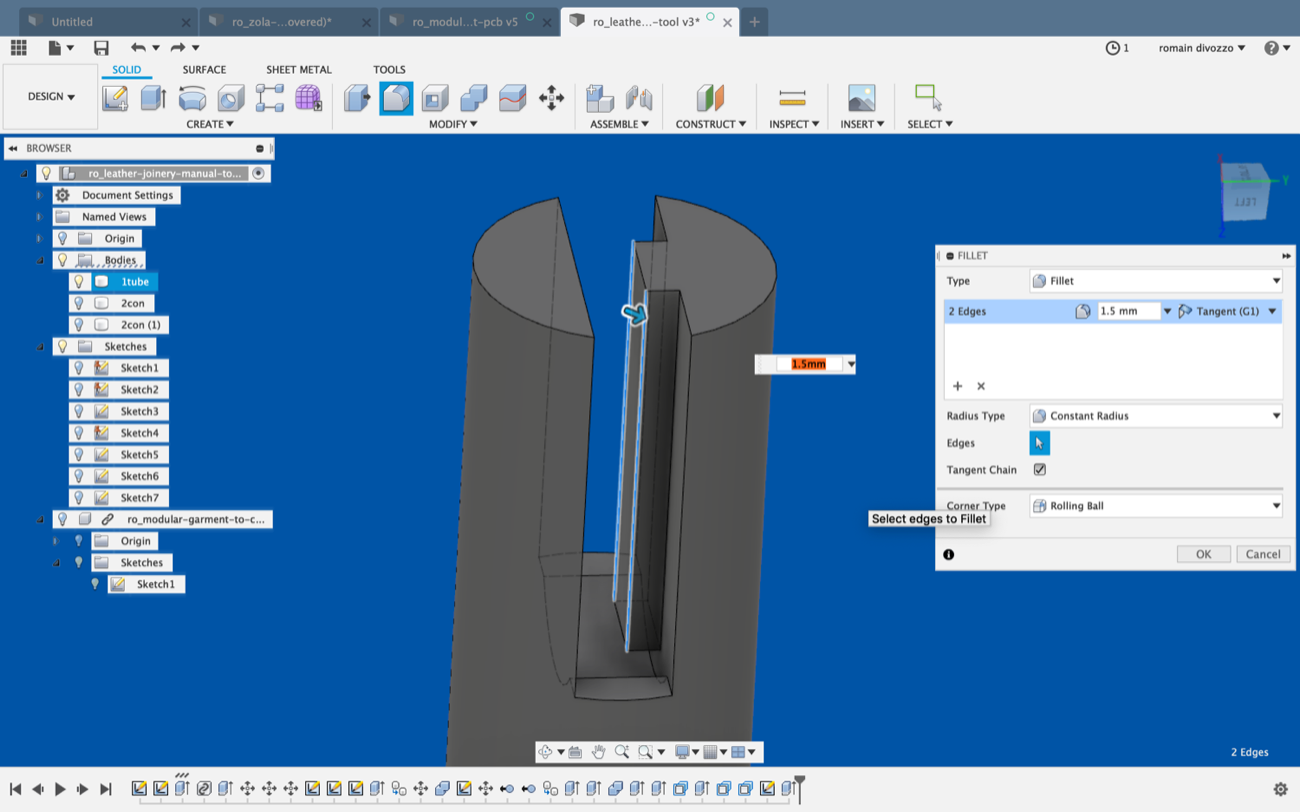
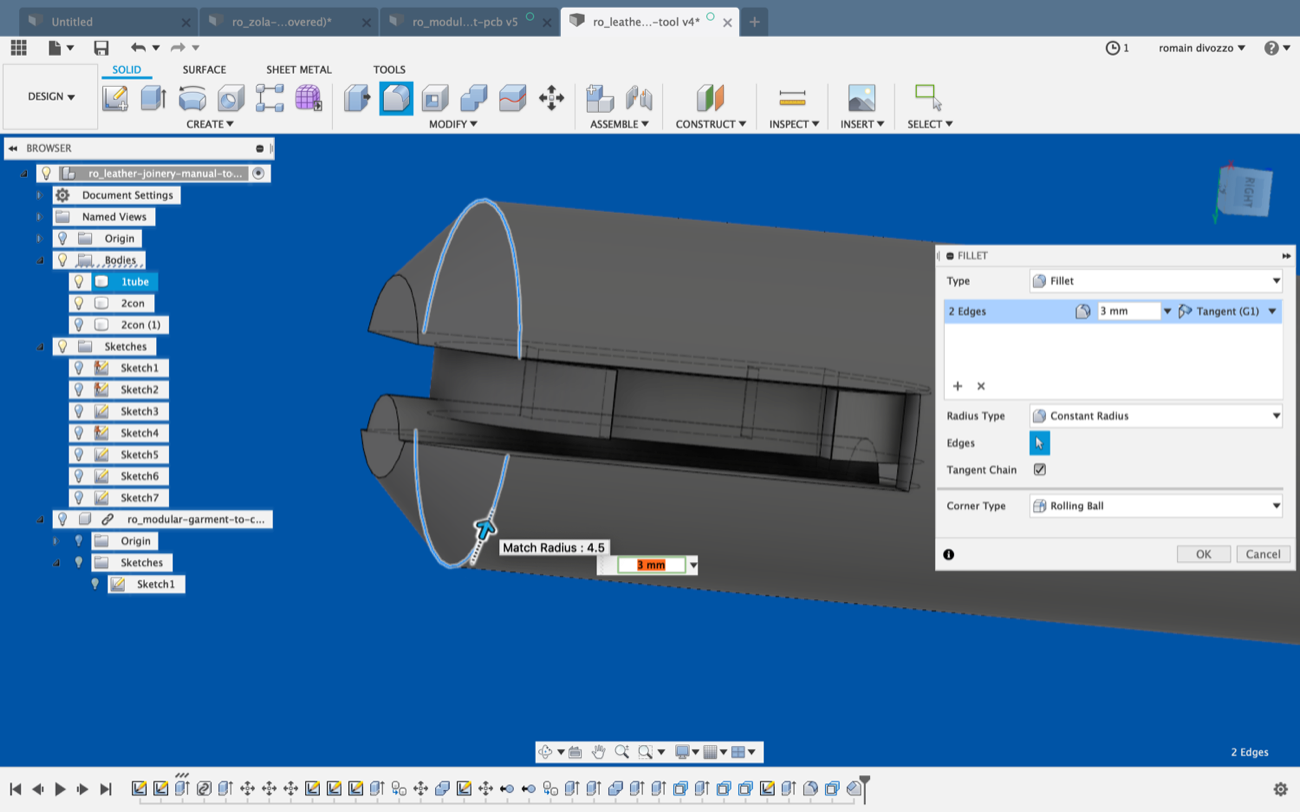
4 | 3D Printing a roll to print on fabric (In stand by) |
I used Though PLA an TPU95 to 3D print a roll that is soft enough to print on fabric once you’ve put it on the Vinyl-cutter frame. I interrupted the print before the end because I noticed that the design process I followed in Fusion 360 reduced the thickness of a fraction of the inner cylinder (black part). Also I was expecting both plastics to merge more, and maybe should I increase the overlap setting between both parts of the design in Ultimaker CURA to make them melt together and not risk any separation of the two parts in the future.
ADD VIDEO 3380 here
| Printing Roll |
Printing Roll |
Printing Roll |
 |
 |
 |
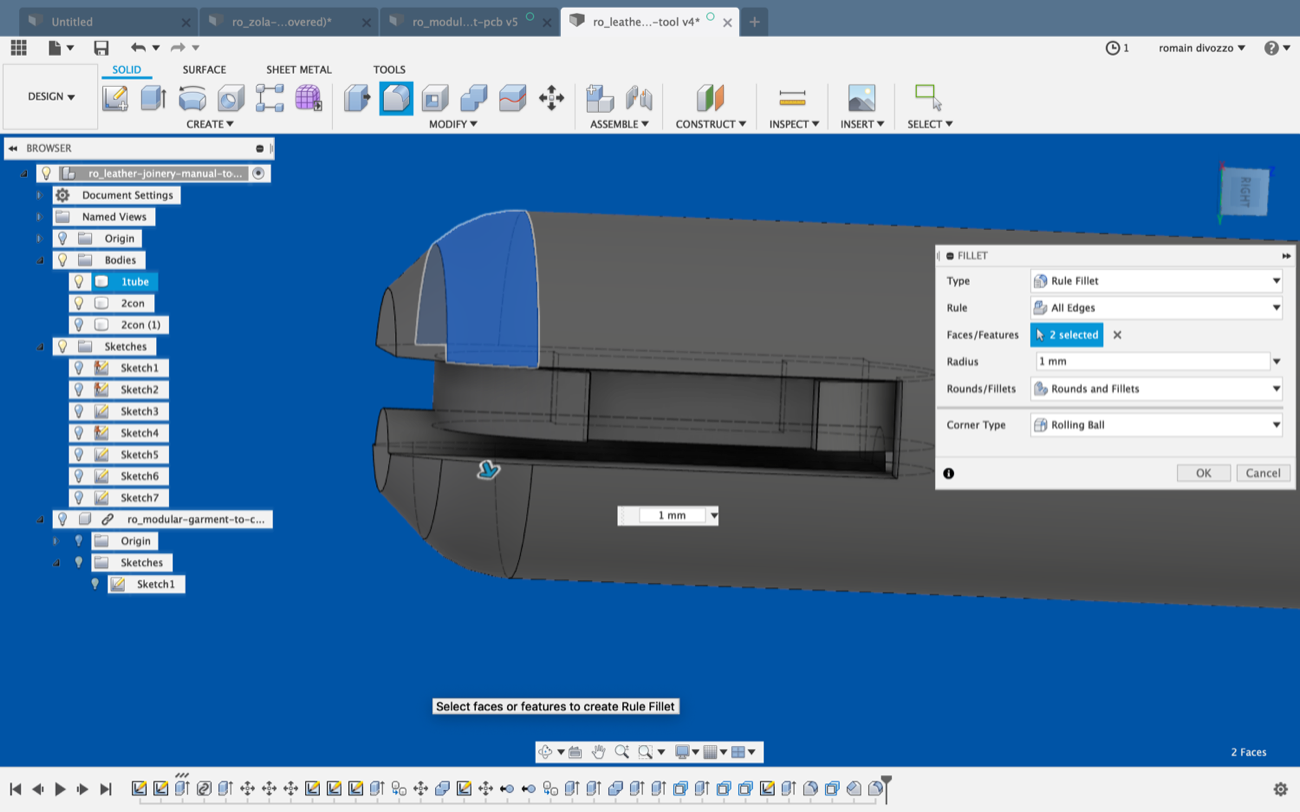
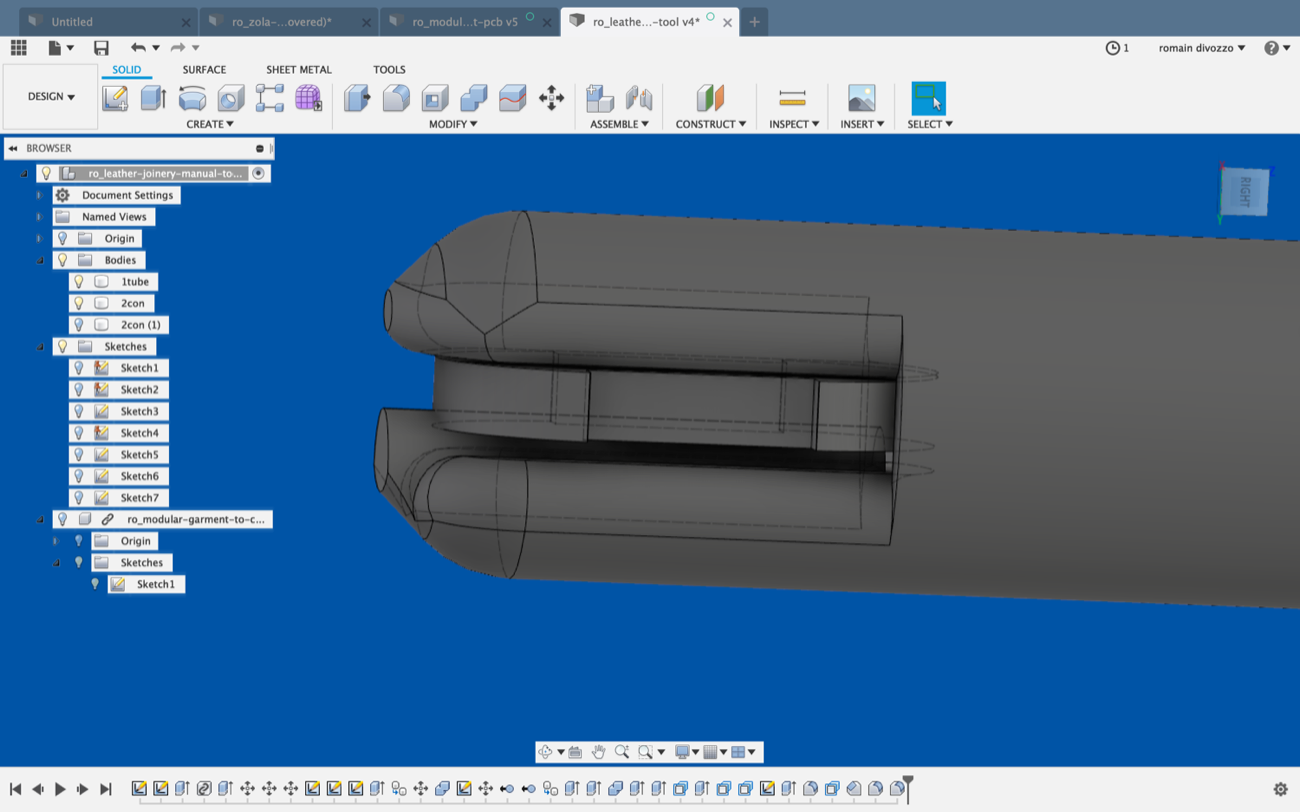
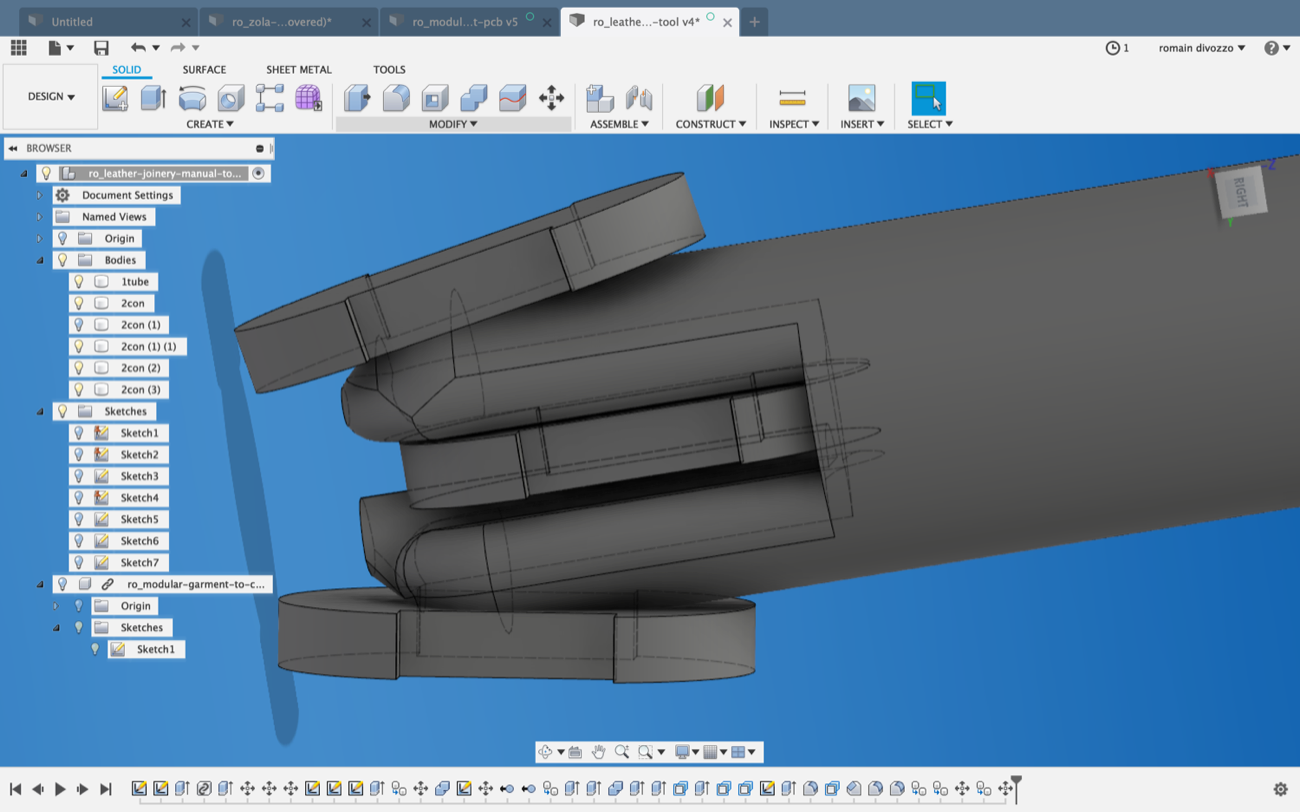
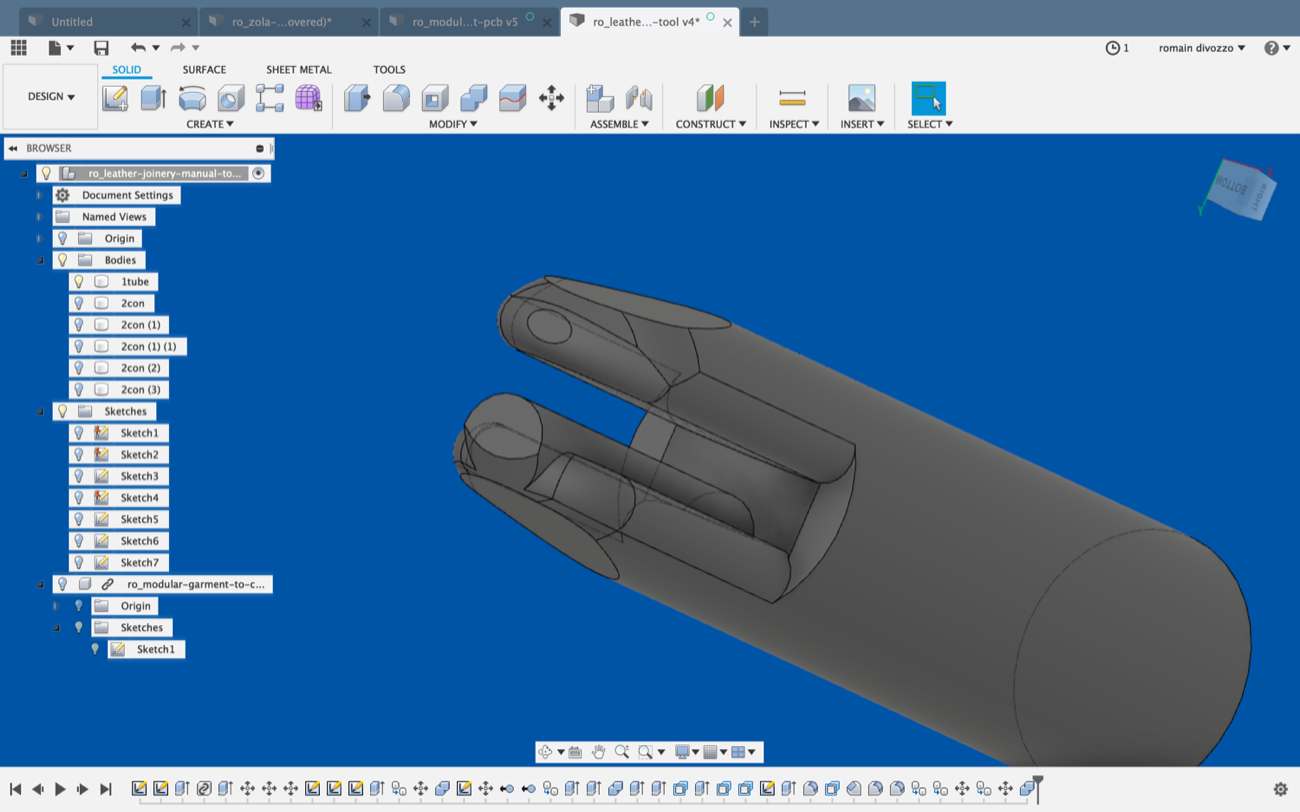
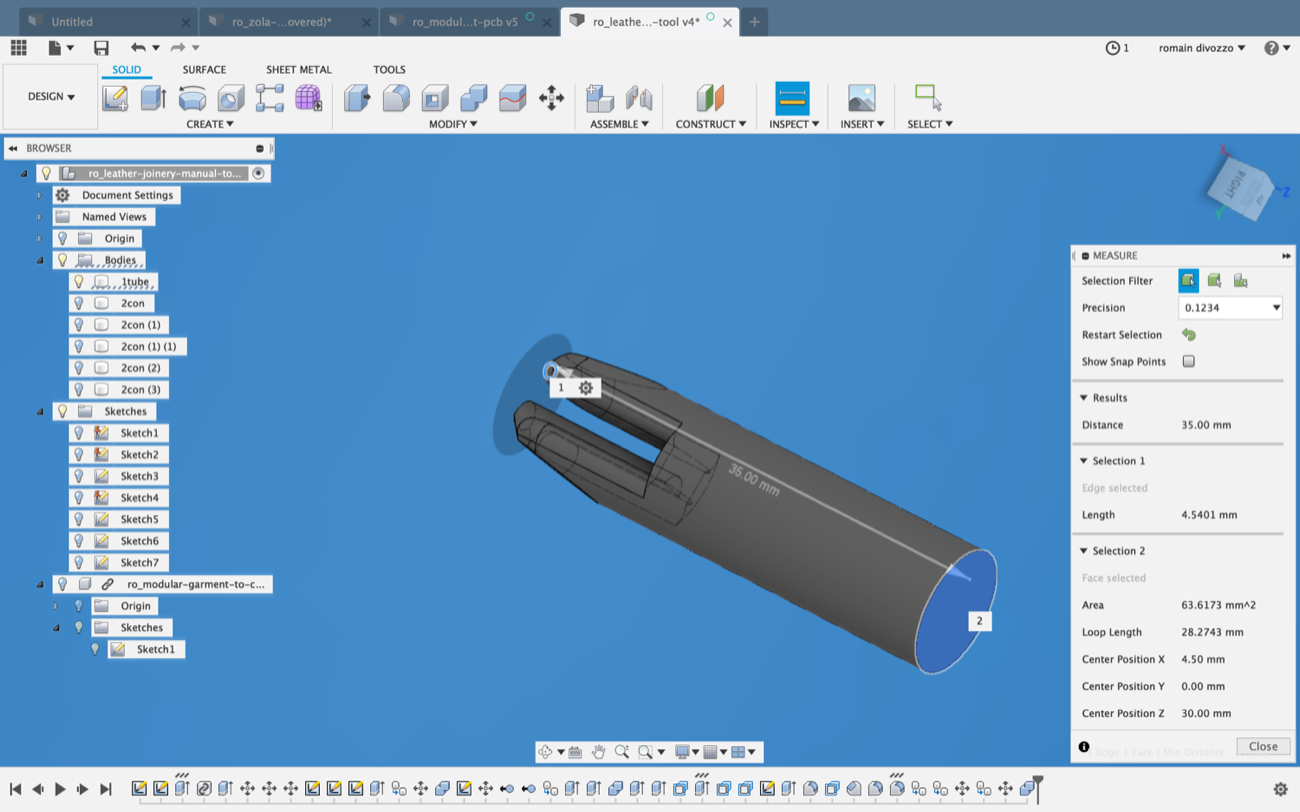
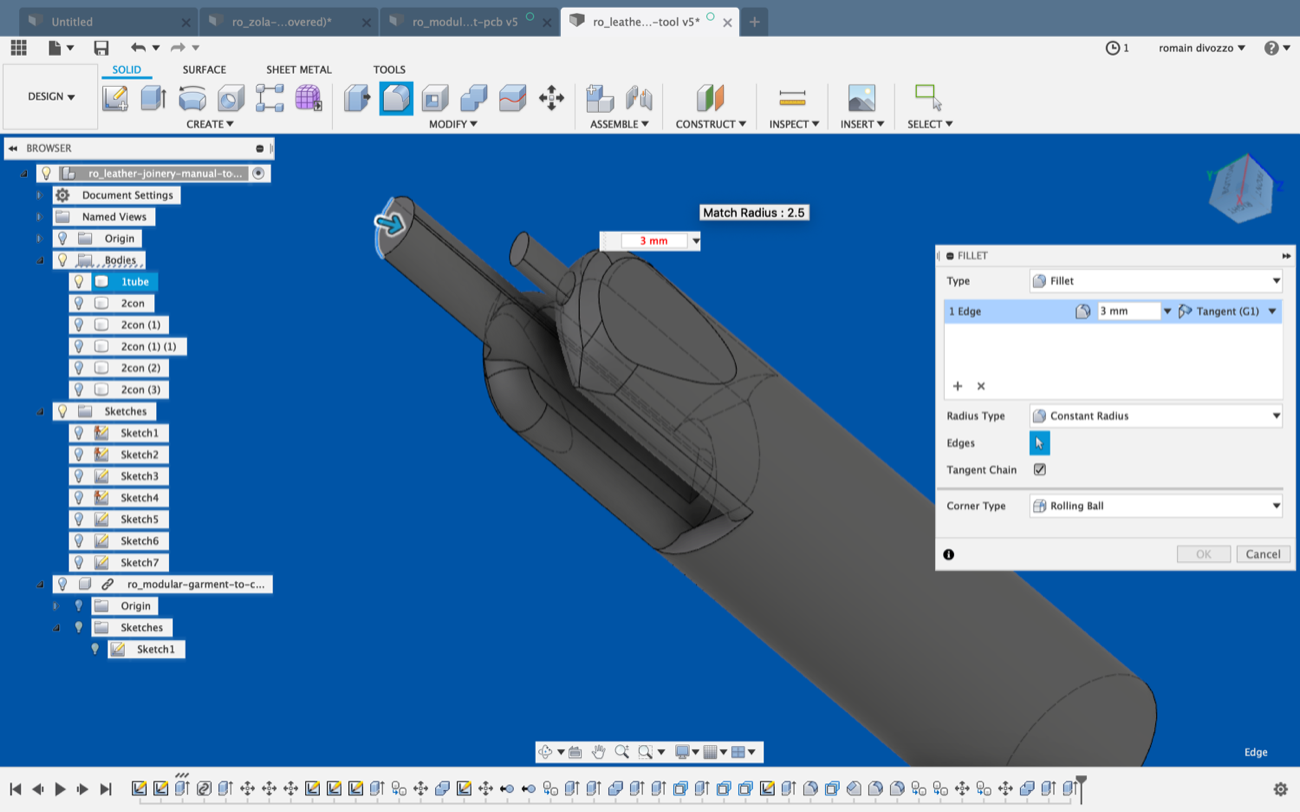
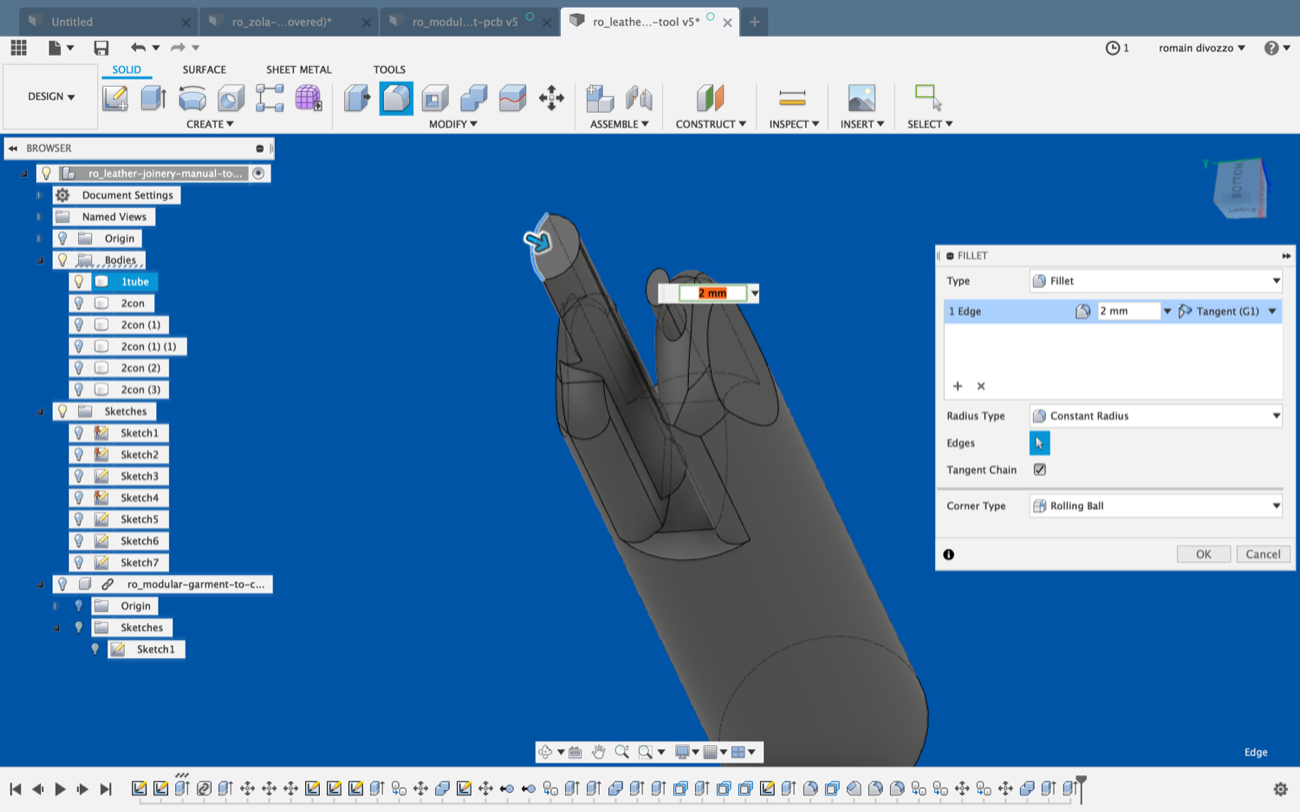
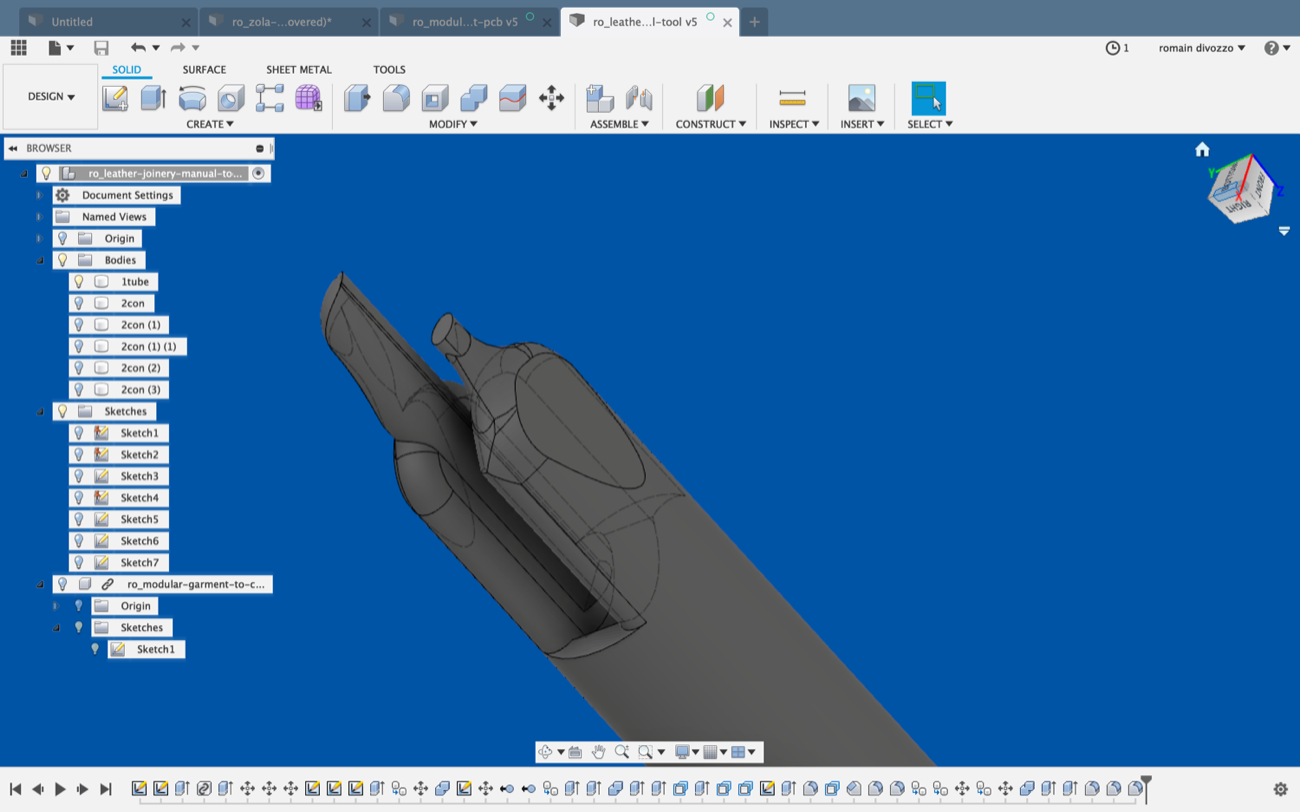
| Tool Design |
Tool Design |
Tool Design |
 |
 |
 |
| Tool Design |
Tool Design |
Tool Design |
 |
 |
 |
| Tool Design |
Tool Design |
Tool Design |
 |
 |
 |
| Tool Design |
Tool Design |
Tool Design |
 |
 |
 |
| Tool Design |
Tool Design |
Tool Design |
 |
 |
 |
| Tool Design |
Tool Design |
Tool Design |
 |
 |
 |
| Tool Design |
Tool Design |
Tool Design |
 |
 |
 |
| Tool Design |
Tool Design |
Tool Design |
 |
 |
 |
| Tool Design |
Tool Design |
Tool Design |
 |
 |
 |
| Tool Design |
Tool Design |
 |
 |
| Tool Design |
Tool Design |
 |
 |
| Tool Design |
Tool Design |
 |
 |