FABRICADEMY WEEK9 ASSIGNMENT

-Document the concept, sketches, references also to artistic and scientific publications
-Create a swatch using an ATtiny with one input and one output, using hard-soft connection solutions and battery
-Create 2 actuator swatches. Test them with the Arduino or ATtiny.
-Learn how to program and ATTiny , add the libraries and links used for the code
-Document the schematic and the programming code, the libraries added and the power requirements
-Upload a small video of your object working
-EXTRA POINT Integrate it to a project
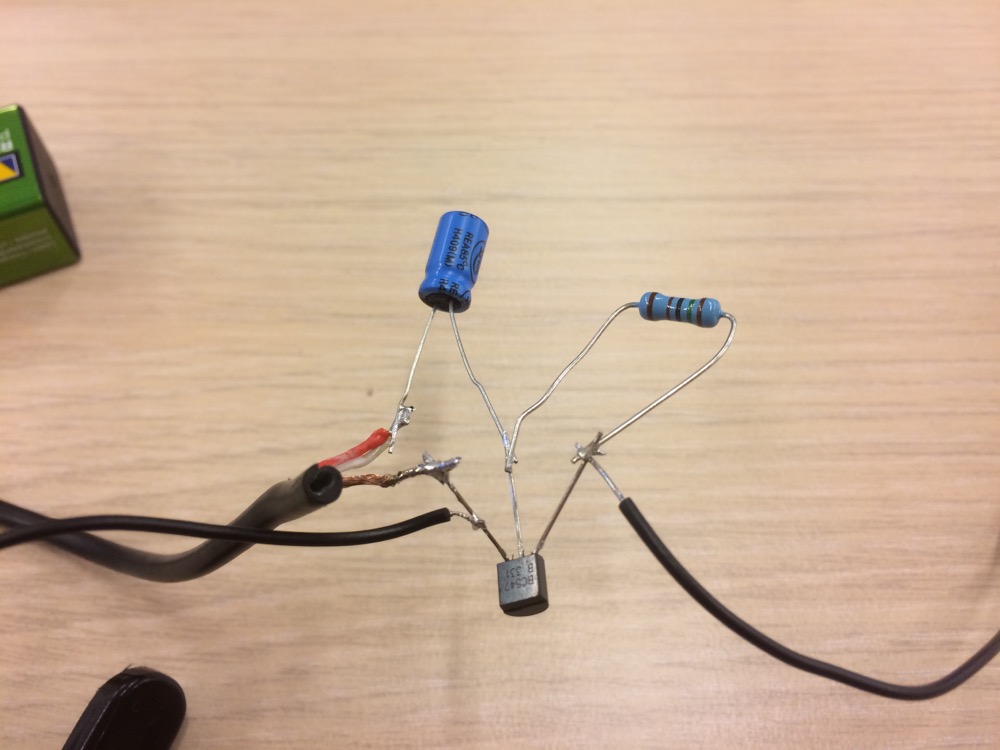
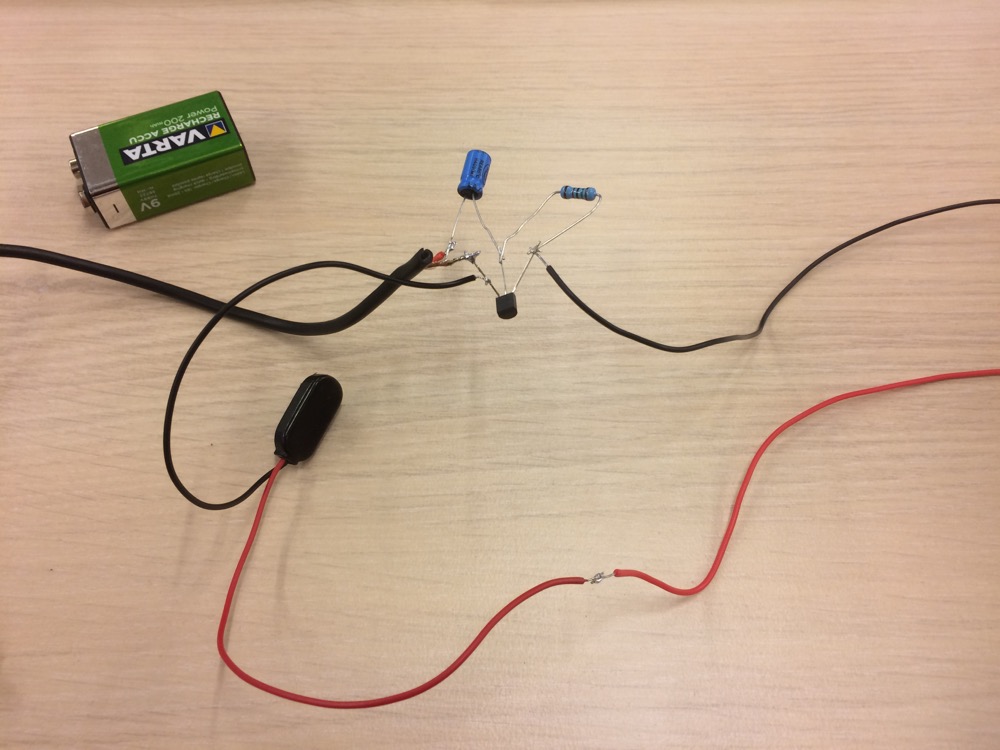
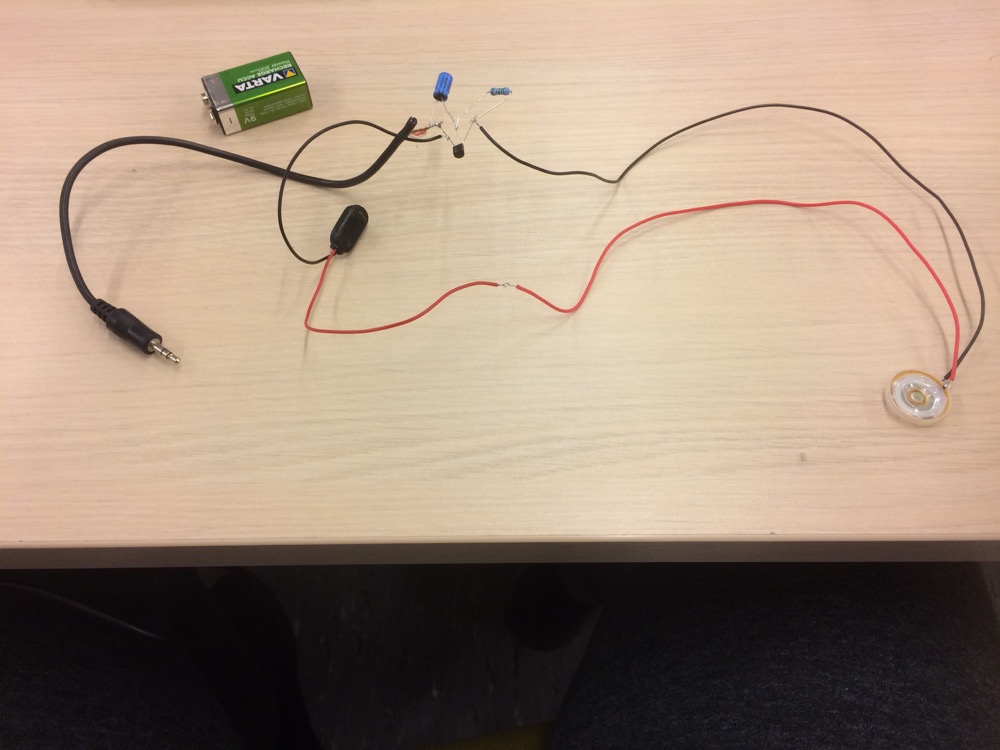
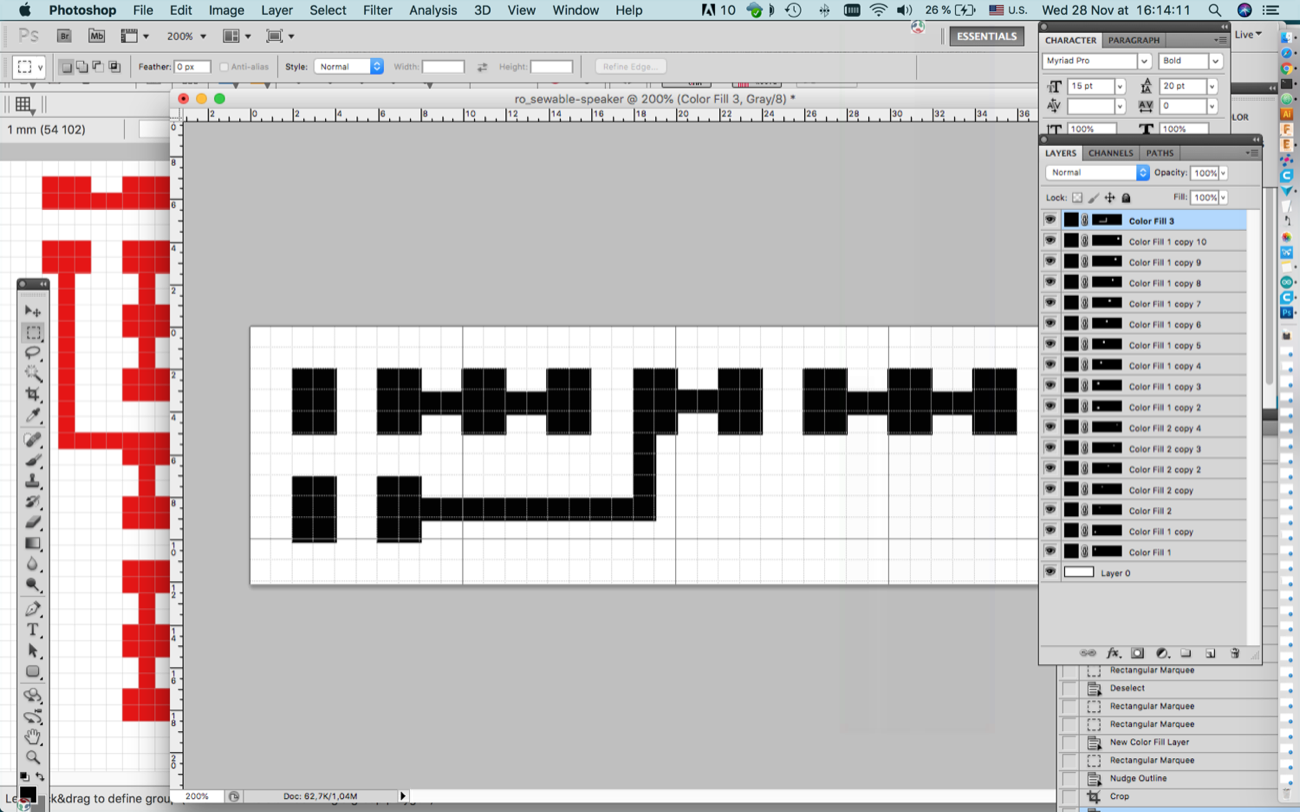
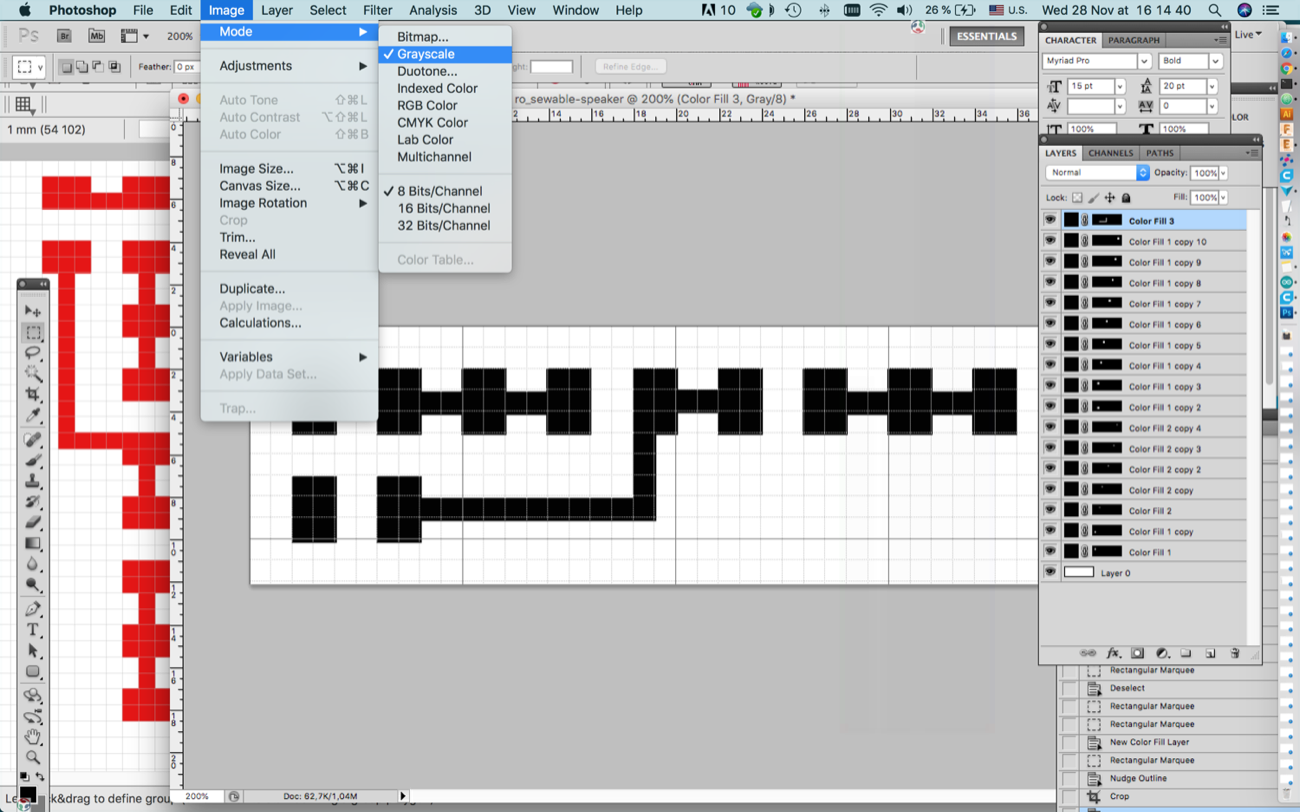
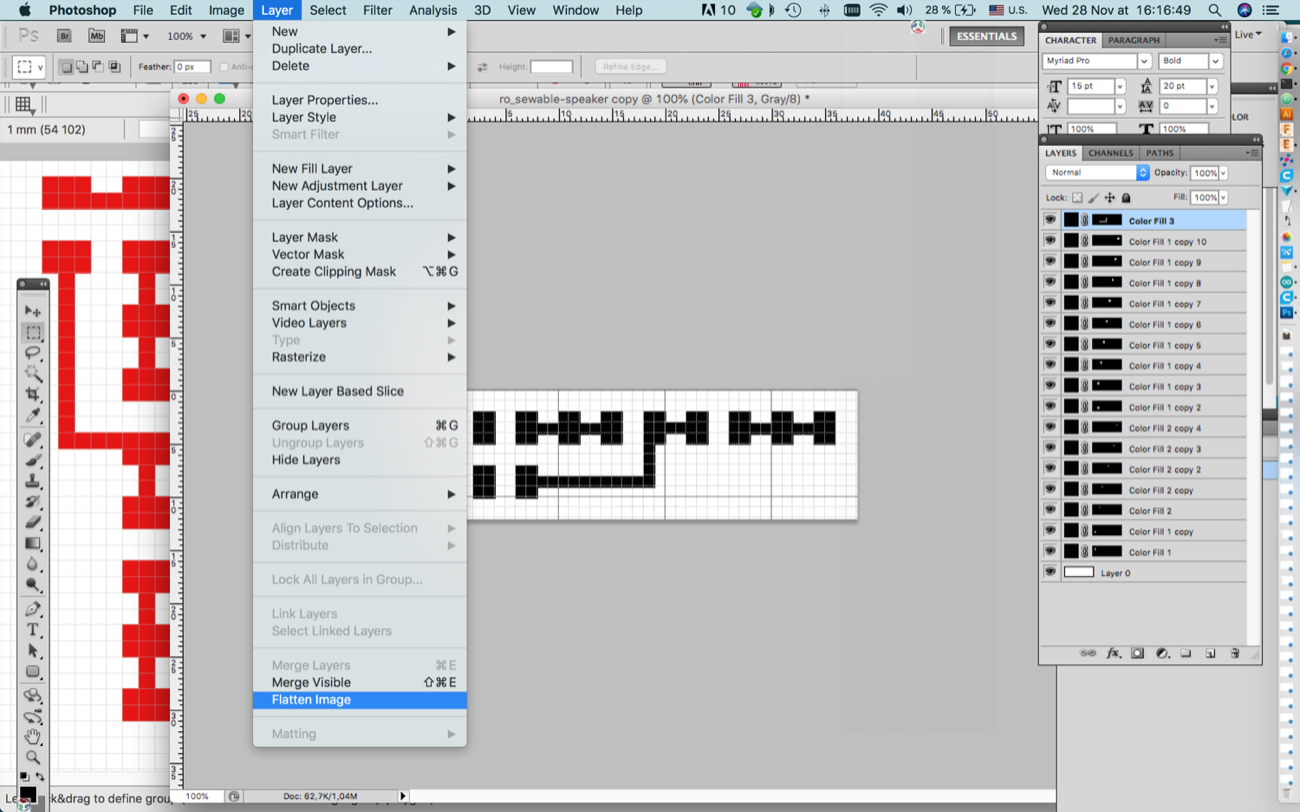
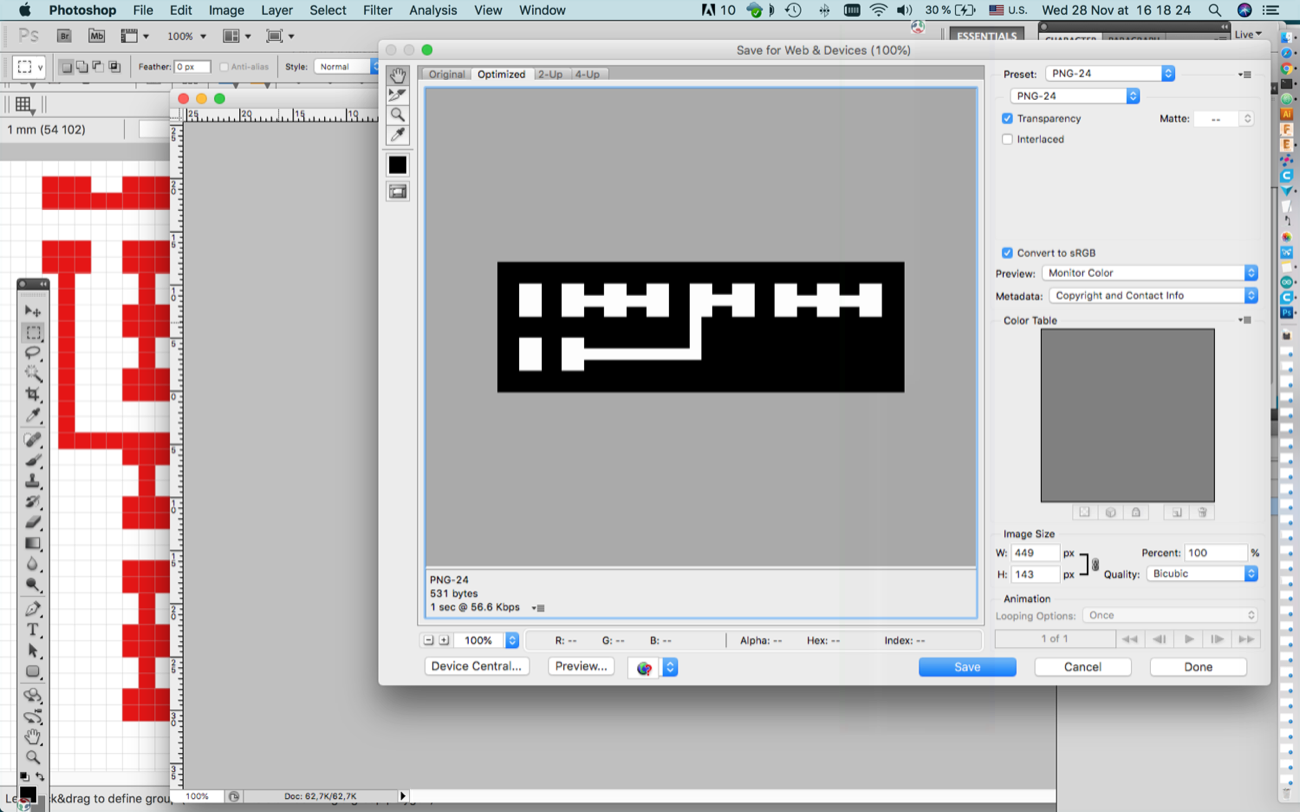
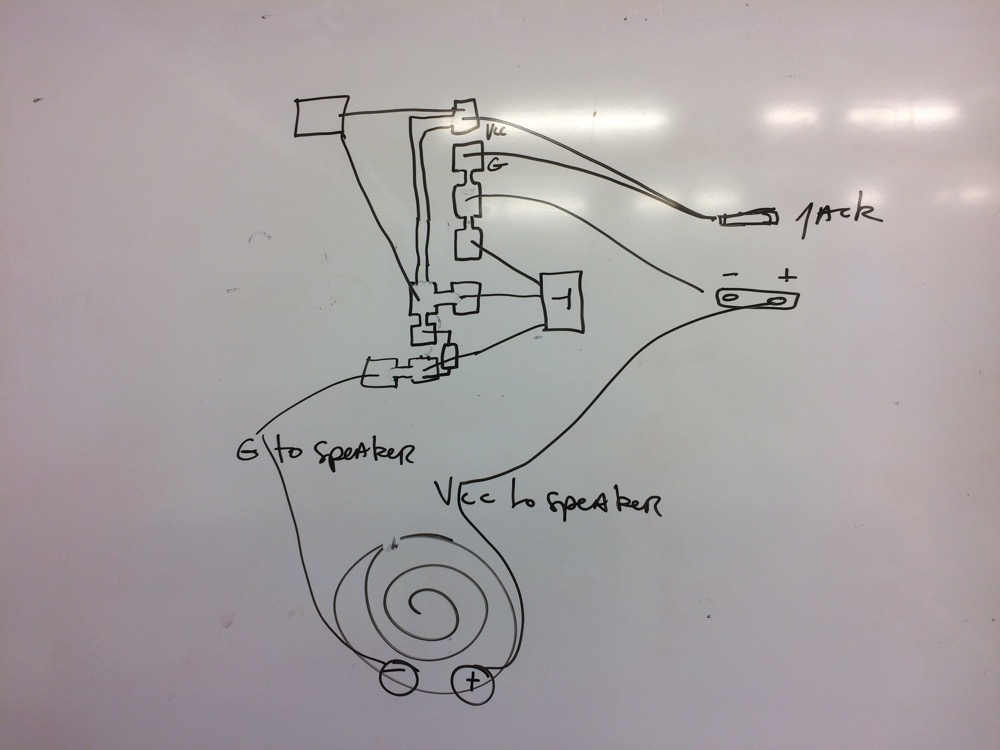
For this week I helped my student Camille with a seweable speaker project. I found a video online to replicate a quick and (very) dirty circuit that would allow us to make her flexible speaker play a sound coming out of a computer.
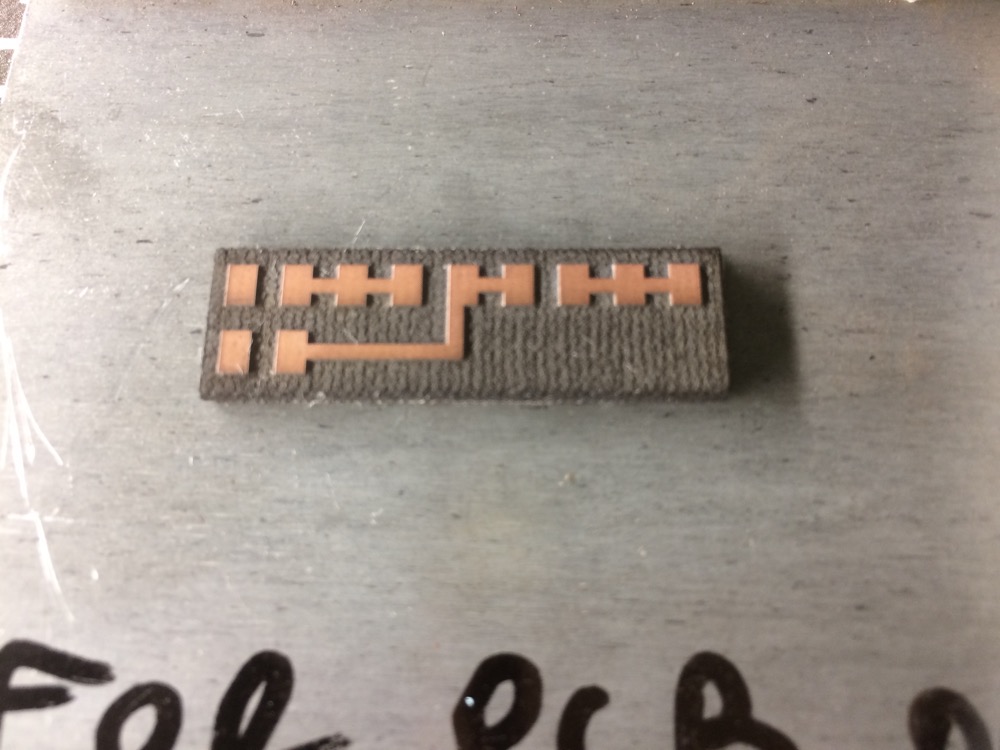
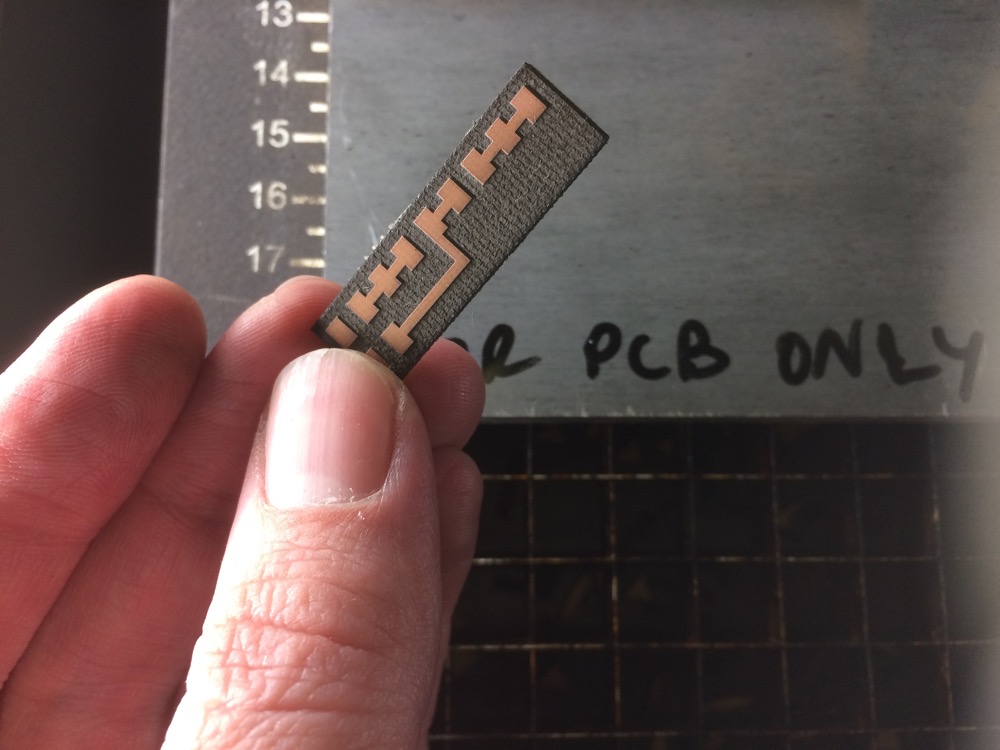
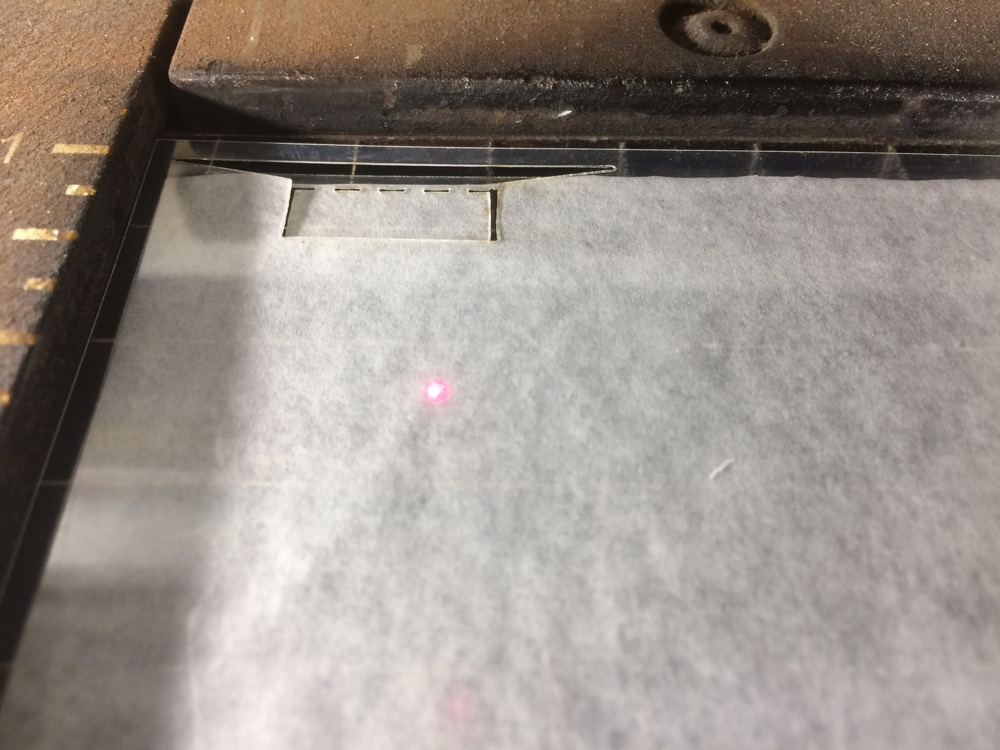
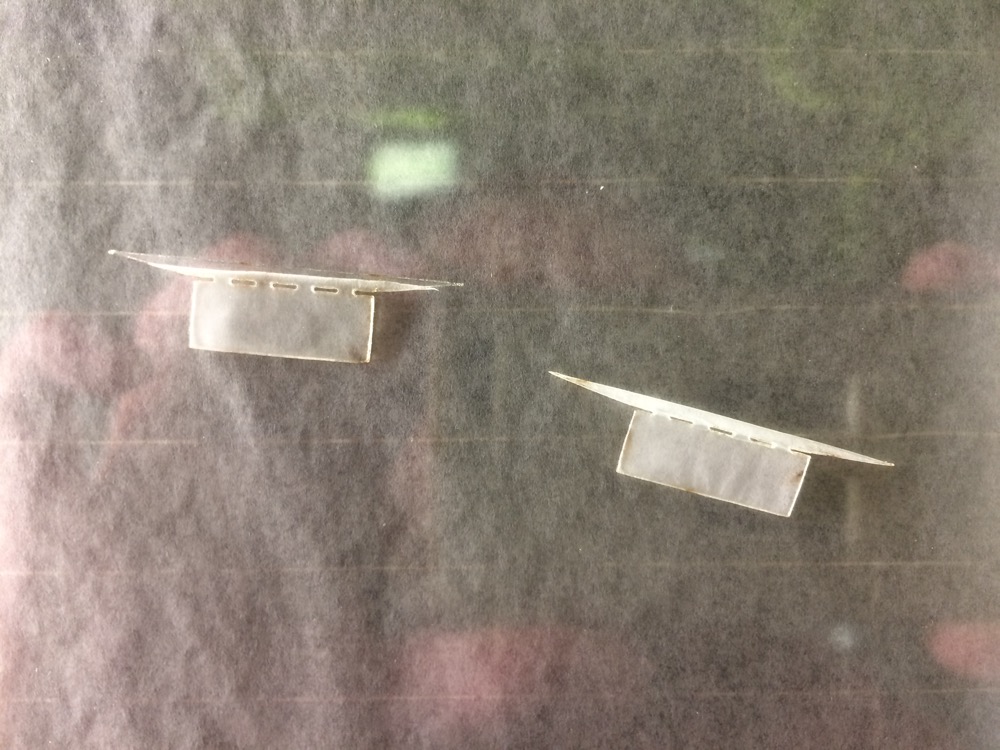
Then I laser-rastered and cut a board to change the very poor packaging of these electronics. Still poor but that helps a bit.
q
q
q
q
q
q
q
q
W
W
W
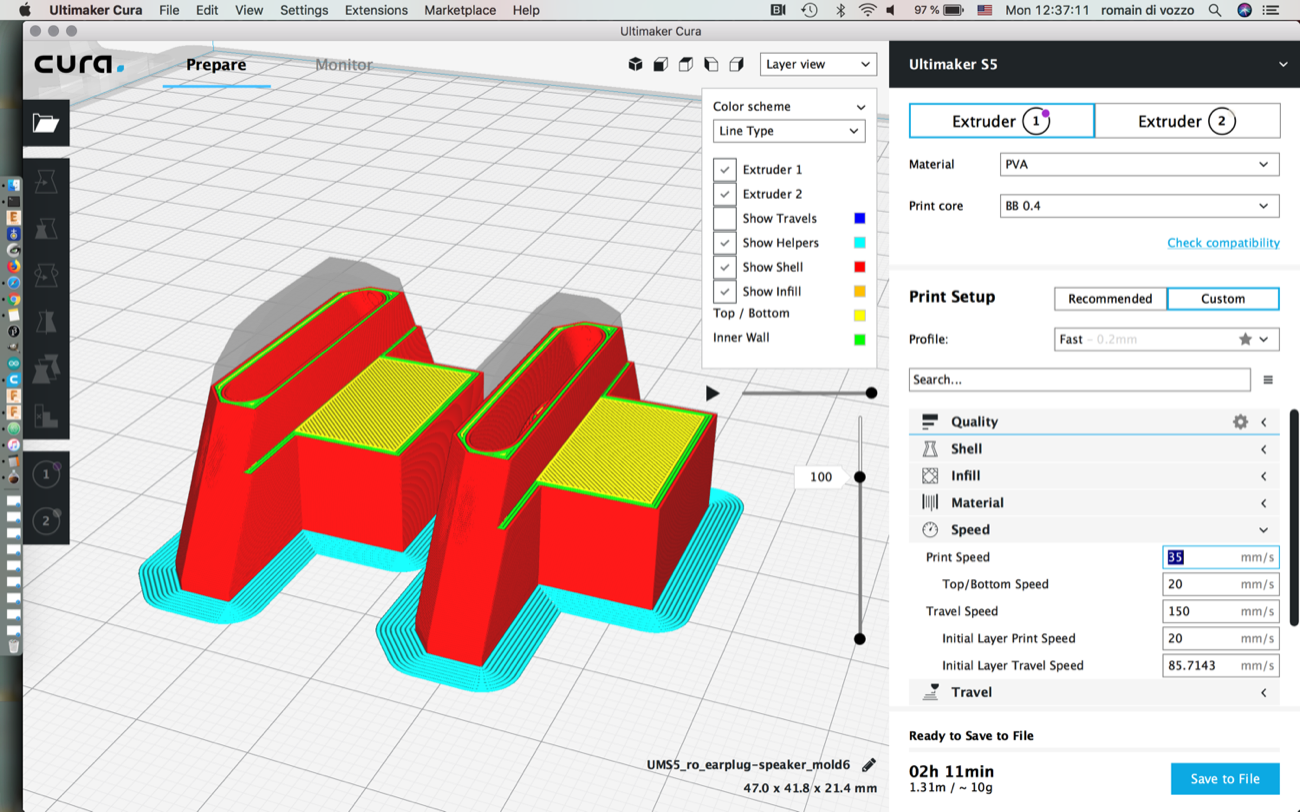
3 | Pushing the Boundaries of DIY Speaker design and making |
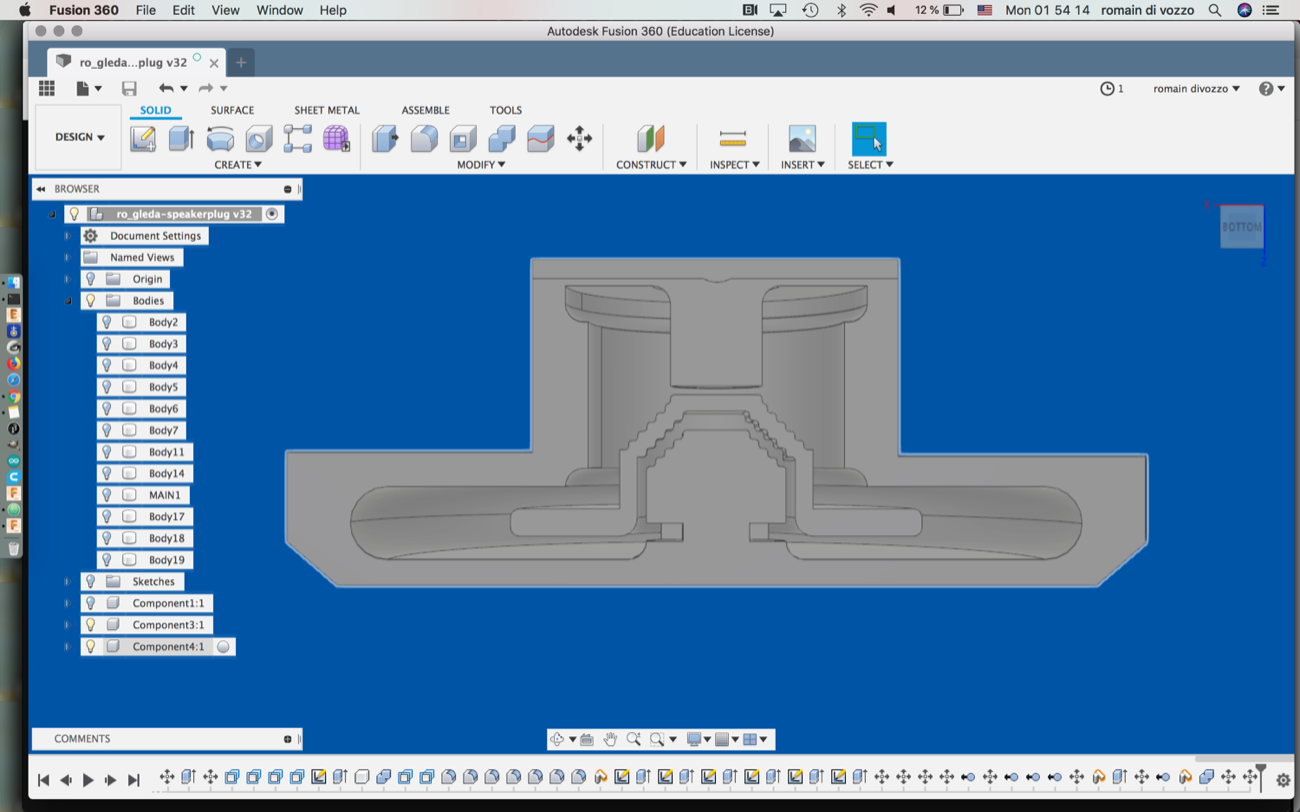
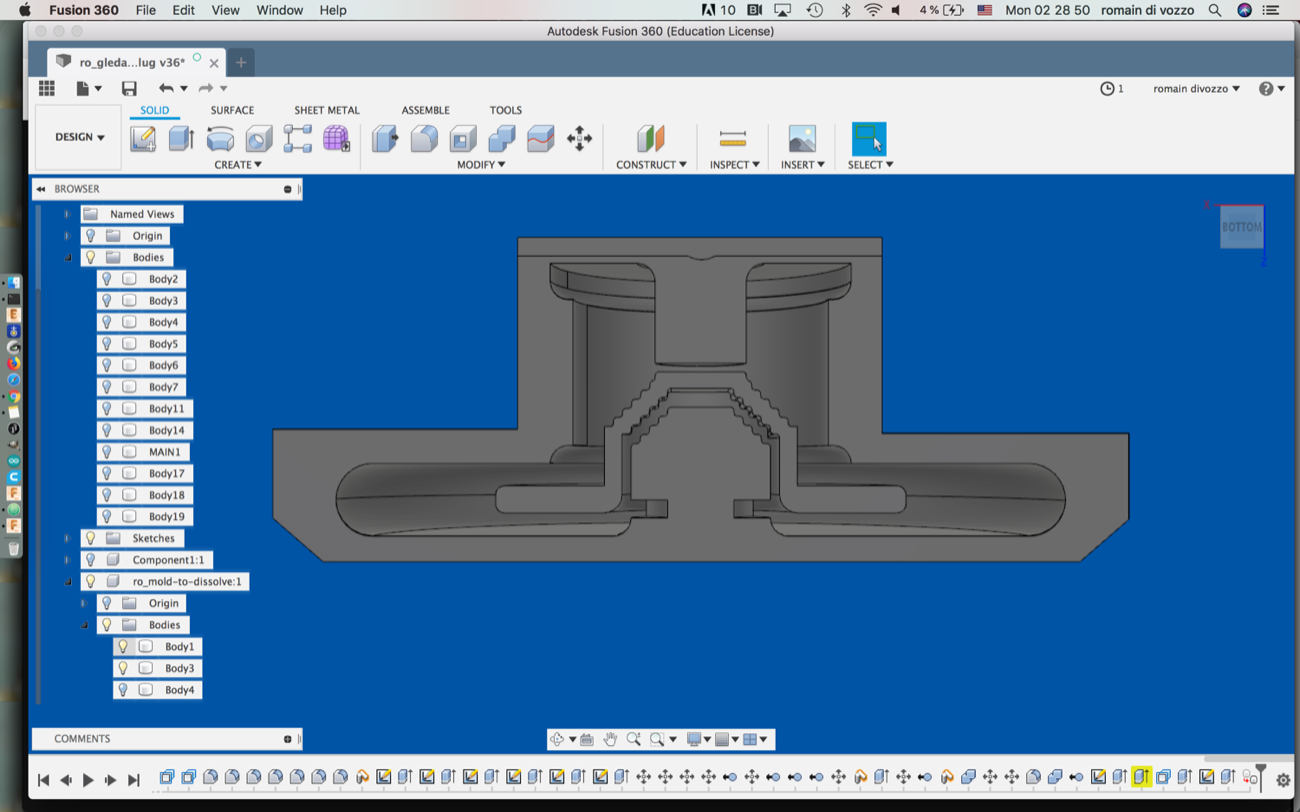
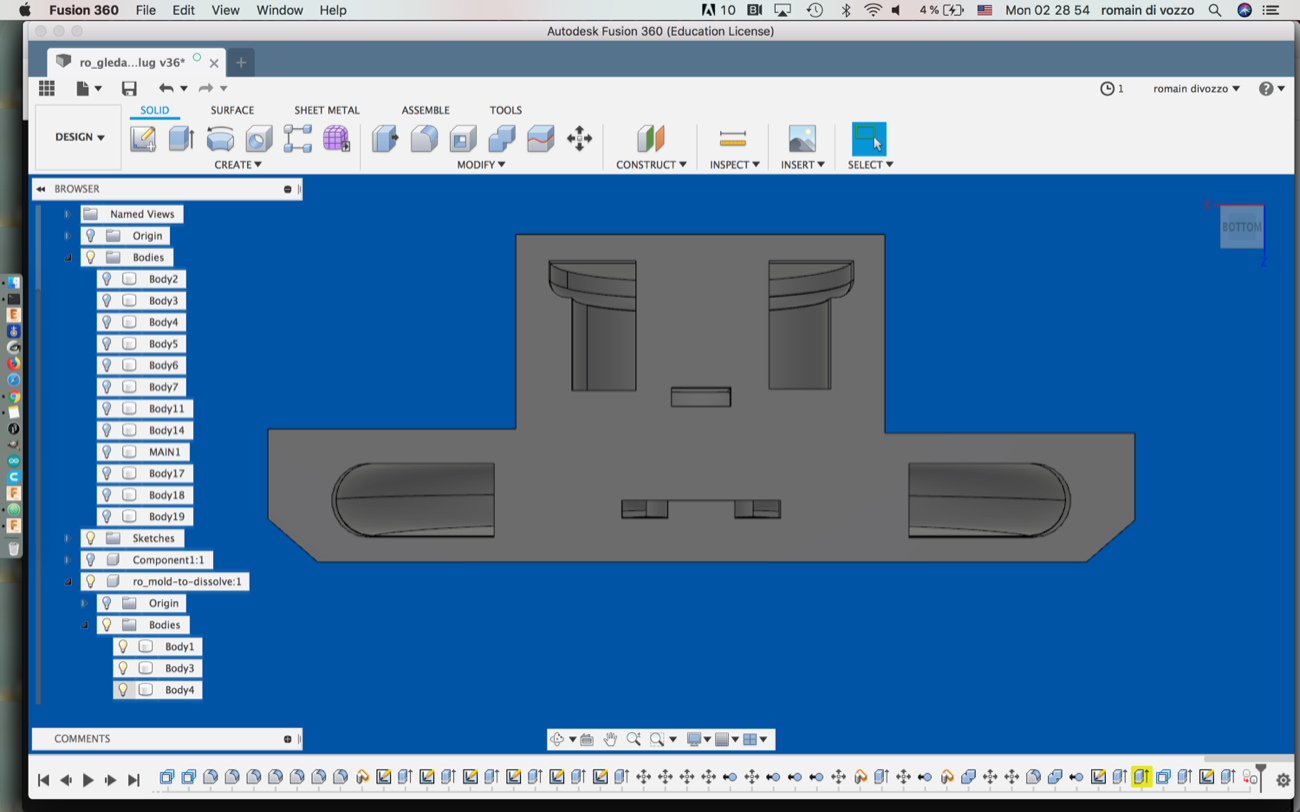
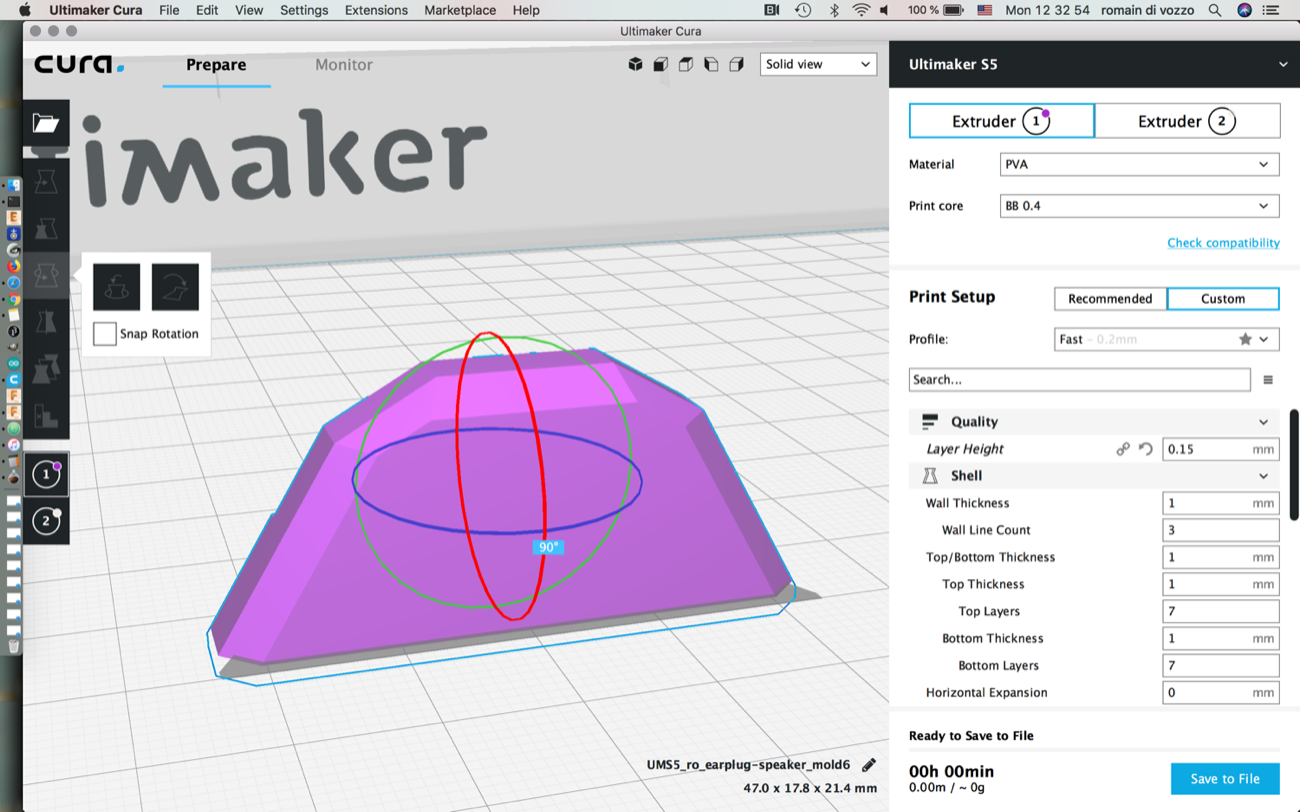
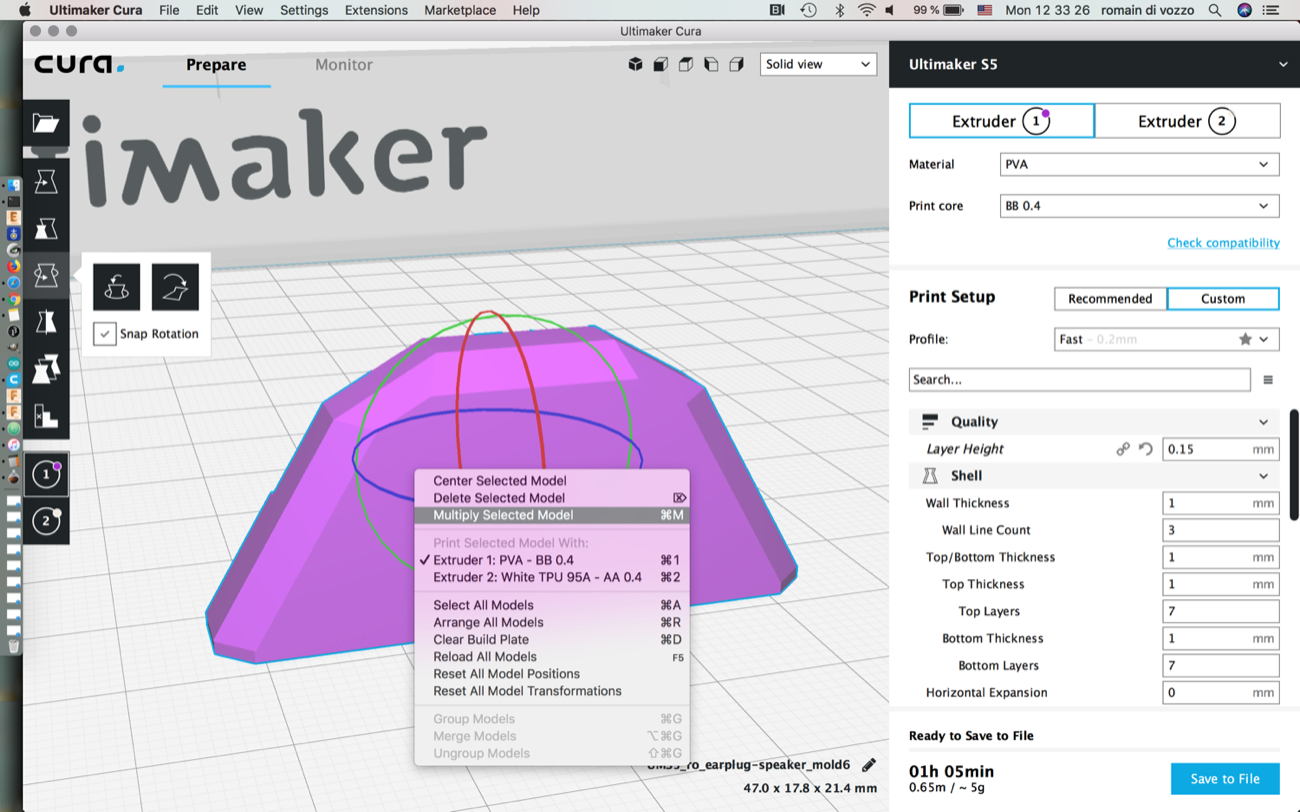
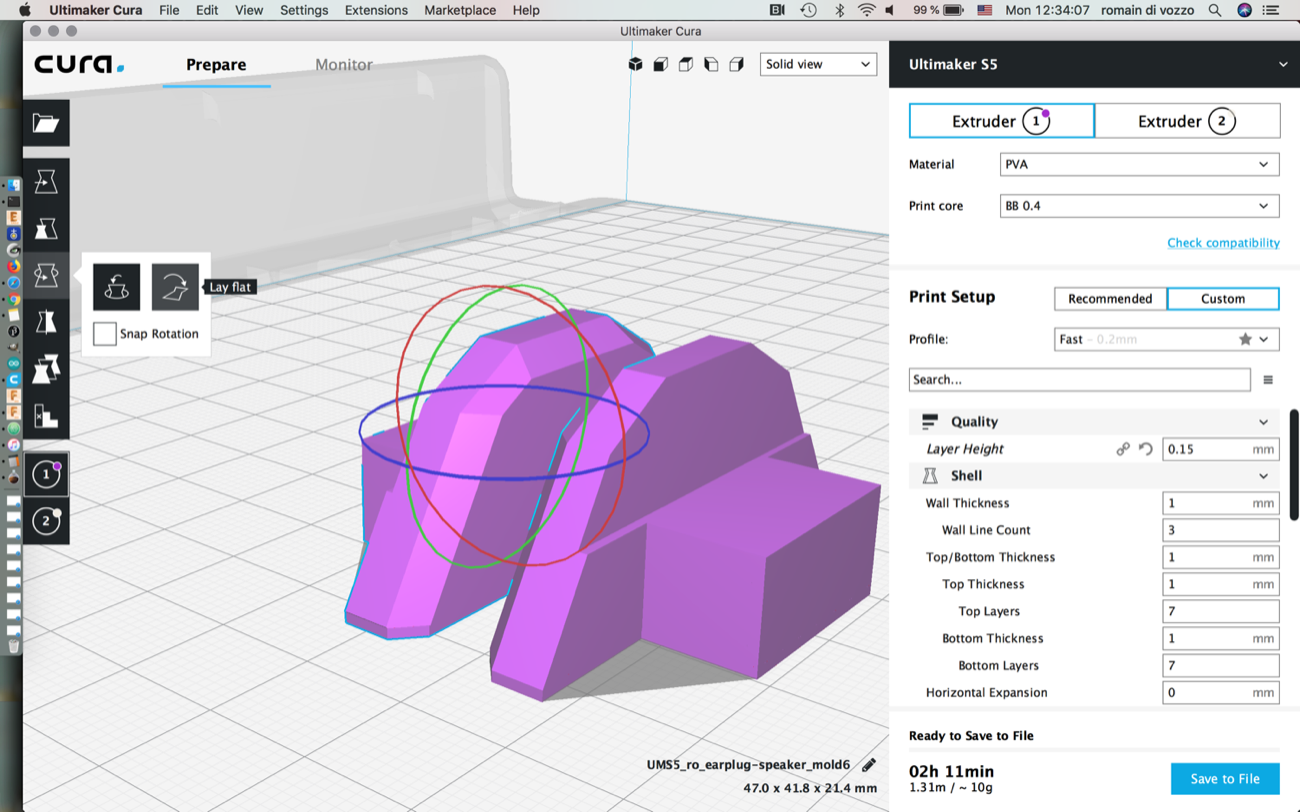
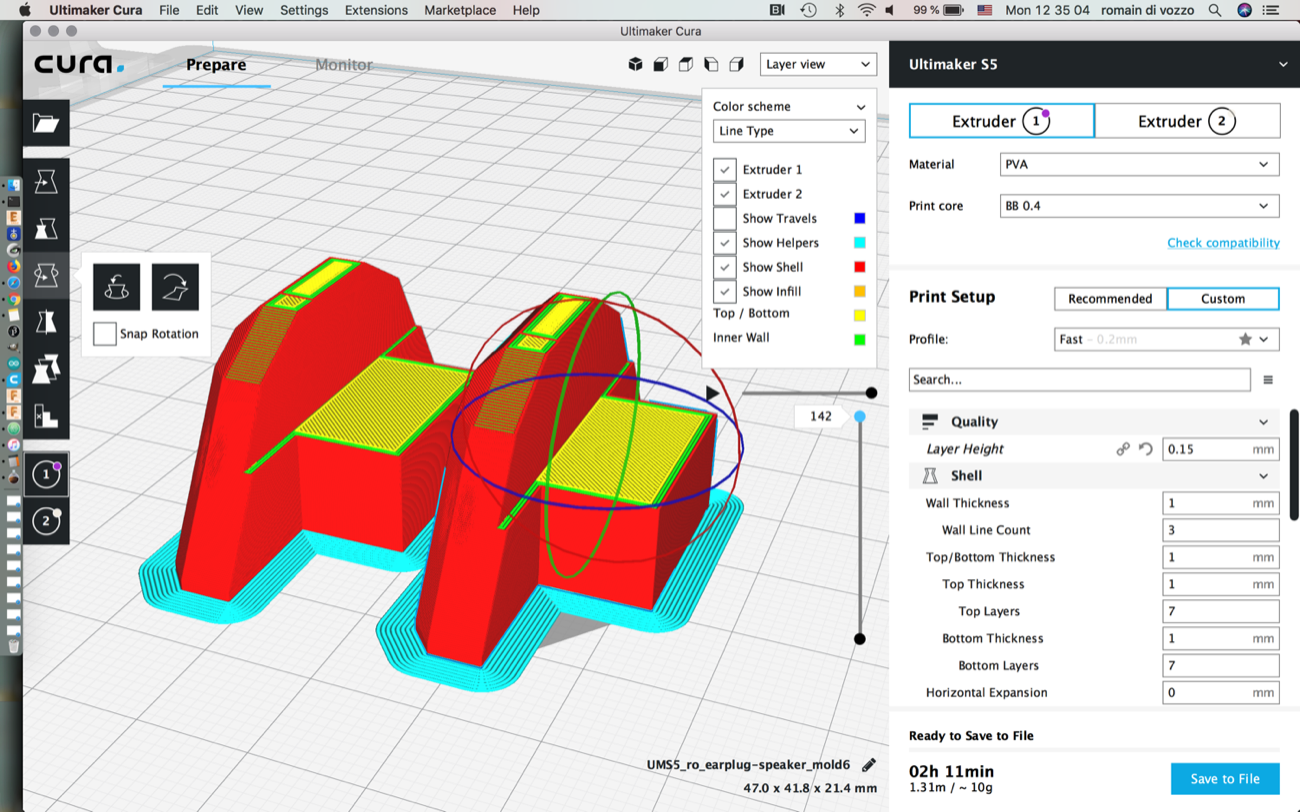
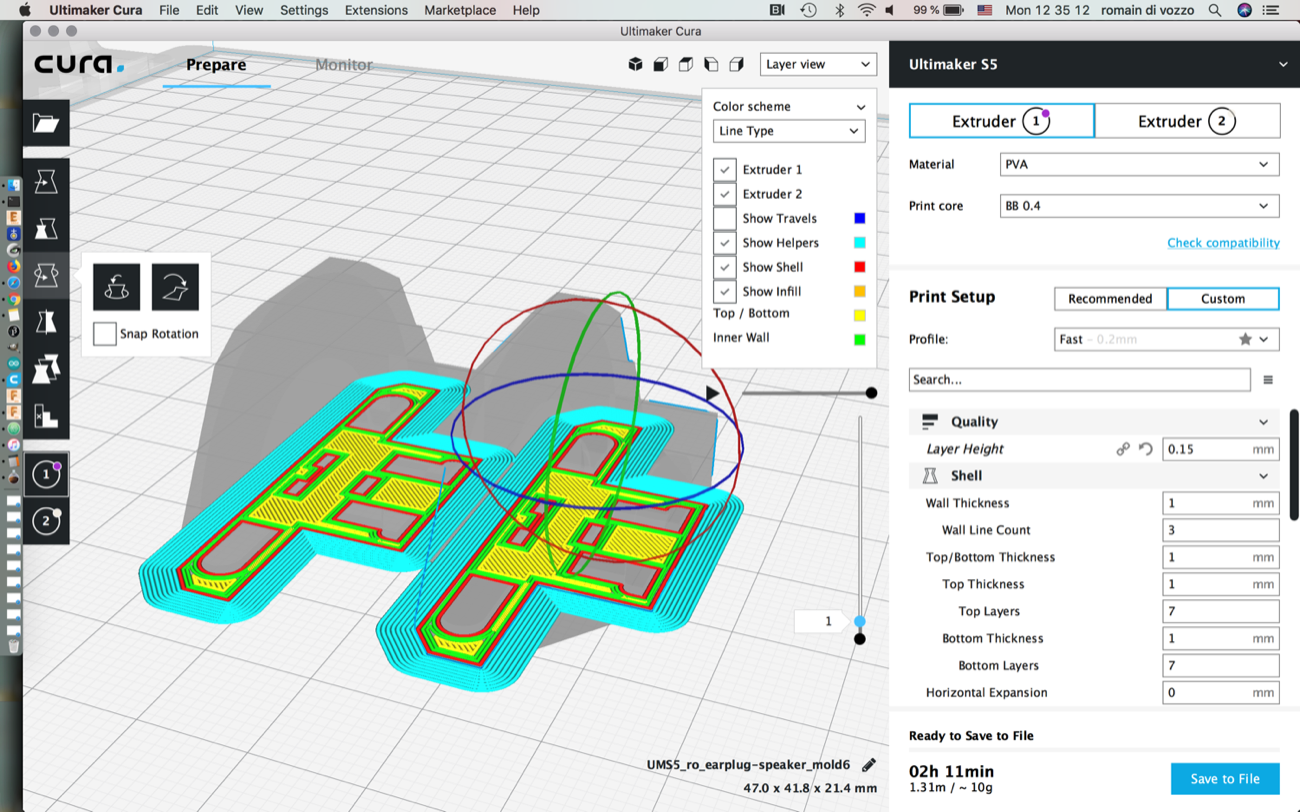
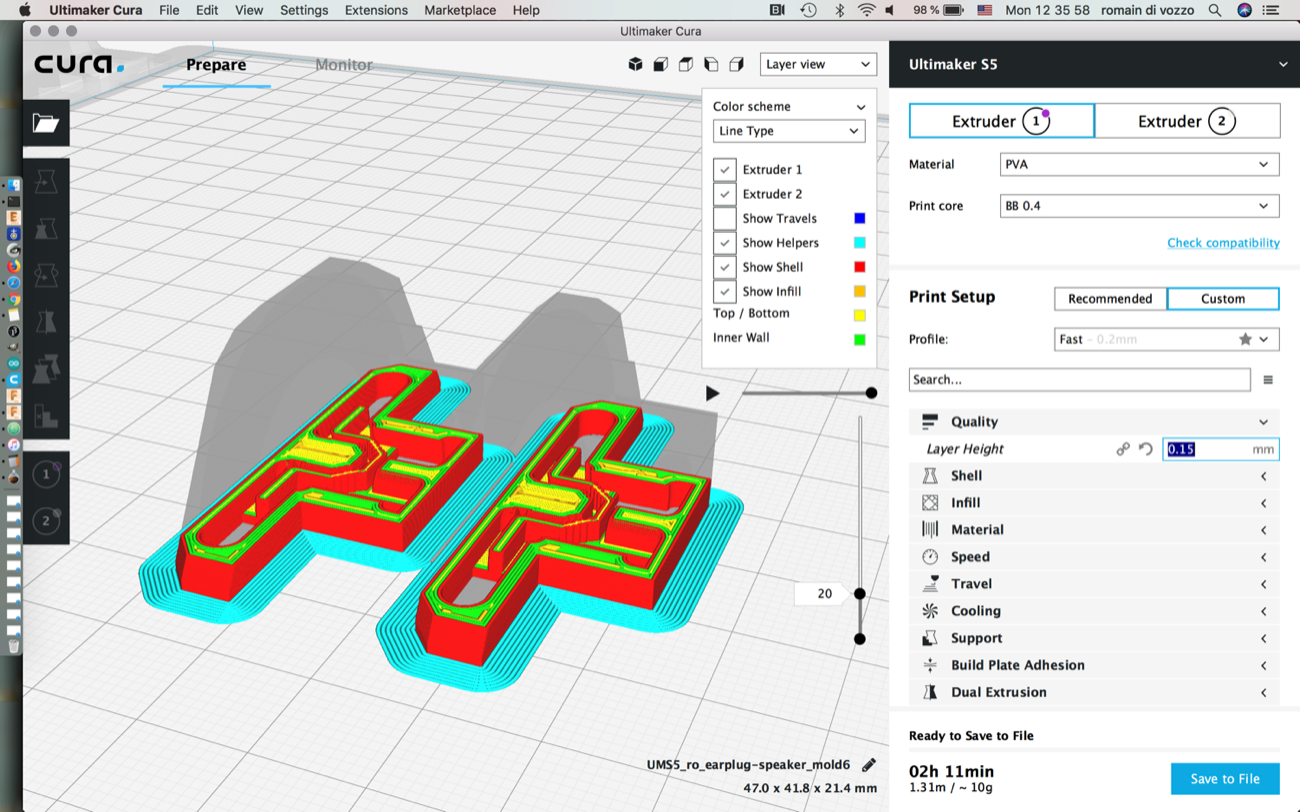
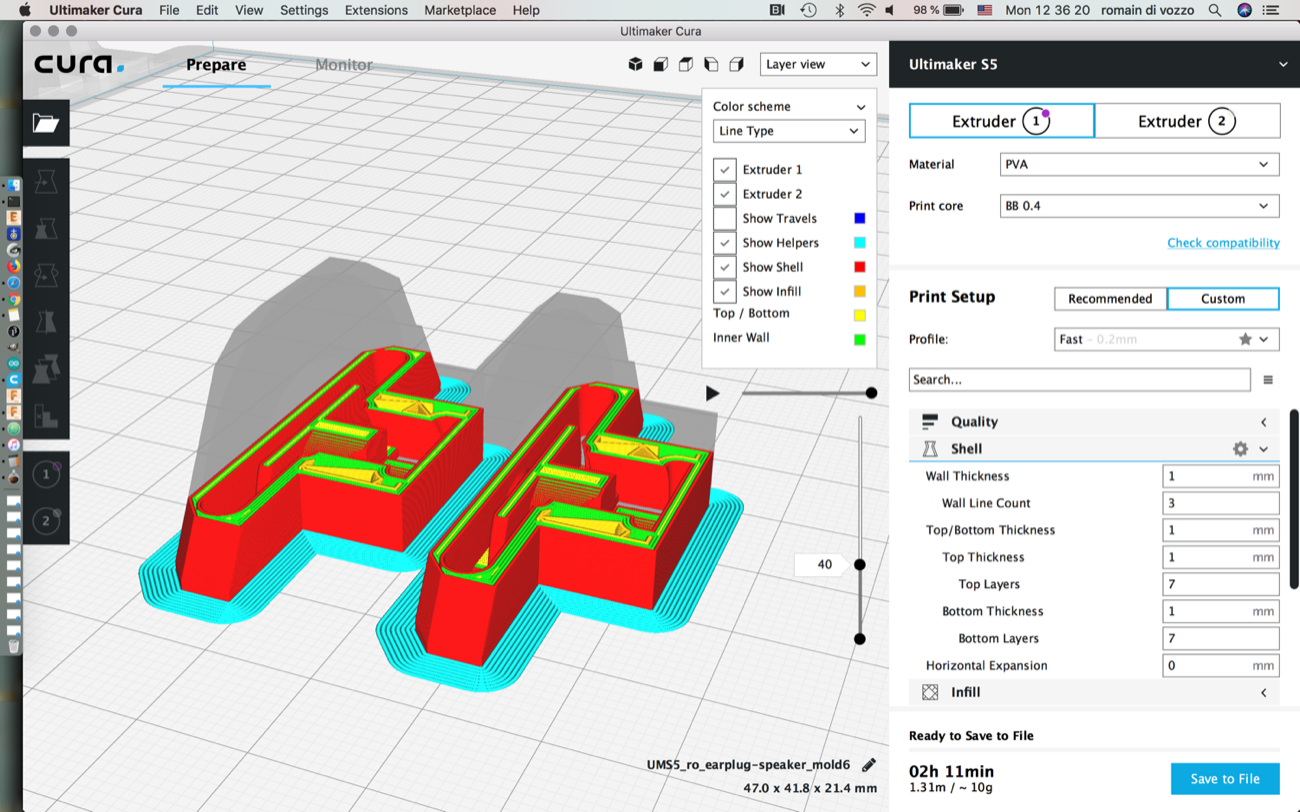
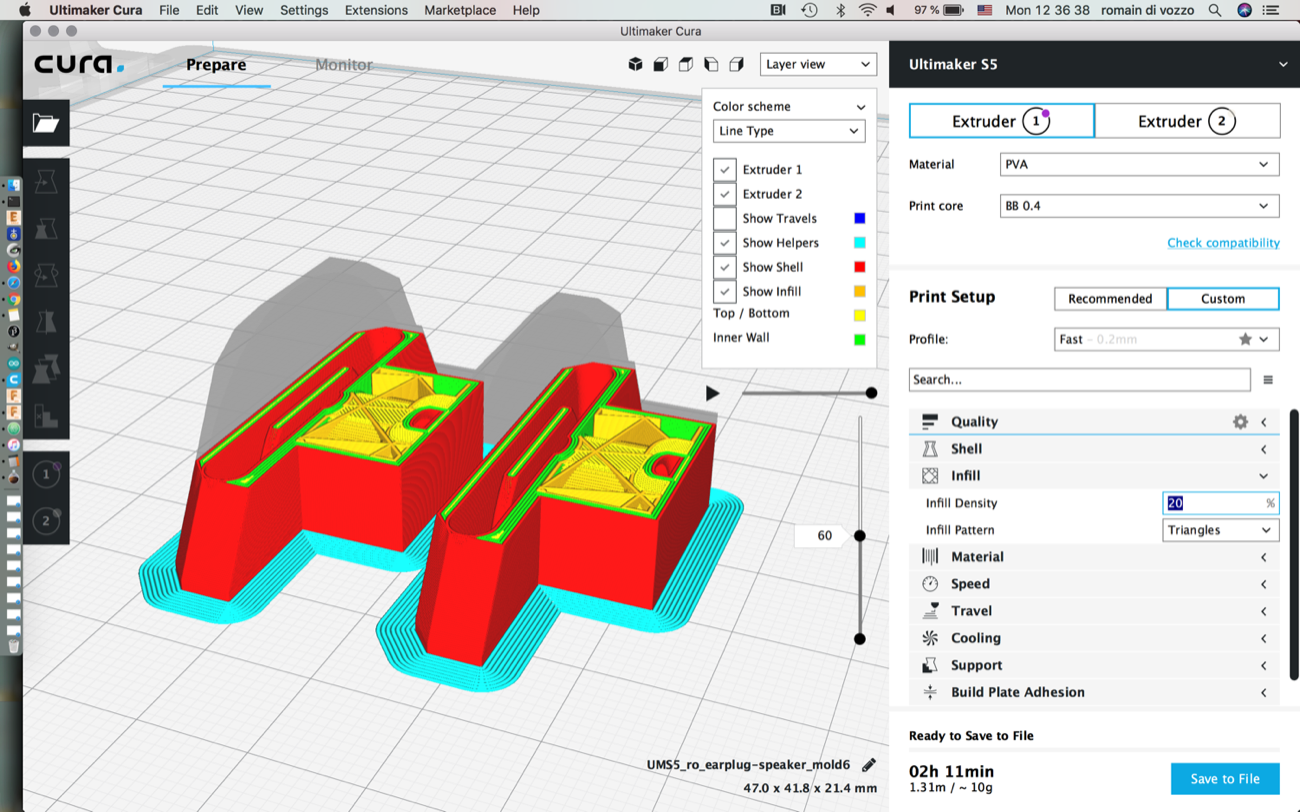
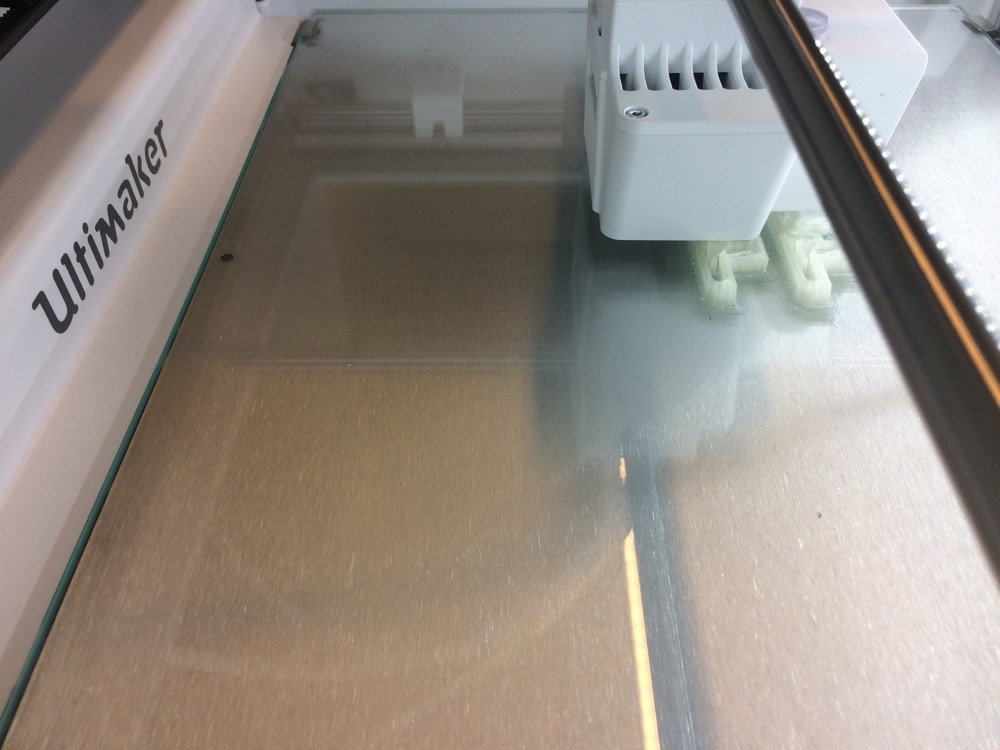
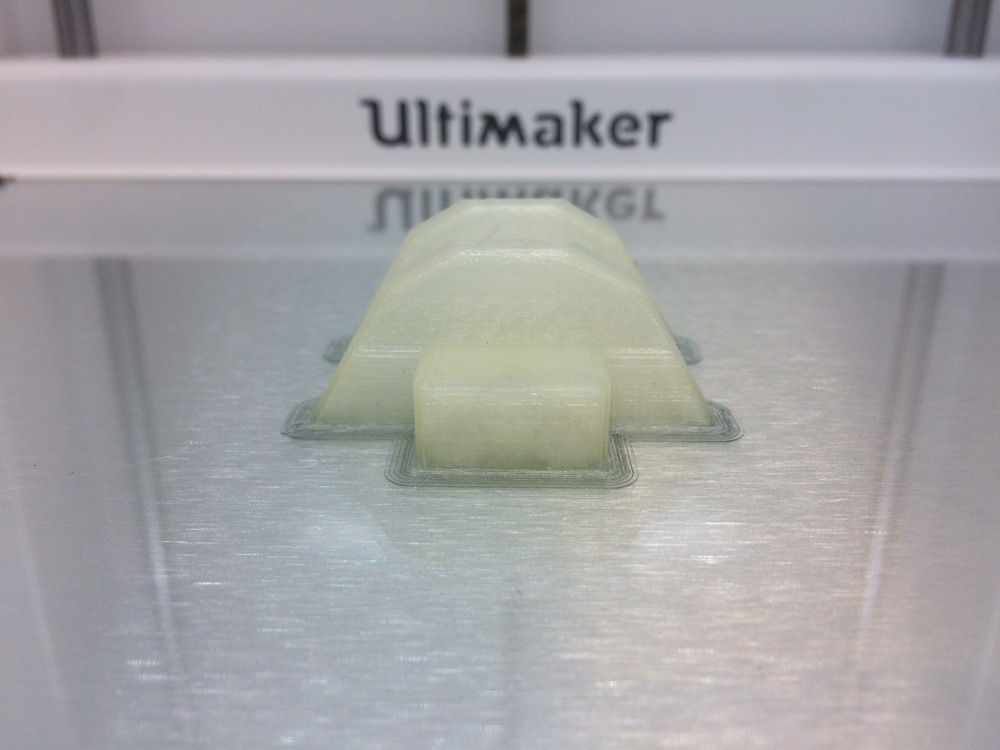
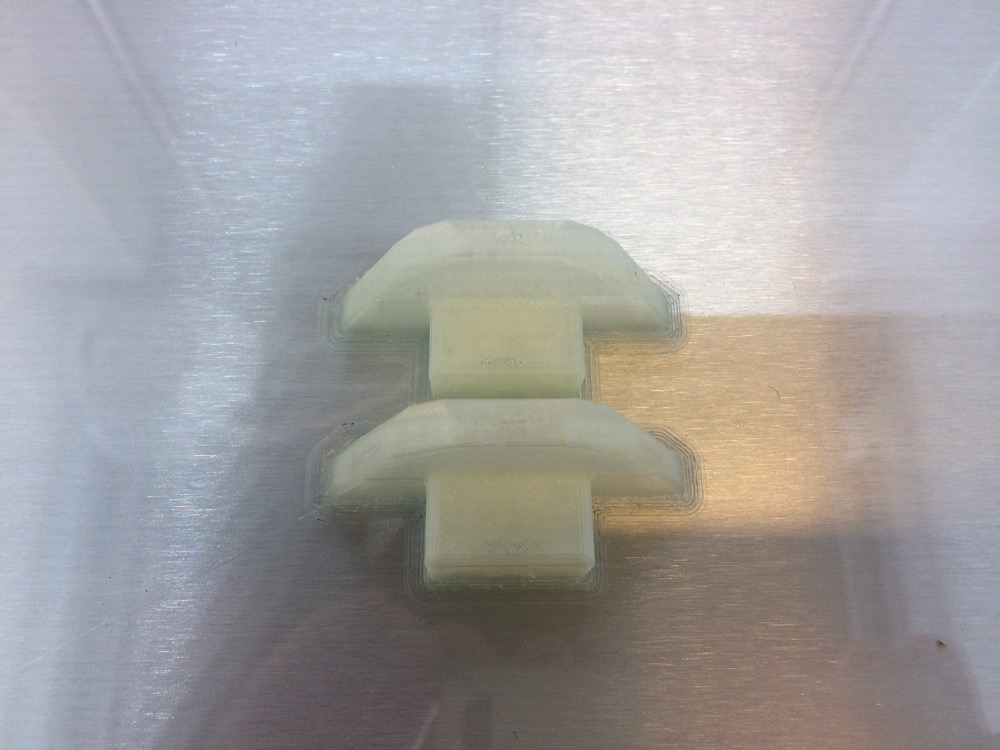
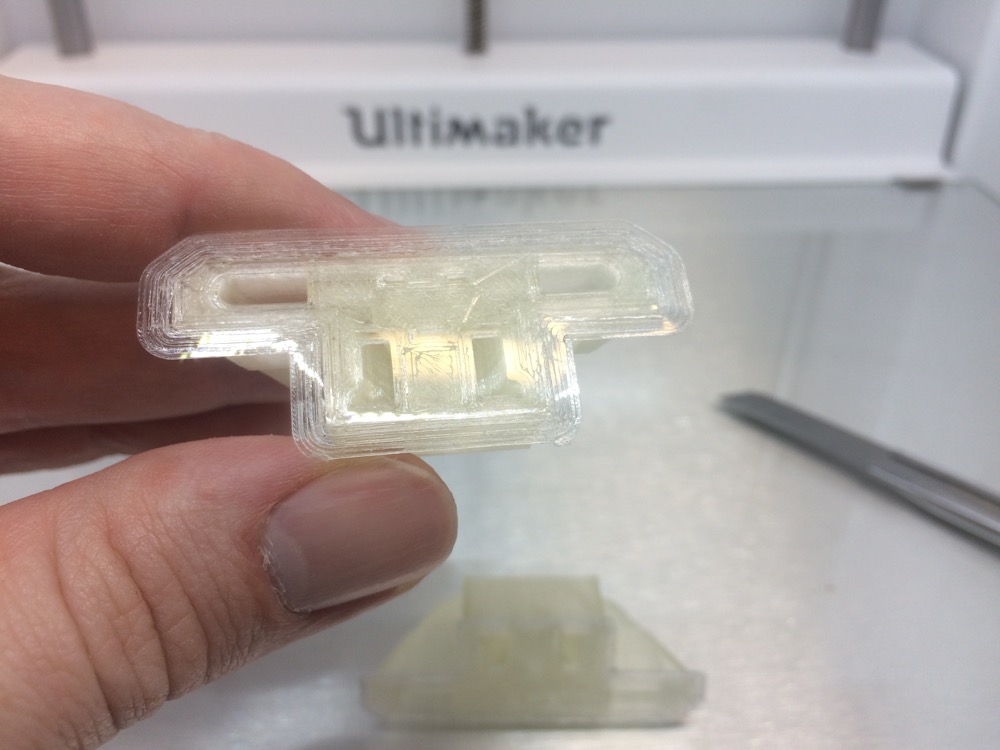
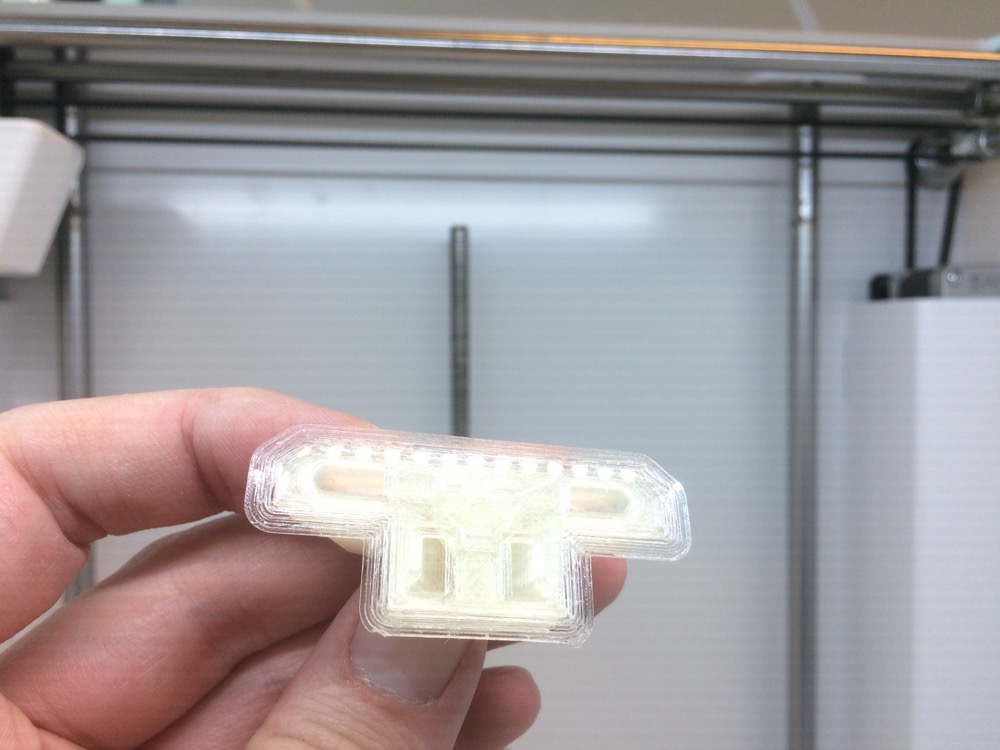
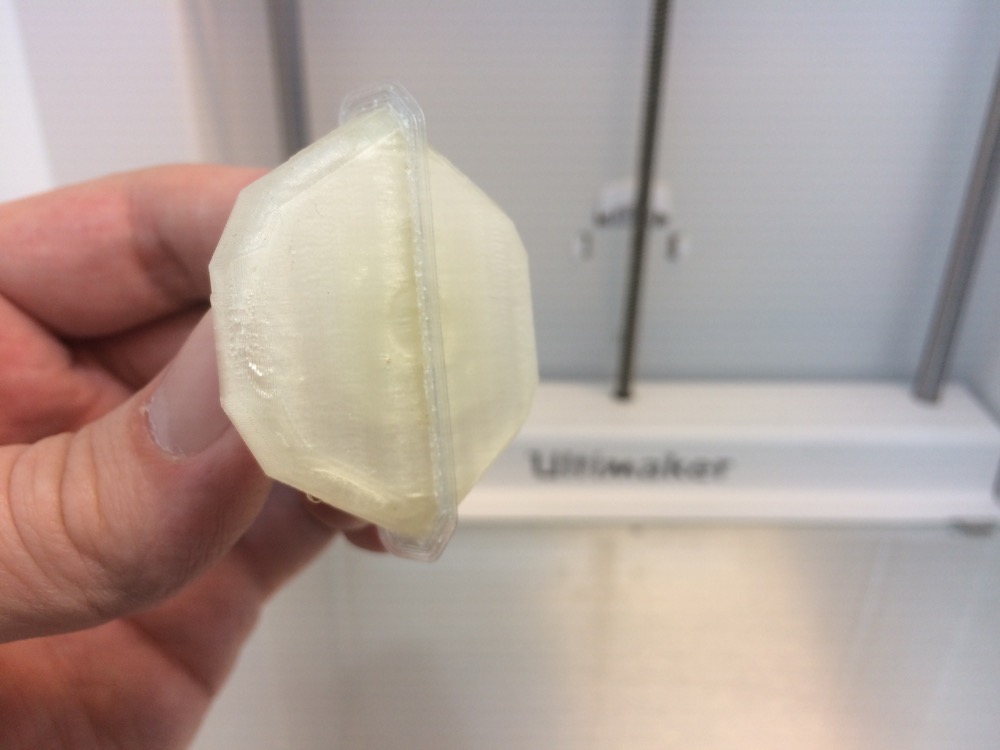
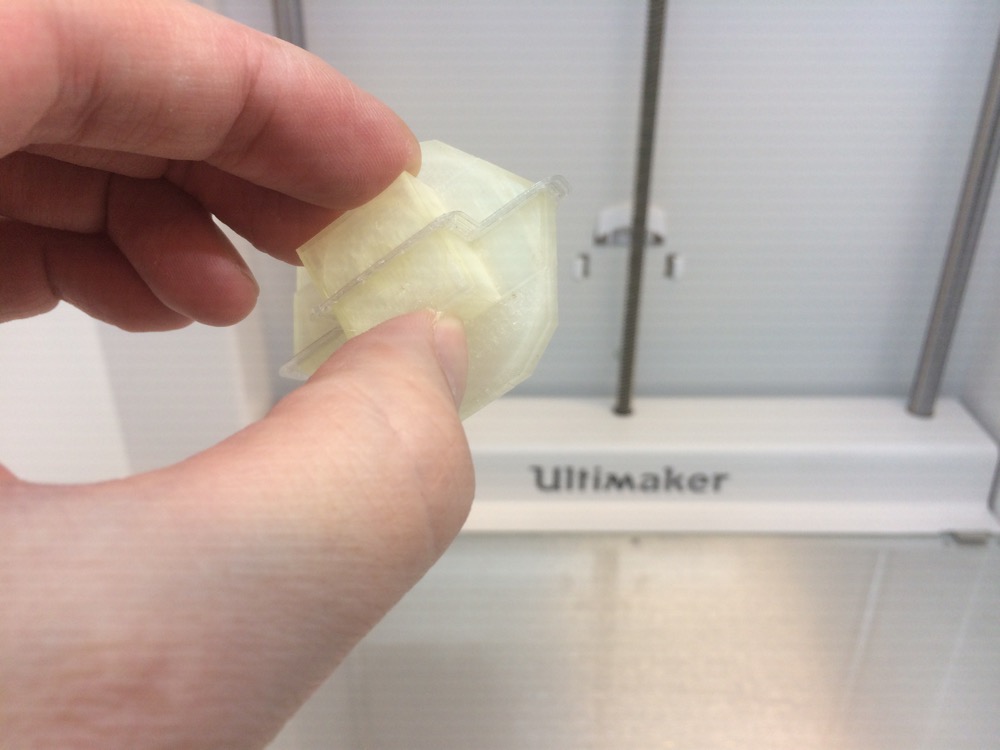
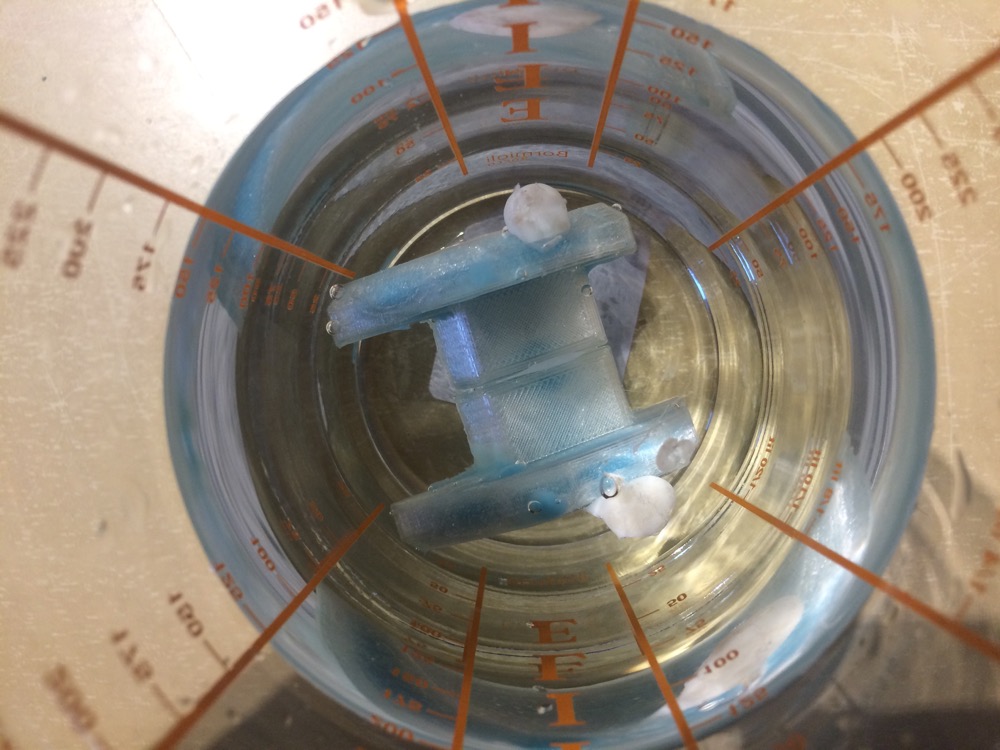
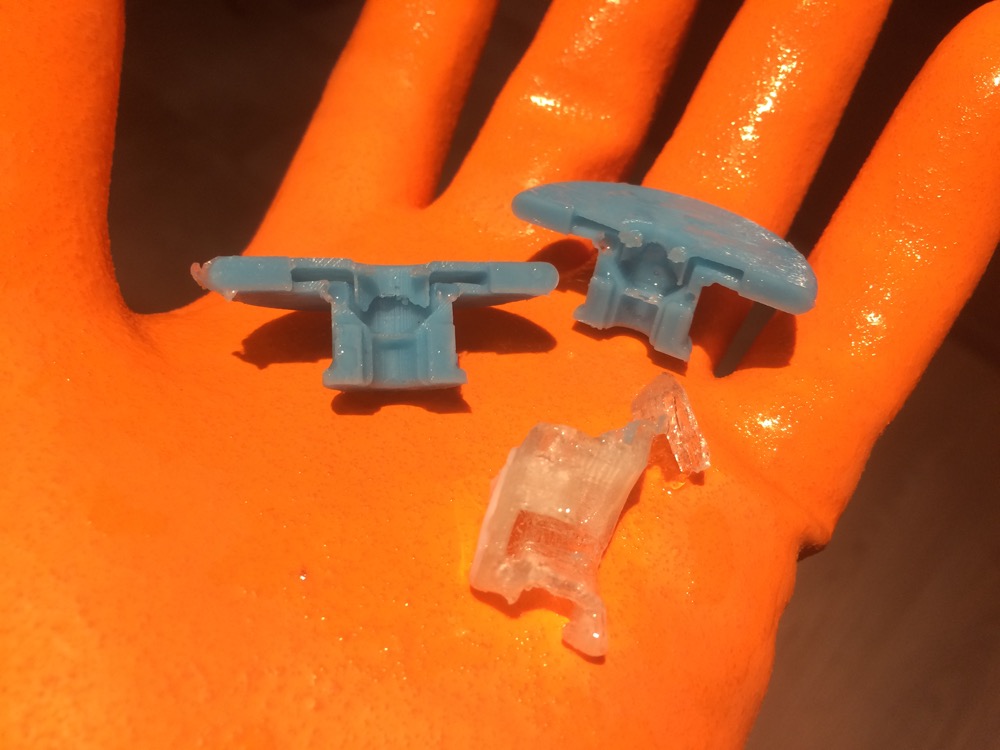
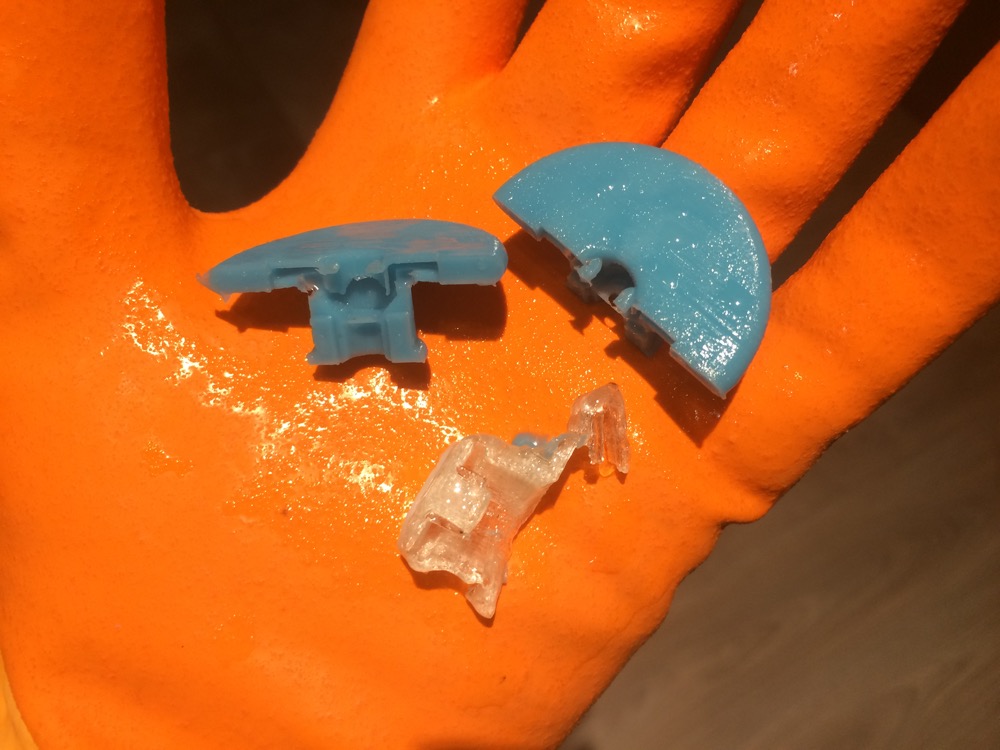
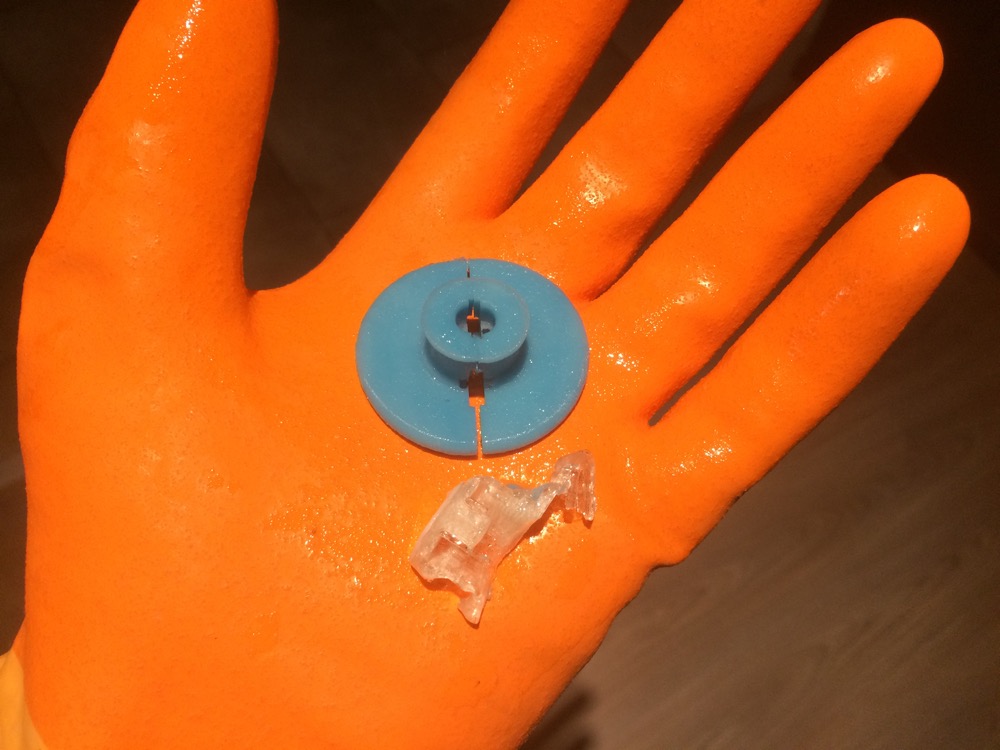
I am not even sure how this happened but I got trapped into the obsession of making tiny speakers for earplugs. I worked several days on wrapping my head around a mold that would transmit sound waves and contain a magnet and a way to connect the cables to a PCB and a power-source. I printed it with PVA, a slouble plastic. This first iteration is a fail, both in terms of design and in terms of engineering. A part of the complexity of this is the small size of the earplug, then comes my lack of knowledge, and making a mold for an object you don’t master with constraints related to 3D printing makes it even worst.
W
W
W
W
W
W
W
W
W
W
W
W
W
W
W
W
W
W
W
W
W
W
W
W
W
W
W
W
W
W
v
v
v
v
v
v
v
v
v
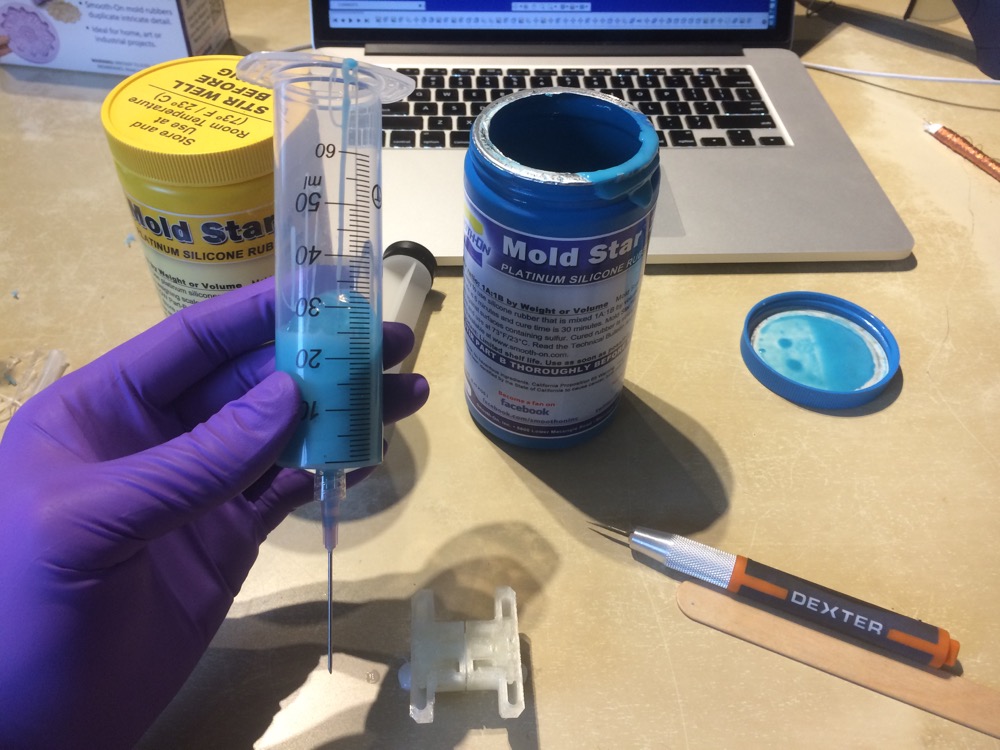
Mixing the silicone inside the serynge.
v
v
v
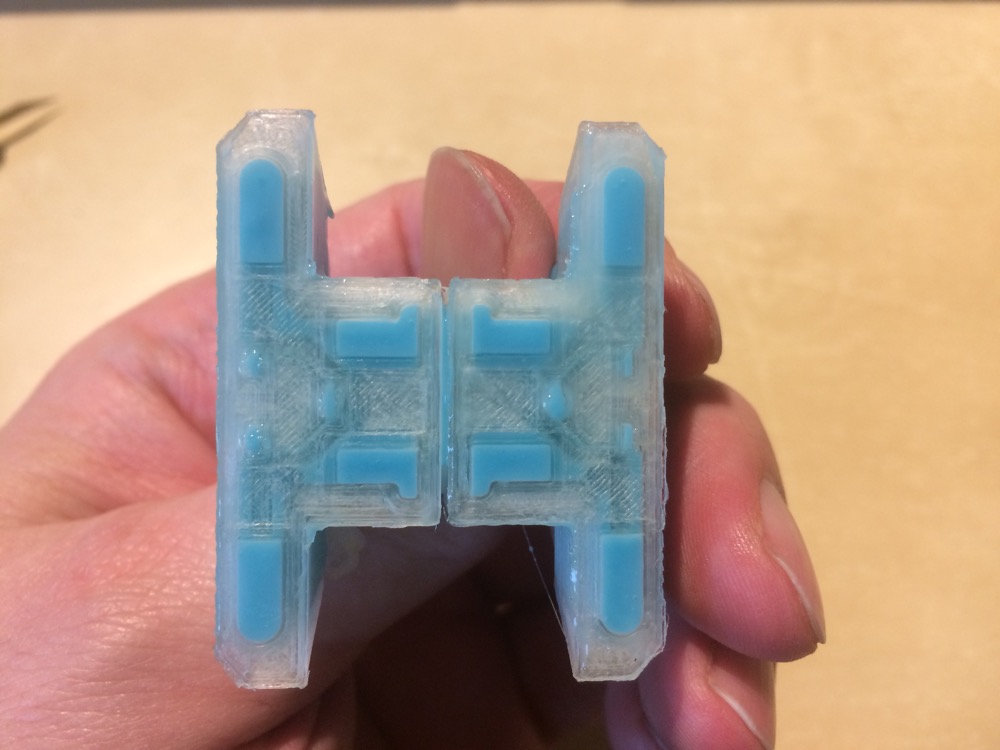
Waiting for the Mold to dissolve in water
v
v
v
v
v
4 | Testing laser-cutting parts of a cone for tiny speakers |
Trying to laser-cut a conic membrane I could embed in speakers. Failed.
v
v
Then I found this calculator for cones but the values of my cone were to small for the calculator. I couldn’t get a pattern from it.
ADD CALCULATOR WEBPAGE Here
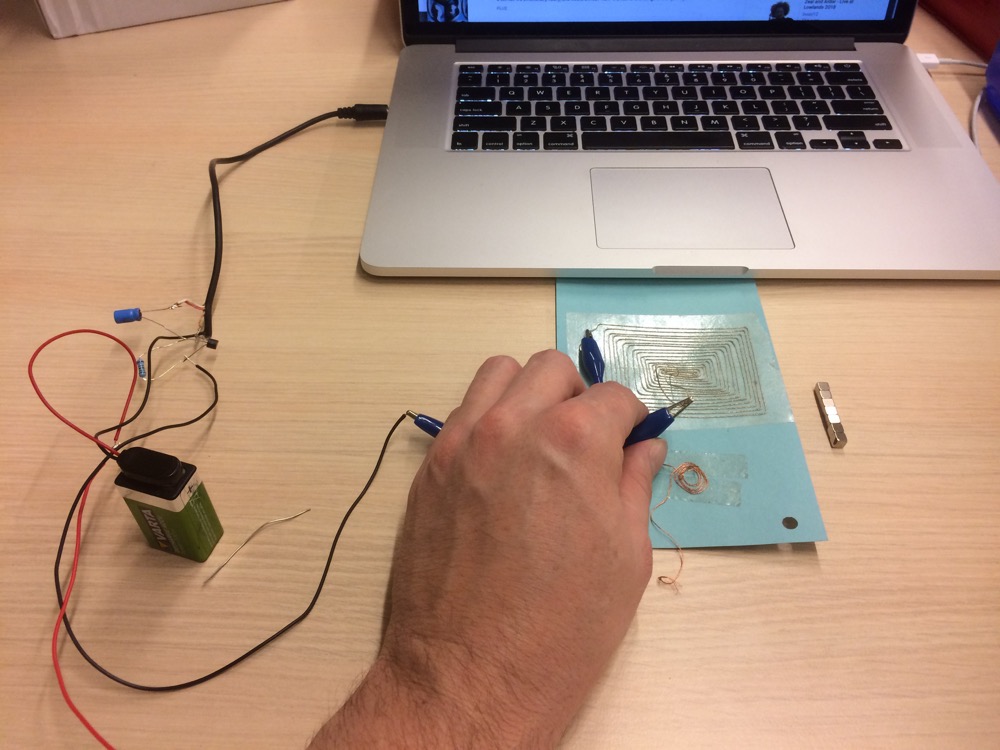
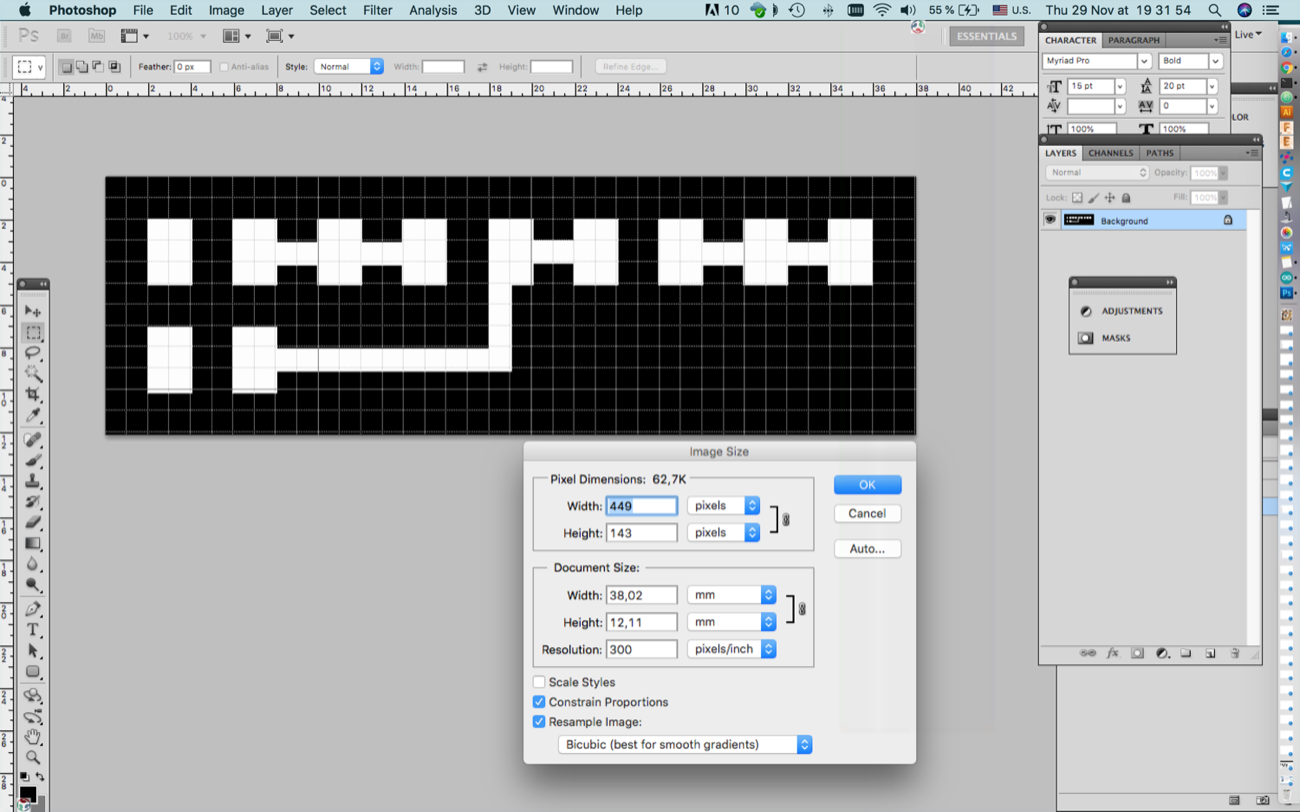
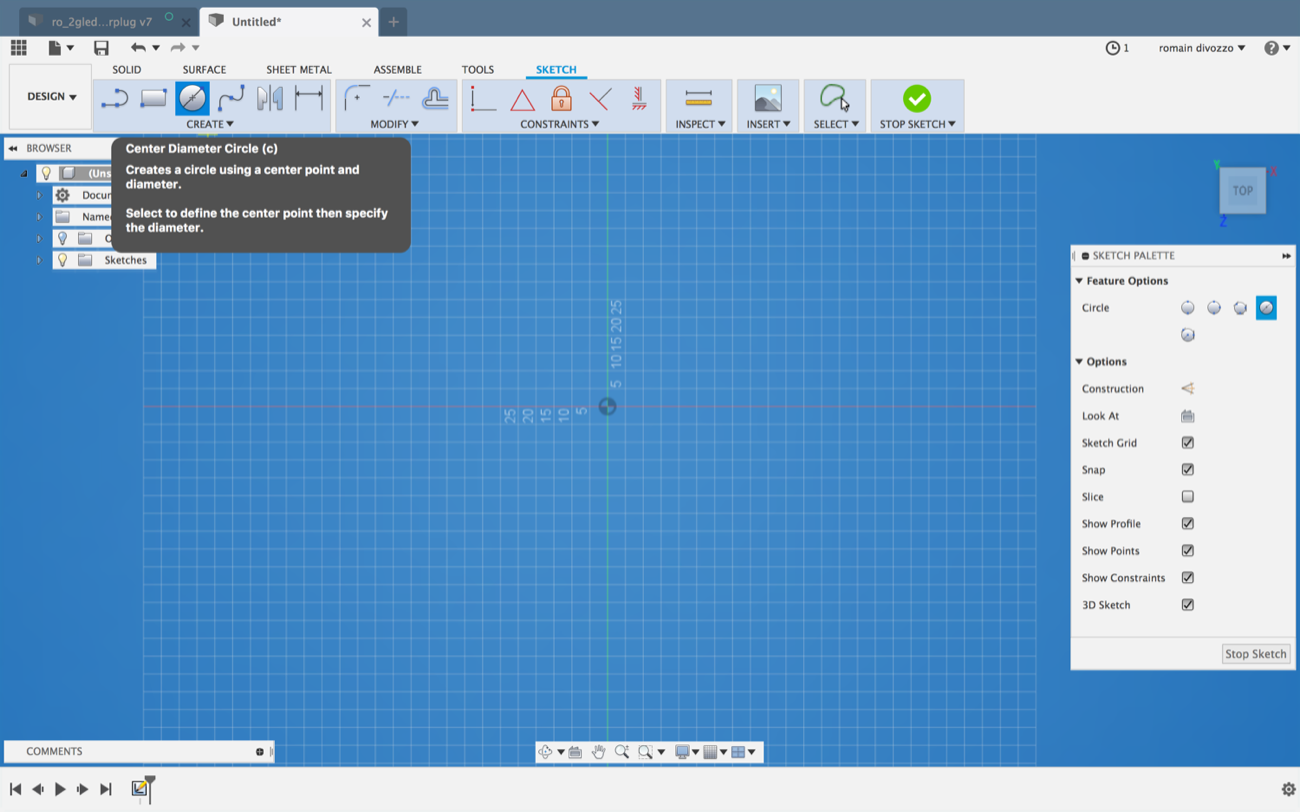
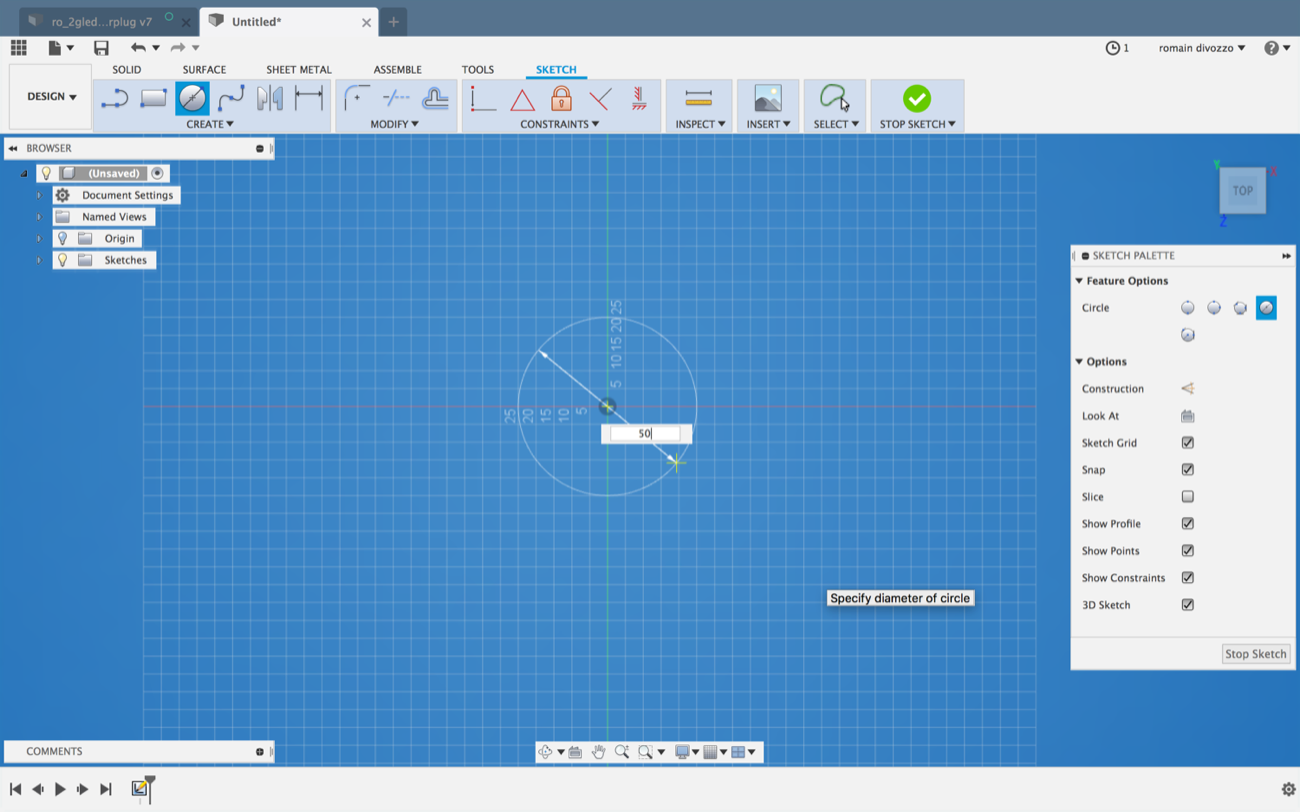
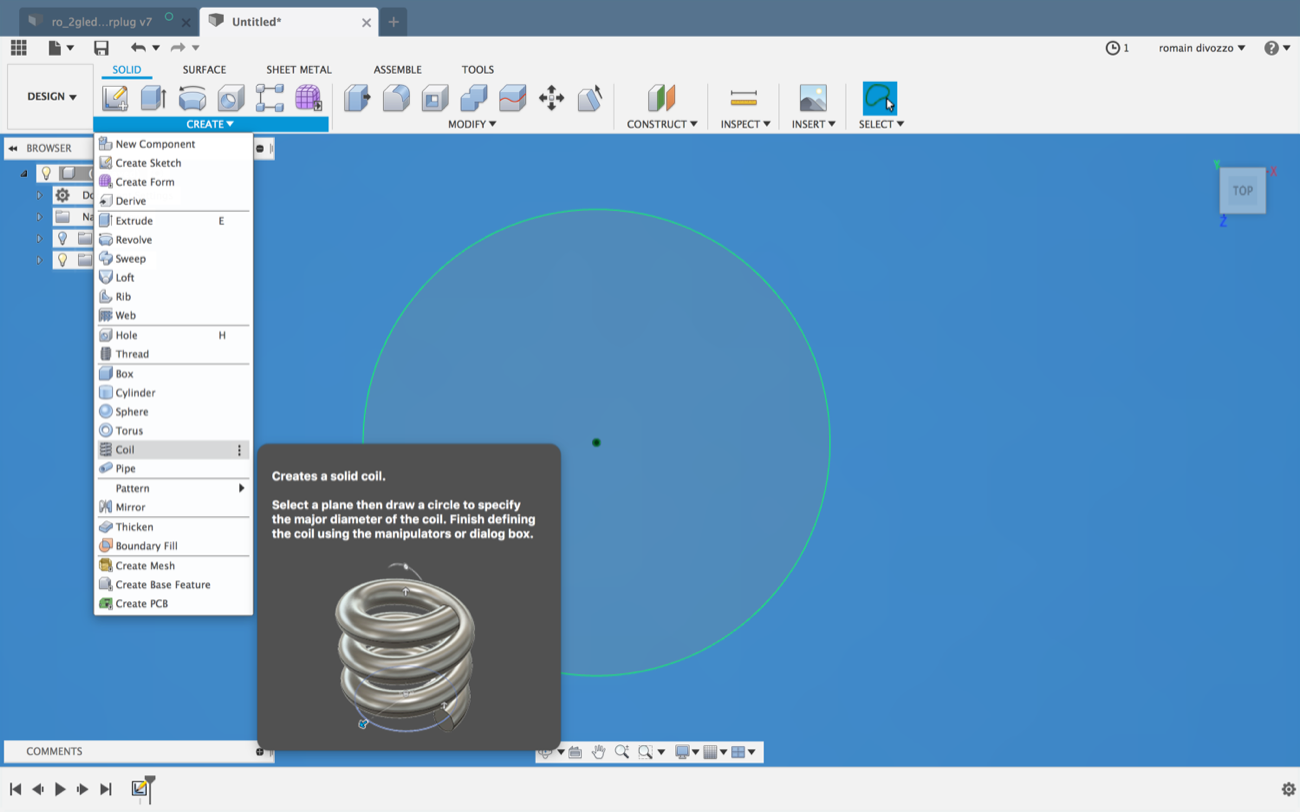
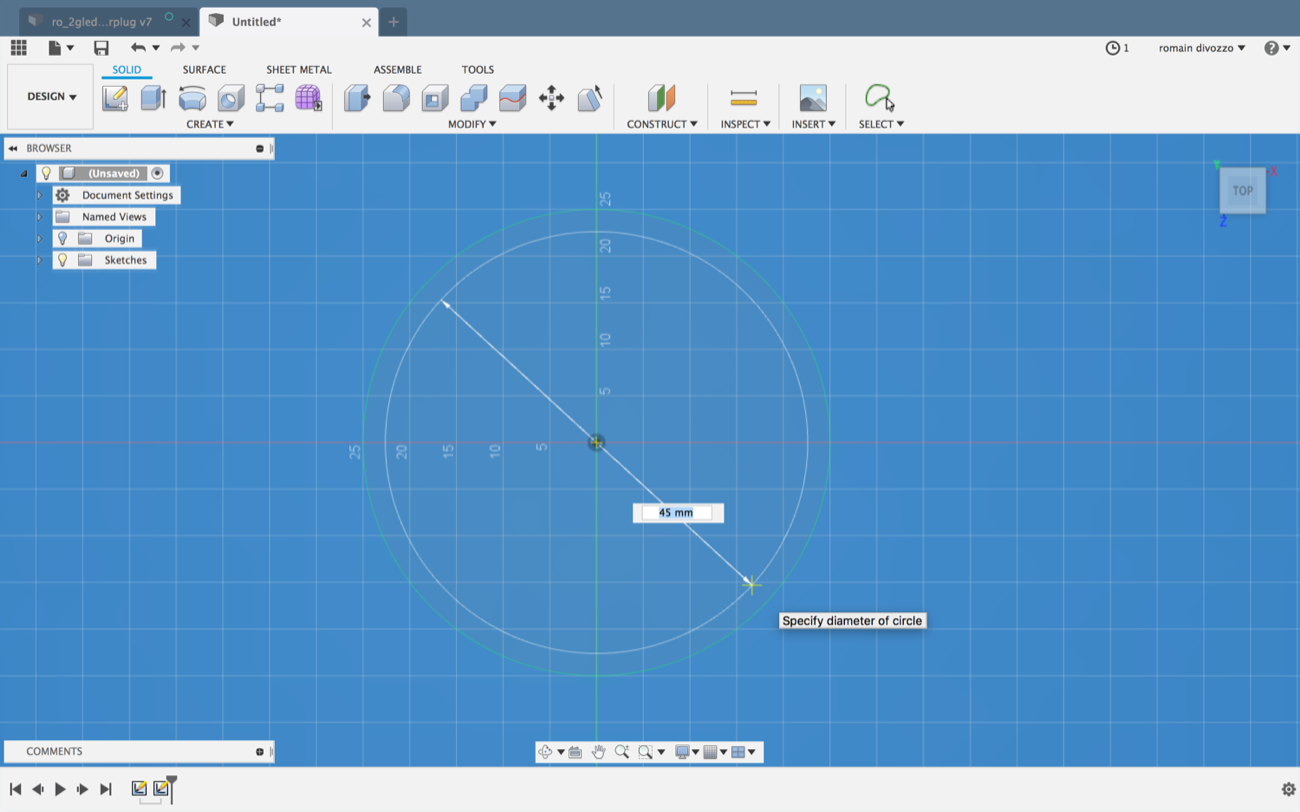
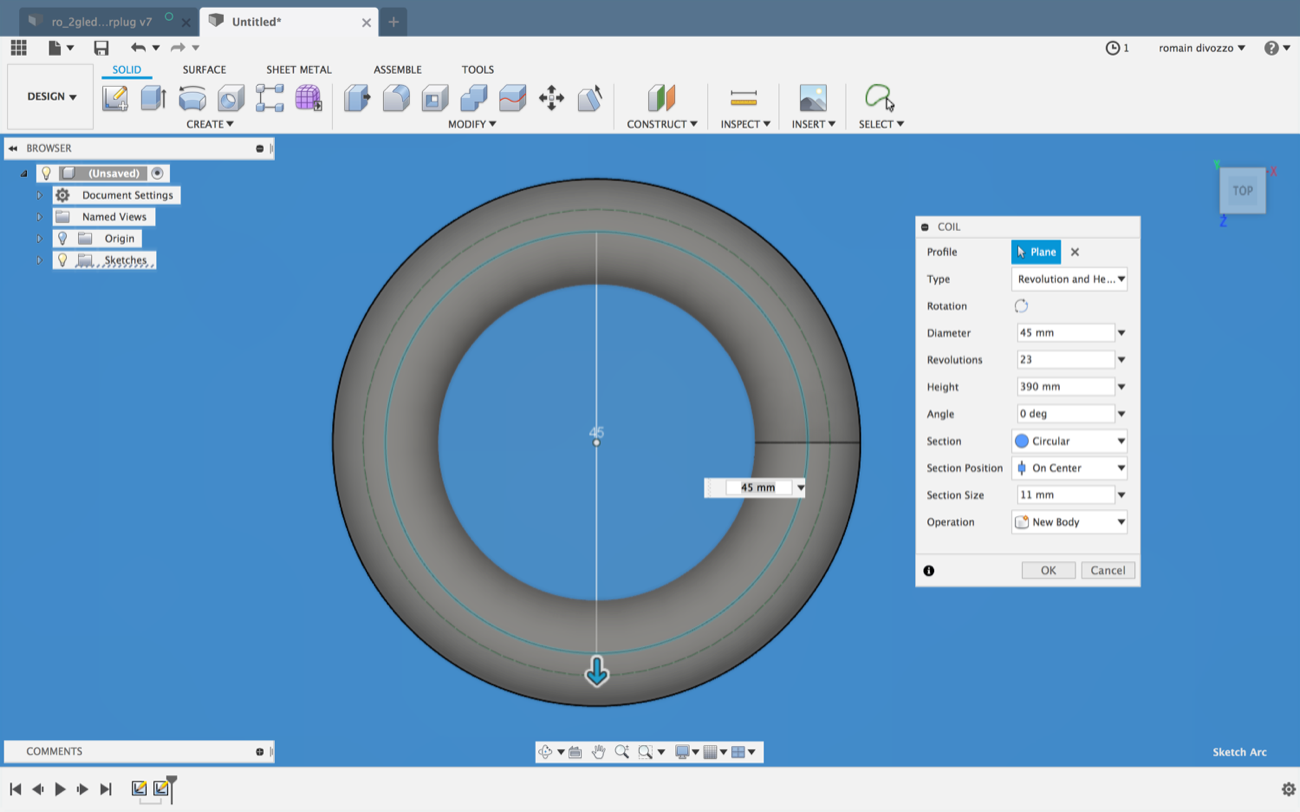
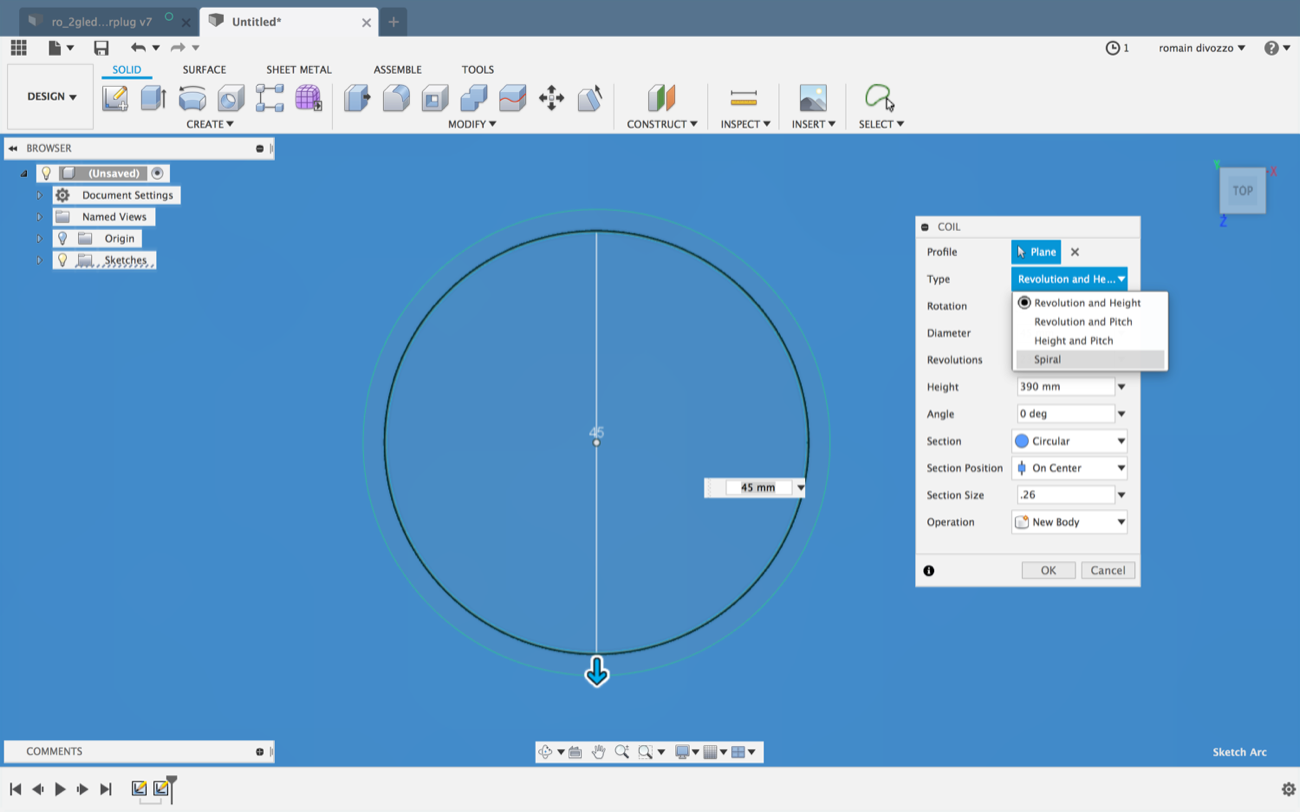
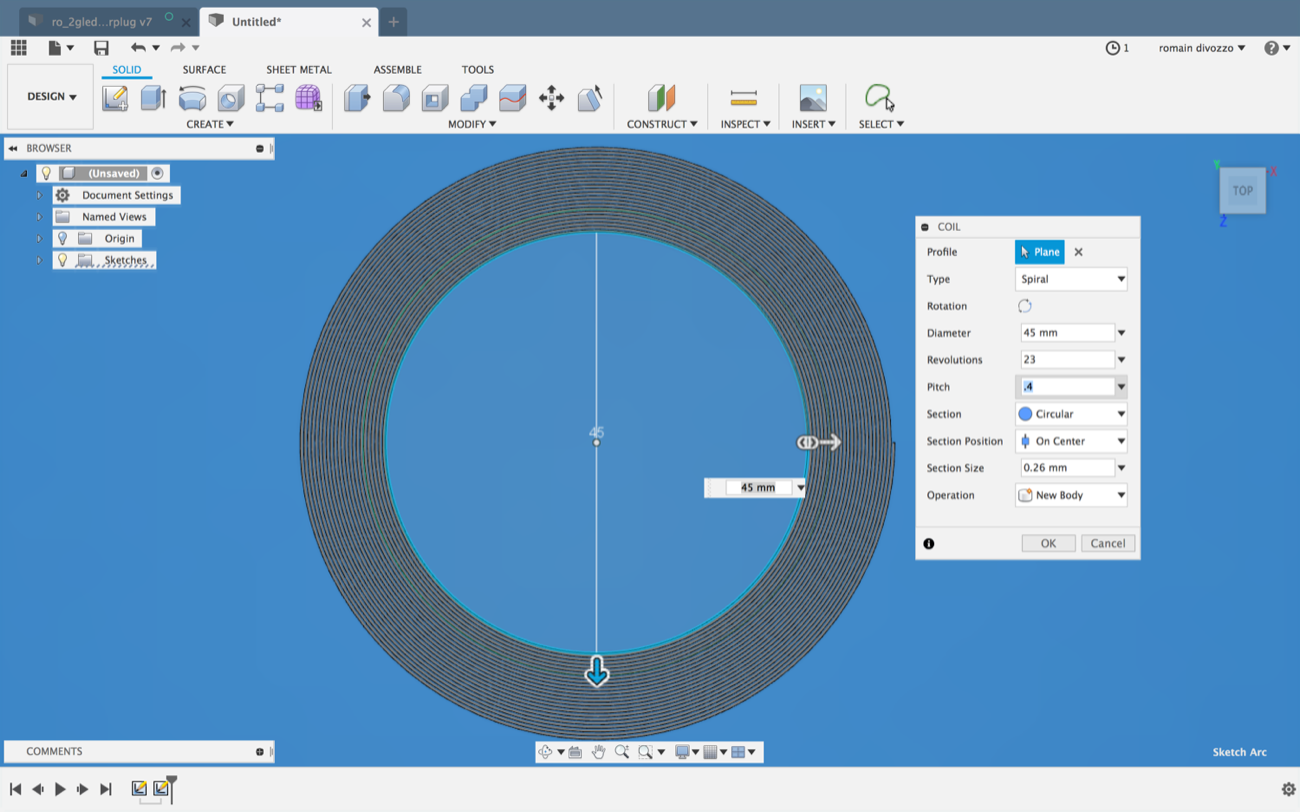
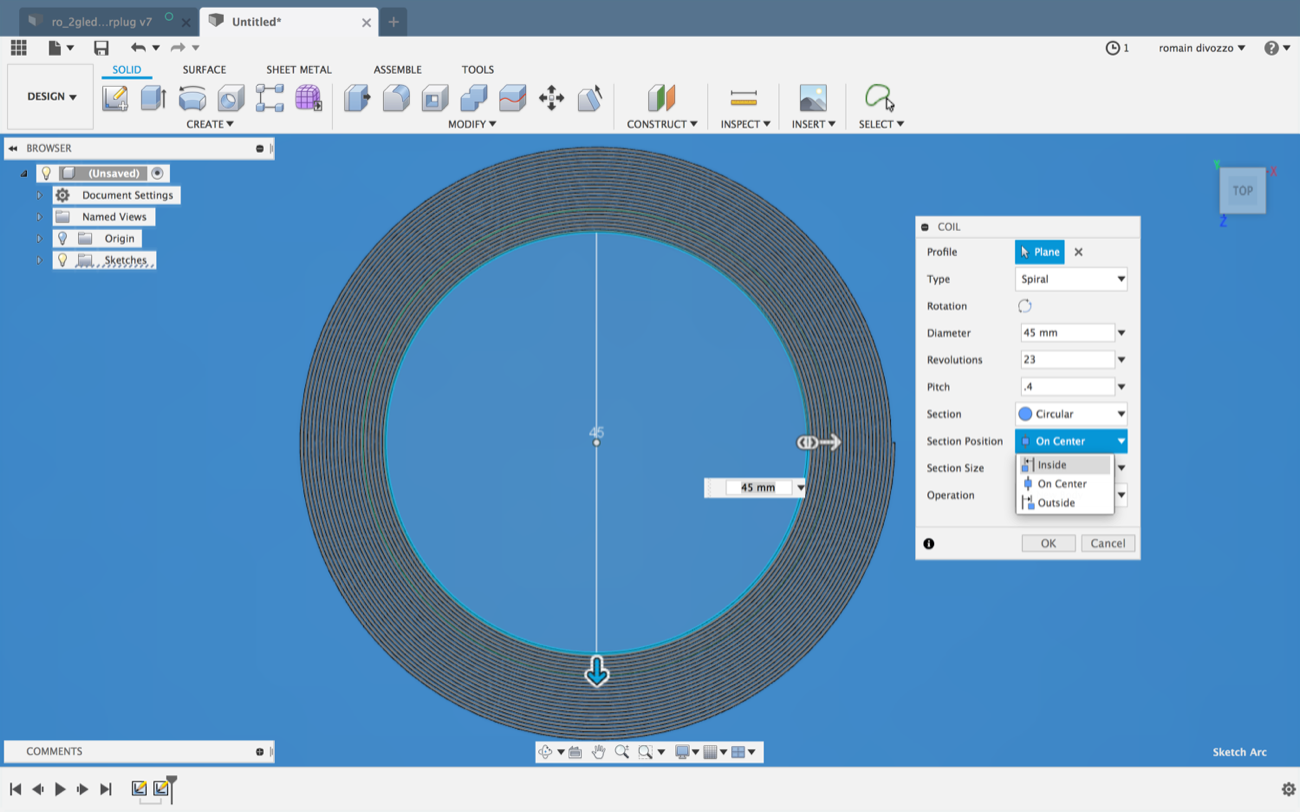
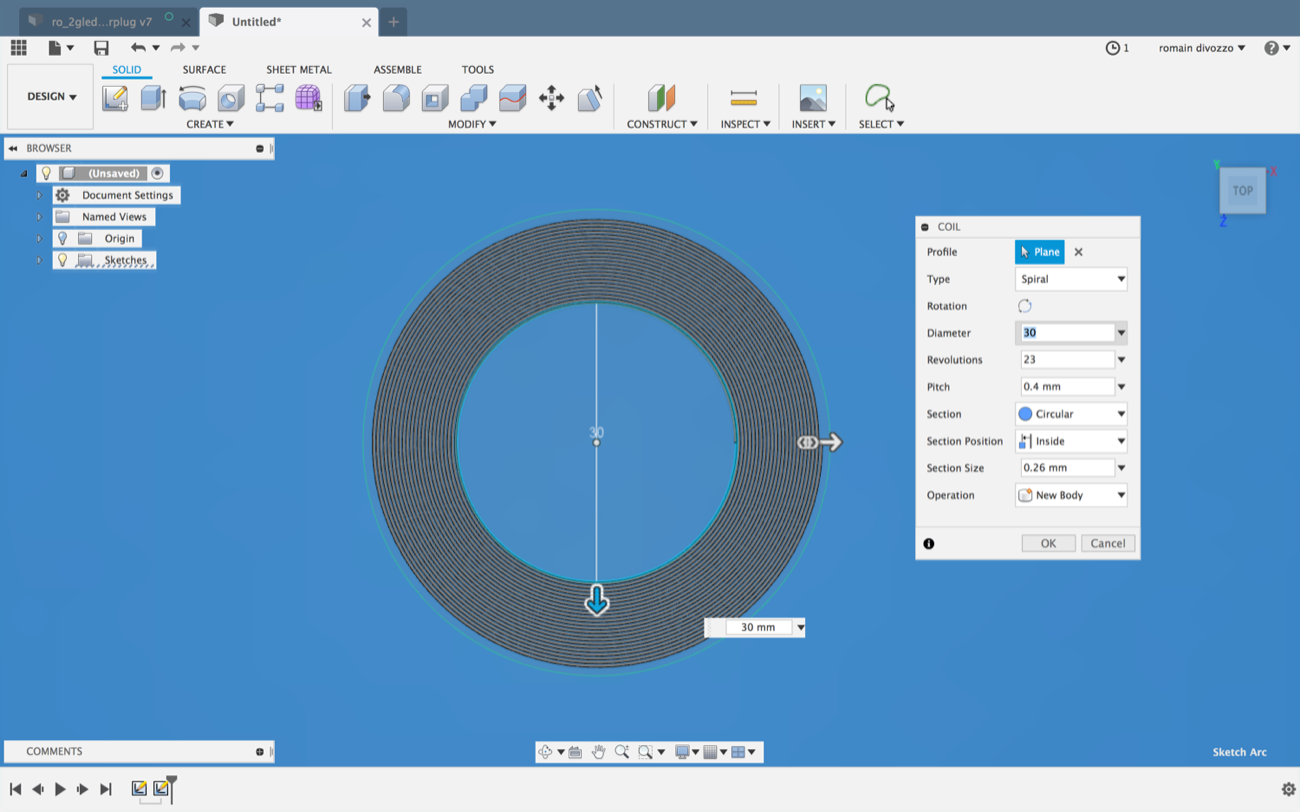
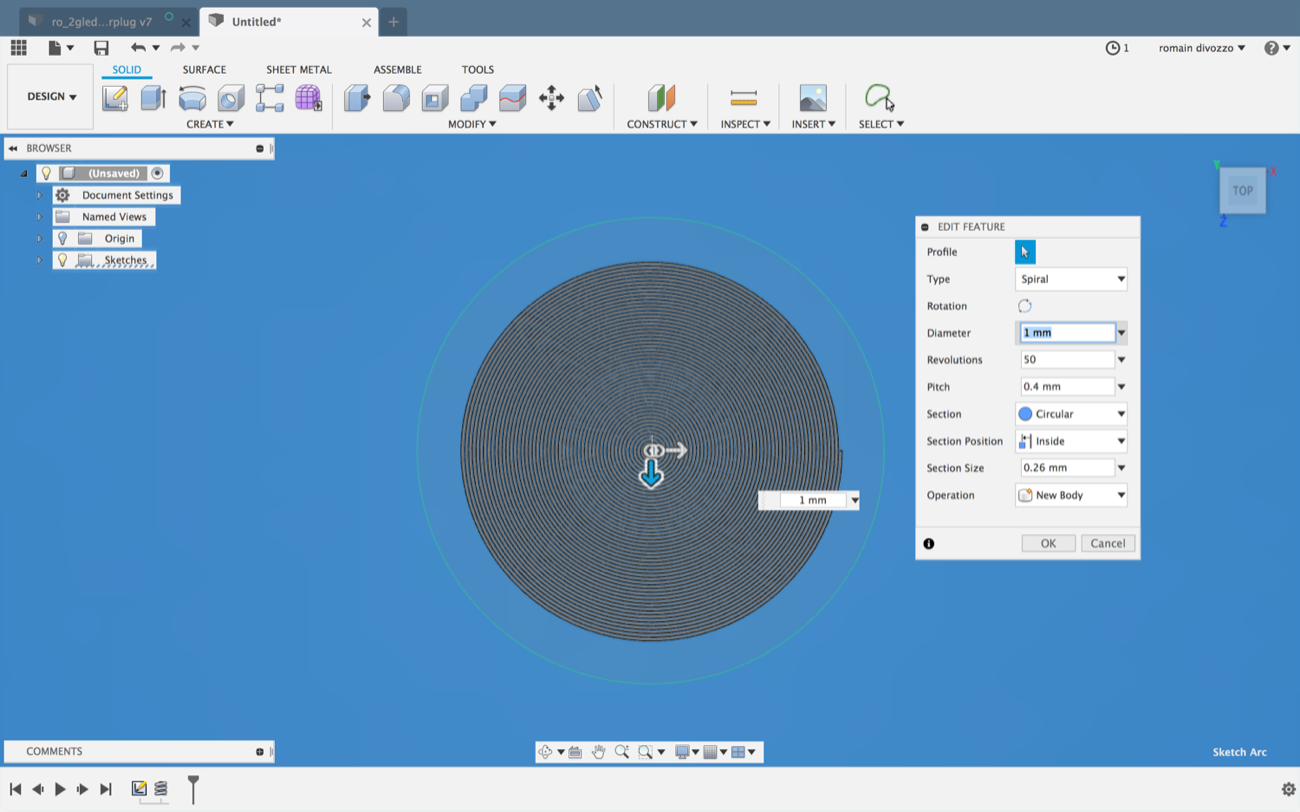
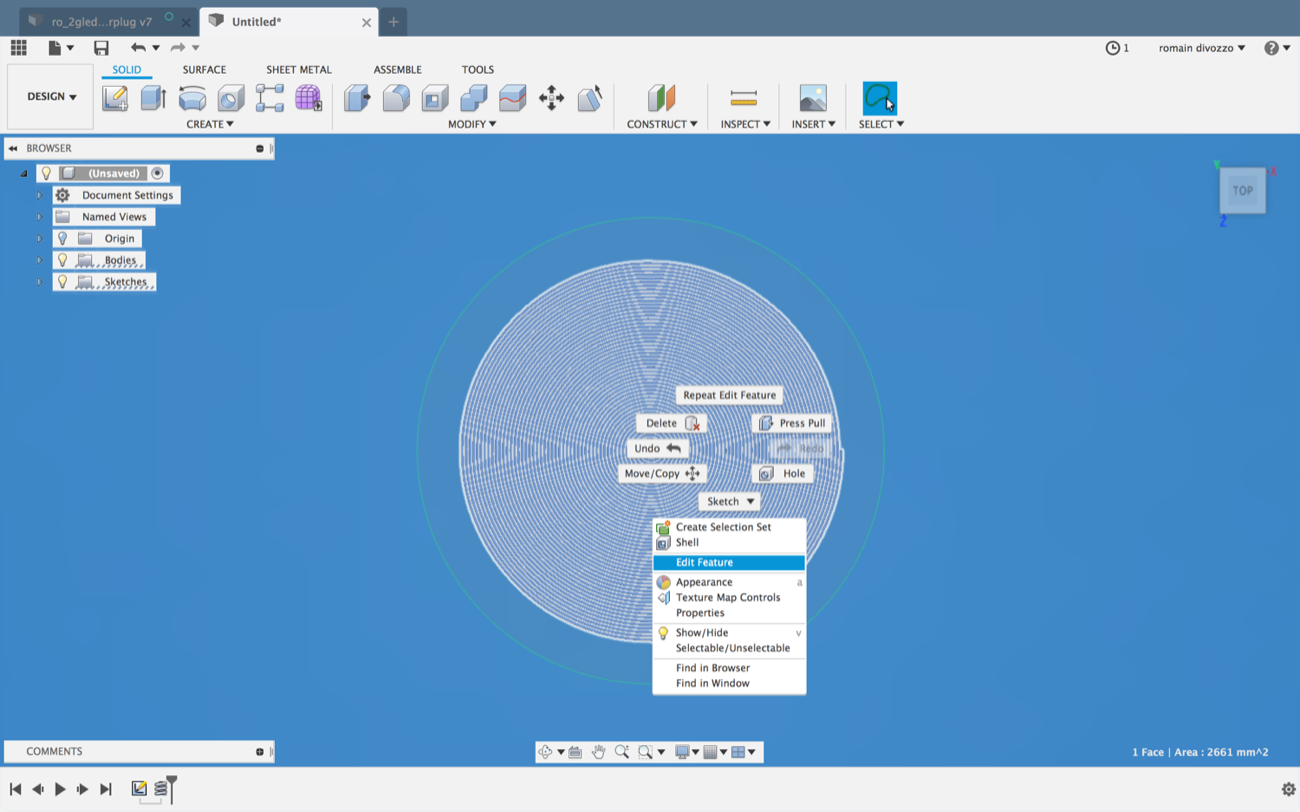
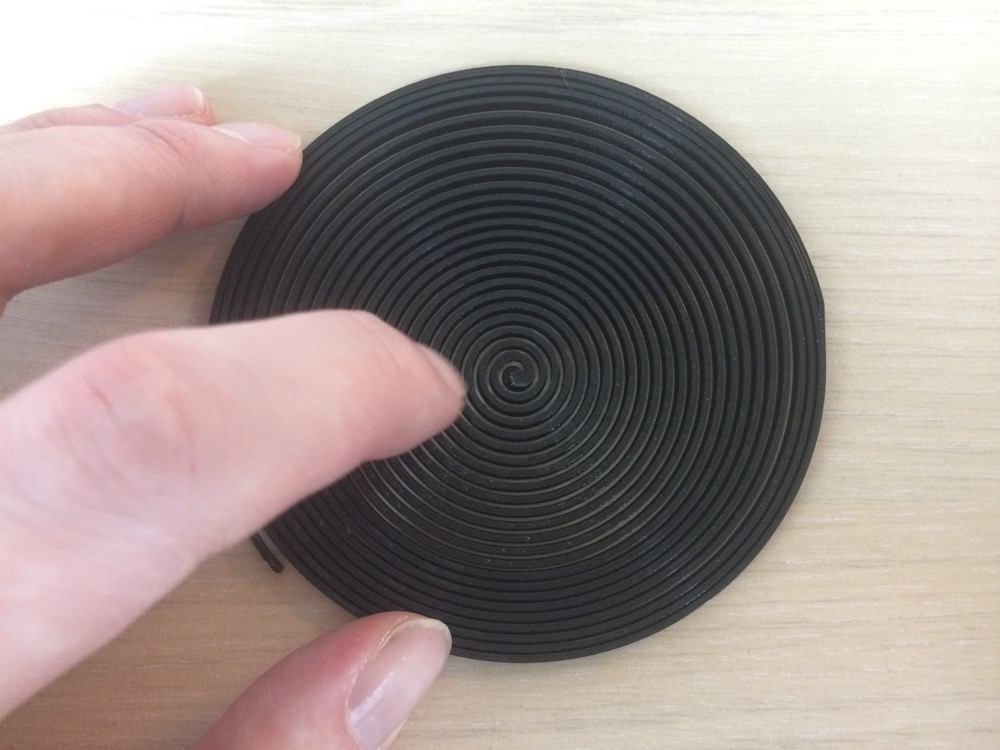
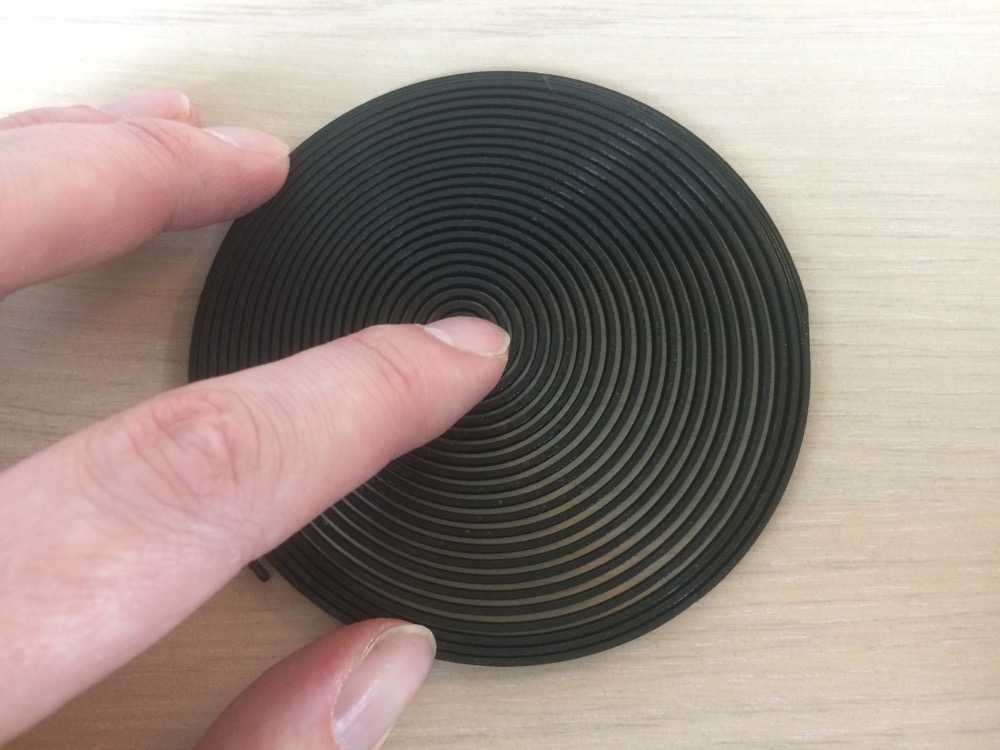
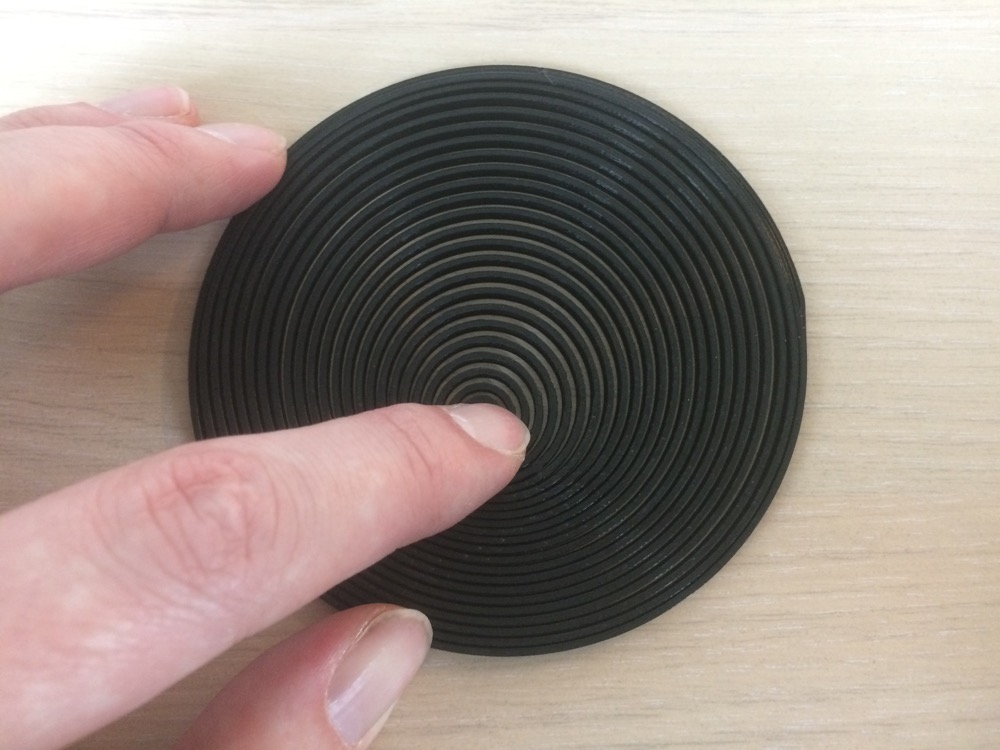
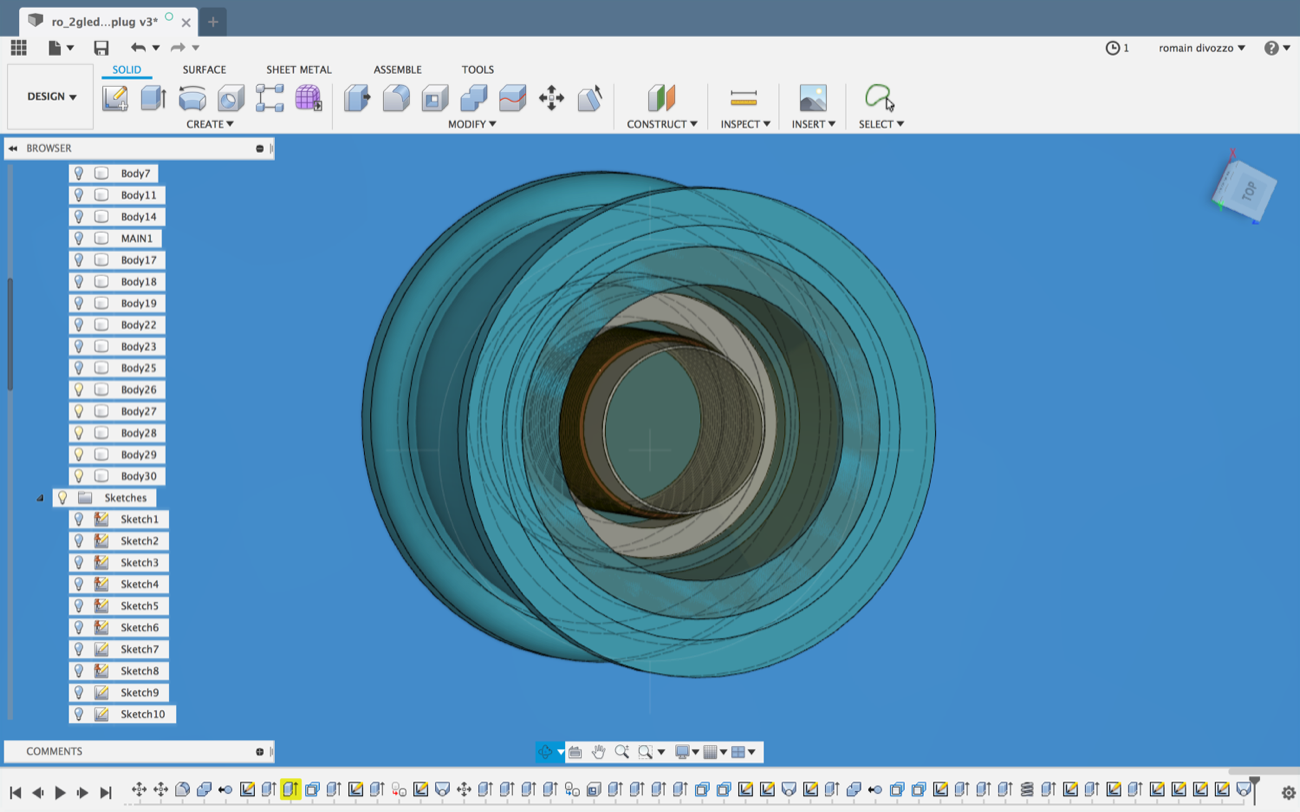
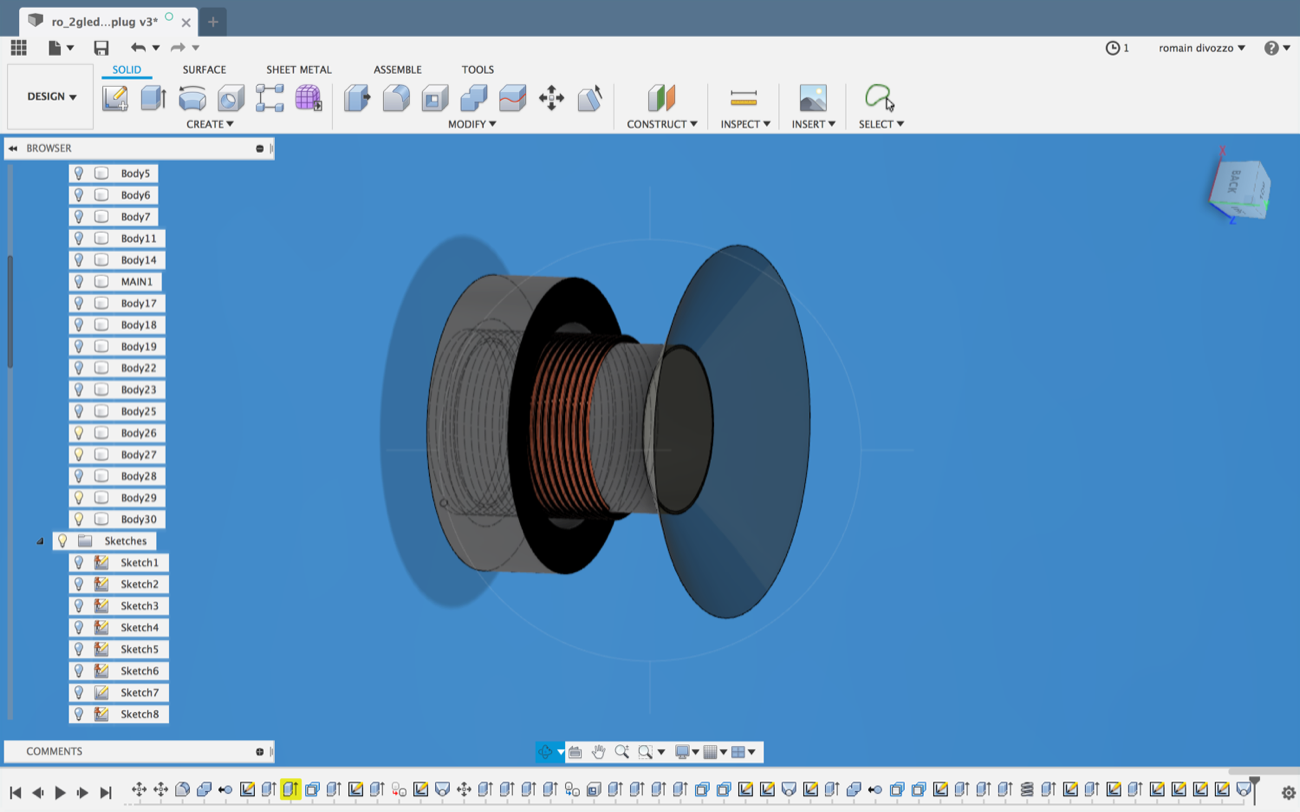
5 | Taking a break to learn how to make a flat coil pattern with FUSION 360 |
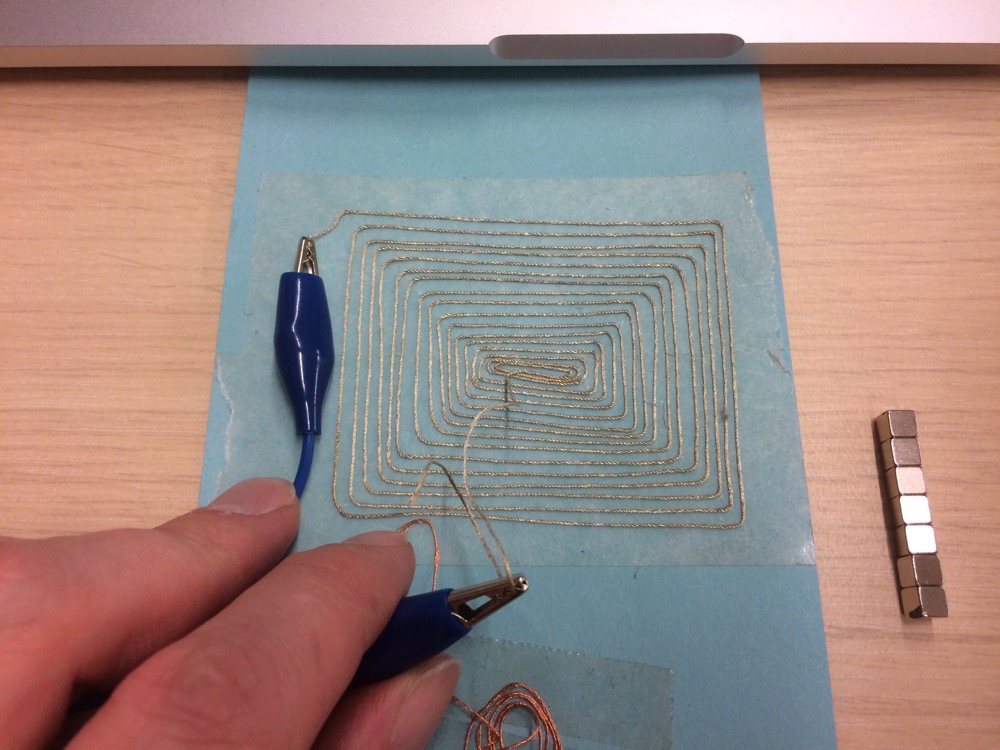
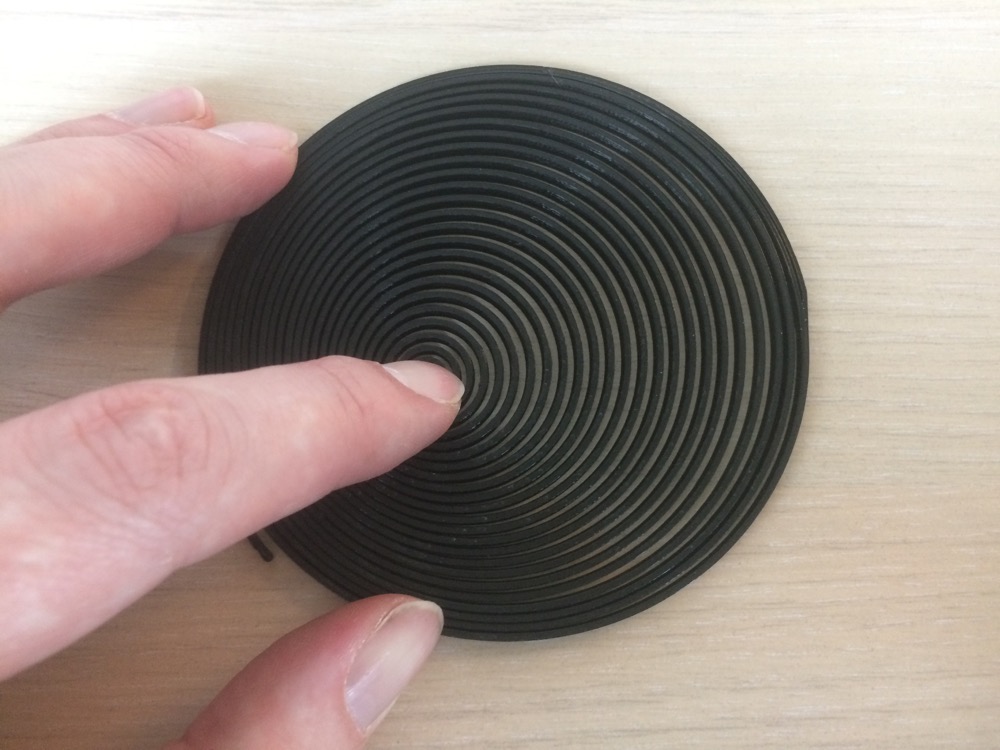
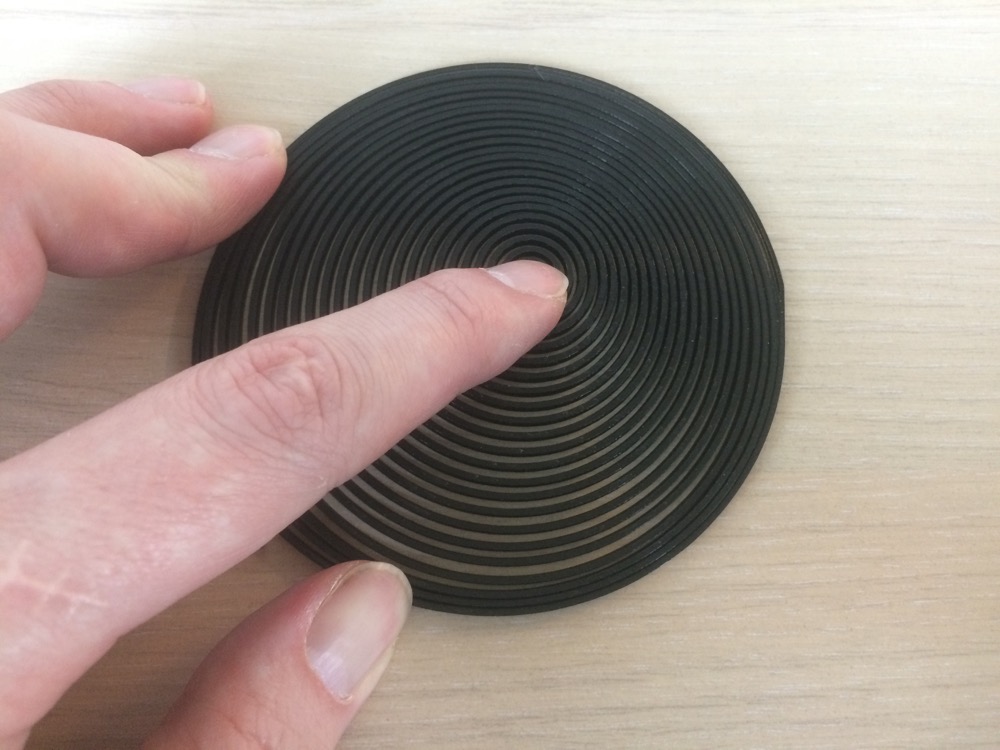
I found out while pushing buttons in FUSION 360 that you can actually design coils and even flat coils, which is exactly what you need when you want to design a coil for a flexible speaker sewed on fabric. Then you could print the pattern or laser-engrave it on a surface to make it easier to sew or stick the copper wire on the fabric of your choice.
v
v
v
v
v
v
v
v
v
v
v
v
v
v
v
v
v
v
v
v
I bought a spool of copper-wire of diameter 0.24mm, and I might be able to use this design to make a flexible speaker. But I had to buy another spool of copper-wire because the one I bought wasn’t insulated.
While designing this flat coil to make a speaker, I had a secondary understanding of how I could use this design. The idea here is to use the flat coil pattern as a guide to shape a copper-wire-spiral and to embed it between 2 silicone layers to make a flat silicone speaker module that could later be assembled/sewed on a garment.
Once 3D printed, it appeared to me that this pattern could also be used as a physical interface to interact with tactile surfaces (like iPads). I showed this to my colleague Caroline Appert who works on Human-Machine-Interaction and she actually was enthusiastic about the possibilities offered by such a design if turn into a capacitive-passive device (which is easy to do with a bit of copper). We might work on this in the coming weeks. She can code an interface for this. This project wuold go under the hat of interactive physical tokens.
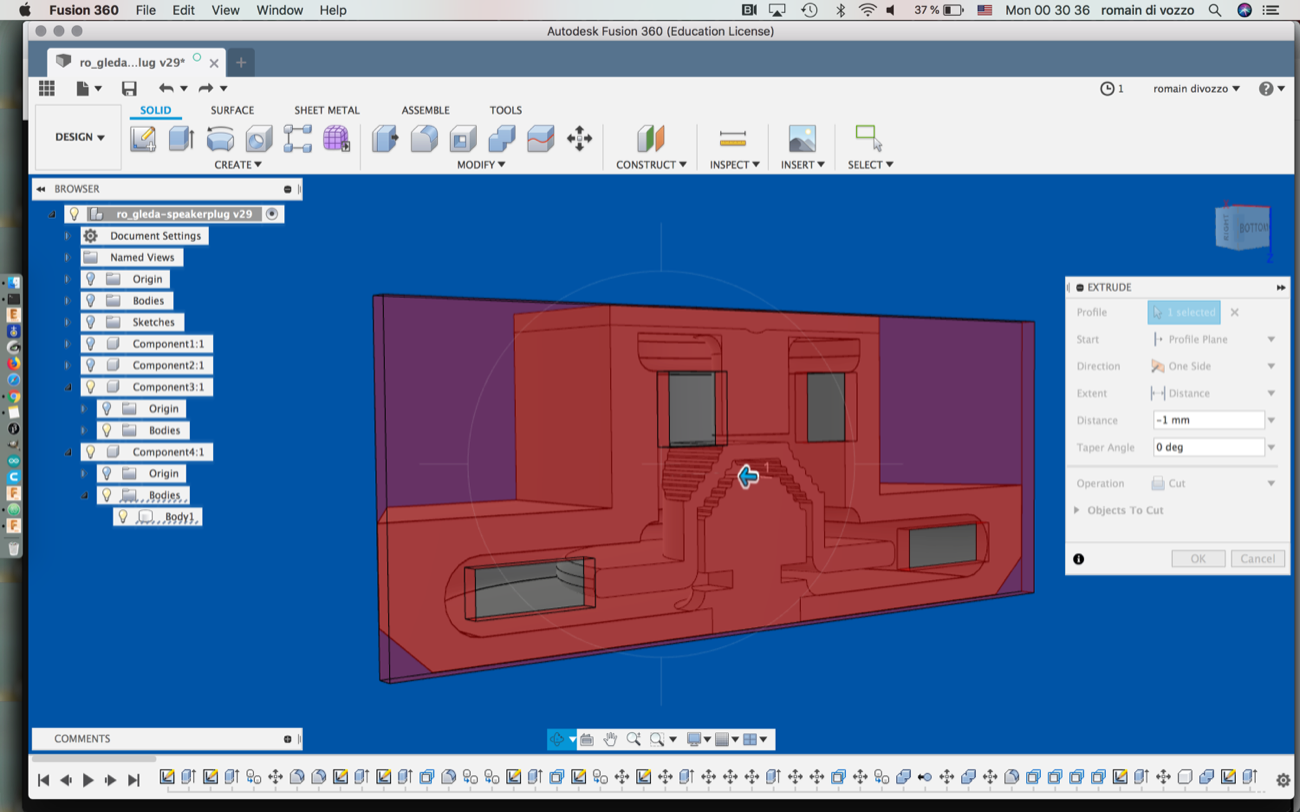
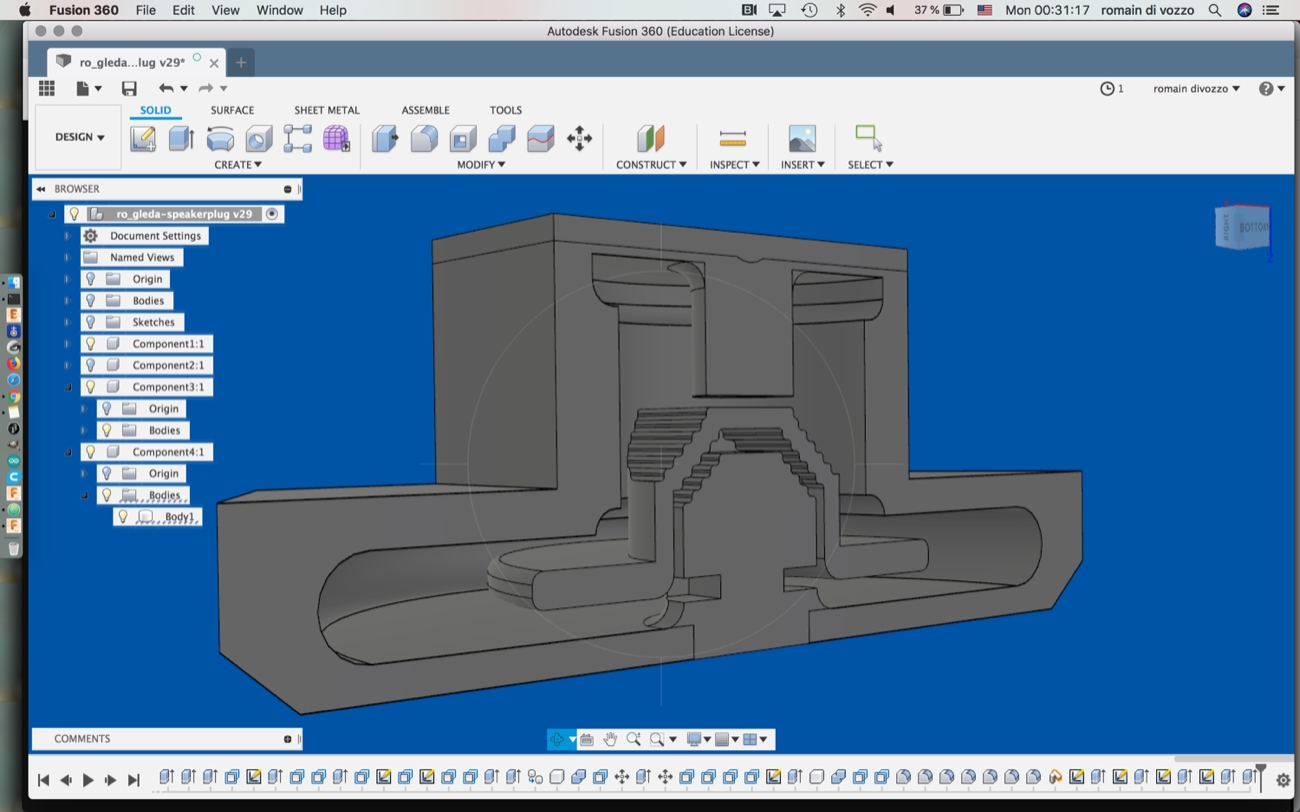
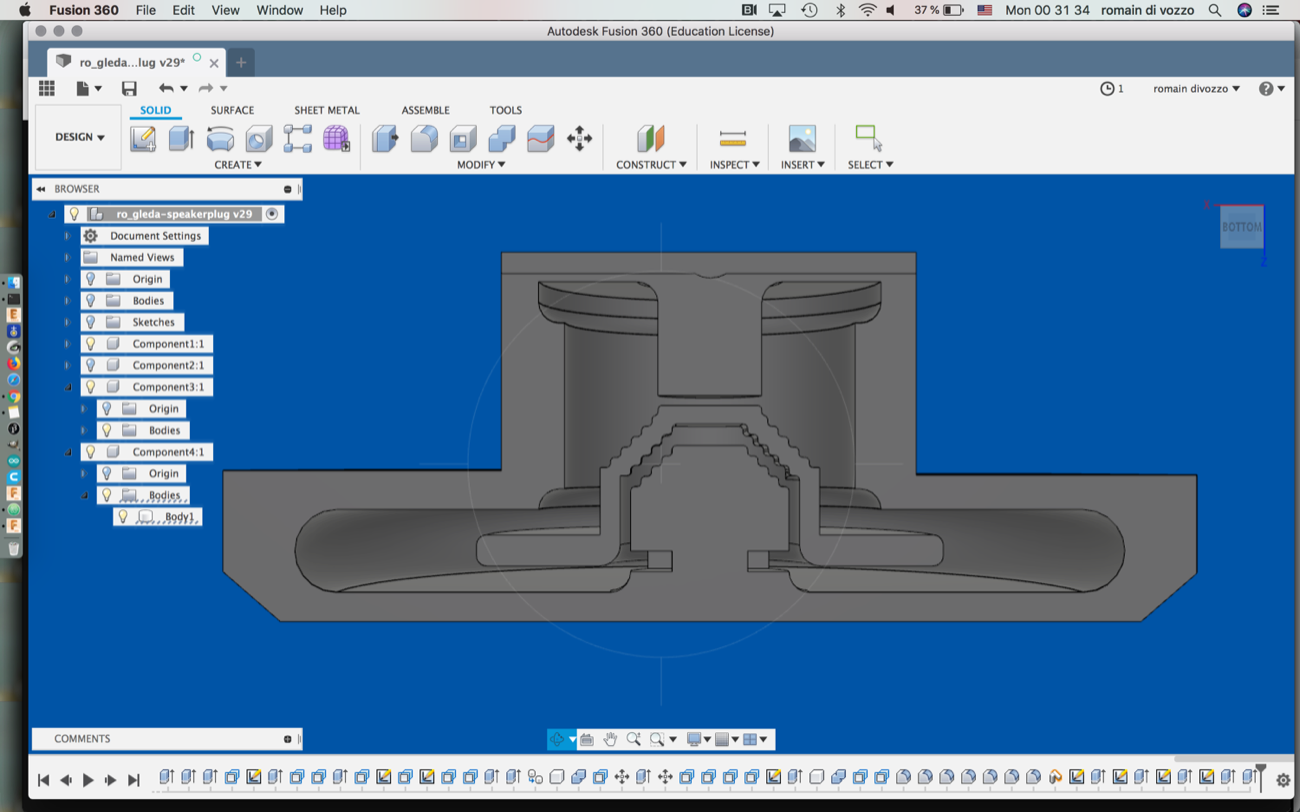
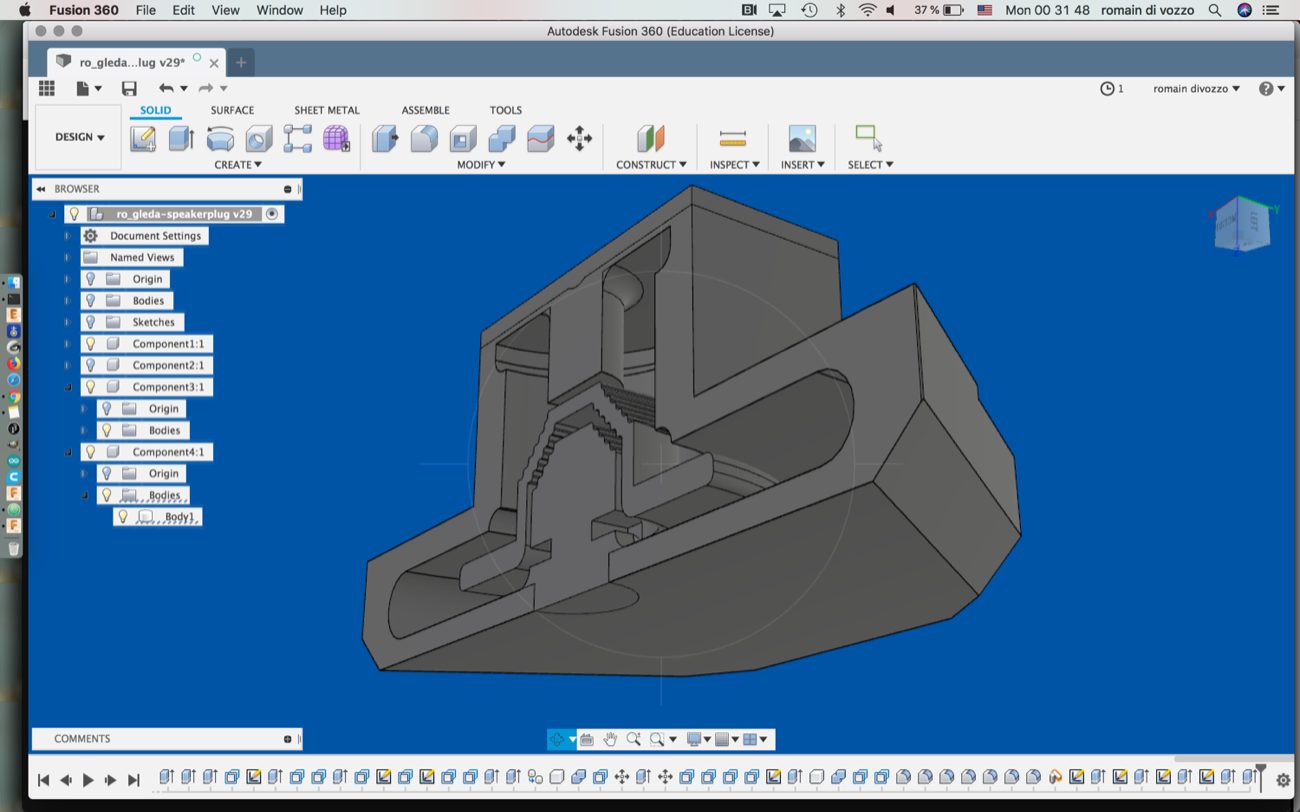
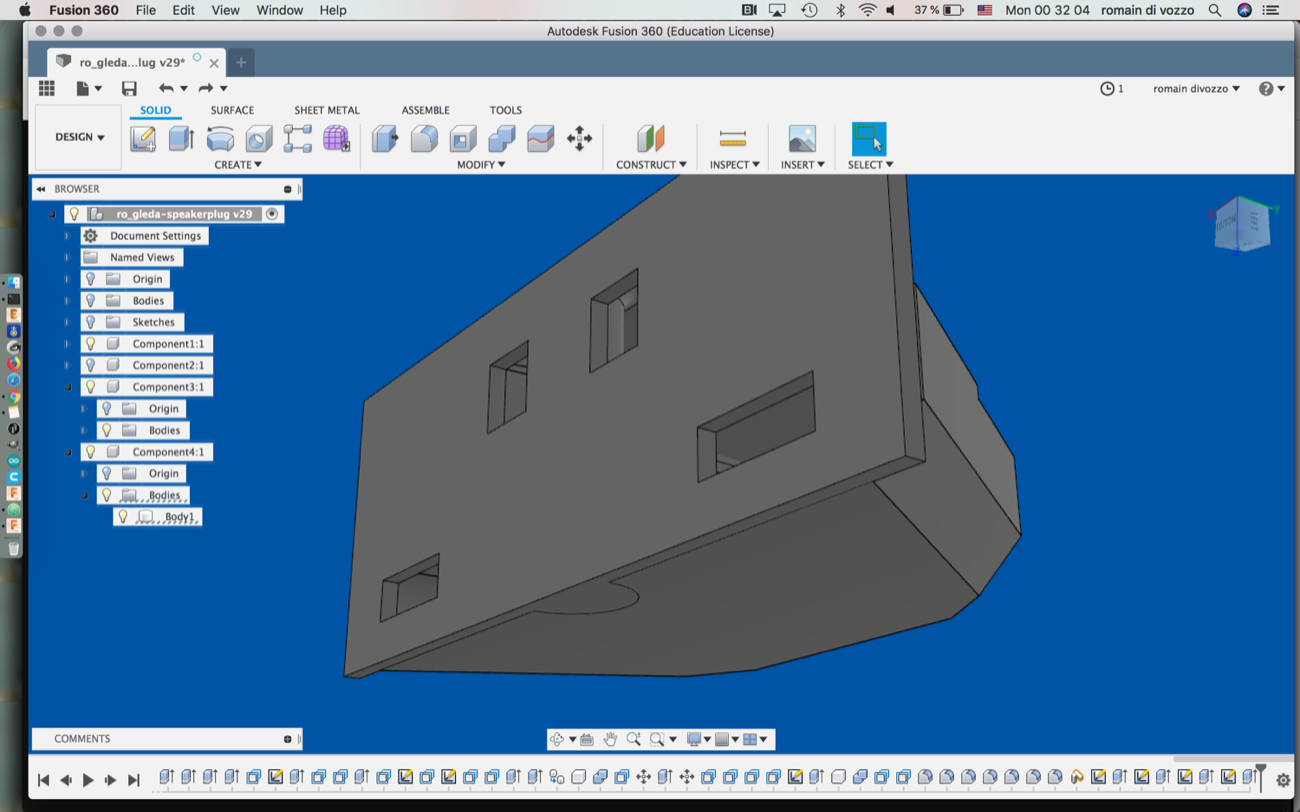
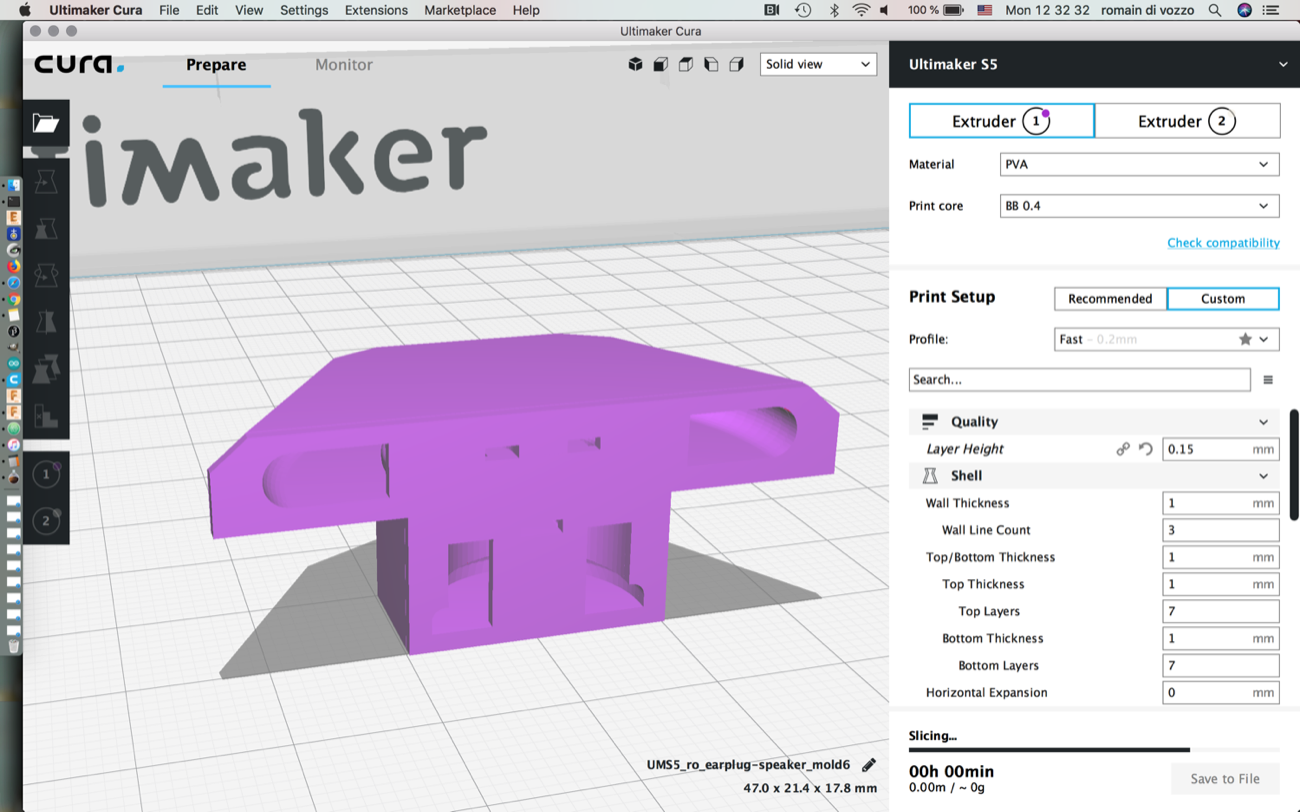
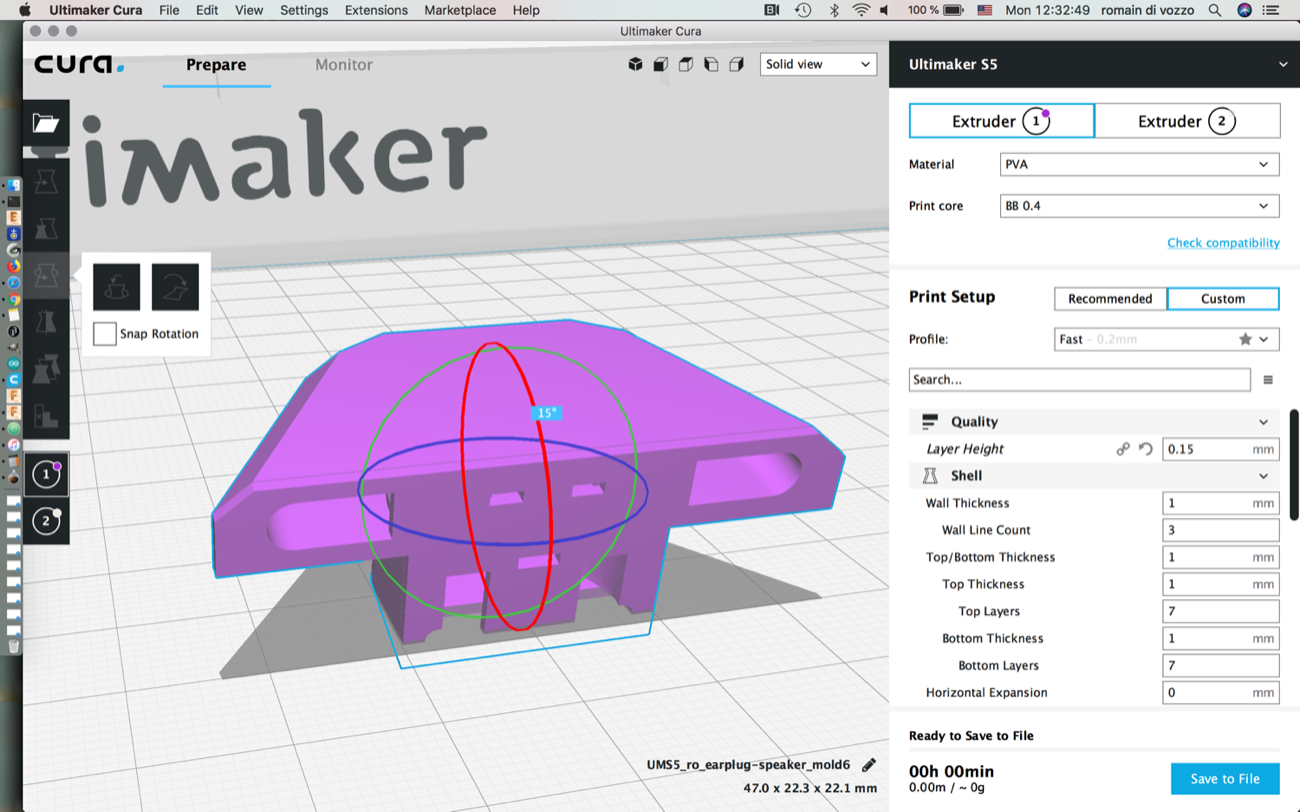
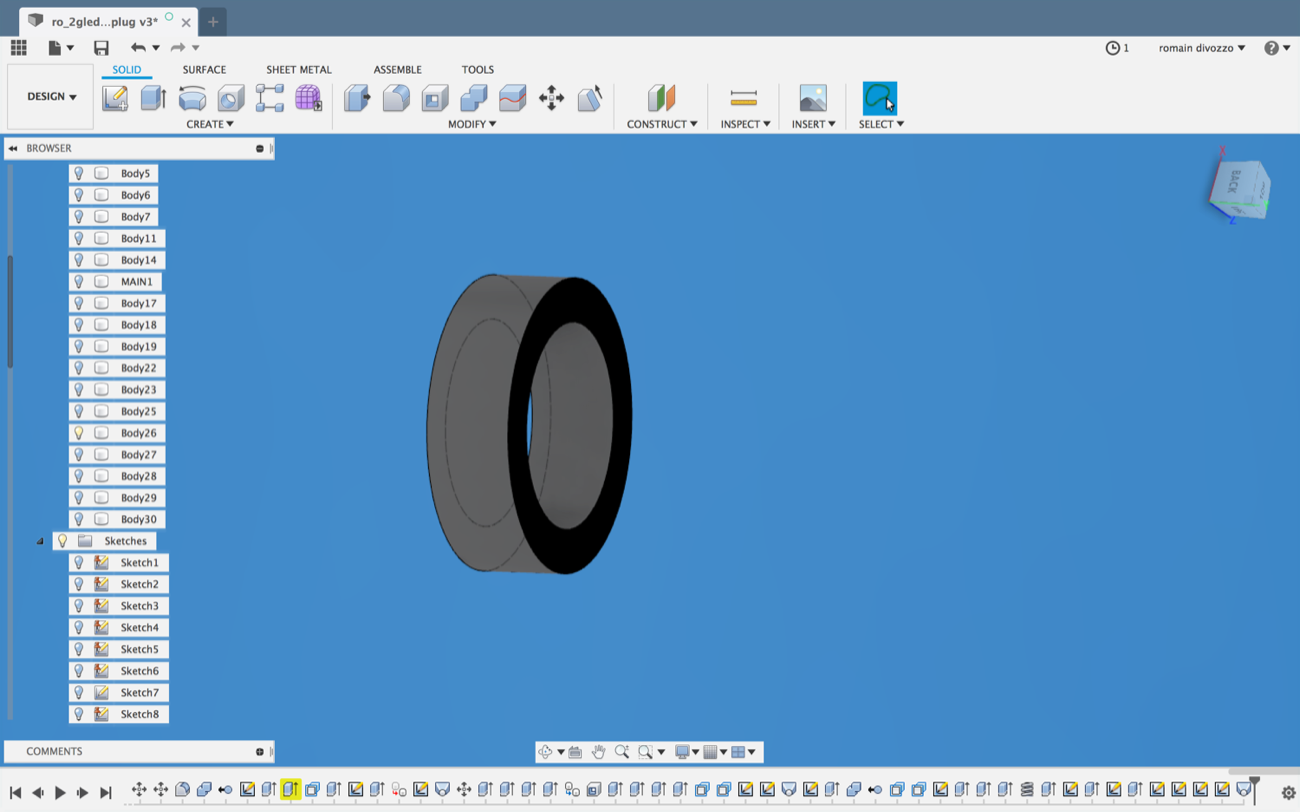
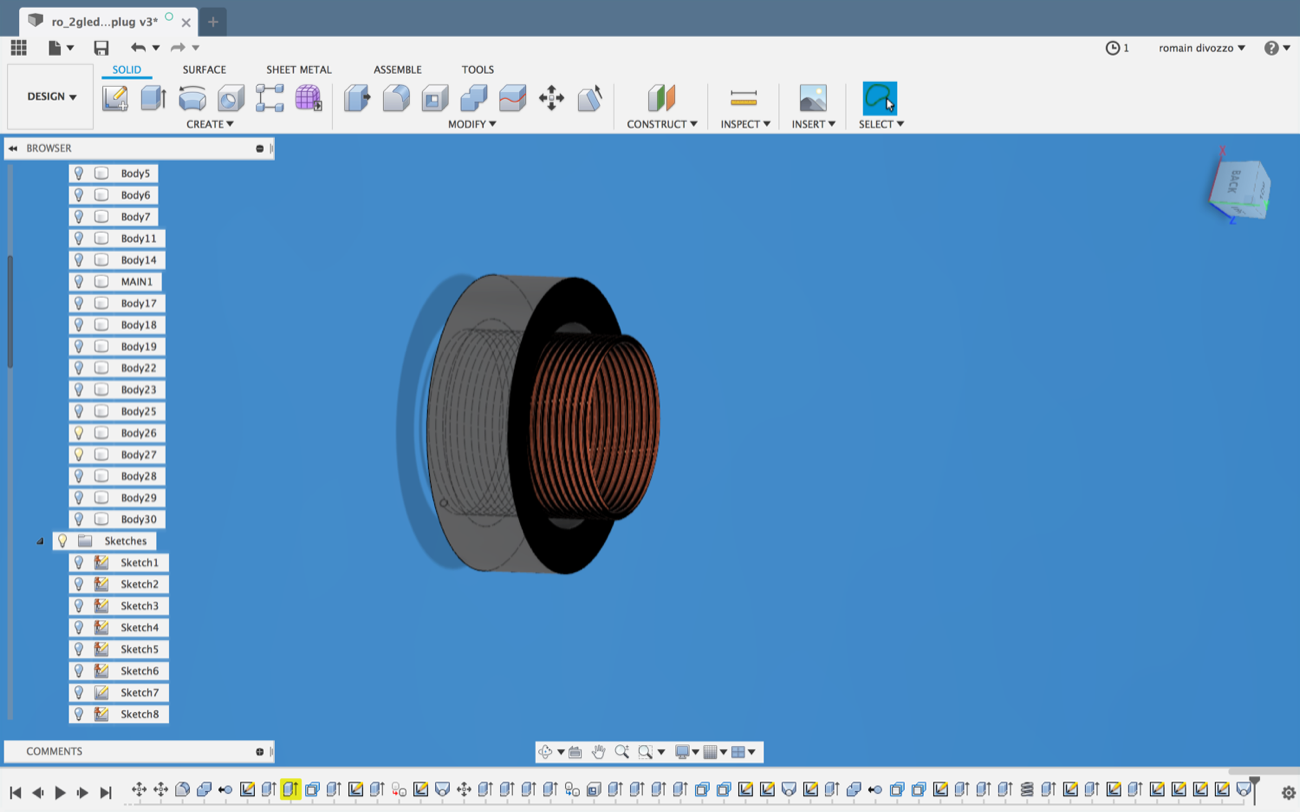
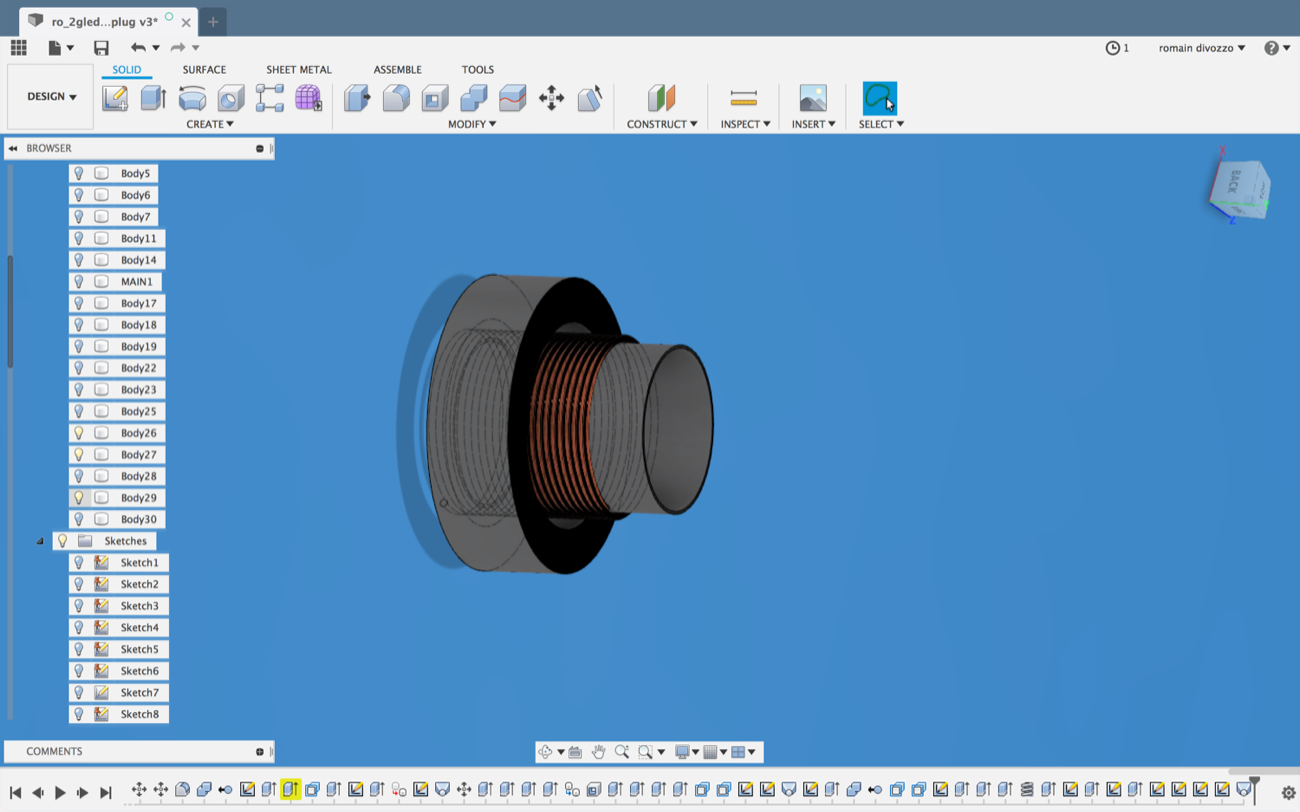
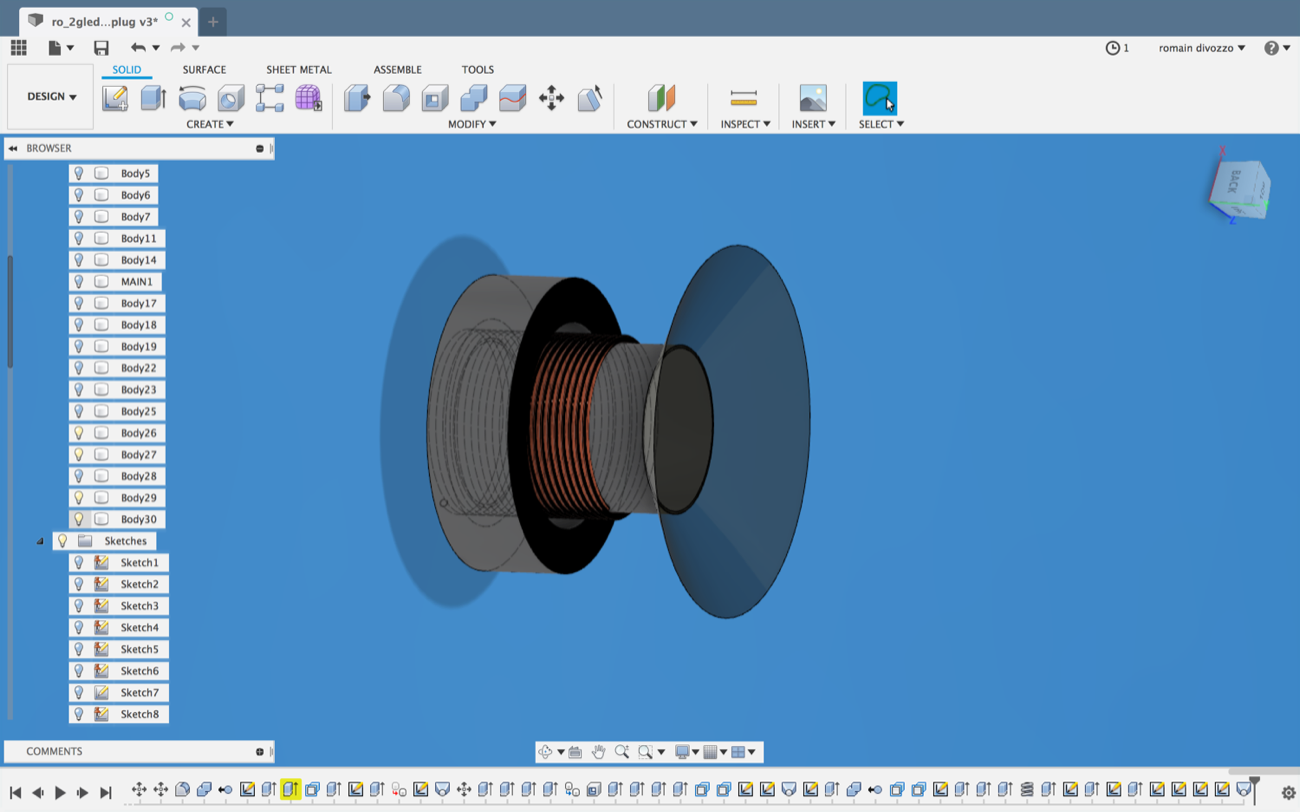
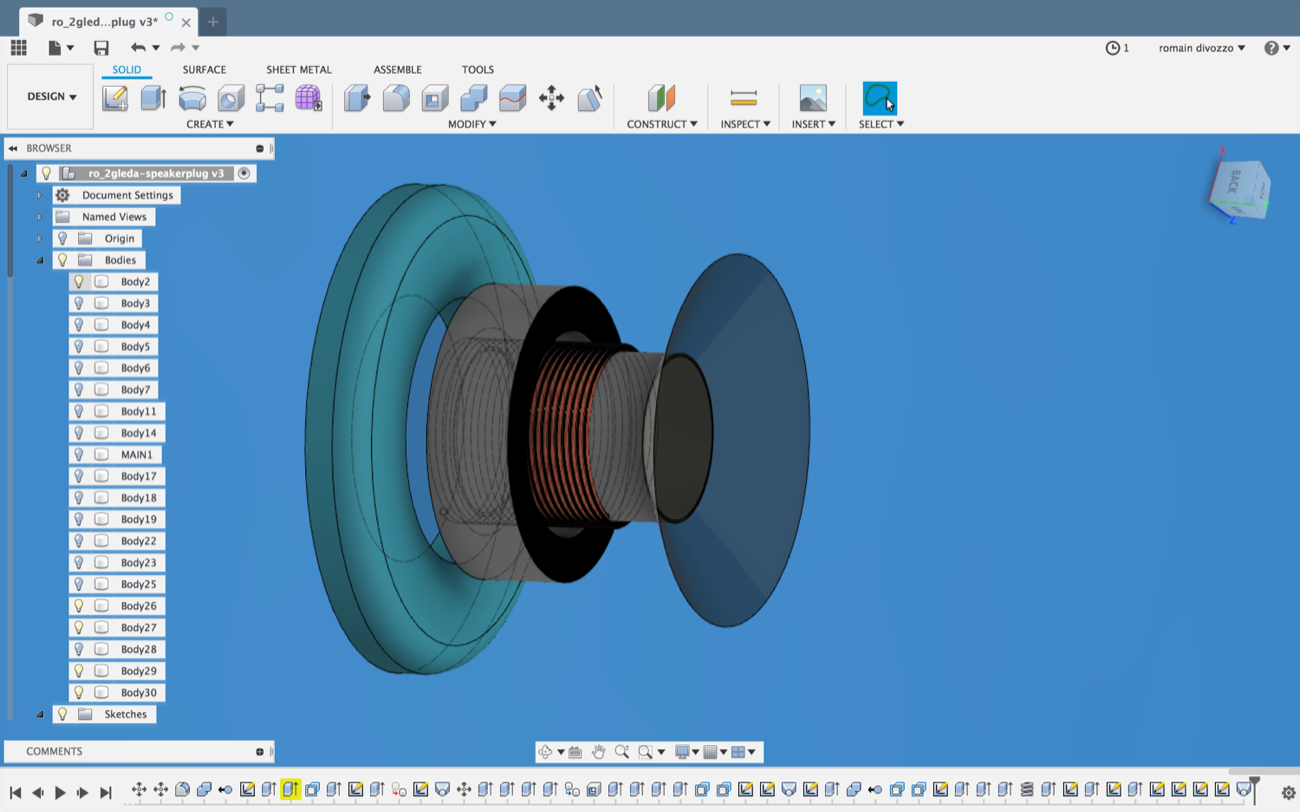
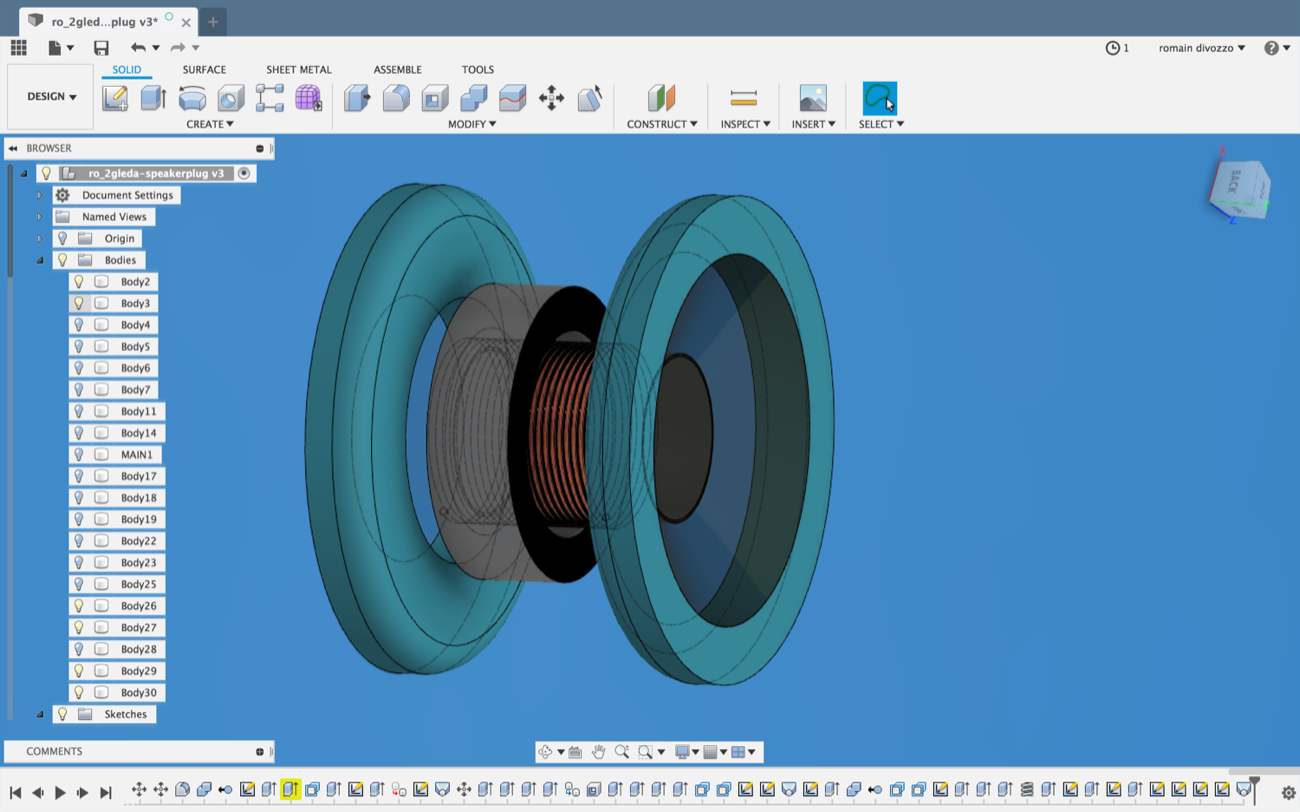
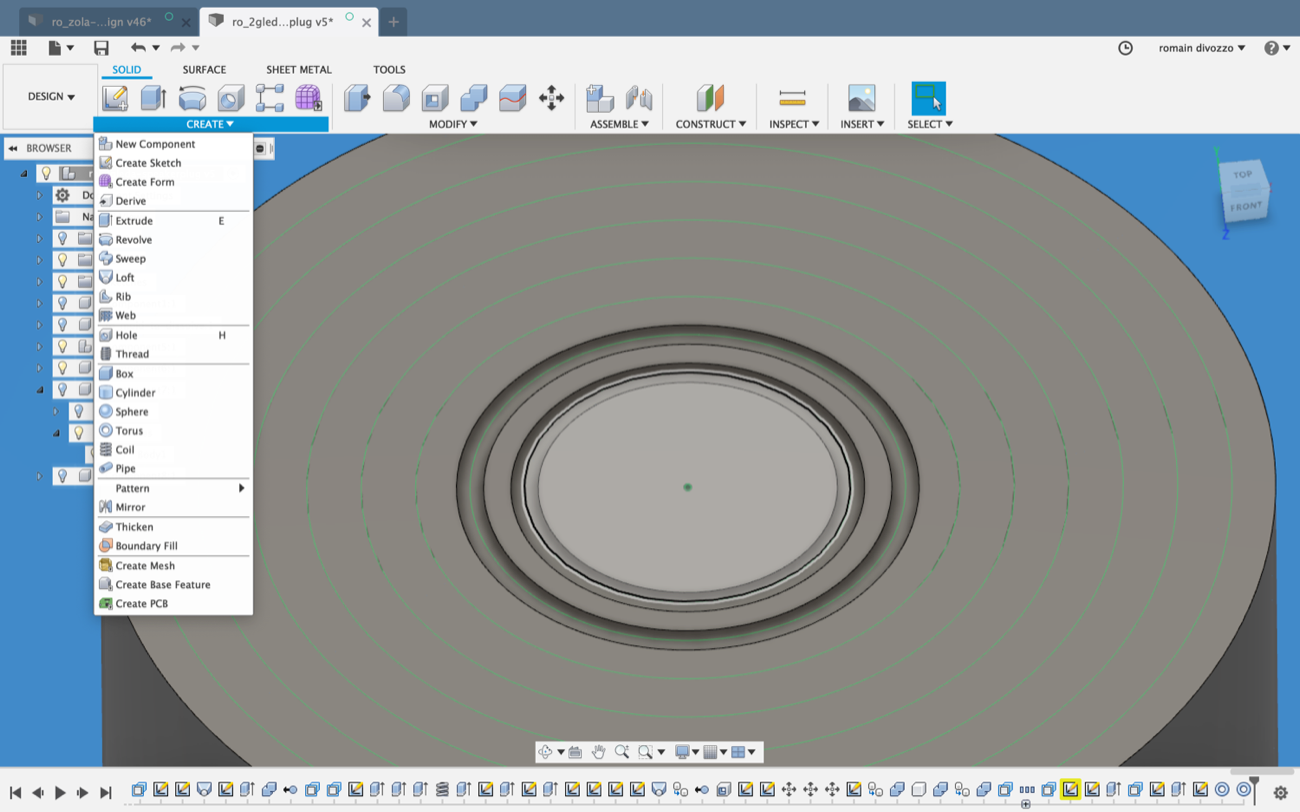
8 | Starting over with the Design of a tiny speaker embeded into an earplug |
This an earplug that people (like my wife) wear. People enlarge their earings hole until they can fit bigger earings named “earplugs”. These are cylinders of various diameters. My wife’s is around 12mm of diameter. This is where I want to embed a tiny speaker named a “Voice Coil”. A Voice Coil is made of a tube with a layer of copper wire like a coil around it. The voice coil tube in then inserted in between magnets. When a soundwave goes through the copper wire of the voice coil, the tube on which the coil is enrolled moves up and down. This is how sound is sent through the speaker. Here is my new design.
v
v
v
v
v
v
v
v
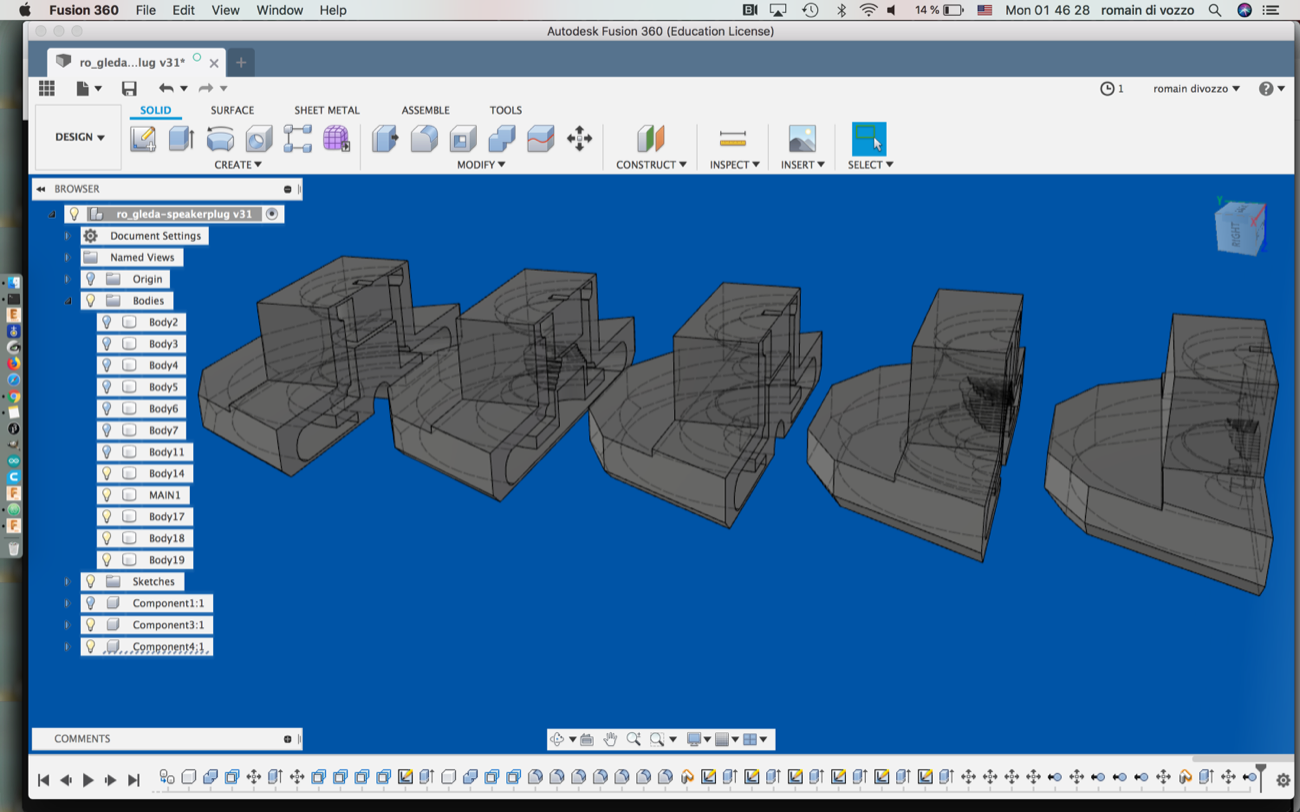
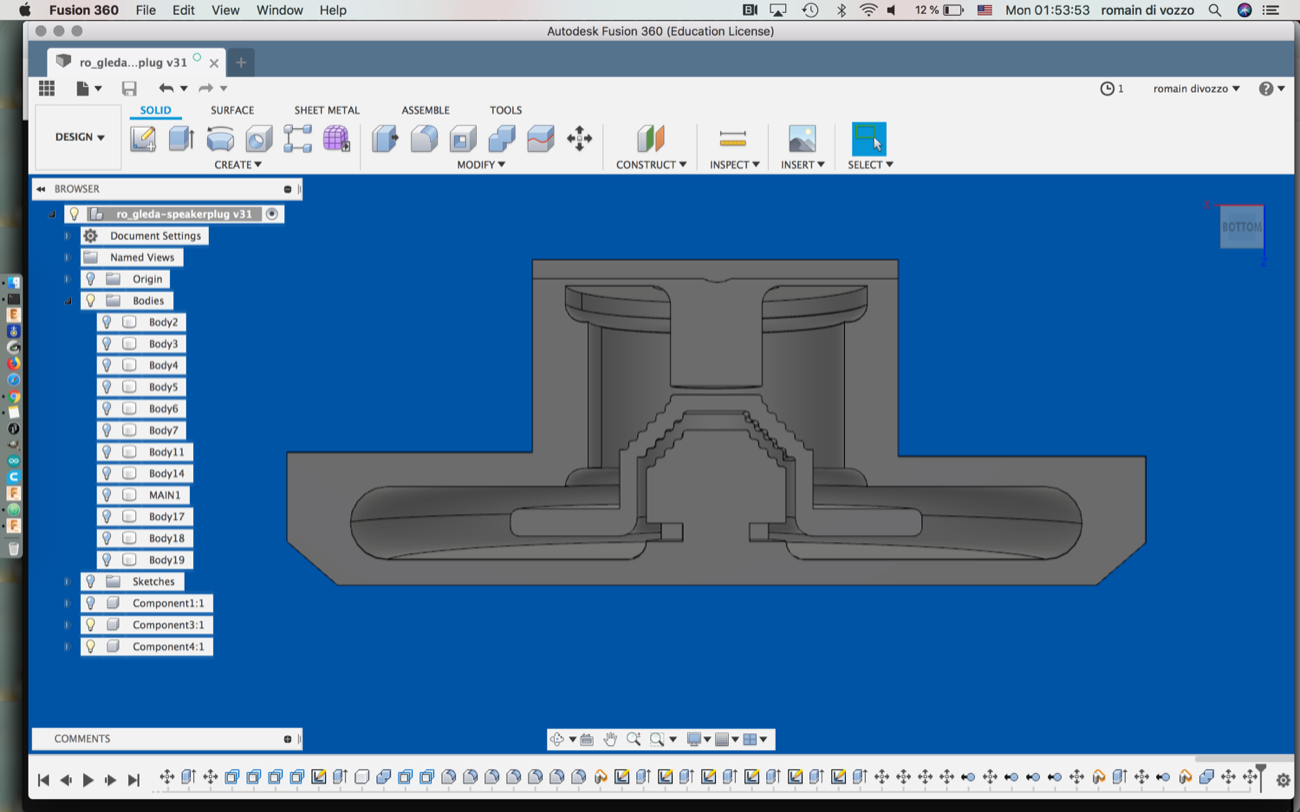
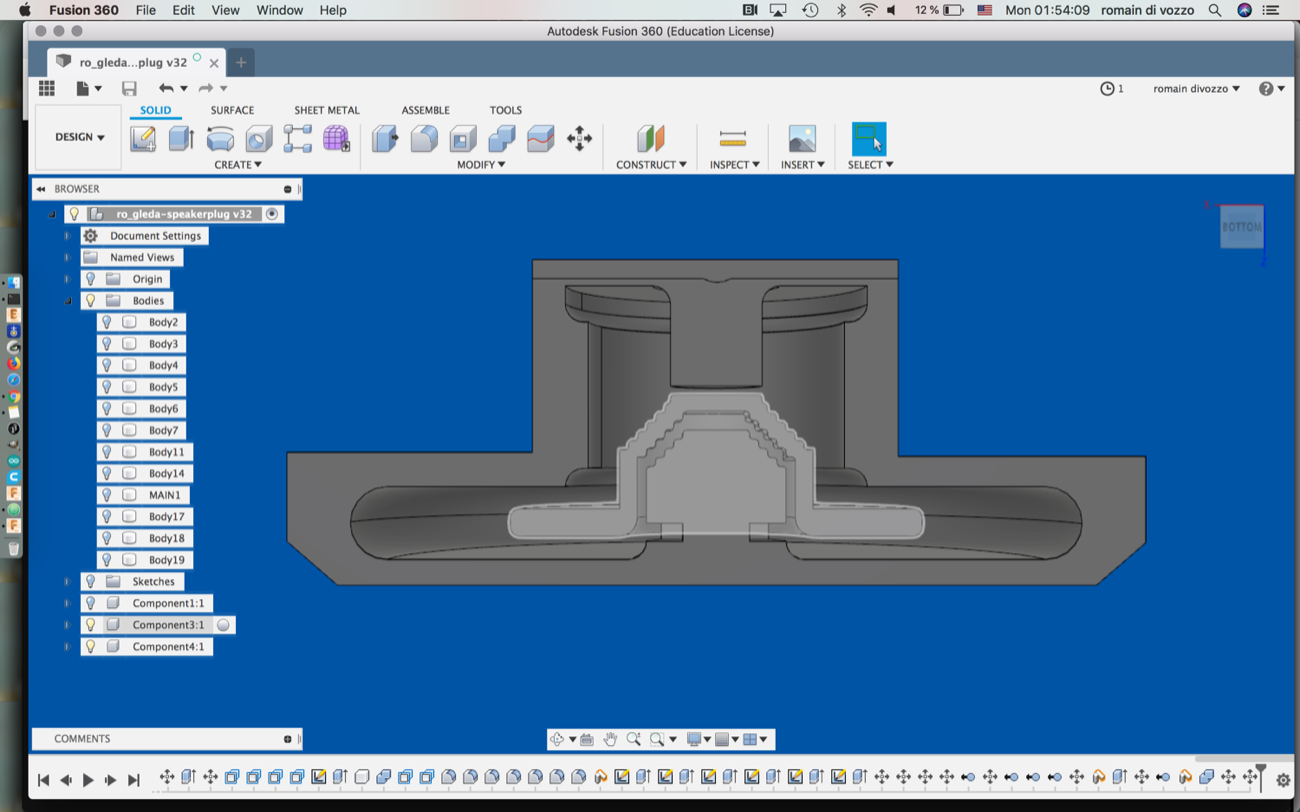
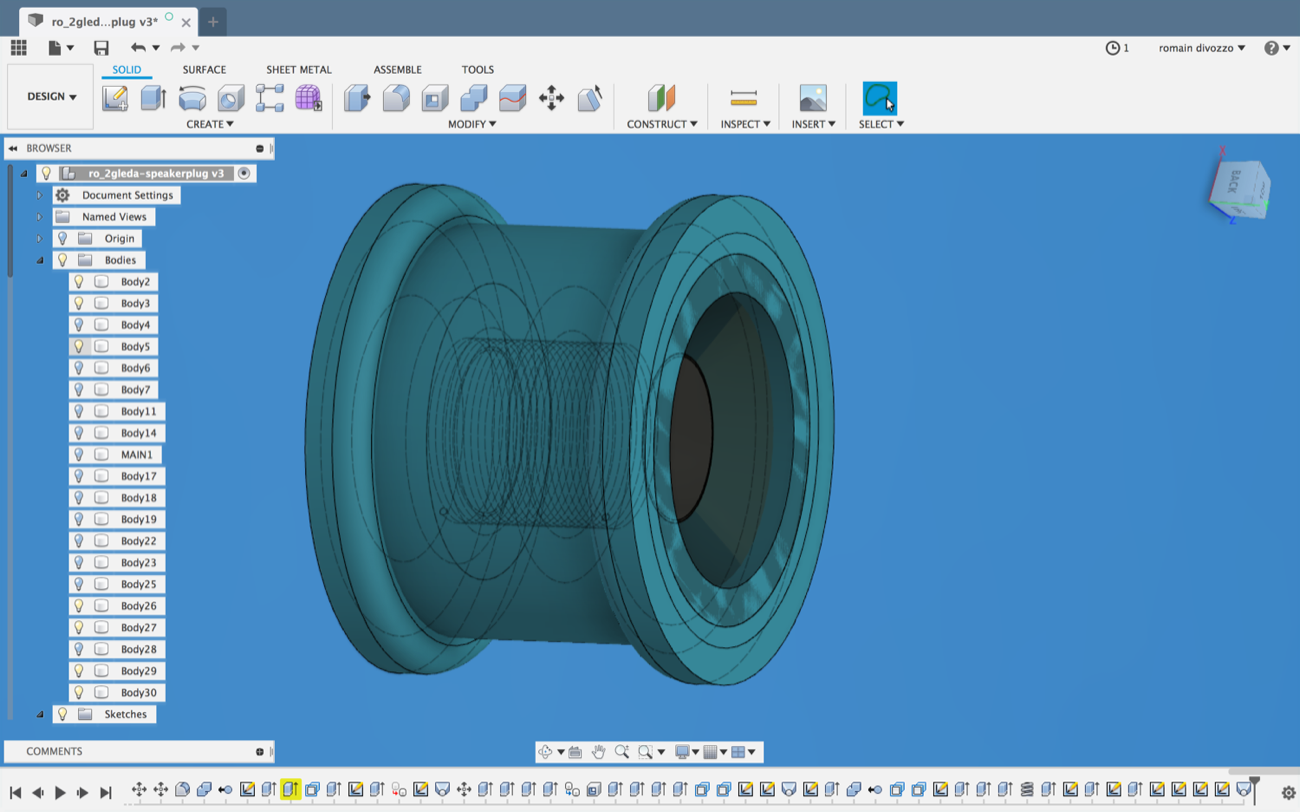
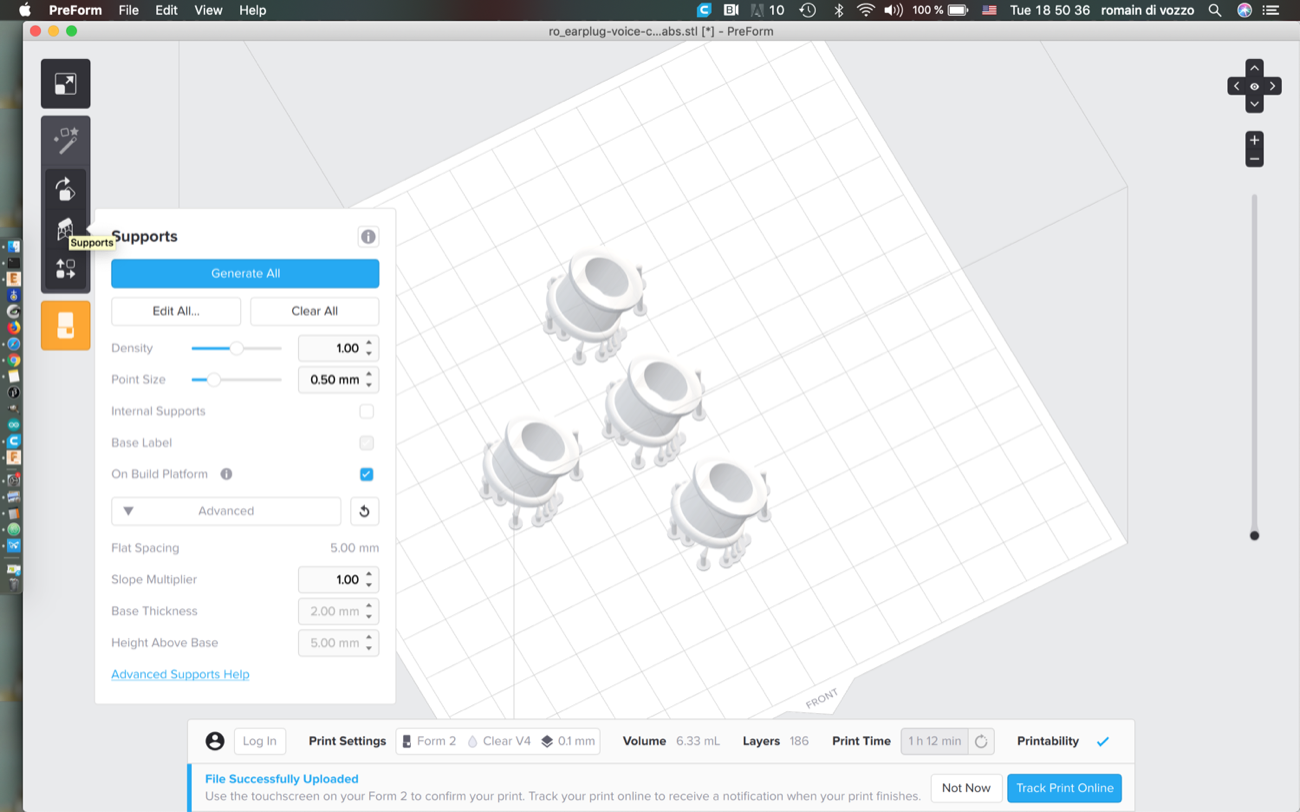
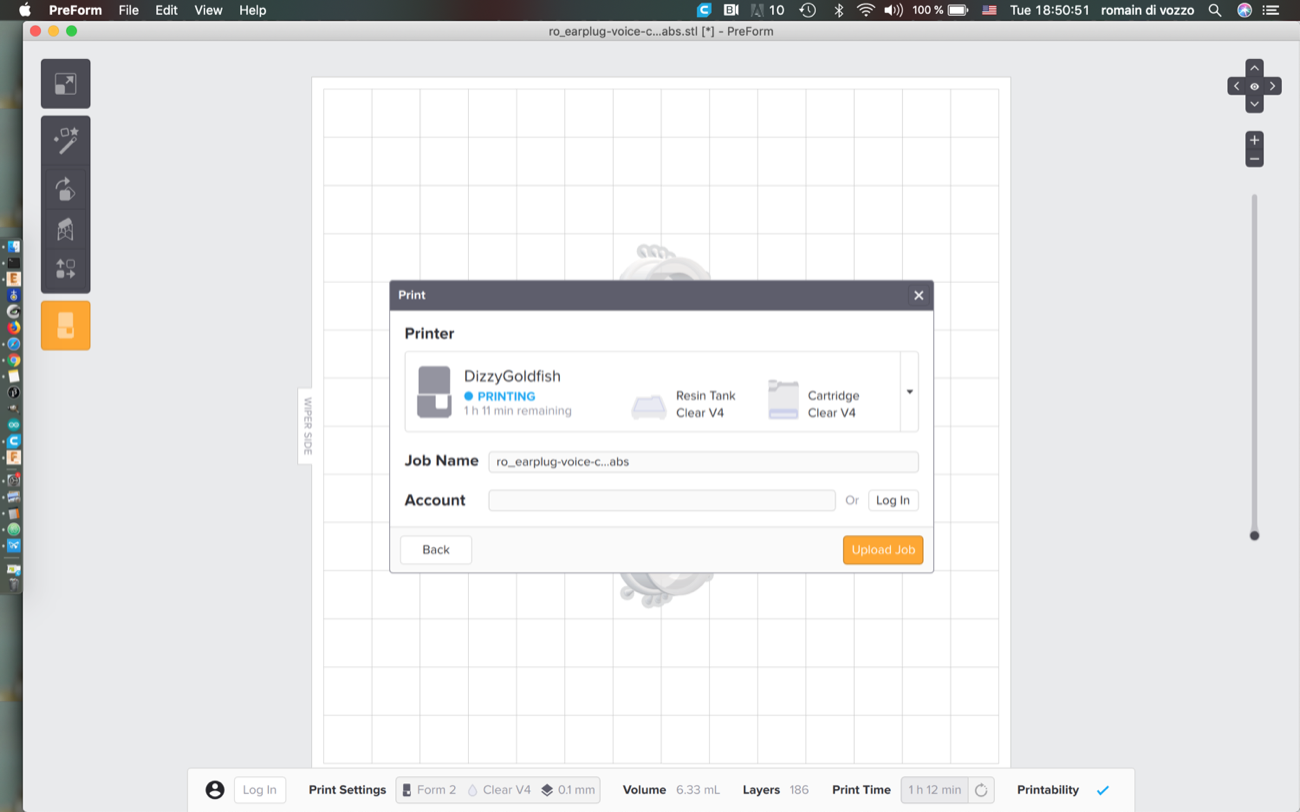
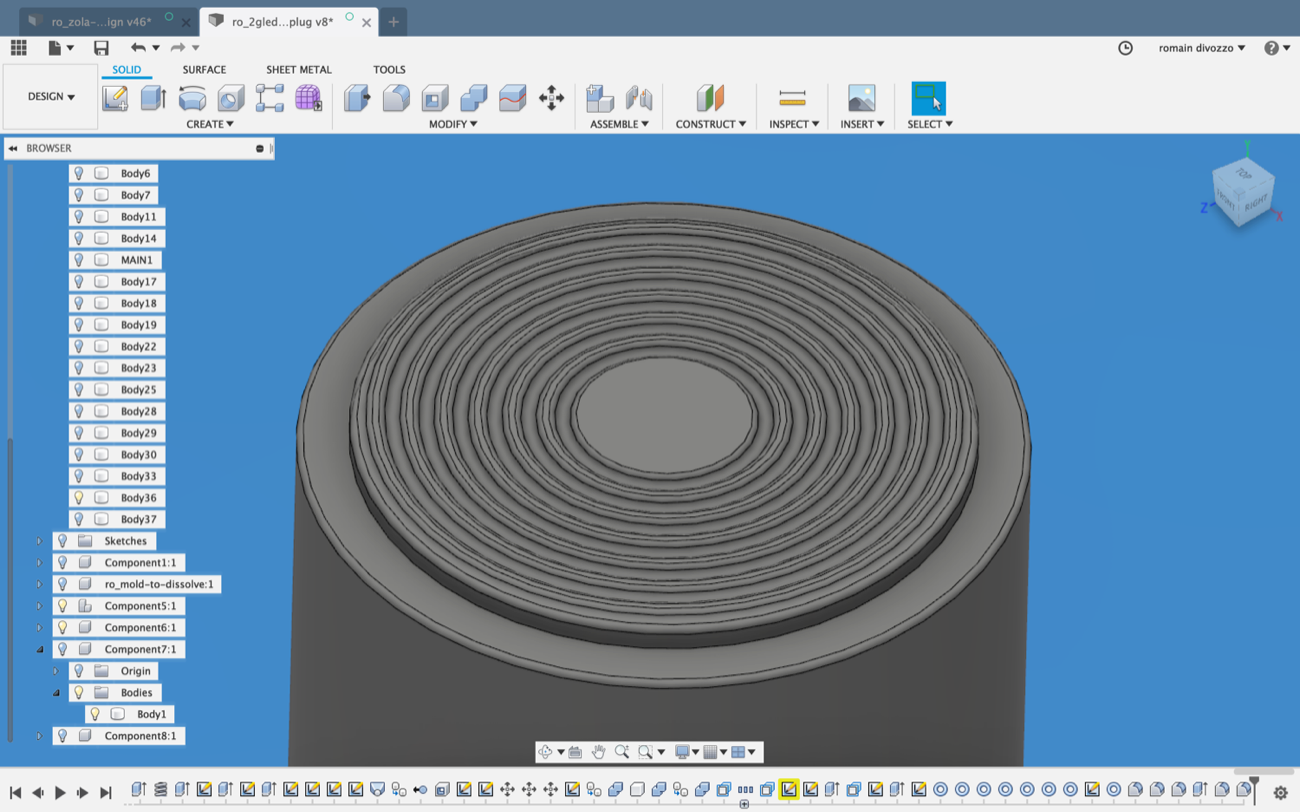
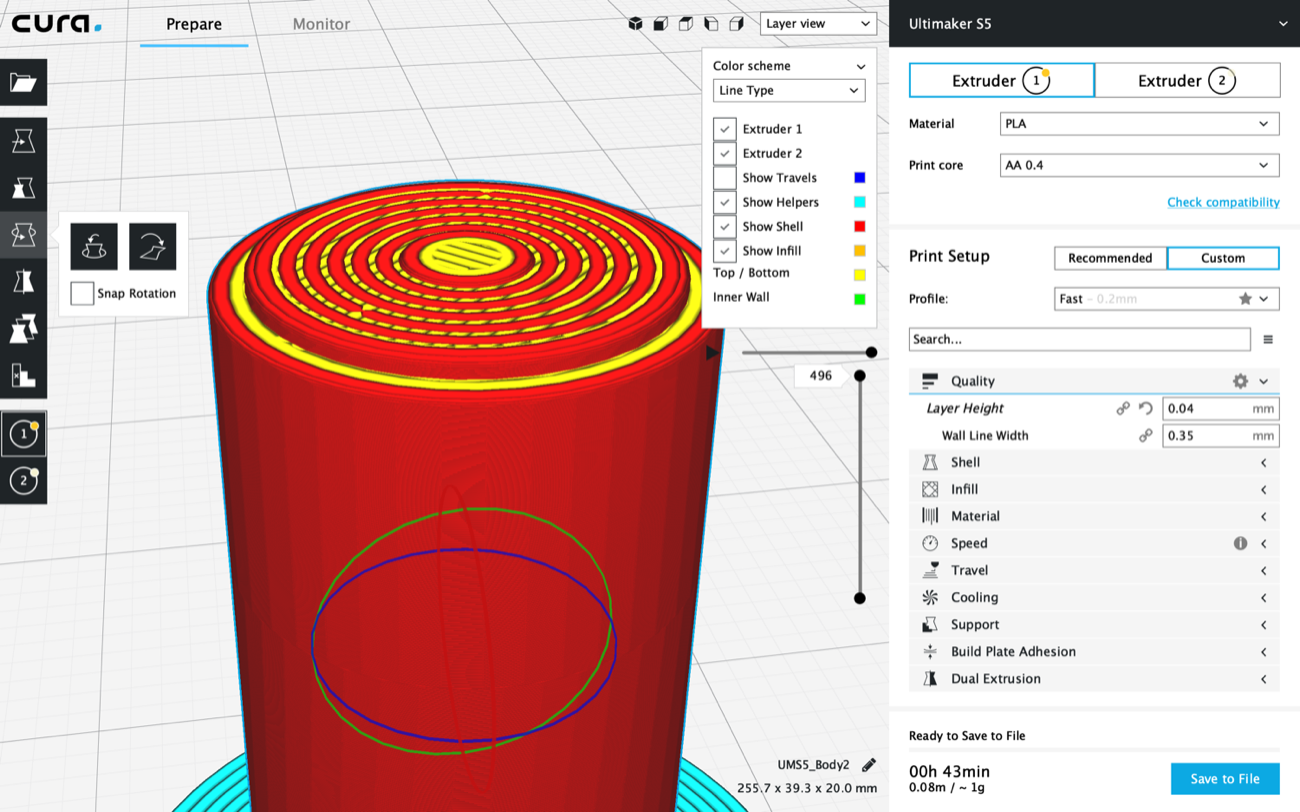
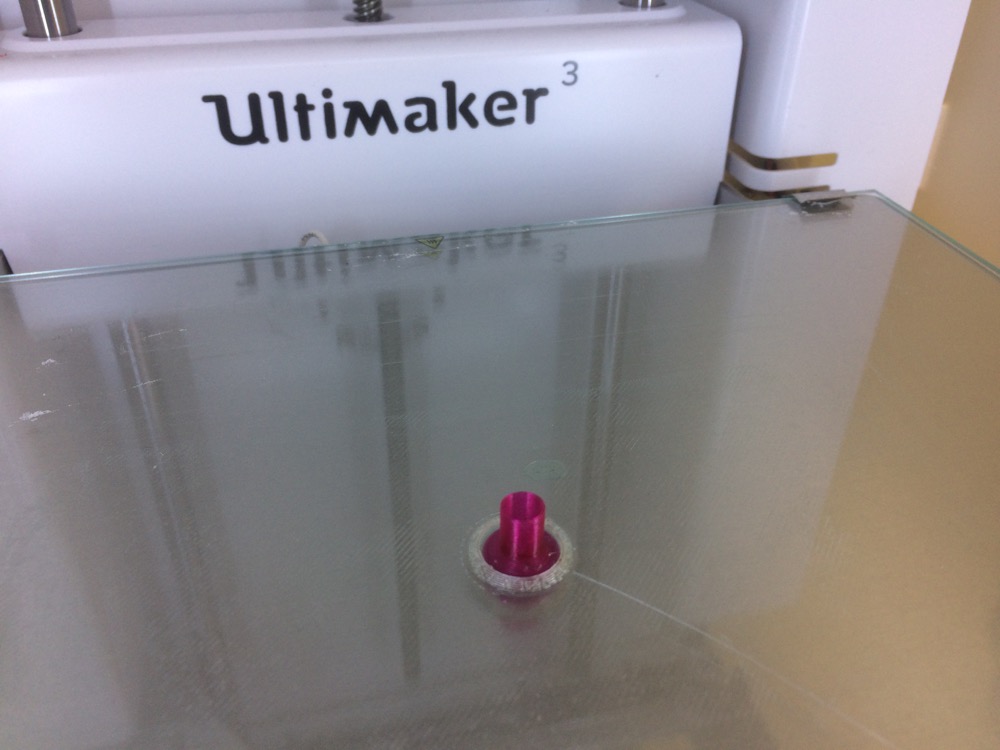
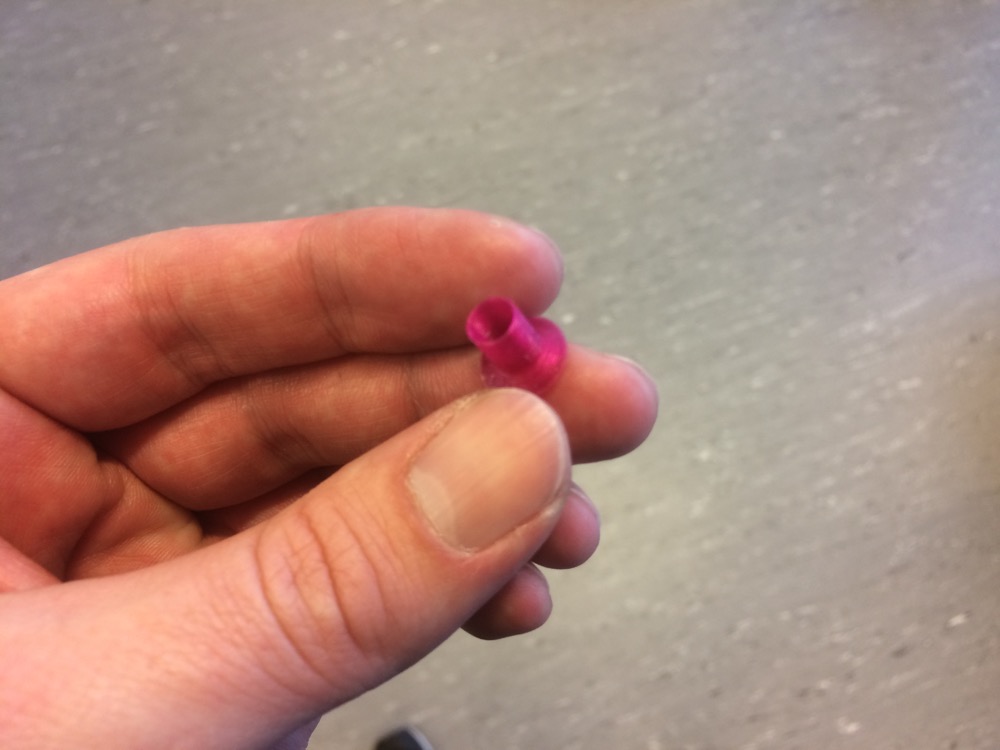
9 | 3D Printing of ear-plug tiny speaker enclosure |
v
v
v
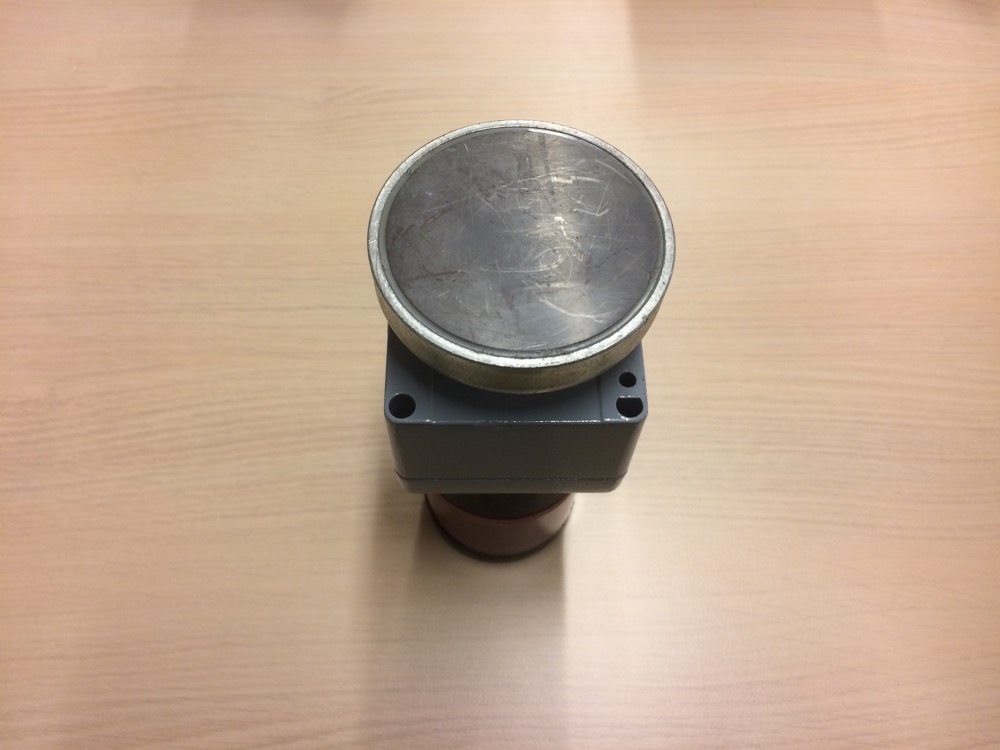
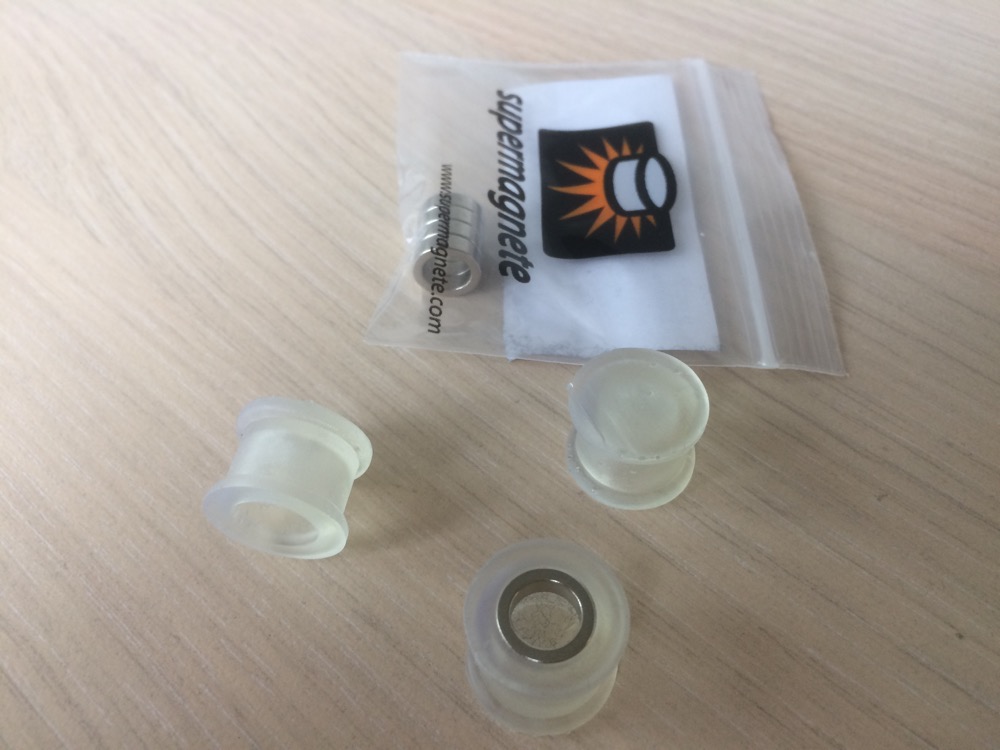
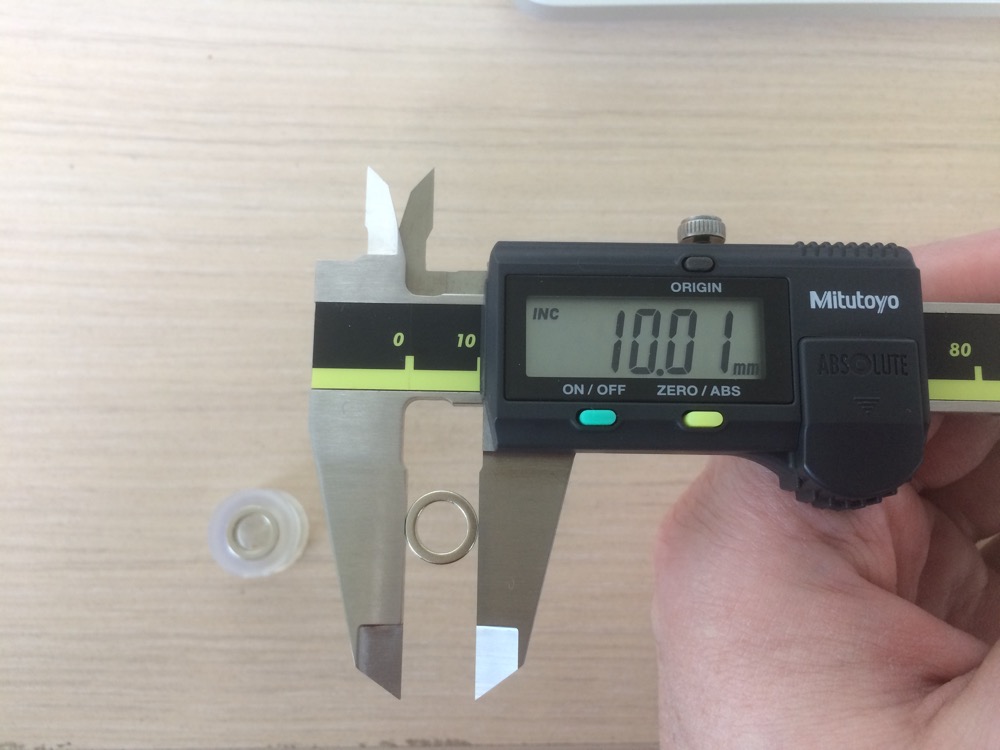
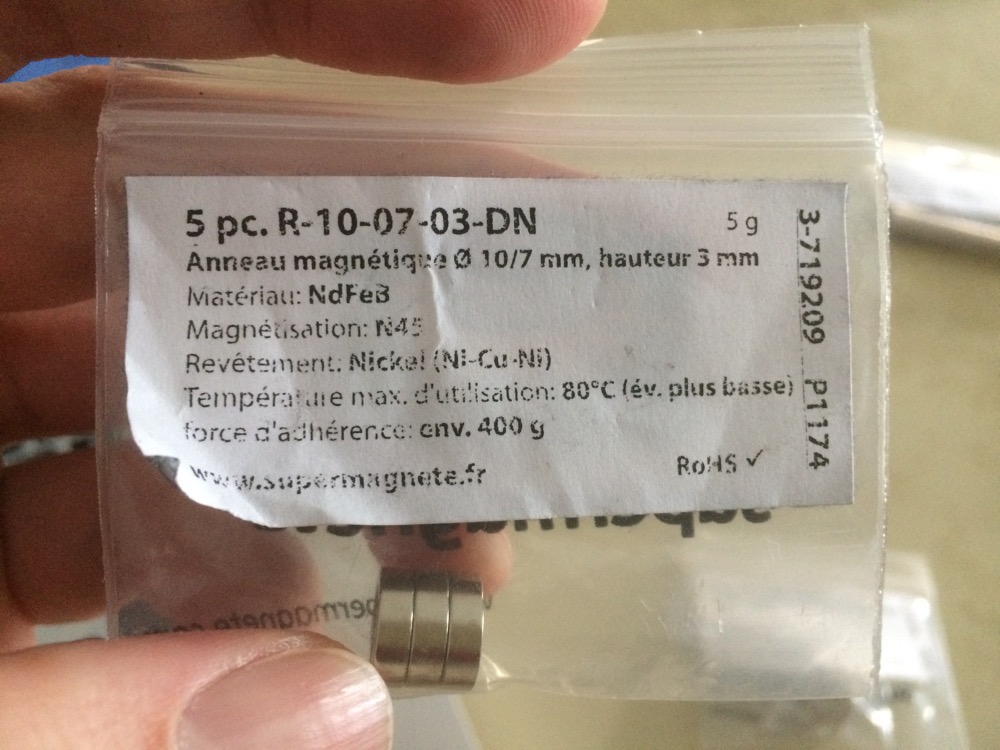
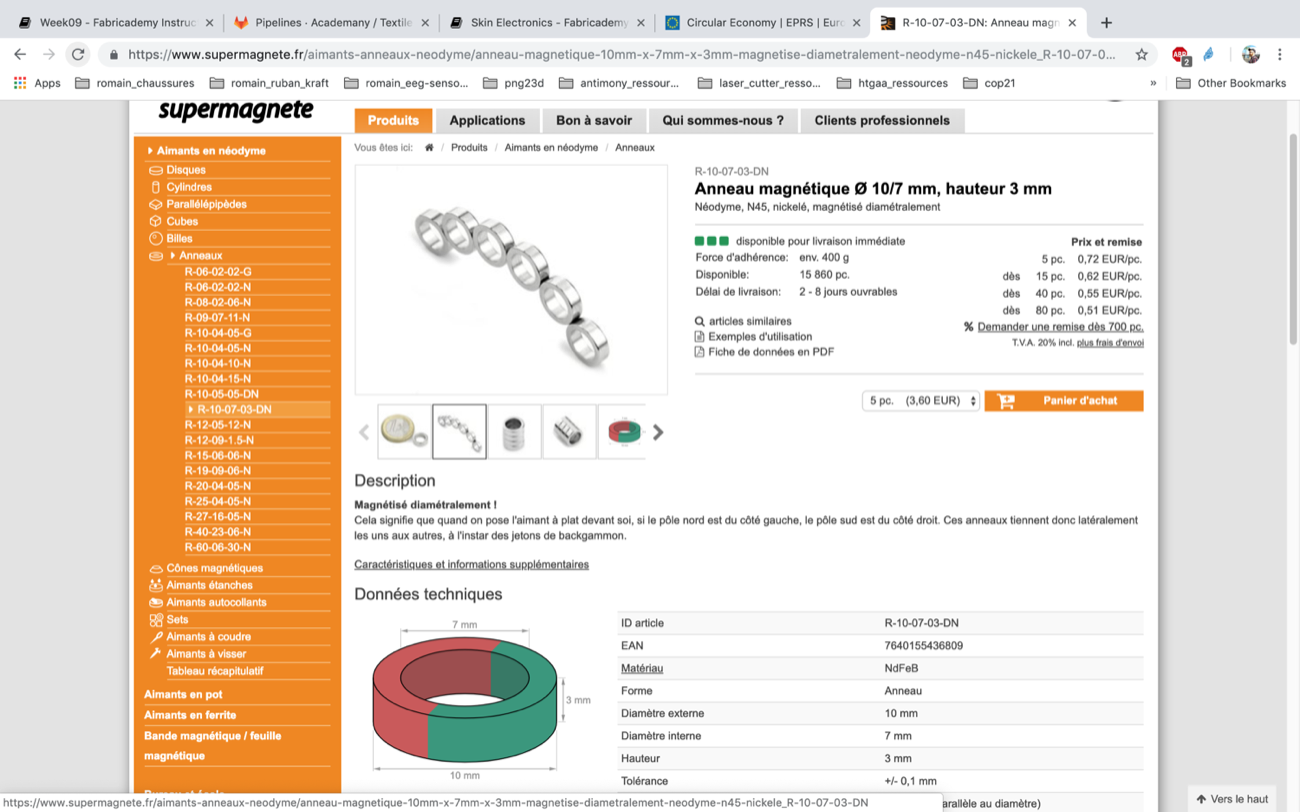
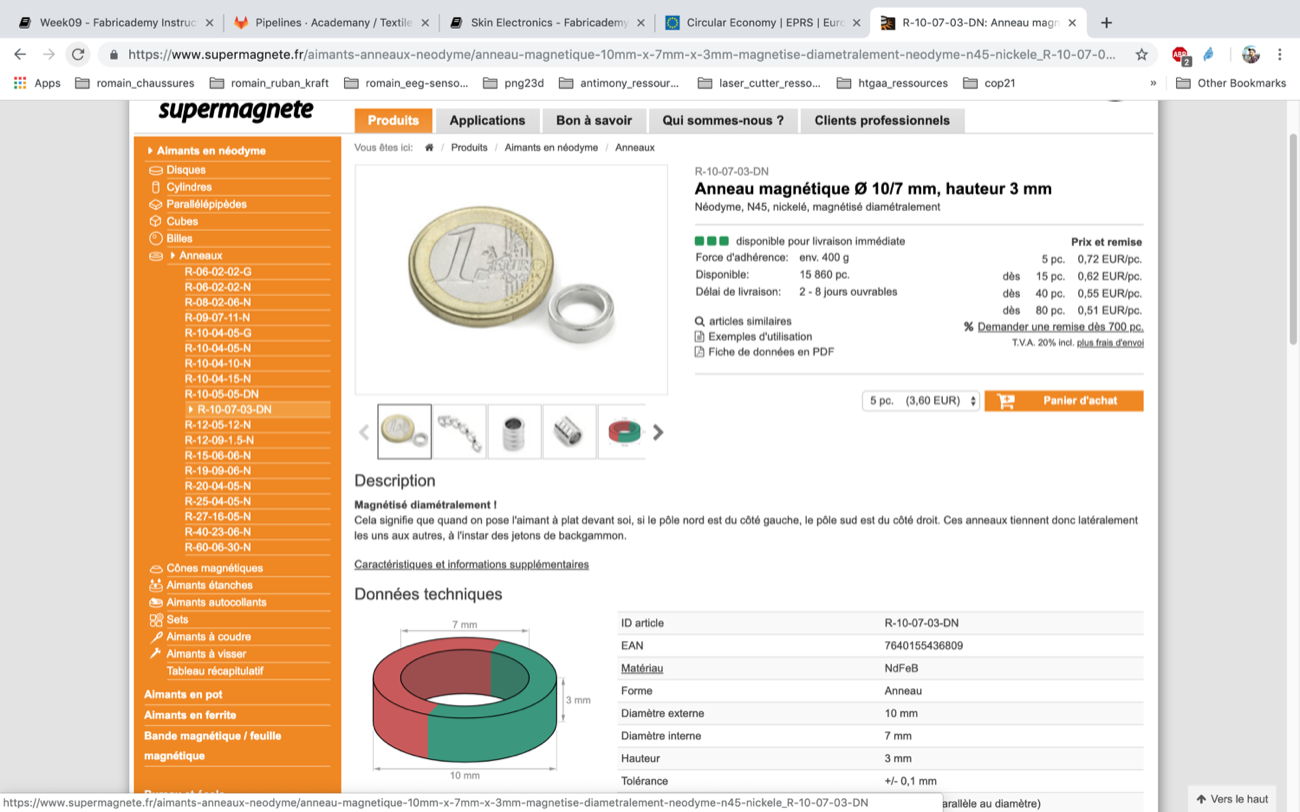
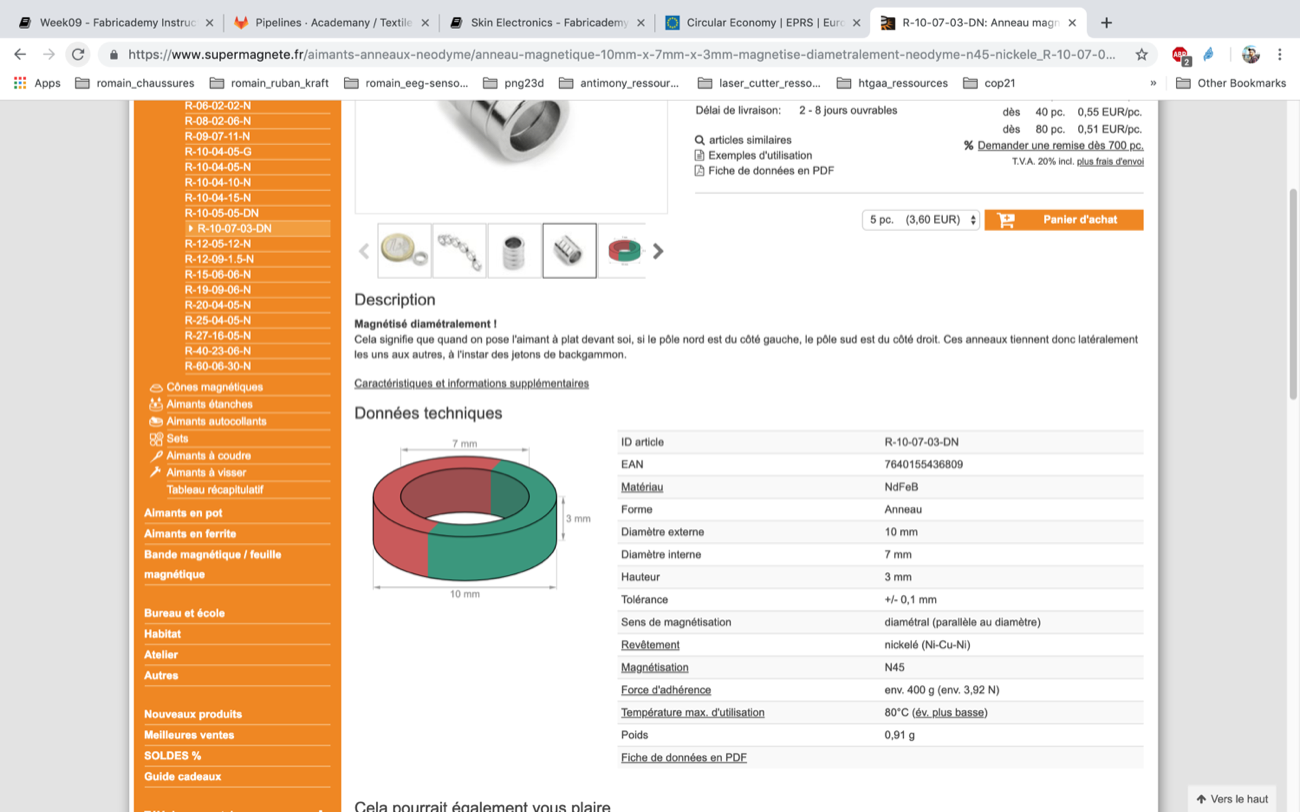
The plan is to put Neodyme magnet inside the ear-plug to make it work as a speaker. I’ll tell more about the magnets later because those ring-magnets can express their polarity in different directions. It is worth it to comment.
erer
erer
Magnet Ring Diameter
Thickness / Force
Internal diameter = 7mm
Thickness 3mm
External diameter = 10mm
Force 400g
erer
erer
10 | Design a speaker spider mold to vacuum-form |
Not easy because my speaker is only 12mm of diameter. And the spider has to be very thin to vibrate well and produce sound. Creating waves on such a thin and small surface is not hard to design, but it is hard to fab because of the scale of of the object.
erer
erer
erer
erer
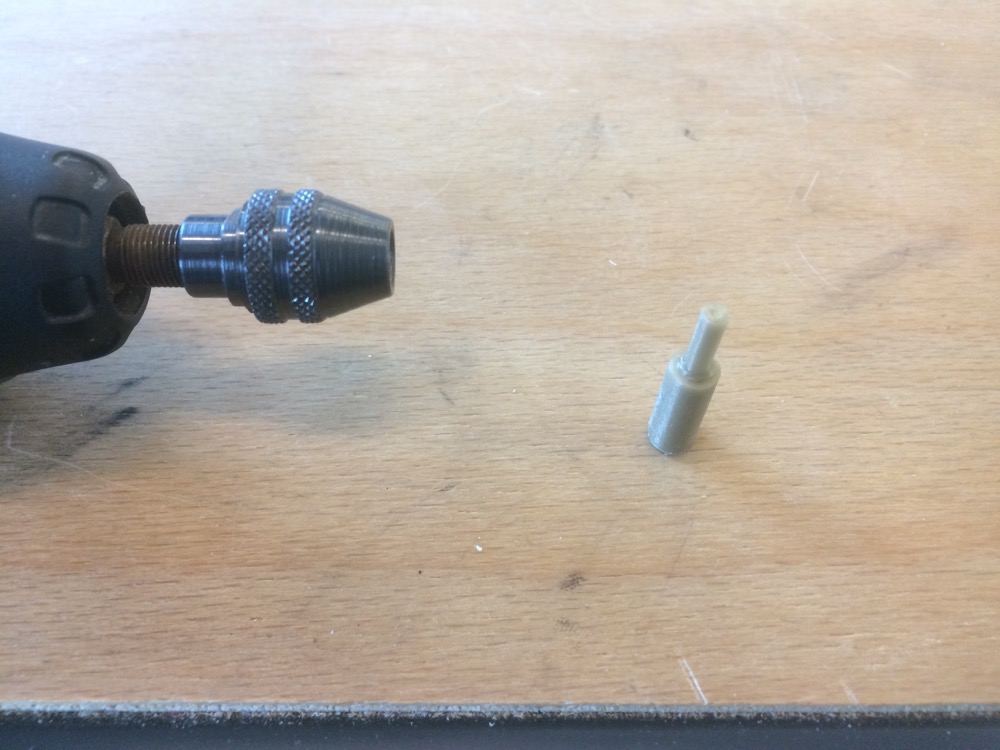
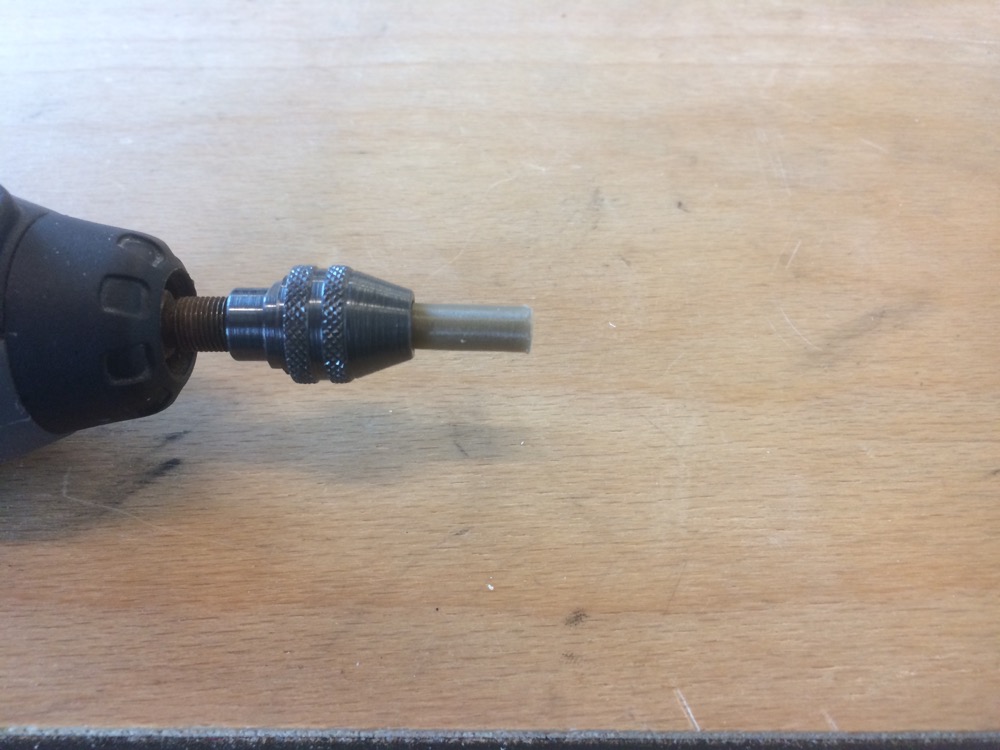
11 | Designing a tool to roll a very small coil to fit my speakers |
x
x
12 | 3D printing a very thin cylinder to attach to the spider of my speakers |